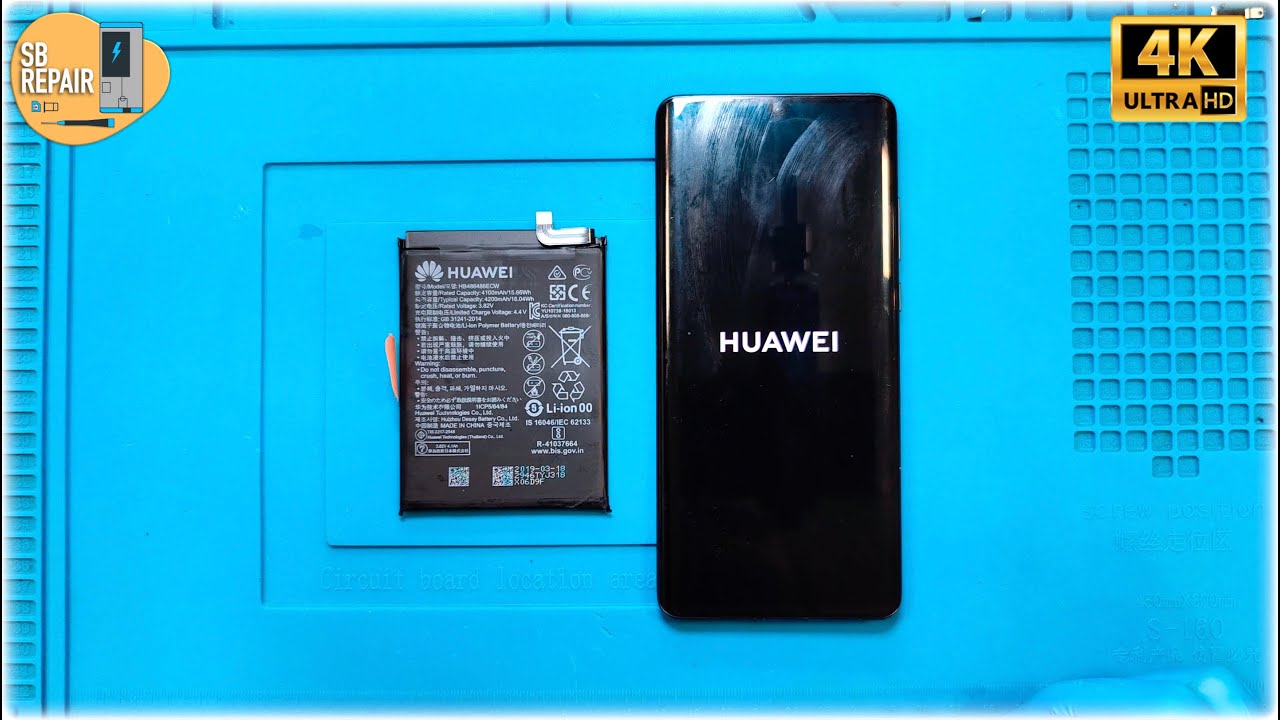
DIY Guide to Replace Huawei P30 Pro Screen
Duration: 90 min.
Steps: 25 Steps
Got some pesky pixel errors or a vertical line running down your P30 Pro display? Maybe your Huawei took a tumble and now the screen is flickering or worse? Don’t worry, with a sprinkle of patience, a dash of preparation, and the right repair guide, you can totally tackle that shattered display on your Huawei P30 Pro all by yourself! Sure, the glass back cover is glued on tight, making it a bit tricky to open, but with some hot air and trusty tools like the iFlex, iPlastix, or iSclack, you’ll be able to conquer even the strongest adhesive! If you need help, you can always schedule a repair.
Step 1


– Hey! Just to make sure you don’t get any shocking surprises, don’t forget to disconnect your device before you start working on it.
– Oh no! Screen’s on the fritz? Don’t fret! As soon as you unplug the battery (which we’ll do in a jiffy), your device will power down like a champ.
Step 2

Heads up! After you tackle this repair, your phone might lose its waterproof charm. Just keep that in mind!
Keep a watchful eye around the cameras; they’re delicate little gems that deserve some extra love to keep them safe!
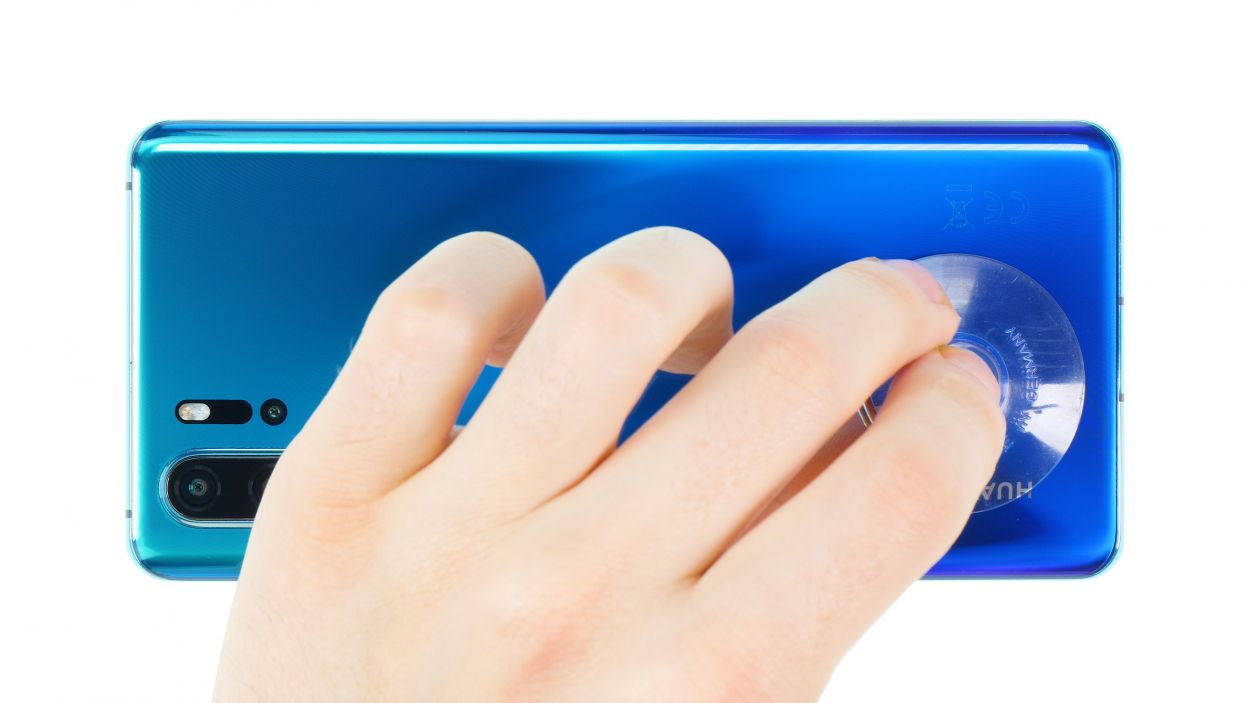
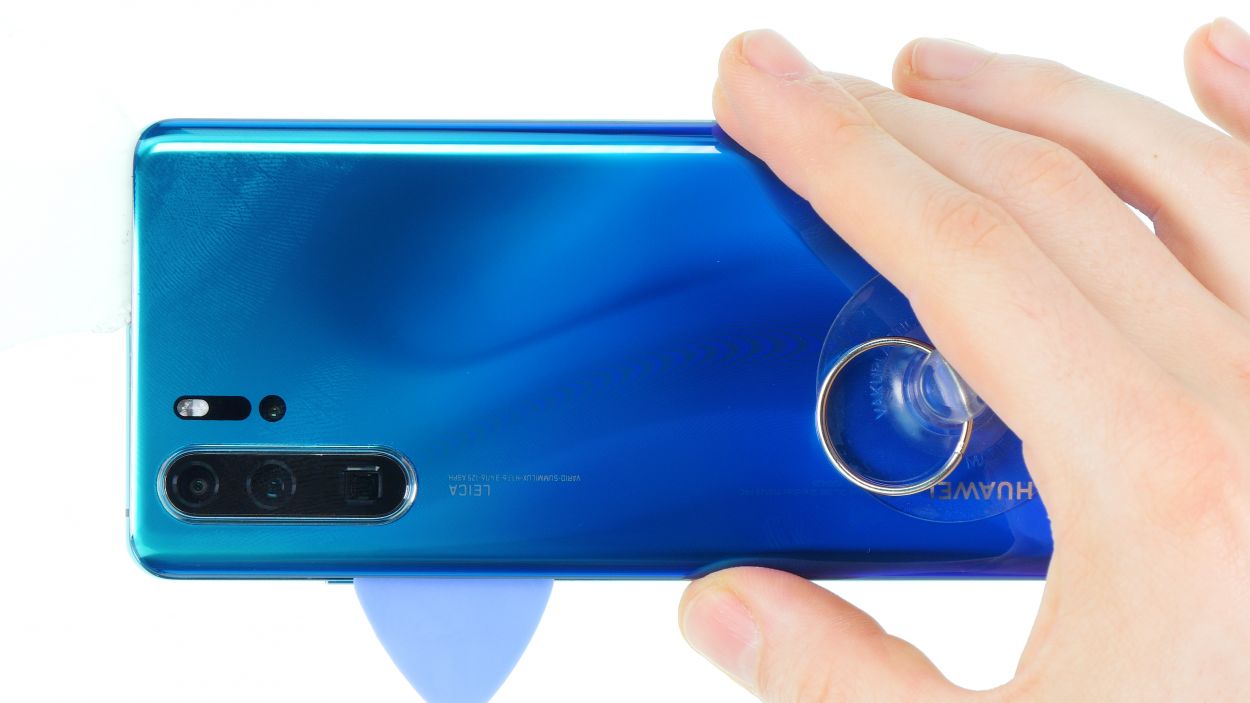
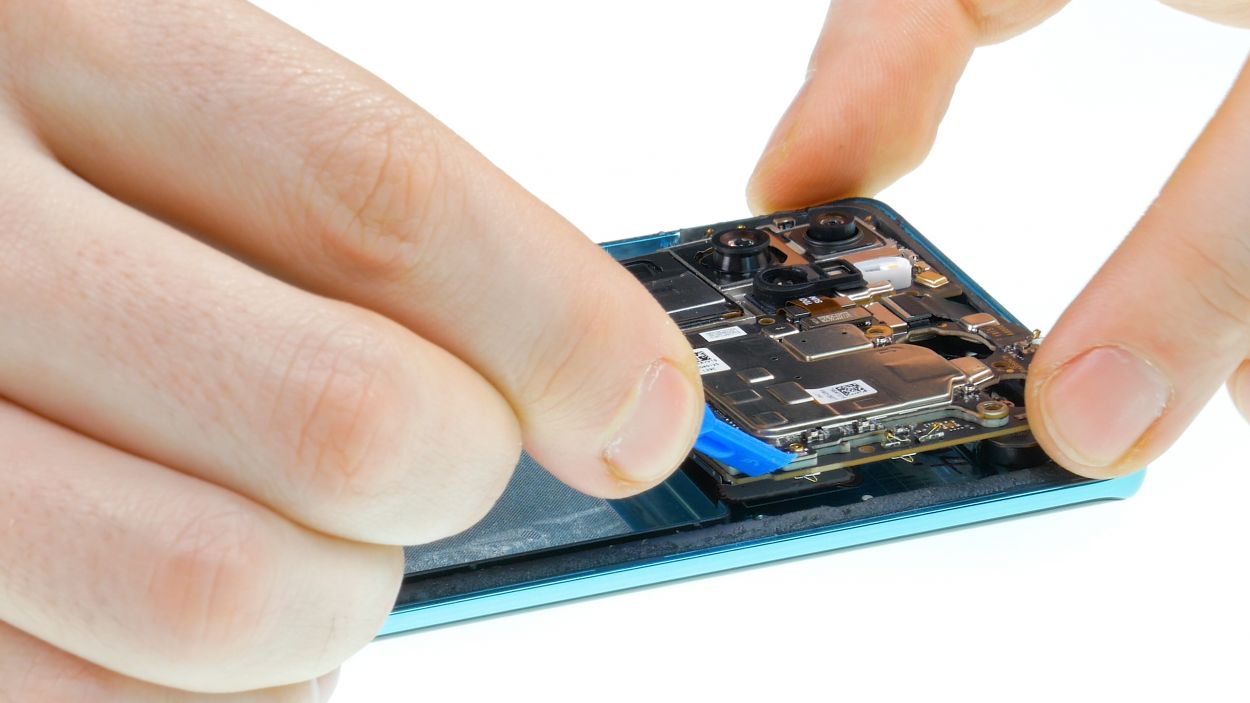
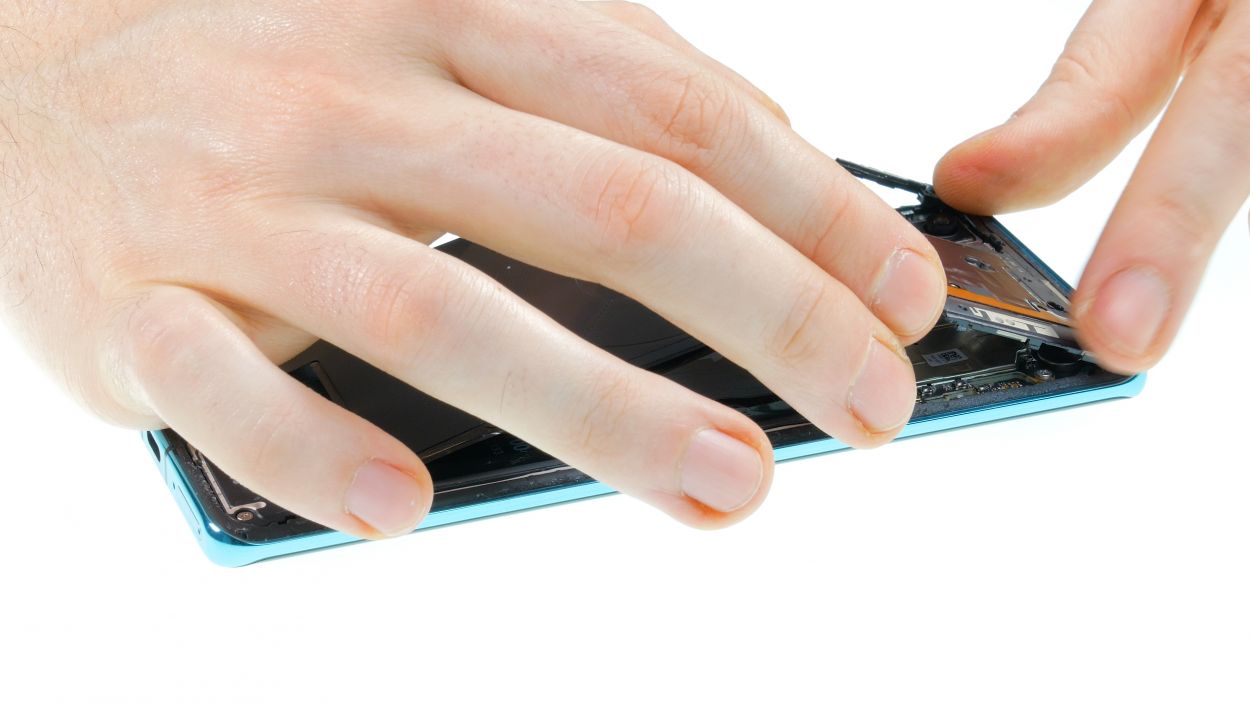
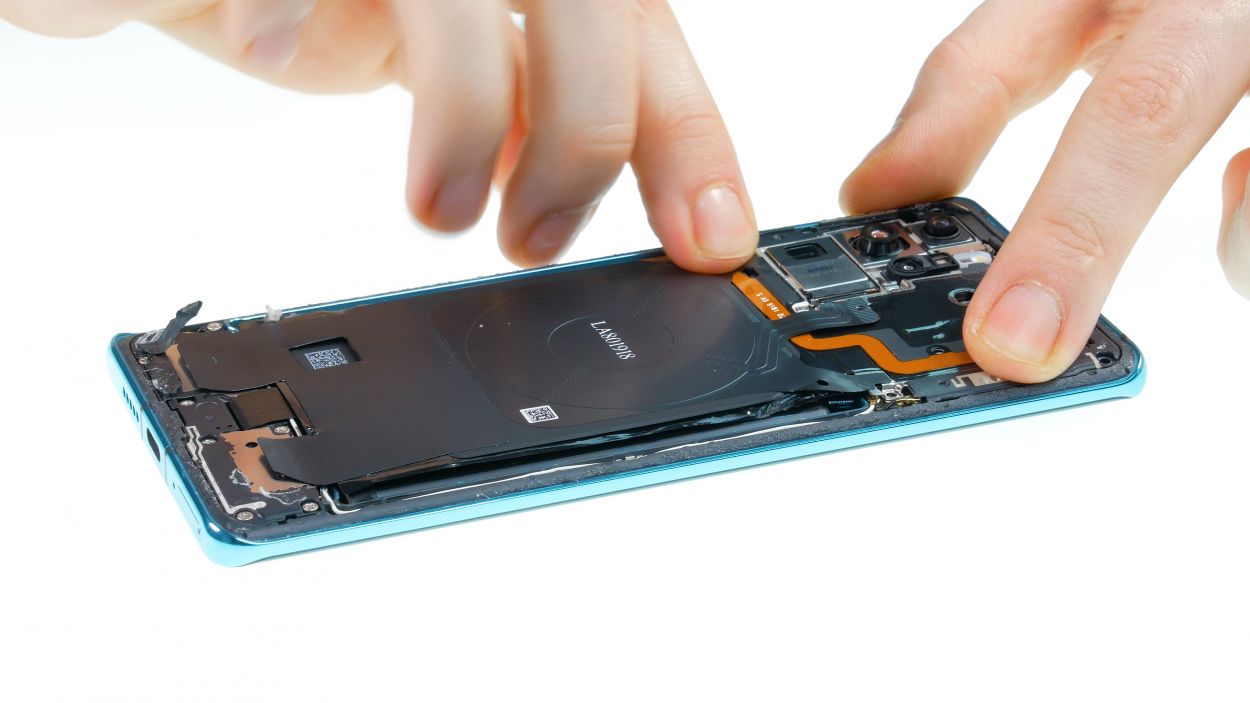
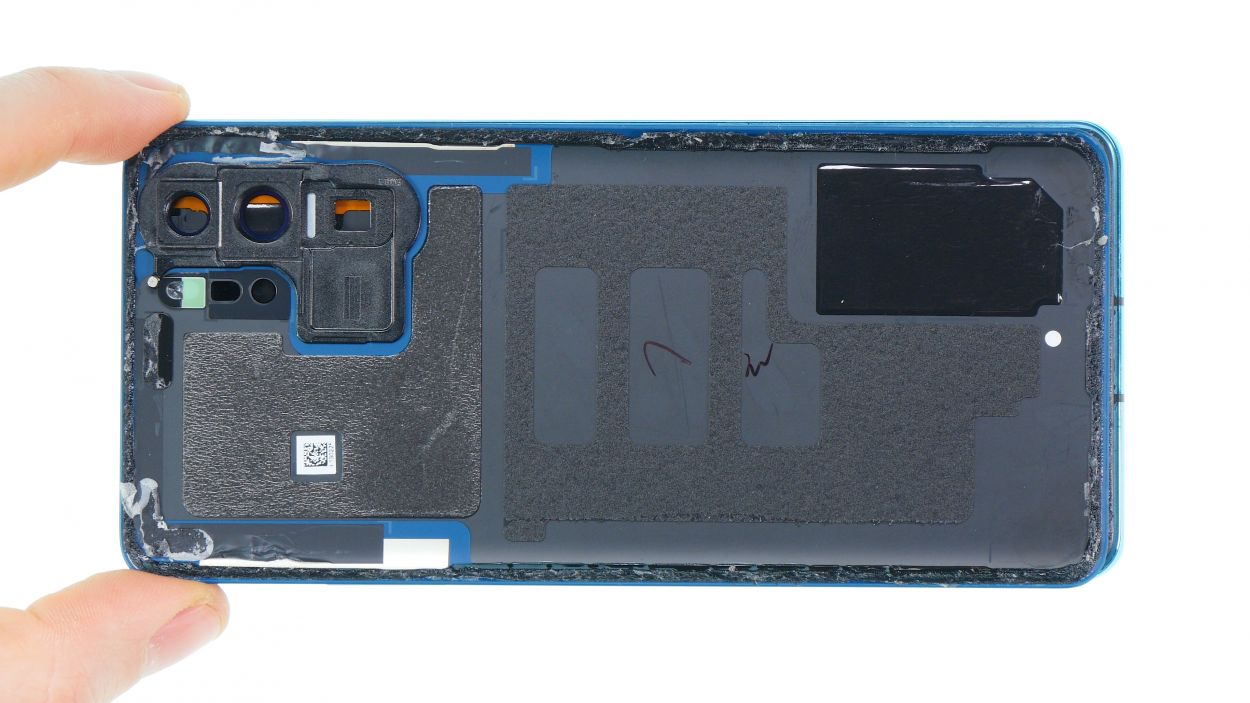
– Get this party started! Fire up your oven, or rather, your hair straightener, and give the entire edge of the backcover a good heat treatment. Pay extra attention to the part where you start to loosen the backcover. Don’t overdo it, just warm it up so you can still touch it gently. We want you to be able to handle it with care, after all!
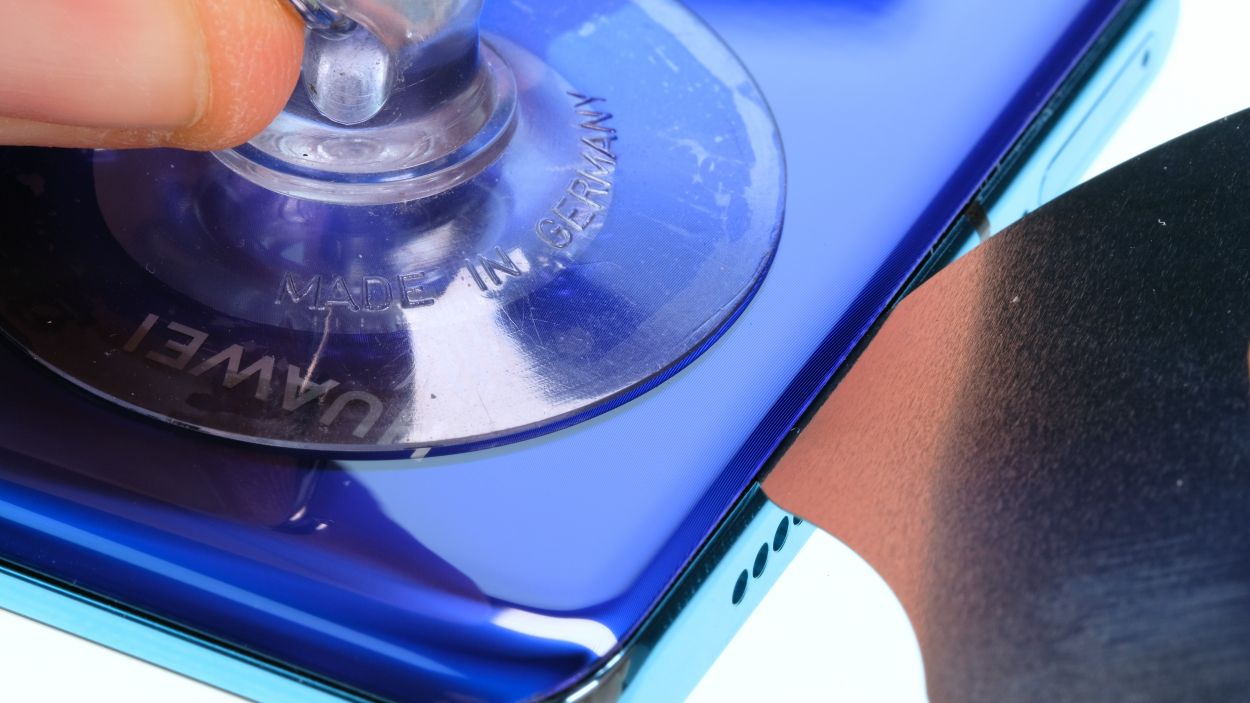
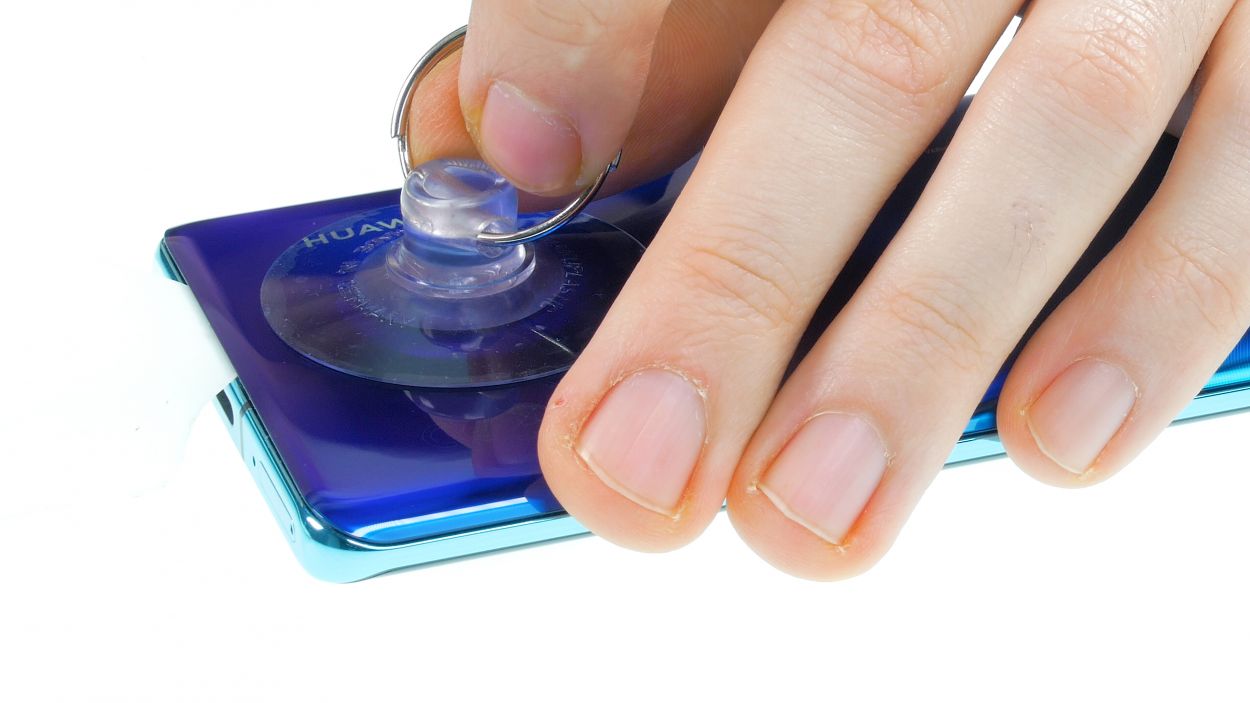
– Time to get your suction cup game on! Place it on the bottom of your device and give it a gentle tug to create a teensy-weensy gap between the back cover and the frame. Easy peasy!
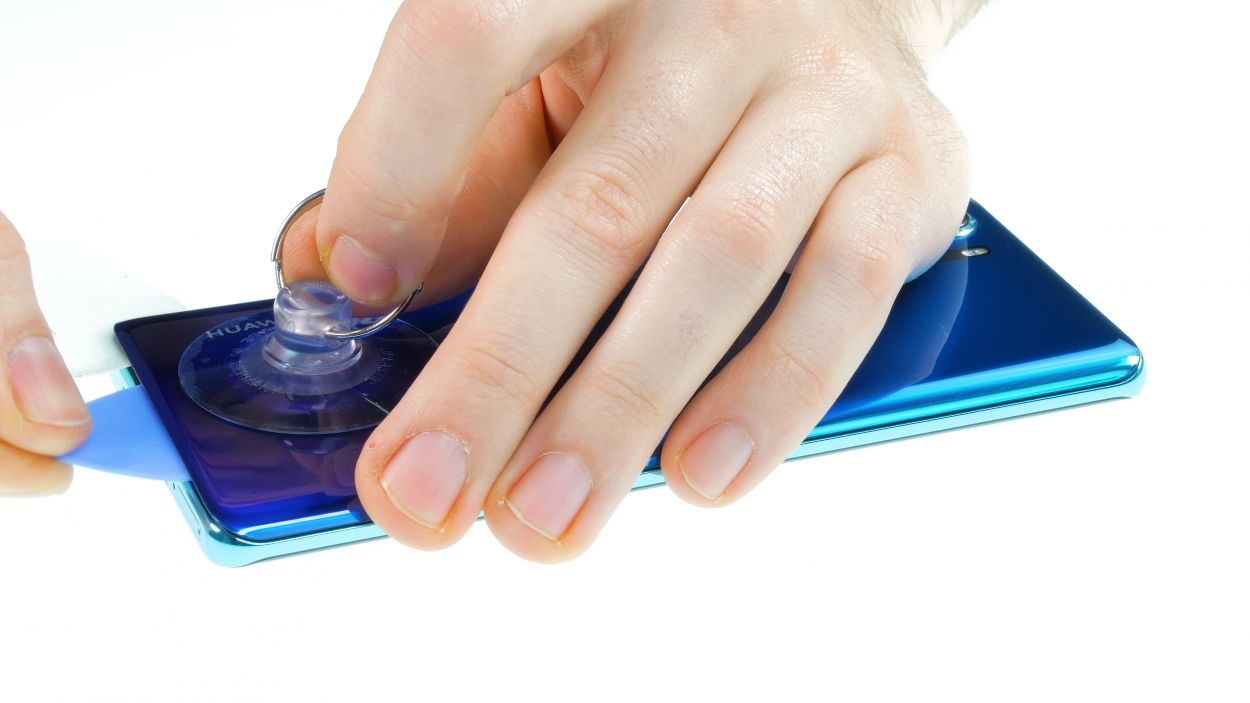
– Now it’s time to get your tool in there! Use your iFlex tool, or if you’re feeling adventurous, try the iPlastix. Remember, a metal tool is way more stable than a plastic one, but don’t worry, it won’t magically fix itself. We’ve got faith in you!
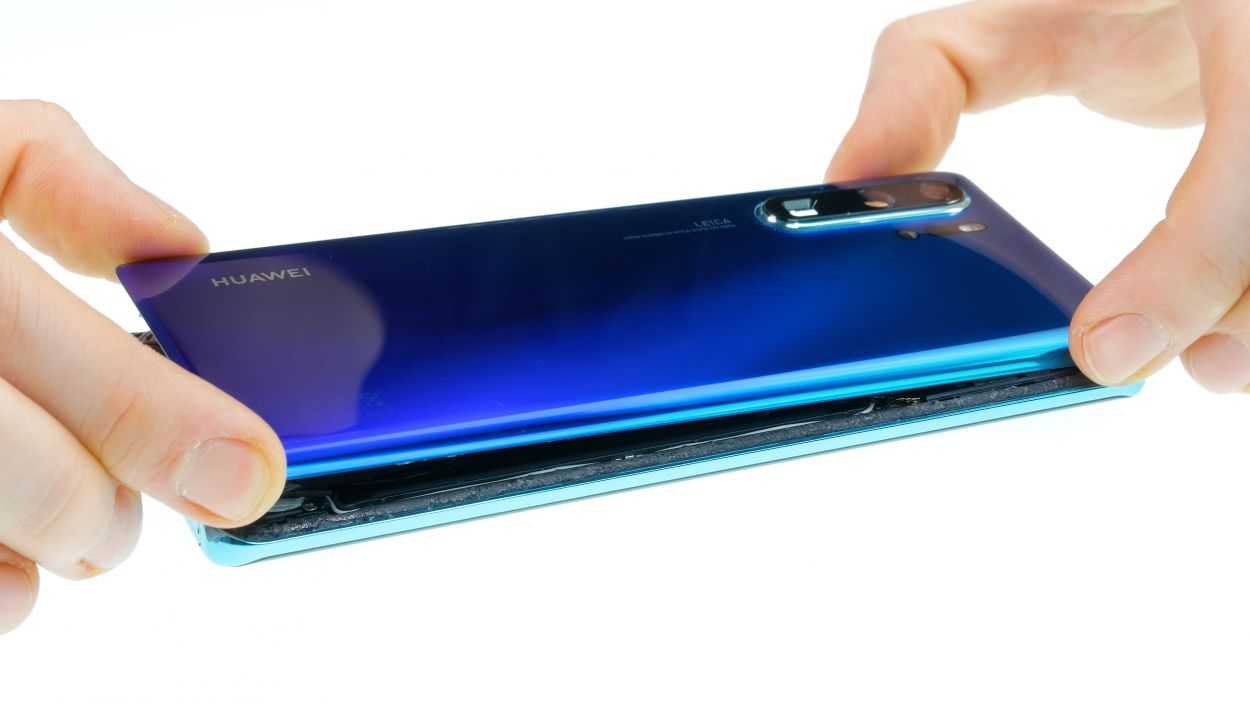
– Careful, careful, careful! Be gentle with that back cover, it’s made of glass, and we don’t want any breakages. We’re all about keeping it shiny and new at Salvation Repair!
– Don’t go all charged-up and push your tool in too far, or you might scratch that beautiful backcover. We want you to come out on top with a perfectly good device. If you need help, you can always schedule a repair!
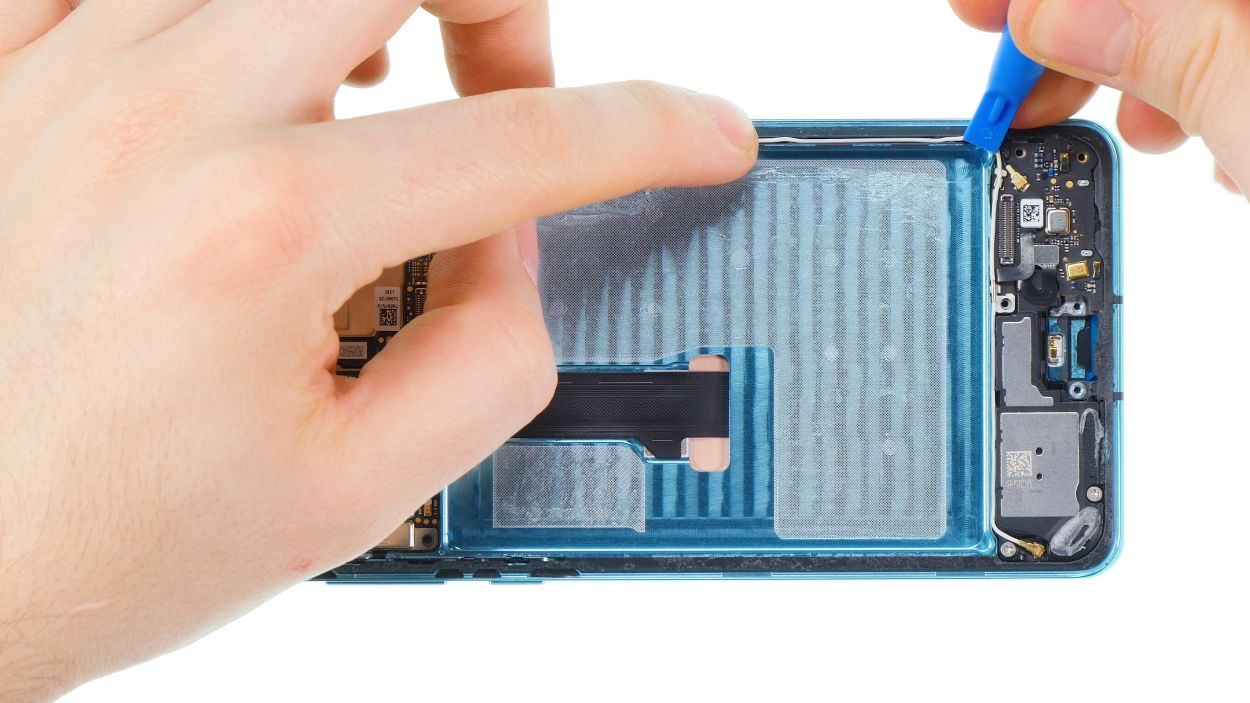
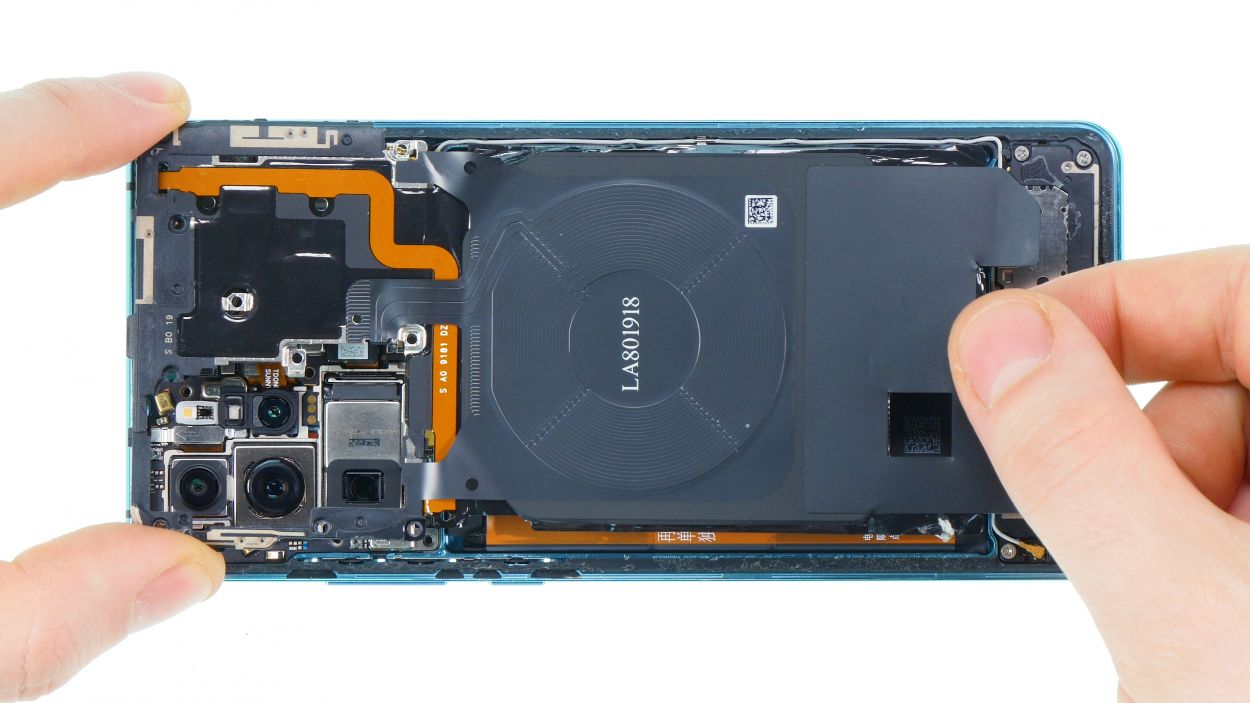
Step 3
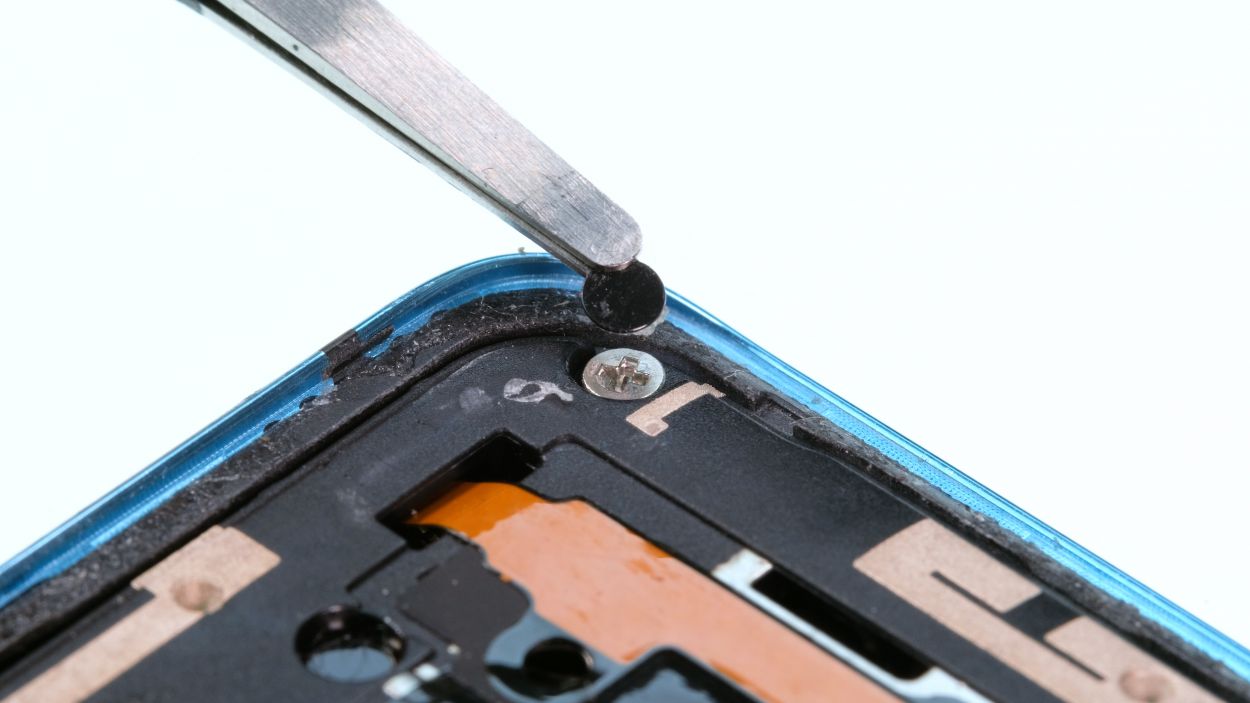
10 × 4,4 mm Phillips
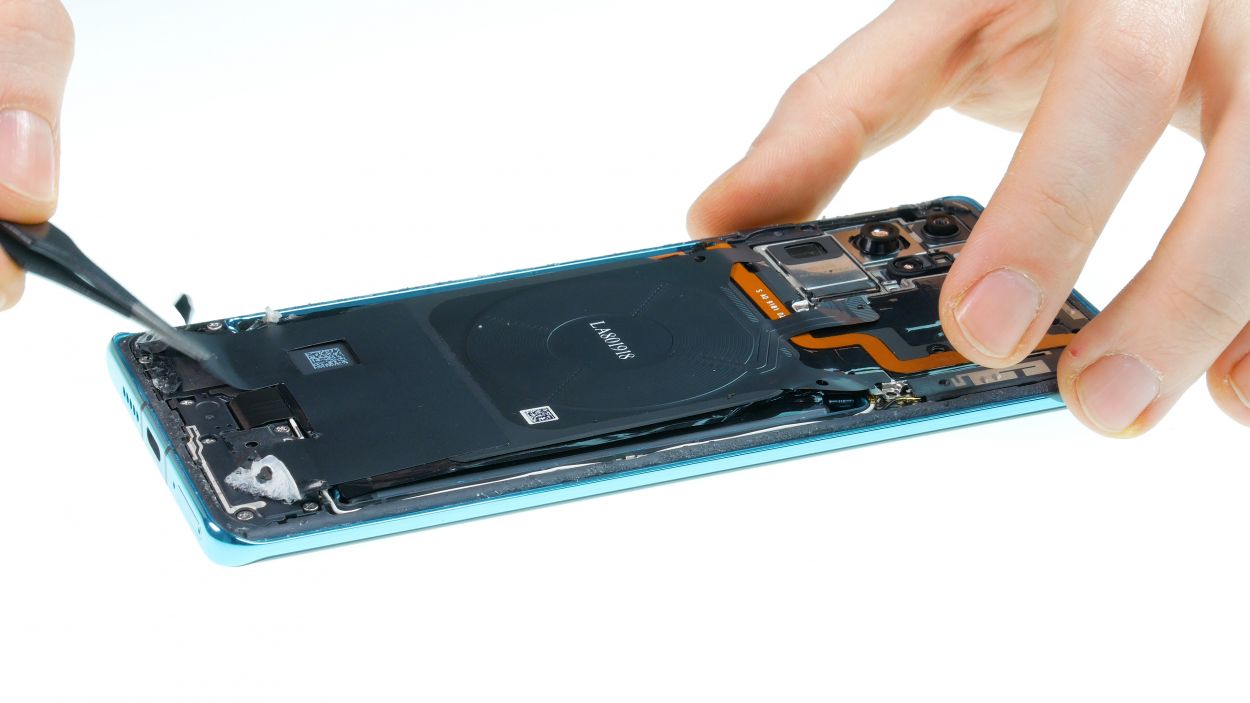
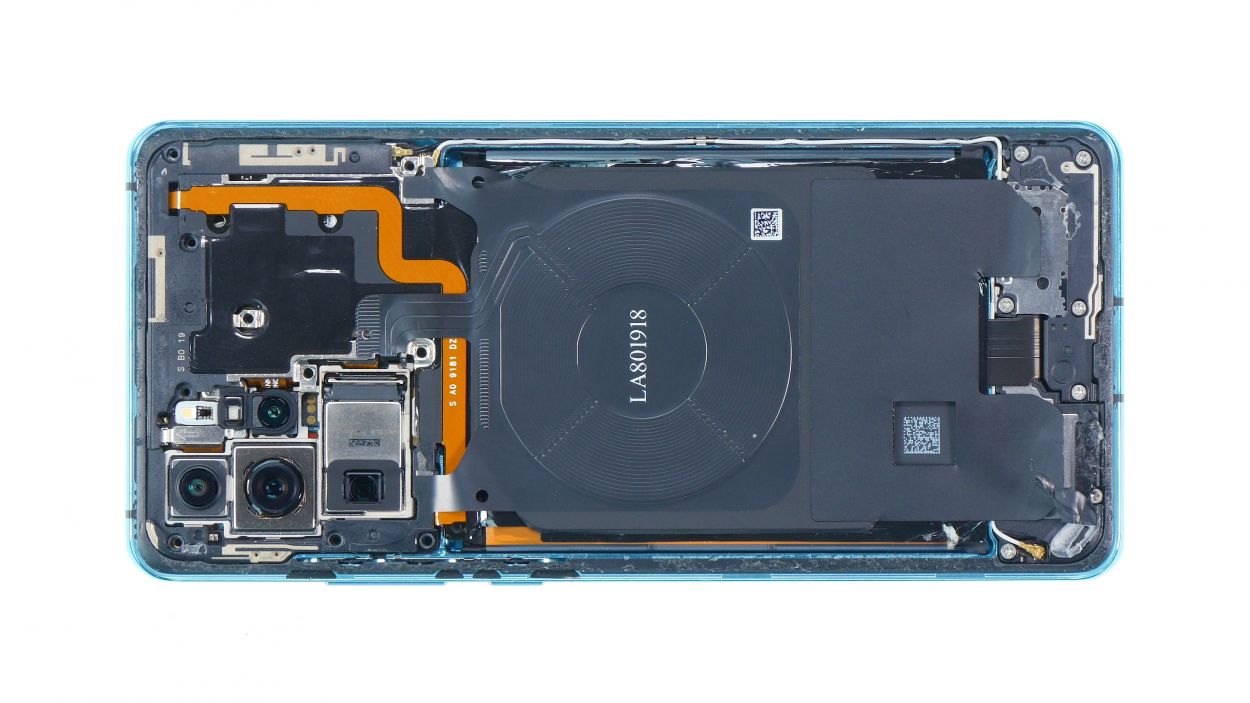
– First things first, let’s get those Phillips screws out of the way! Remove all the screws of equal length from the plastic cover and keep them together so they don’t wander off.
– Keep an eye out for those sneaky screws that might be hiding under black stickers or white water indicators.
– Grab a trusty pair of tweezers to help you with the screw extraction.
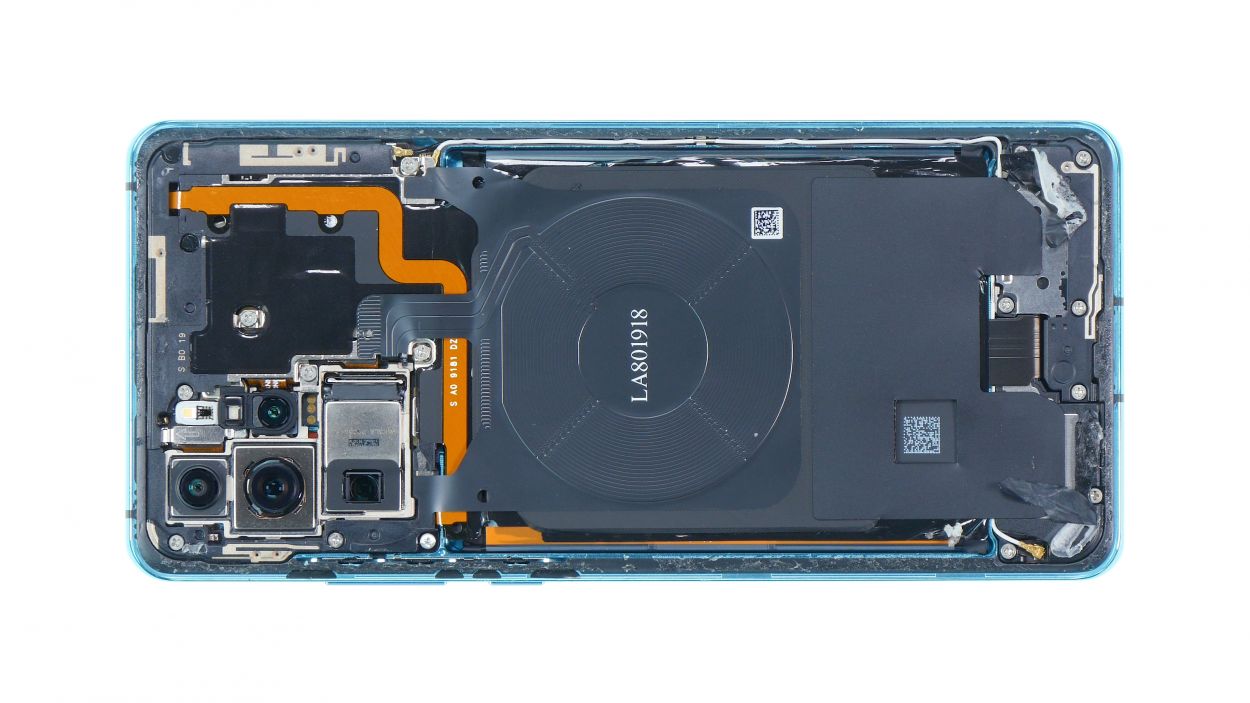
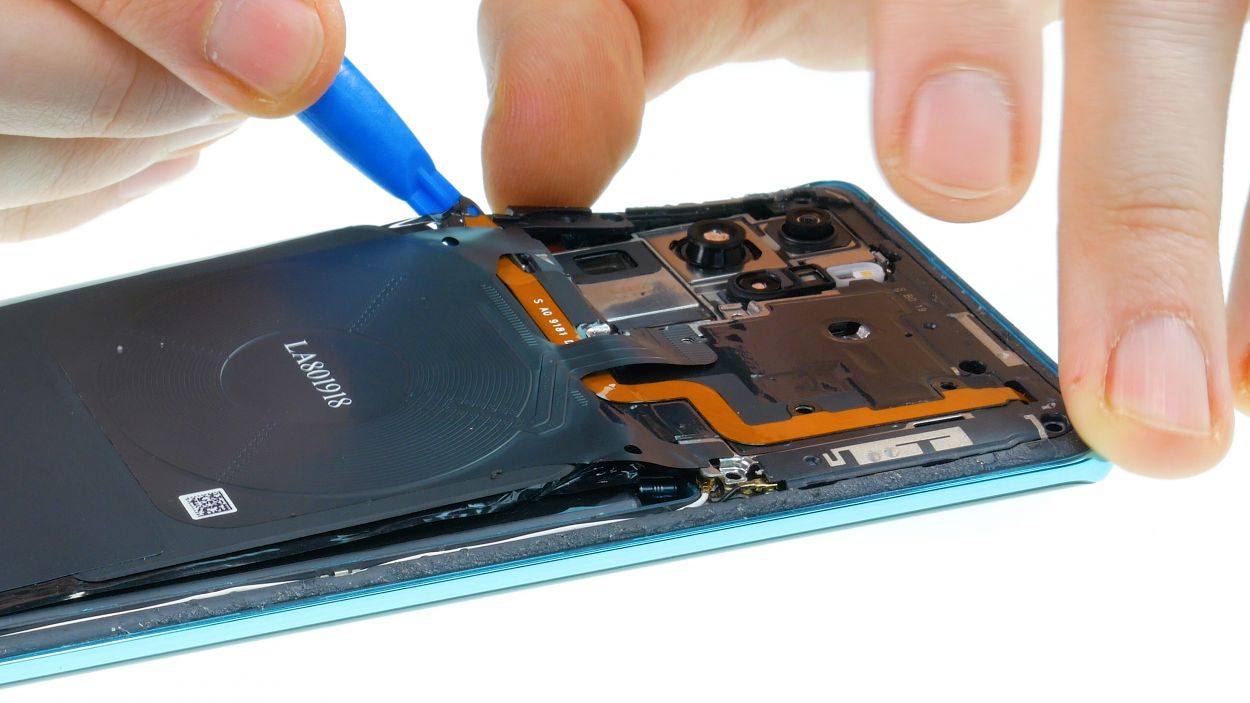
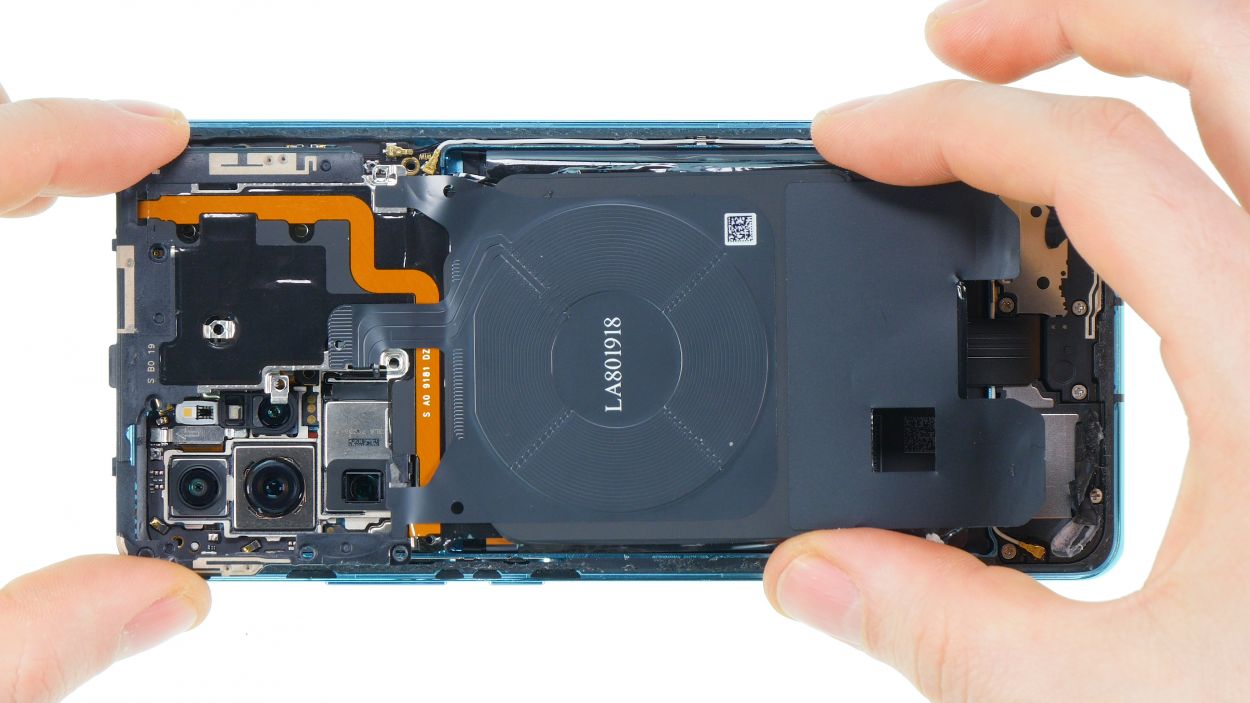
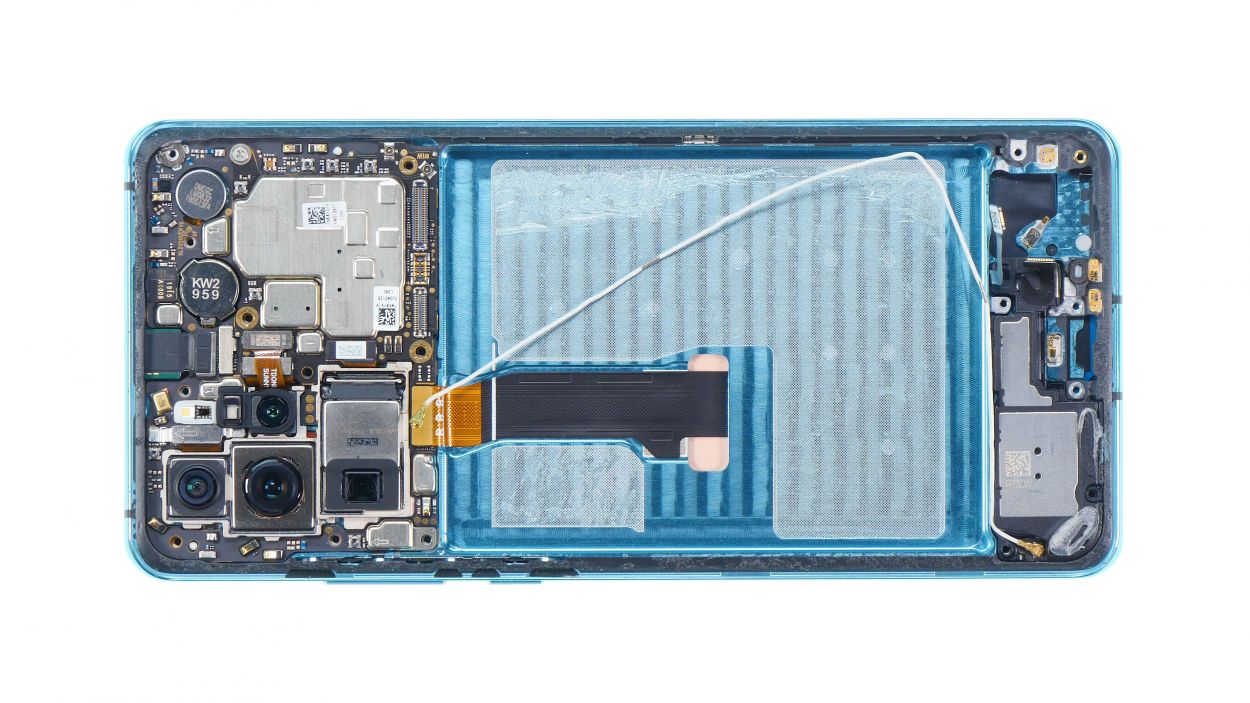
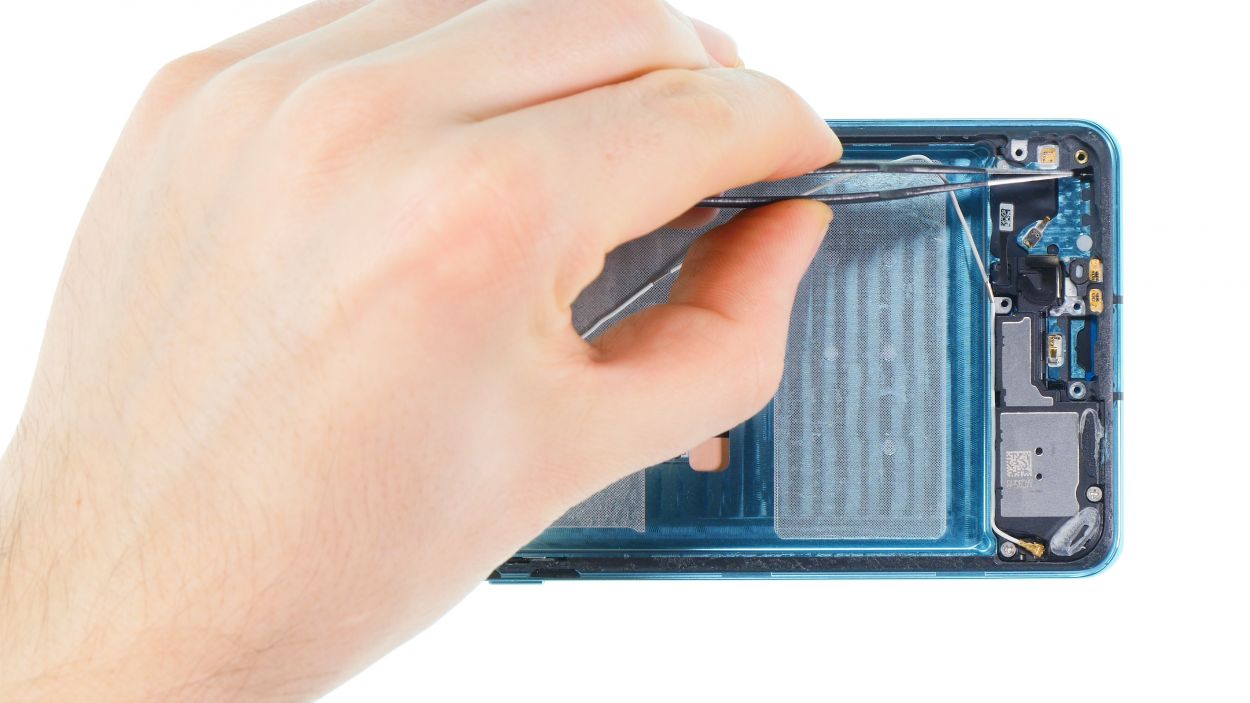
– Remember, the cover is like a protective shield for the mainboard and houses the coil for wireless charging.
– The coil is stuck down at the bottom end. Gently slide your tweezers underneath to loosen the glue, but be careful of the battery lurking just below.
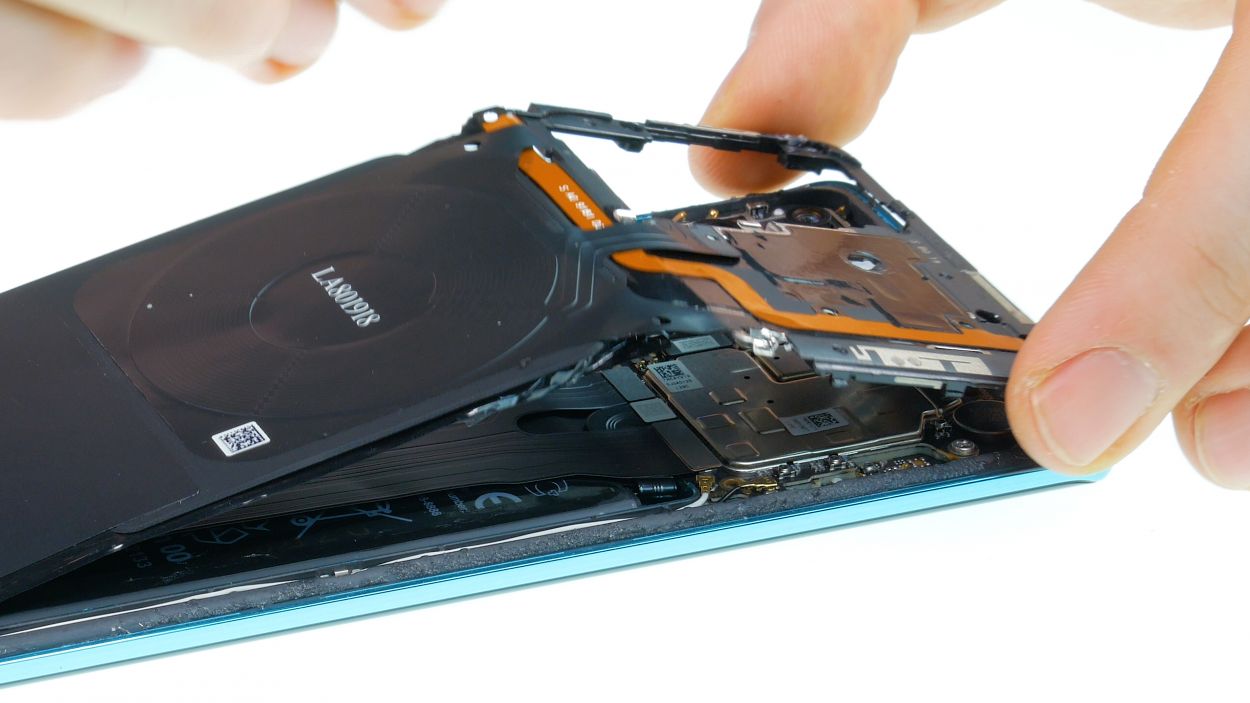
– Now, it’s time to carefully lift the cover, which is hooked into the edge, and wiggle it out of the device.
Step 4


Battery connector
When you’re unplugging those connectors, just remember to be gentle and keep an eye out for those tiny components on the board. We want to keep everything safe and sound!
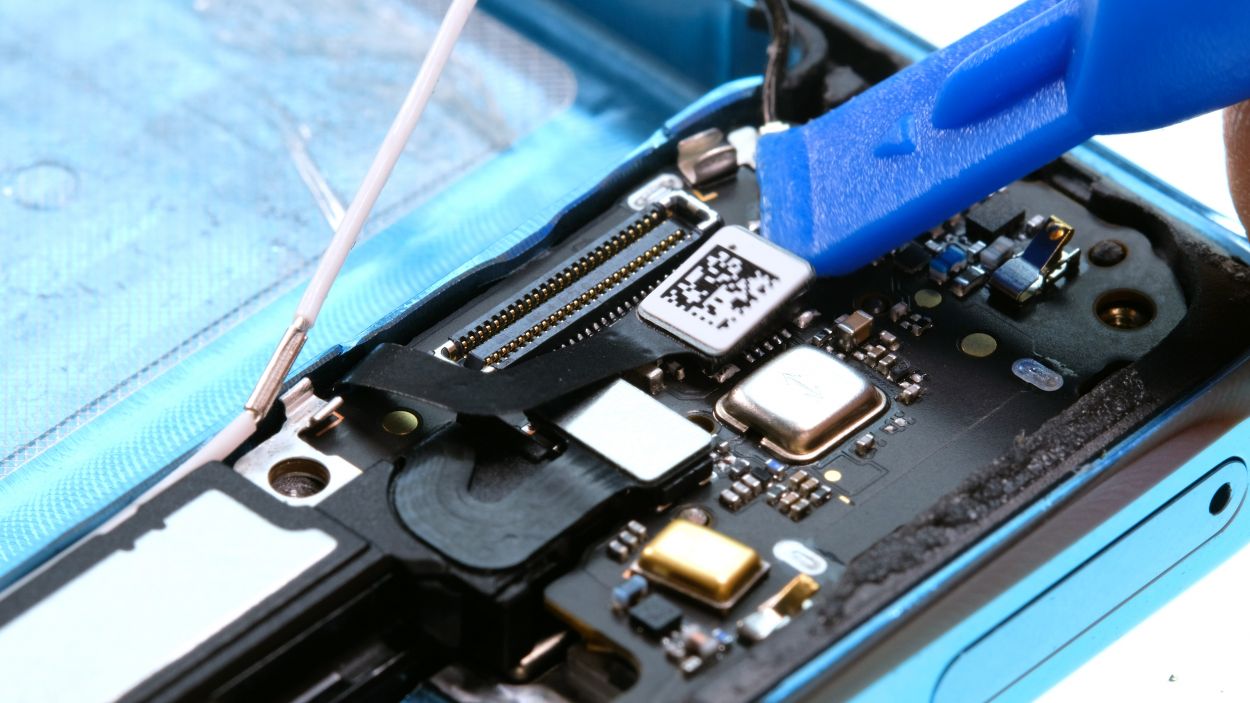
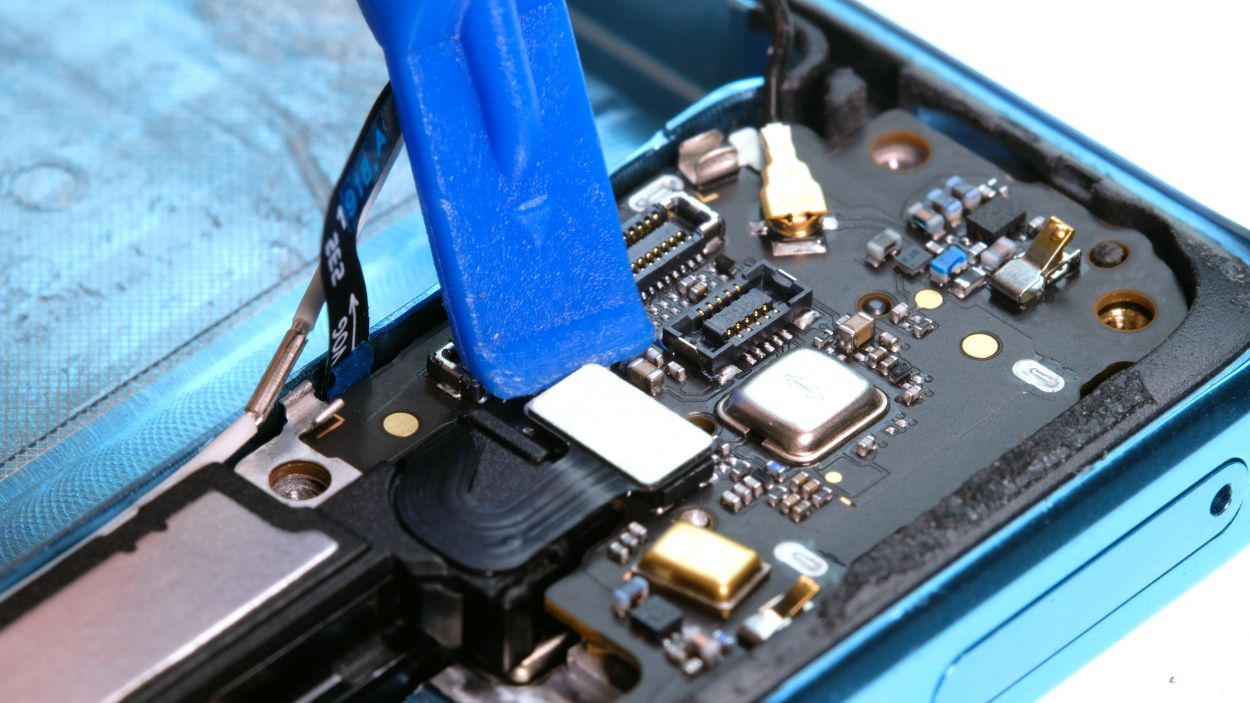
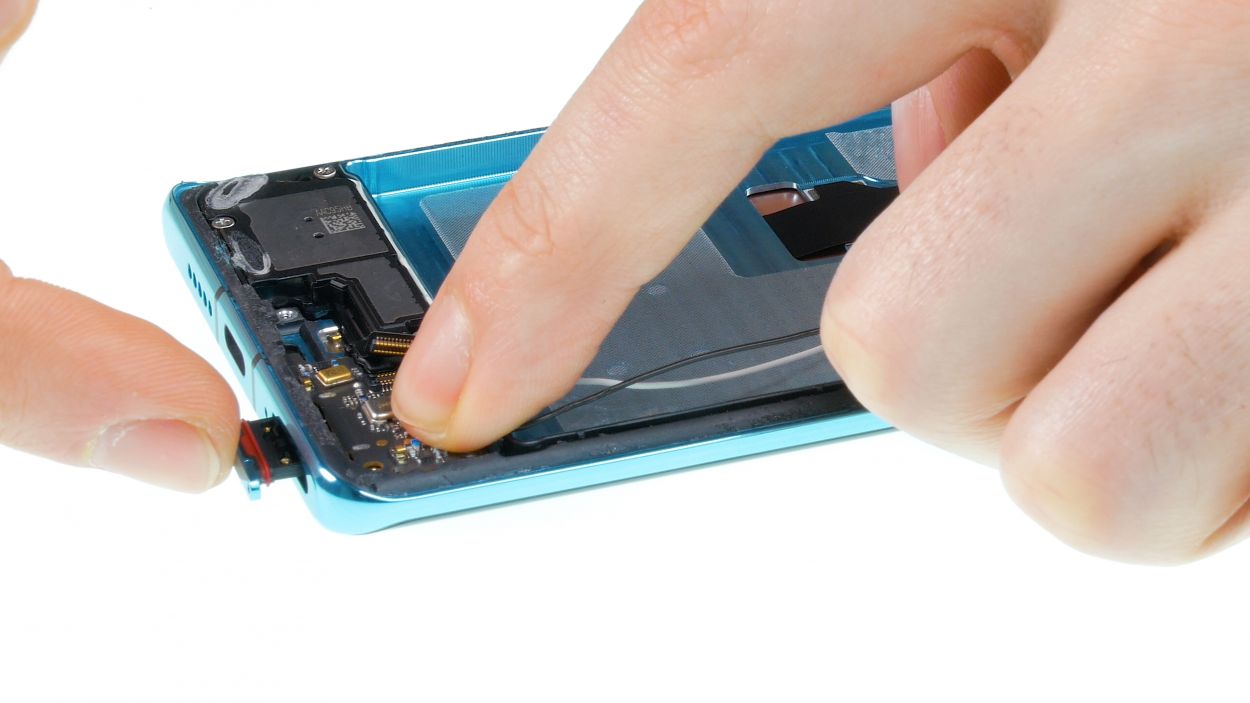
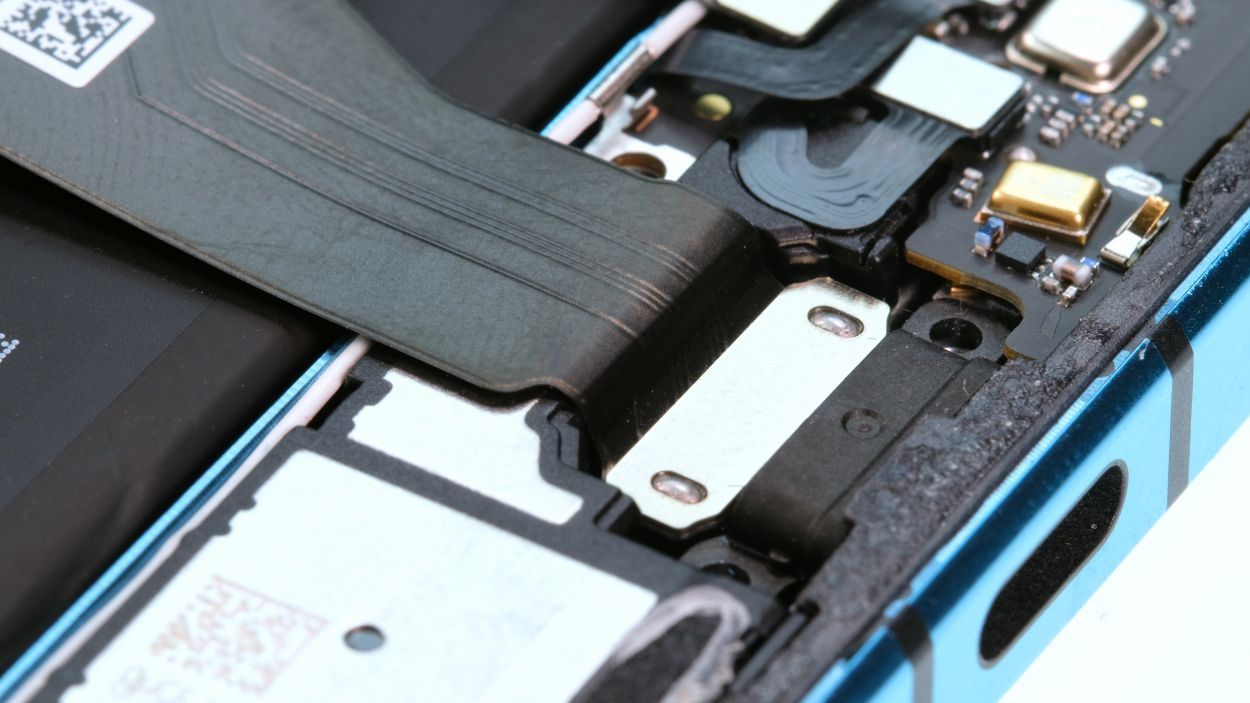
Step 5


5 × 4,4 mm Phillips
– First, let’s loosen those Phillips screws that are all the same length. Easy peasy!
– Next up, gently remove the cover that’s sitting above the contacts. You’ve got this!
– Now it’s time to disconnect all those connectors using your trusty spudger. Just be careful and take your time to avoid any mishaps with the components on the board.
– Once all the contacts are free, grab that flex cable and pull the charging socket out of its cozy little opening.
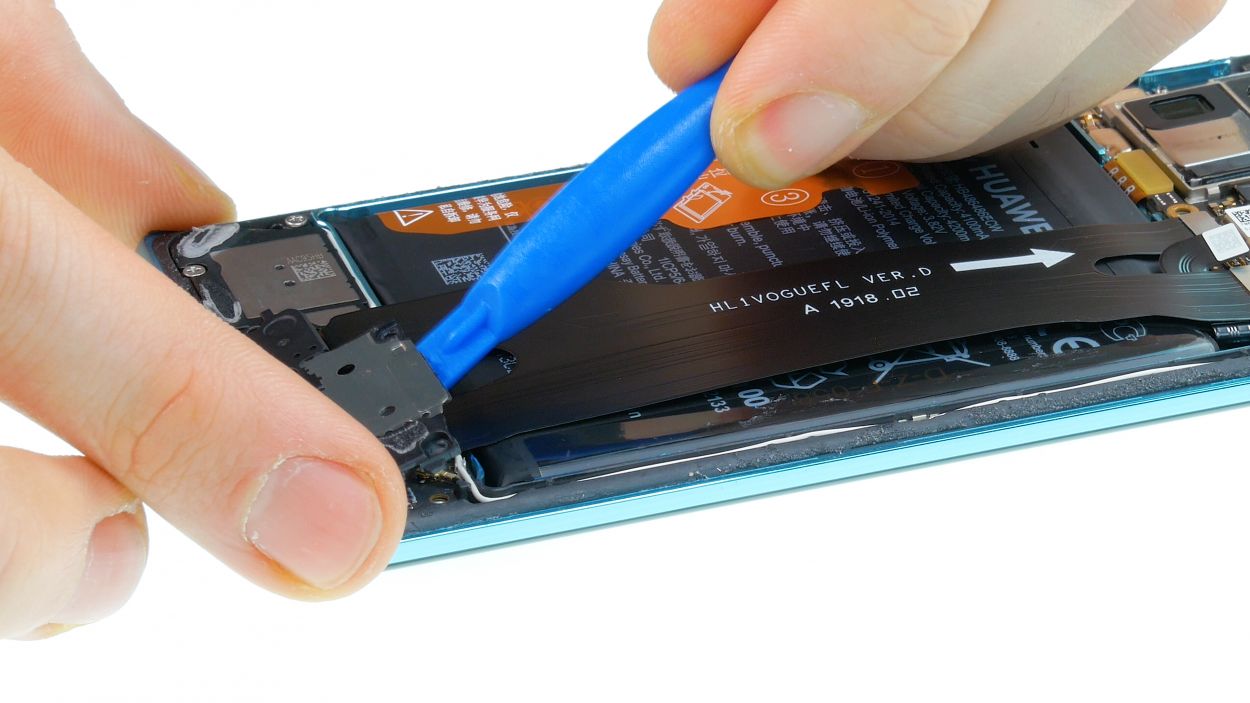
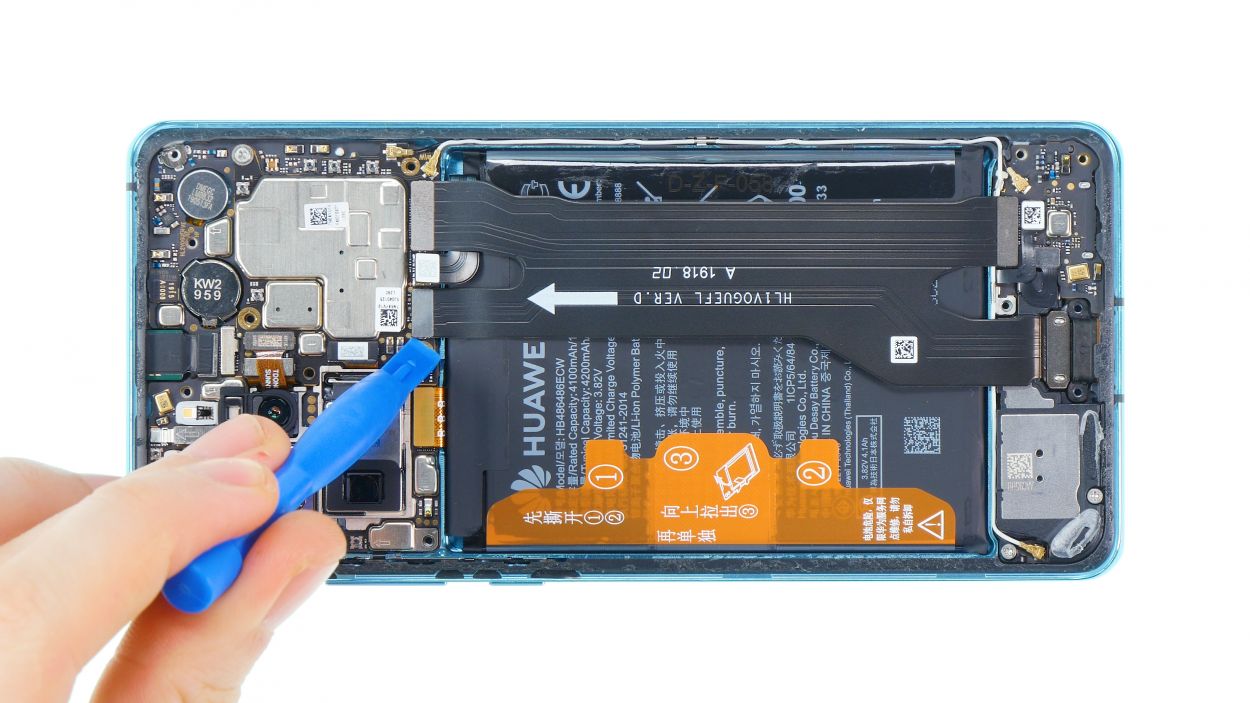
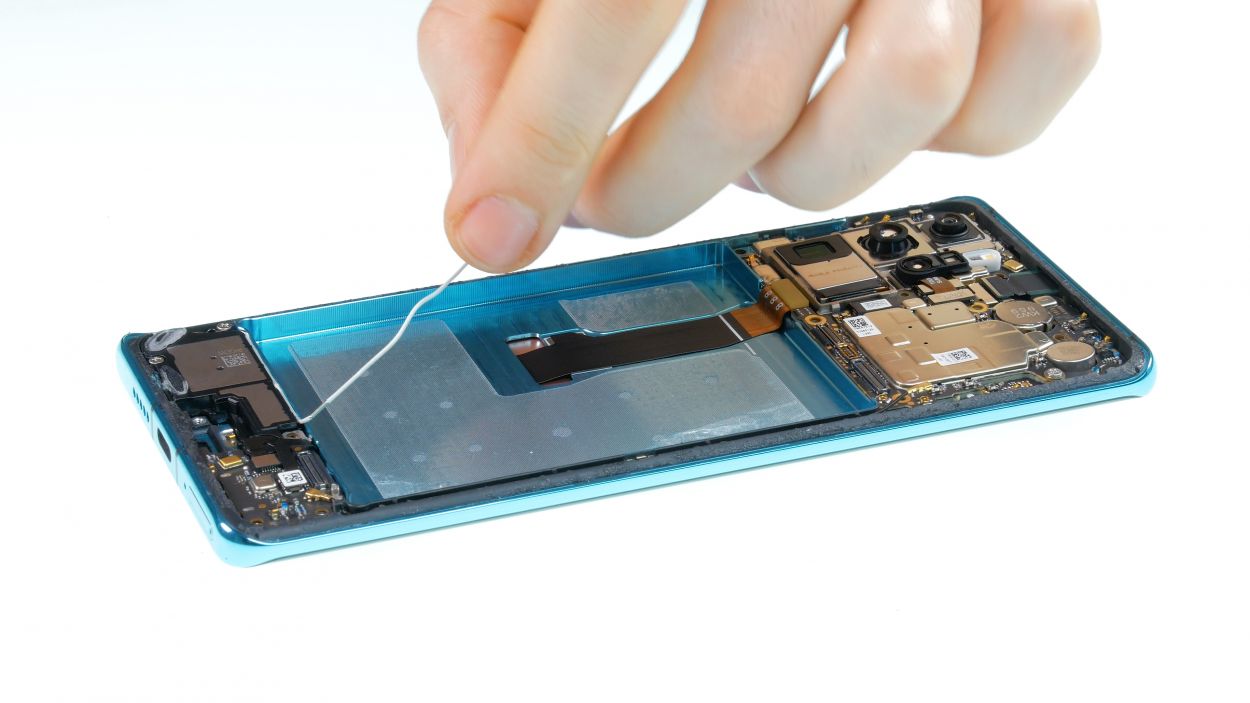
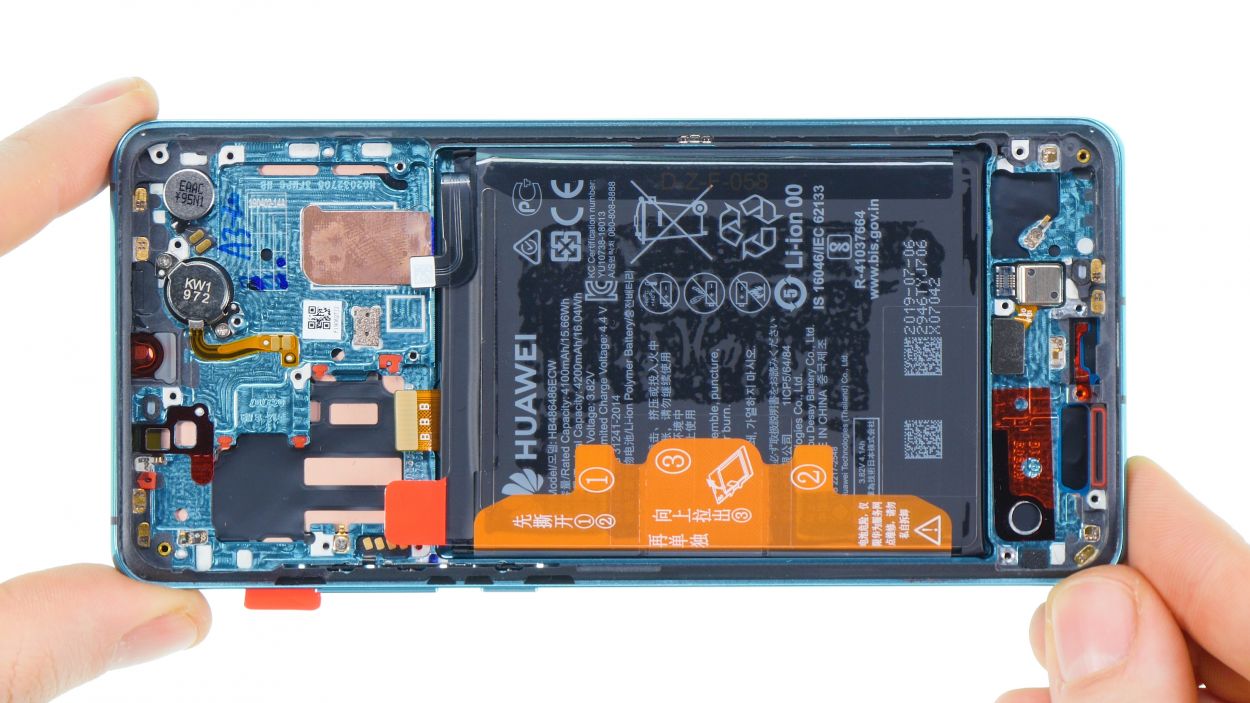
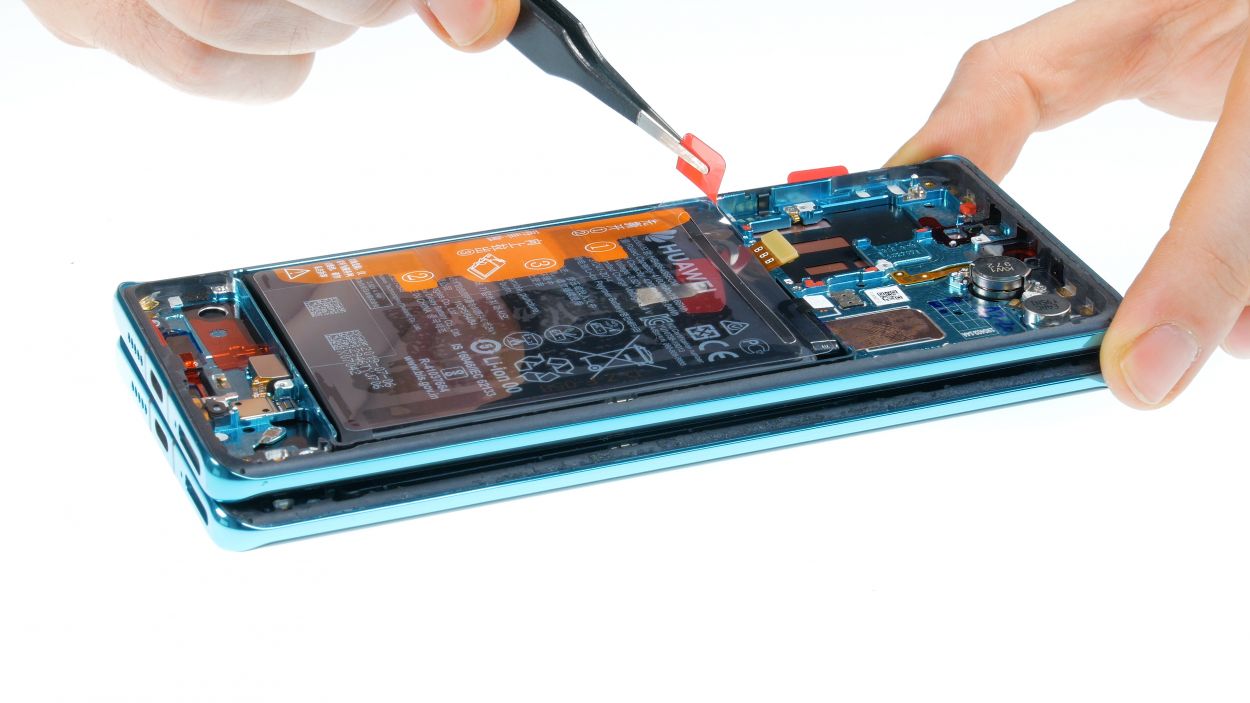
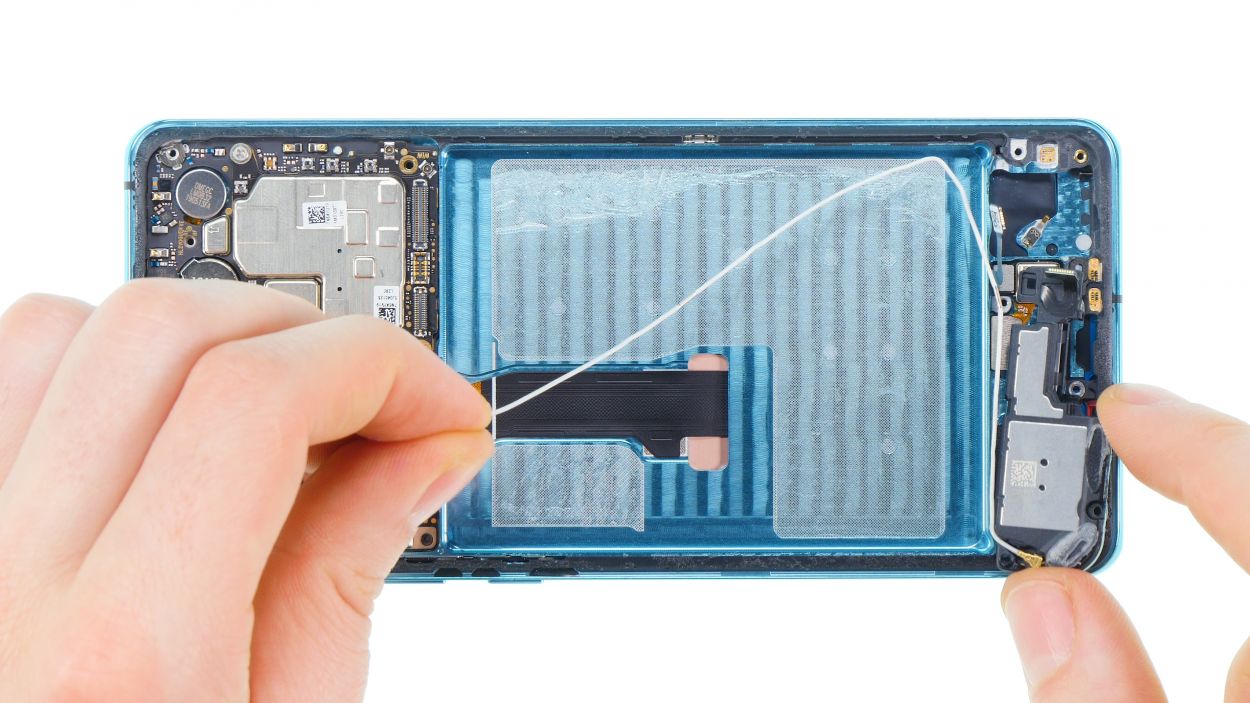
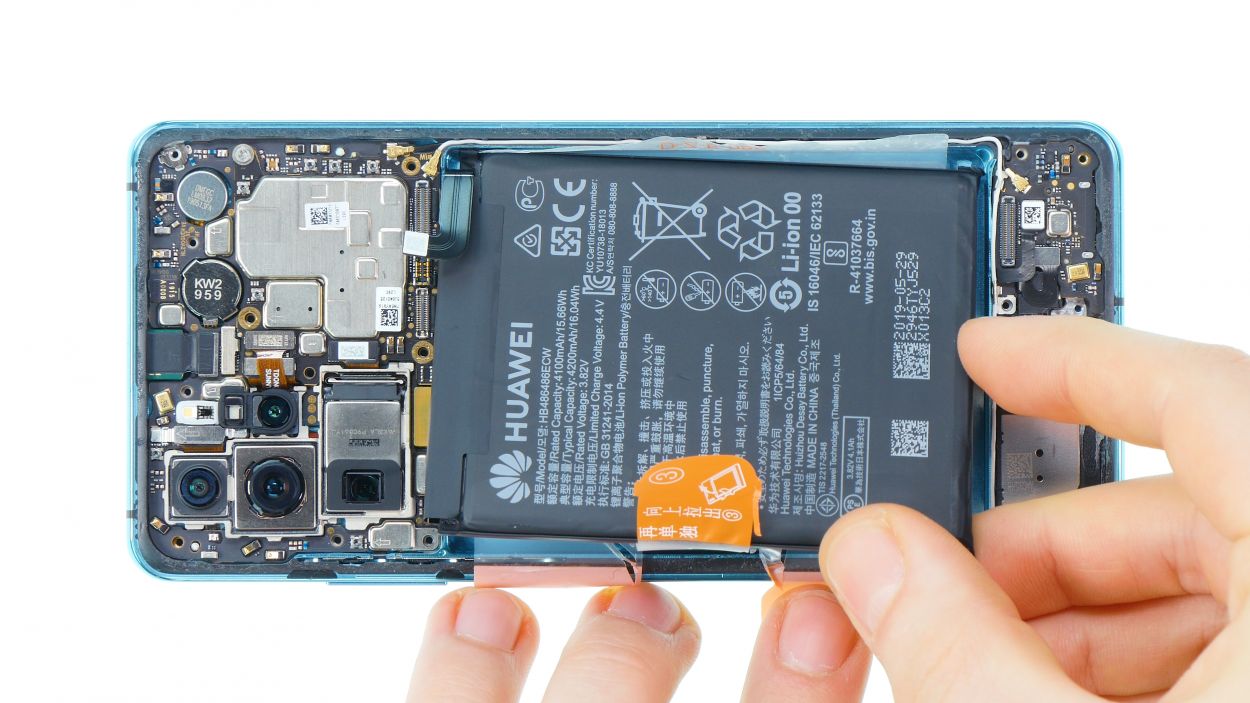
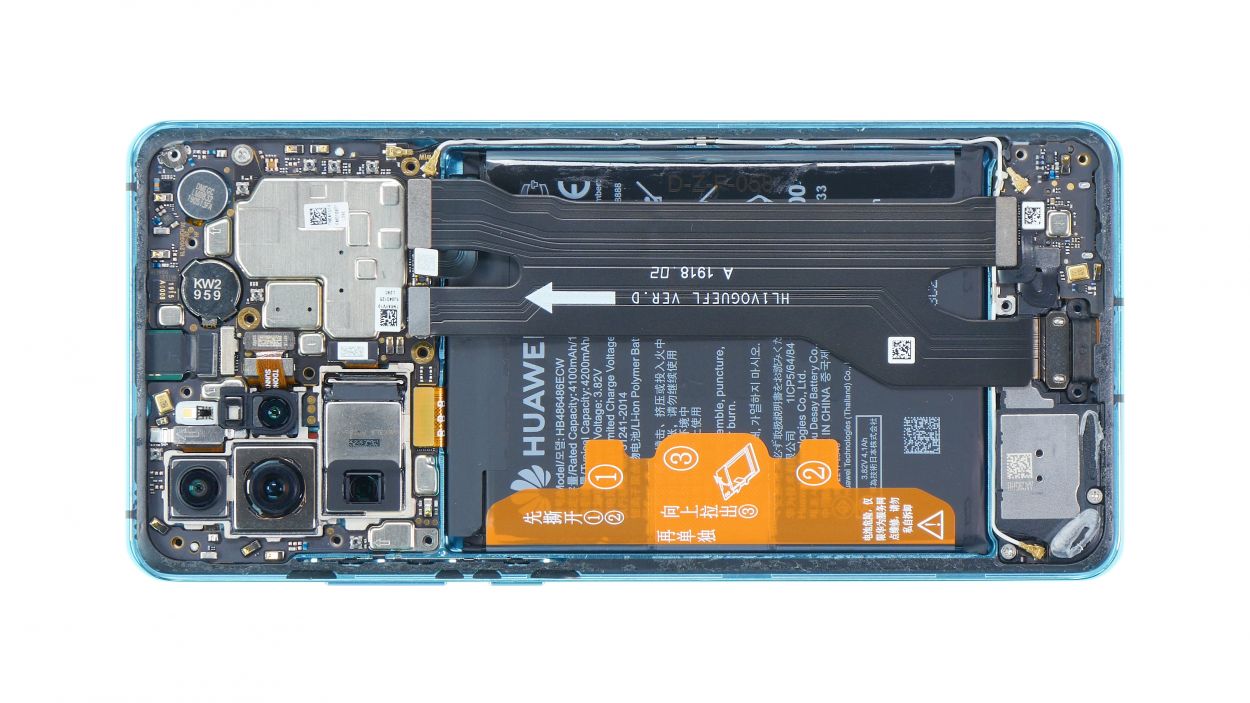
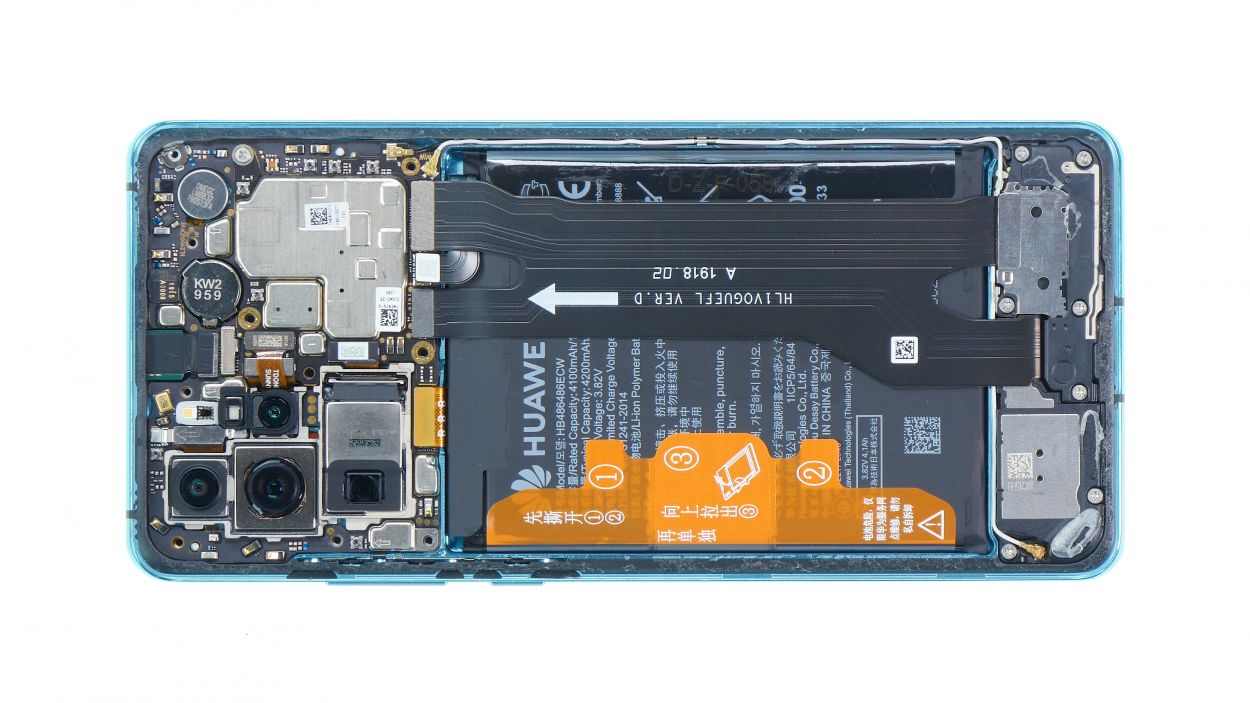
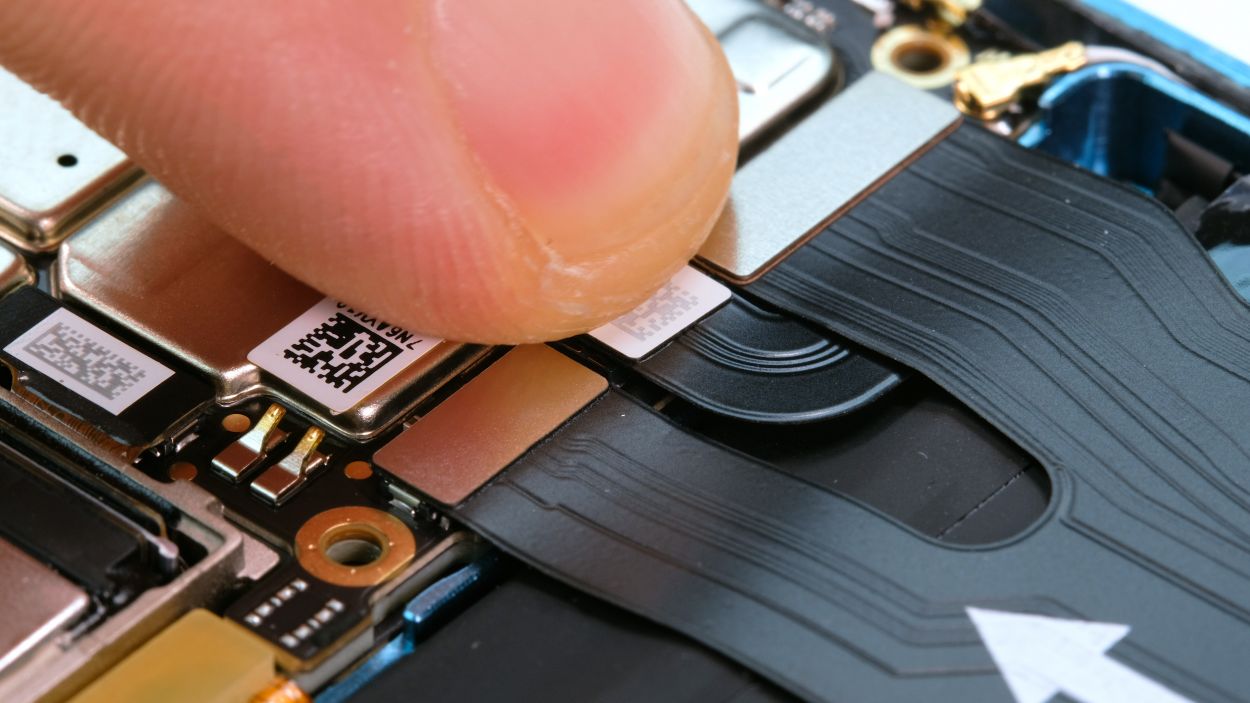
Step 6
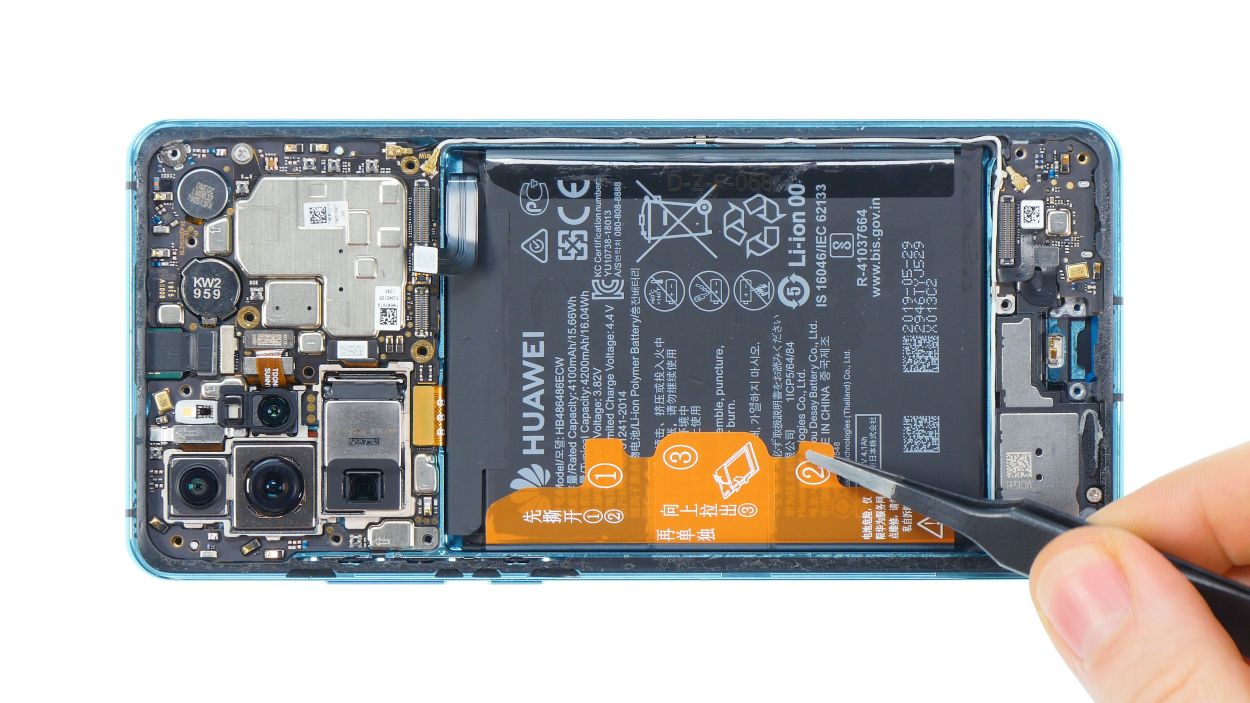
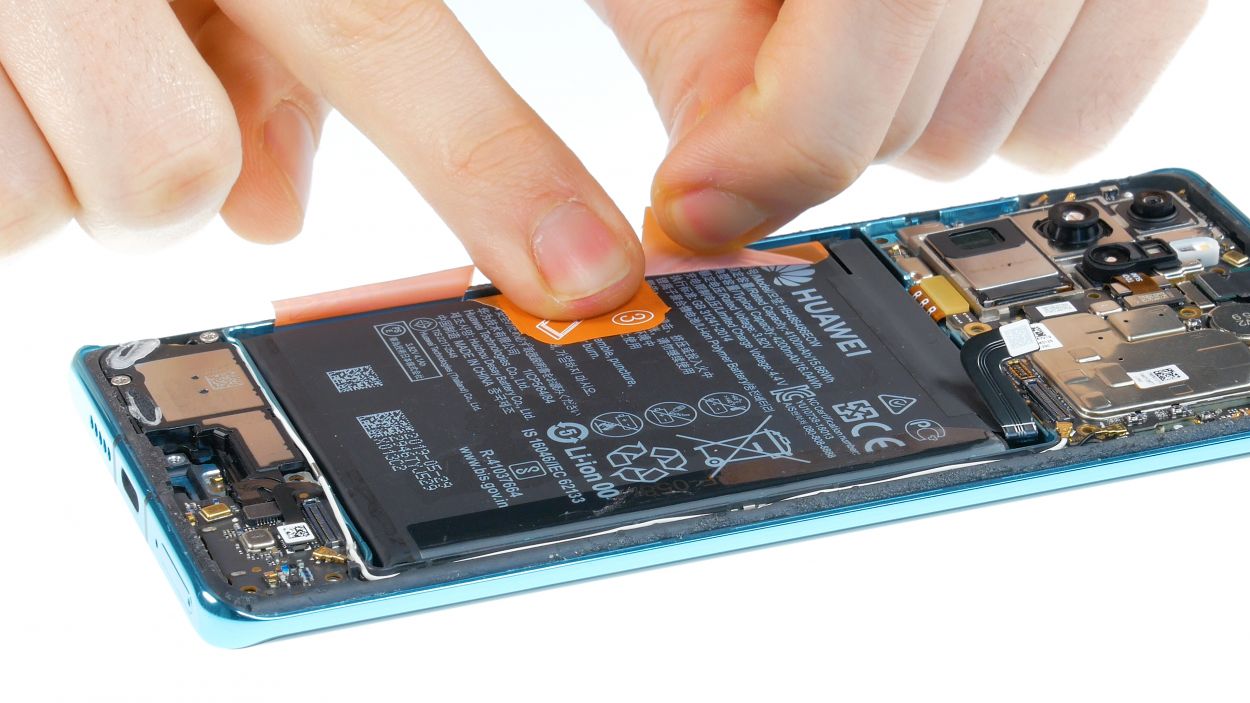
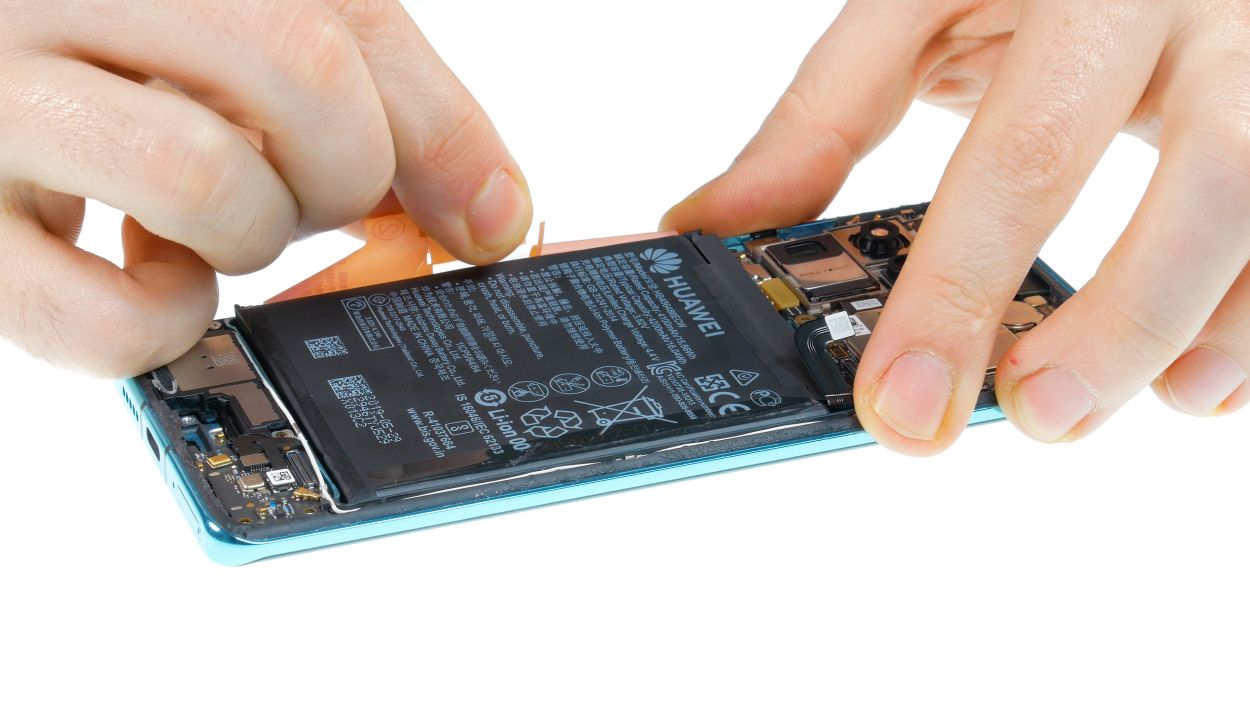
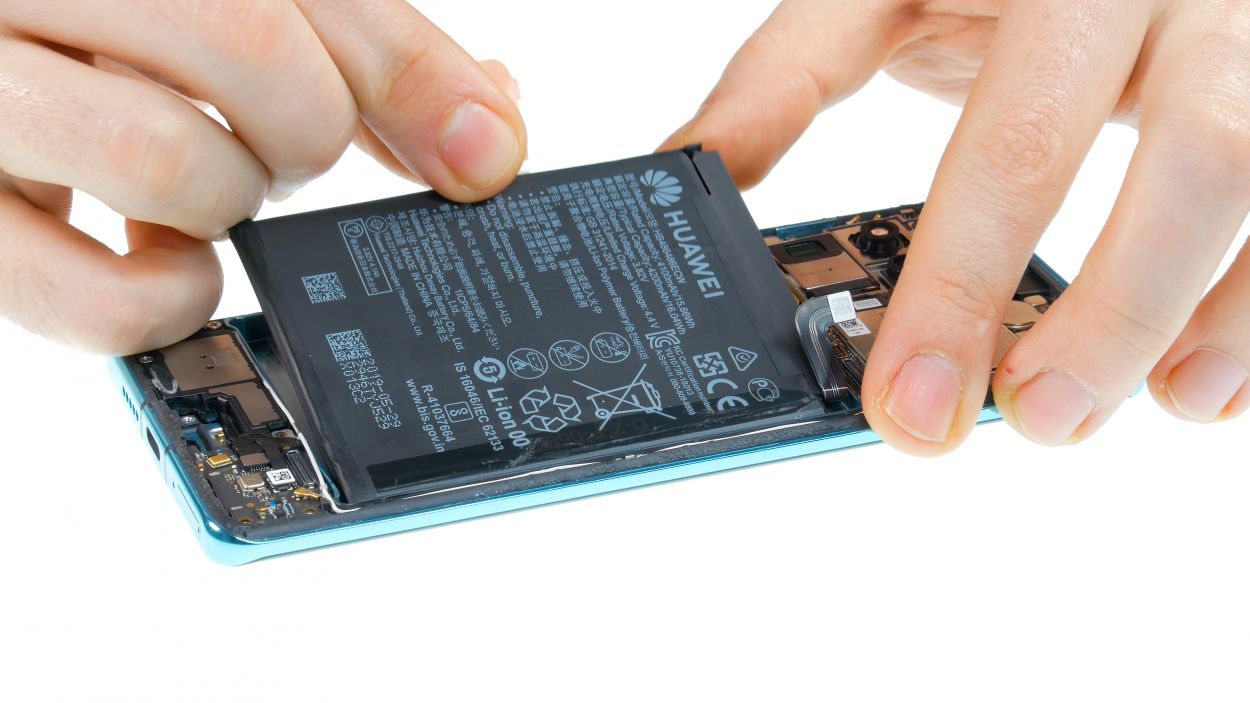
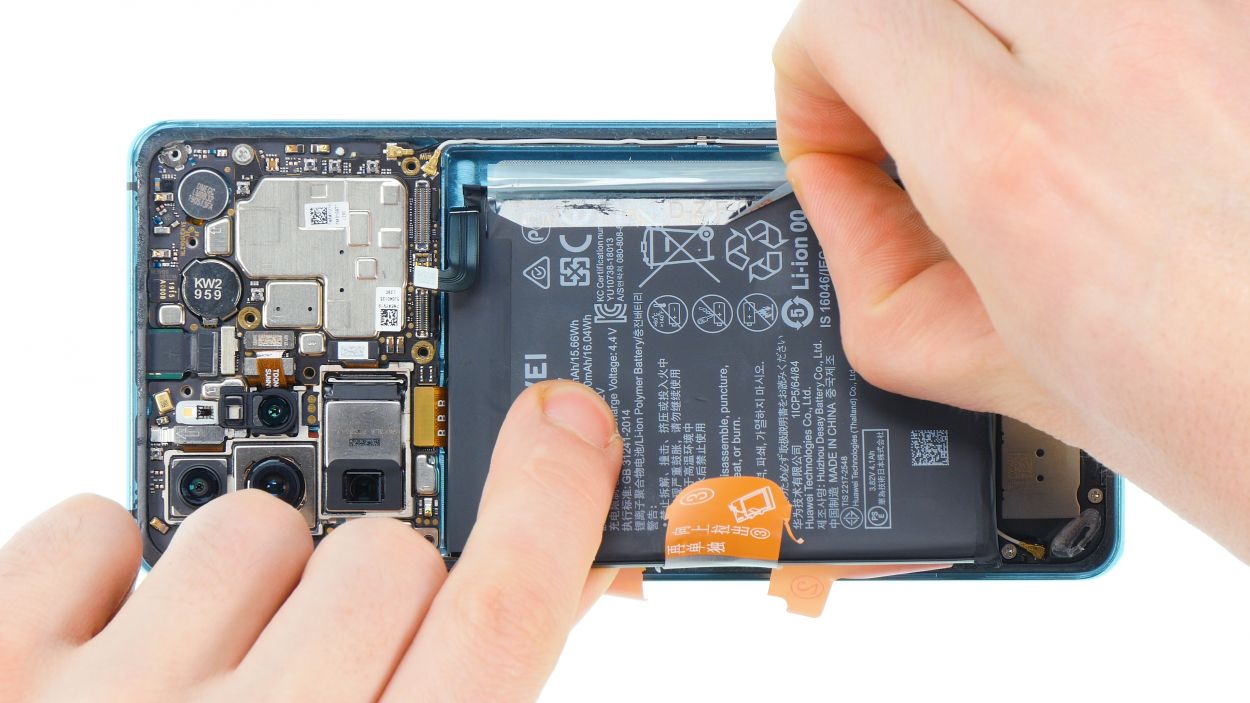
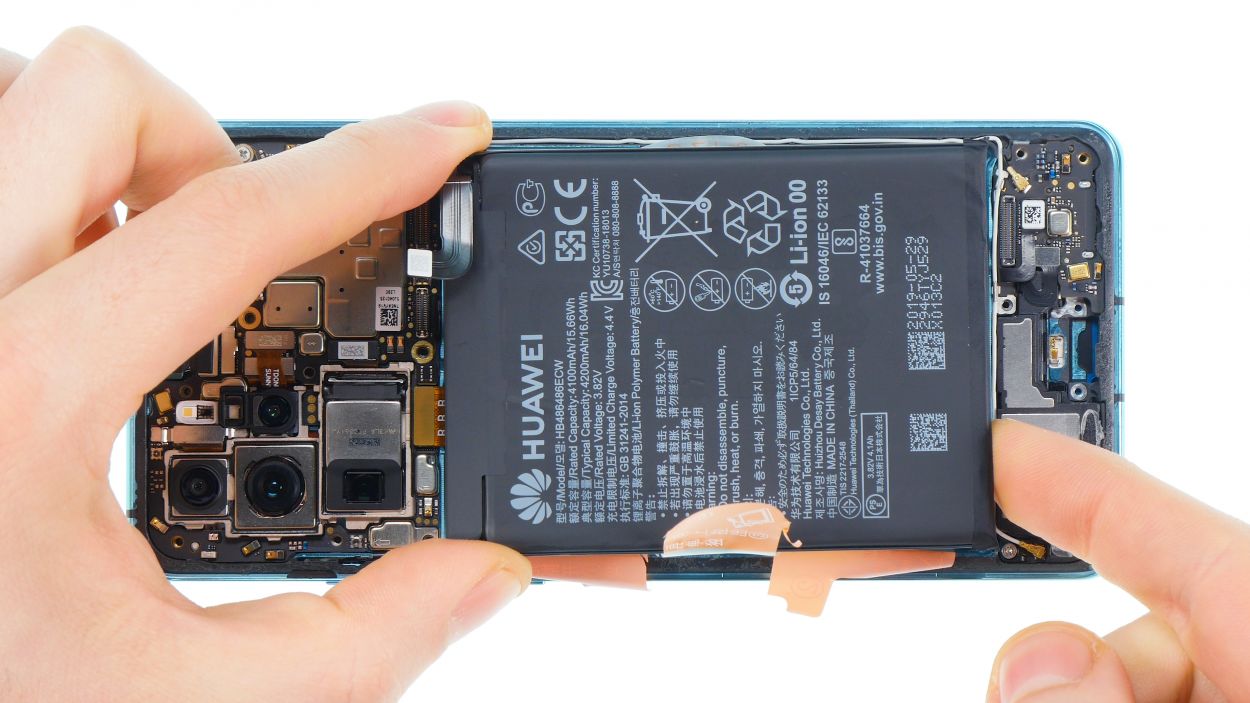

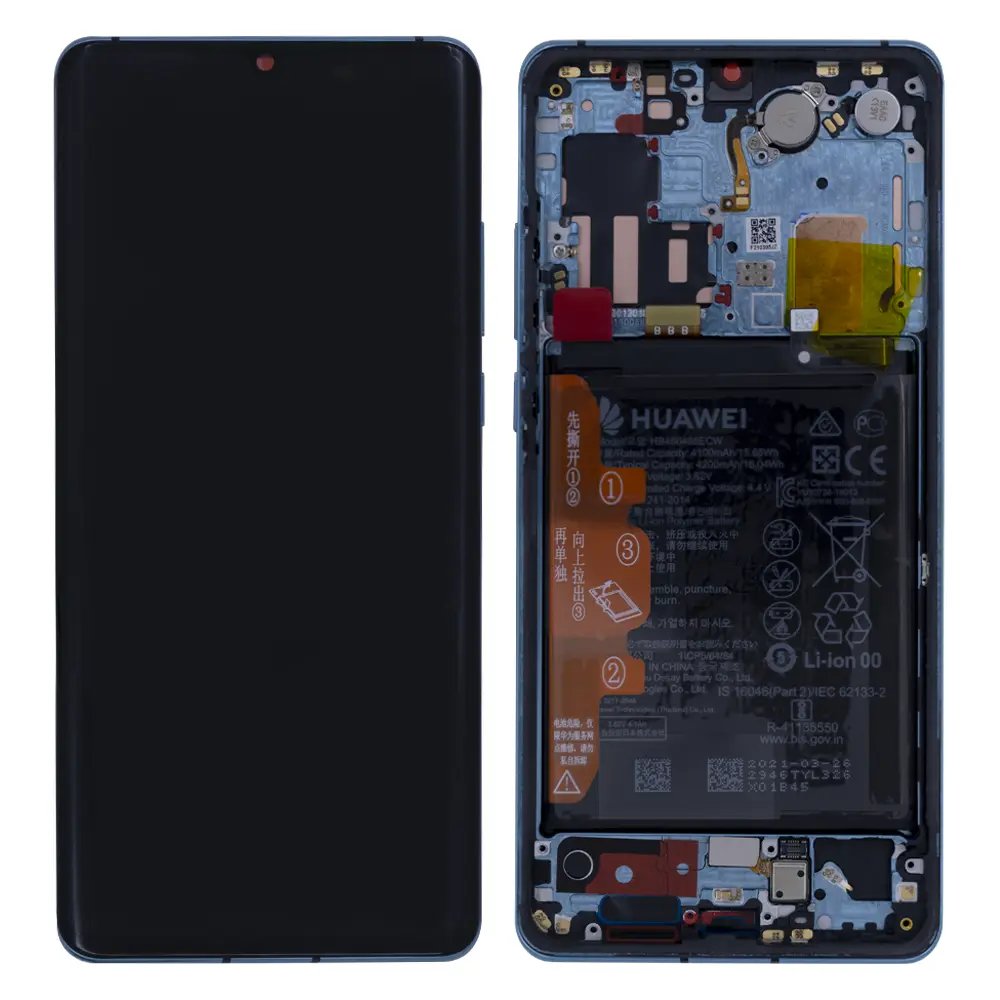
– Start by peeling off the foils labeled “one” and “two”. Easy peasy!
– Once those are off, you’ll see the tab marked “three”. Go ahead and gently pull it out.
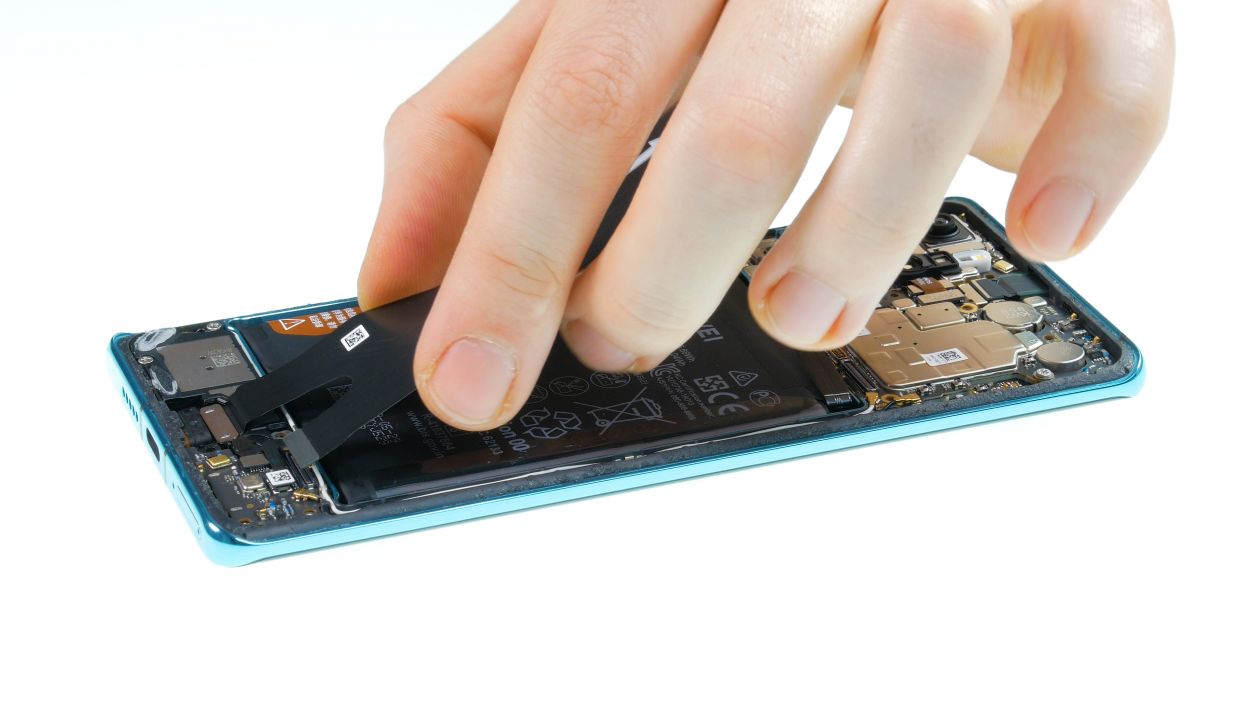
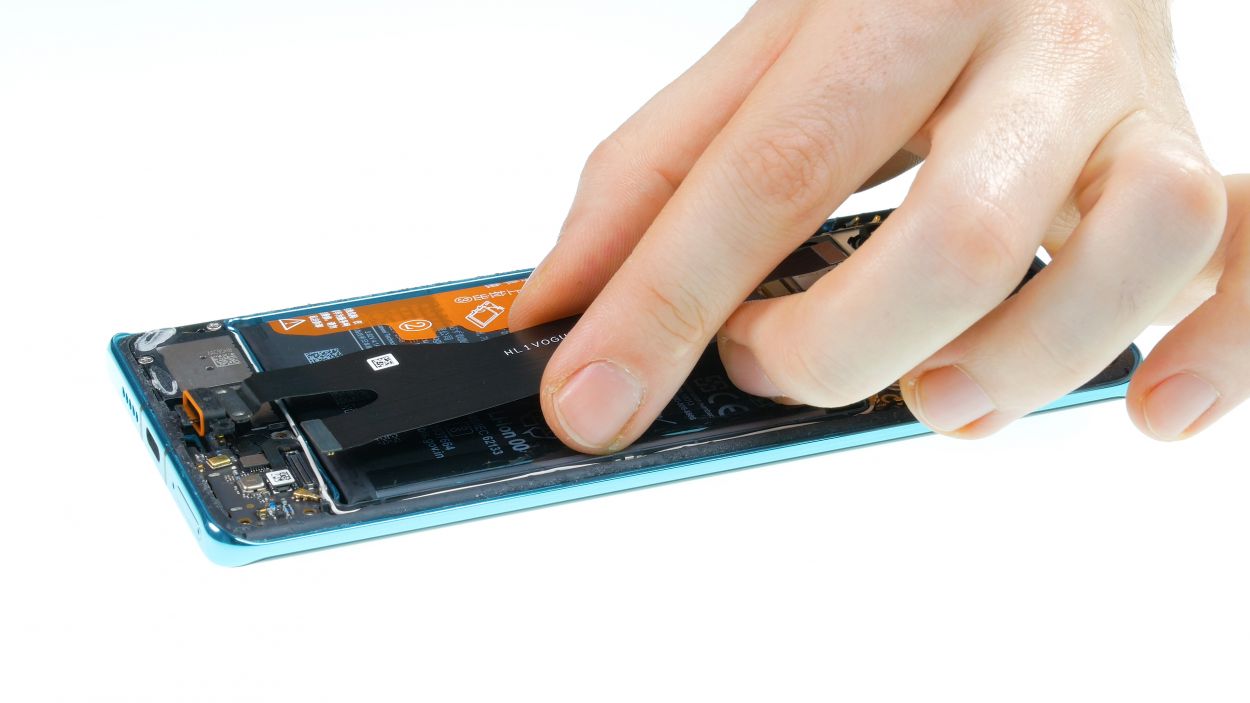
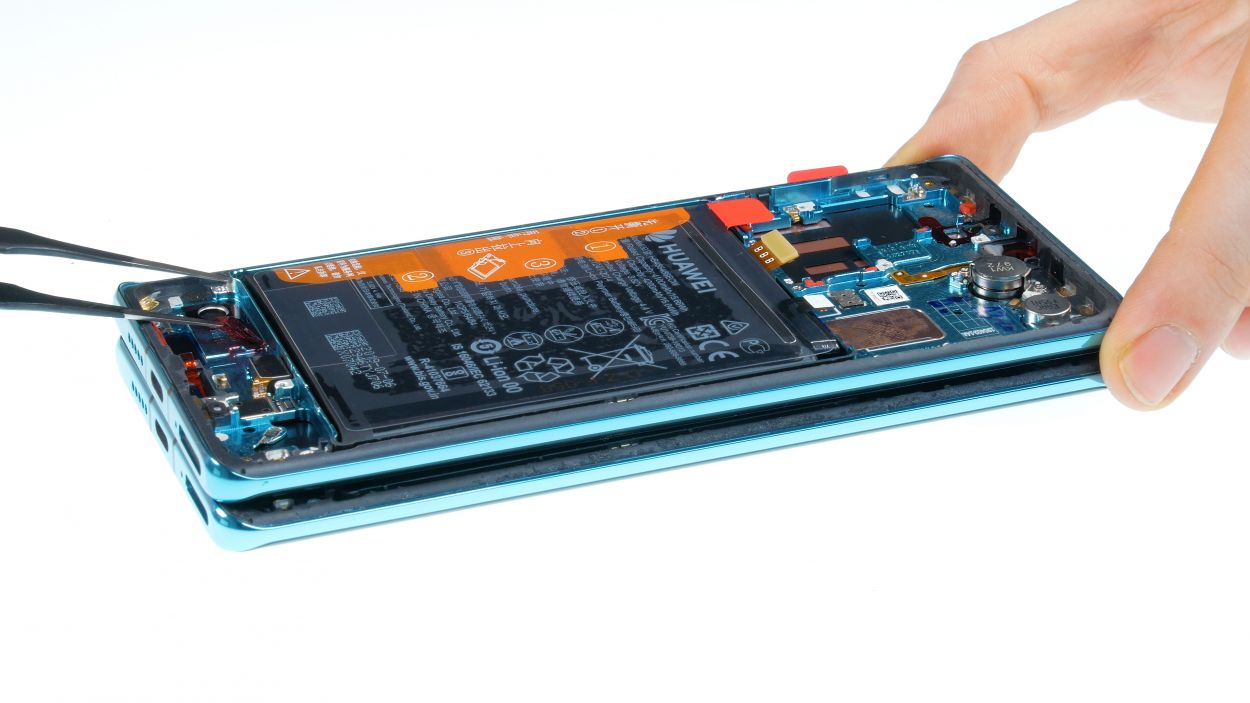
– Grip your device firmly with one hand and pull that tab straight up. Just a heads up—be careful not to accidentally rip it off!
– If the battery is feeling a bit stubborn and won’t budge, try warming up the glue with some hot air.
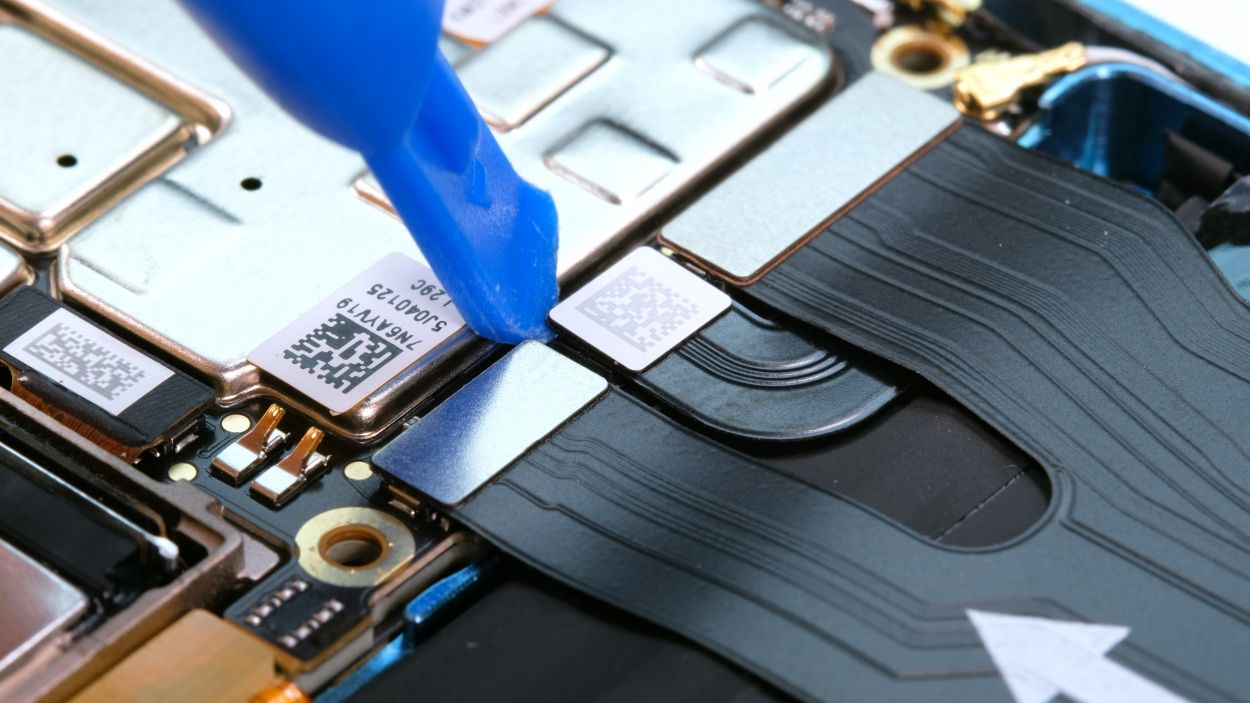
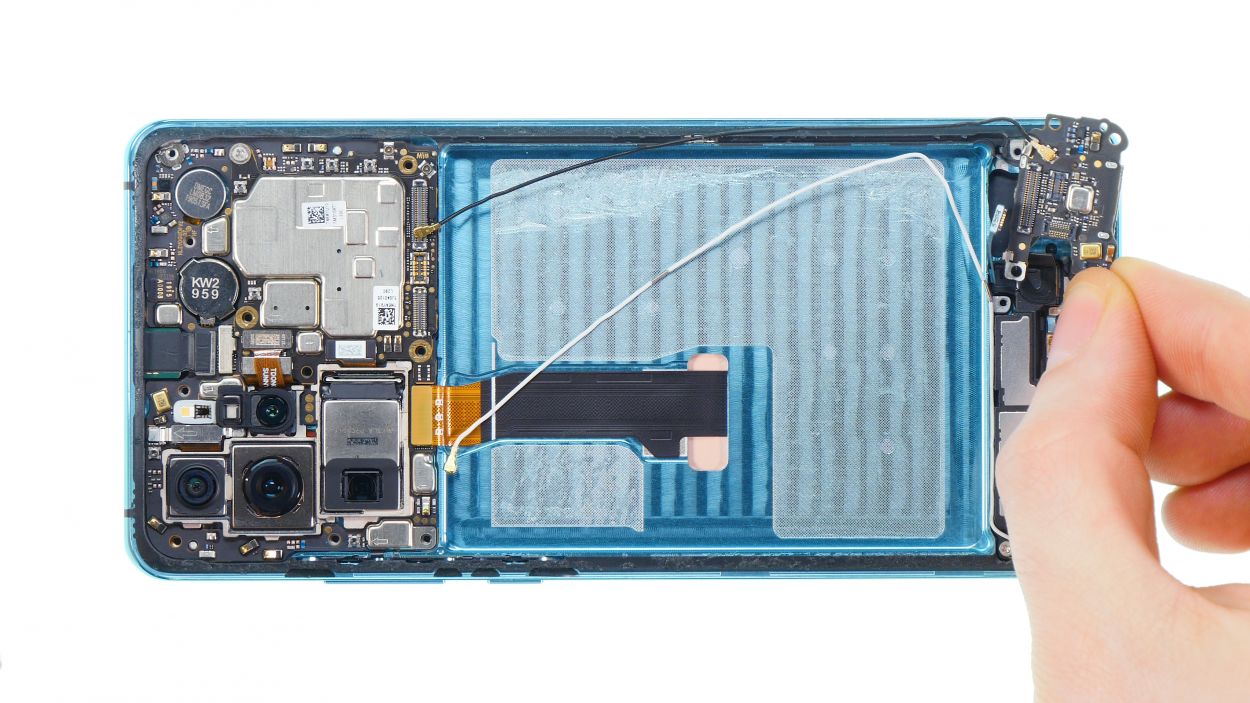
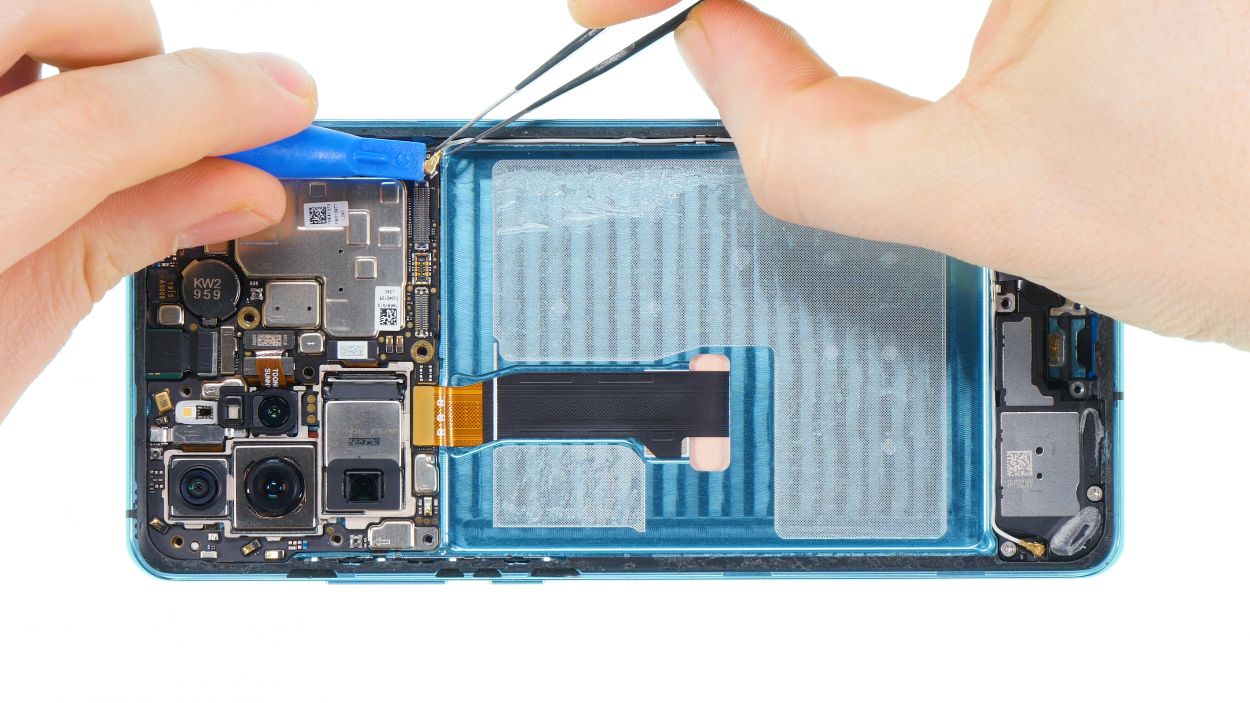
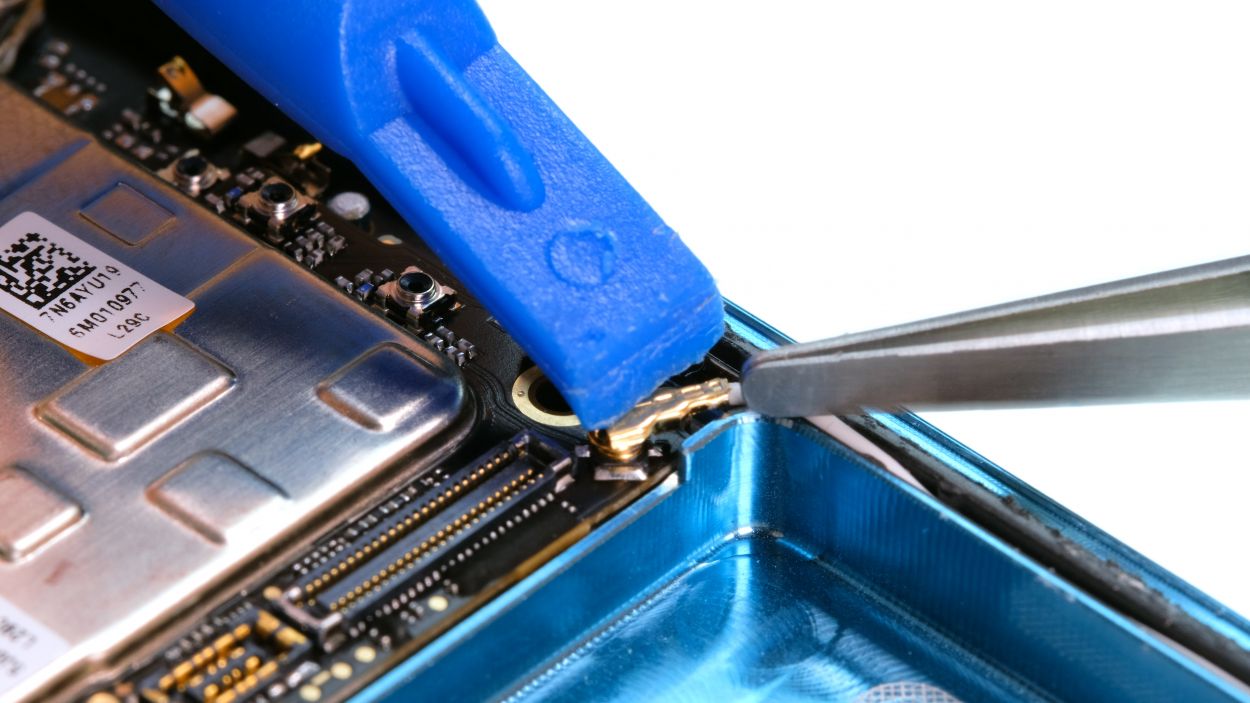
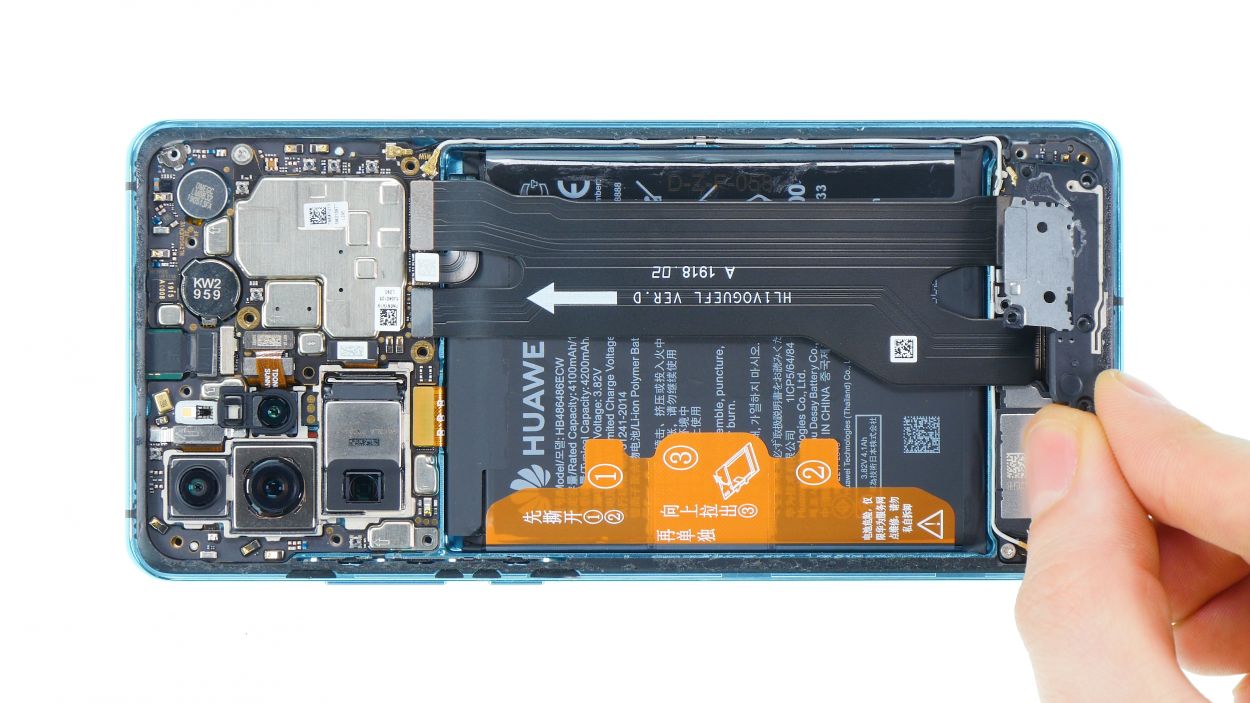
Step 7
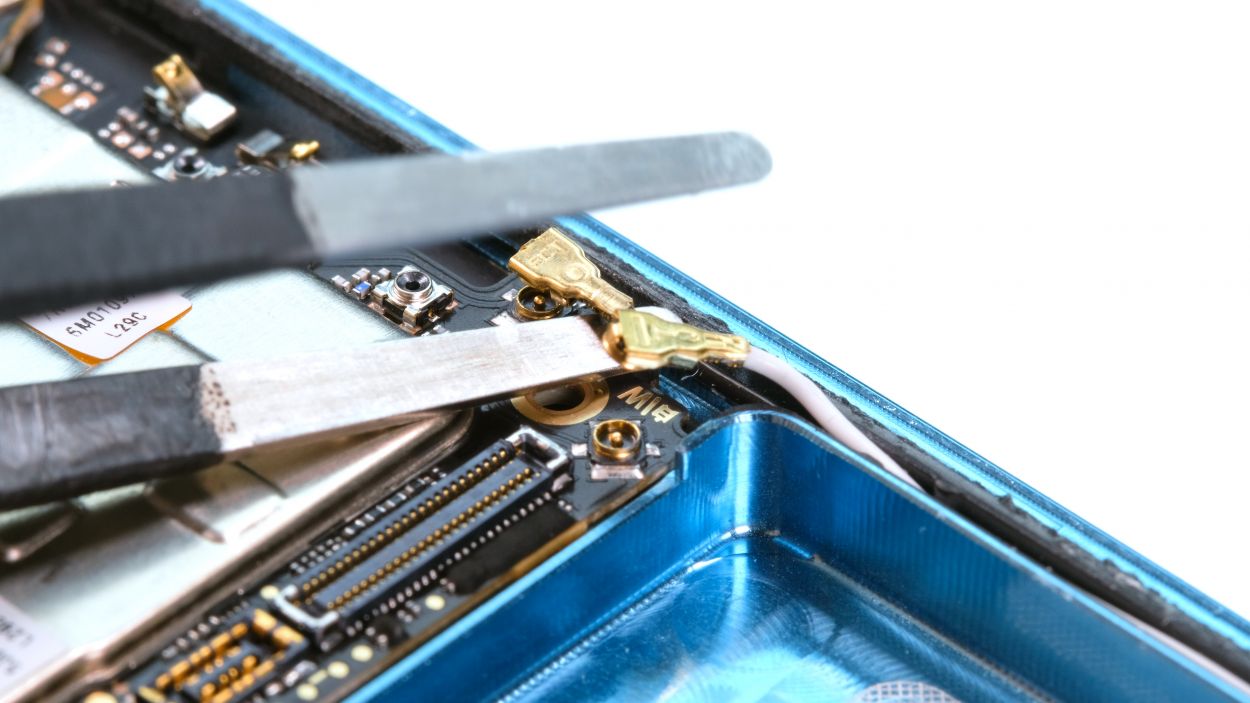
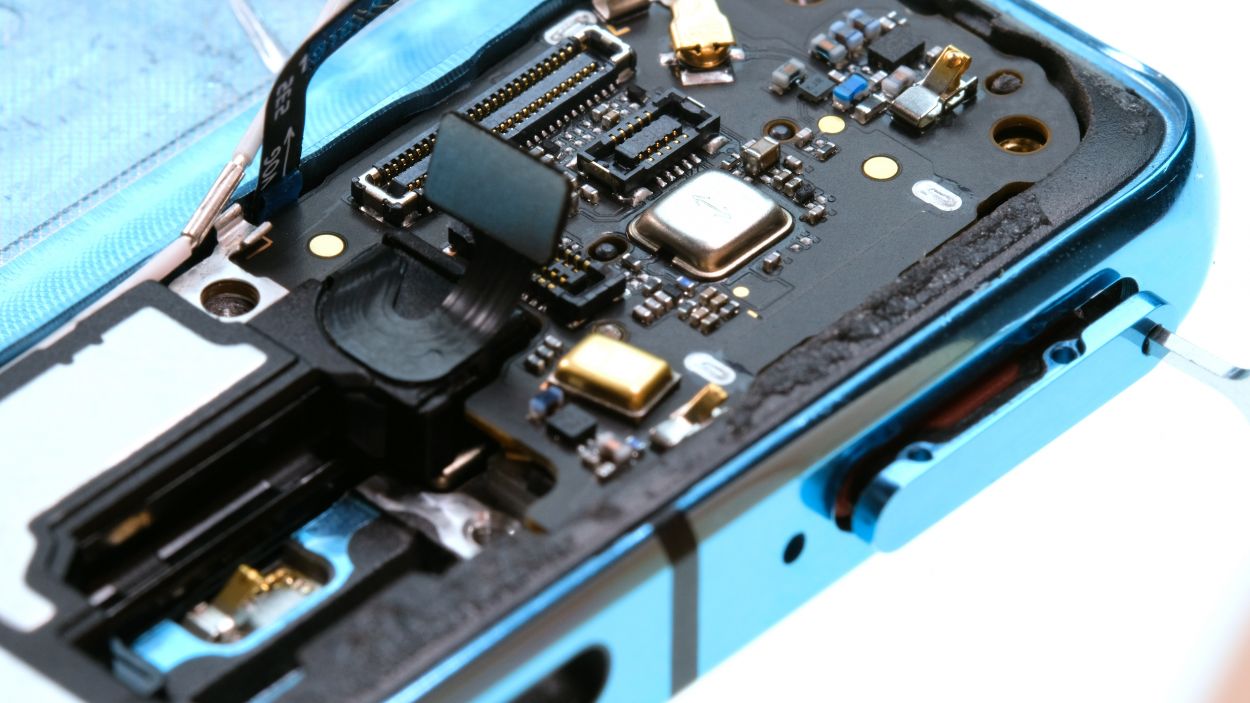
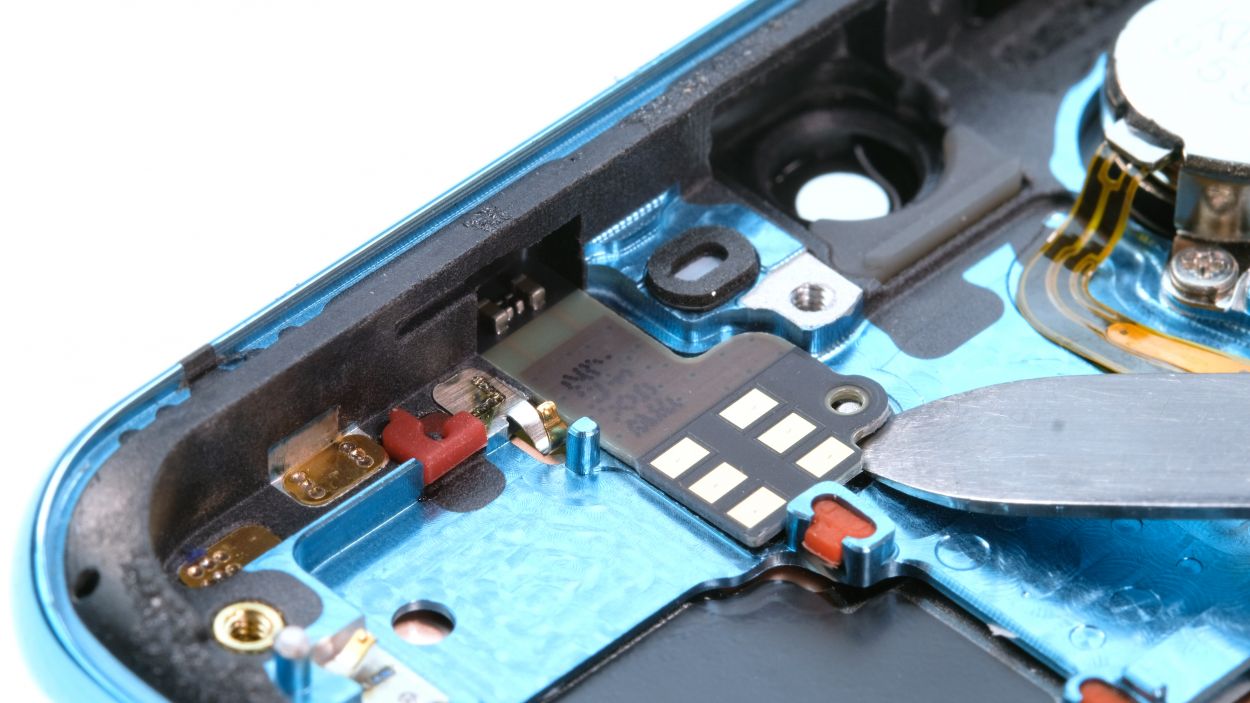
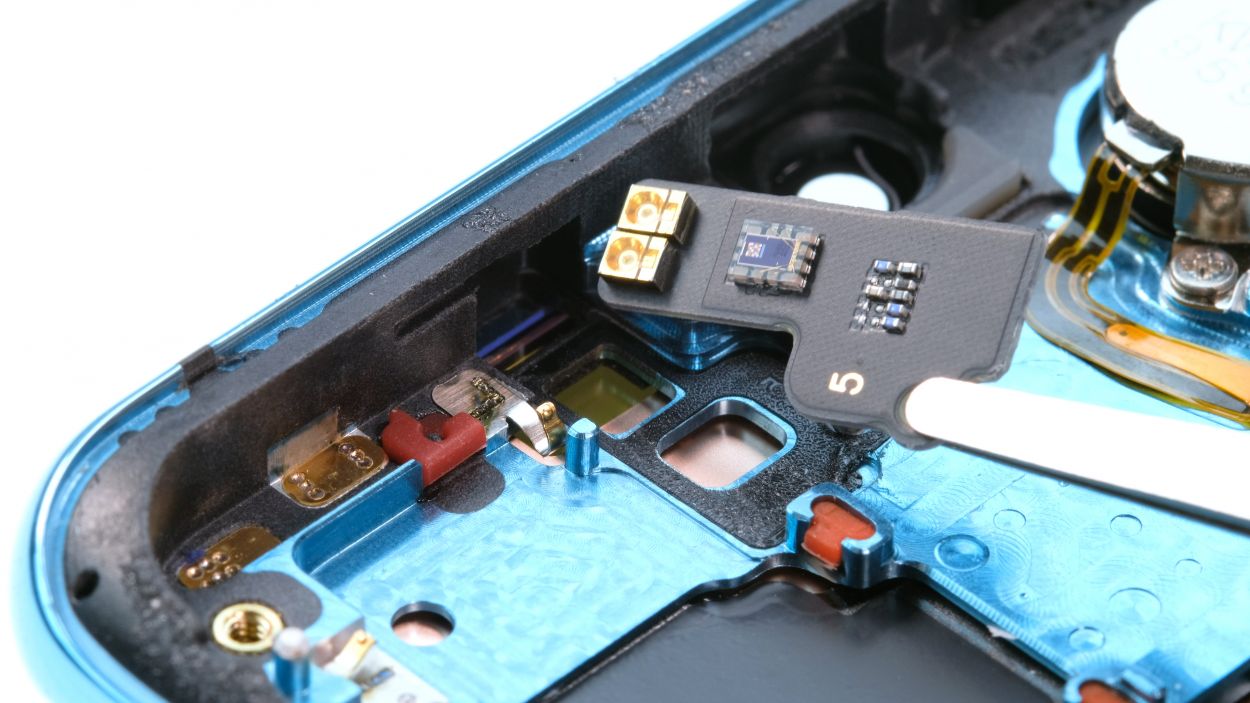
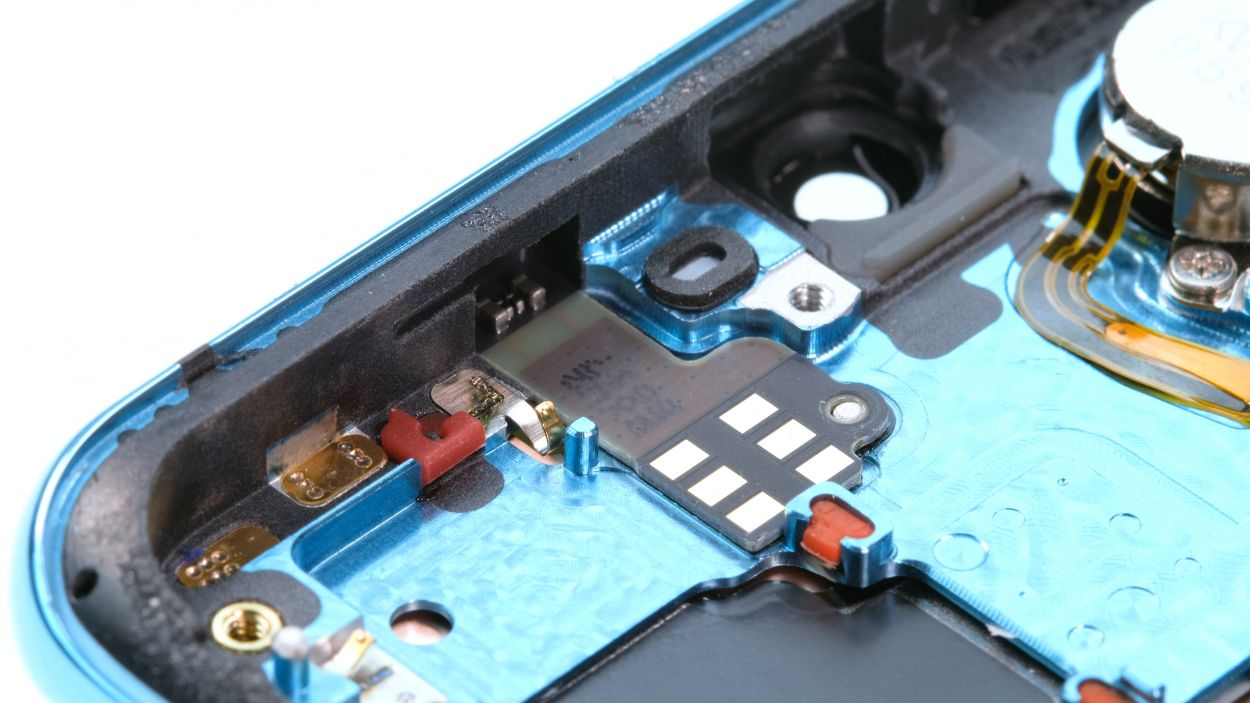
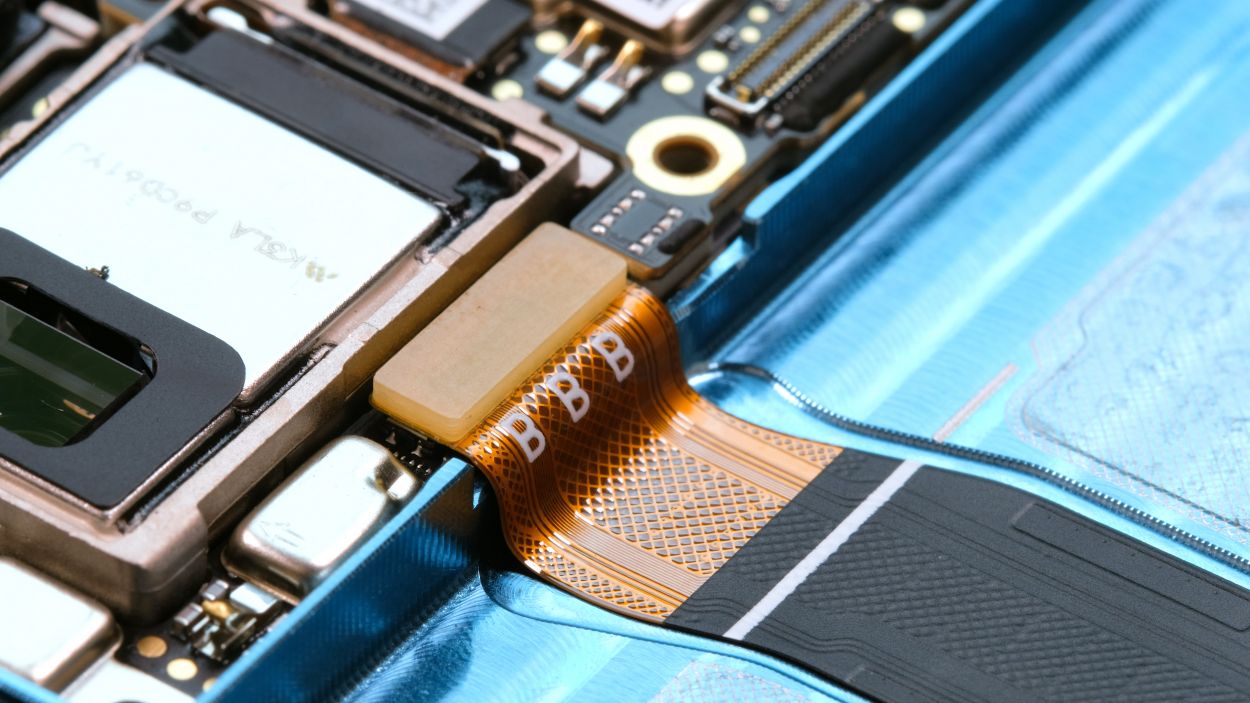
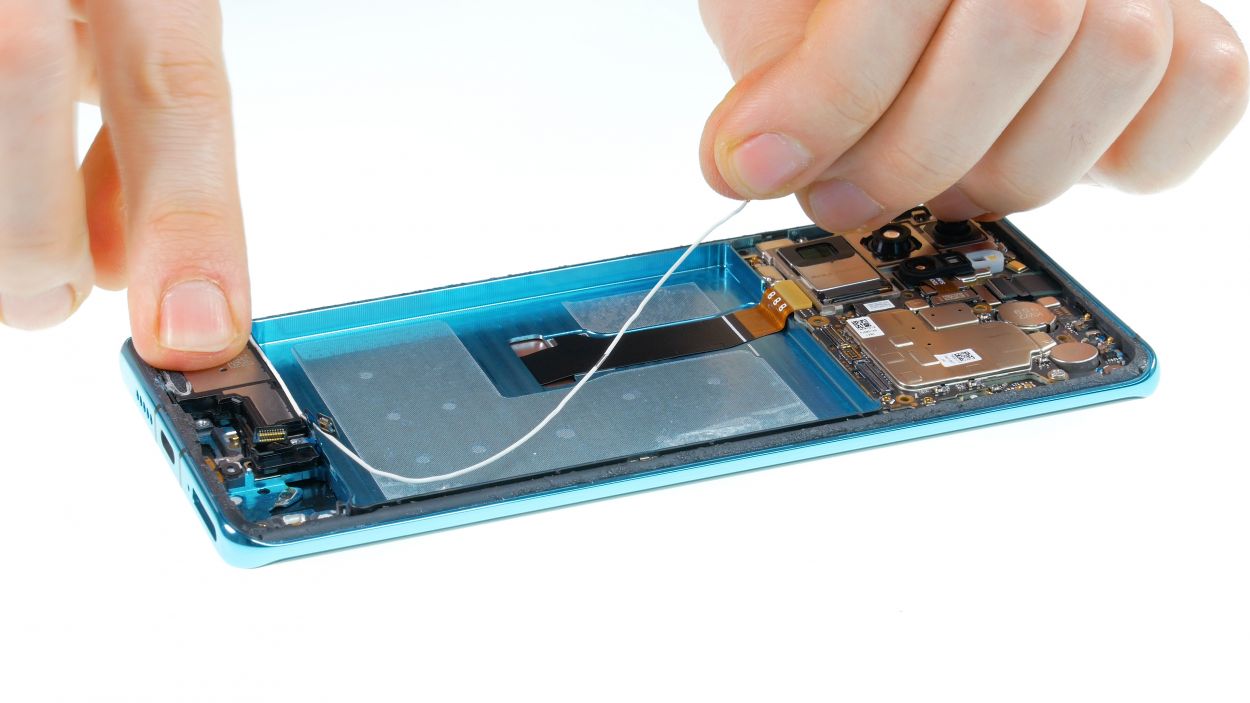
Antenna connector
Just a heads up! Make sure you don’t mix up the opening with the microphone slot next to the SIM card holder. Stay sharp!
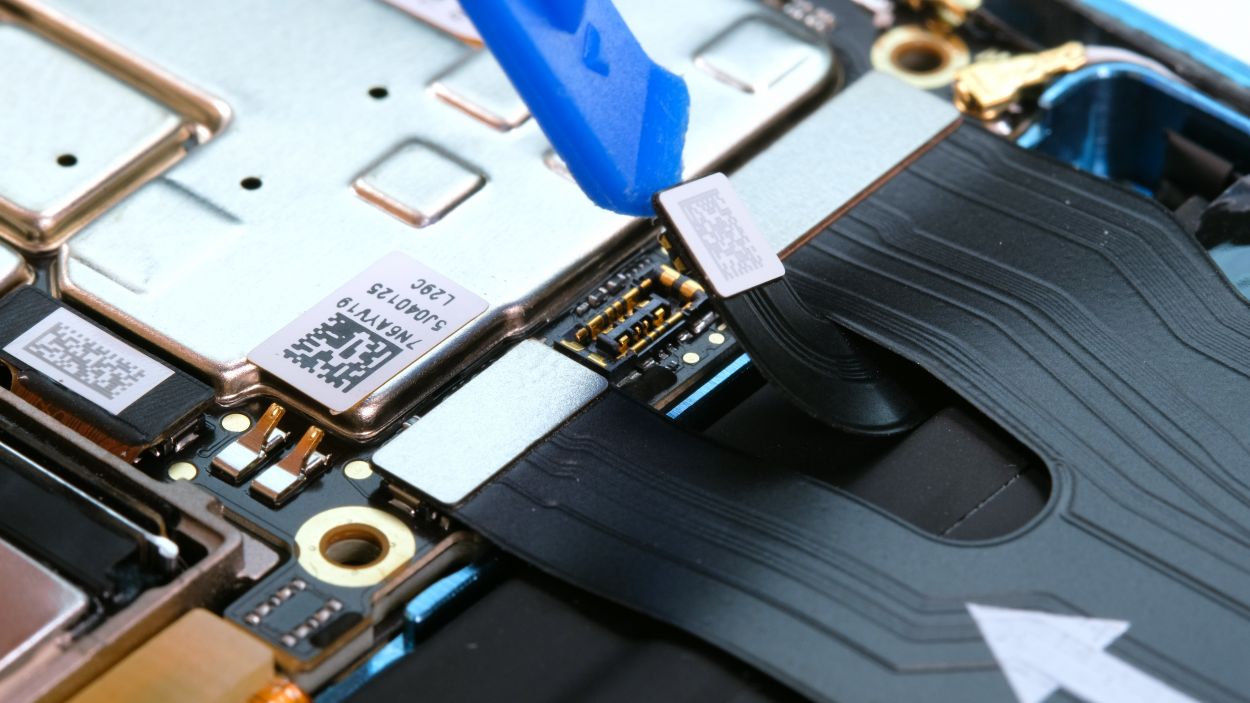
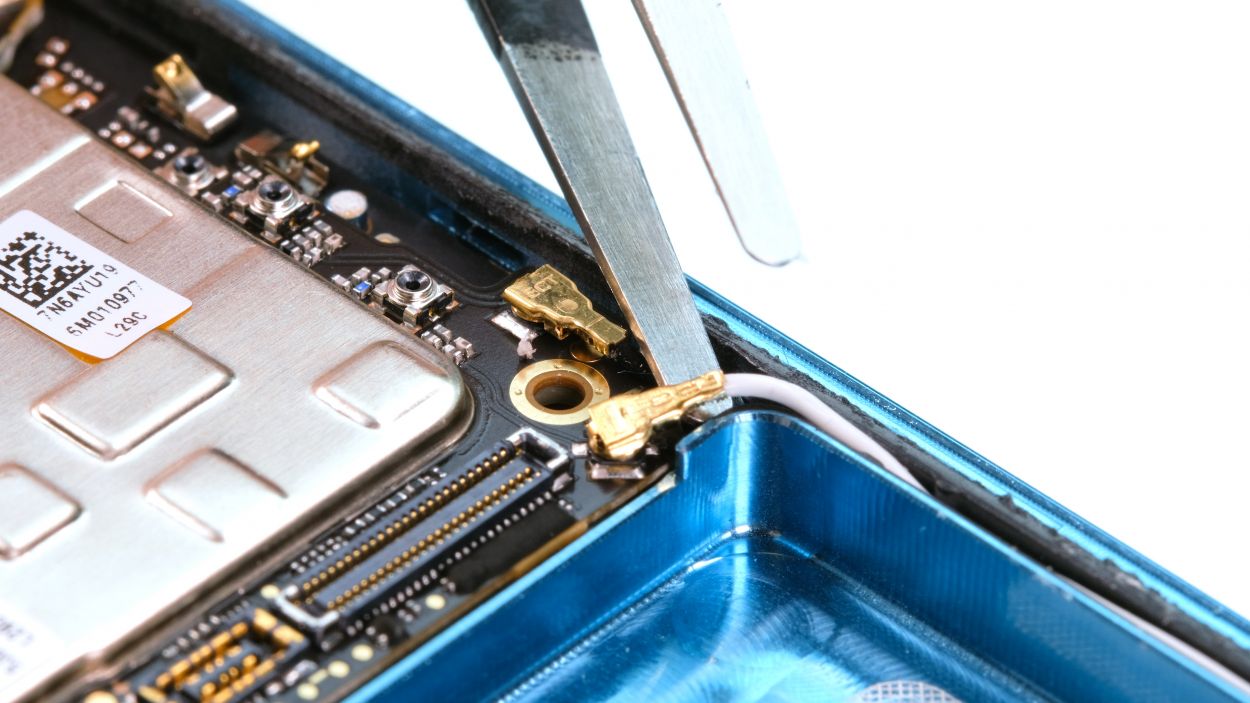
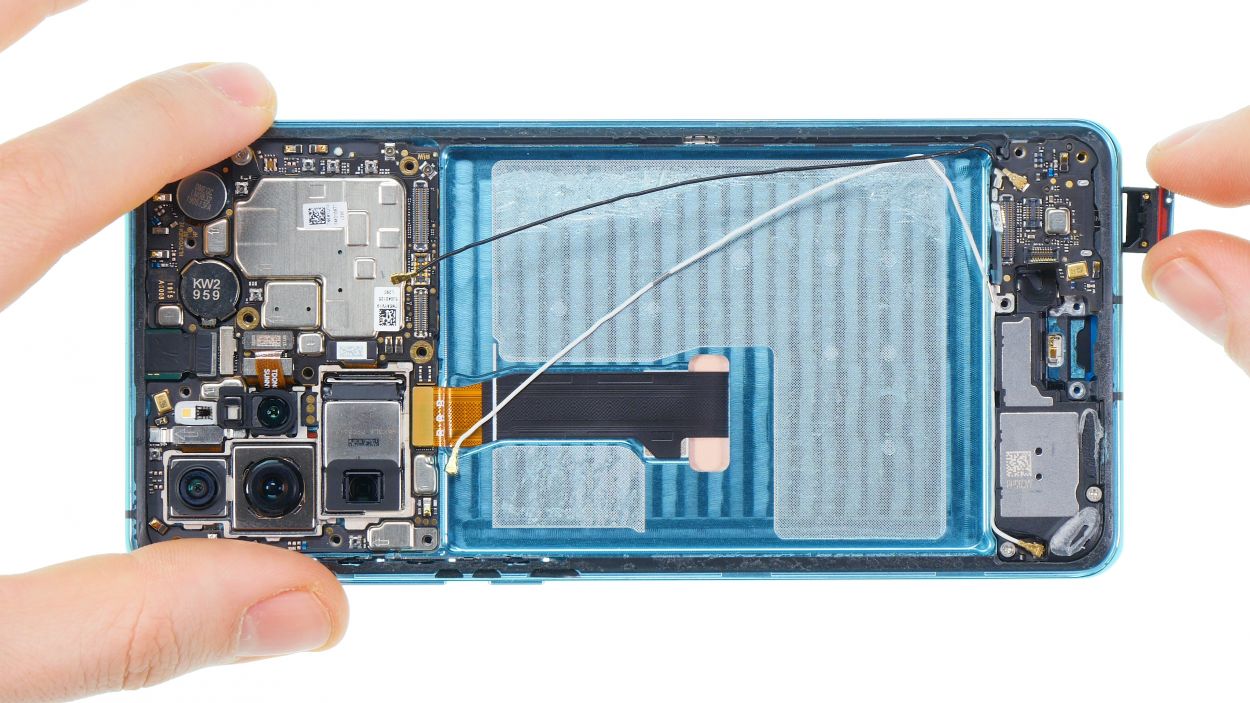
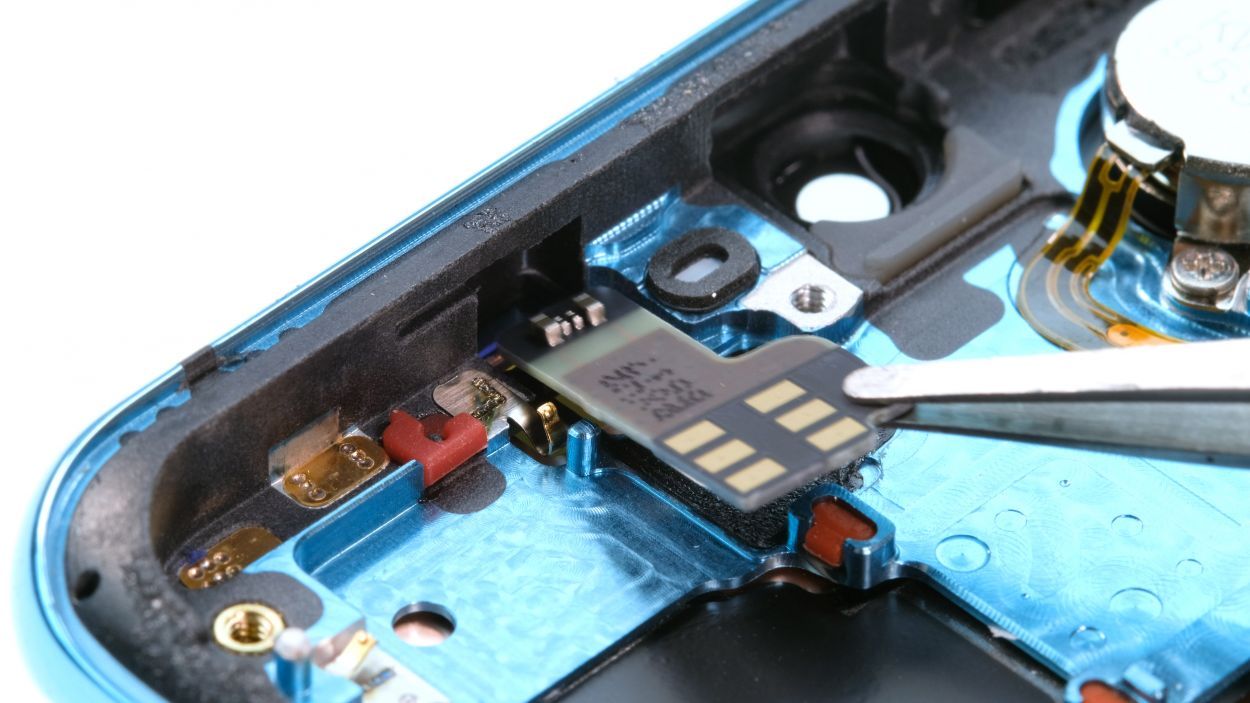
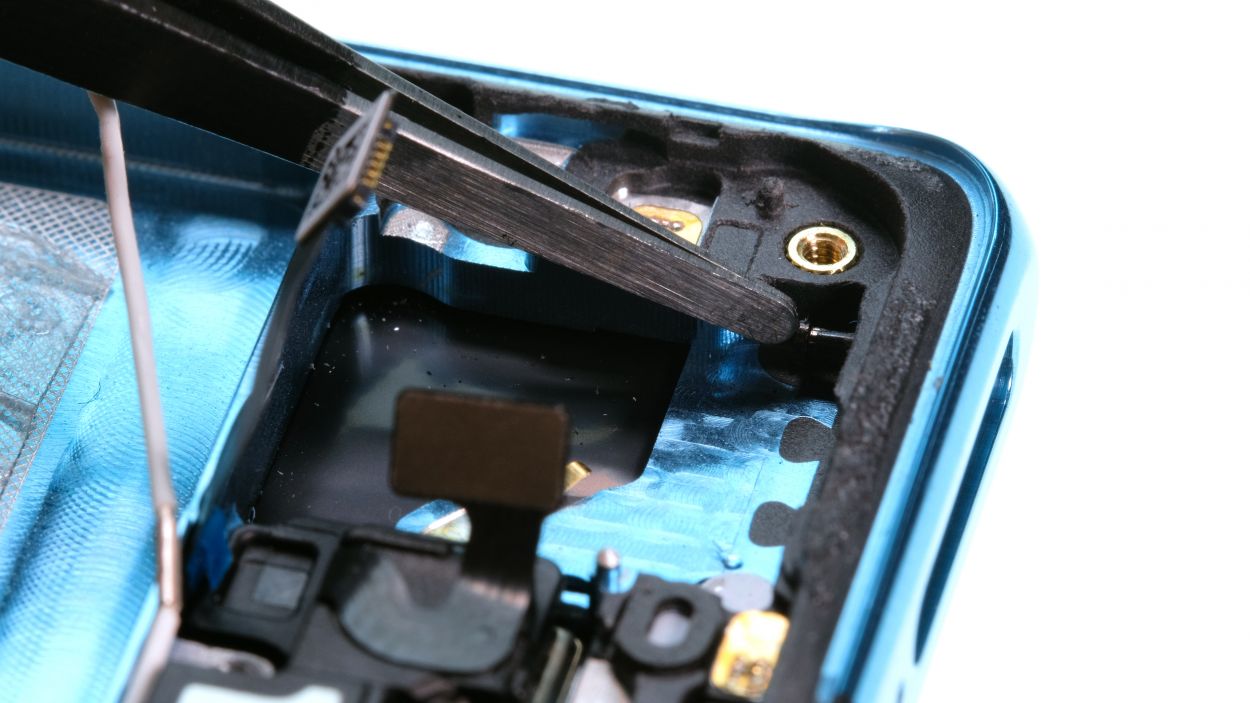
– Alright, let’s kick things off! First, gently disconnect those two antenna cables from the main board. Just slide under the connectors with a pair of tweezers and give them a little twist to loosen up.
– Next up, carefully pull both cables out of their sideways guide. Easy peasy!
– Now, it’s time to disconnect both contacts from the lower board. You’re doing great!
– Finally, grab a SIM tool or a paper clip and pop out that SIM card holder. You’ve got this!
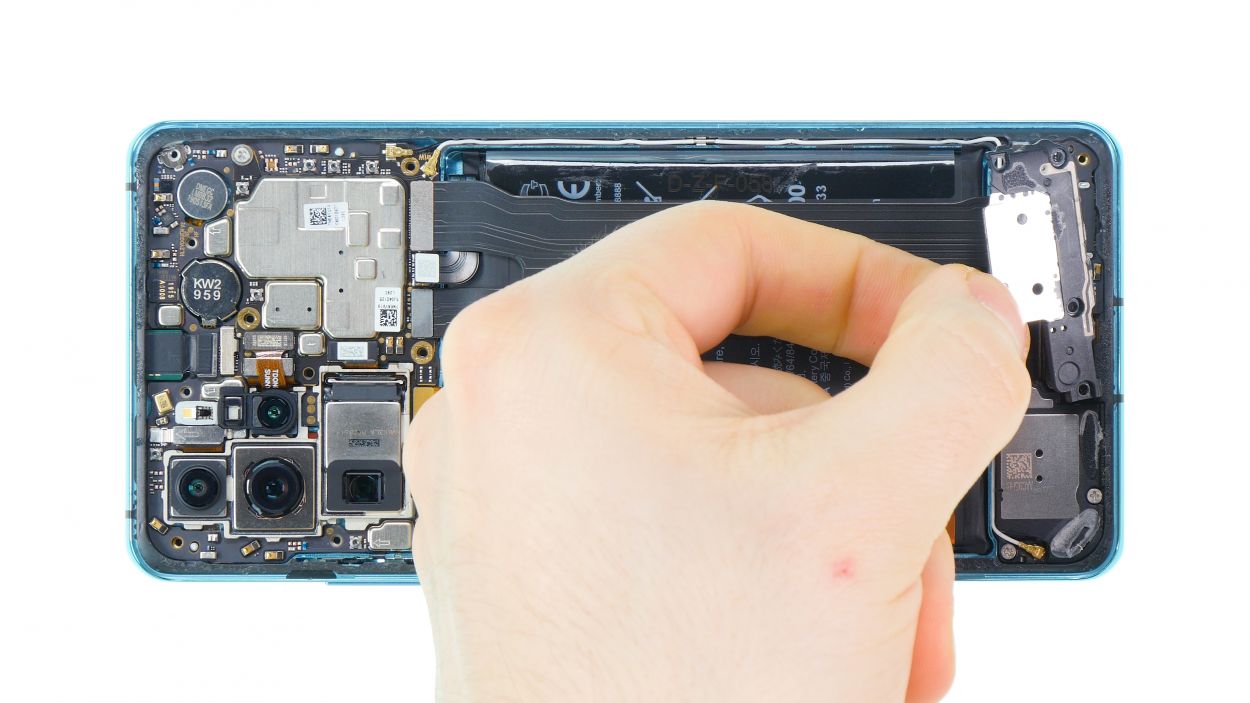
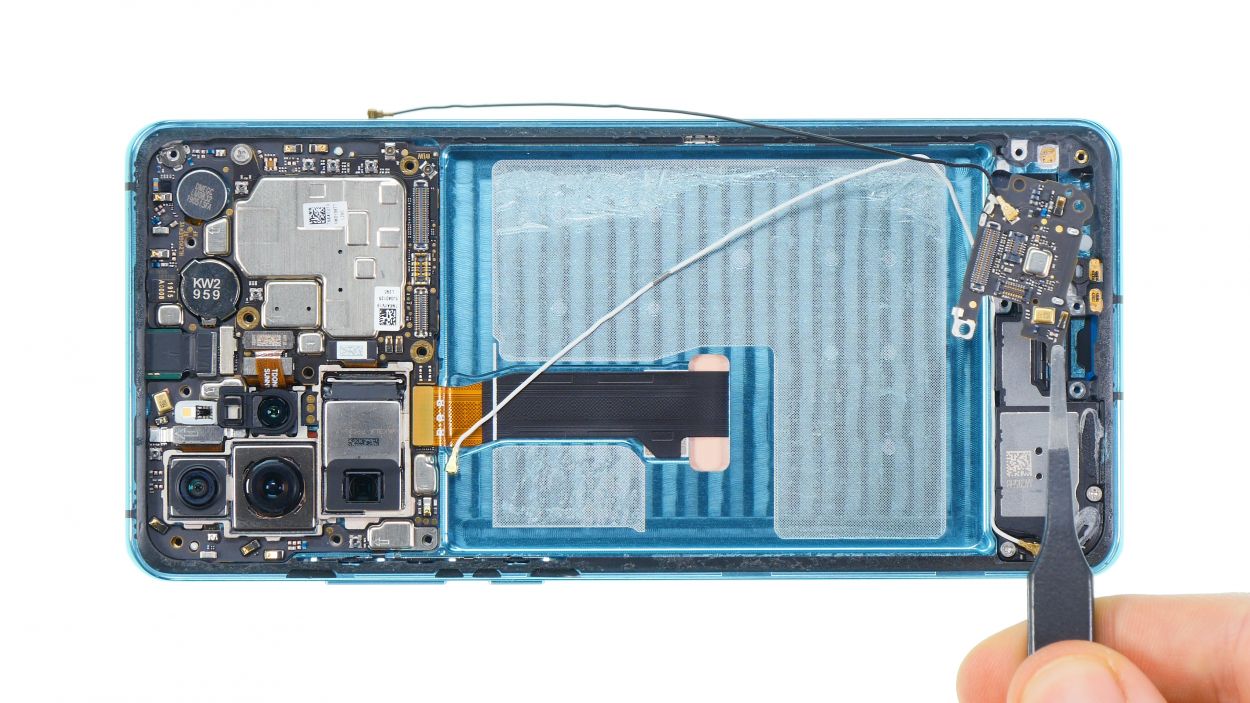
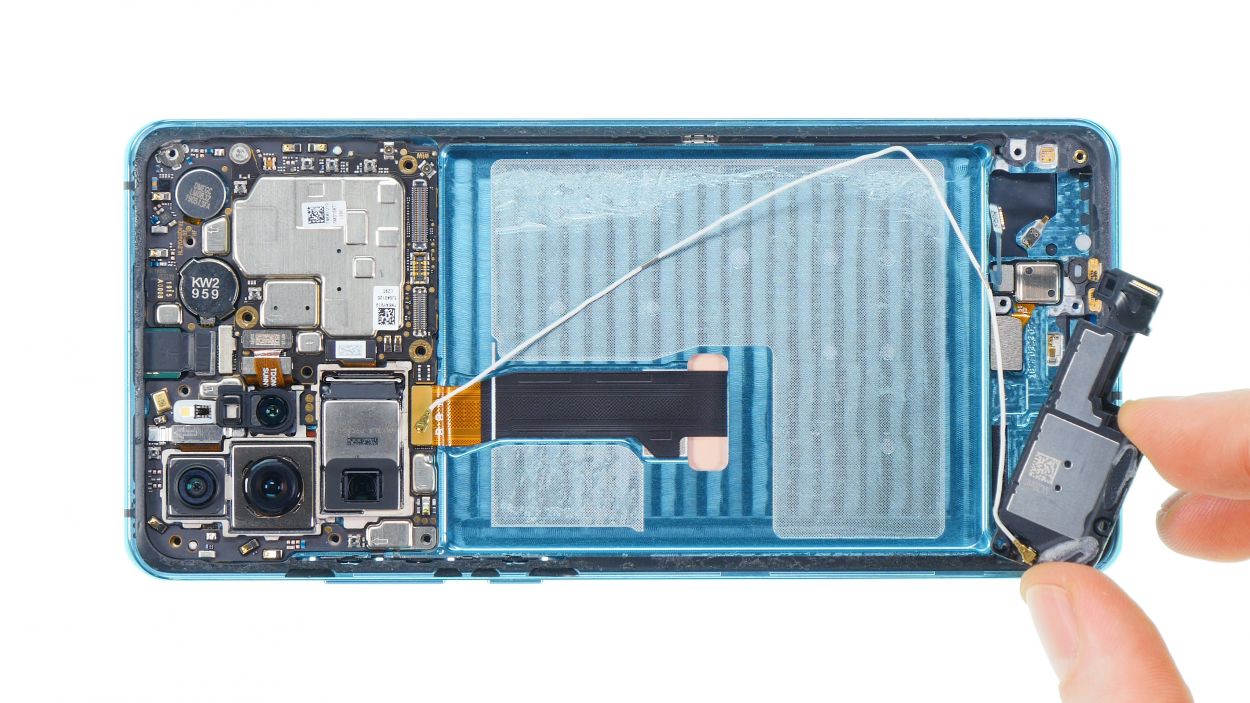
Step 8


2 × 4,4 mm Phillips
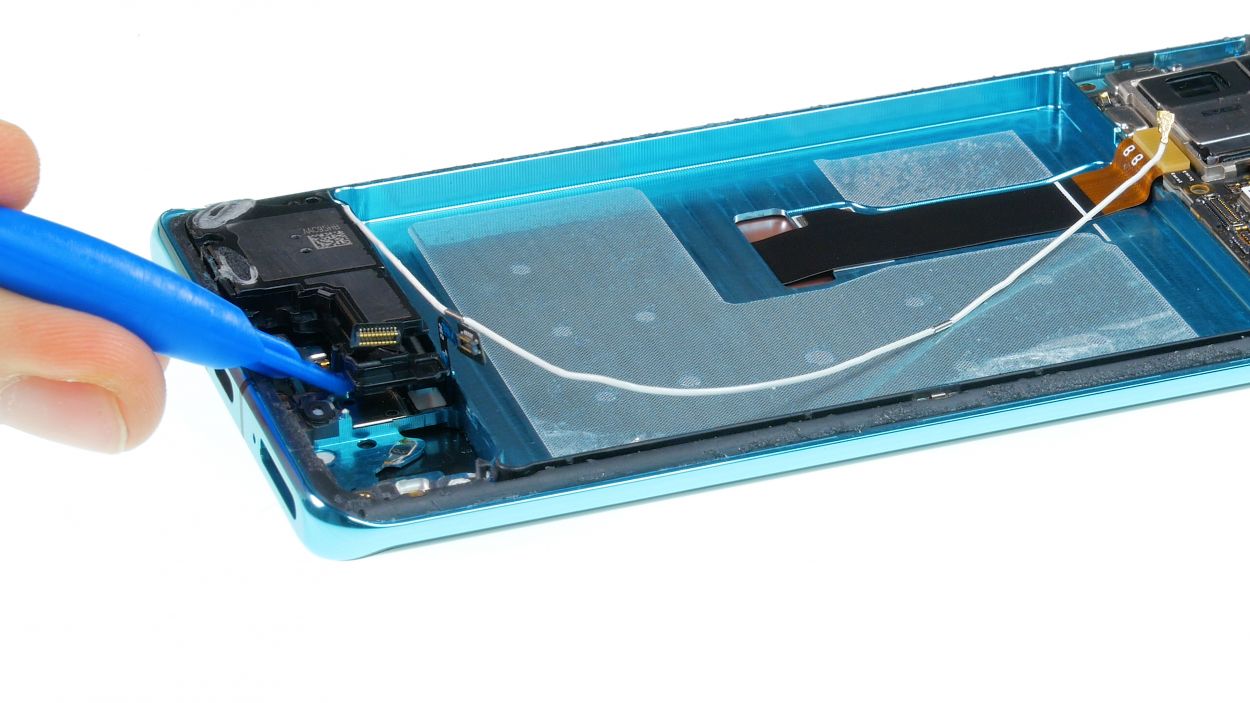
When swapping out the speaker on your Huawei P30 Pro, just remember to take care of that antenna cable! No need to fuss with the little flexible cable, though. You’ve got this!
– Start by loosening those two screws keeping the speaker snug as a bug. You’ve got this!
– Next, gently pry the speaker out. It might be a little sticky, but don’t worry, just give it a little nudge.
Step 9
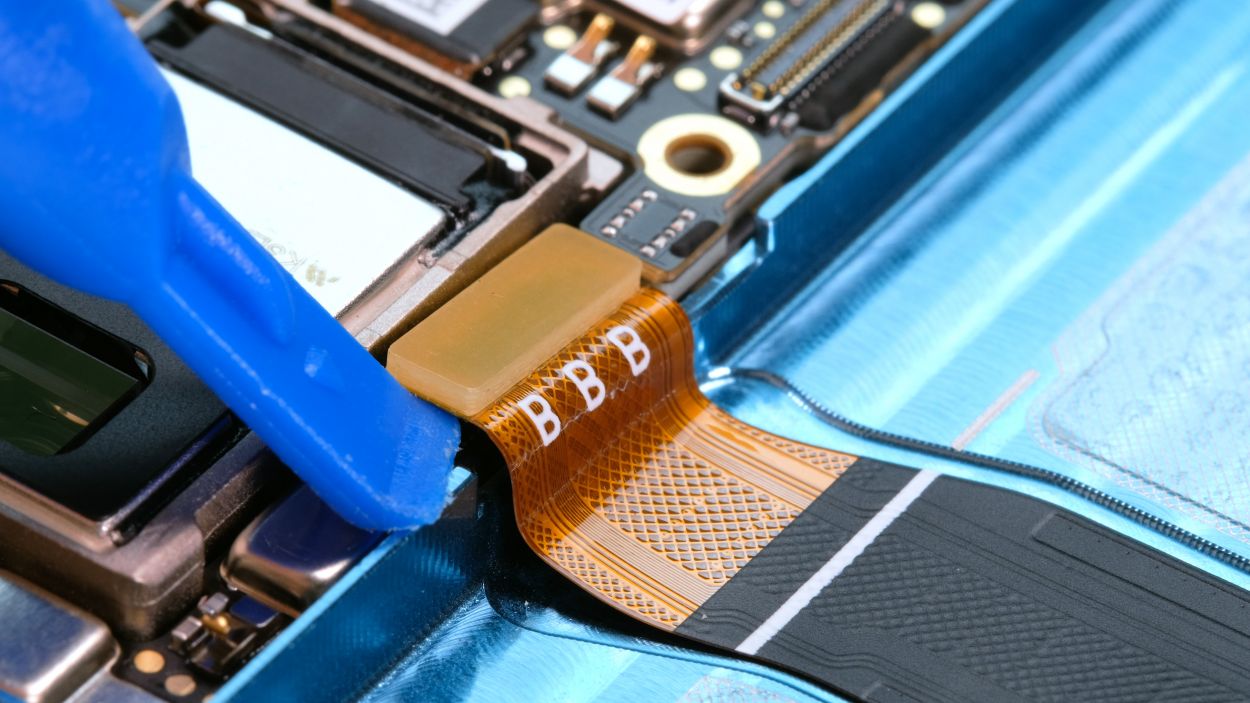
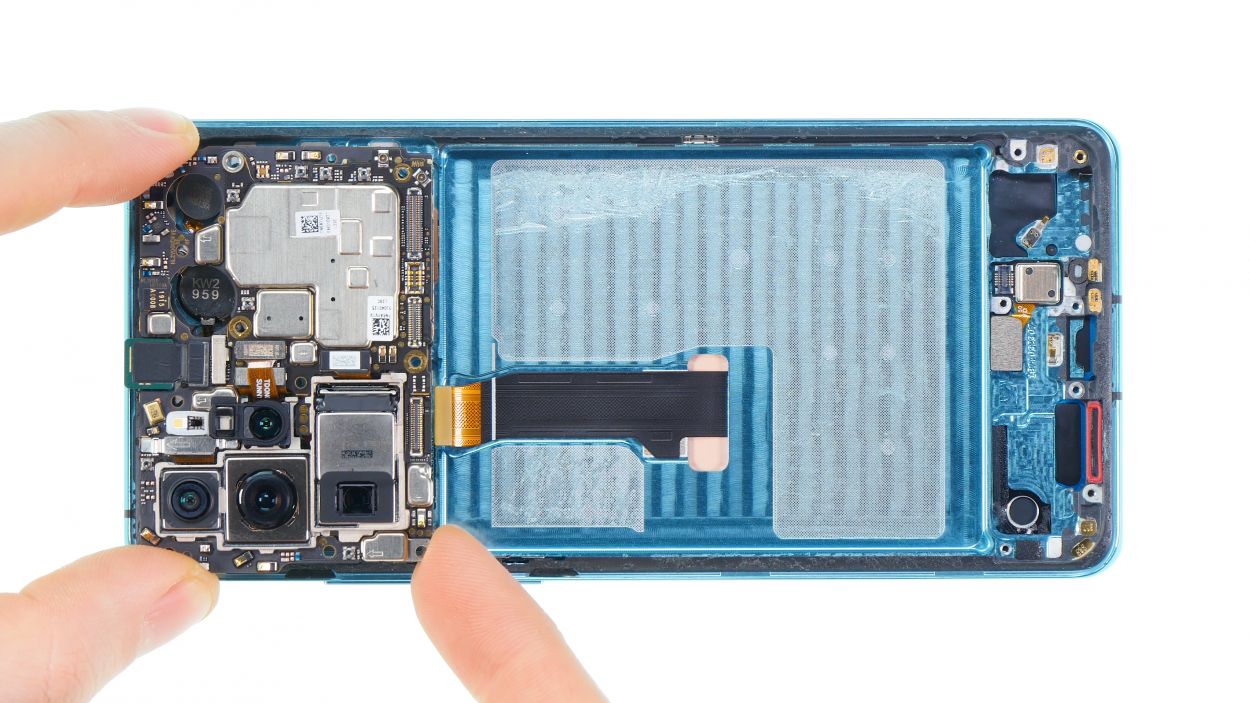
Display connector
1 × 4,4 mm Phillips
Handle the mainboard with care, folks! If it gets damaged, fixing it isn’t a walk in the park. So, keep it safe and sound!
– The main board is held in place by just one little screw.
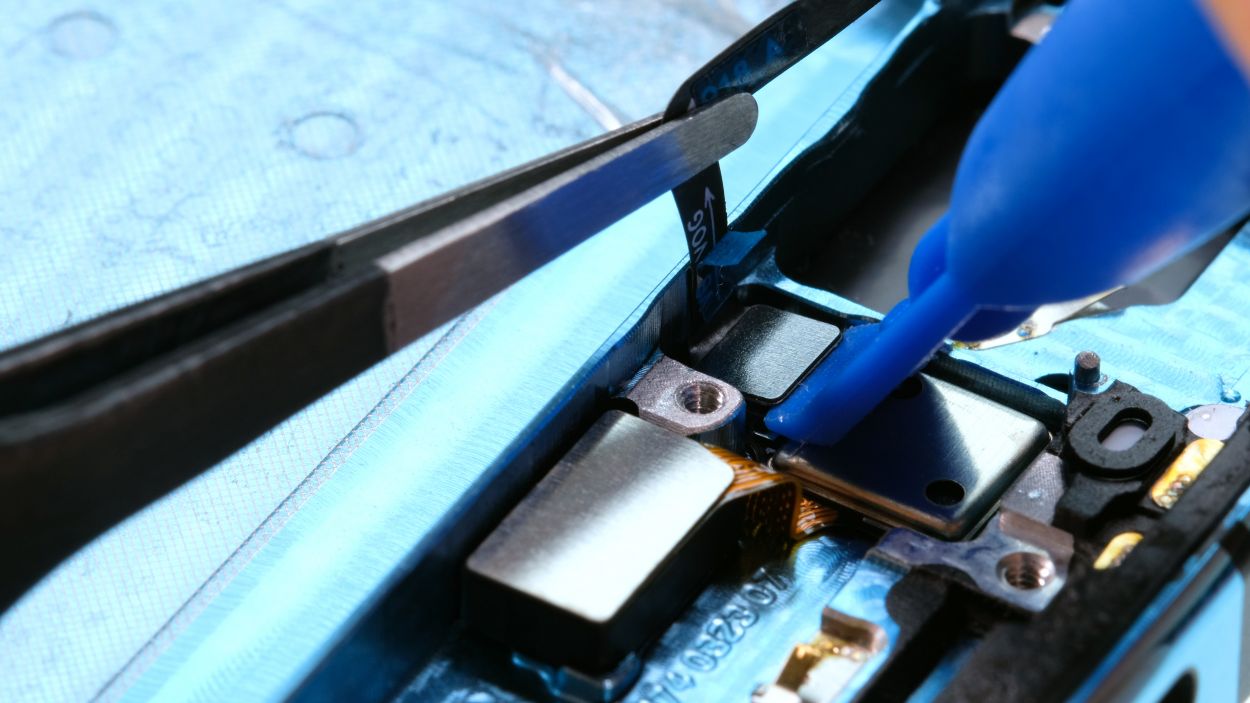
Step 10
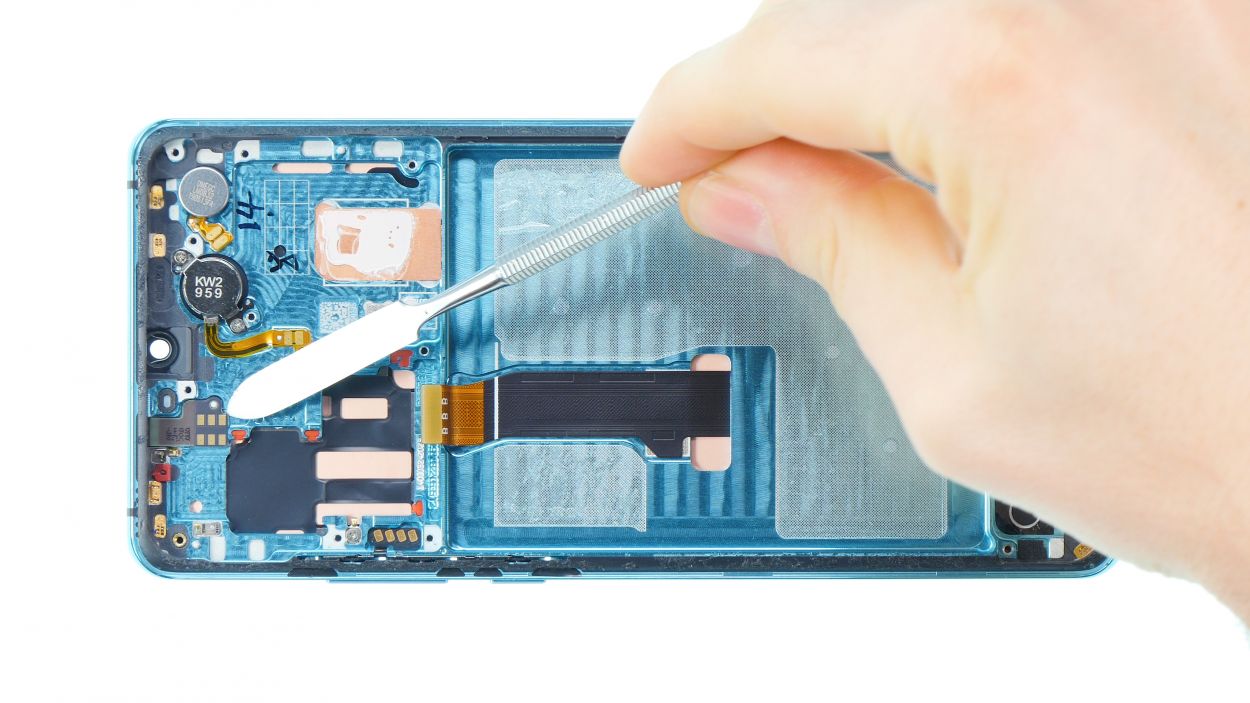
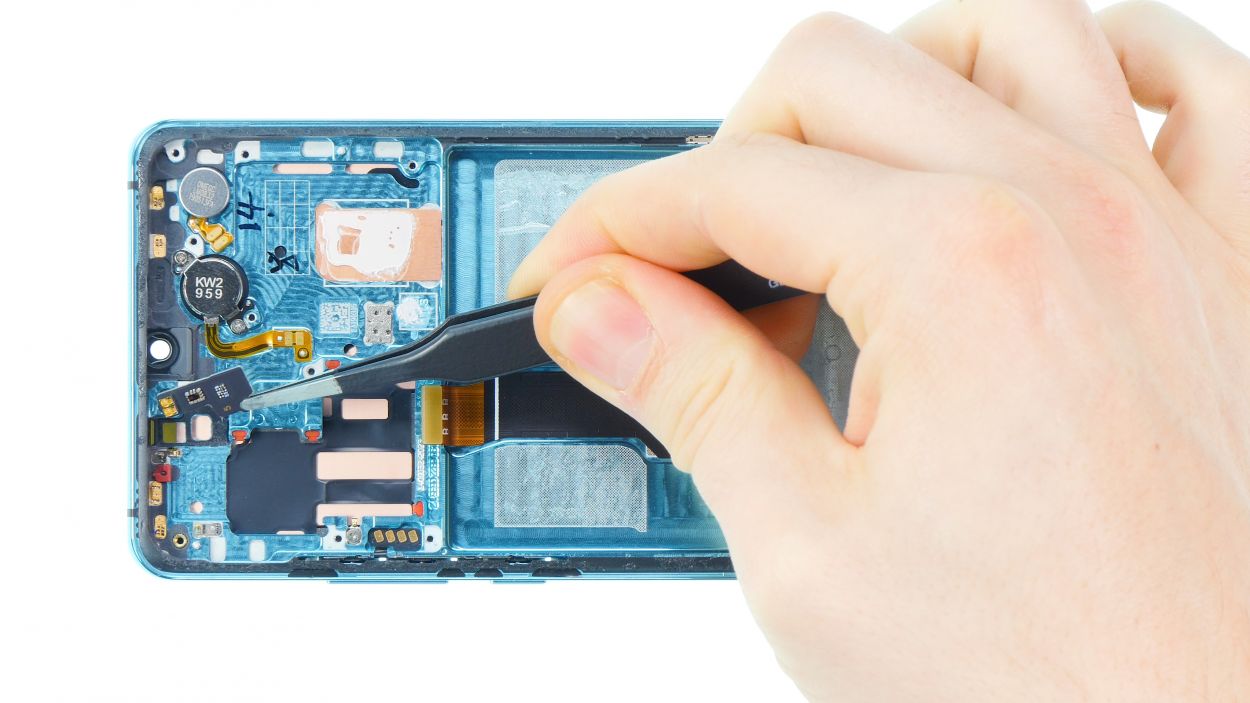
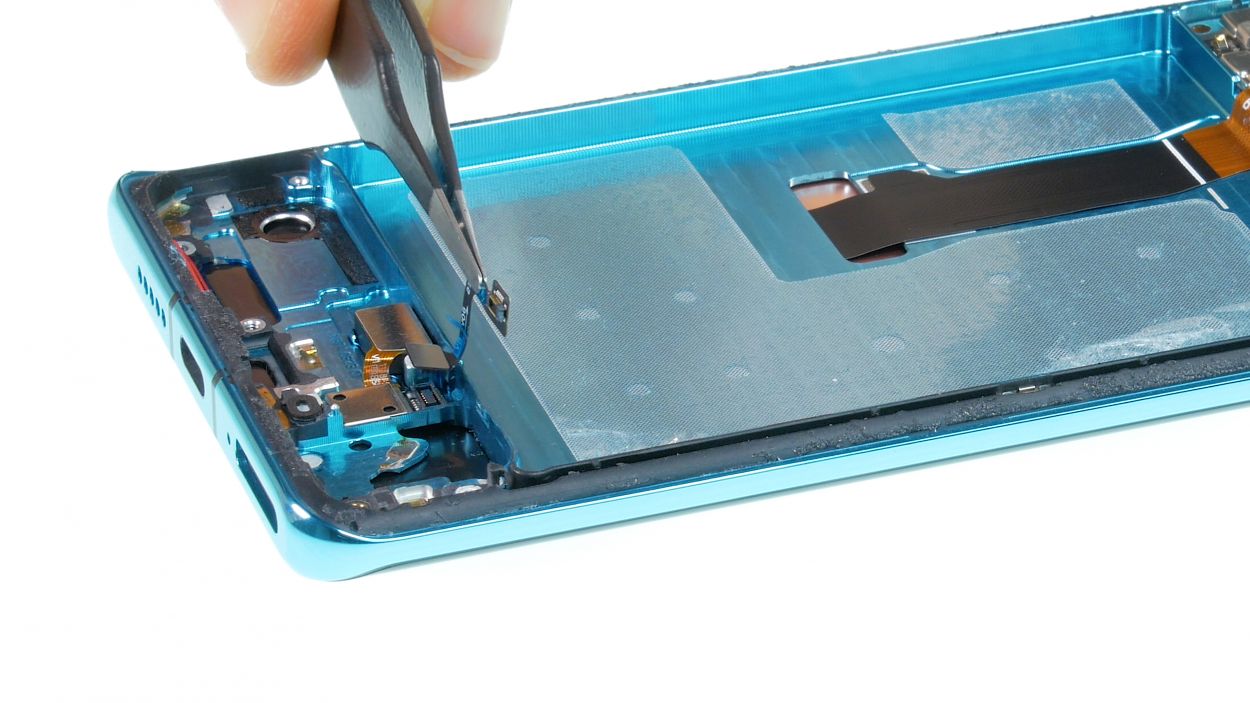
– Gently warm up those glued sensors with some hot air and carefully pry them off using a flat tool like a steel spatula. You’ve got this!
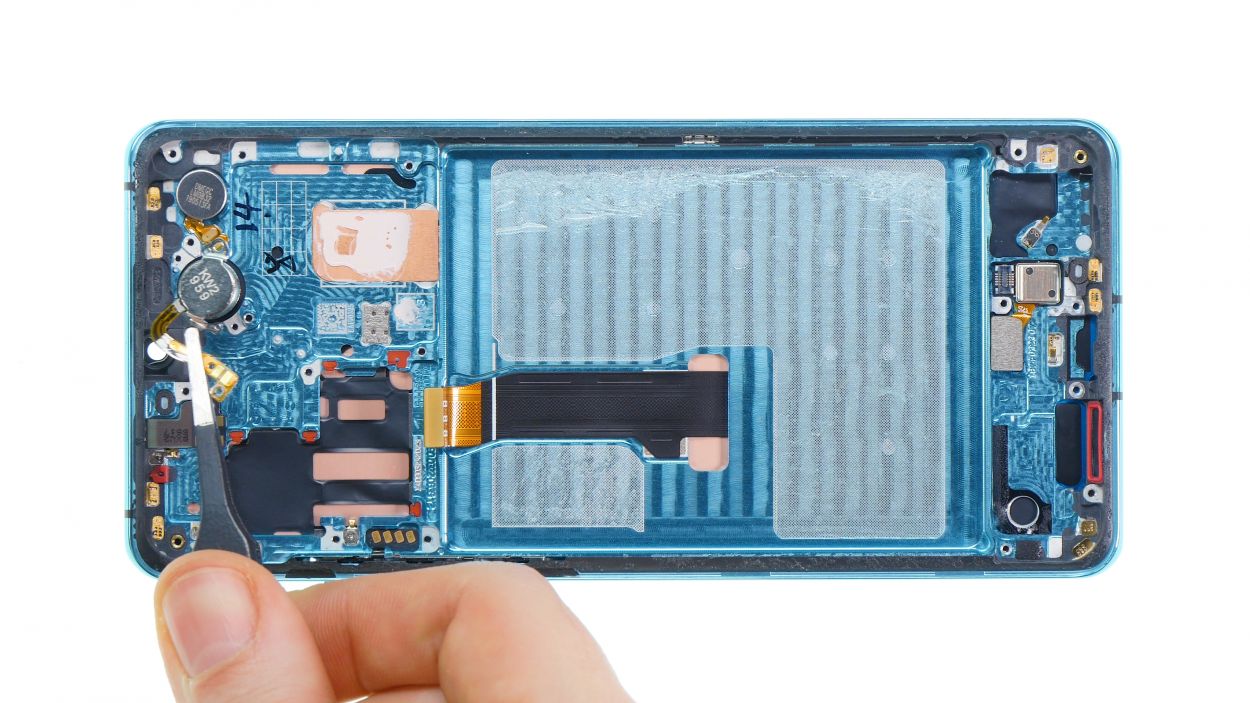
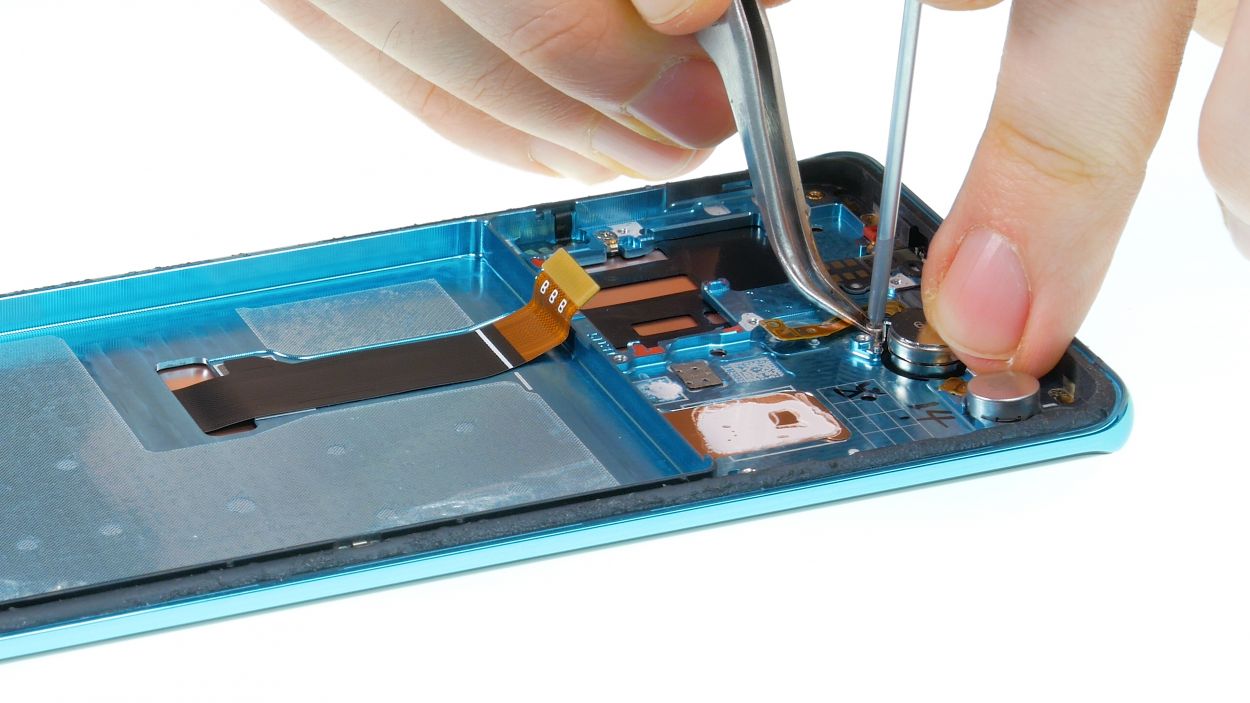
Step 11

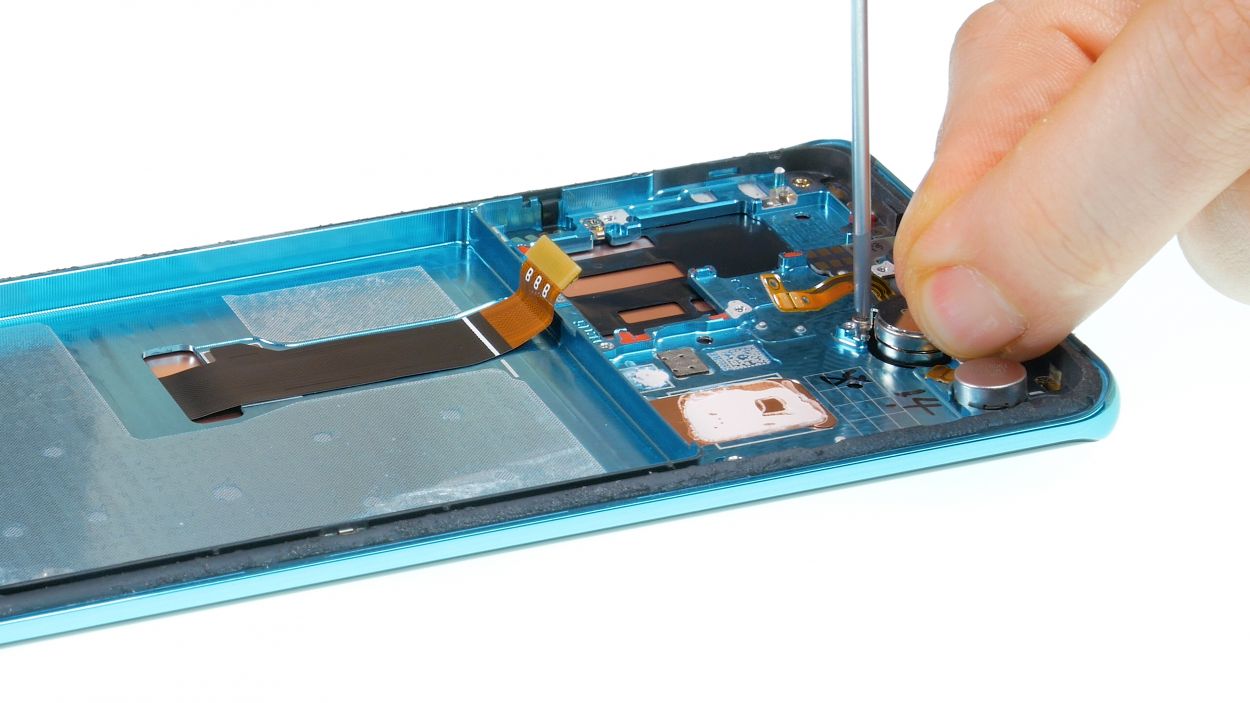
2 × 1,5 mm Phillips
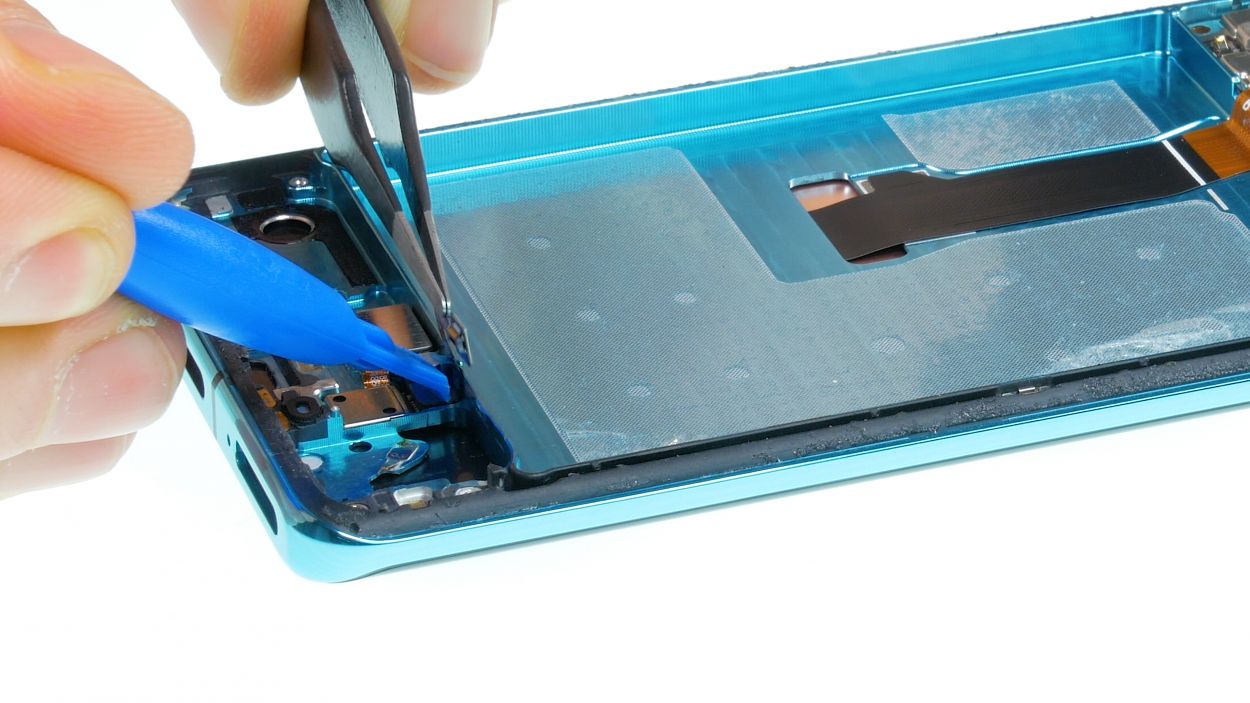
– Gently loosen the flexible cable of the earpiece using your trusty steel spatula. It’s like giving it a little hug!
– Next up, while keeping a steady hand on the earpiece, remove both screws. Once that’s done, you can easily lift it out. You’ve got this!
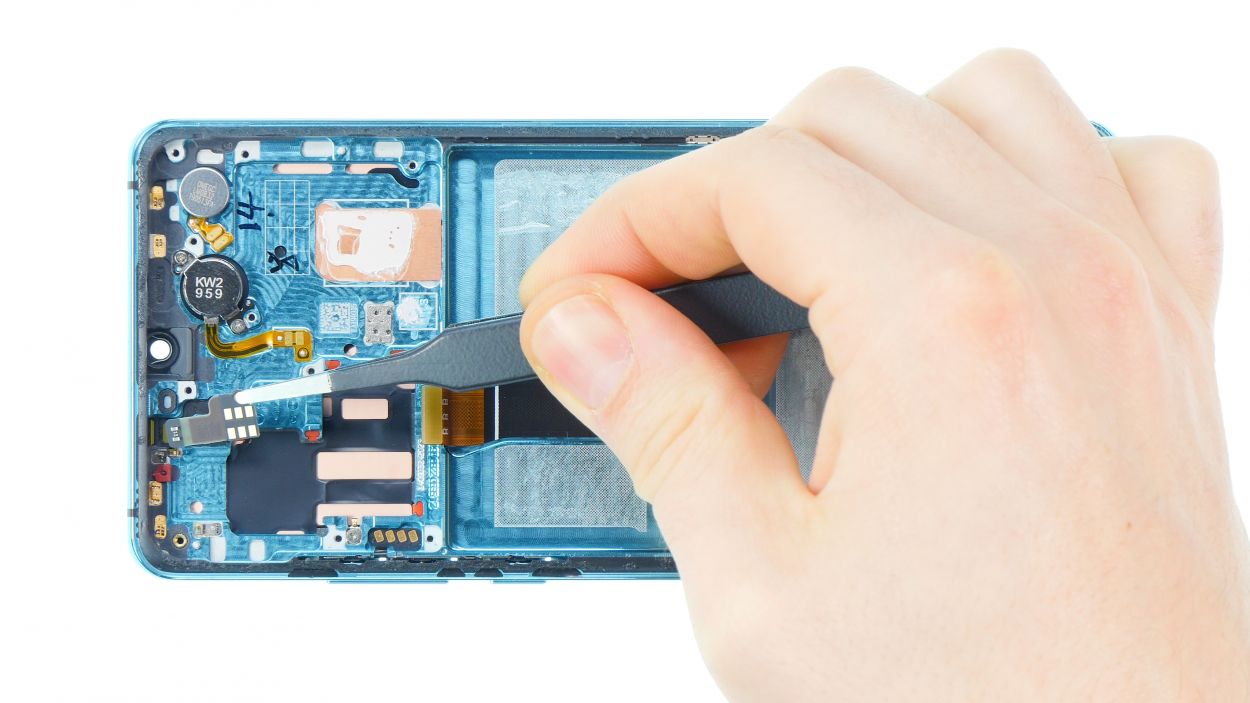
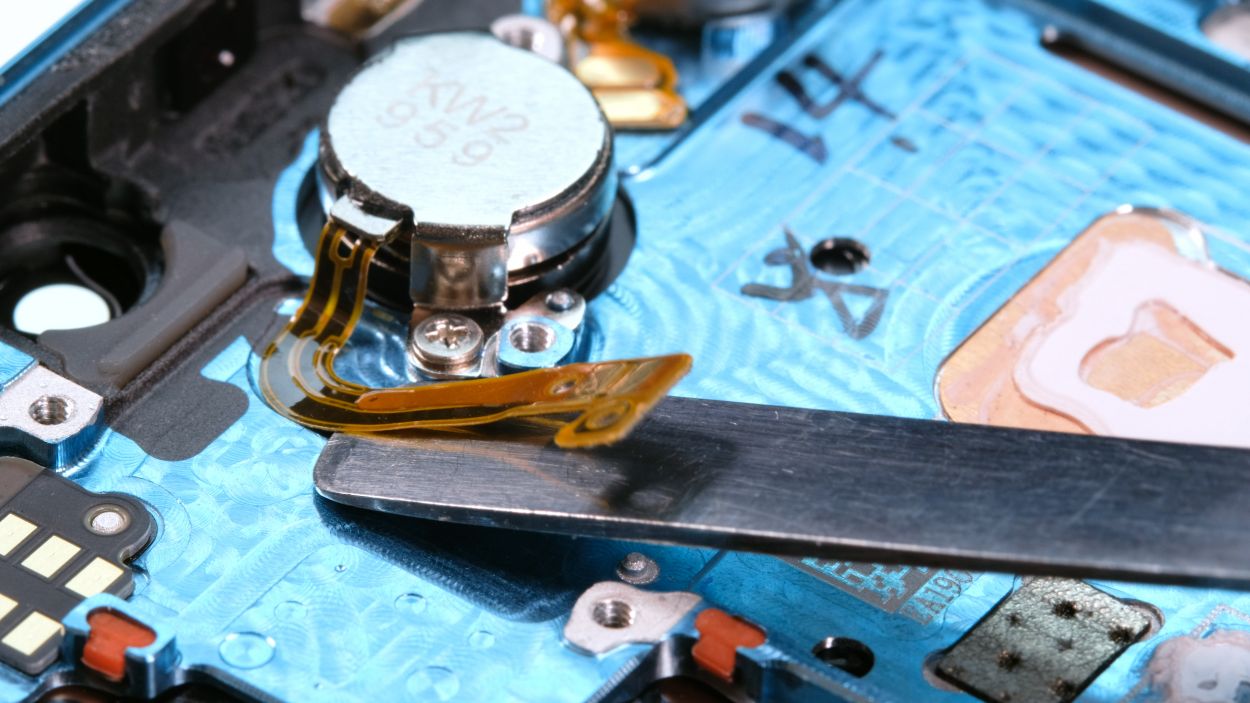
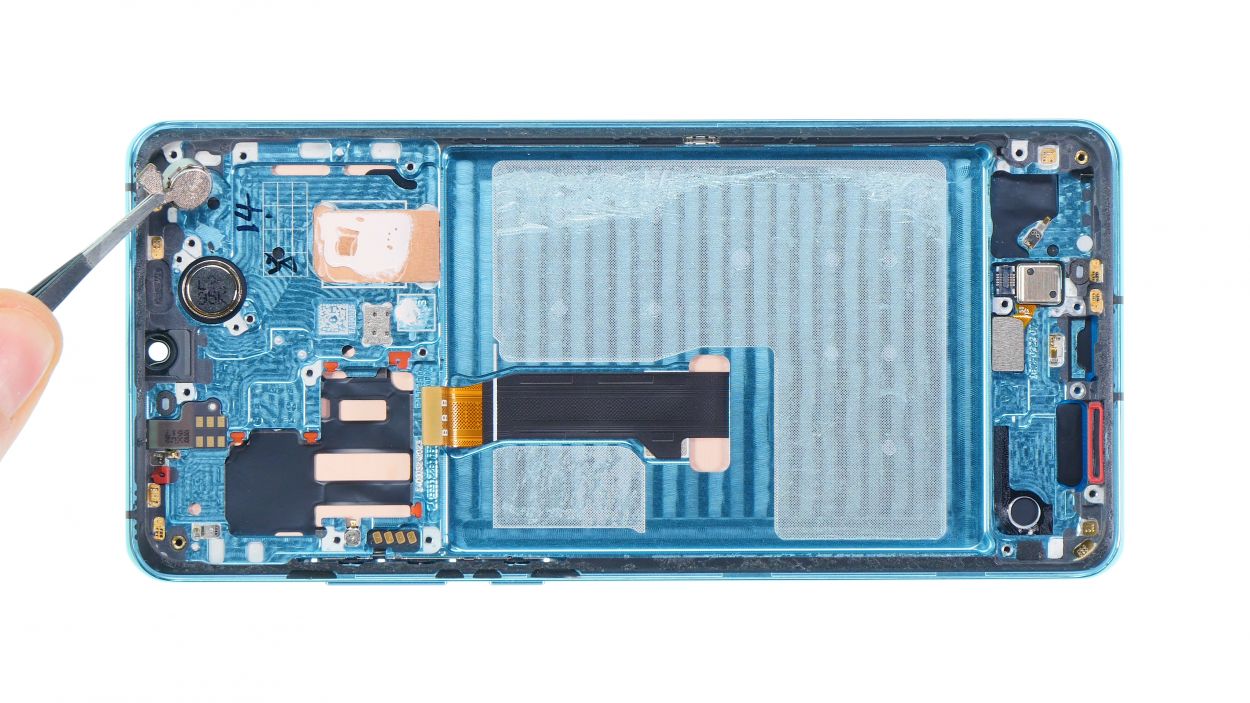
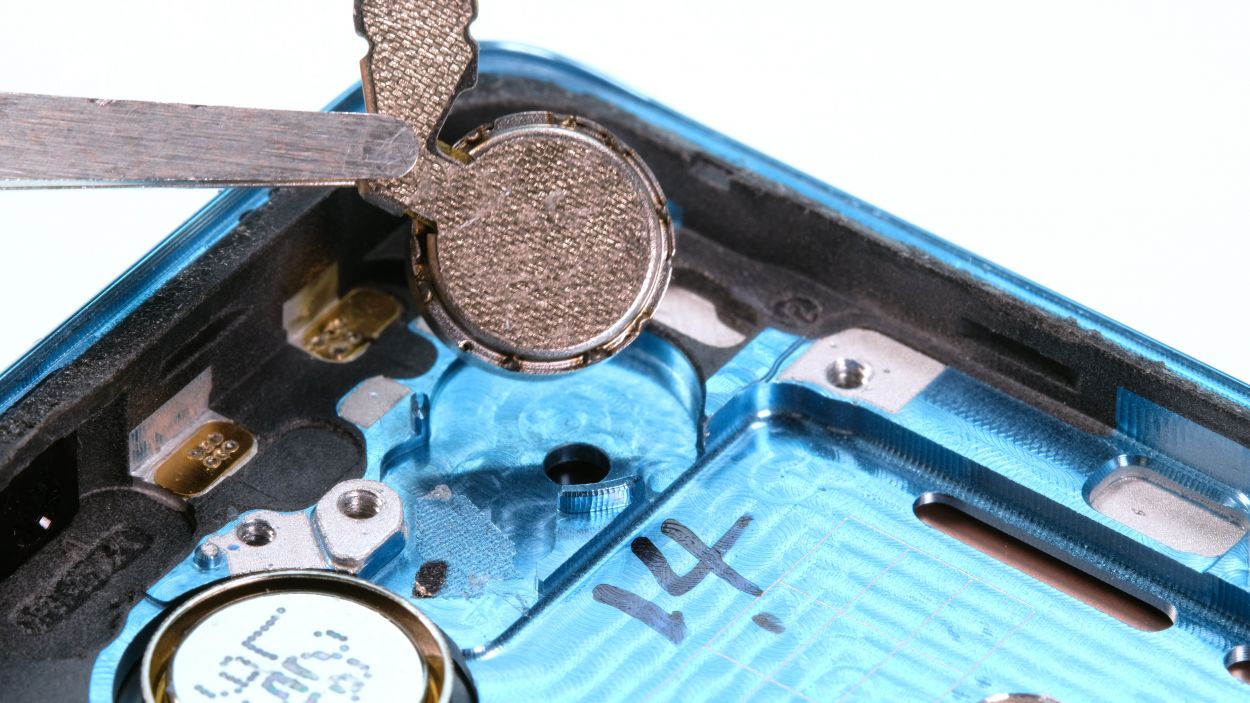
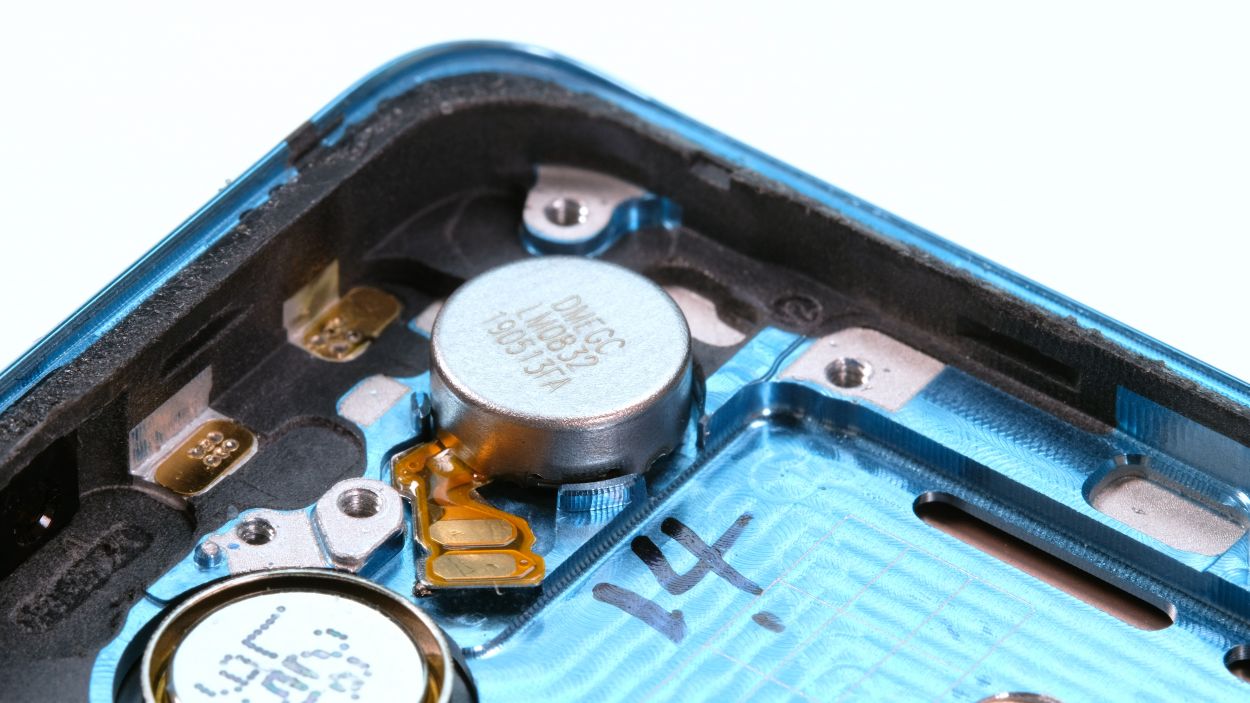
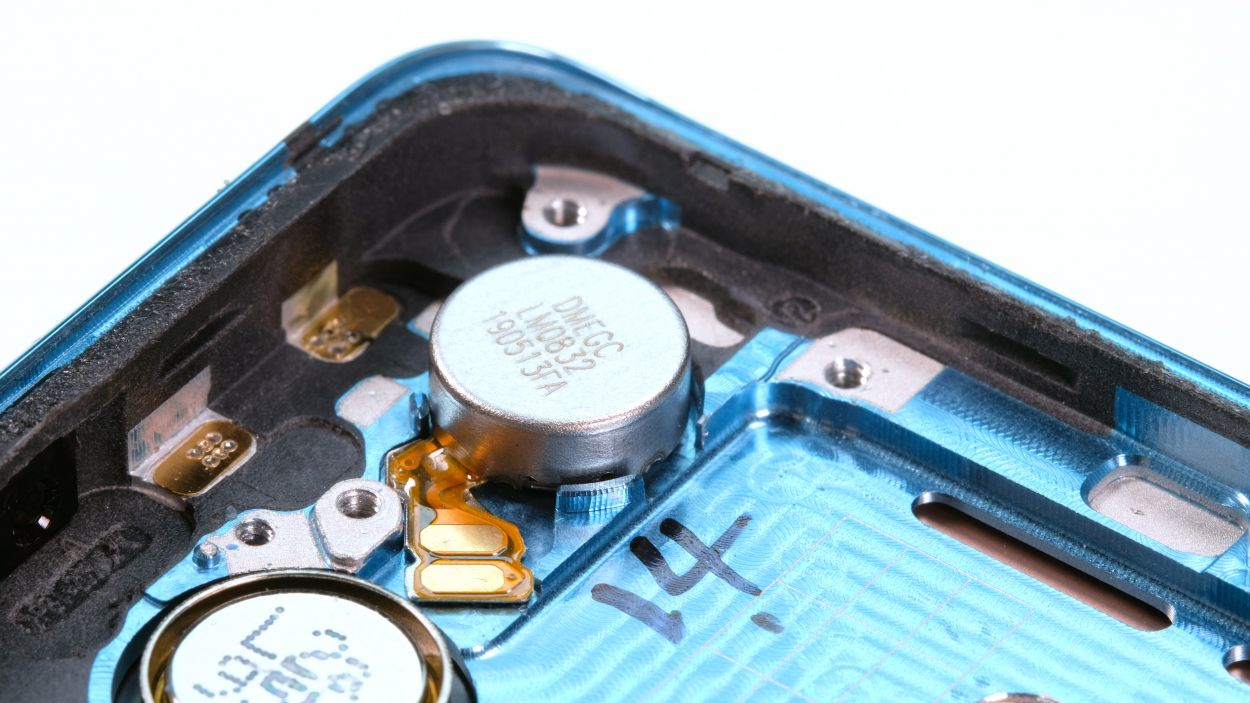
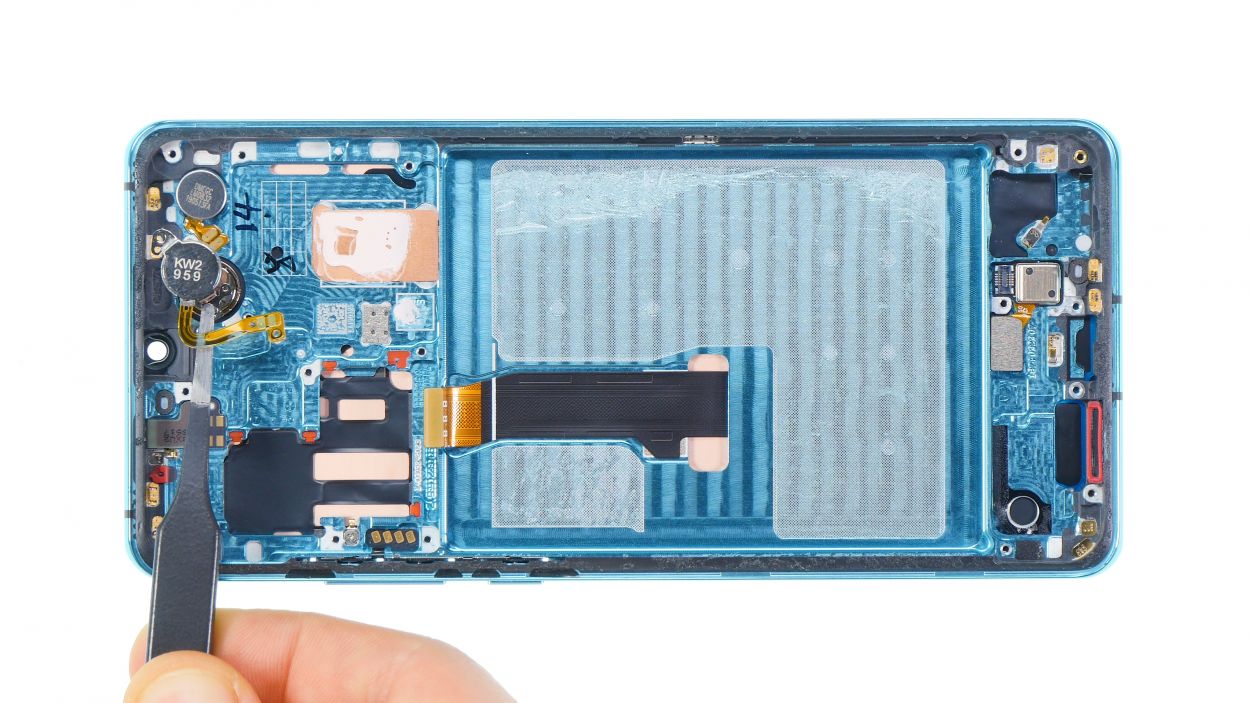
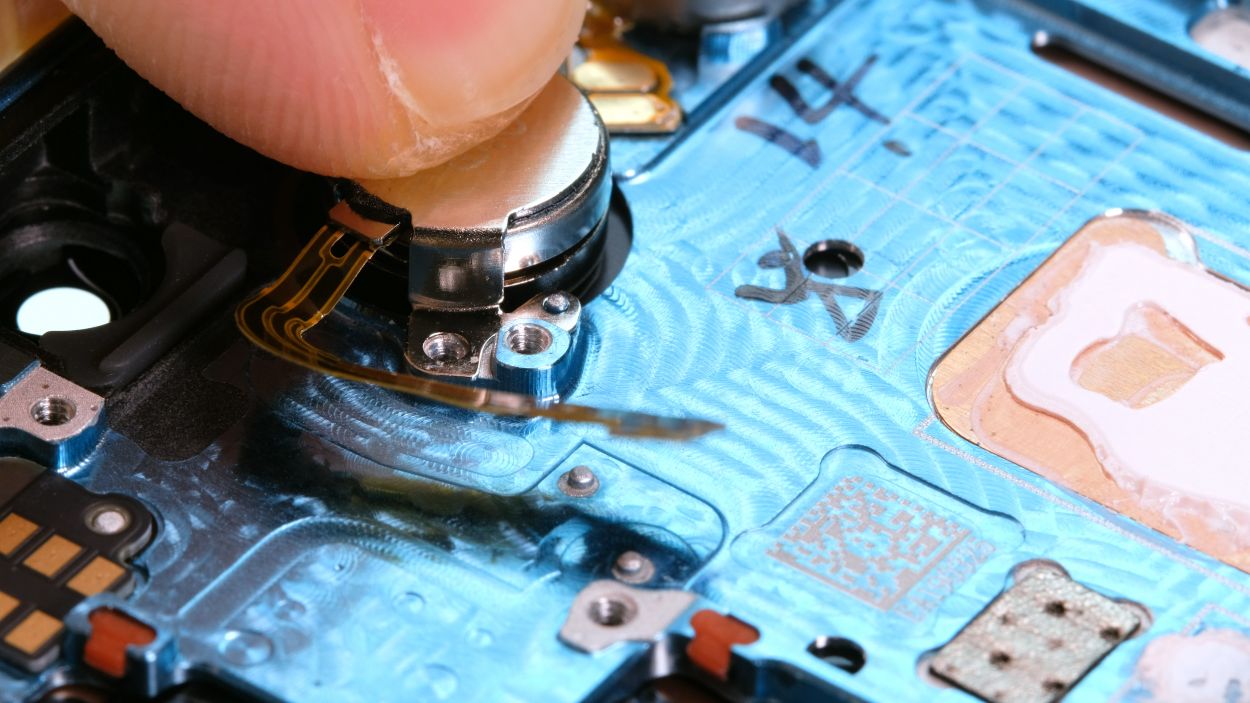
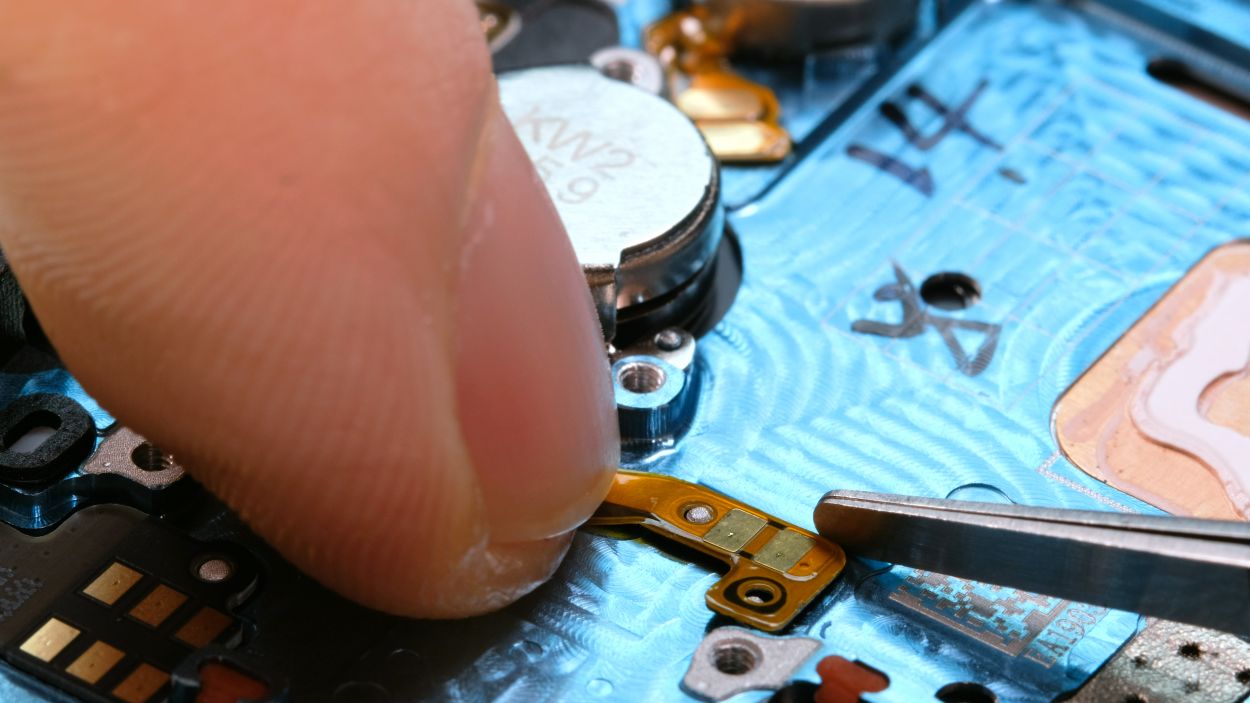
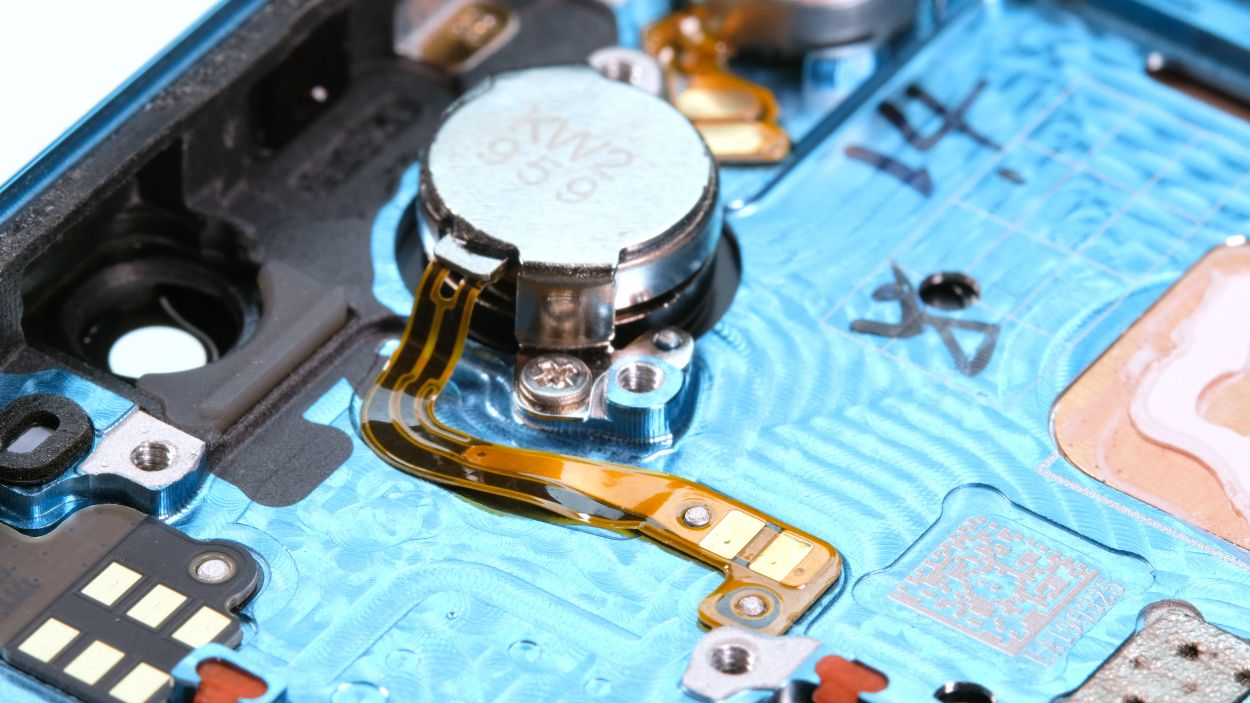
Step 12
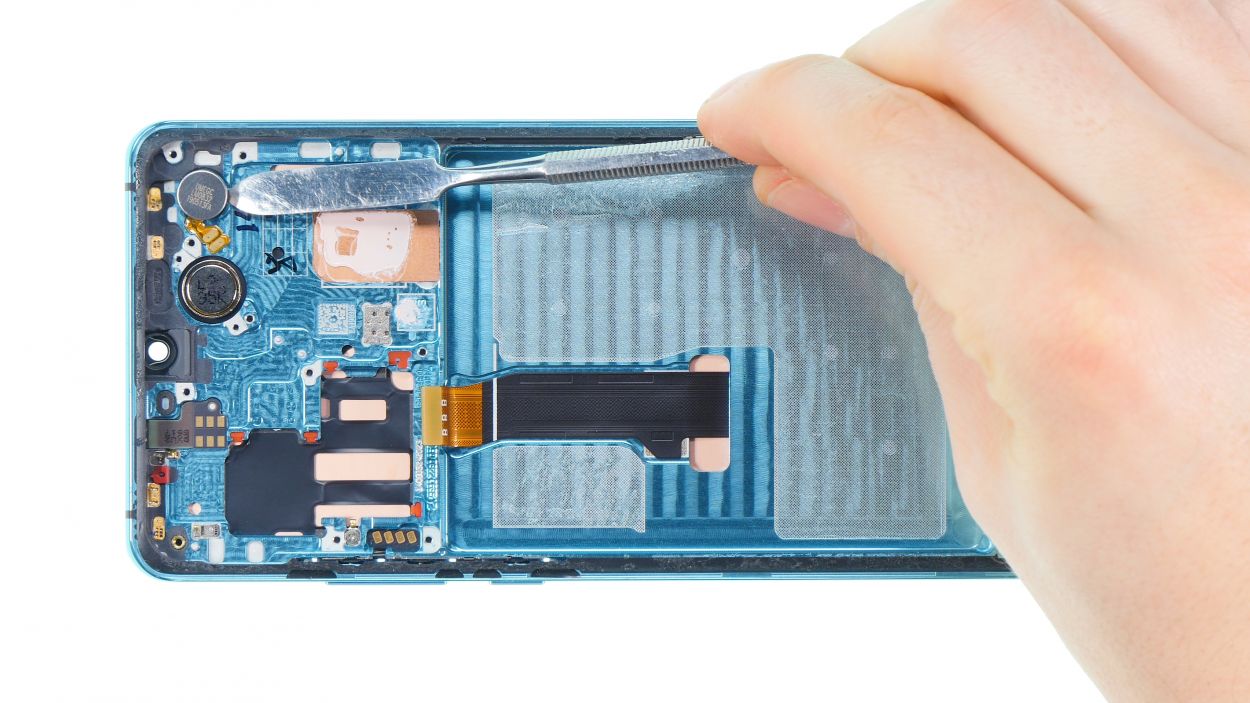
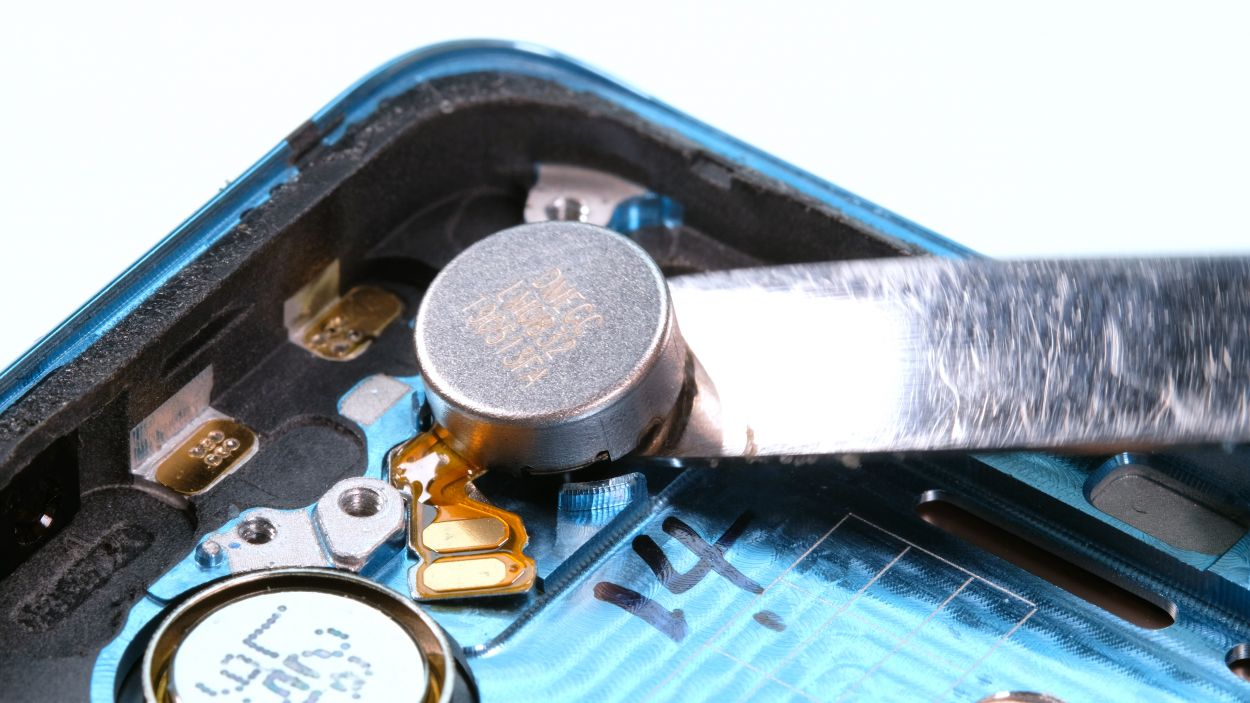
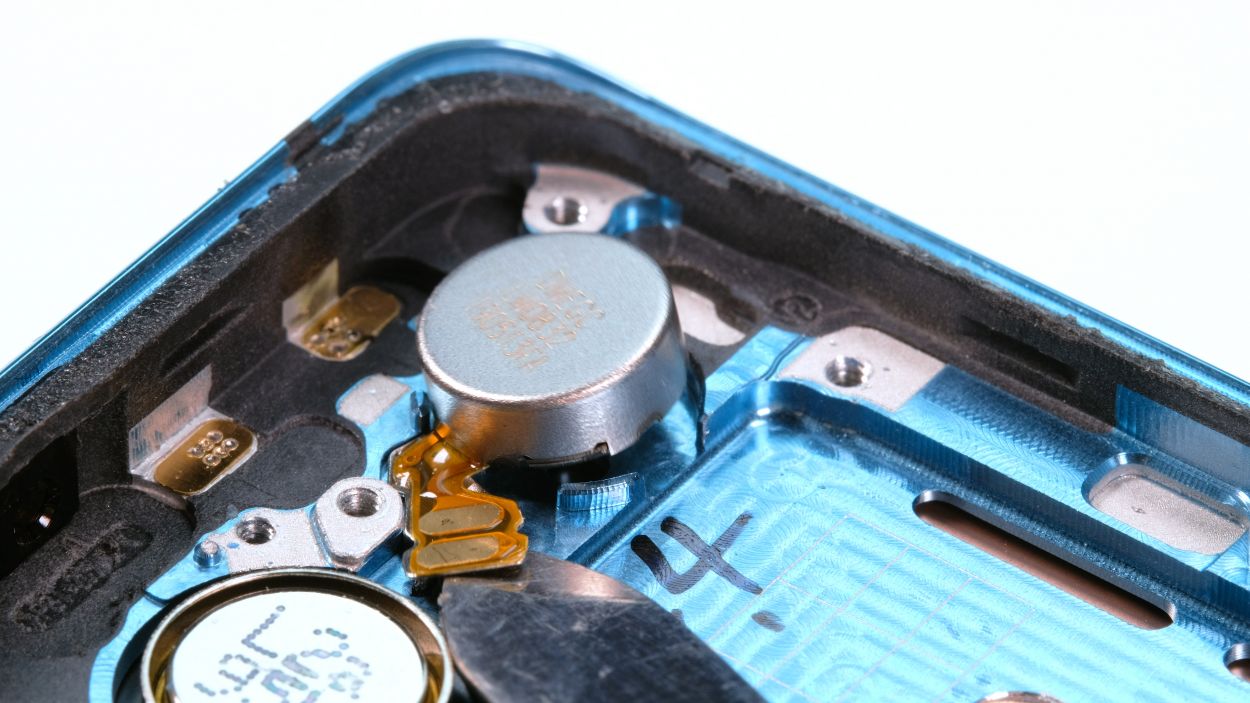
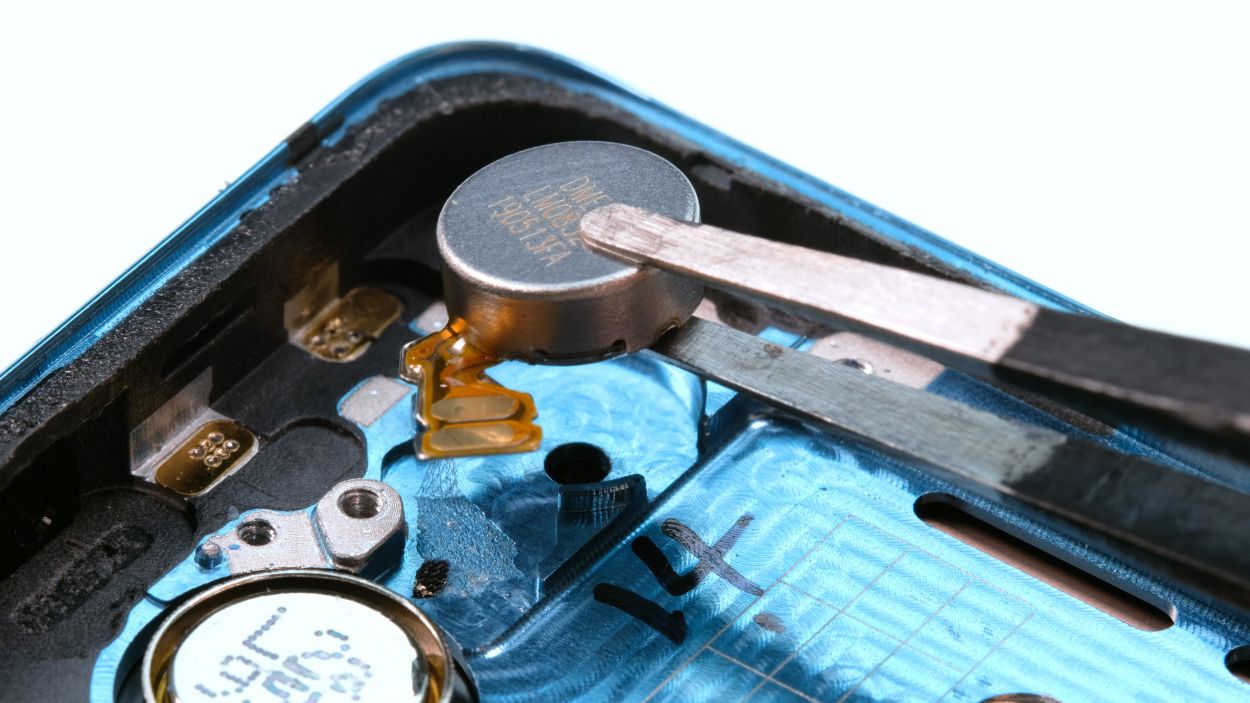
– Gently pry out the vibration motor by sliding a steel spatula beneath the flex cable and the motor itself. Take your time and be careful – you’ve got this!
Step 13
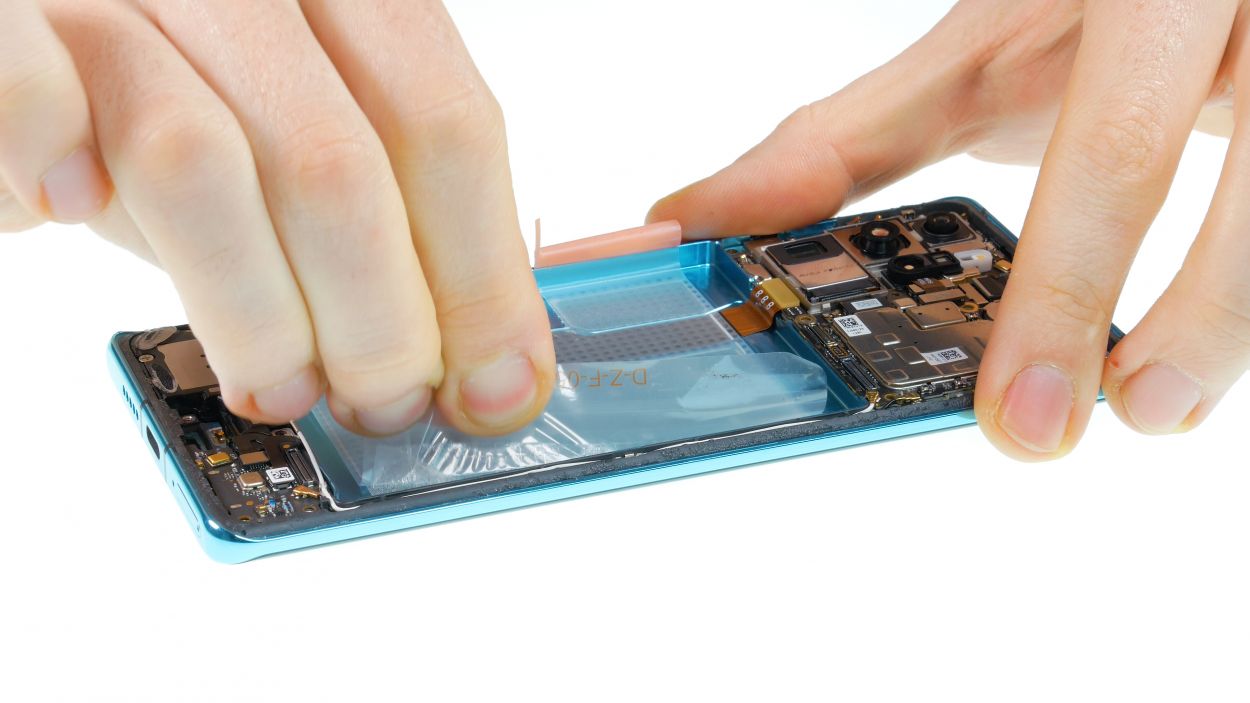
– Before you dive into installing all the parts into your shiny new display, make sure to peel off those protective films from the adhesive areas and openings on the new display. We want it to shine!
– Take a close look at your old and new displays. If you spot any little components like buttons or seals that need to be transferred, go ahead and swap them over. You’ve got this!
Step 14
Just double-check that there’s still some glue on the bottom side to keep everything snug and secure. You’ve got this!
Step 15
– Time to attach that earpiece! Pop it on and secure it with a screw.
– Double-check its position! Those tiny holes next to the screw threads are designed to fit perfectly onto the retaining lugs on the display.
– Don’t forget to glue the flex cable back in place! The little holes in the cable are there to help you get it just right.
Step 16
– Carefully place the sensors back in their spots and give them a gentle but firm press; make sure they’re free of dust and grime for the best performance.
Step 17

1 × 4,4 mm Phillips
Display connector
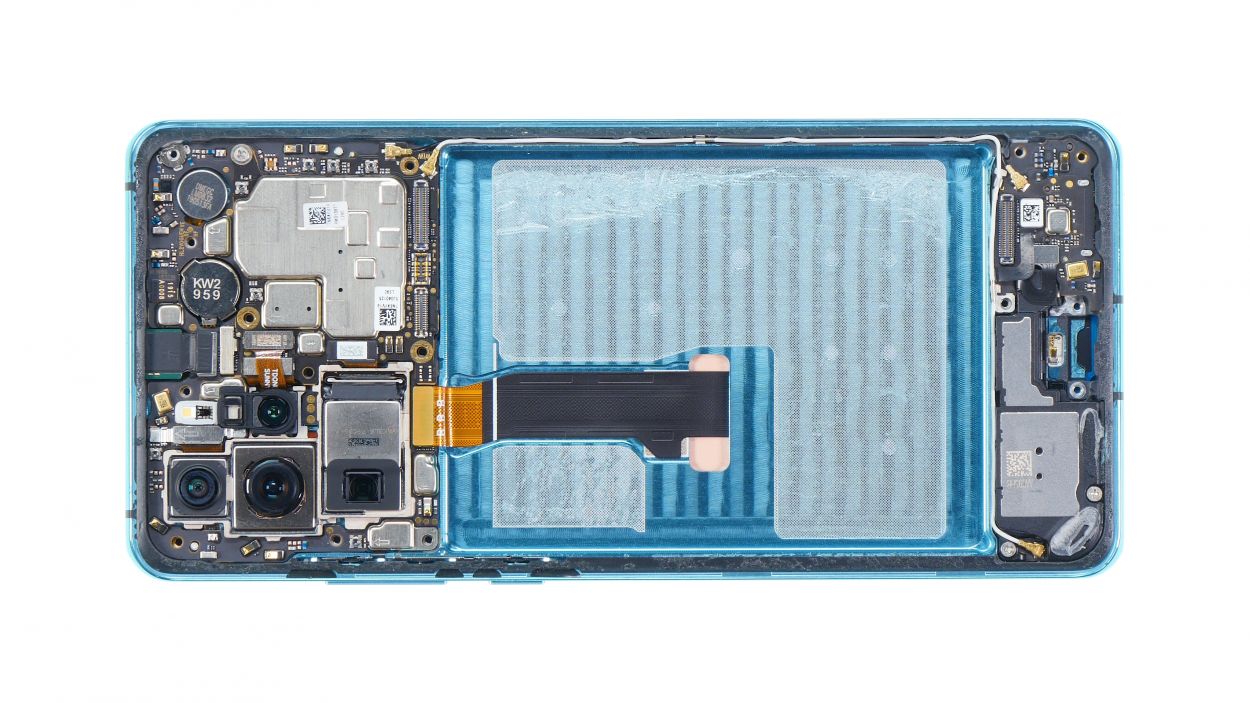
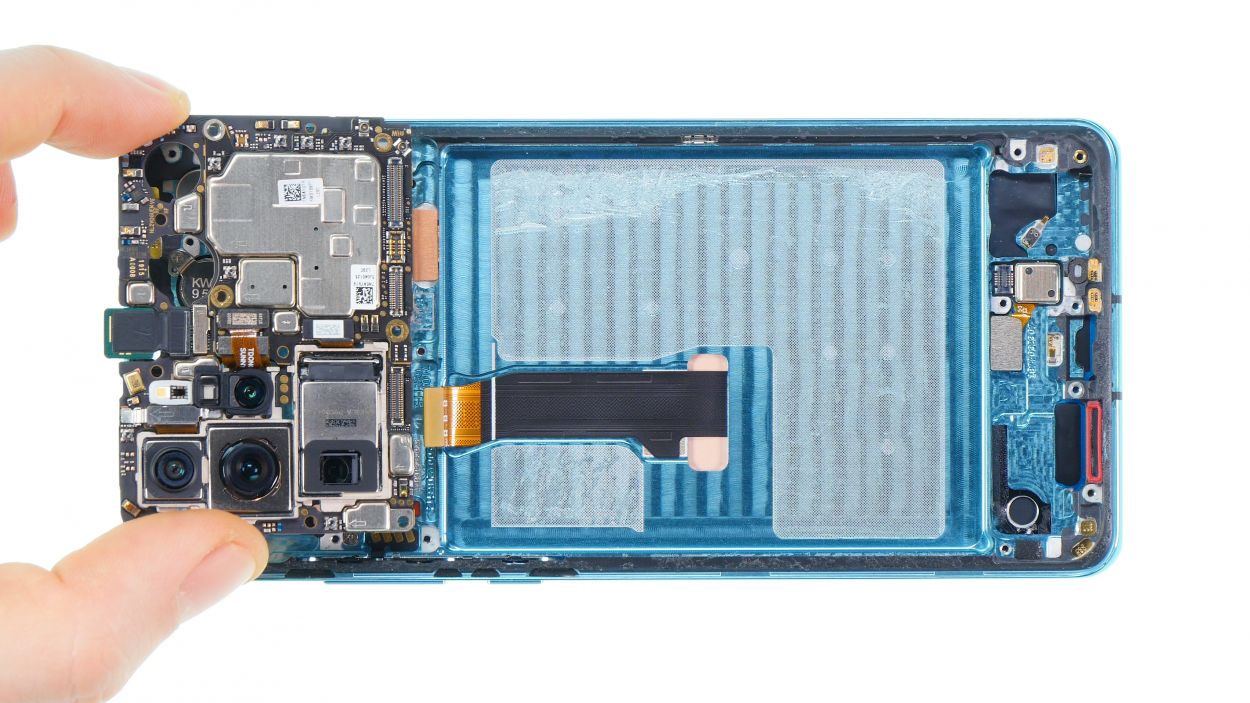
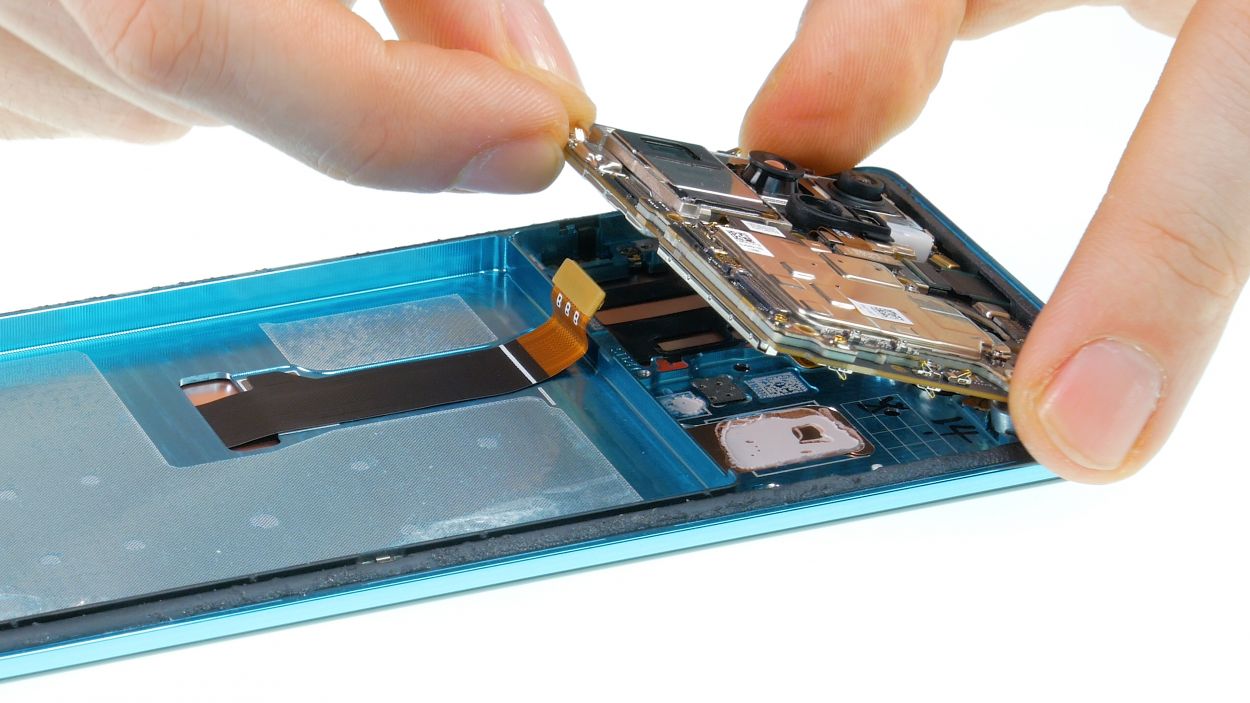
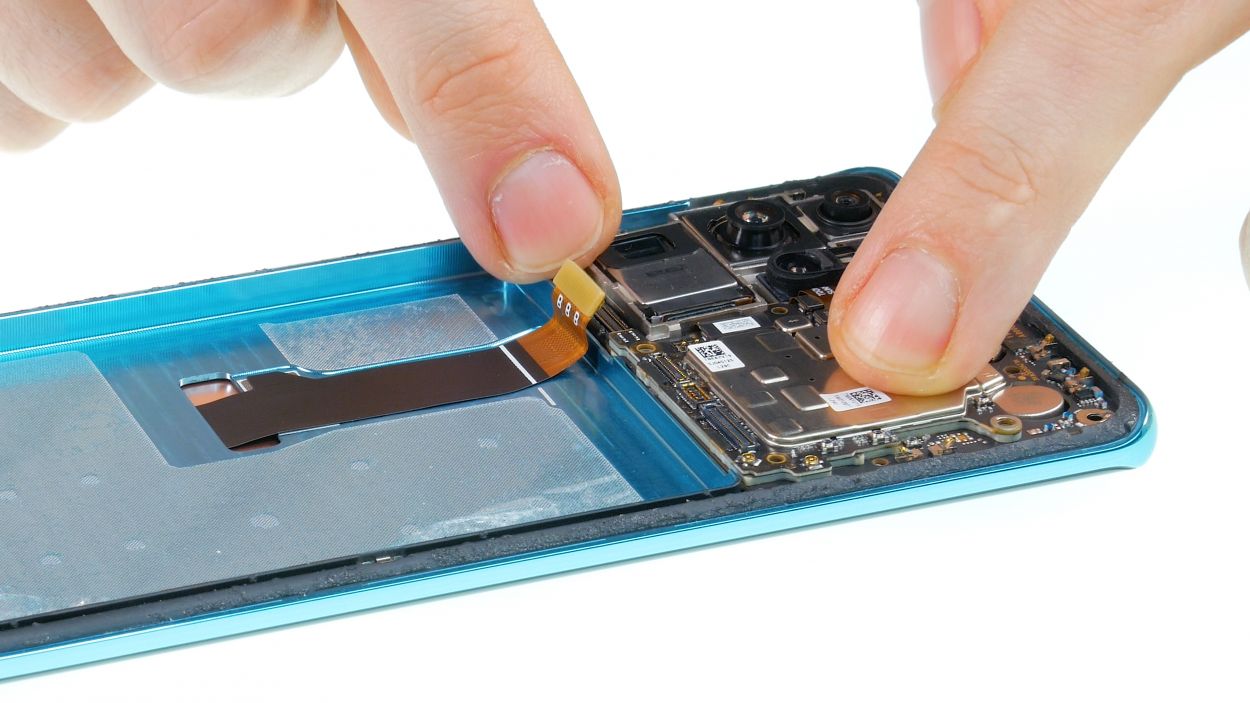
– It’s time to slide that main board back in! Just a heads up, keep an eye on that display flex cable so it doesn’t get caught underneath.
– Start by angling the board at the top and gently guide the front camera into its designated spot.
– Now, let the board smoothly glide into the unit.
– Give it a gentle press down all around to ensure it’s snug and in the right place.
– Next up, connect the display connector.
– And to wrap it all up, secure the board with the screw. You’re doing great!
Step 18
2 × 4,4 mm Phillips
– Alright, it’s time to pop the loudspeaker and SIM card reader back in! Let’s get this party started.
– First up, connect that little flex cable. It’s like giving your device a high-five.
– Now, gently place the loudspeaker back in its cozy spot. Give it a little press down to make sure it’s snug and ready to rock!
Step 19
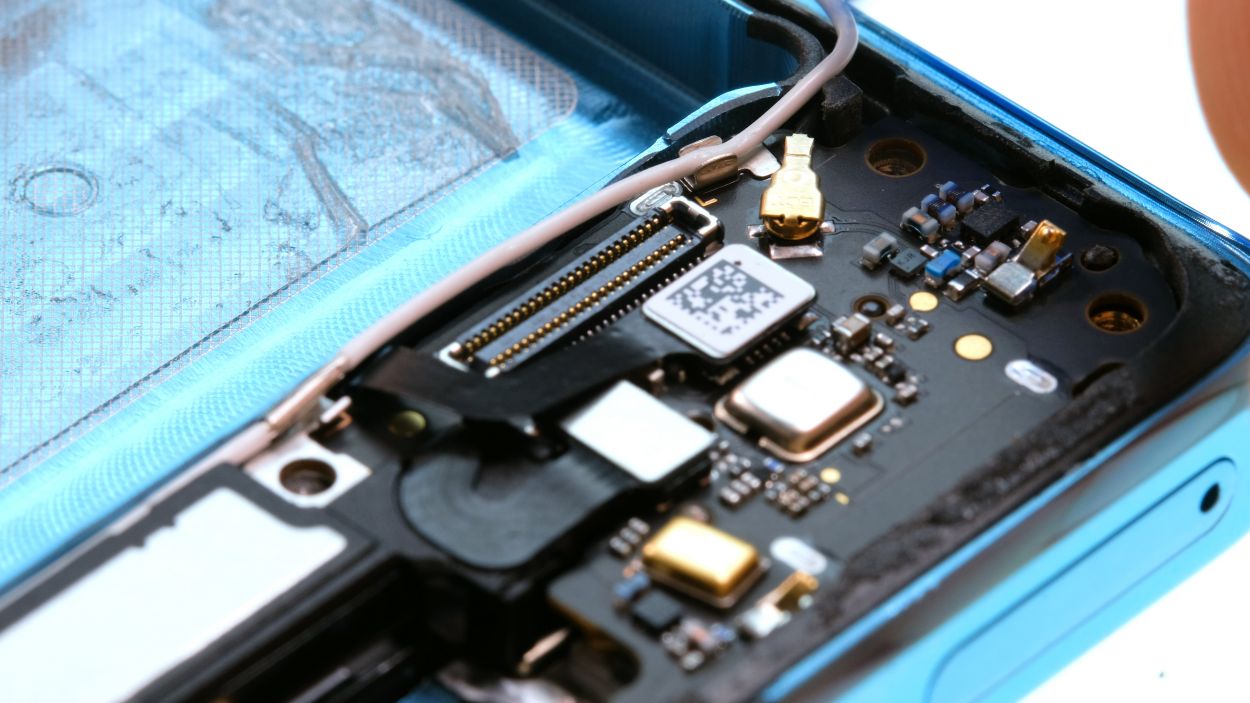
Antenna connector
When swapping out the SIM card reader on your Huawei P30 Pro, don’t forget to carefully detach the antenna cable. You’ve got this!
– Before you get started, make sure that SIM pin isn’t sticking out – we don’t want any accidents!
– Next, pop that board into place and gently slide in the SIM card holder. If it gets stuck, don’t force it, just double-check that the board is sitting pretty.
– Now it’s time to connect those two connectors – easy peasy!
– Lead those antenna cables back along the edge, up to the main board. Press them into their sockets and tuck them away along the battery compartment. Remember, white cable goes on top of the black one!
– Finally, connect those cables to the main board. Use a pair of tweezers to position the contact, and then carefully press it down with a spudger until it clicks into place. It might take a few tries, but you got this! If you need help, you can always schedule a repair.

Step 21


5 × 4,4 mm Phillips
– Gently slide it into its spot until it clicks into place.
– Next, connect all those big connectors to get things rolling.
– Pop the cover back on from the bottom and secure it with screws.
Step 22
Battery connector
– Position the plug over its contact and press it down gently.
Step 23
10 × 4,4 mm Phillips
– Tilt it just right and give it a little push down. You’re doing great!
– Once it’s snug as a bug, go ahead and secure the cover with those screws.
Step 24
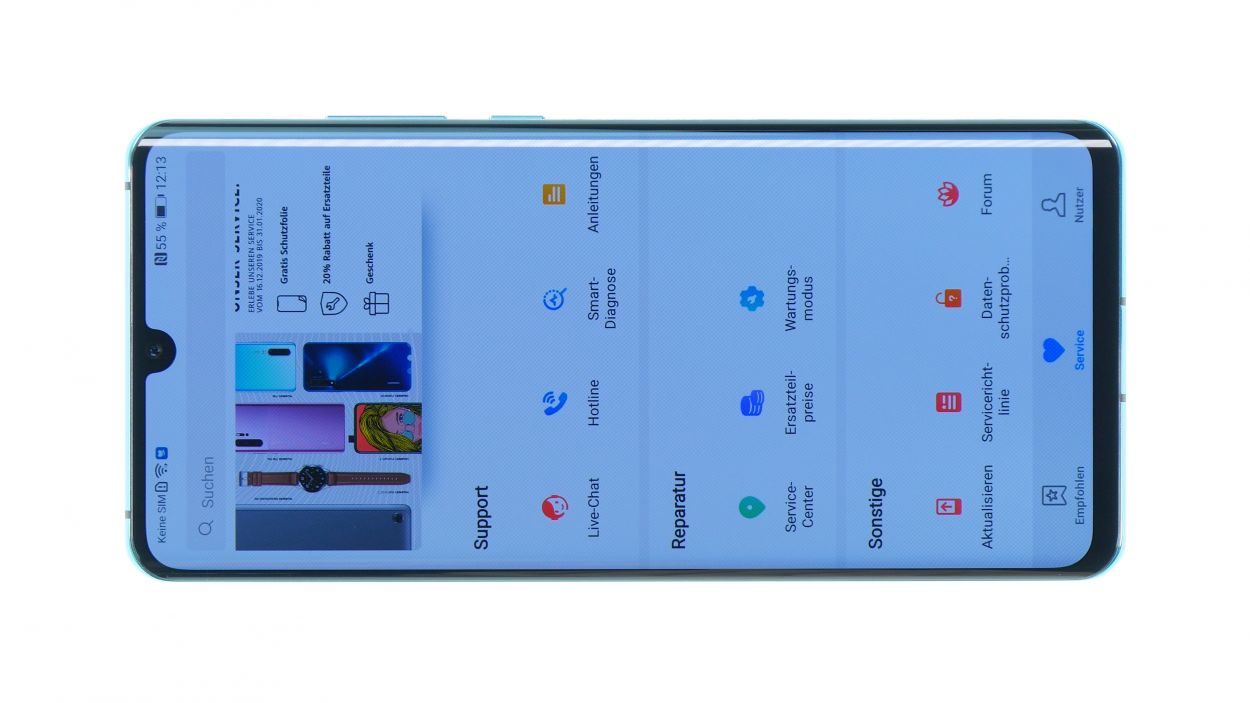


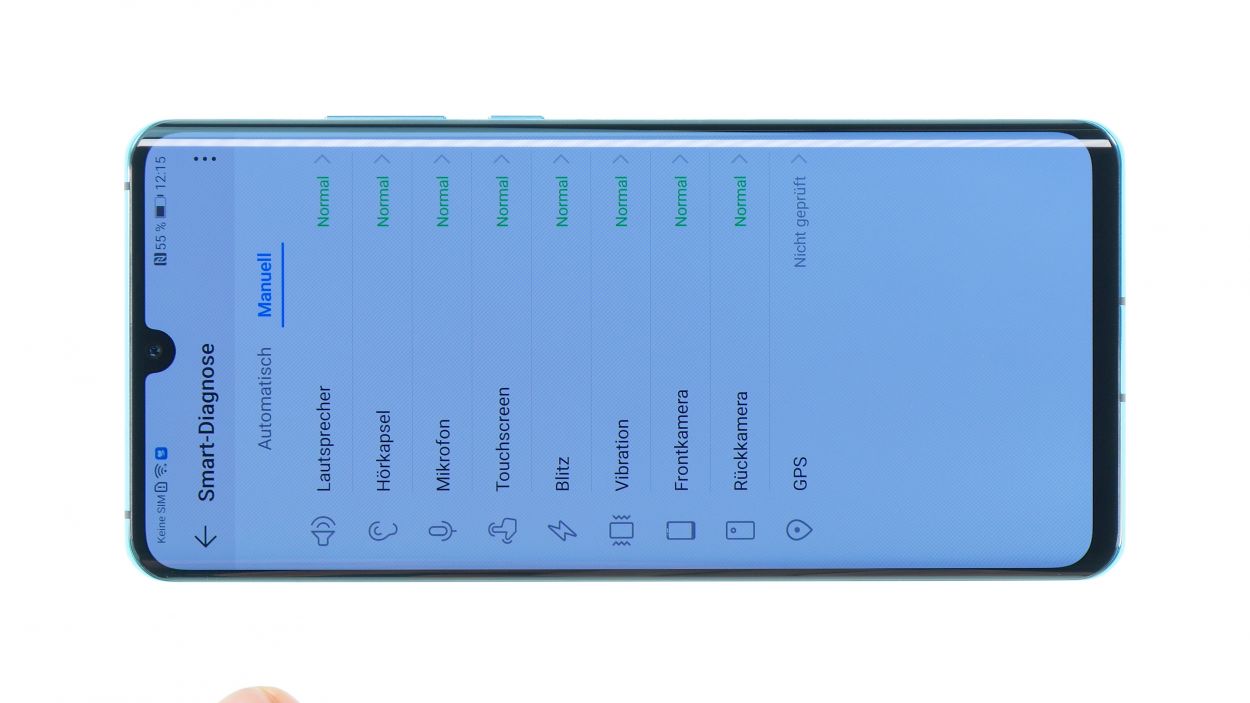
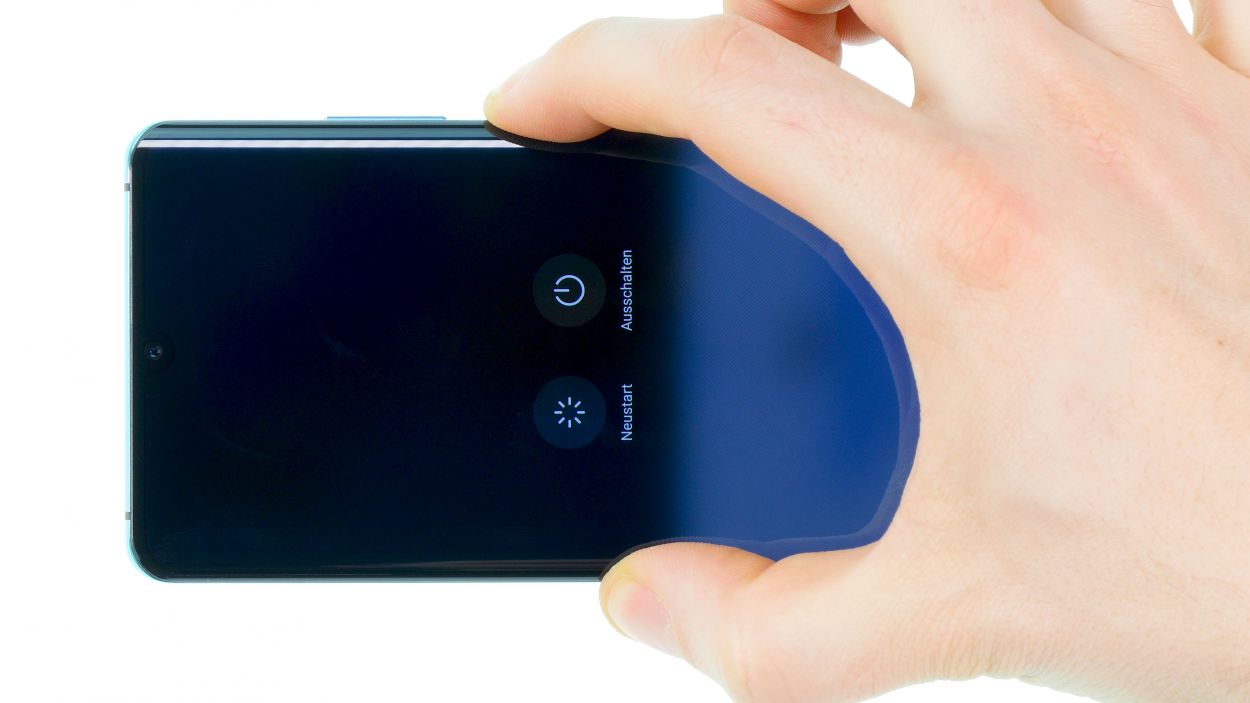
– Before sealing the deal on your device, give it a quick test drive! Huawei’s got your back with an app called Hi Care.
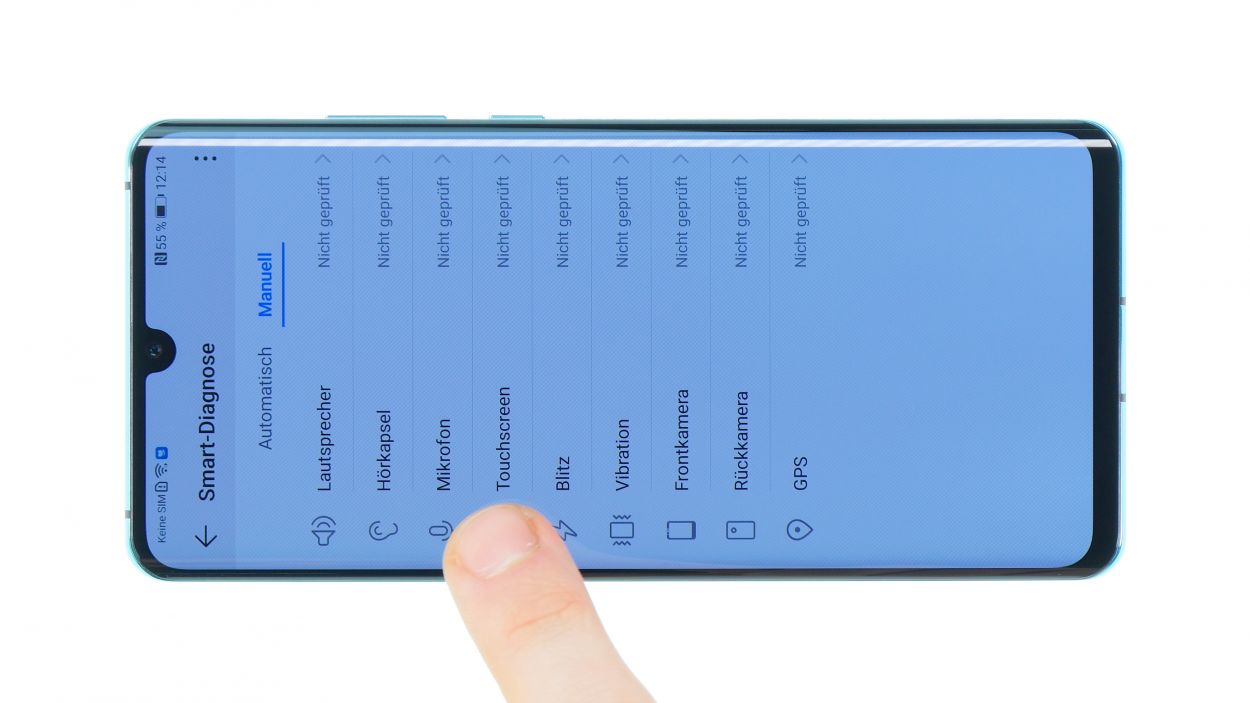
– Fire up the app and let it run the Smart Diagnostics for you. It’s like having a personal mechanic that checks some functions automatically.
– Feeling hands-on? You can also give your device a manual check-up. Make sure to test the touch screen, microphone, speaker, and all the other cool features.
– If something’s acting a bit wonky, take a peek at the related components to see if they’re damaged or not connected just right.
– If everything checks out, it’s time to close up shop and finish your repair!
Step 25
Just a heads up, your smartphone won’t be completely shielded from liquid mishaps after the repair. Stay cautious!
– Before you stick the back cover on, check out that glue! Make sure it’s spread evenly so the cover sits perfectly. Wipe off any extra glue.
– Feeling fancy? You can totally remove the old glue and use fresh adhesive.
– Gently center the back cover and ease it into place. Don’t press hard until it’s perfectly aligned.
– Give the back cover a little heat with a hairdryer to help the glue bond better.
– Let the glue cool, then press the back glass firmly. You can use your fingers or a light weight to hold it in place.