DIY Guide to Replace Huawei P30 Pro Cameras
Duration: 75 min.
Steps: 10 Steps
The camera on the HUAWEI P30 Pro is a real showstopper, right? You definitely don’t want to miss capturing those stunning, high-quality moments just because your camera is acting up. If you’re feeling nostalgic but can’t be without your device for repairs, our handy repair manuals have got you covered! It’s time to swap out that camera if it’s struggling to focus and leaving your photos blurry. Even those pesky stains on the lens or viewfinder might be signs that your camera needs attention. We’ll walk you through the repair process step by step and highlight what to keep an eye on while you work. Got questions? Hit us up in the comments to connect with our awesome technicians and community—they’re ready to help you out in no time! And if you have feedback about the guide, we’d love to hear your thoughts!
Step 1

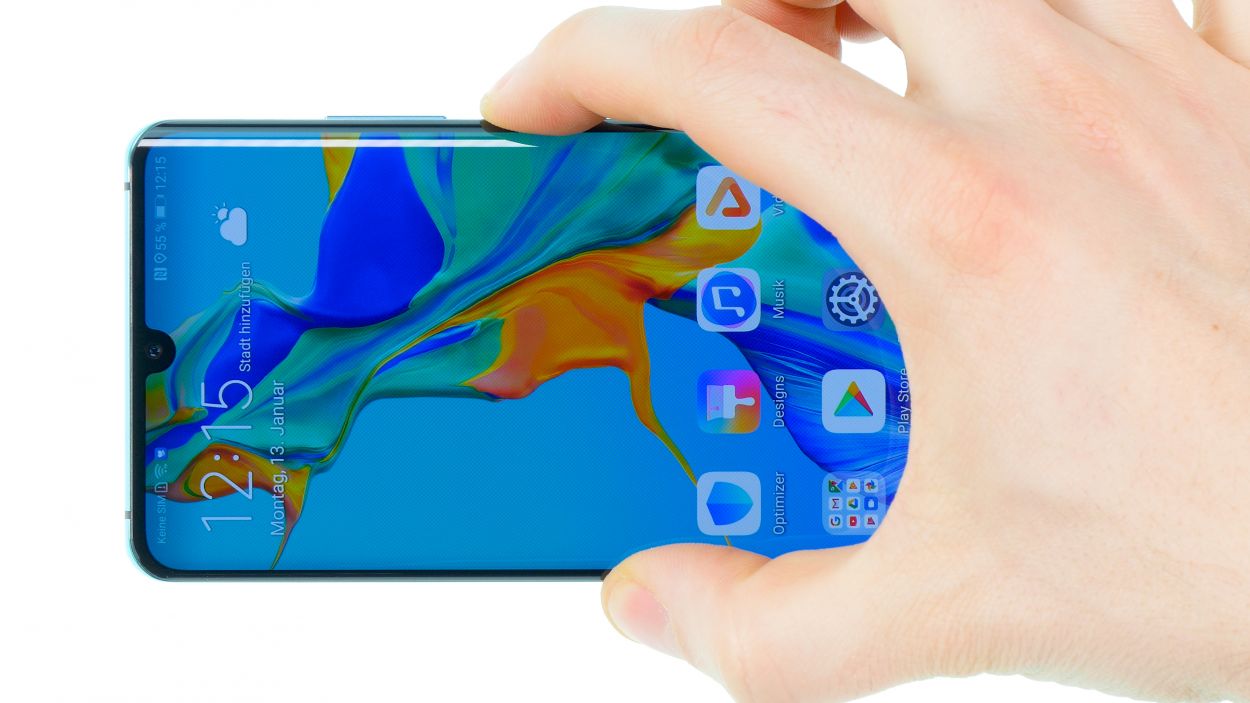
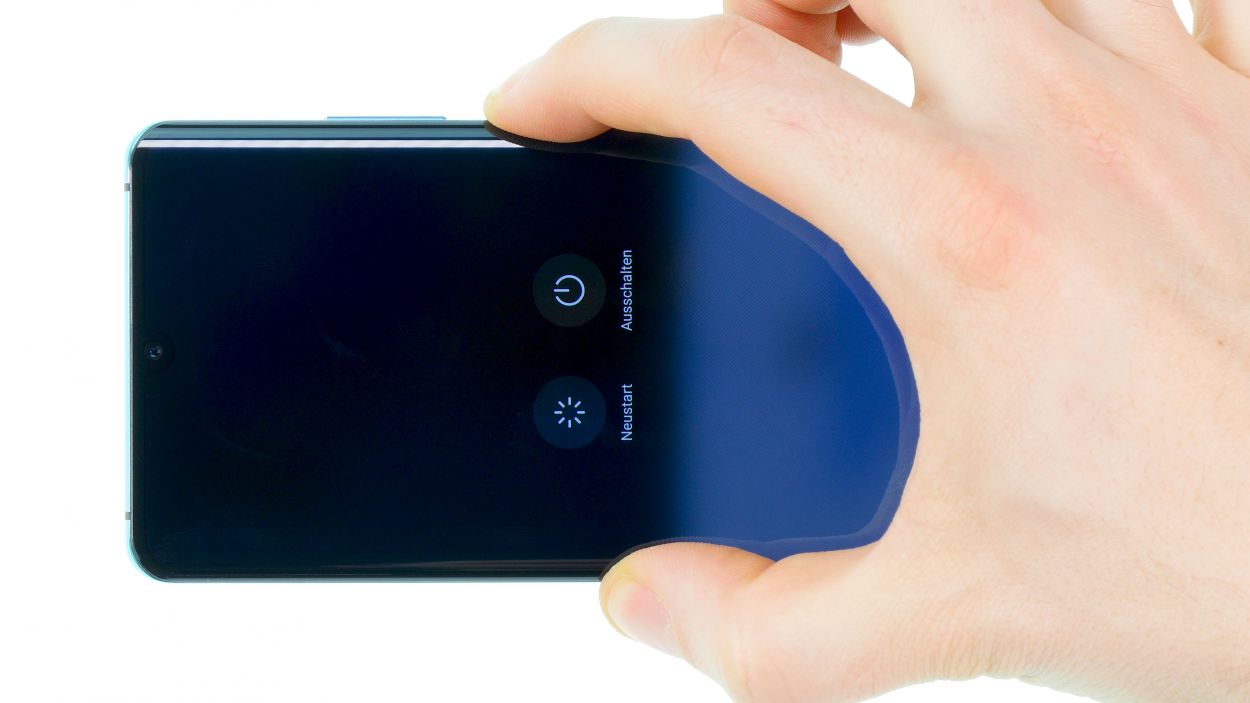

– First things first, let’s keep it safe! Make sure to power down your device before diving into any repair work to avoid any pesky short circuits.
– If your screen has decided to take a permanent vacation due to a faulty display, don’t sweat it! Just follow a few simple steps to disconnect the battery, and your device will power down in no time.
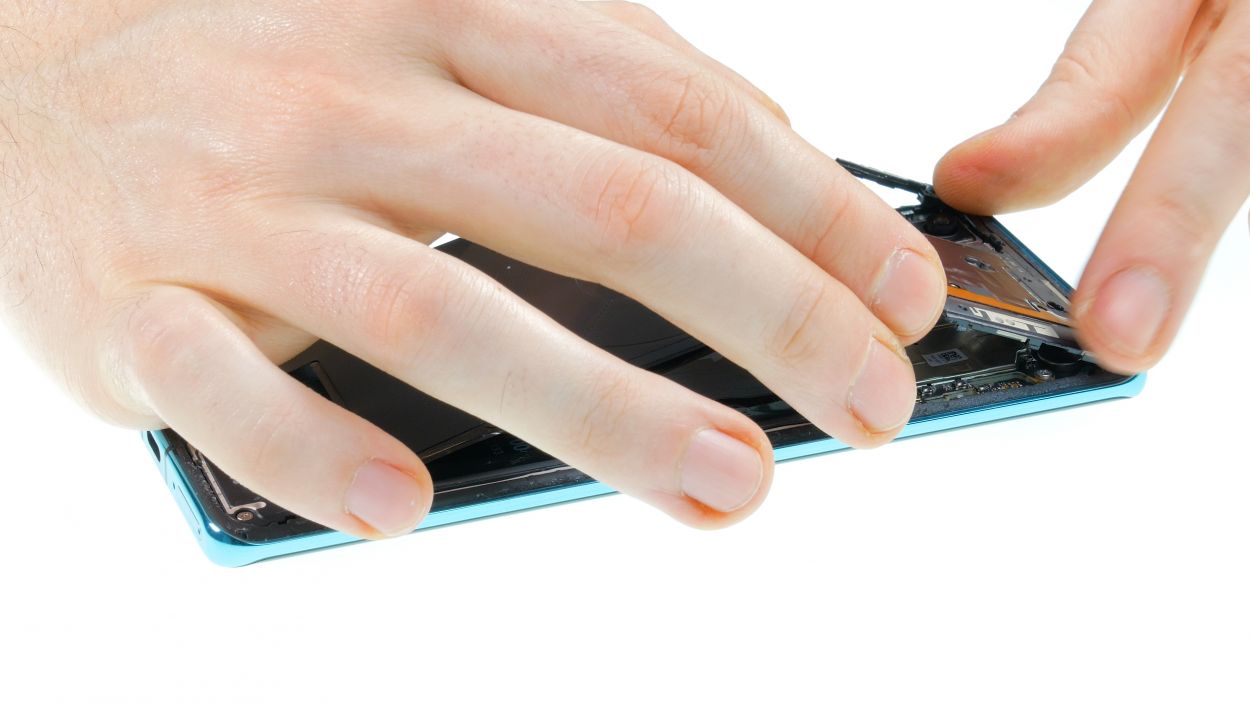
Step 2

Heads up! After you tackle this repair, your phone might lose its waterproof charm. Just a little reminder to keep it dry and cozy!
Keep your eyes peeled around the cameras; we want to make sure they stay in tip-top shape! A little extra caution goes a long way.
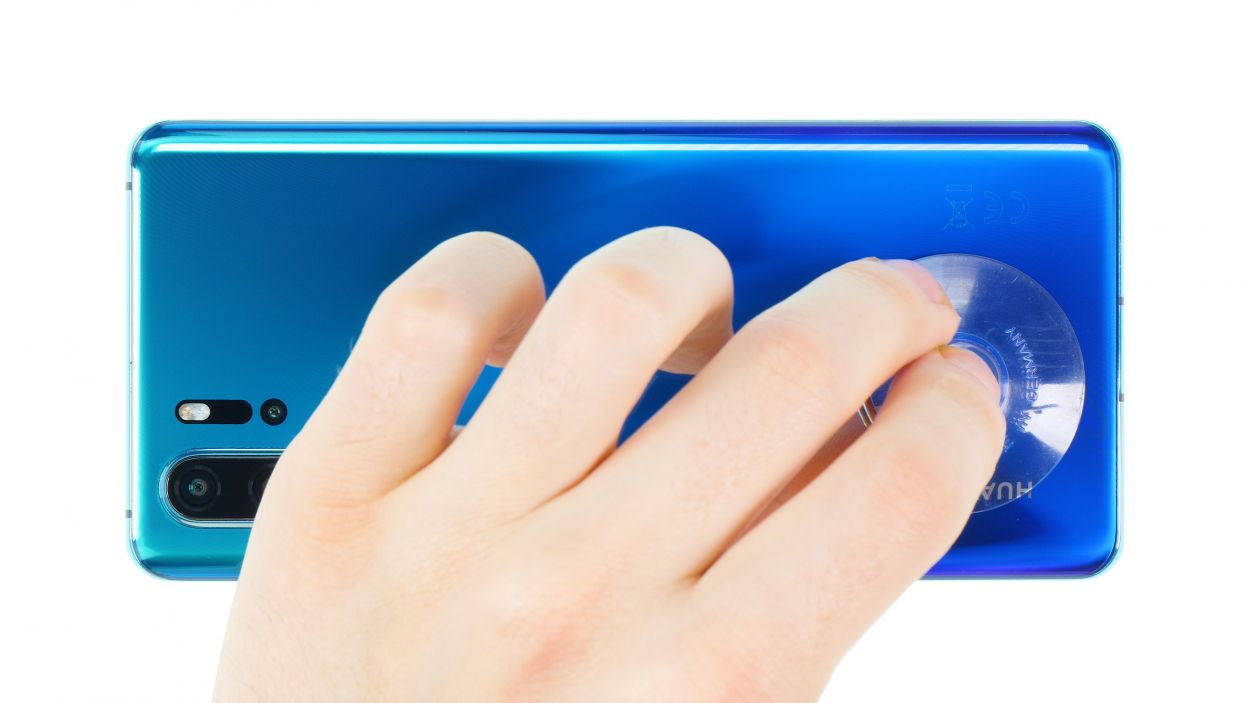
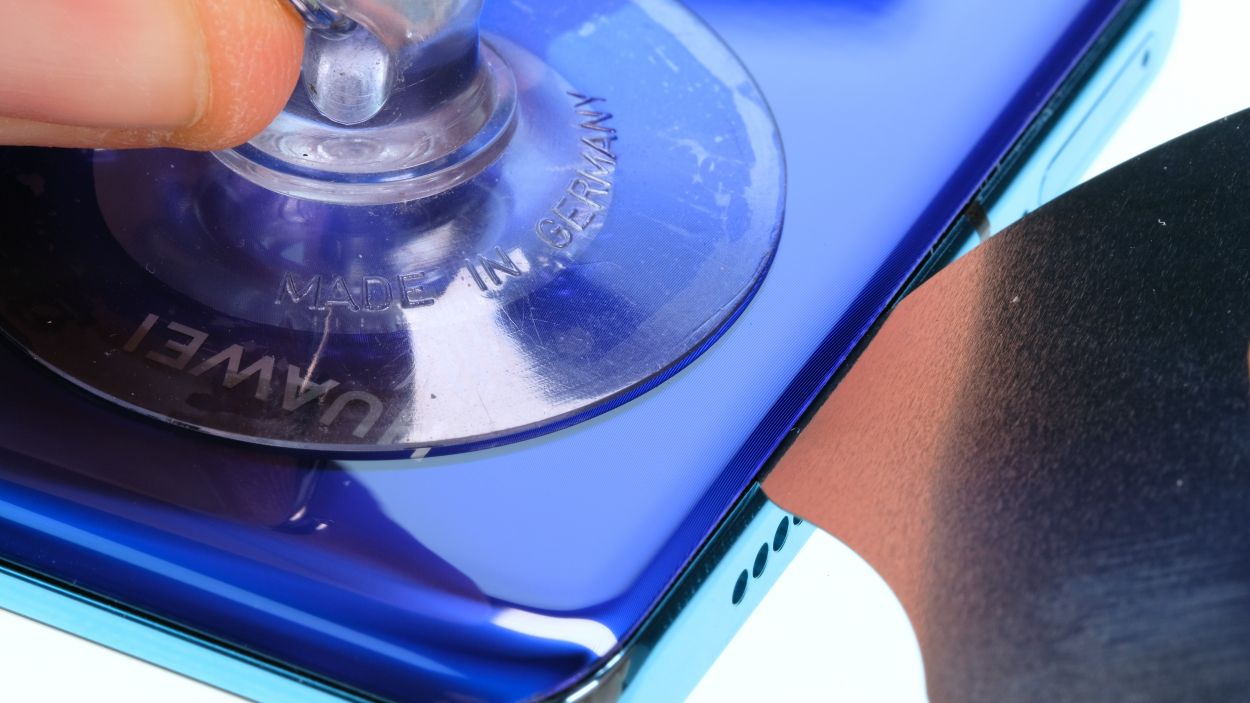
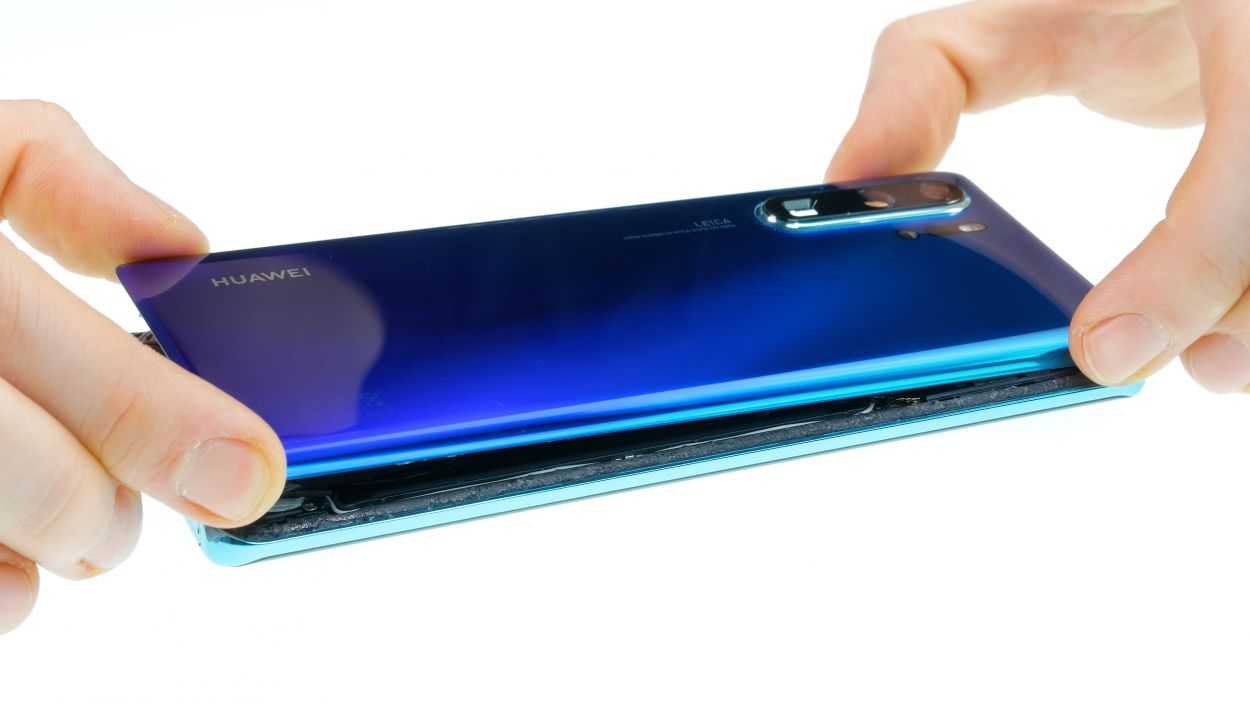
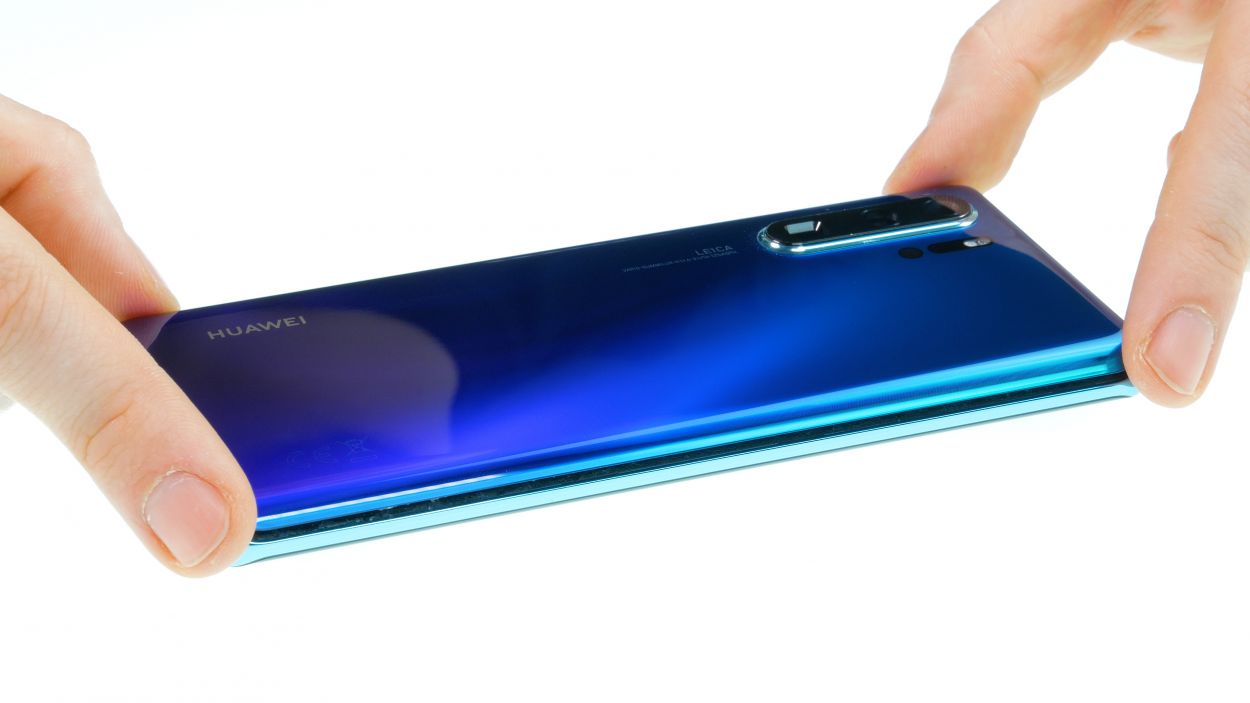
– Warm up the entire edge of the back cover, especially the spot where you’ll start to loosen it. Just make sure it’s not too hot to handle!
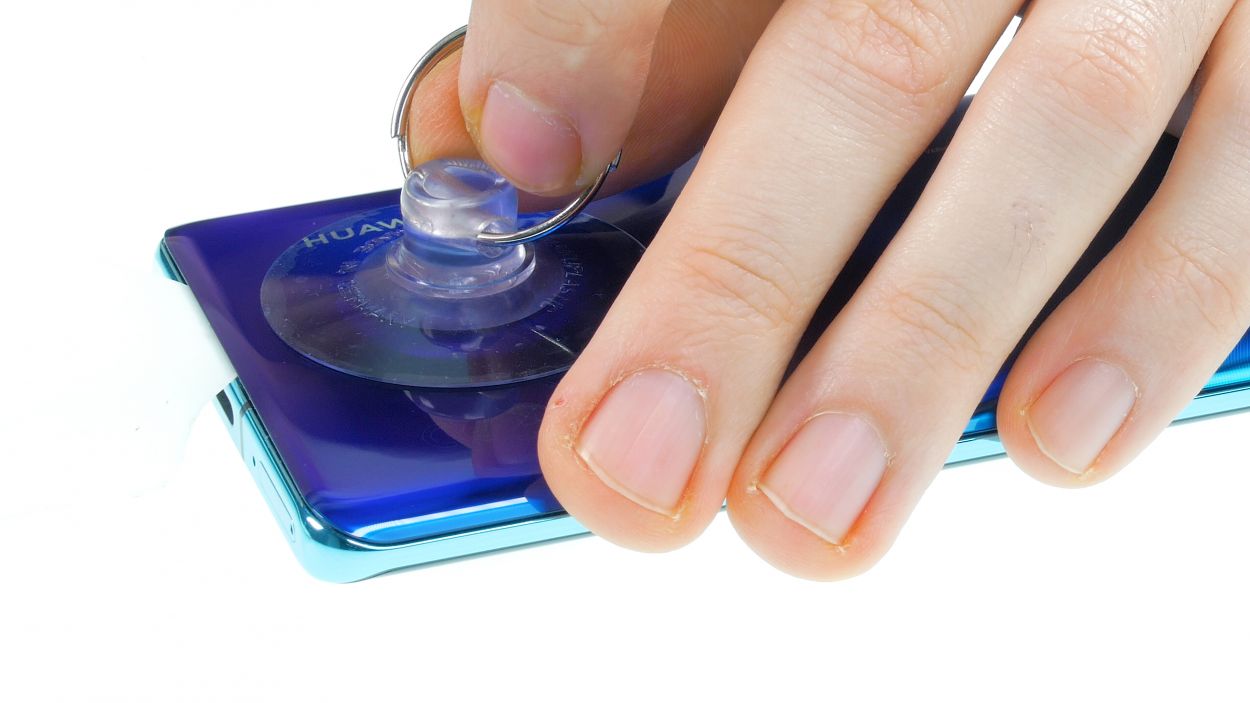
– Stick the suction cup on the bottom of your device and give it a gentle pull to create a little gap between the back cover and the frame.
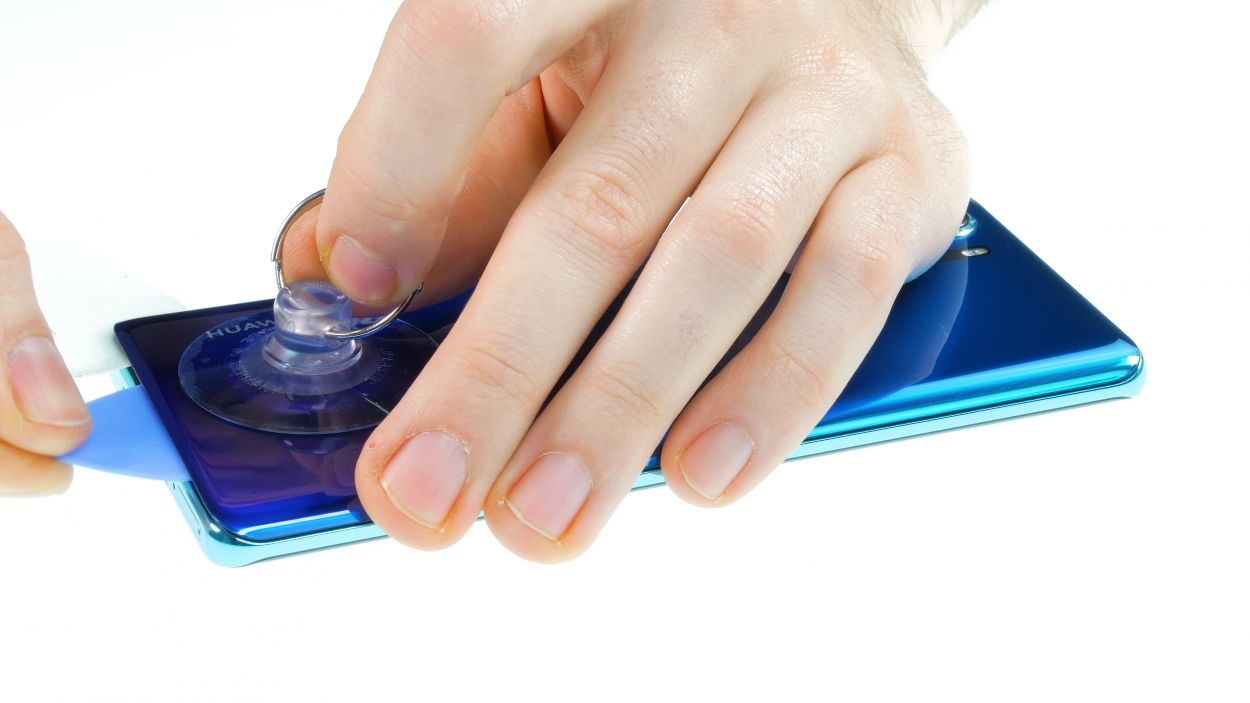
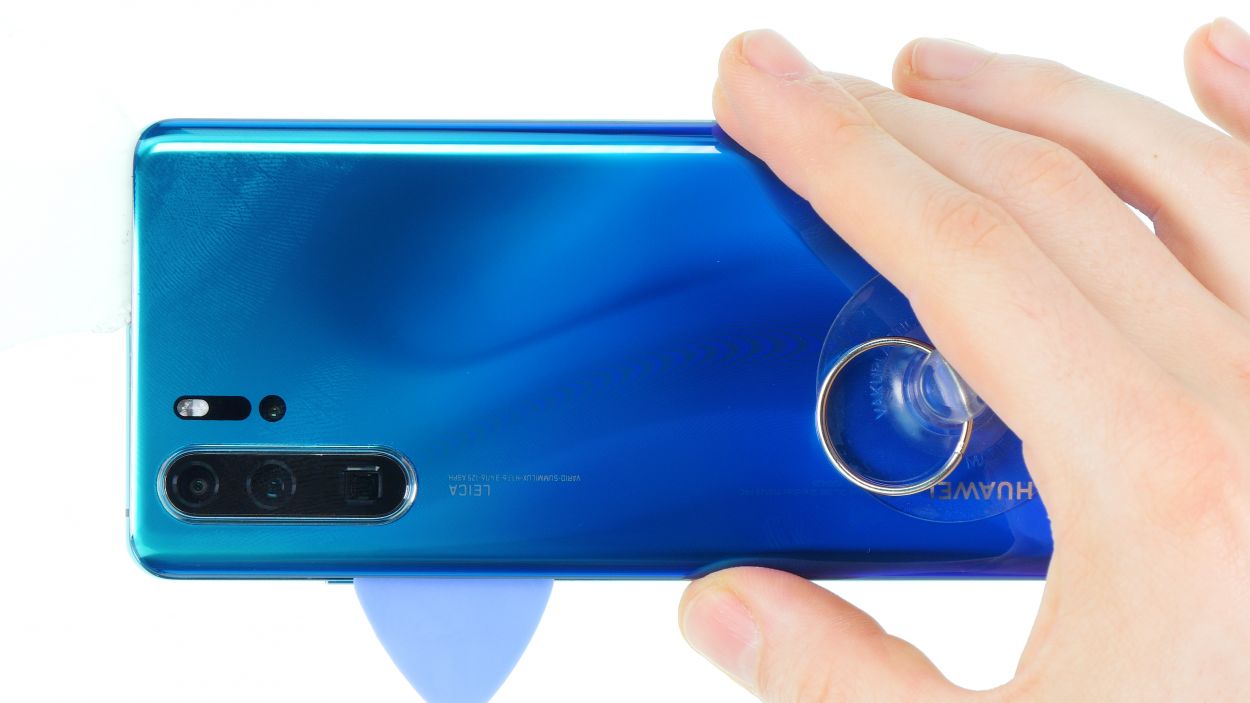
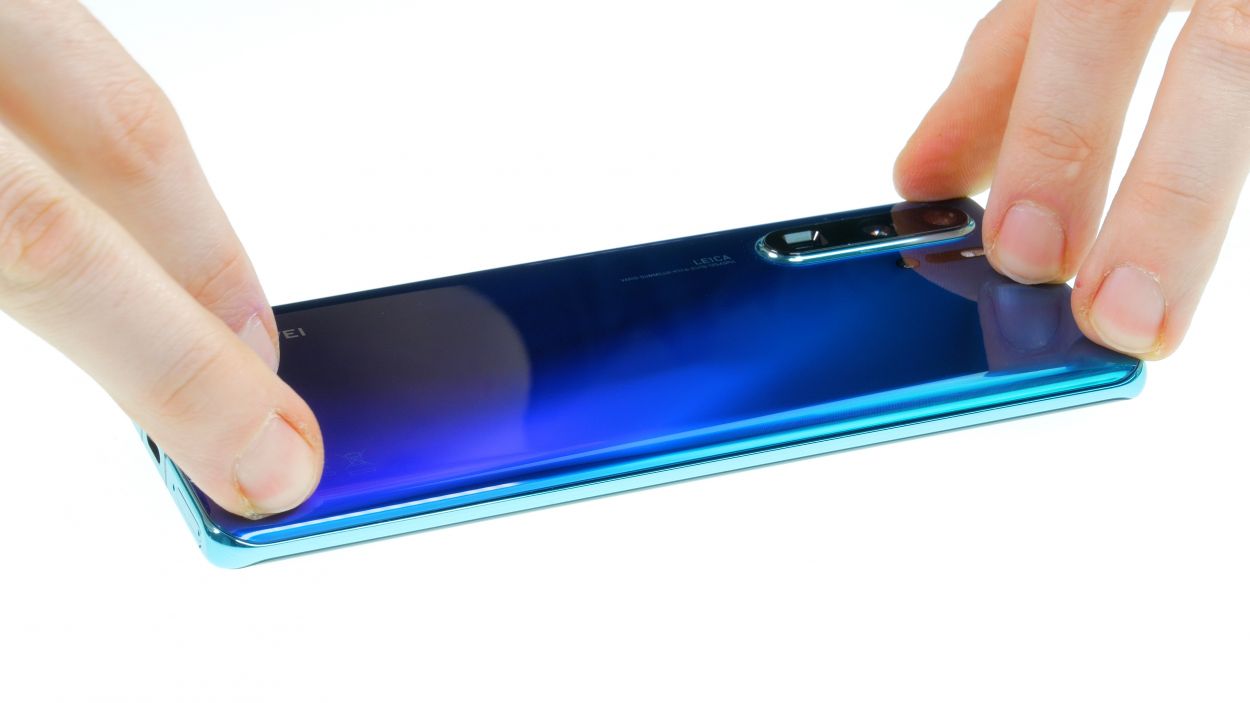
– Now, grab your tool and slide it into that gap. Using the iFlex makes this a breeze since it’s metal and a bit sturdier. But don’t forget to switch to a plastic tool as soon as you can!
– Take it easy with this step! The back cover is made of glass and can be a bit fragile.
– Be cautious not to push the tool too deep into the device, and watch out for scratching the back cover with the tool’s edges.
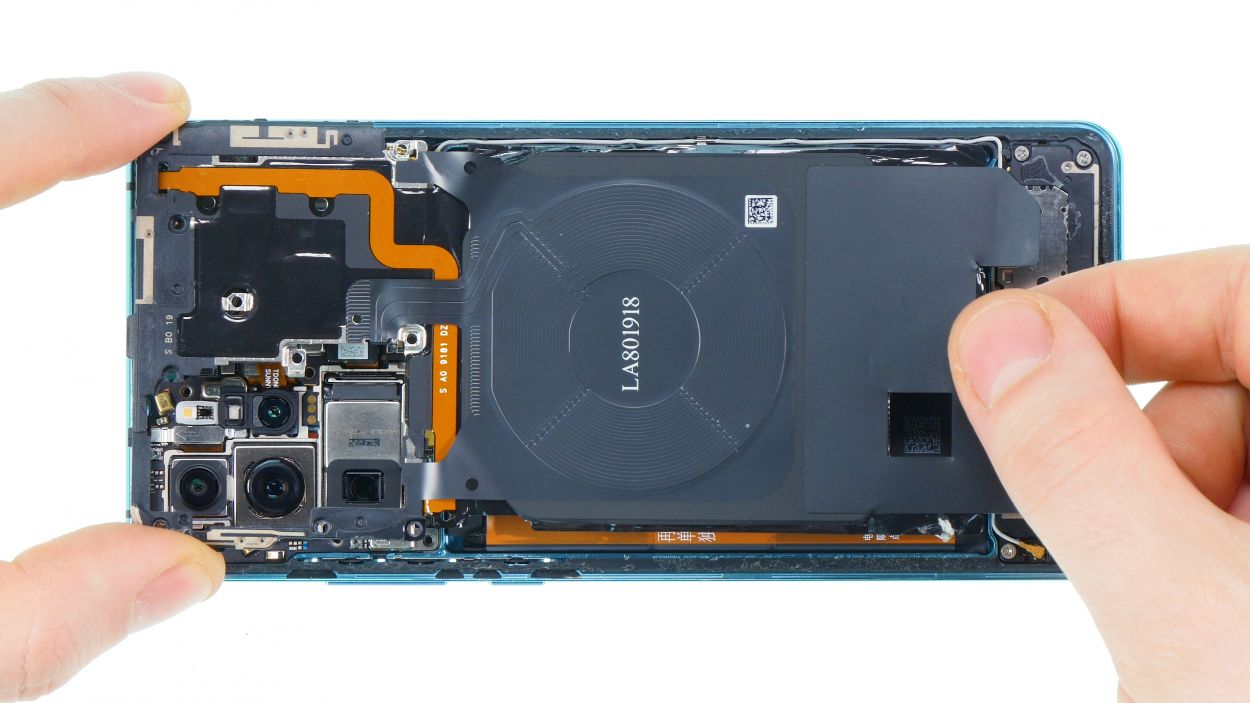
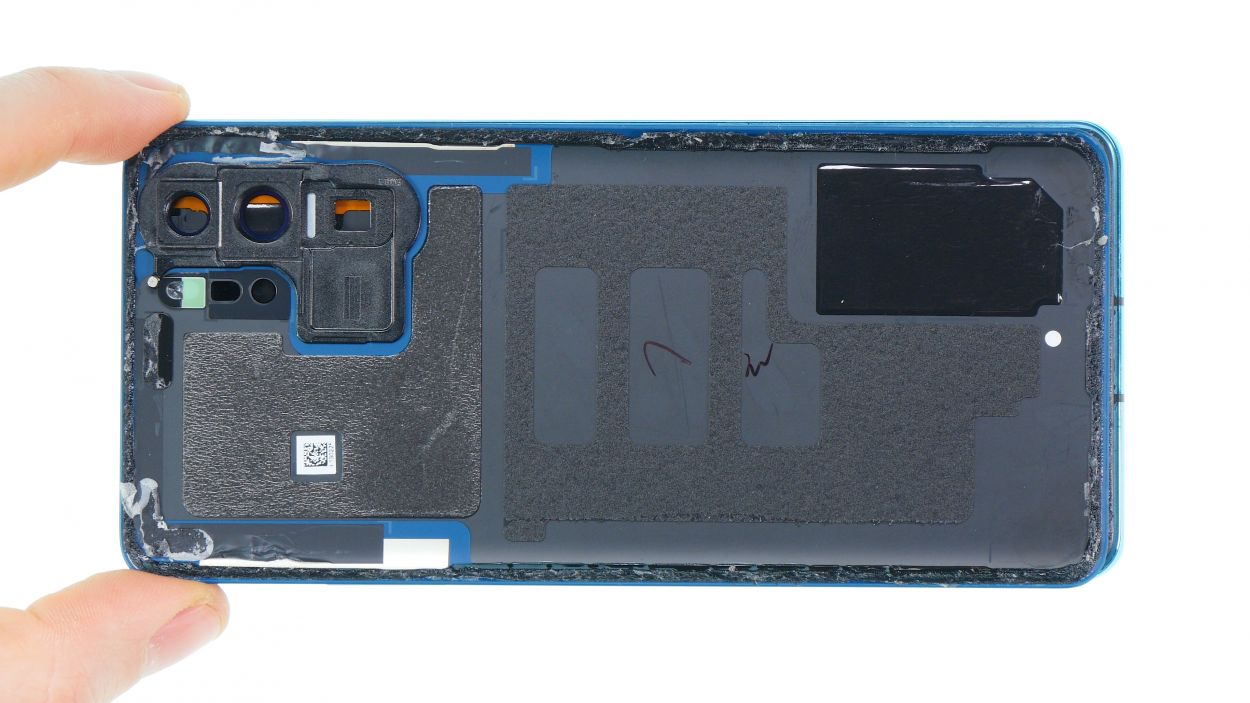
Step 3
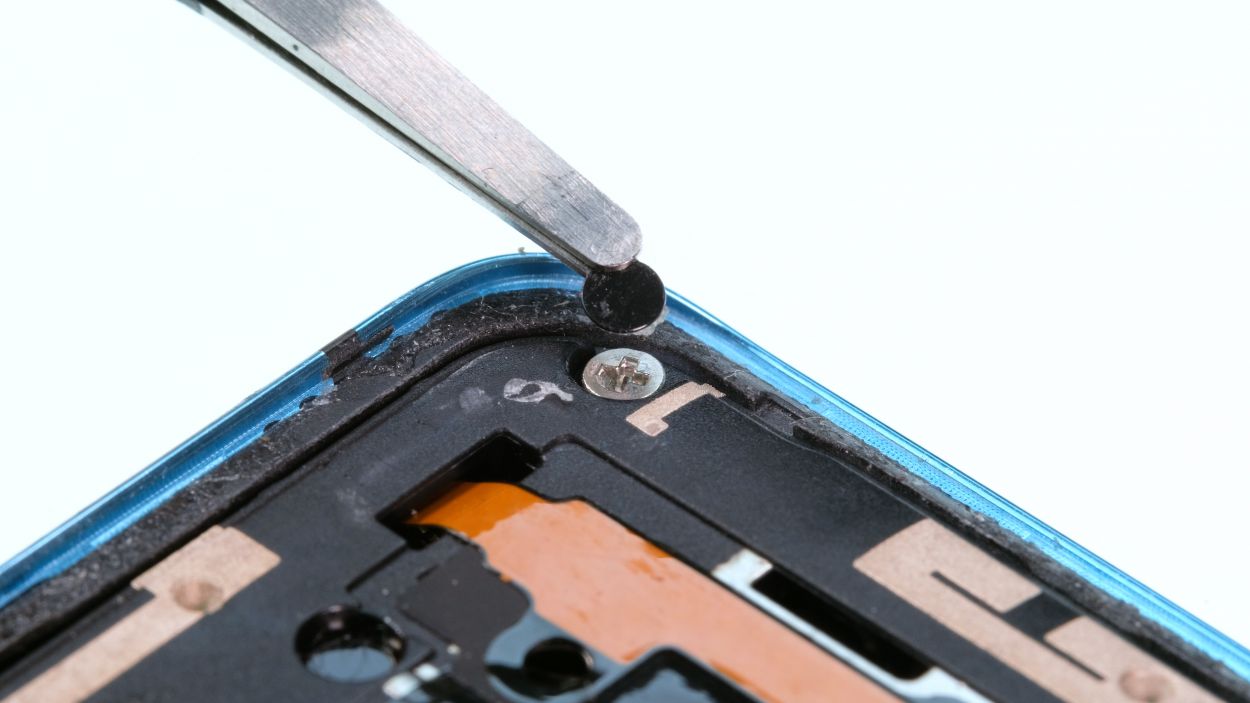
10 × 4,4 mm Phillips
– First up, let’s tackle those Phillips screws! Remove all the screws of the same length from the plastic cover and keep them all in one spot. We don’t want any of them running away!
– Keep an eye out for screws that are hiding behind black stickers or white water indicators. They can be sneaky!
– Grab a pair of tweezers to help you with the screw removal. They’ll make this job a breeze!
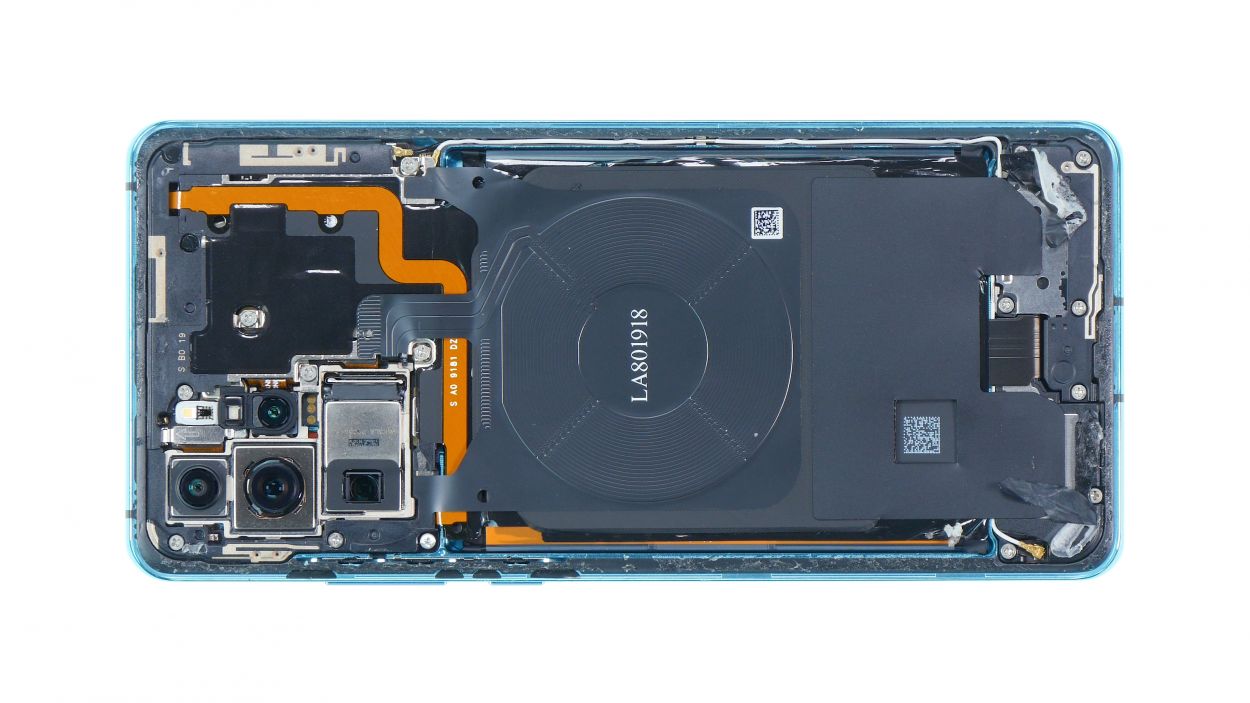
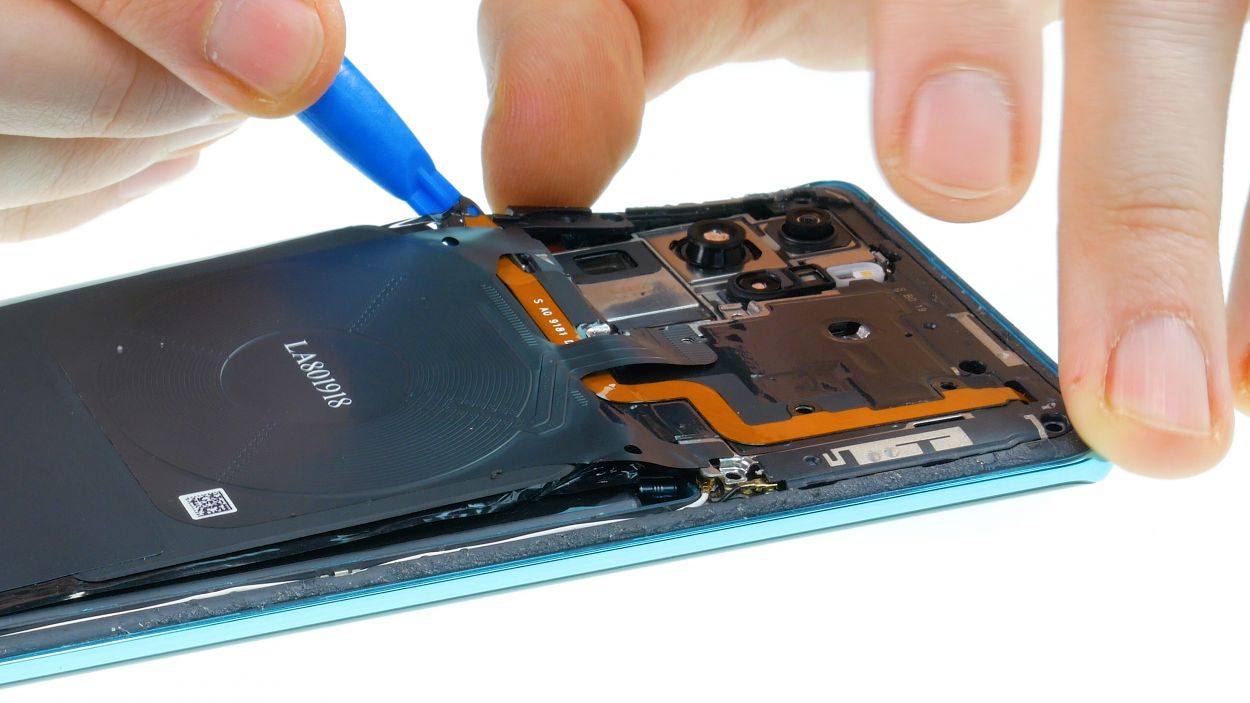
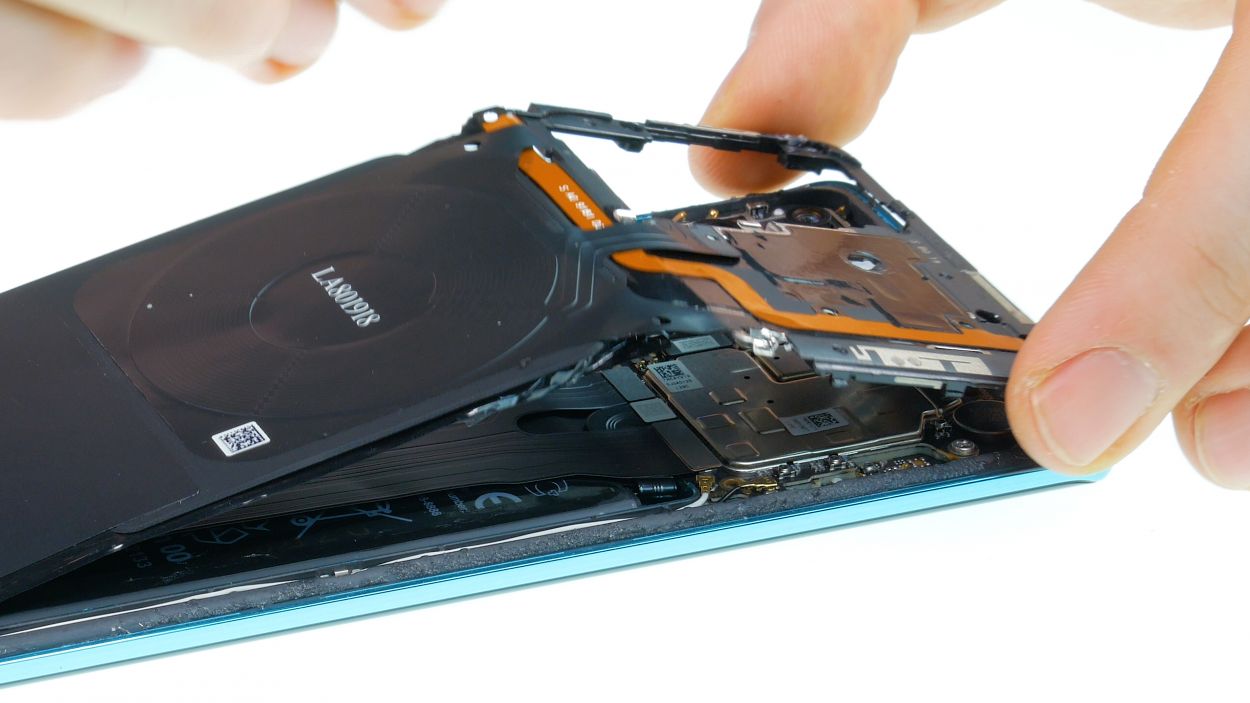
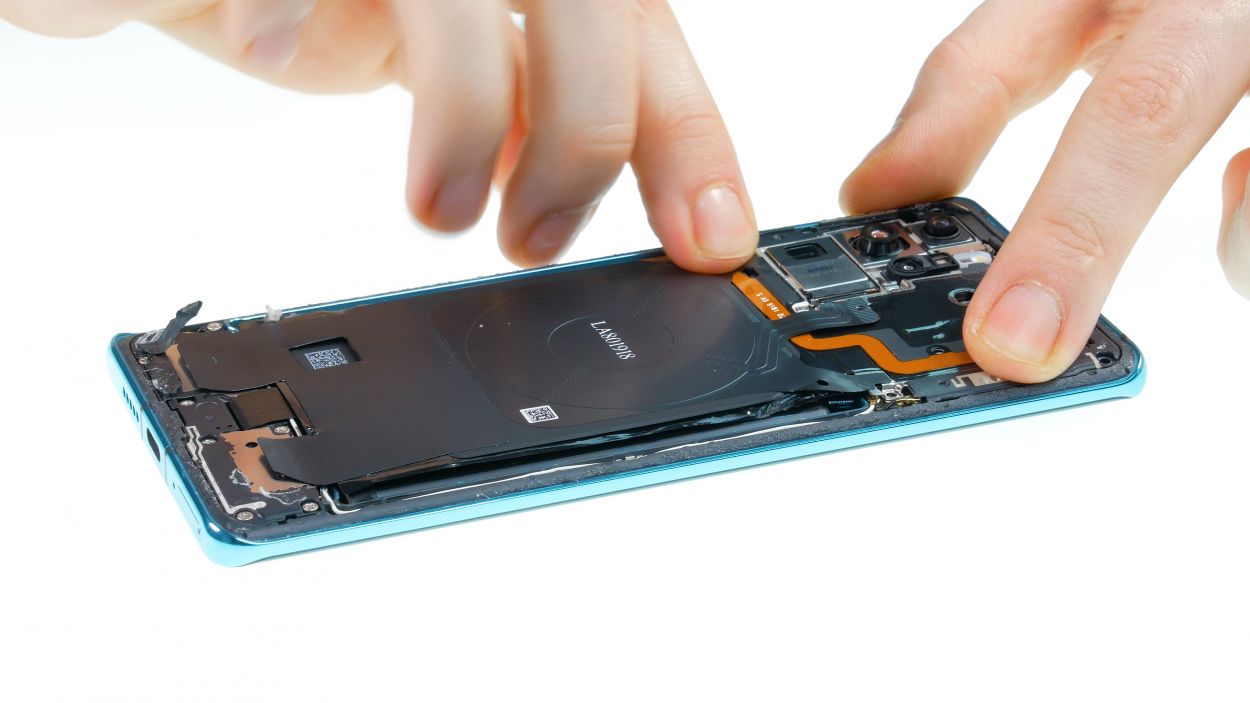
– Remember, the cover is doing a great job protecting the mainboard and housing the coil for wireless charging. It’s like a superhero for your device!
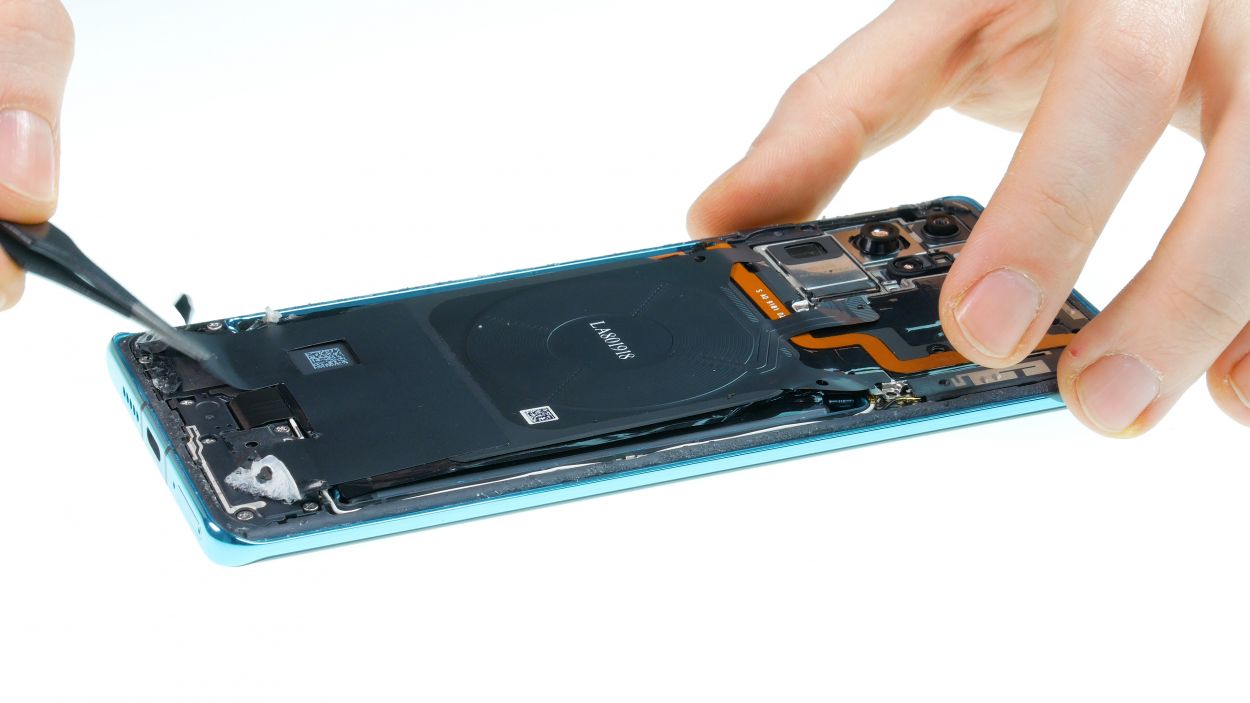
– The coil is glued down at the bottom end. Use your tweezers to gently slide under it and loosen the glue. Just be careful of the battery that’s right below it—it’s a delicate dance!
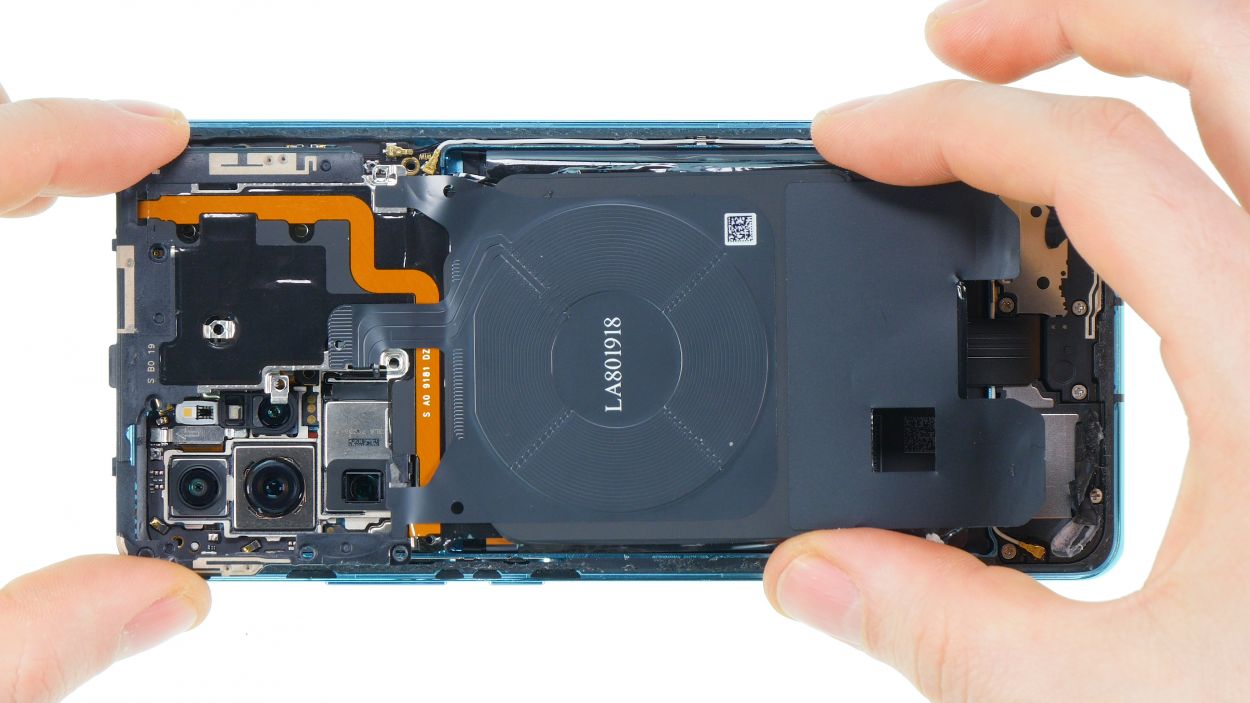
– Now, it’s time to lift up the cover! It’s hooked into the edge, so leverage it up and carefully take it out of the device. You’re doing great!
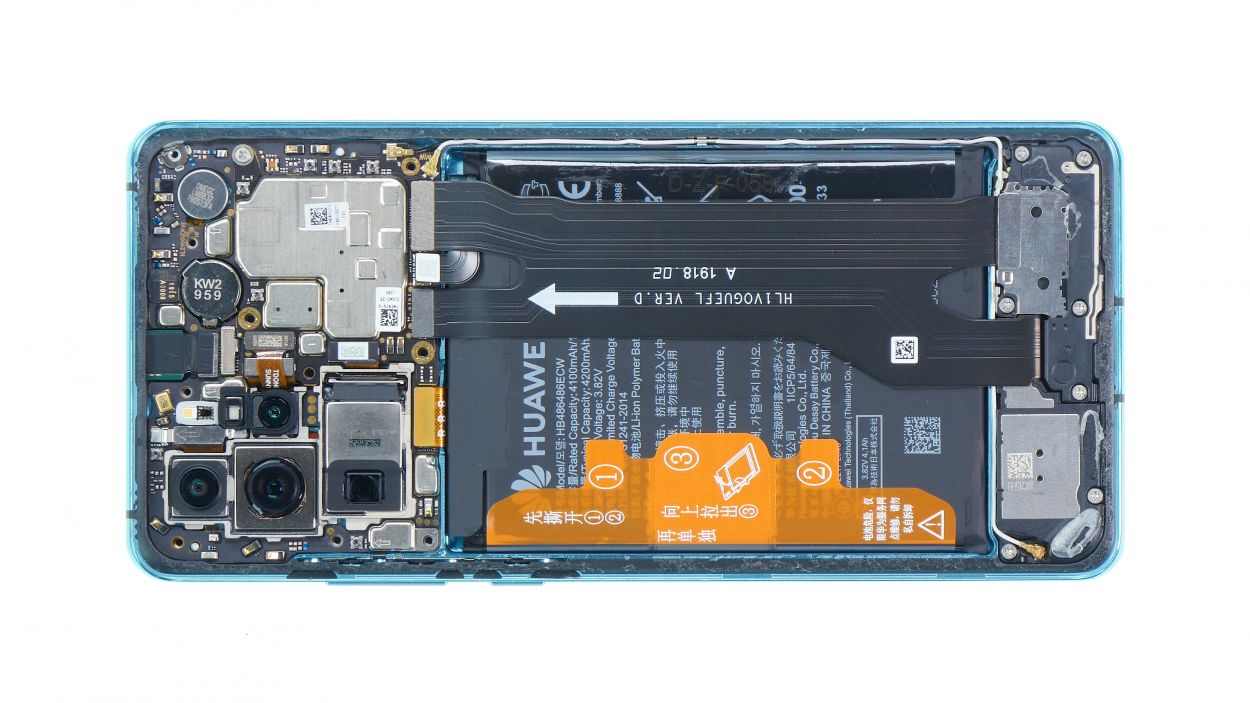
Step 4


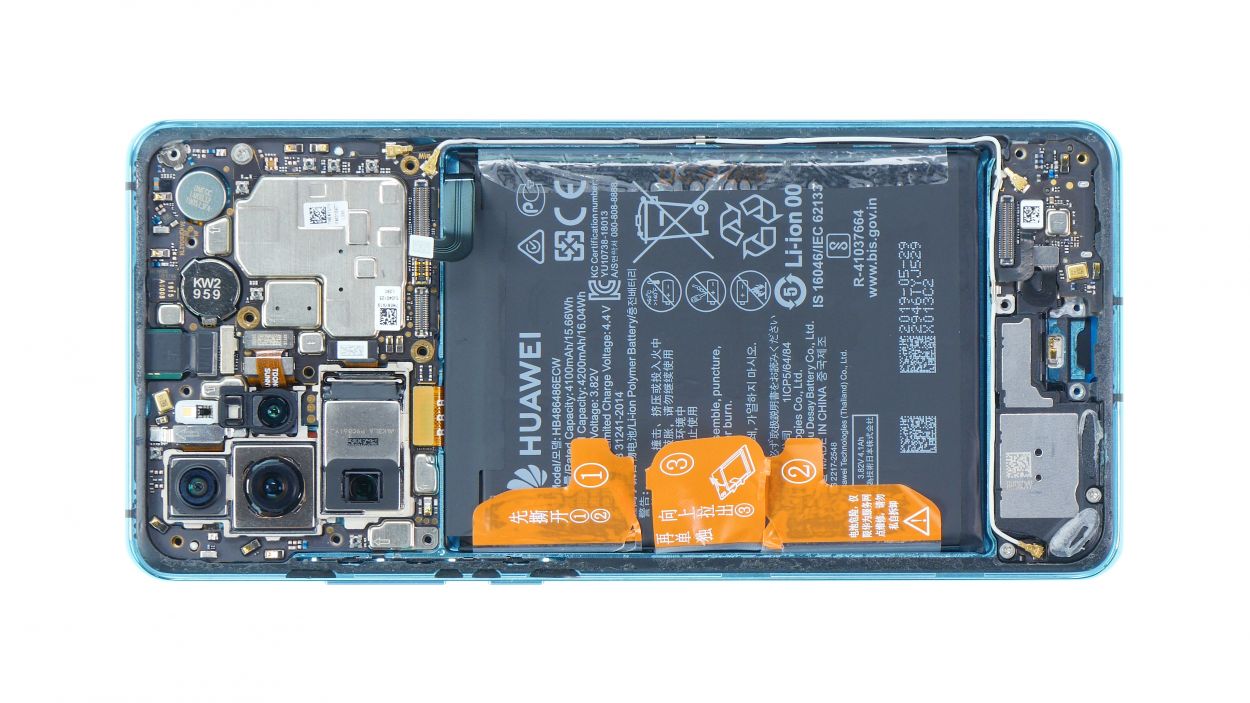
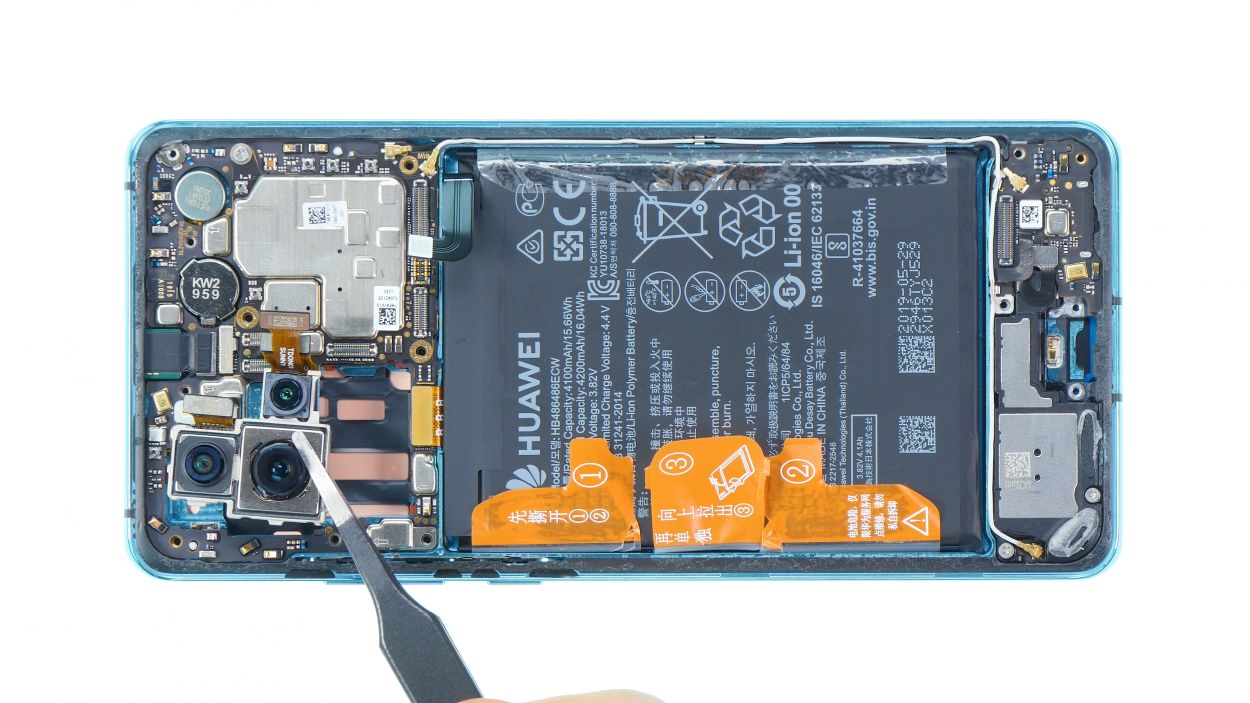
Battery connector
When you’re unplugging those connectors, just remember to be gentle and watch out for the tiny components on the board. We want them to stay safe and sound!
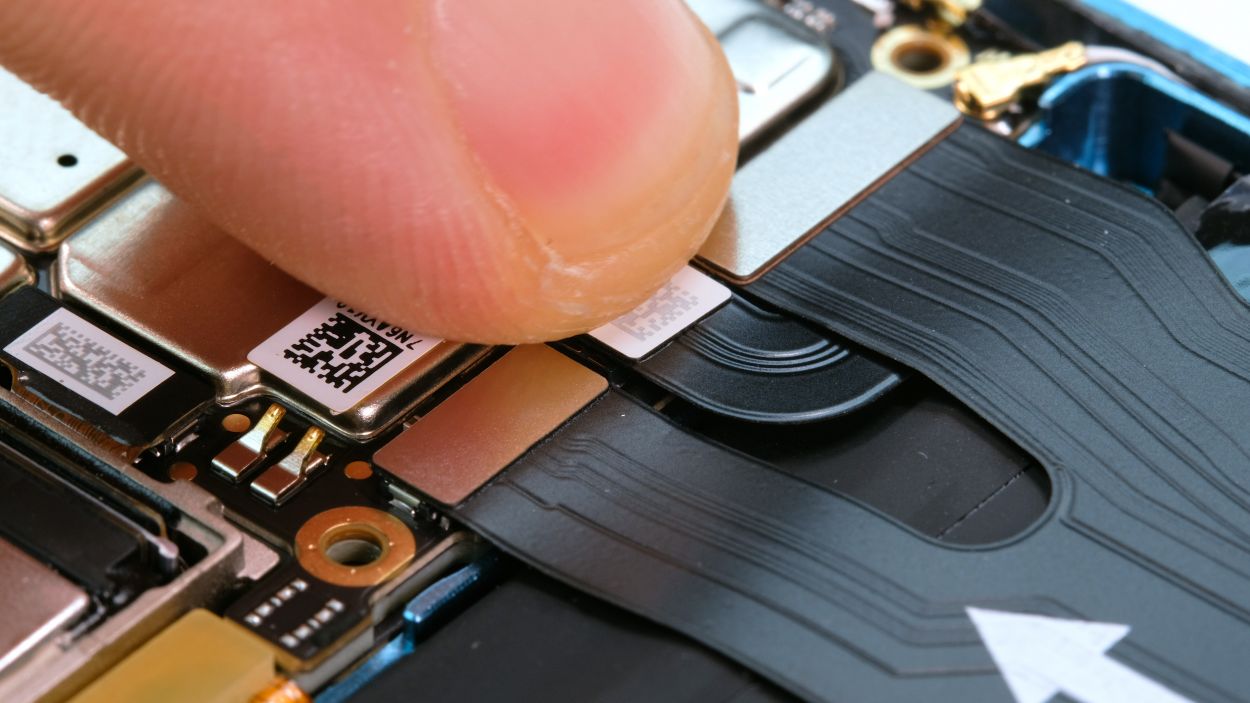
Step 5
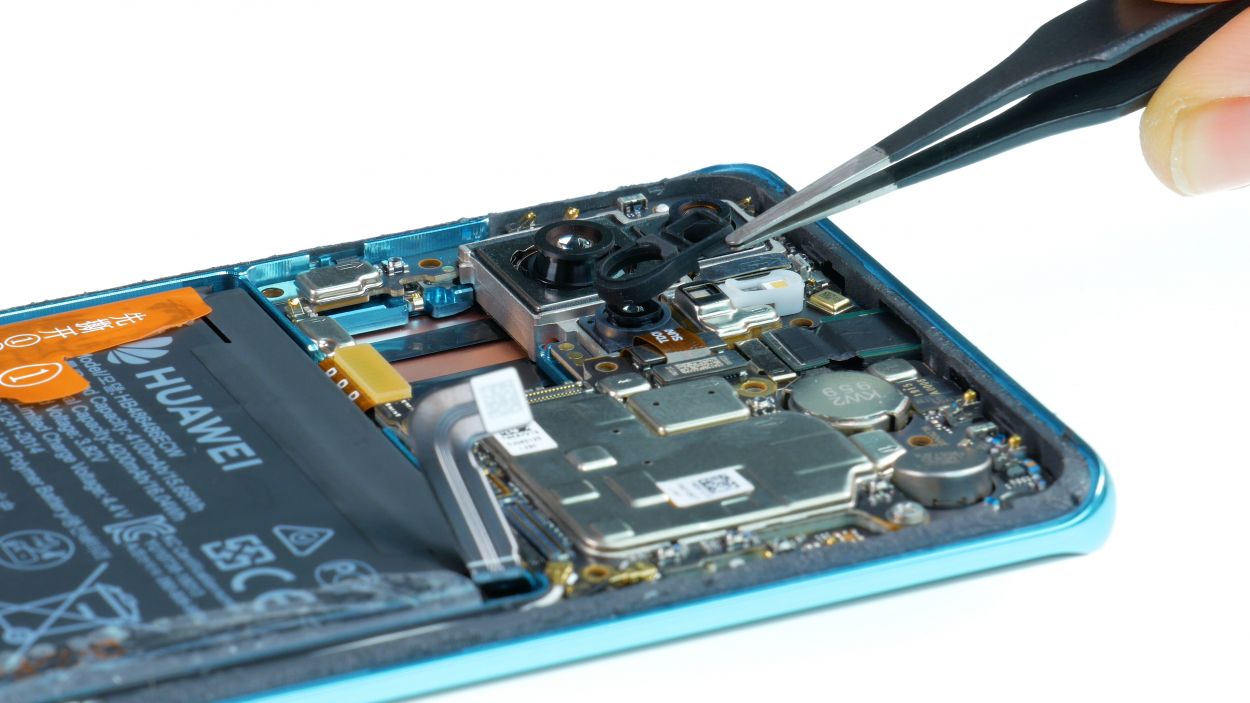
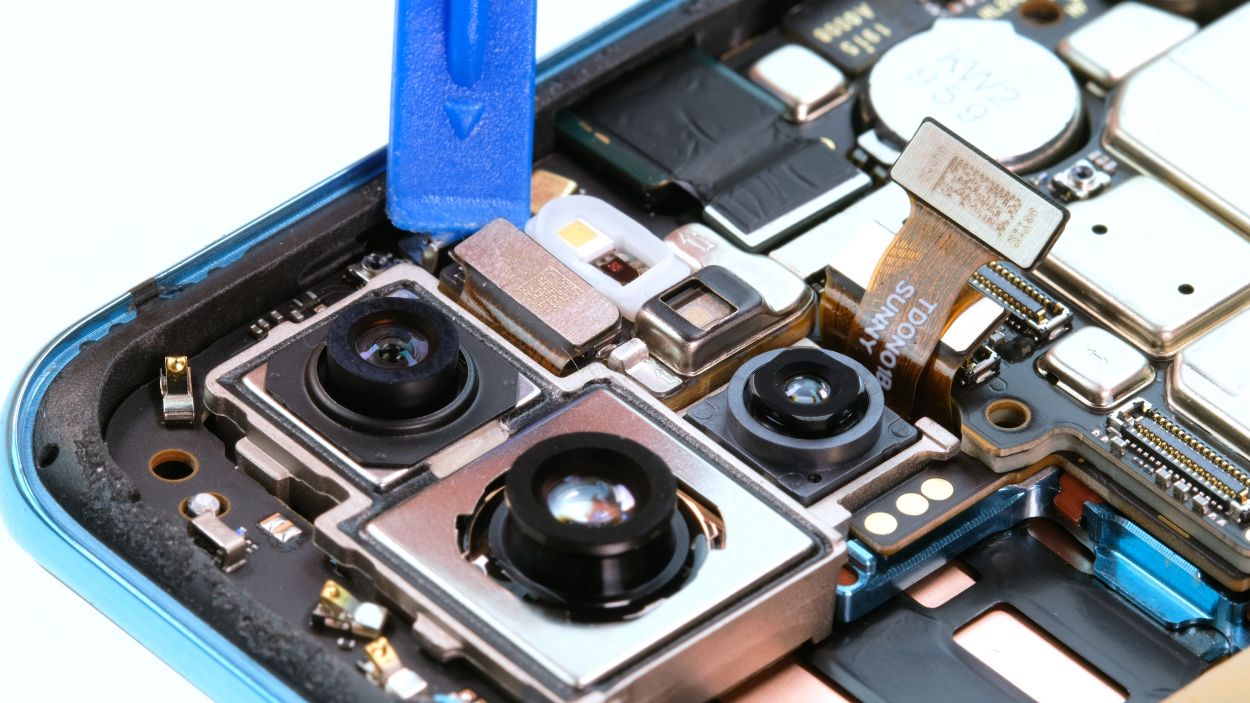
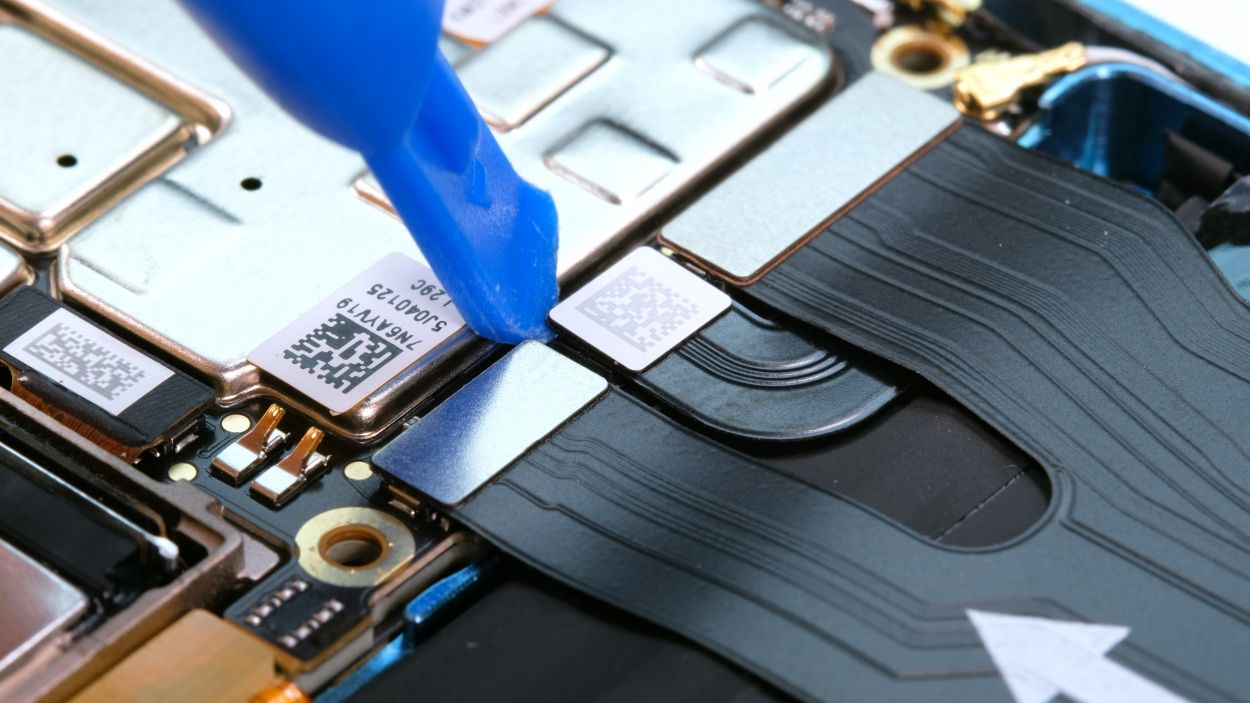
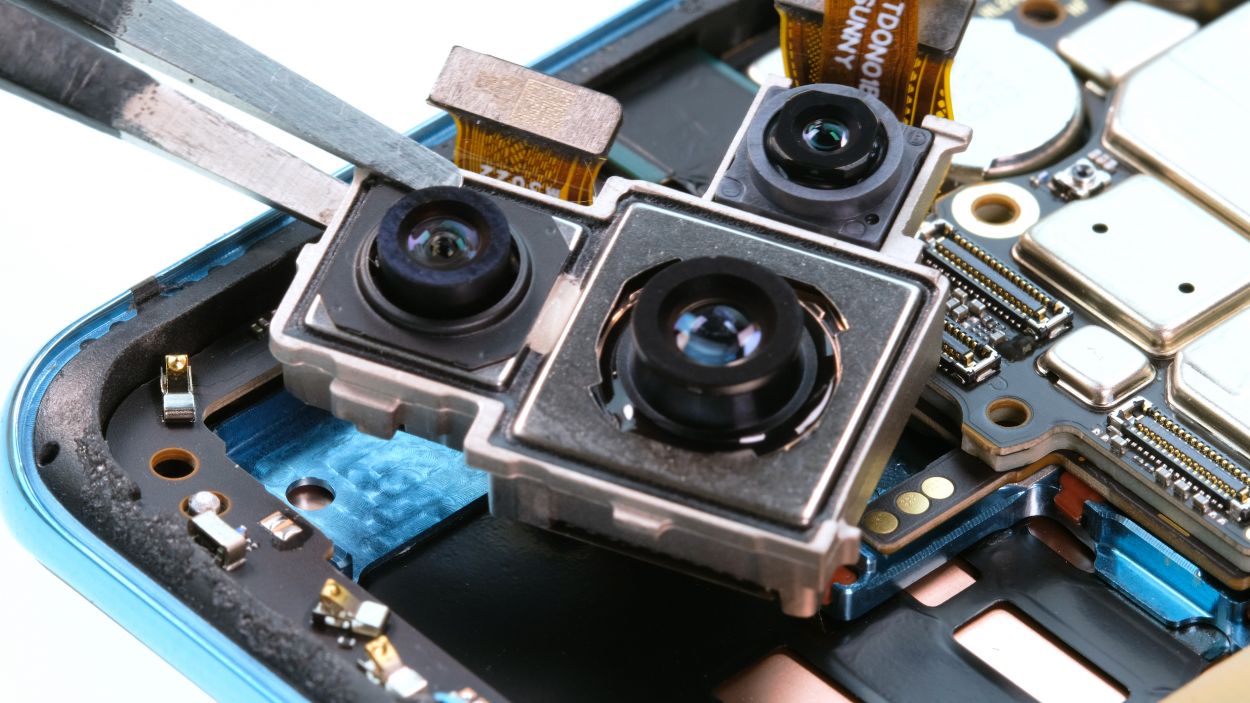
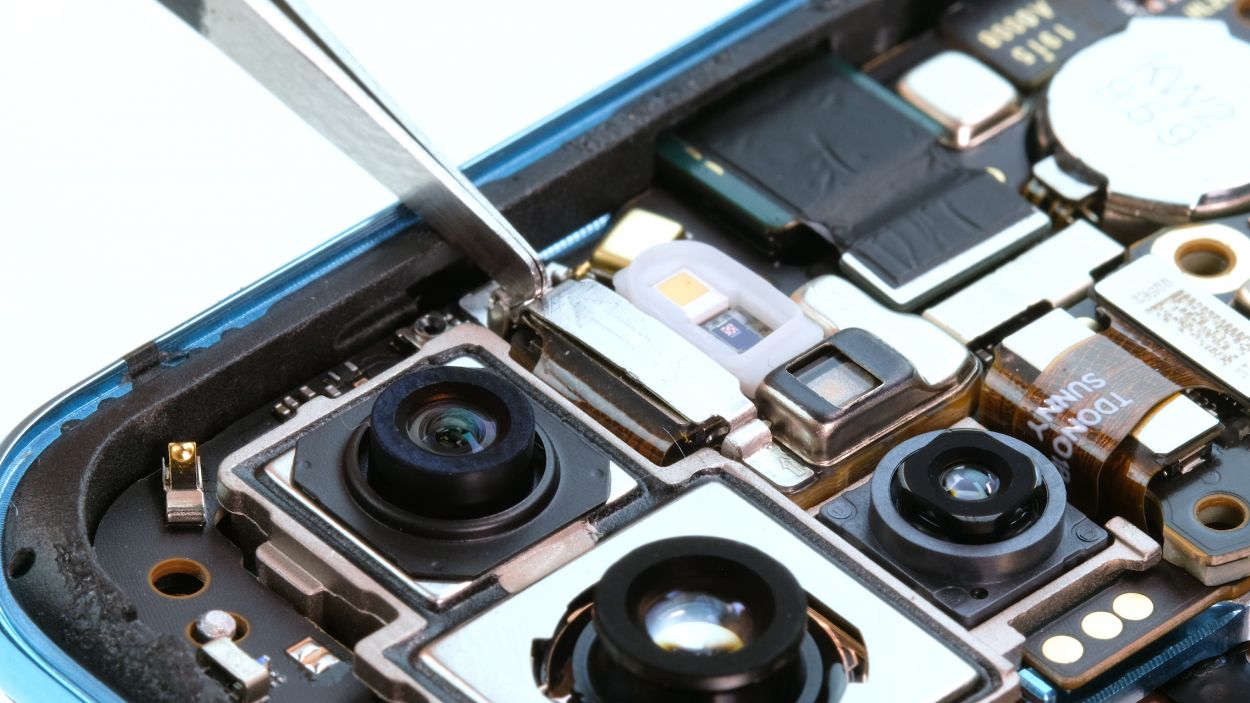
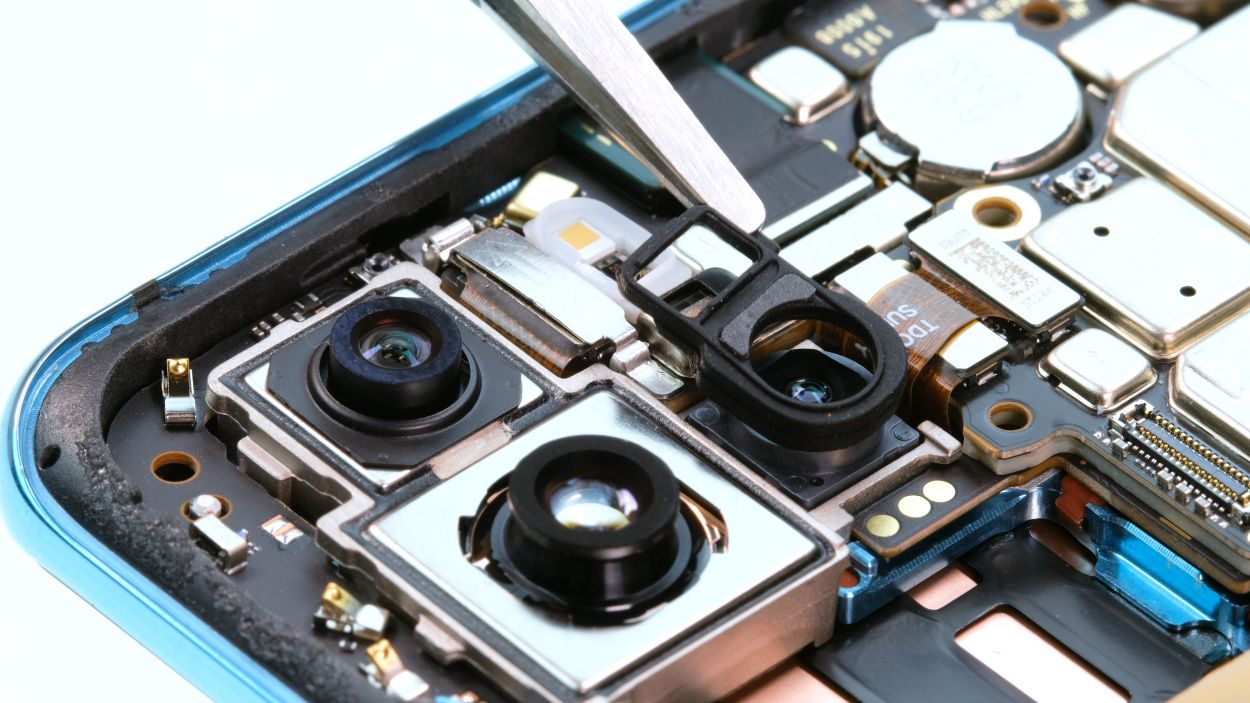
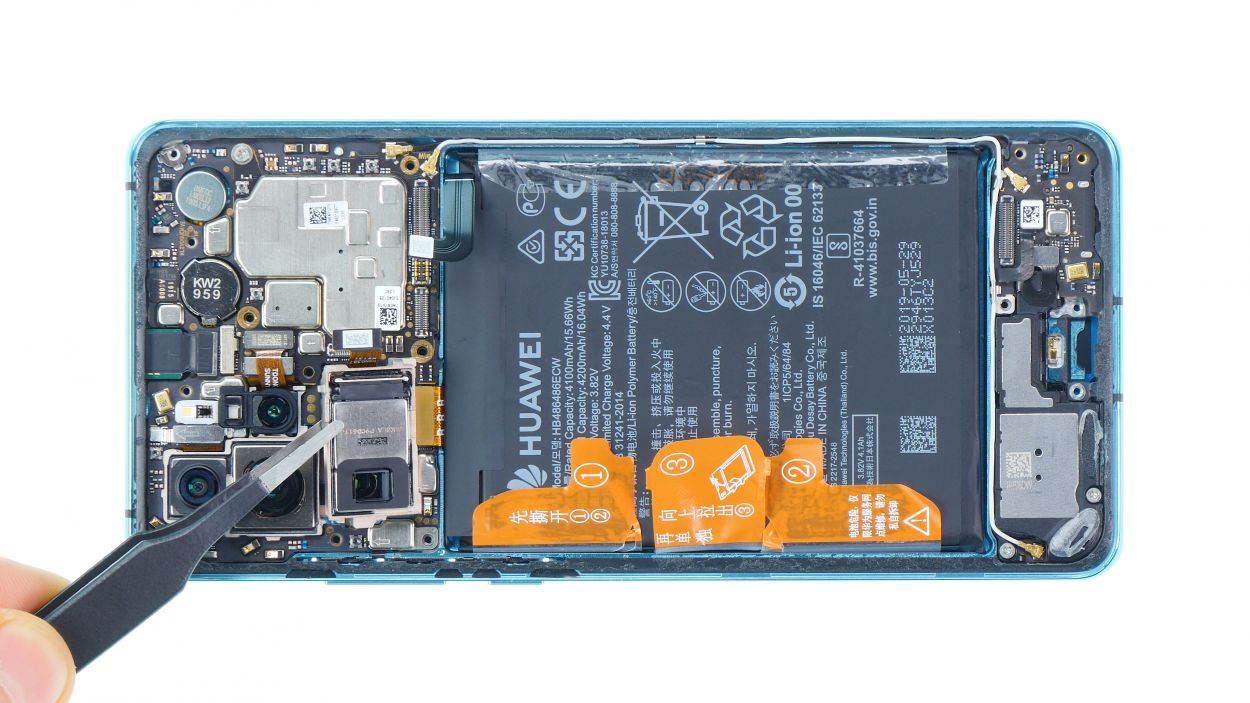
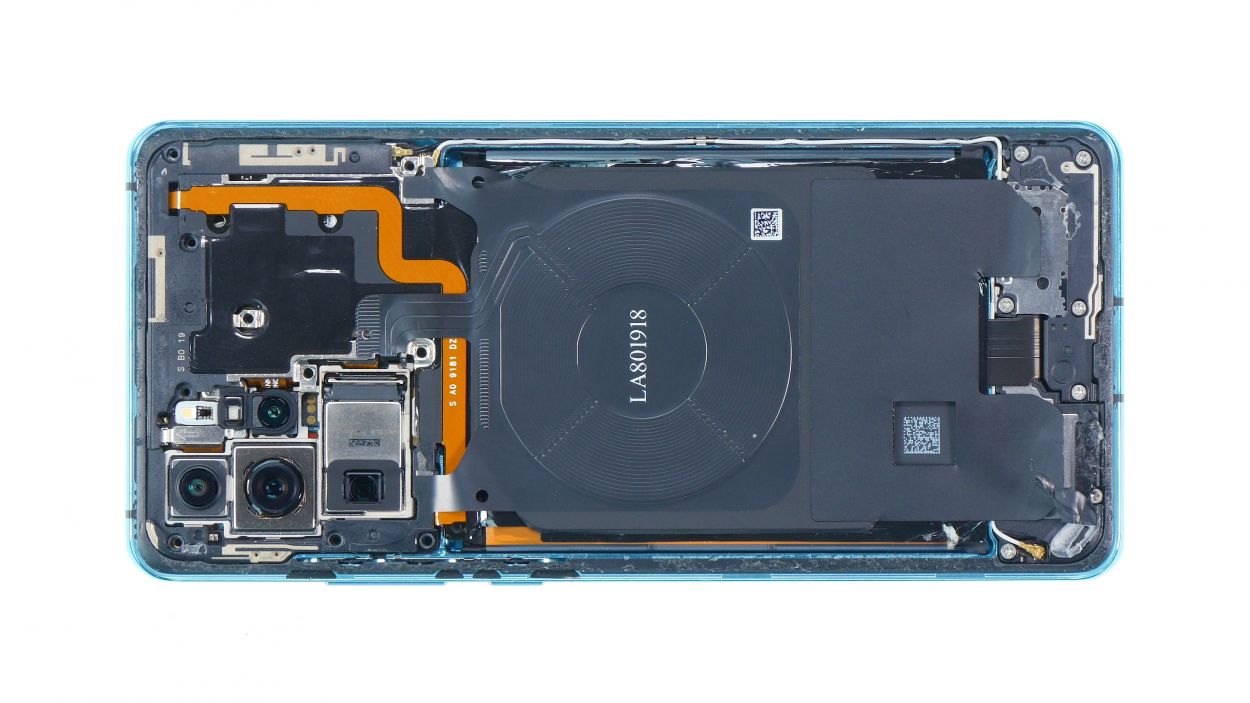
– Gently detach all the connectors from the camera modules and then pop out the camera like a pro!
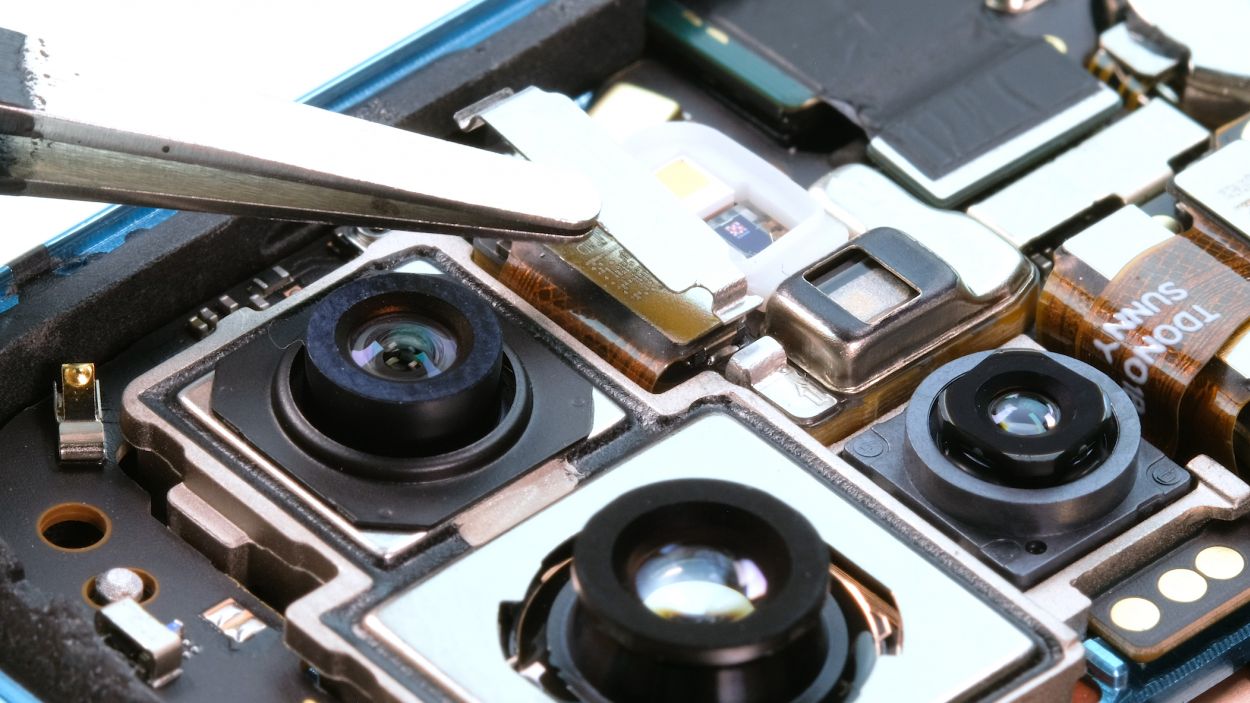
– Don’t forget to remove the sleek black rubber guide sitting above one of the cameras.
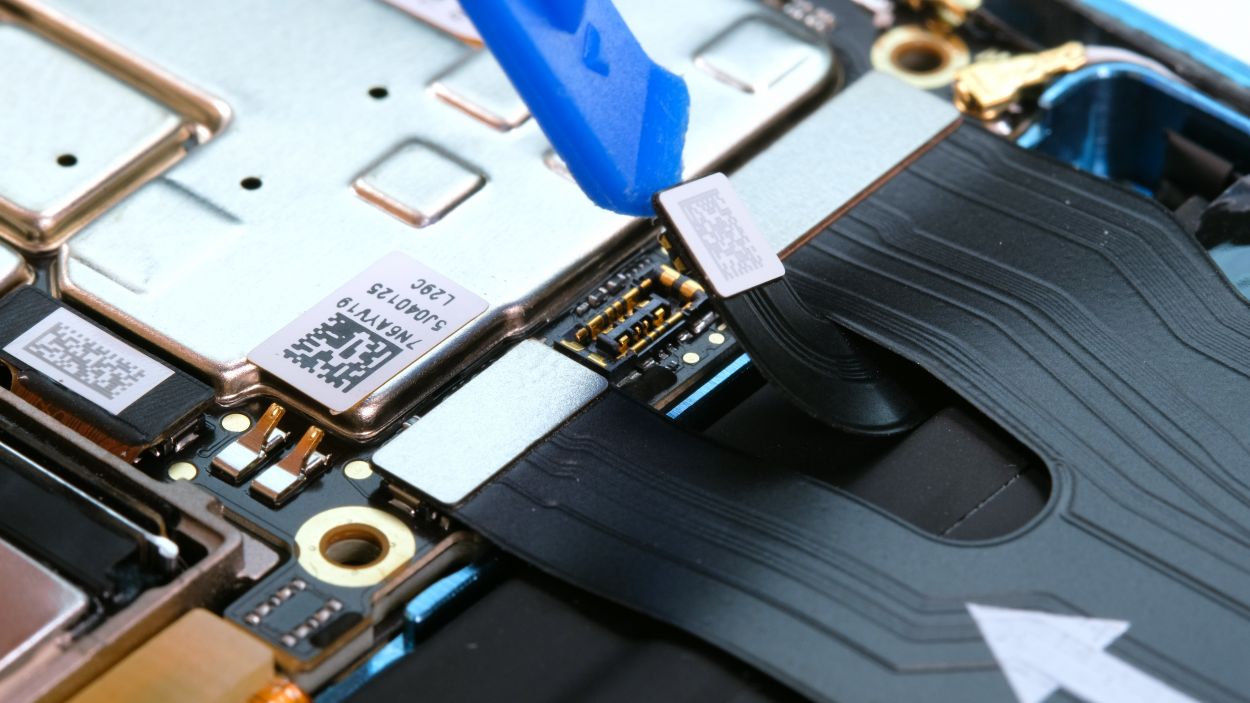
– One of those connectors is playing hard to get with a cover plate. Use your trusty tweezers to carefully unhook the plate from the top.
– Now, you’re all set to loosen the rest of the connectors and take out the camera with ease!
Step 6


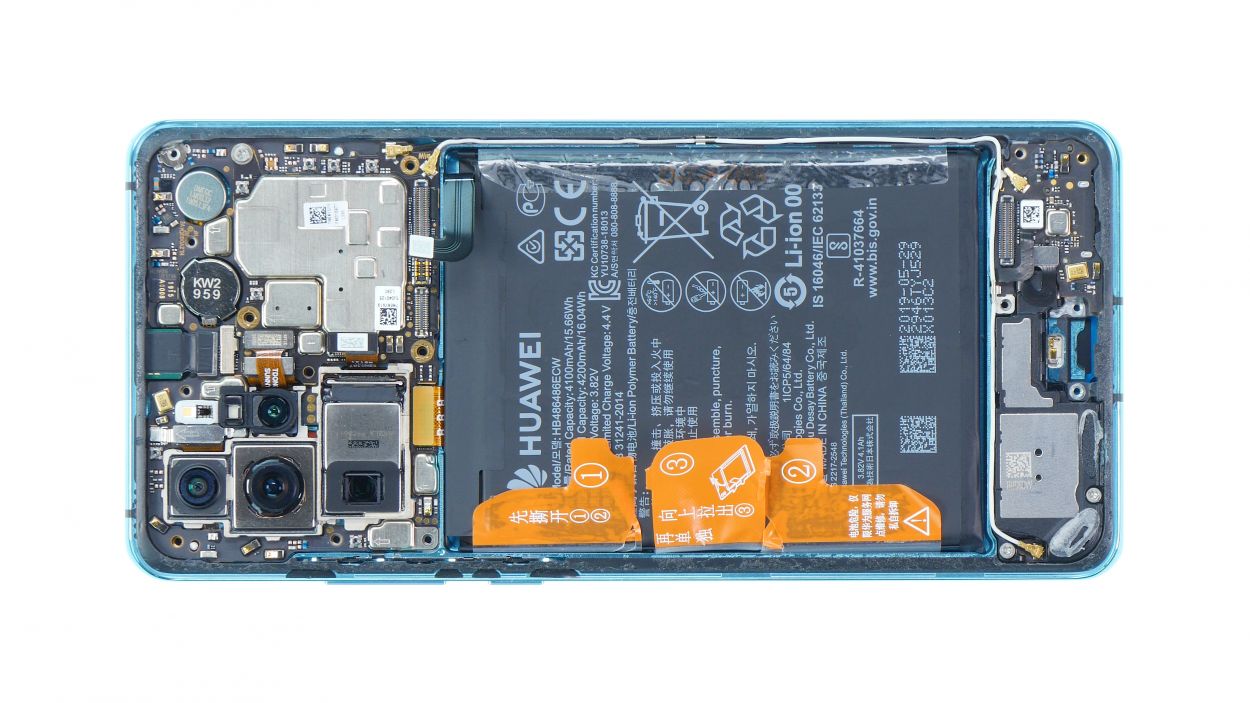
– Now, let’s get those connectors back together!
– Start by placing the cover plate on one side, then gently hook it under on the opposite side.
– Don’t forget to pop the rubber guide back in place too!
Step 7
Battery connector
– Position the plug over its contact and press it down gently.
Step 8
10 × 4,4 mm Phillips
– Tilt it a bit and then press it down firmly.
– Once it’s snug and secure, feel free to put the cover back on and fasten it with the screws.
Step 9


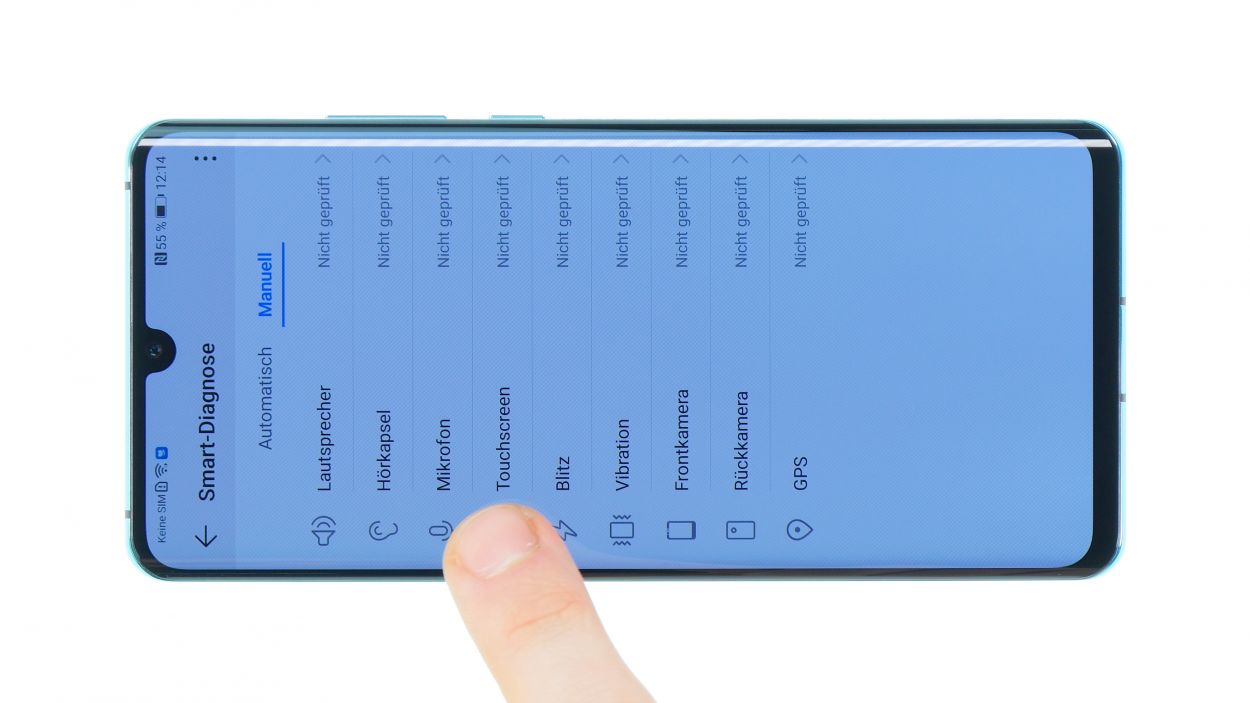

– Alright, it’s time to give your device a little test drive before sealing it up for good! Huawei comes through with a nifty app called Hi Care.
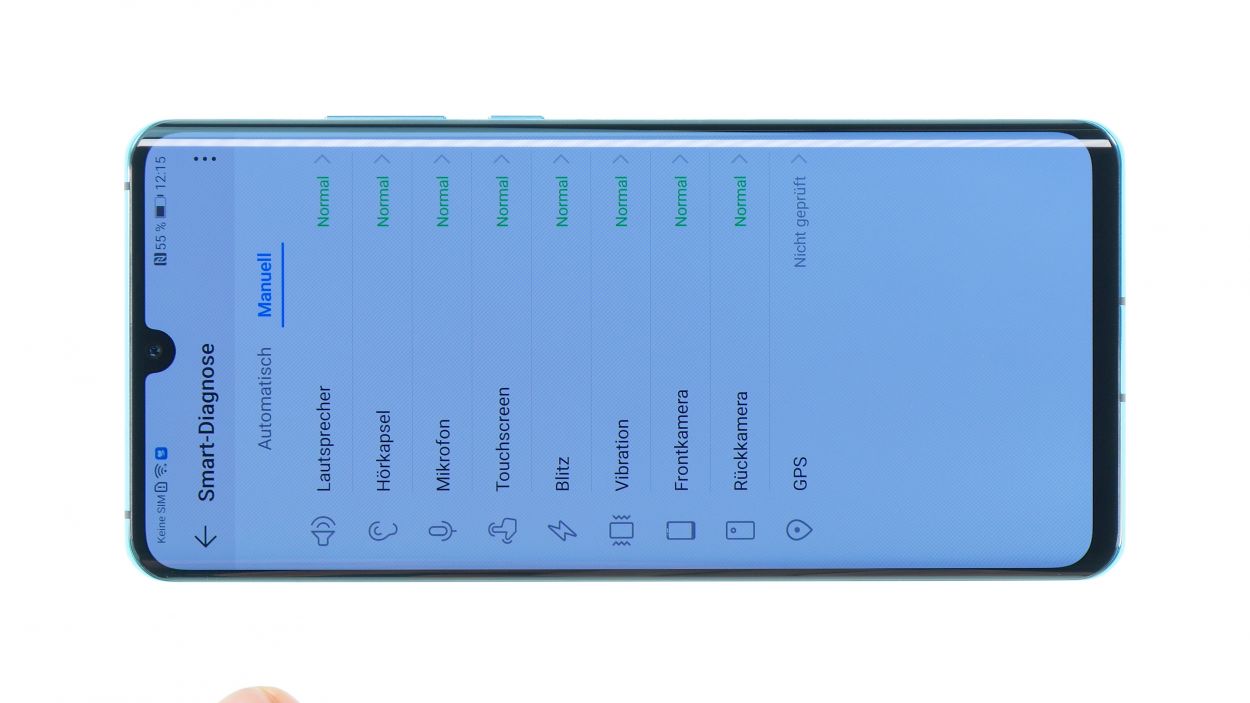
– Fire up the app and run the Smart Diagnostics. It’s like magic—some functions will be tested automatically!
– Feeling hands-on? You can also test the device manually. Make sure to check the touch screen, microphone, speaker, and all the other cool features.
– If something seems off, take a closer look at the related components to see if there’s any damage or if they’re connected properly.
– If everything checks out, you’re good to go! Go ahead and close your device up.
Step 10
Just a heads up, after the repair, your smartphone won’t be completely shielded from liquid mishaps anymore. Stay cautious out there!
– Before you snap on that back cover, take a moment to check the glue situation. It should be spread out evenly around the edge, ensuring the back cover sits snugly against the frame. If you see any glue goofing off, feel free to clean it up a bit.
– Feeling adventurous? You can ditch the old glue and opt for some fresh adhesive frame instead!
– Gently place the back cover right in the center of your device. Take your time; no need to press down hard until it’s perfectly aligned.
– Give that back cover a little heat boost with some hot air to help the adhesive stick like a champ!
– While the glue is cooling, you can give the back glass a gentle press with your fingers or even add a light weight to keep it in place.


