DIY Guide to Replace Huawei P30 Pro Battery
Duration: 60 min.
Steps: 12 Steps
Is your HUAWEI P30 Pro feeling a bit under the weather? Constant crashes when you have Google Maps open, while YouTube and Facebook are still hanging out in the background? And what’s with that pesky battery that just won’t charge to 100%? If you’re connecting your phone to the power source multiple times a day, you’re not alone! But hey, you don’t have to put up with it! Why not swap out that tired battery for a fresh one and bring your smartphone back to life? No need to visit pricey repair shops or wait ages at a service center. With our easy-to-follow instructions, you can tackle the battery replacement yourself! Just grab the right tools, a quality replacement part, find a cozy spot to work, and make sure you have good lighting. Then, you’re all set to replace that old battery! Our guide includes tips on how much time to set aside and how tricky the repair might be. Plus, we’ve got detailed photos and short video clips to help you along the way. Stuck on a step? Got some feedback? We’d love to hear from you in the comments below! If you need help, you can always schedule a repair.
Step 1


– Before diving into the repair, make sure to power down your device to keep any pesky short circuits at bay. Safety first, right?
– If your screen has decided to take an early retirement due to a faulty display, don’t sweat it! Just disconnect the battery in a few simple steps, and your device will turn off in no time.
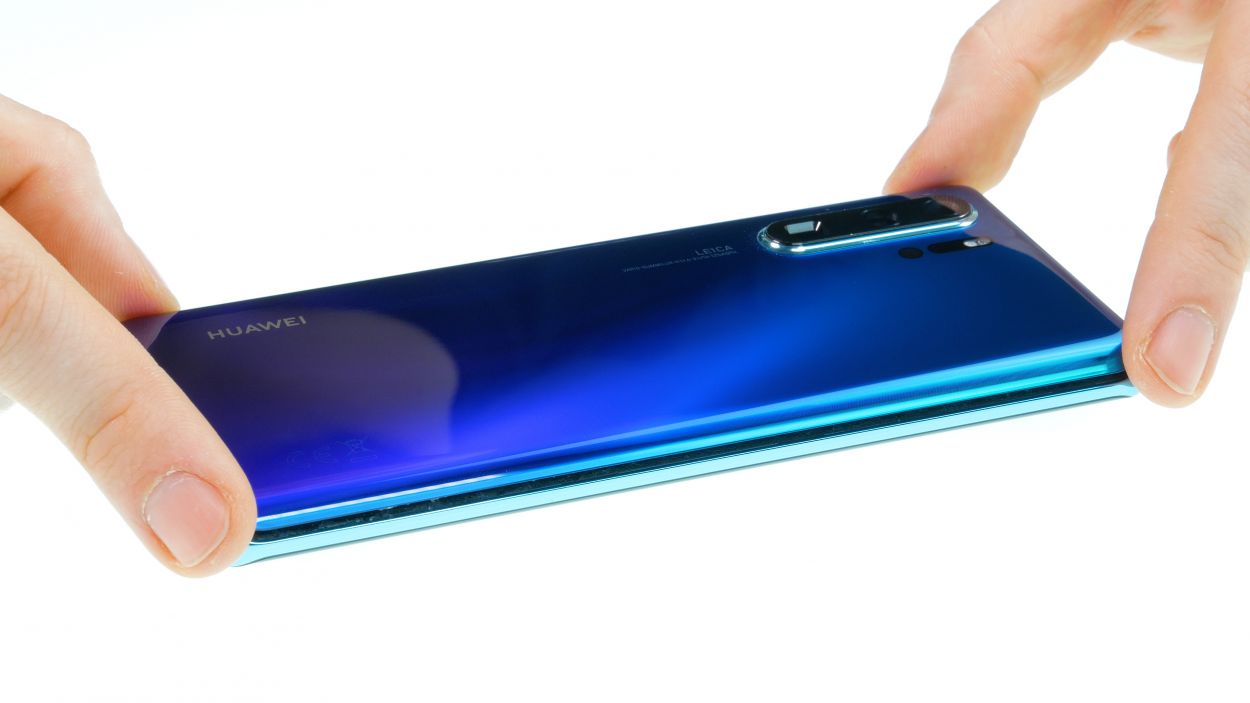
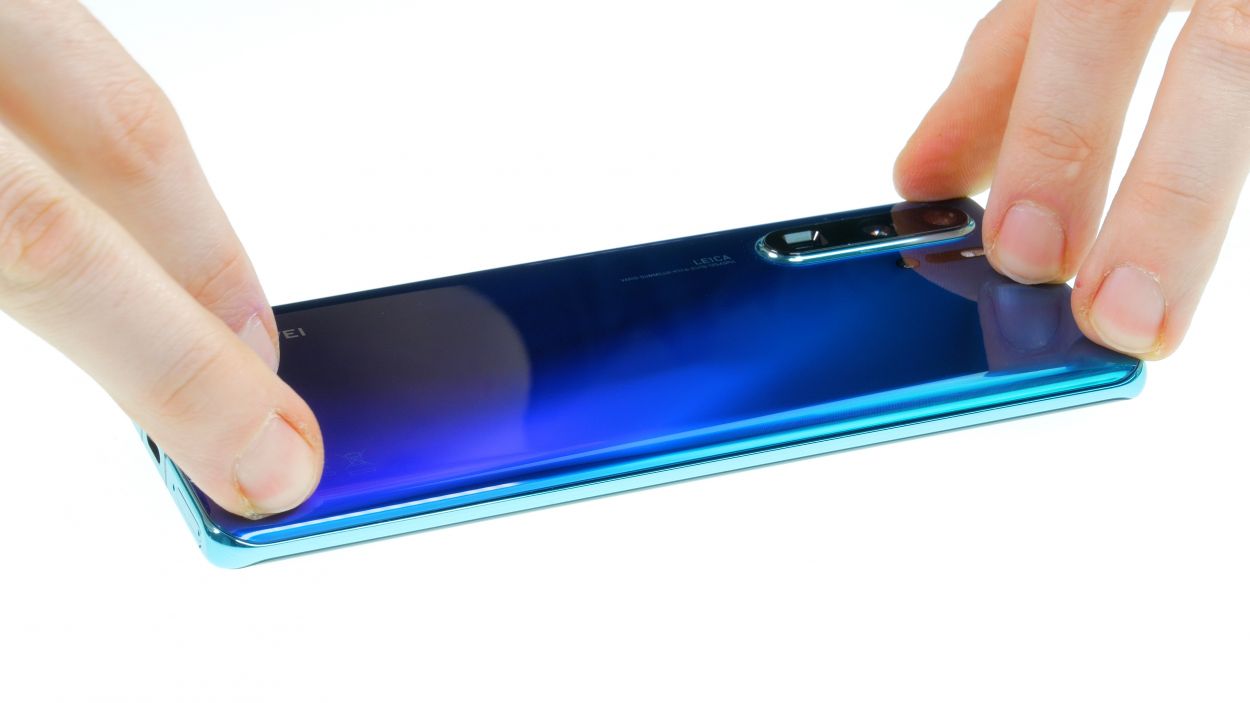
Step 2

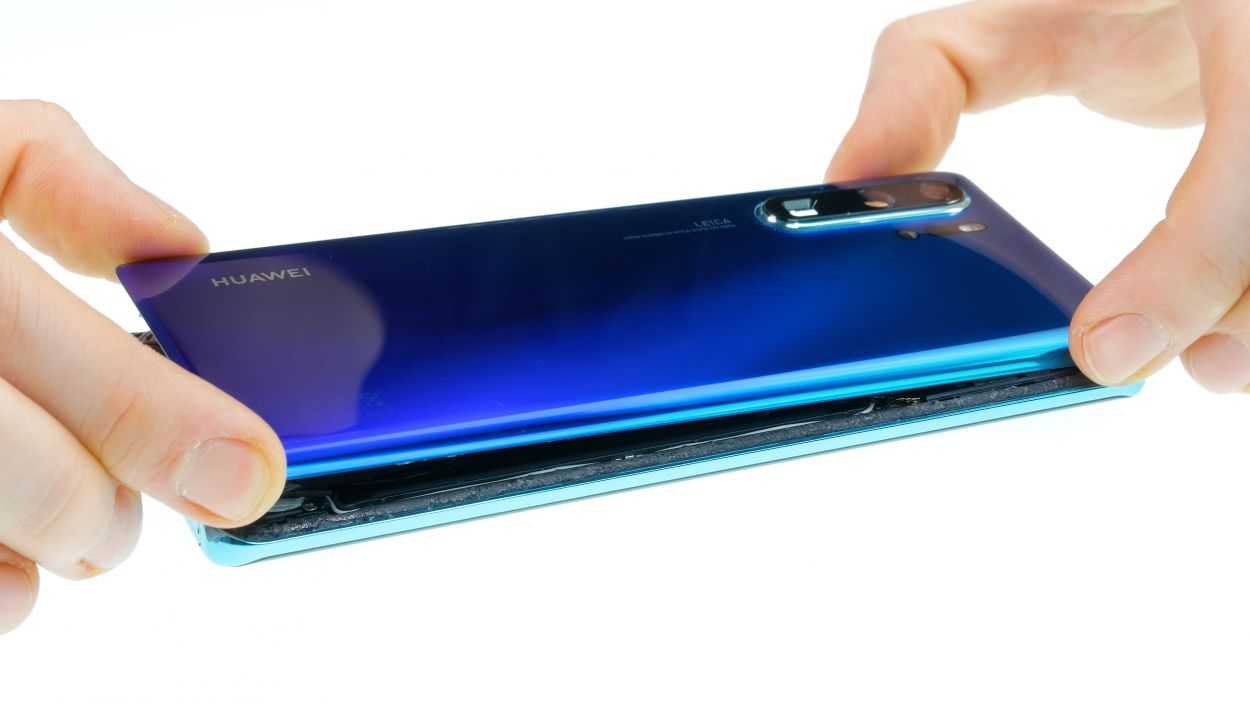

Heads up: after you work your magic on the phone, it won’t be waterproof anymore. Just a little reminder to keep it away from the splash zone!
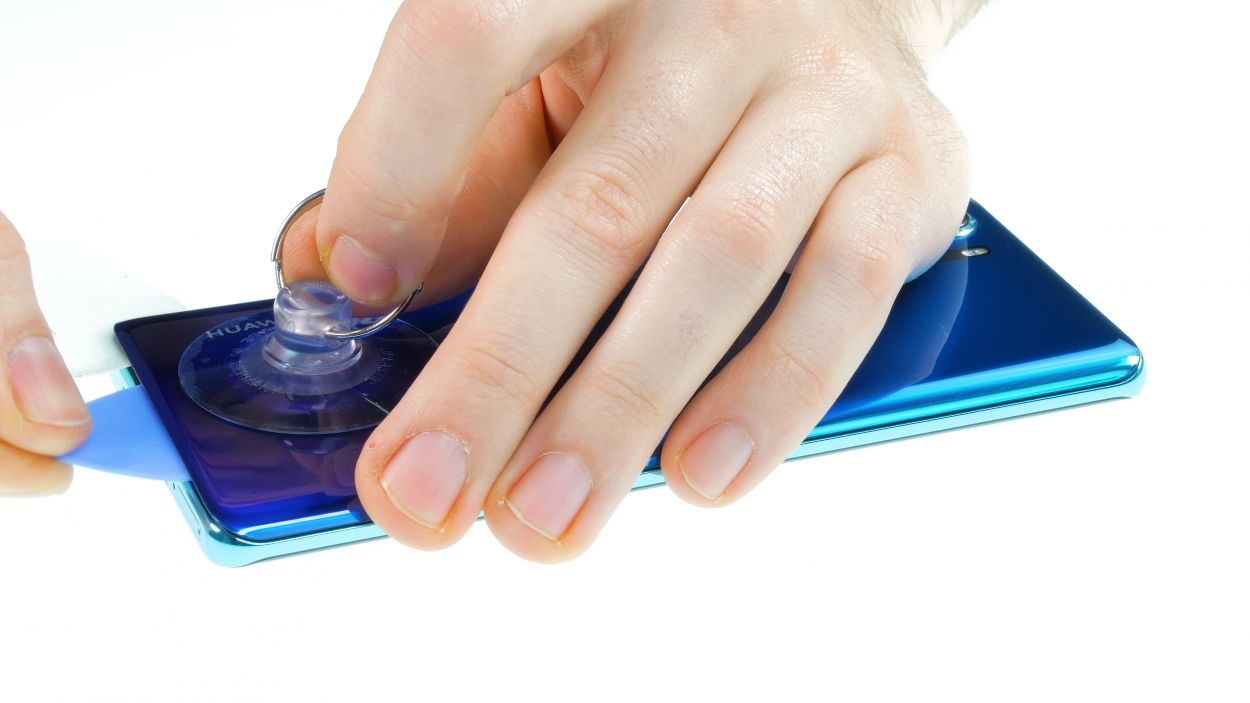
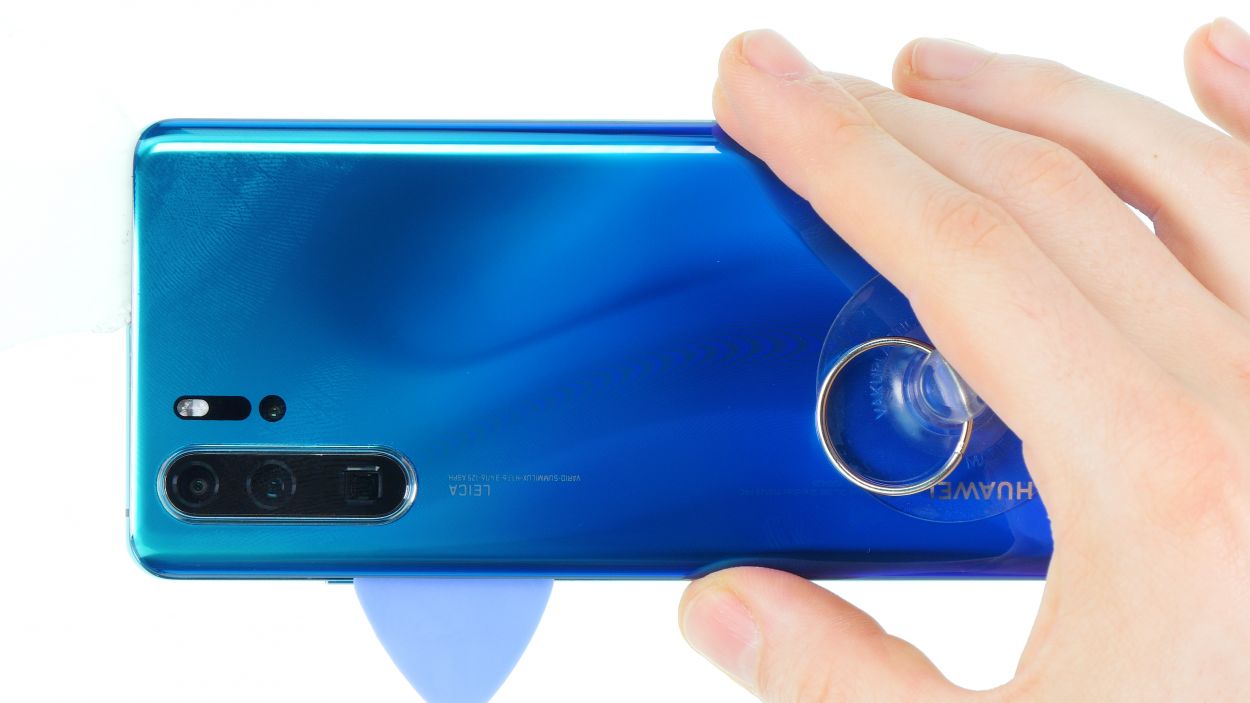
Hey there, tech whiz! Just a friendly reminder to tread lightly around those cameras – they’re a bit sensitive and can be easily harmed. Keep your eyes peeled and your hands steady!
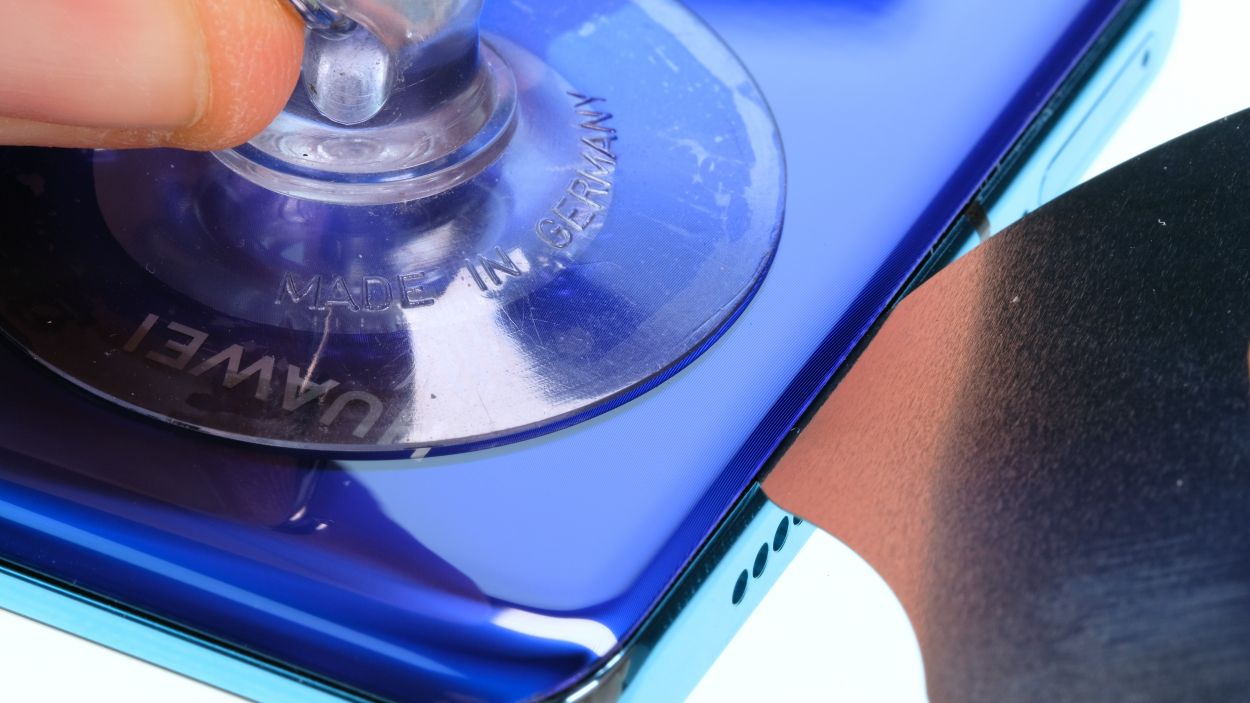
– Warm up the entire edge of the back cover, especially the spot where you’re going to start prying it open. Just a gentle heat, enough so you can handle it comfortably!
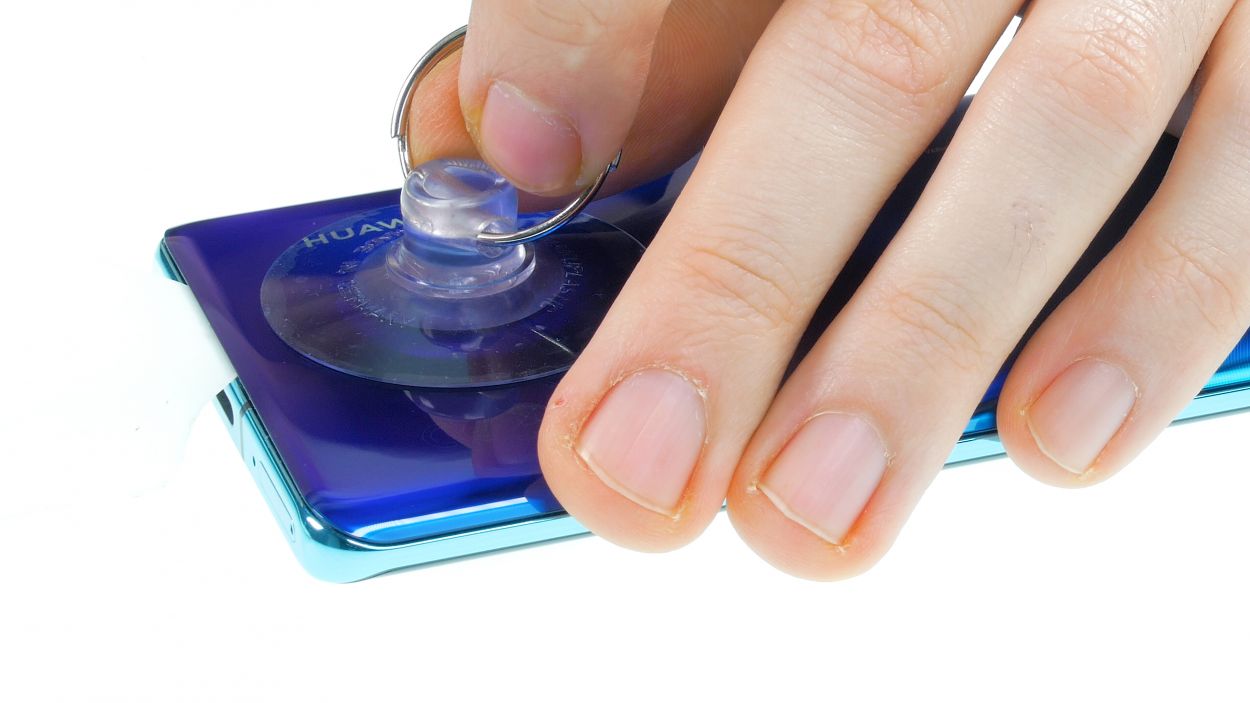
– Stick that suction cup on the bottom of your device and give it a nice tug to create a tiny opening between the back cover and the frame.
– Now, let’s slide your tool into that gap! The iFlex makes this part a breeze since it’s made of metal and has a little extra sturdiness. Once you’re in, switch to a plastic tool when you can for a safer approach!
– Take it easy here—be extra careful since the back cover is glass and could shatter if you’re too rough.
– Remember not to push the tool too deep into the device, and keep an eye out to avoid scratching the back cover with the tool’s edges.
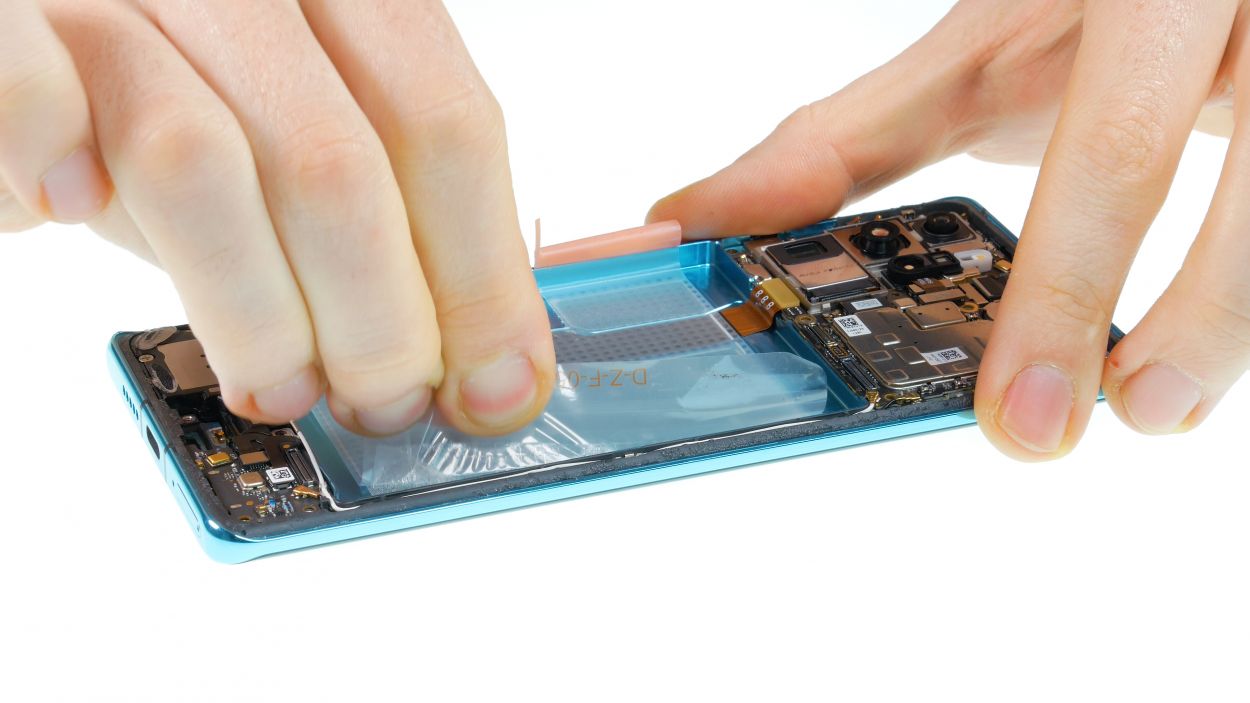
Step 3
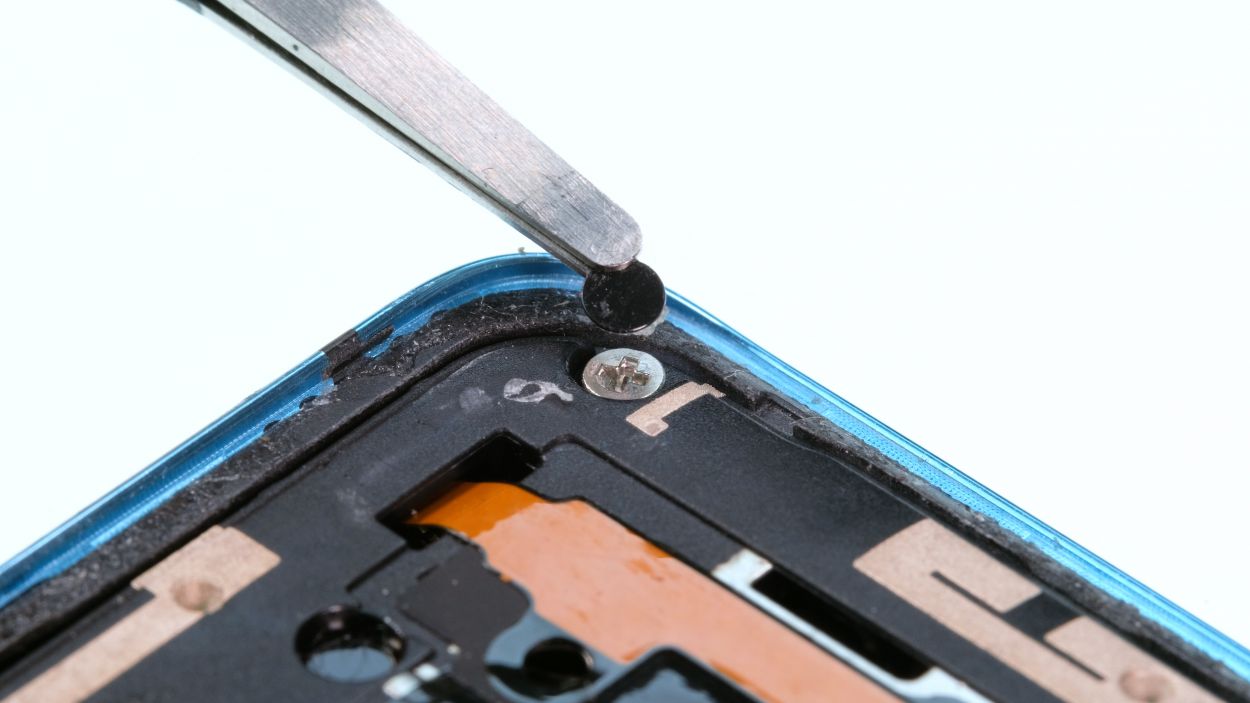
10 × 4,4 mm Phillips
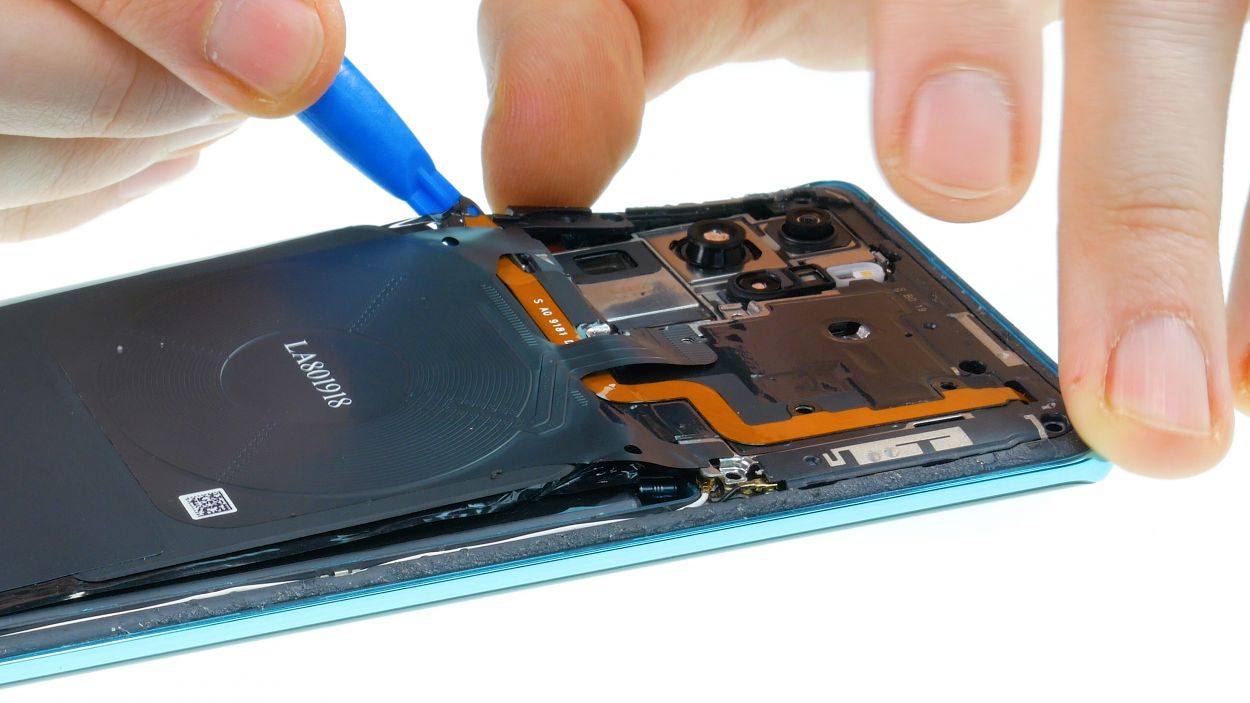
– First, let’s get those Phillips screws out of the way! Remove all screws of the same length from the plastic cover and keep them in a safe spot.
– Keep an eye out for those sneaky screws hiding behind black stickers or white water indicators.
– Grab a trusty pair of tweezers to help you with the screw removal.
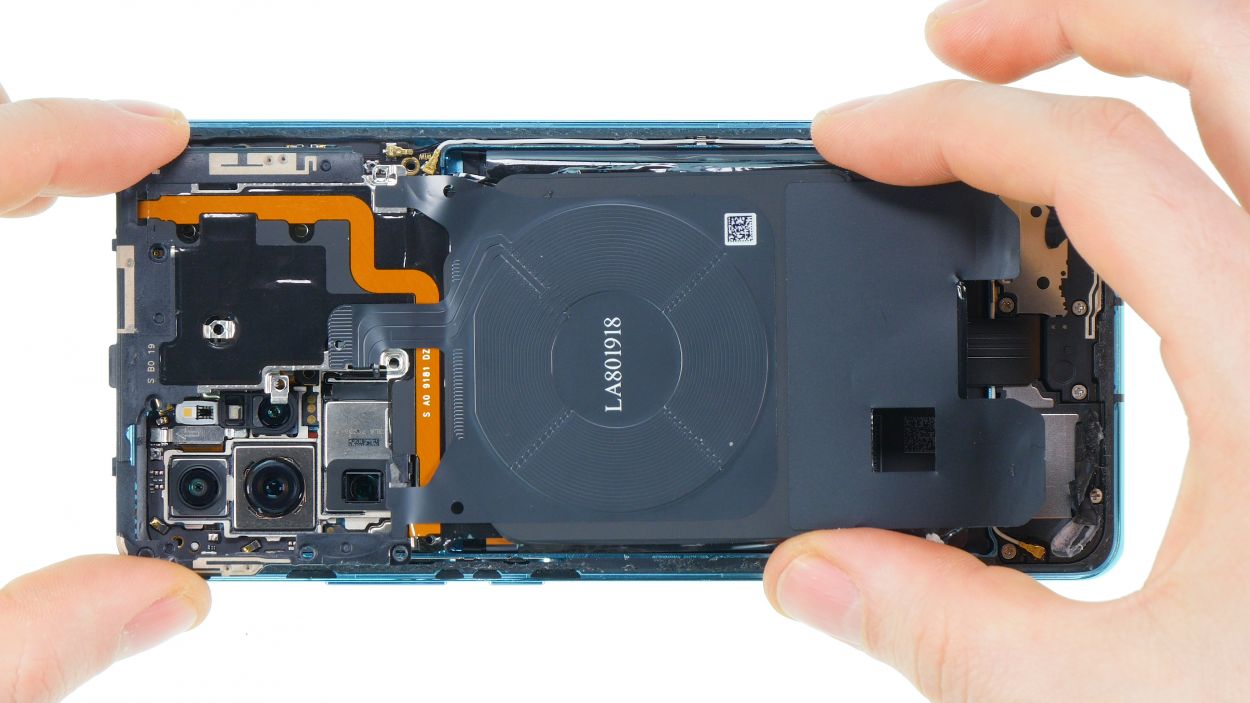
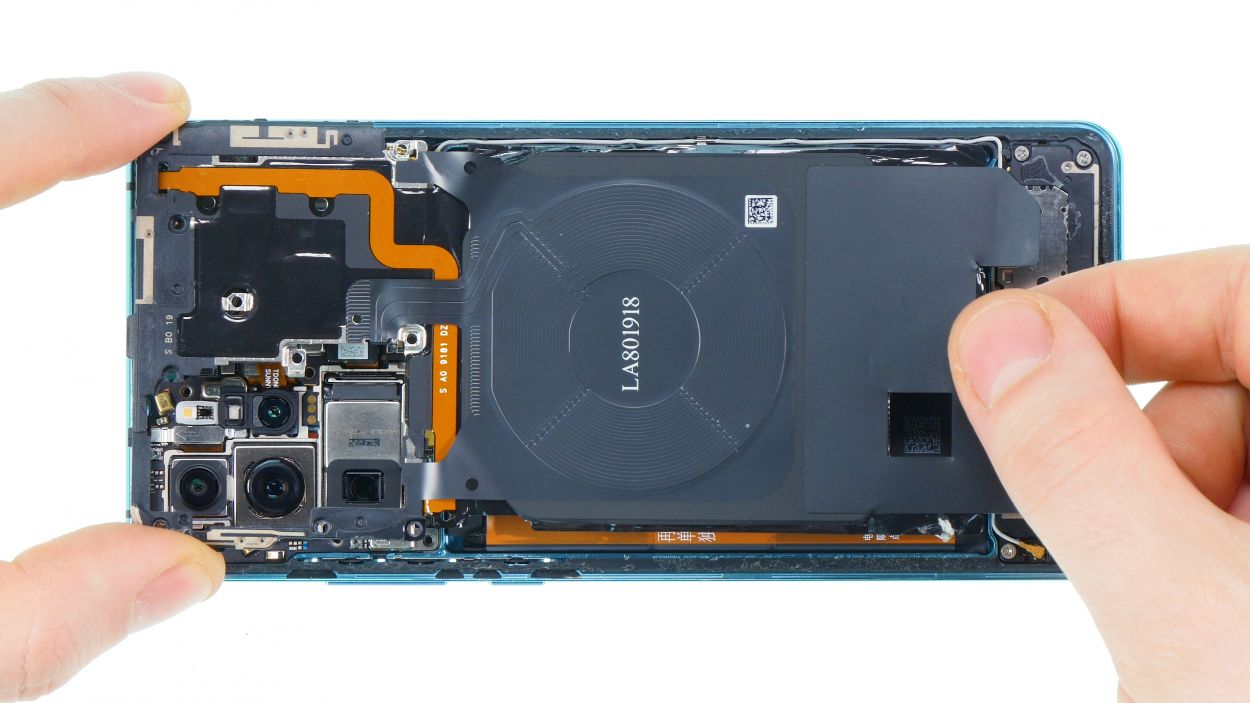
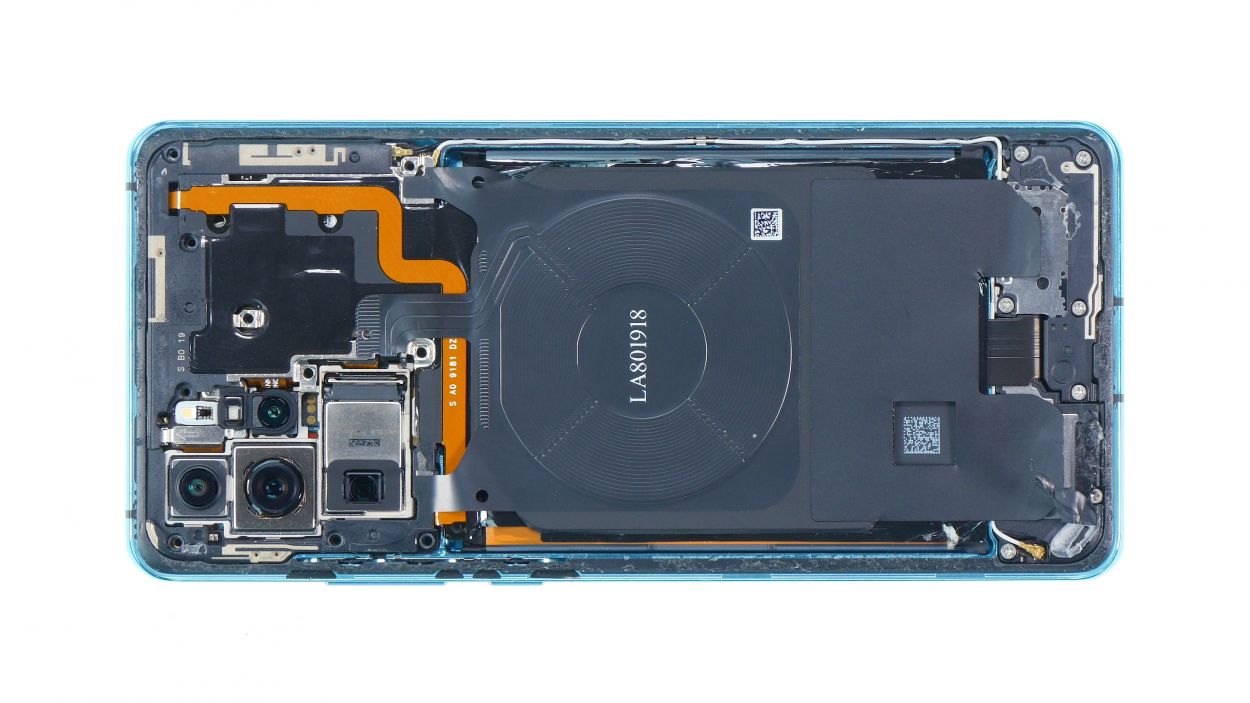
– Remember, that cover is not just for show! It protects the mainboard and houses the wireless charging coil.
– The coil is glued down at the bottom. Gently slide your tweezers underneath to loosen it up, but be careful of the battery lurking just below.
– Now, it’s time to lift up the cover! It’s hooked into the edge, so give it a little nudge and pull it out of the device.
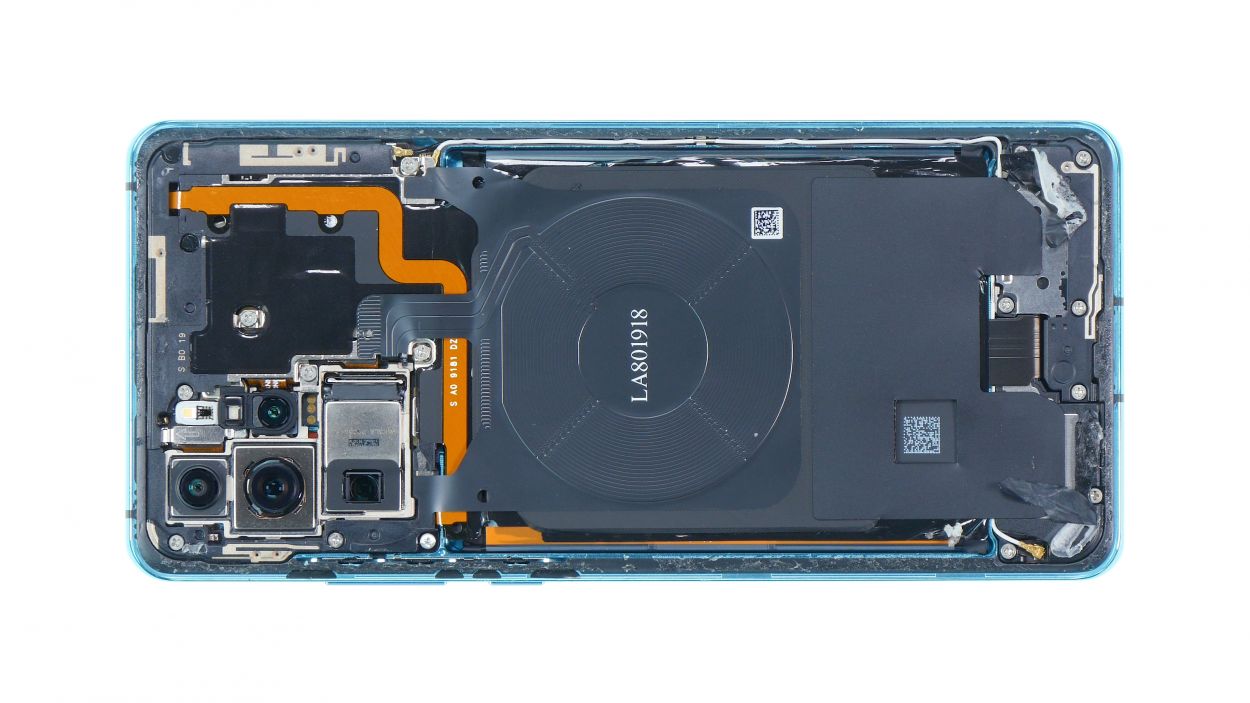
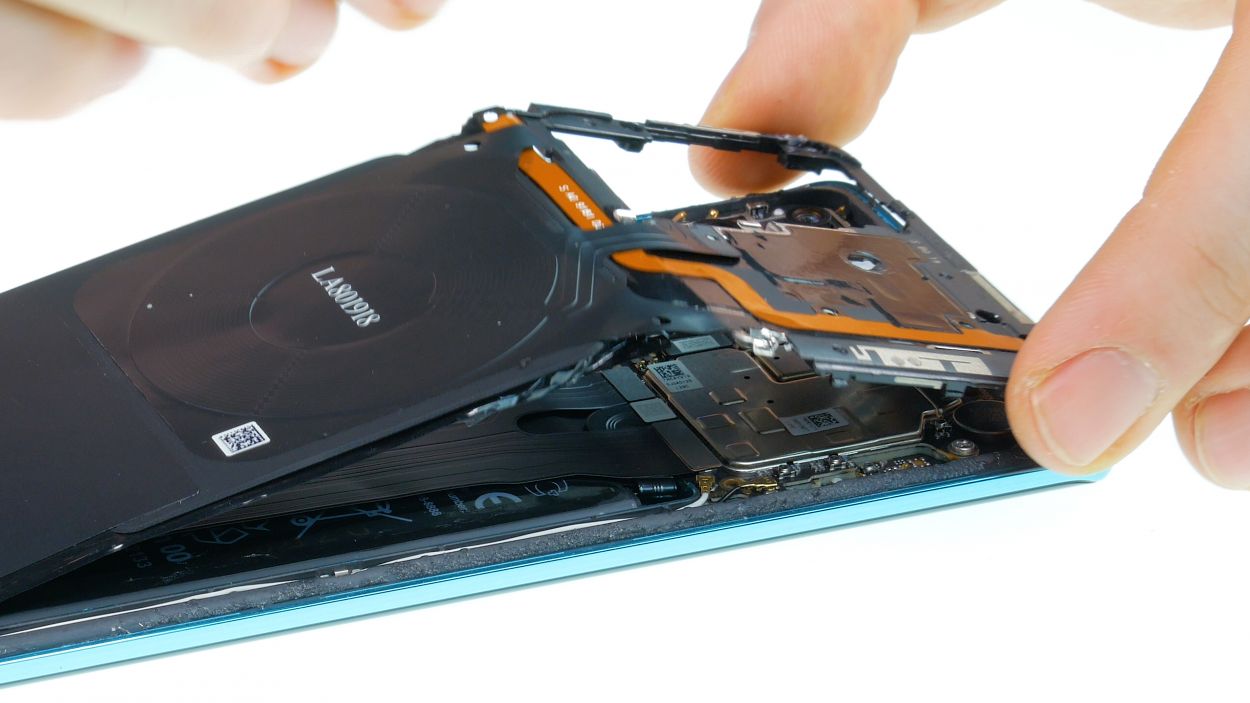
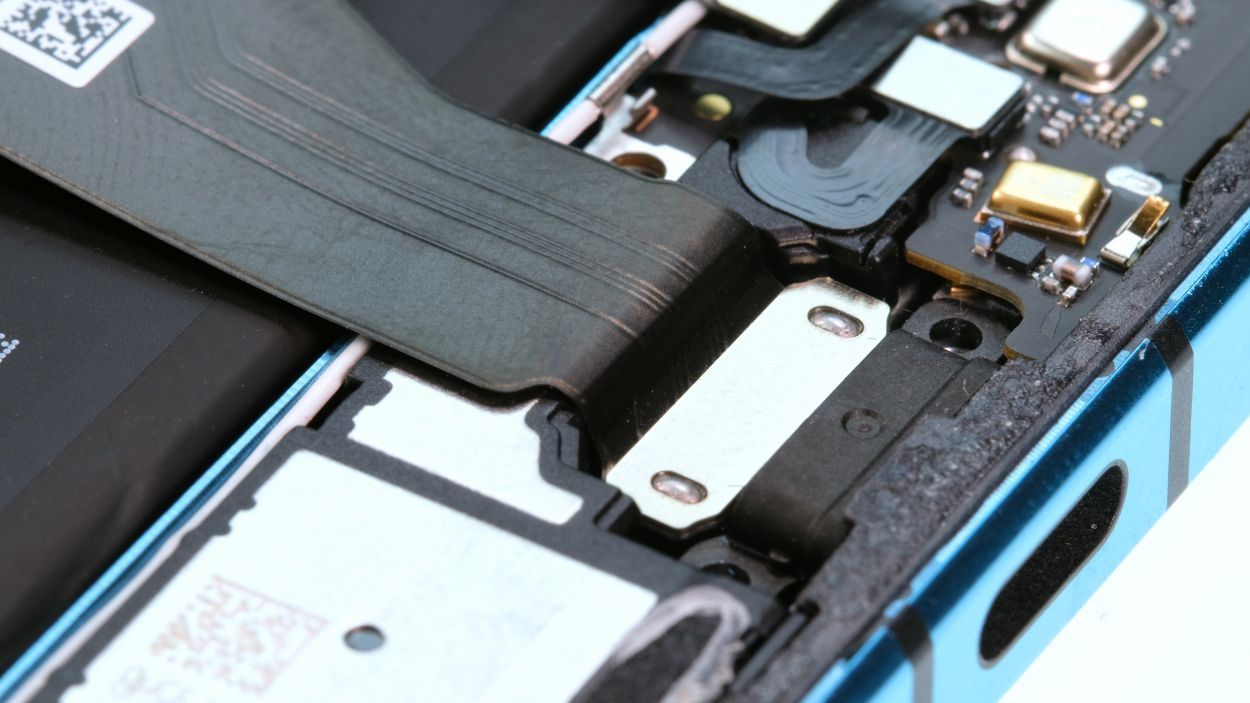
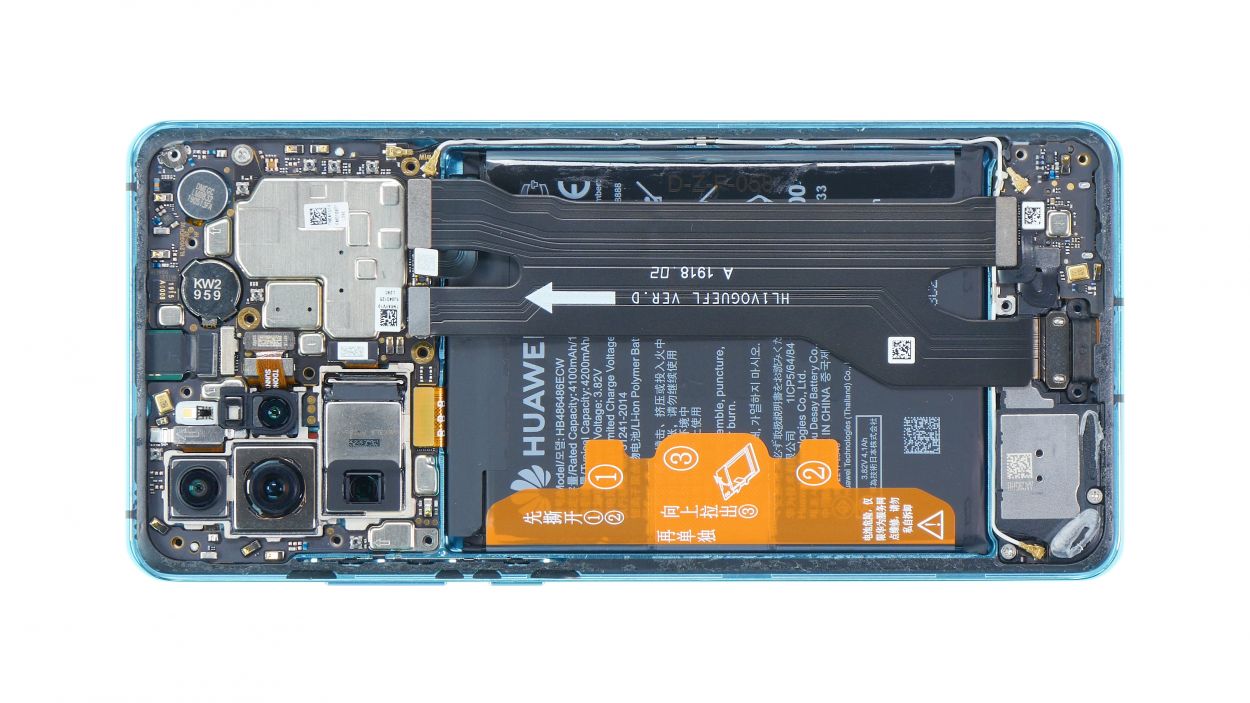
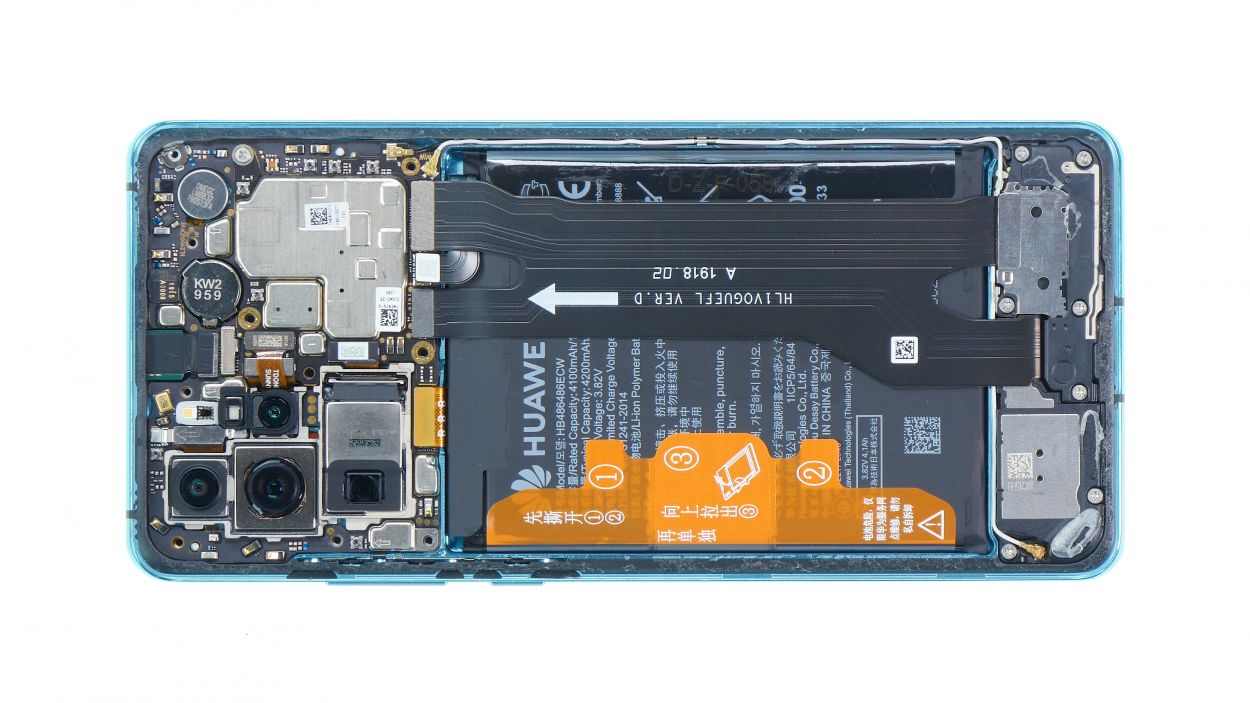
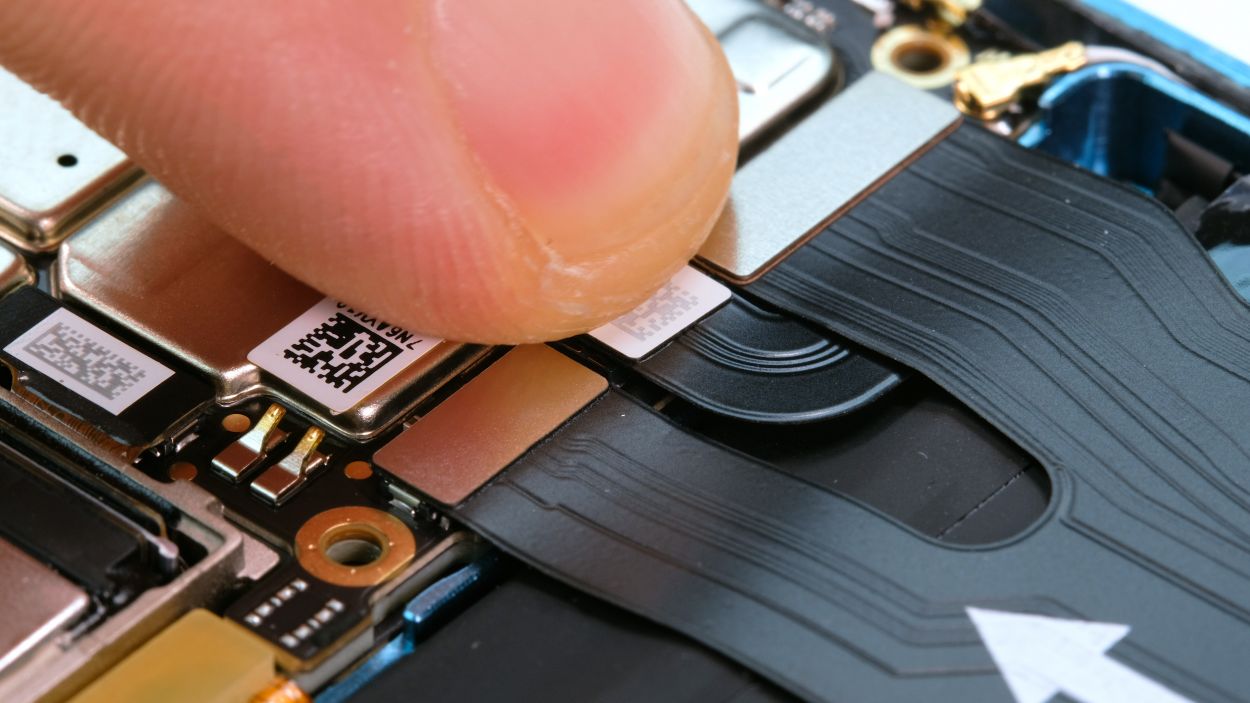
Step 4


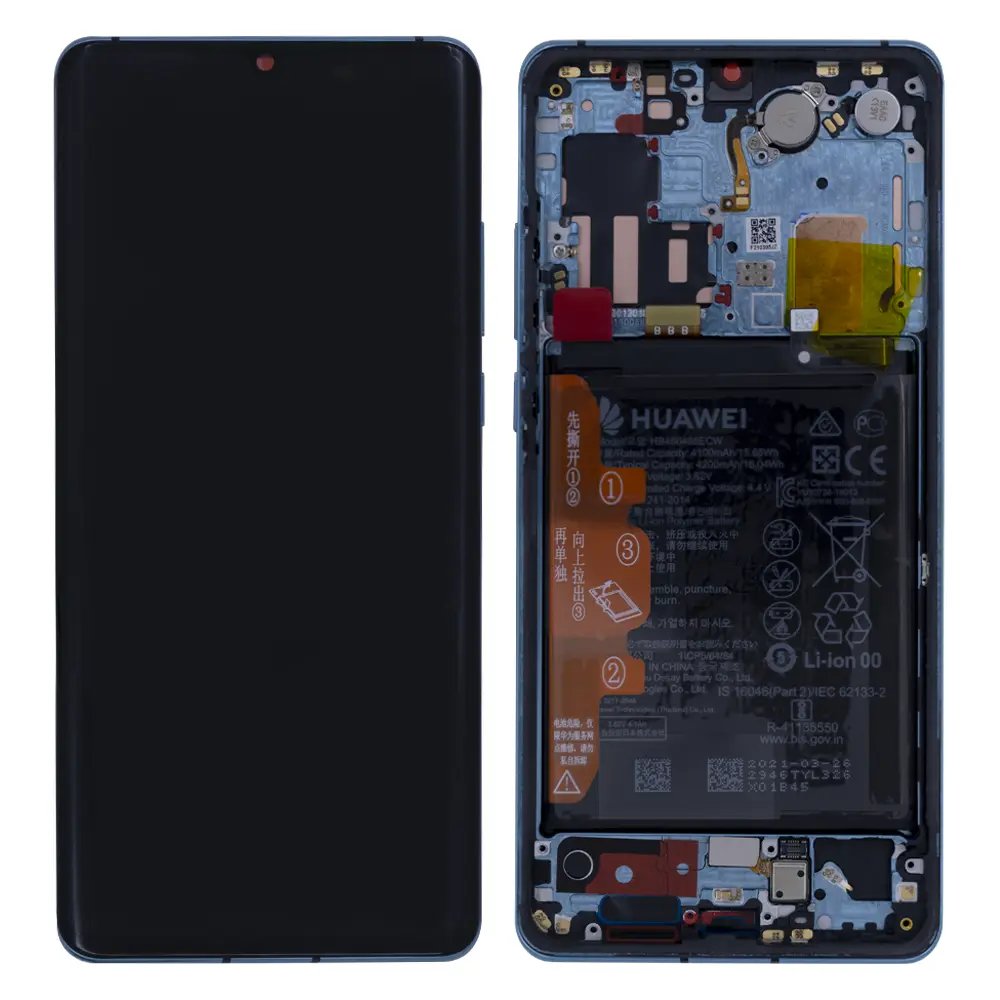
Battery connector
When you’re unplugging those connectors, just remember to be gentle and watch out for the tiny components on the board. They can be a bit sensitive, so handle with care!
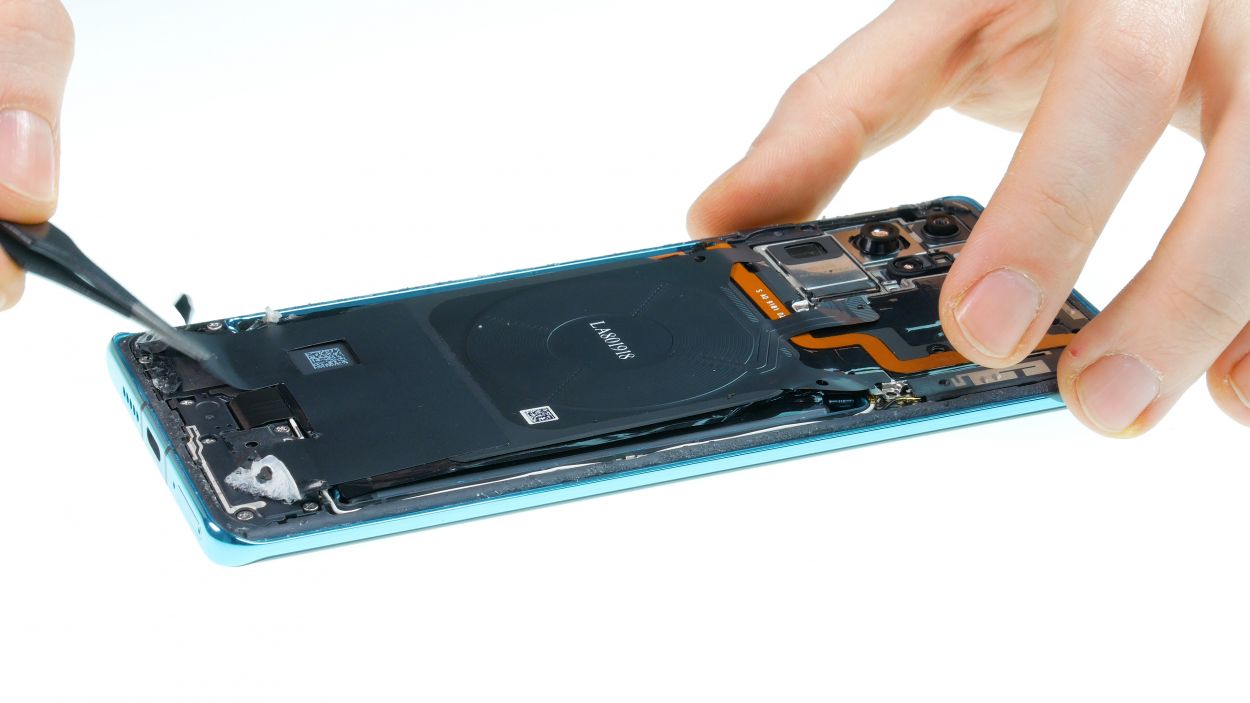
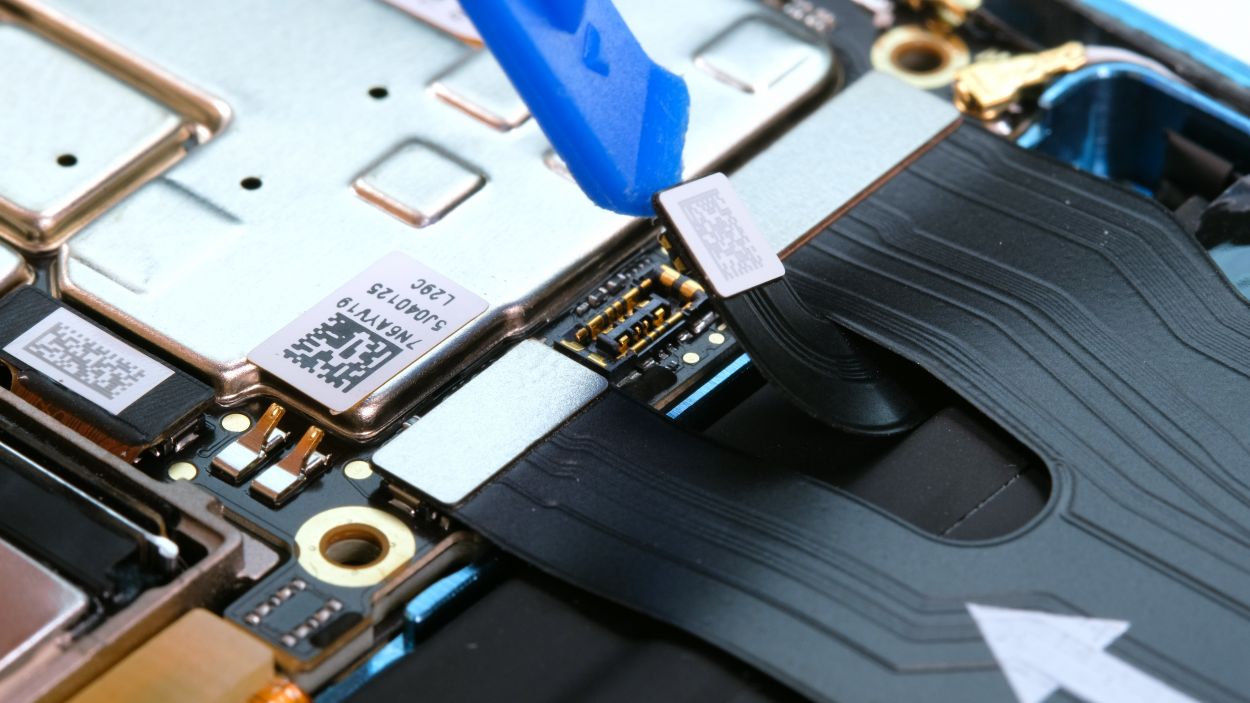
Step 5


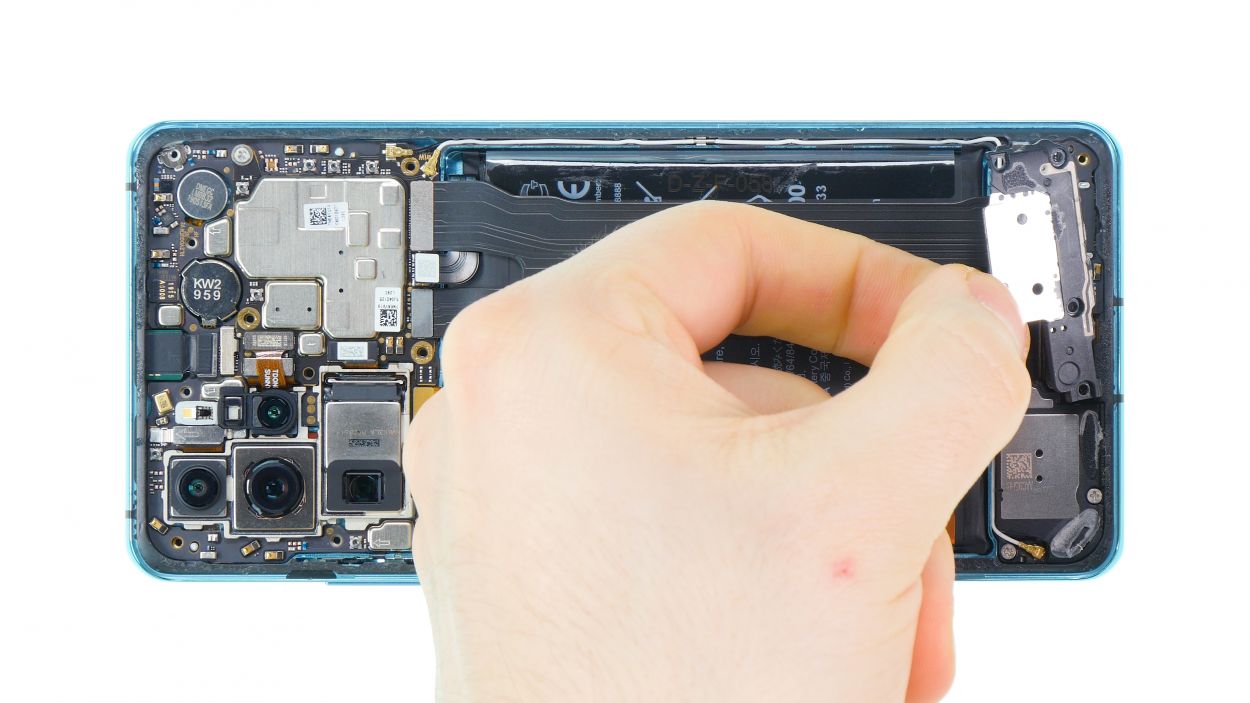
5 × 4,4 mm Phillips
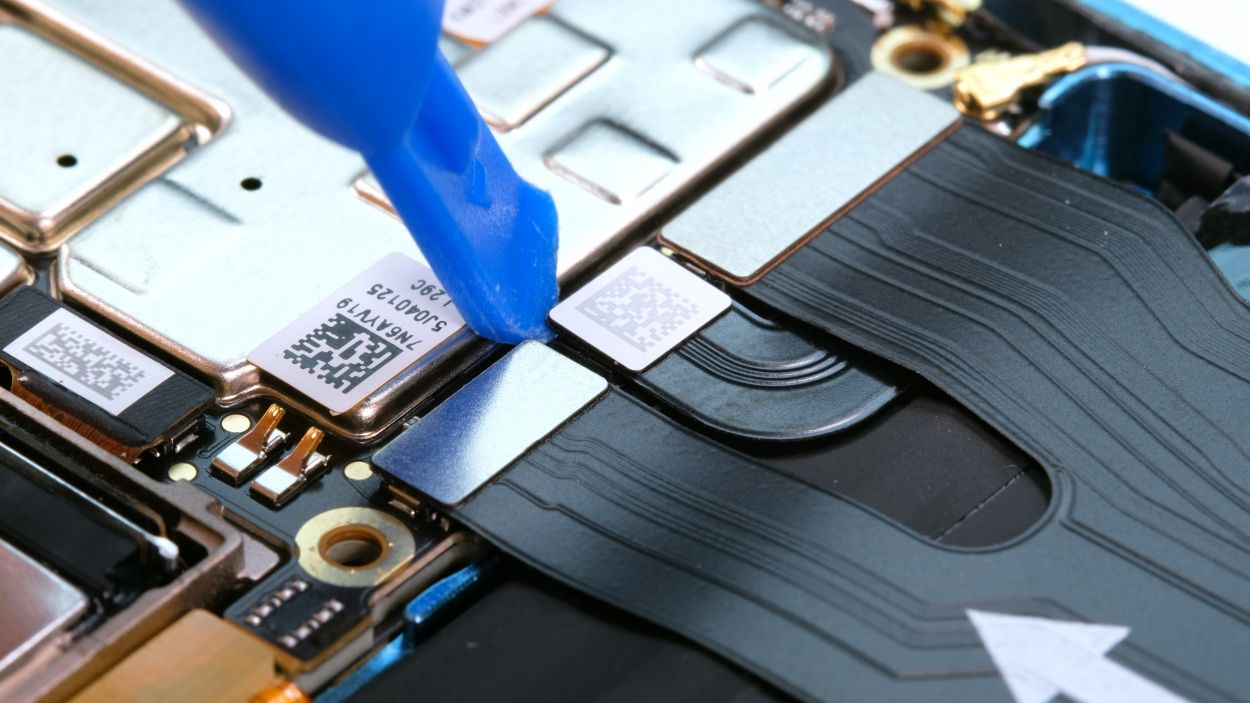
– First, let’s loosen those Phillips screws that are all the same length. You got this!
– Next up, gently remove the cover that’s sitting above the contacts. Easy peasy!
– Now it’s time to disconnect all those connectors using your trusty spudger. Just be careful and take your time to avoid any mishaps with the components on the board.
– Once everything is disconnected, grab that flex cable and pull the charging socket out of its cozy little opening. You’re doing great!
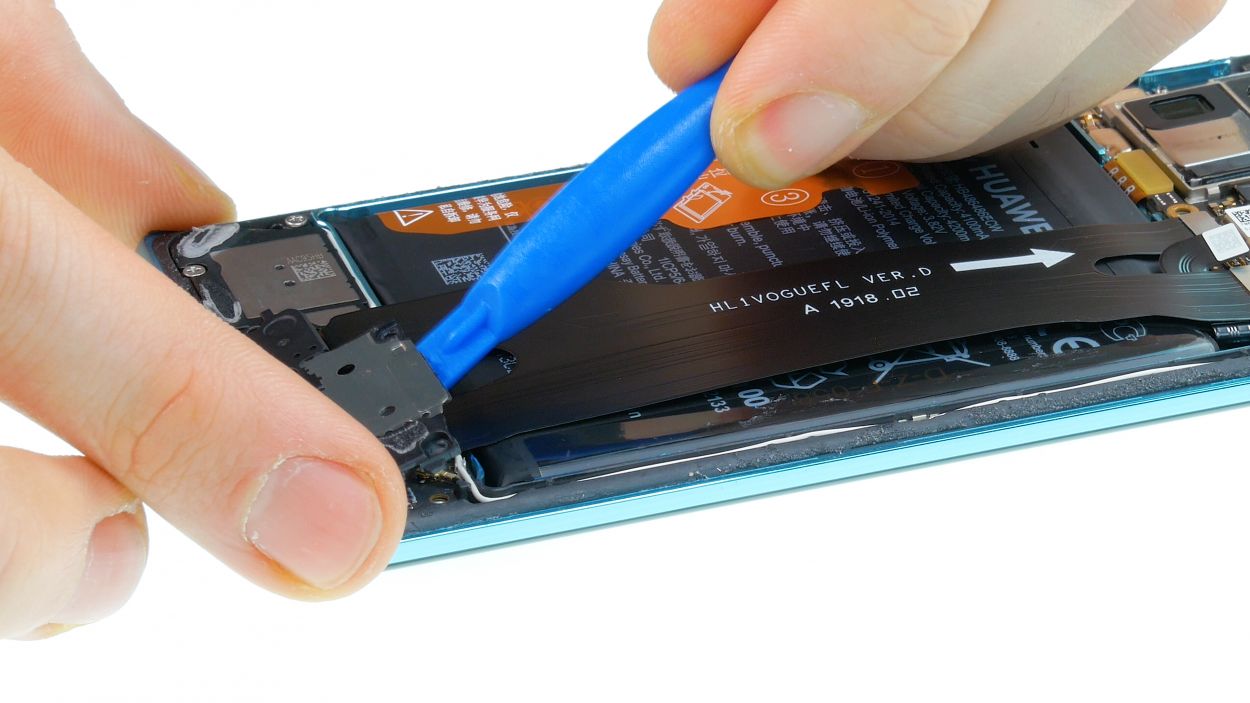
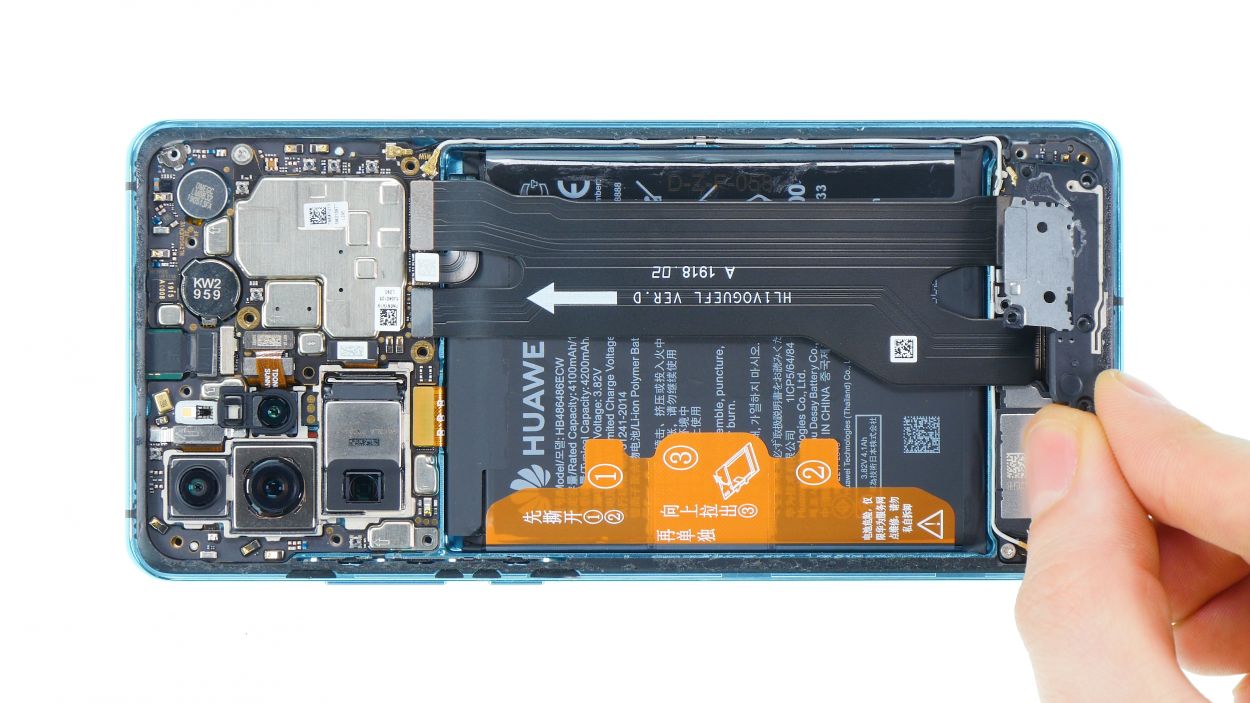
Step 6
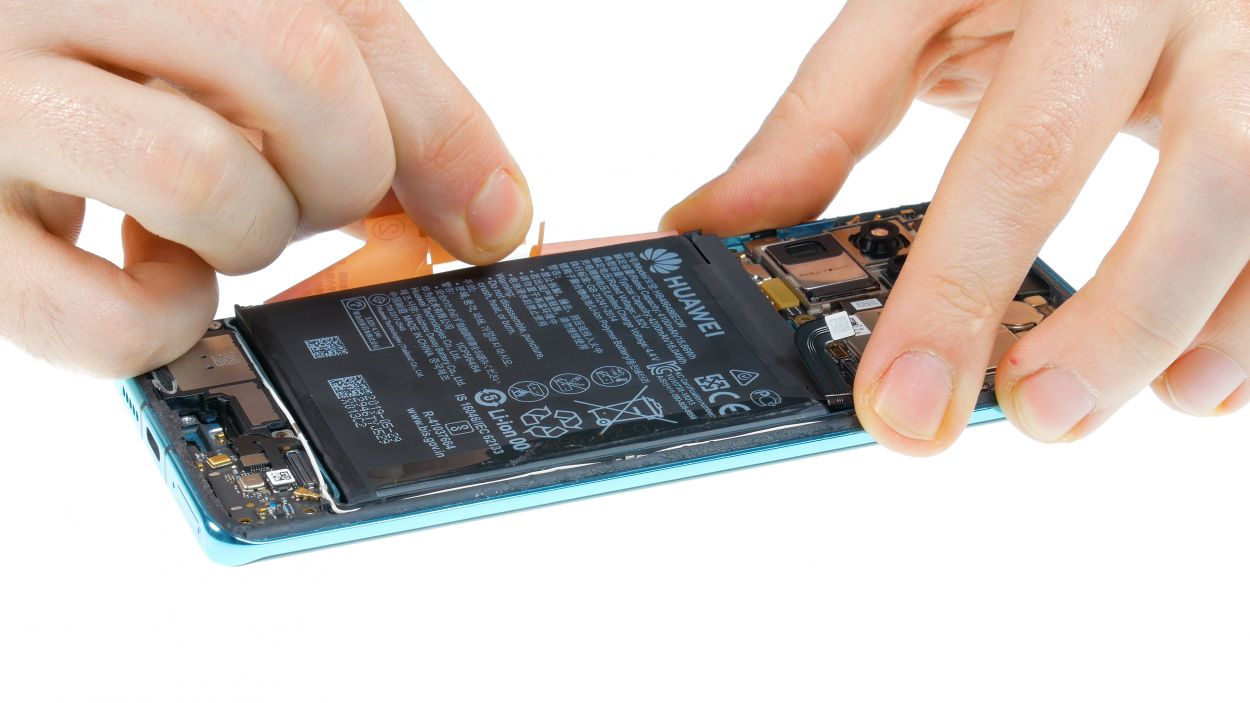
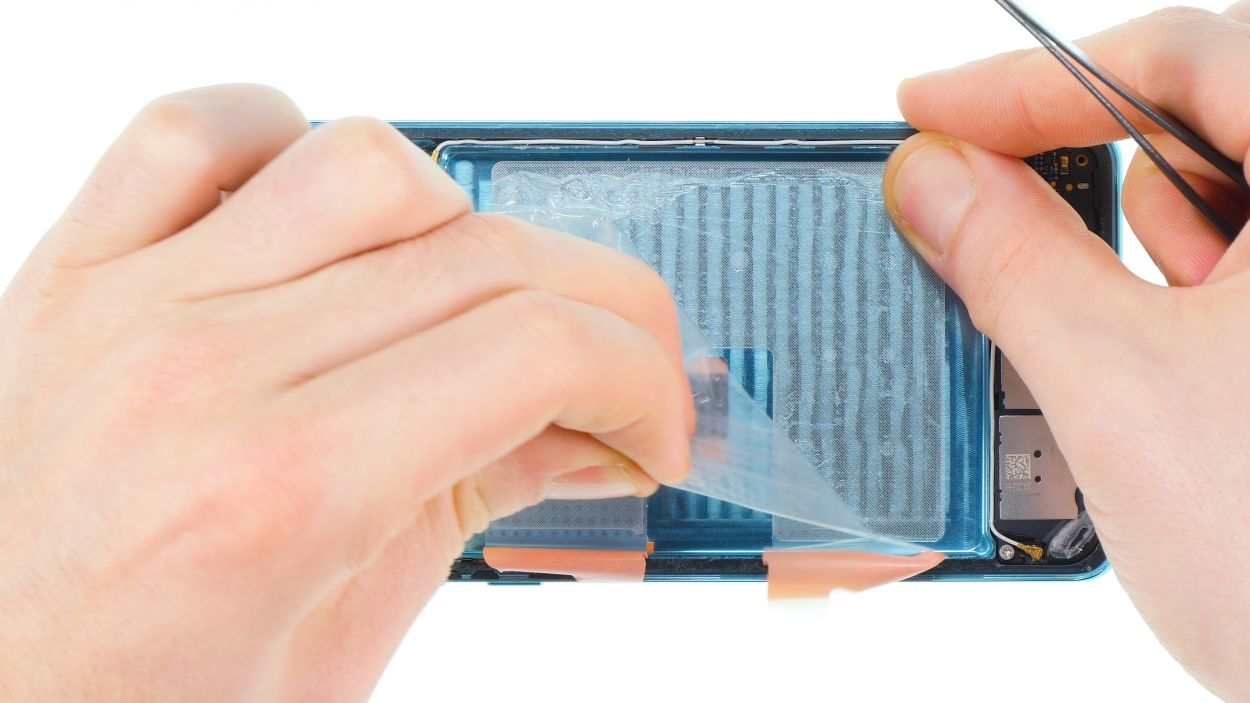
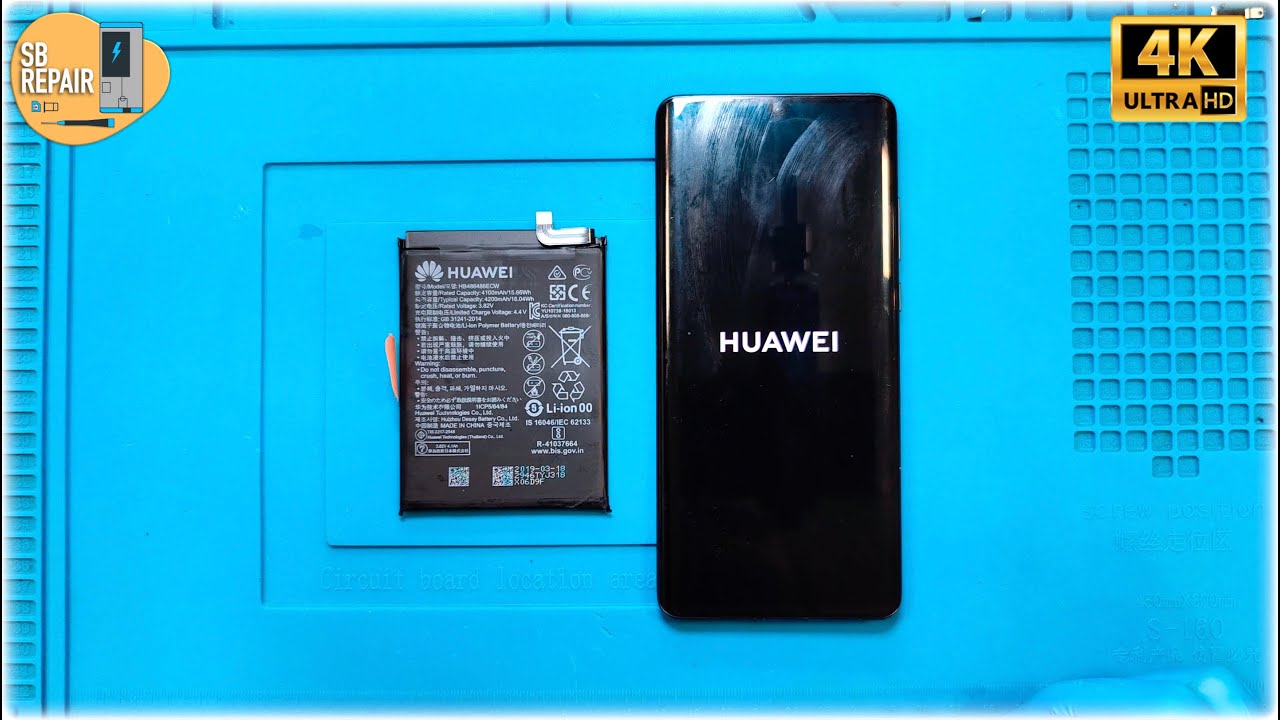
Heating the battery directly is a no-go, folks! It’s super easy for it to get bent and end up damaged. Keep it cool and play it safe!
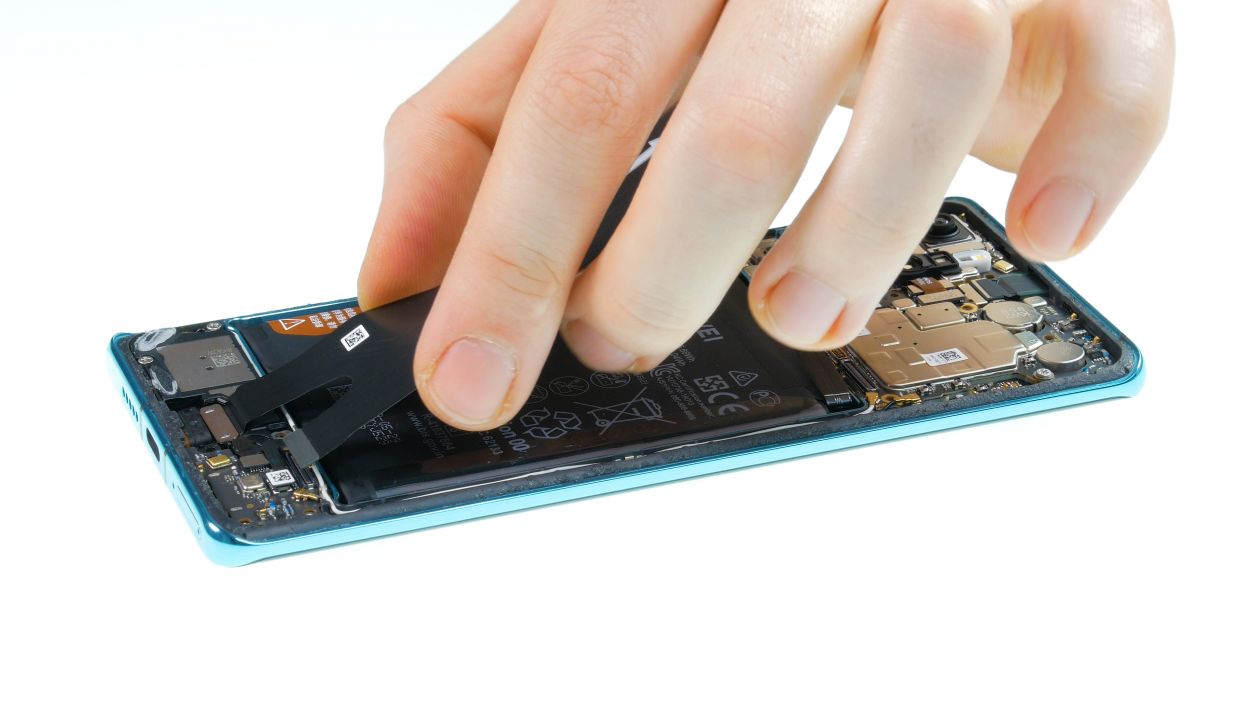
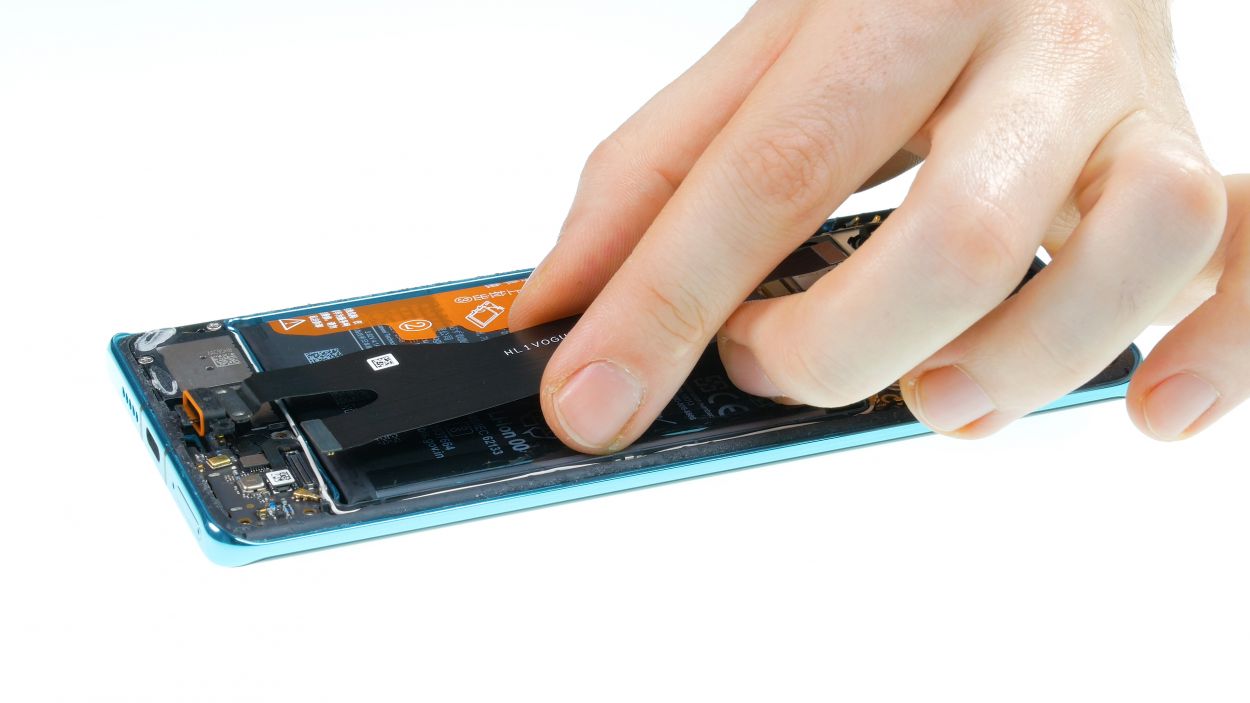
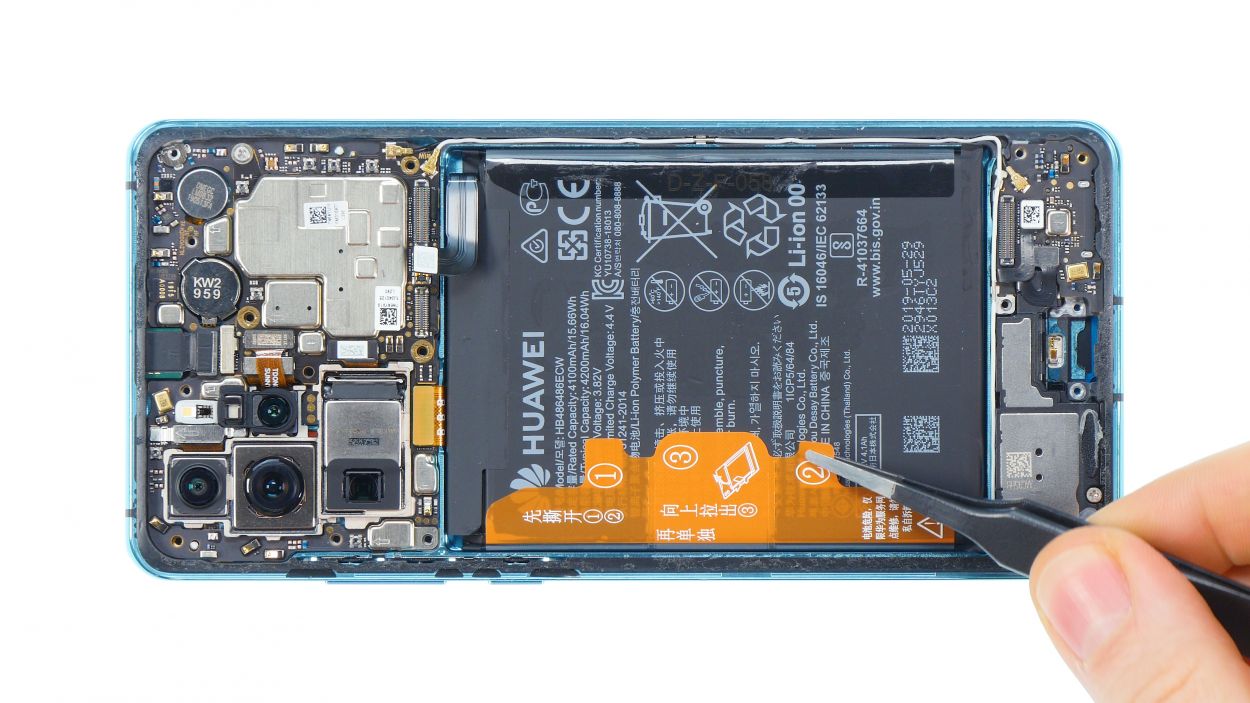
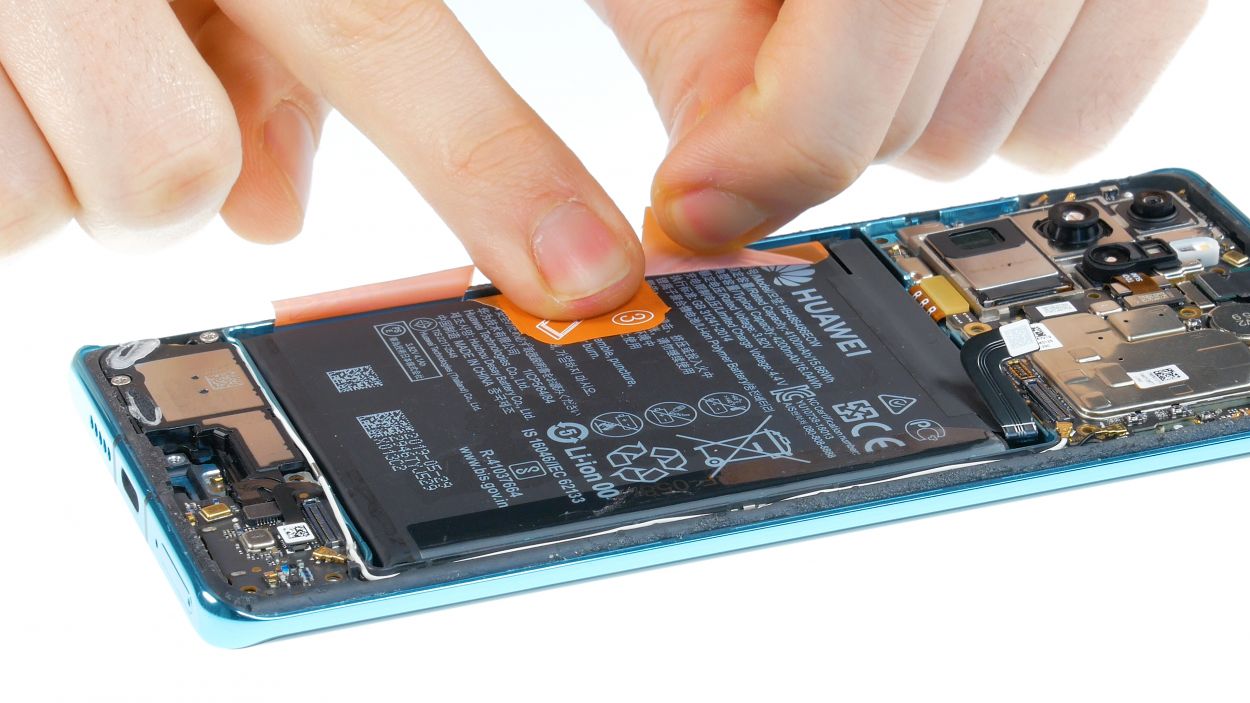
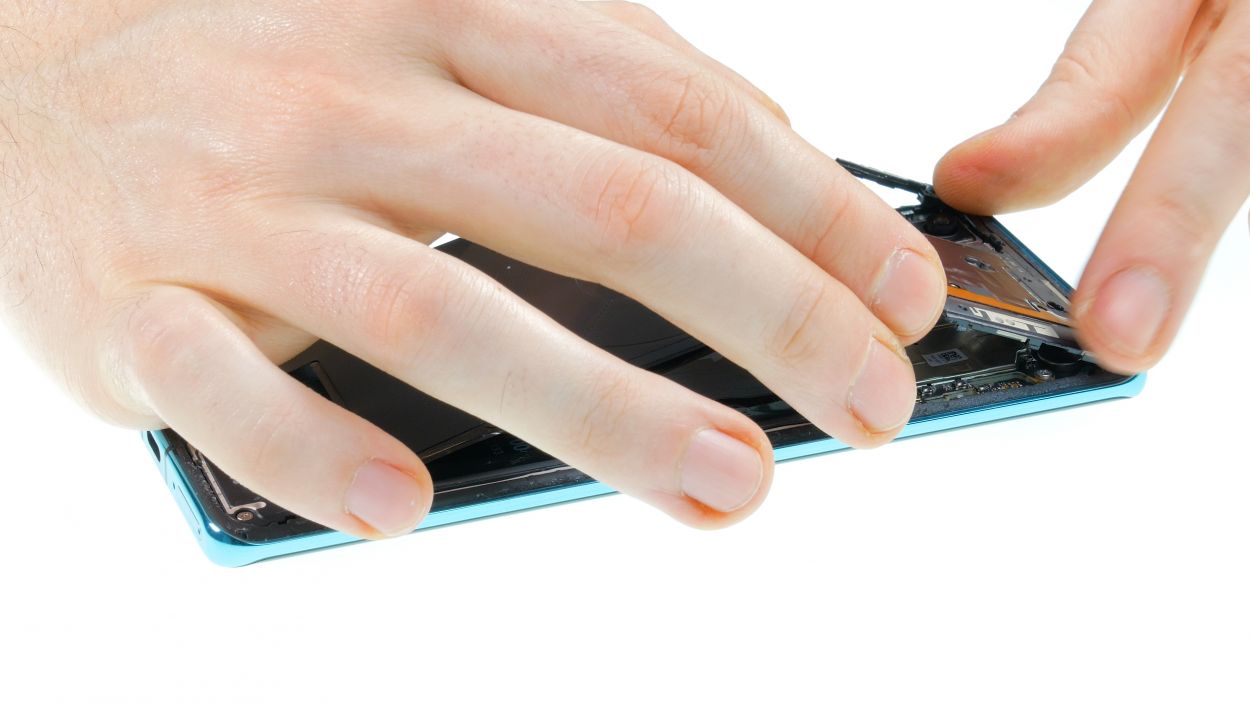
– Kick things off by peeling away the foils labeled ‘one’ and ‘two’.
– Once those are out of the way, you’ll see the tab marked ‘three’—time to gently pull it out!
– Make sure to grip your device firmly with one hand and pull that tab straight up. Just a friendly reminder: be careful not to accidentally rip it off!
– If the battery is feeling a bit stubborn, try warming up the glue with some hot air to help it along.
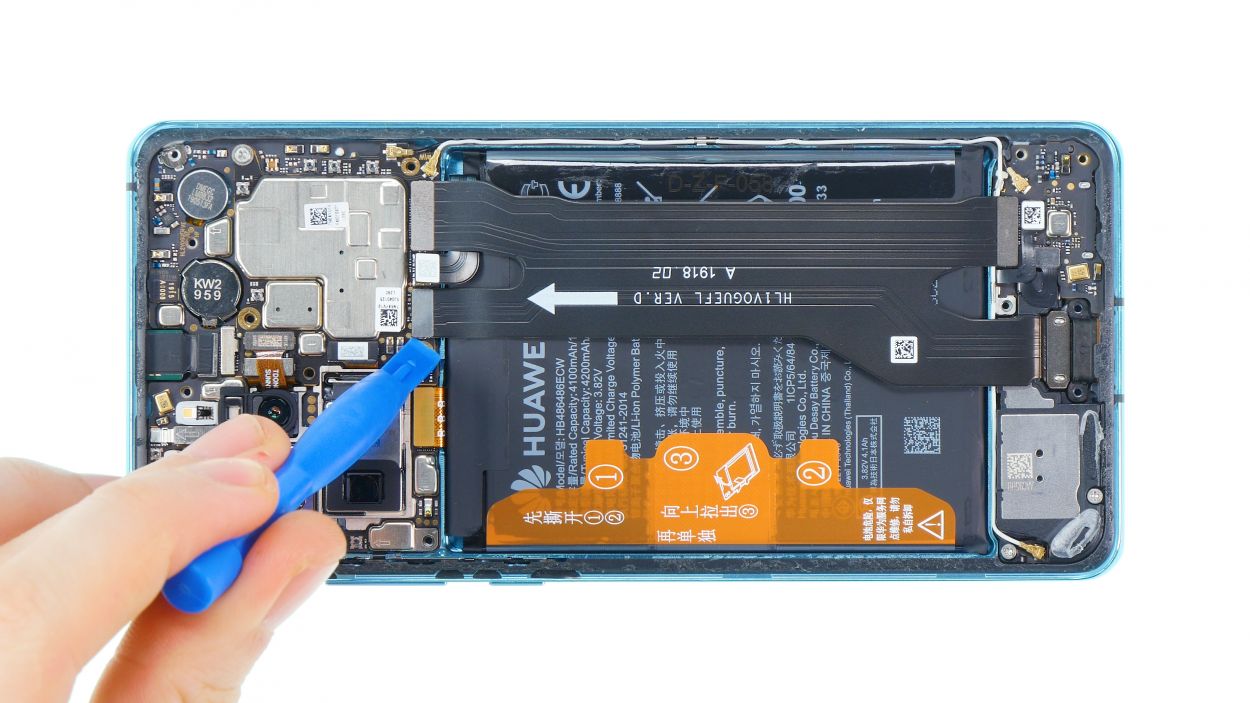
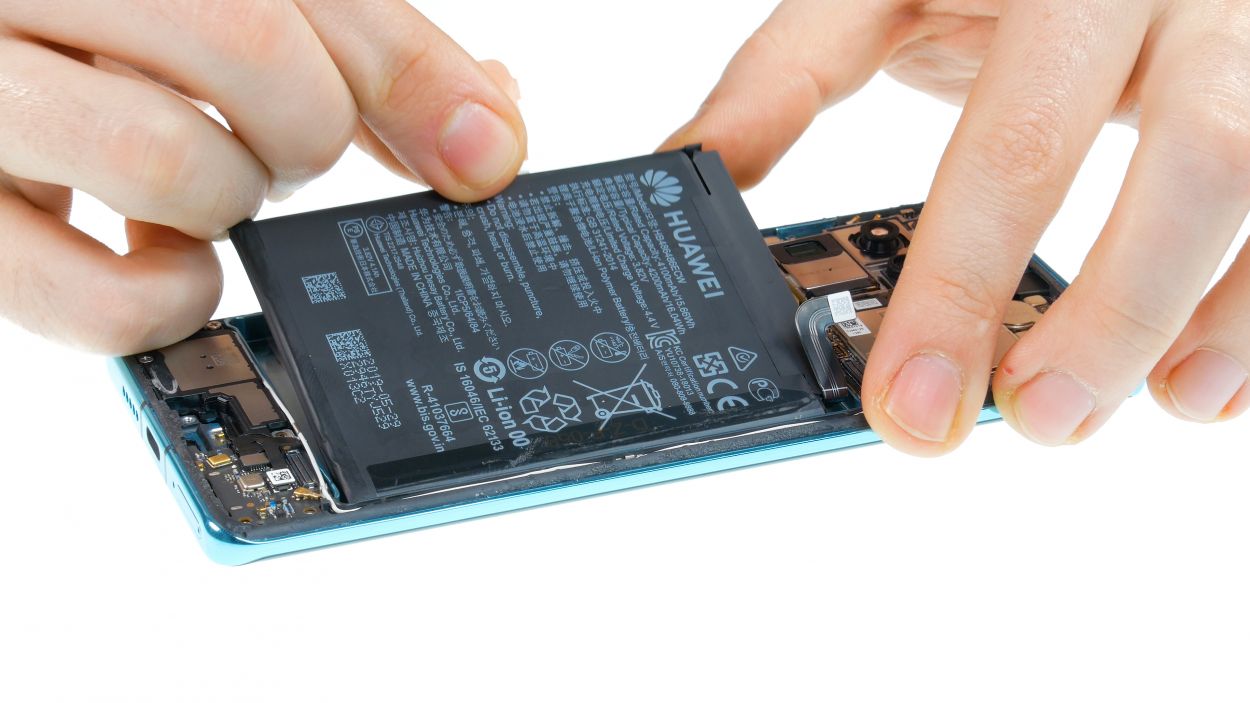
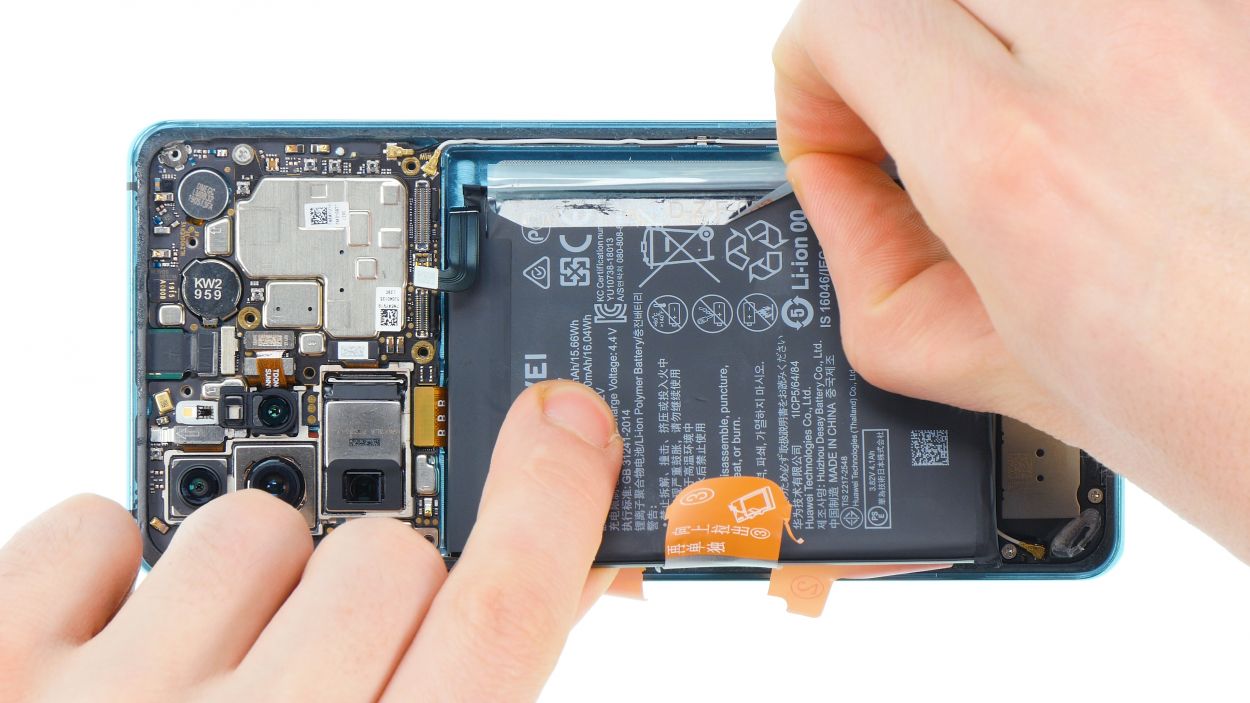
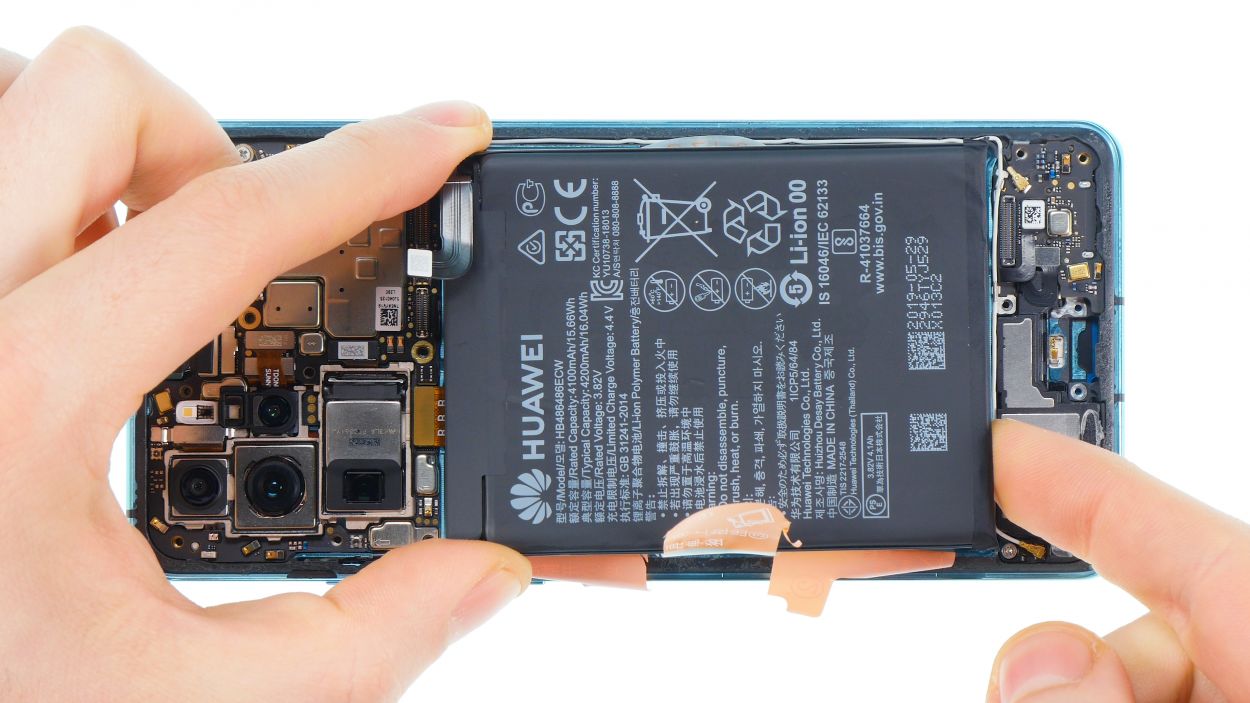
Step 7
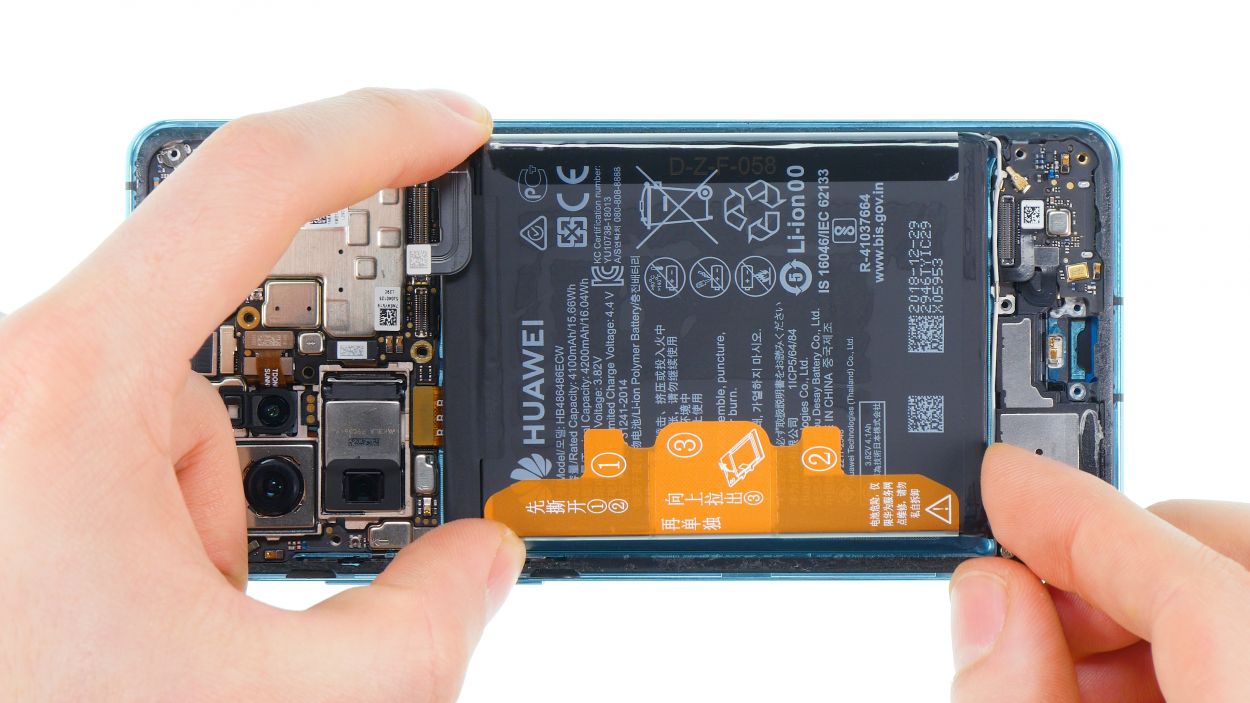

– Before you pop in that shiny new battery, take a moment to check out the leftover glue in the display. Make sure the adhesive isn’t sticking out or wrinkling; otherwise, it might give your battery a little lift later on.
– Next up, gently slide the new battery into your device and give it a light press down. You’re doing great!
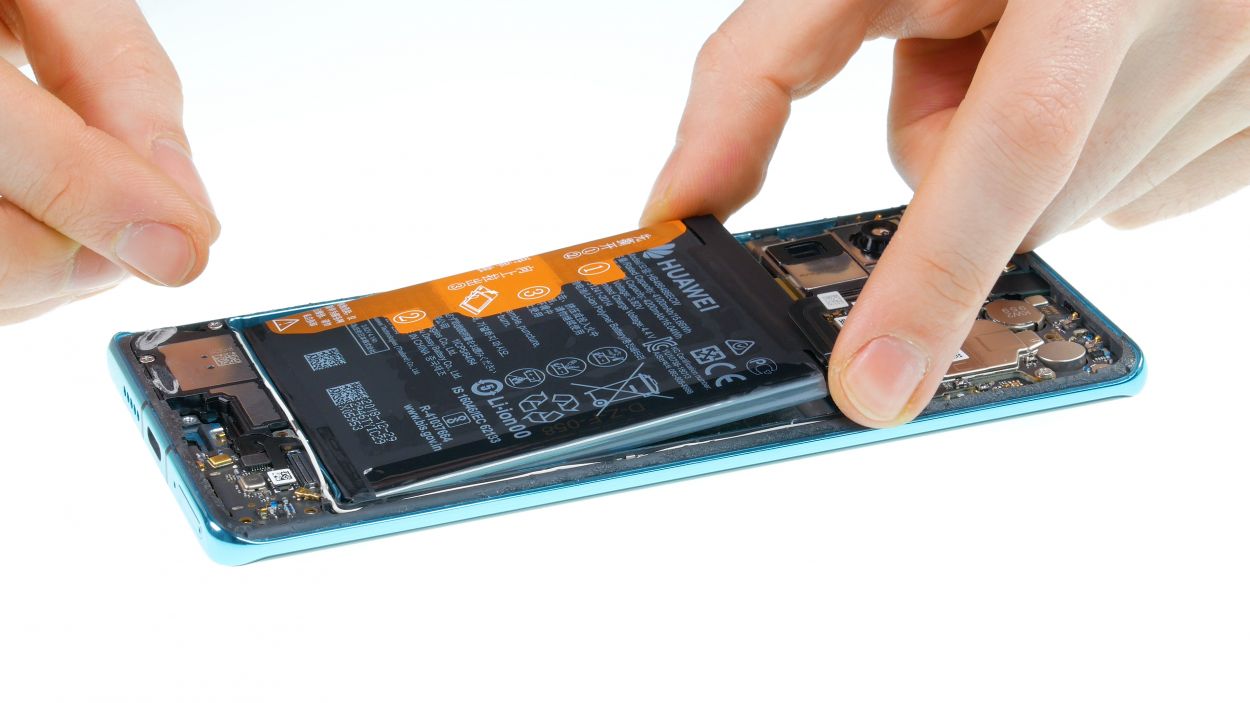
Step 8


5 × 4,4 mm Phillips
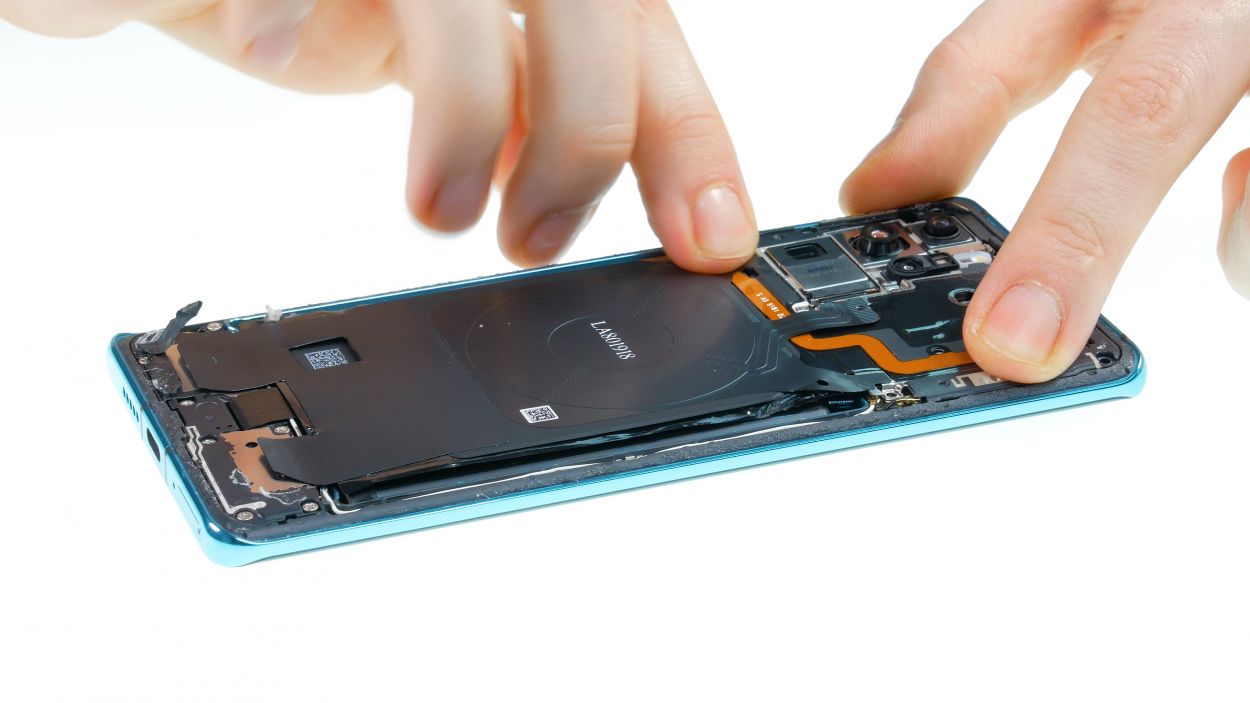
– Gently slide it into its designated spot until it clicks into place.
– Next, make sure to connect all those hefty connectors.
– Position the cover at the bottom and secure it with screws.
Step 9
Battery connector
– Gently place the plug over its contact point and give it a little press down. You’re doing great!
Step 10
10 × 4,4 mm Phillips
– Time to get your gadget fix on! Place your lid at a rakish angle and give it a gentle push down. You got this!
– Lid seat achieved! Now, reattach the cover with those trusty screws. Easy peasy!
Step 11


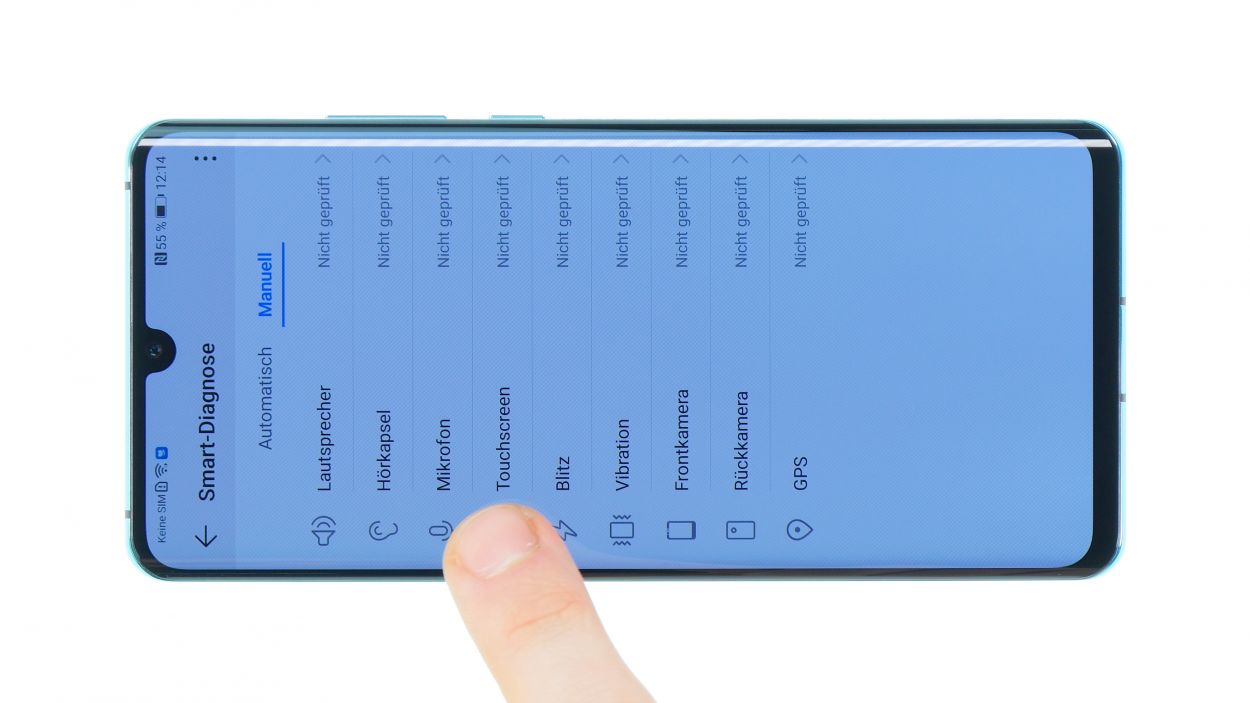

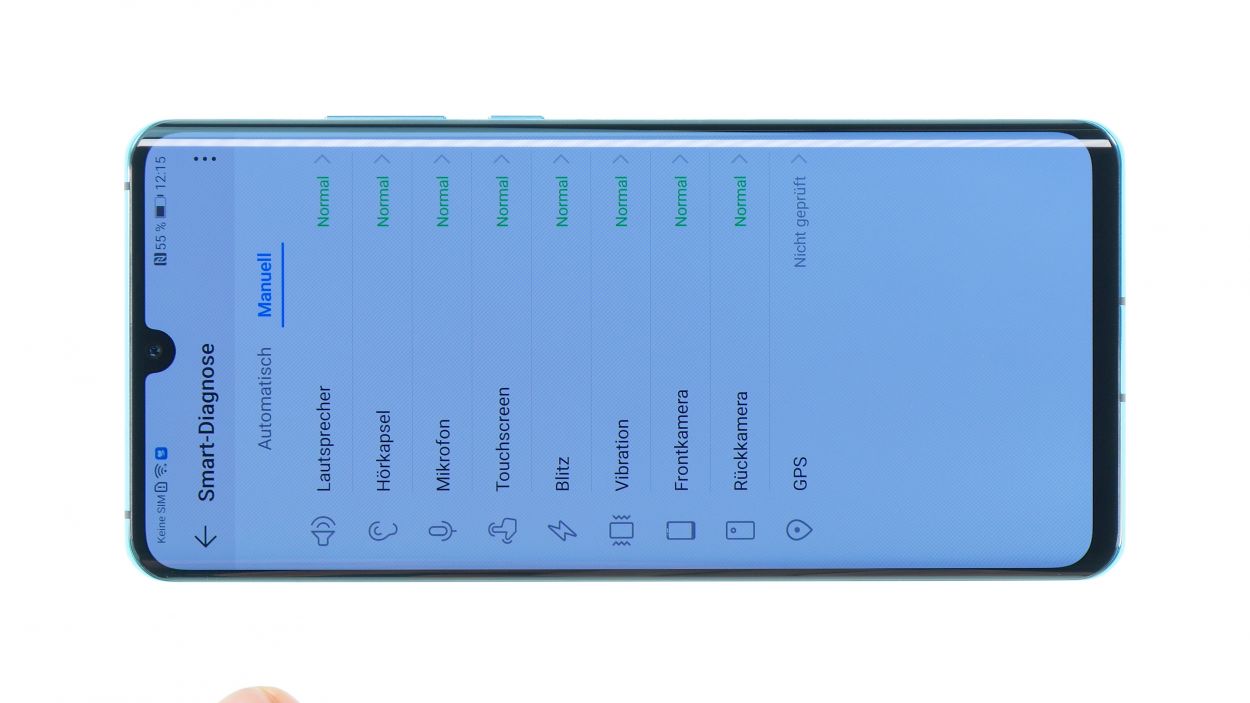
– Alright, before you seal the deal and close up your device for good, let’s give it a little test run! Huawei has a nifty app called Hi Care just for this.
– Fire up the app and let it work its magic by running the Smart Diagnostics. Some functions will be tested automatically, making it super easy!
– Feeling hands-on? You can also check things out manually! Give the touch screen, microphone, speaker, and all the other features a good once-over.
– If you find something acting a bit wonky, take a peek at the related components to see if they’re damaged or not connected properly.
– If everything checks out, congratulations! You’re all set to close your device and call it a day.
Step 12
Just a heads up! After the repair, your smartphone won’t be completely invincible against liquid damage. But don’t worry, if you need help, you can always schedule a repair!
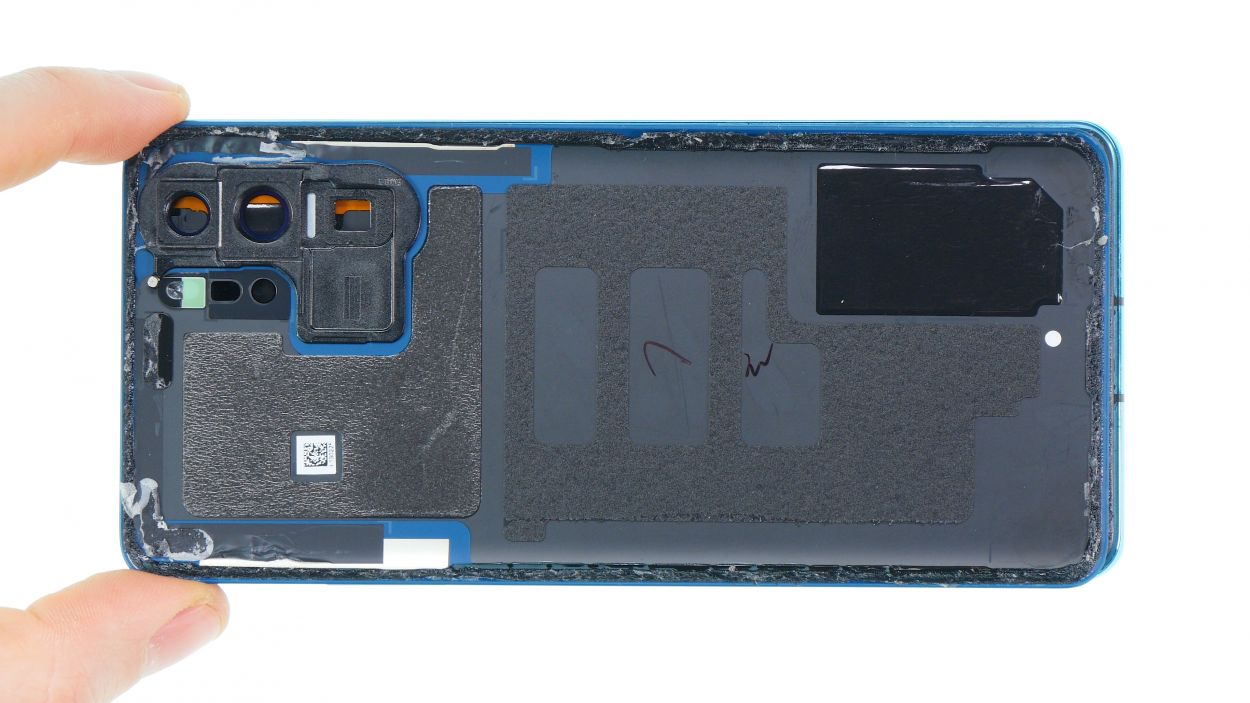
– Before you snap that back cover onto the frame, take a peek at the glue. It should be spread out evenly around the edge so that the back cover sits perfectly with the frame. If there’s any glue overkill, feel free to tidy it up!
– Feeling adventurous? You can ditch the old glue and opt for some fresh adhesive frame instead!
– Carefully position the back cover right in the center of your device and lower it gently. Hold off on pressing it down firmly until you’re sure it’s just right.
– Give that back cover another warm hug with some hot air to help the adhesive stick like a champ!
– While the glue is cooling off, go ahead and press the back glass gently with your fingers or lay something light on it to keep it snug.