DIY Guide: Replace Sony Xperia Z1 Compact Battery
Duration: 30 min.
Steps: 4 Steps
Hey there! Let’s get that Xperia Z1 Compact battery swapped out! Is your phone crashing during intense gaming sessions? Giving you the low battery blues? Or just refusing to power on? Don’t worry, we’ll walk you through replacing that tired battery and get your phone back to its spunky self. If you need a hand, you can always schedule a repair.
Step 1


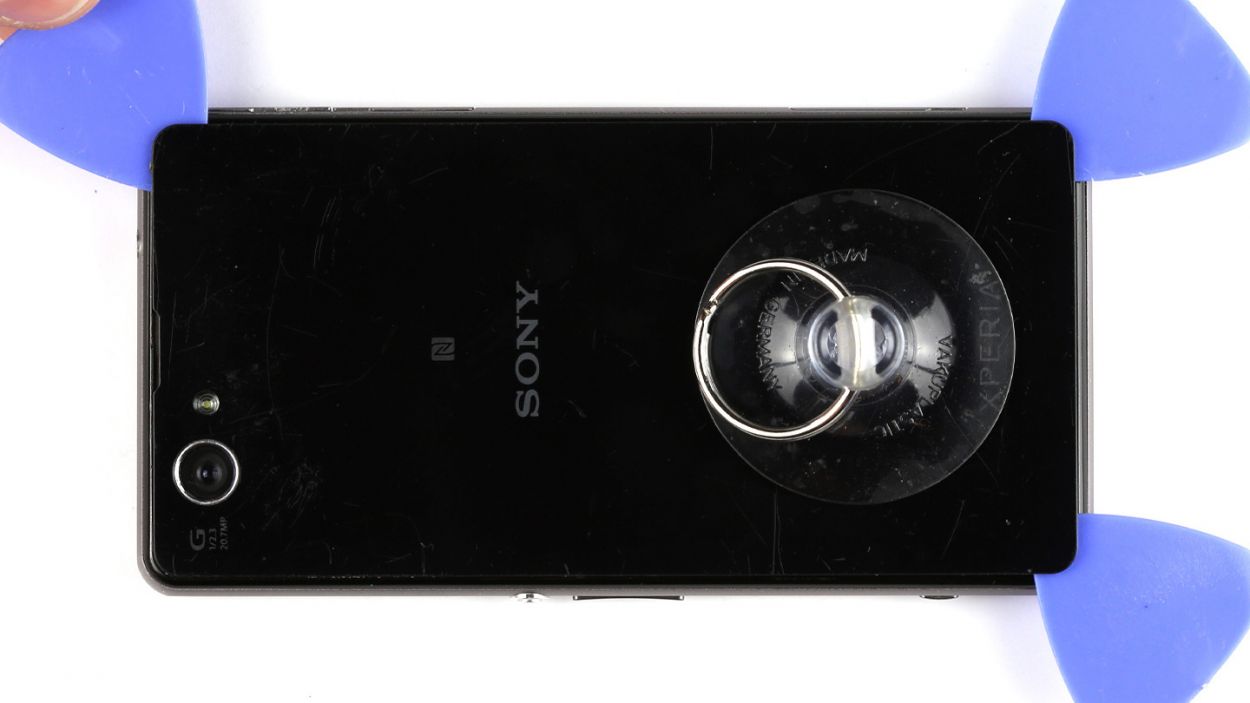

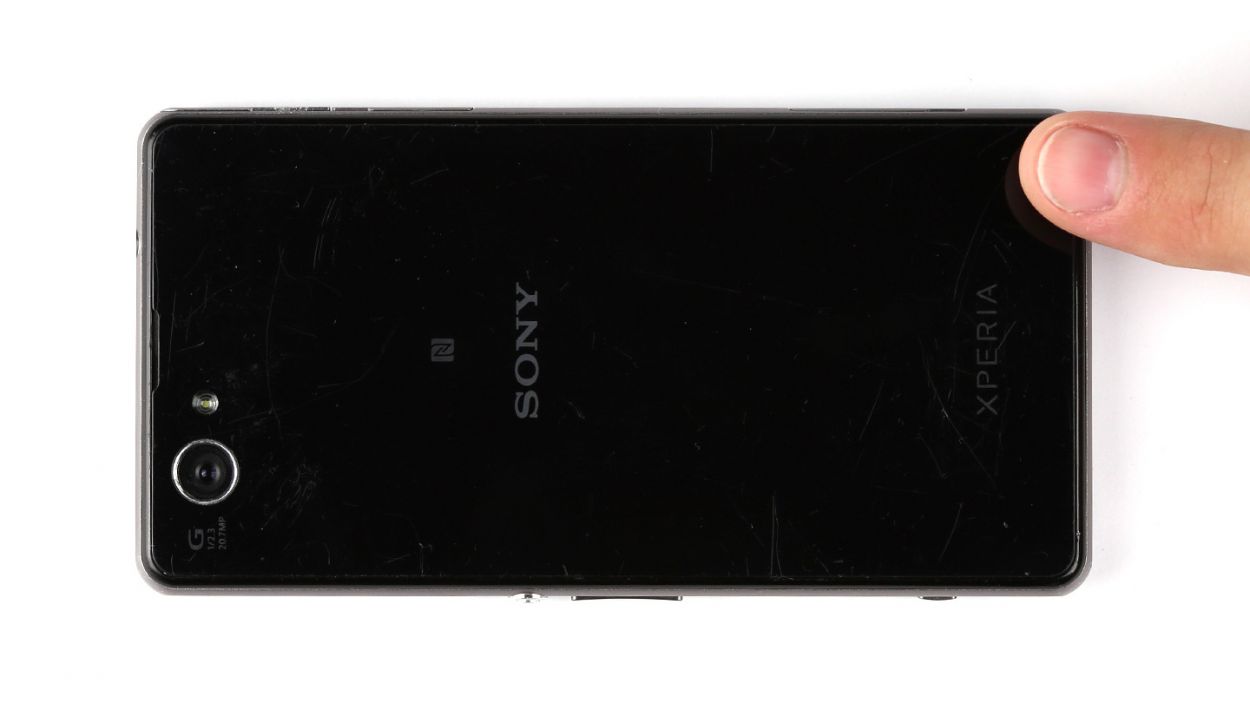
The back cover has a little paint party going on inside! Gently remove any sticky residue to keep it looking sharp and crack-free.
– The back cover is glued on tight, but no worries! Give it a gentle warmup with a heat gun to make that glue a little more cooperative.
– Grab a suction cup and stick it to the lower part of your device. Pull up gently while pressing the chassis down with a plastic pick to help loosen things up.
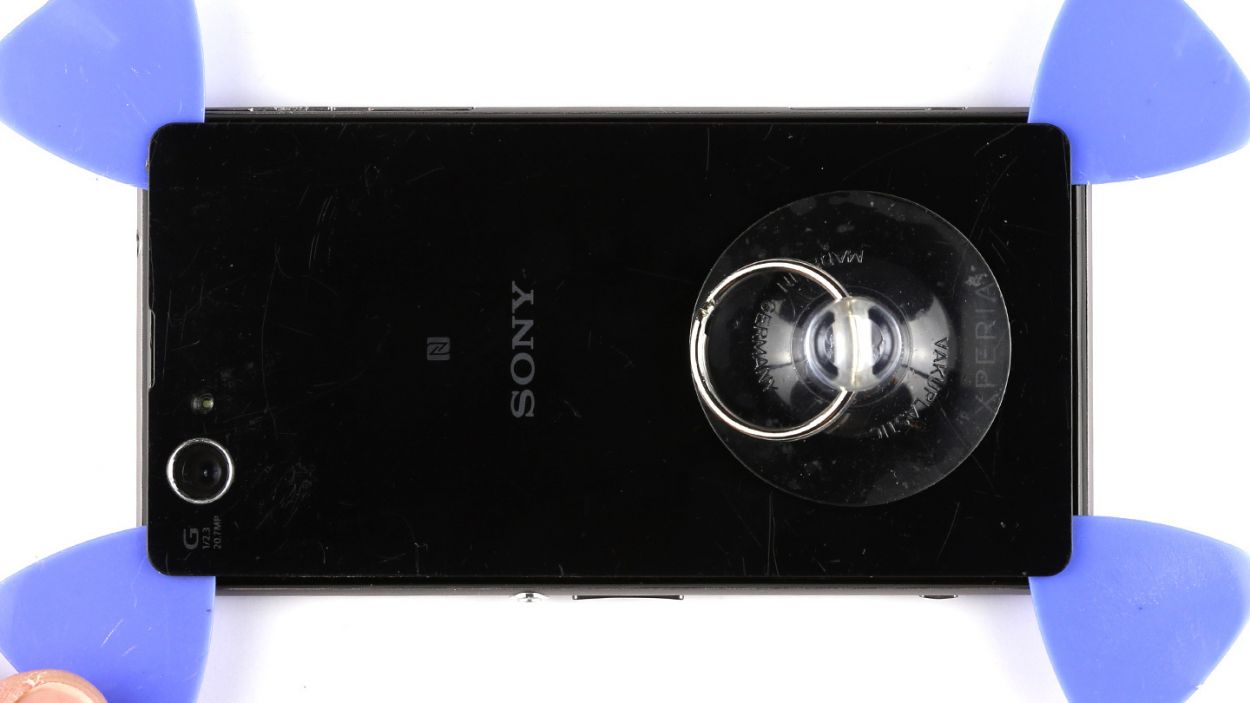
– Once you see a gap forming between the chassis and the back cover, sneak the pick into that opening. Remember, the inside is painted, so take your time and remove any adhesive residue carefully to keep it scratch-free!
– Run the pick all the way around the device to ensure the glue is completely detached. If you’ve got a couple of picks, why not use one at each corner for extra support?
– And voilà! Carefully lift off the back cover and give yourself a pat on the back!
Step 2

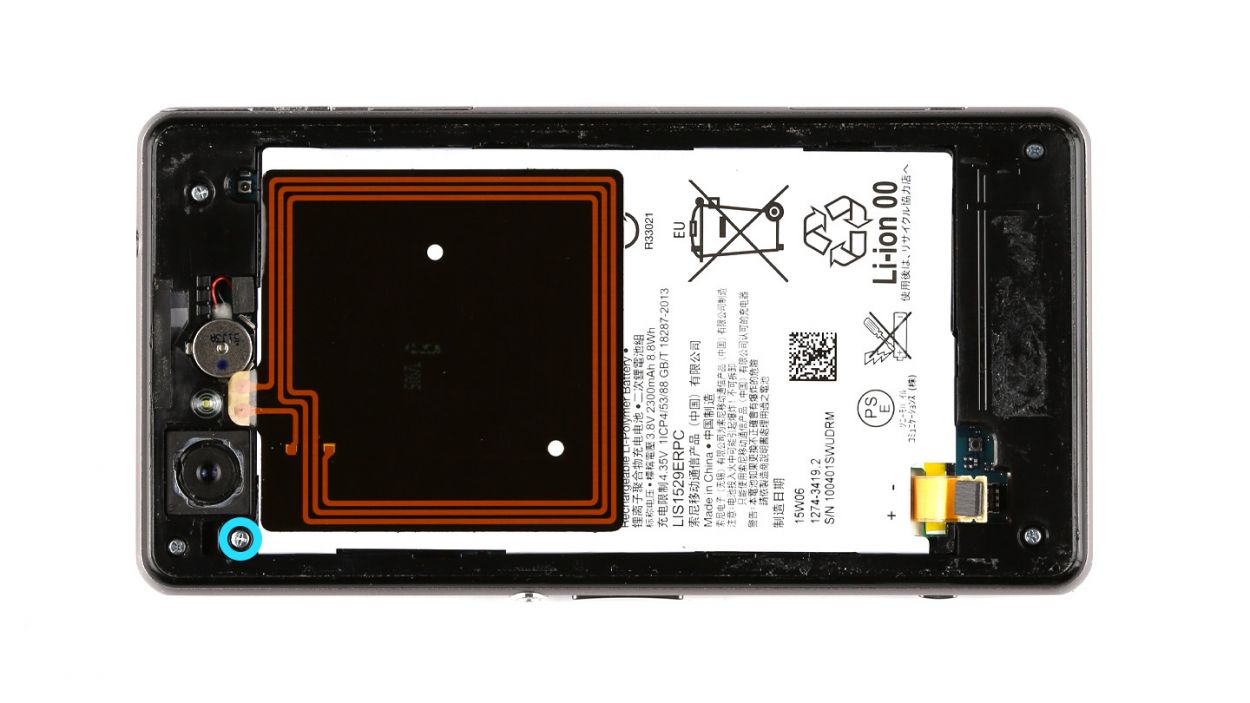

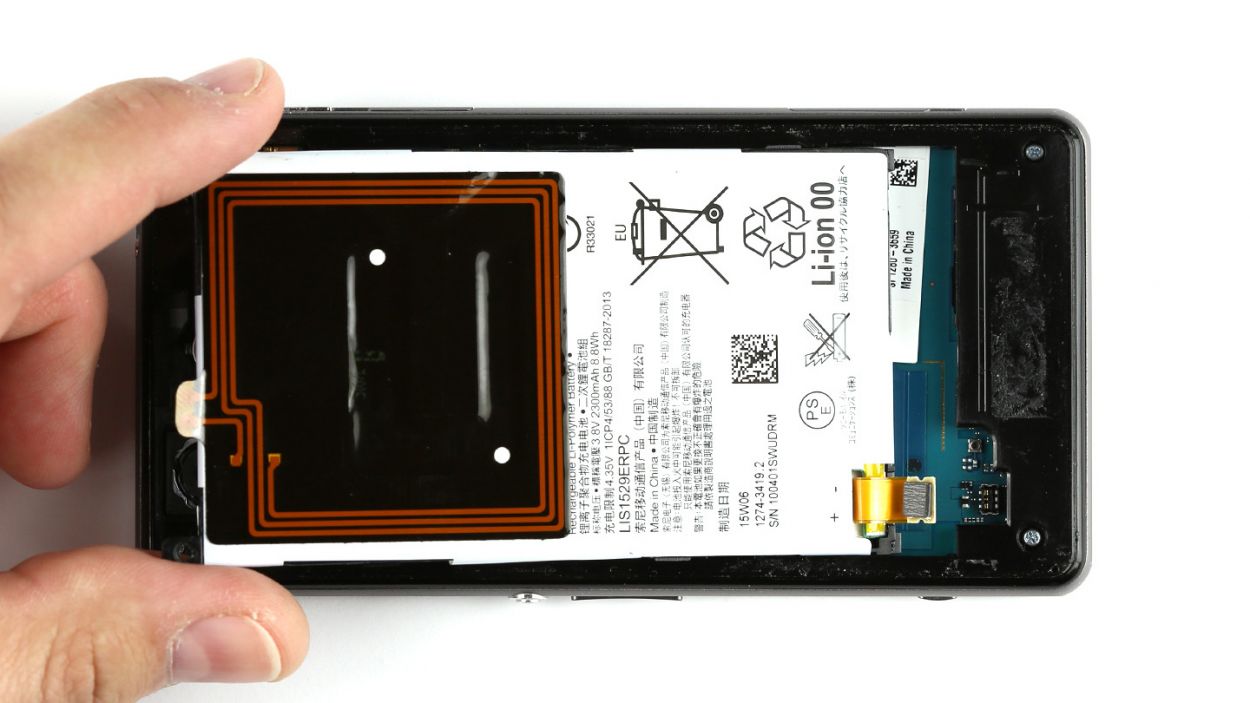
– Gently detach the battery from the logic board by using the spudger as a little lever – it’s like a magic wand for your device!
– The battery is held in place by a Phillips screw. Go ahead and unscrew that little guy, which is secured through the battery’s plastic eyelet and into the enclosure. That’s one 3.0 mm Phillips screw down!
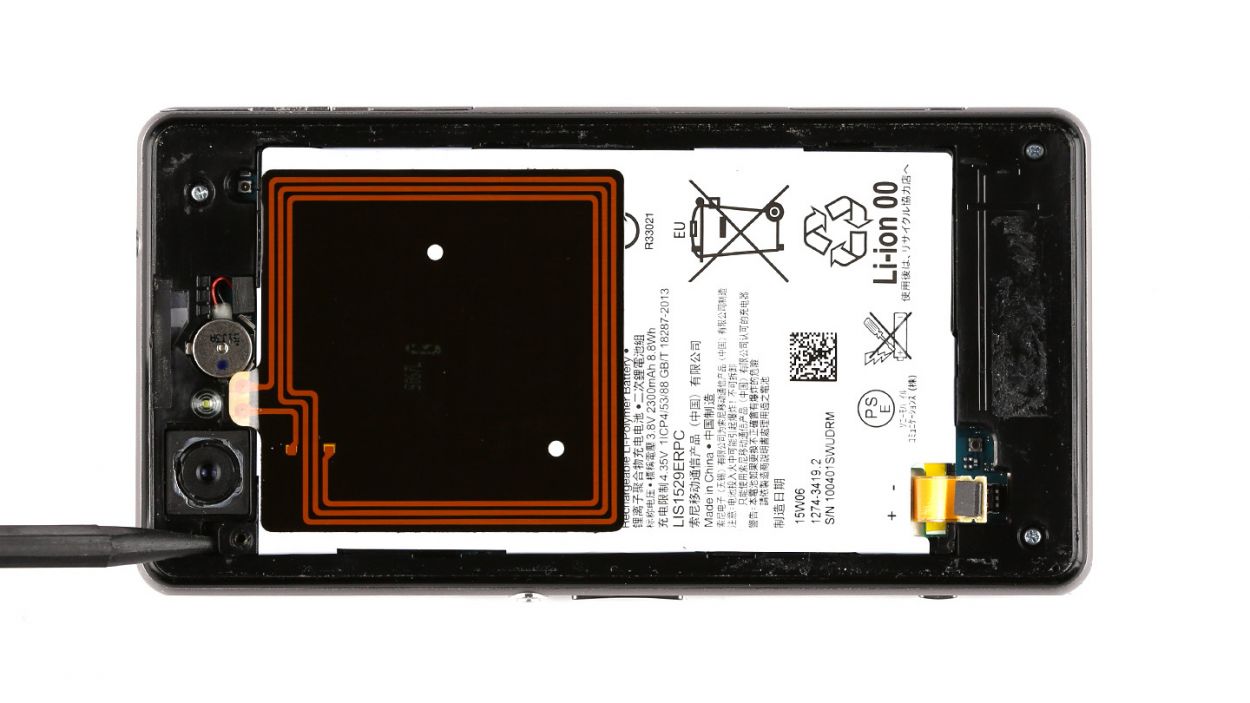
– With the spudger in hand, lift the battery just a smidge out of its cozy spot in the enclosure. Now, slide the spudger into the plastic eyelet where the screw used to be – it’s like giving the battery a little nudge.
– Now it’s time to say goodbye to the battery! Carefully remove it from the device and give yourself a high five for a job well done!
Step 3


– Gently place the battery back into its cozy home inside the device. Just ensure that those two little plastic tabs on the edge of the battery are snugly hooking onto the enclosure, making it feel right at home.
– Secure the battery to the enclosure with a trusty Phillips screw. You’ll need just one 3.0 mm Phillips screw for this task.
– Now, let’s connect that battery to the logic board and bring your device back to life!
Step 4


– Get that back cover ready to rock! Firmly press it onto the chassis all around the edges, ensuring everything sticks together like best friends.
– If it seems a bit shy, don’t hesitate to warm up the back of your device to help it bond better. A little pressure goes a long way, so consider using a clamp for that constant loving touch!


