How To Replace Sony Xperia Z2 Back Cover Guide
Duration: 15 min.
Steps: 3 Steps
In this guide, we’re here to help you swap out that worn-out back cover on your Xperia Z2. Whether your cover is cracked, broken, or your rear camera is taking blurry shots due to a scratched lens, we’ve got you covered! Let’s get started on bringing your device back to life. And remember, if you need help, you can always schedule a repair.
Step 1
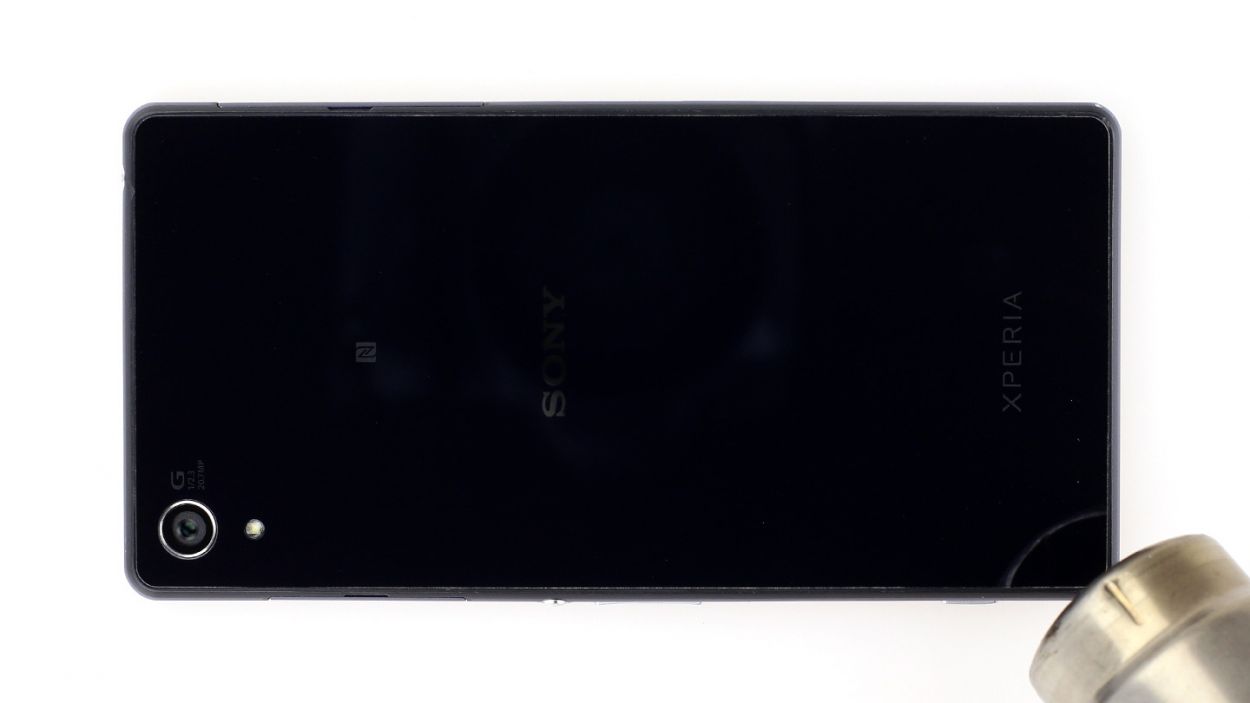
– The back of the Sony Xperia Z2 is glued down pretty well, so we need to give it some warmth! Grab your heat gun and gently warm it up to help soften that stubborn adhesive. Once it’s nice and toasty, slide a plastic pick into the tiny gap between the frame and the glass to break the seal.
– Speaking of tiny gaps, the space between the aluminum frame and the glass is quite snug. A flat, sturdy object will work wonders to help you get in there without any fuss.
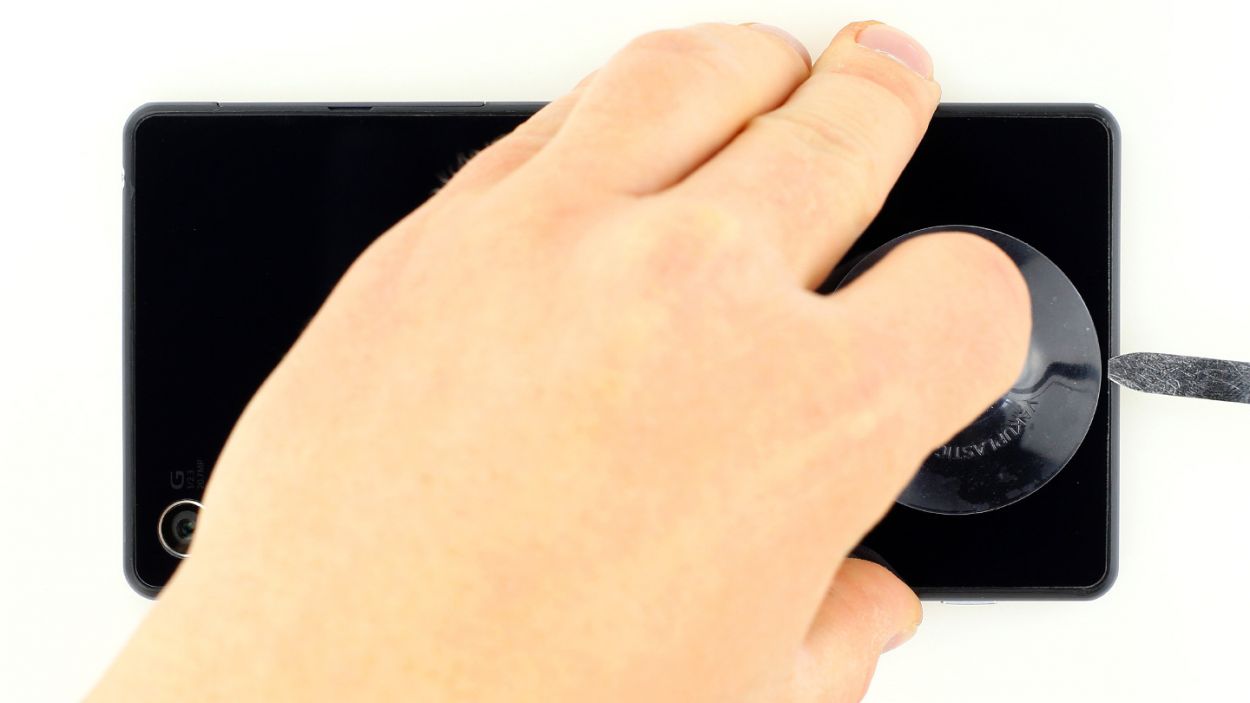
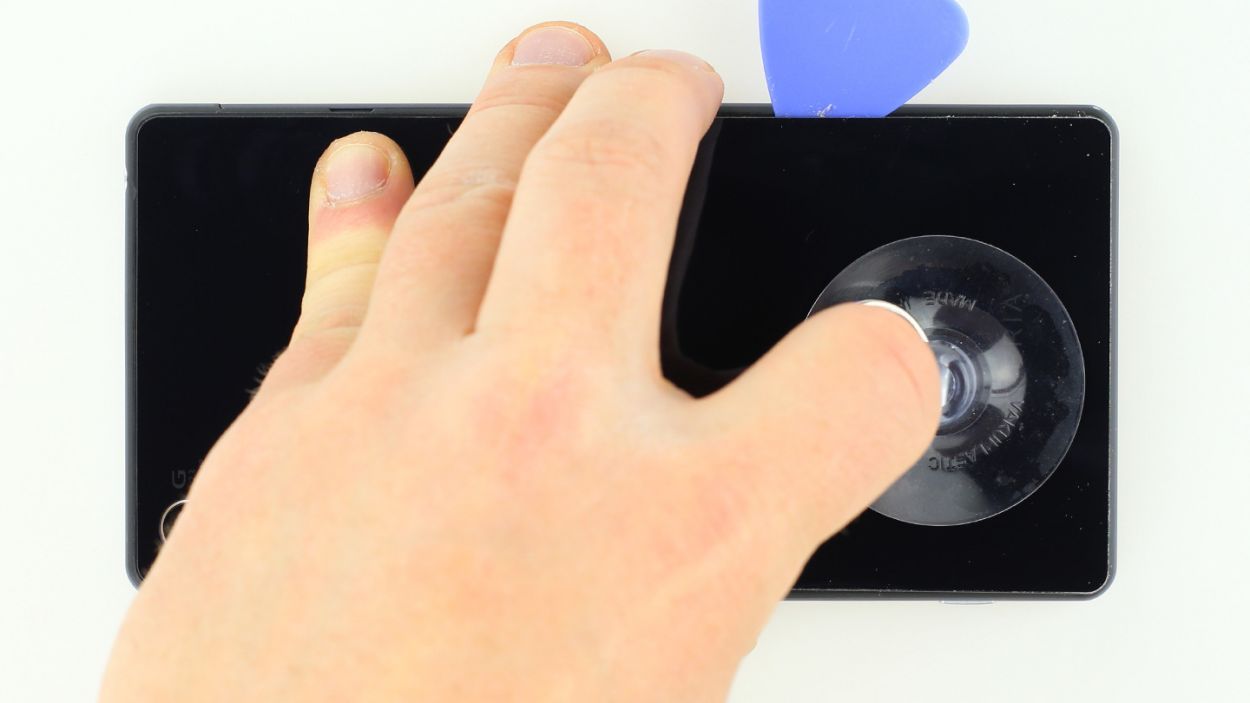
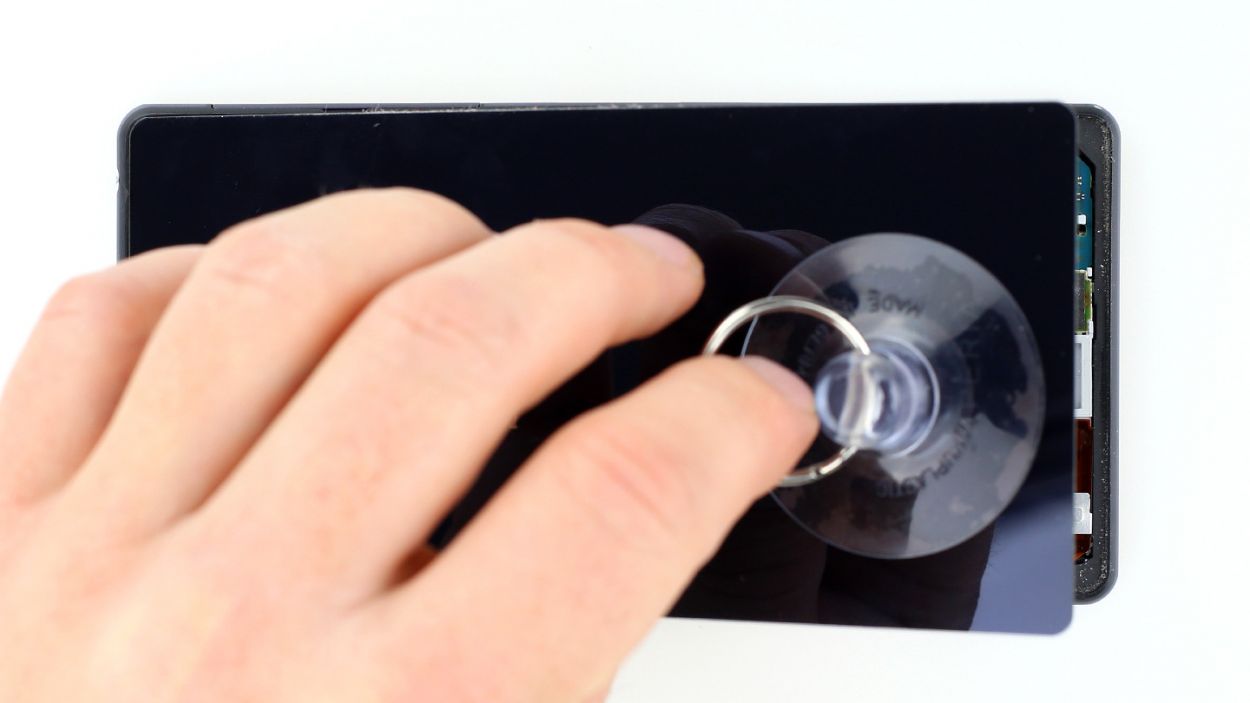
– Now, let’s lift that back cover! A suction cup can be your best buddy here—just be gentle as you pull it up.
– Once you’ve created a little opening, slide in the plastic pick to keep that gap open and protect the aluminum from any unwanted damage.
Step 2
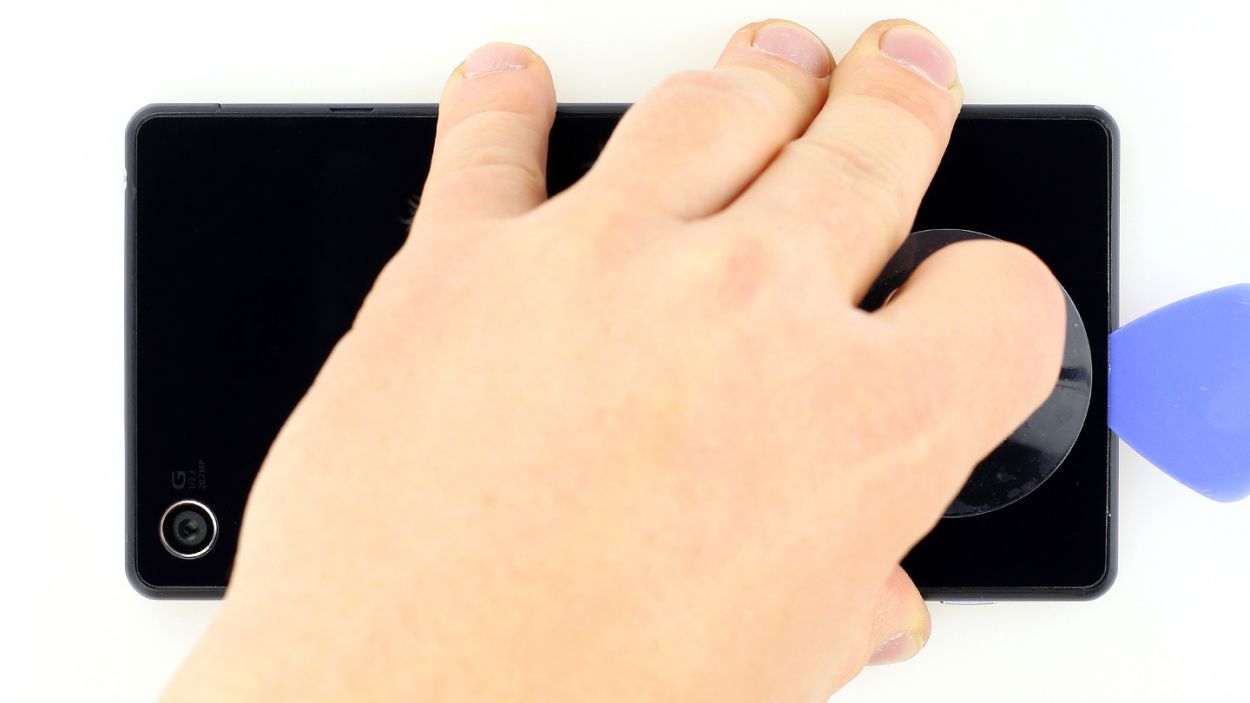
The back cover has a stylish paint job on the inside. Gently tackle any leftover adhesive like a pro to keep it scratch and crack-free!
– Gently slide the pick just a few millimeters between the back cover and the frame—just enough to avoid any mishaps inside! Remember, the back cover has a lovely paint job on the inside. Take your time removing any adhesive residue to keep scratches and cracks at bay.
– The back cover is stuck on tight all around the outer edge of the Sony Xperia Z2. Glide that pick around the entire phone like you’re tracing a fun path!
– Once you’ve freed all that glue, you can carefully lift off the back cover. Easy peasy!
Step 3
– Alright, it’s time for the grand finale! Let’s get that back cover back on.
– Chances are, the old glue is still hanging in there, just waiting for its moment to shine.
– Carefully place the back cover on, give it a gentle warm-up, and then apply a little pressure to secure it to your smartphone for a bit. You’ve got this!