DIY Guide to Replace Battery in Sony Xperia Z3
Duration: 15 min.
Steps: 5 Steps
Hey there! Is your Xperia Z3’s battery acting up? Giving you the ol’ crash-and-burn during heavy use? Charging woes? Battery life shorter than a gnat’s lifespan? Don’t sweat it! This guide’s got your back (and your phone’s battery!). We’ll walk you through replacing that tired old battery and getting your Z3 back to its spunky self. If you need a hand along the way, you can always schedule a repair.
Step 1
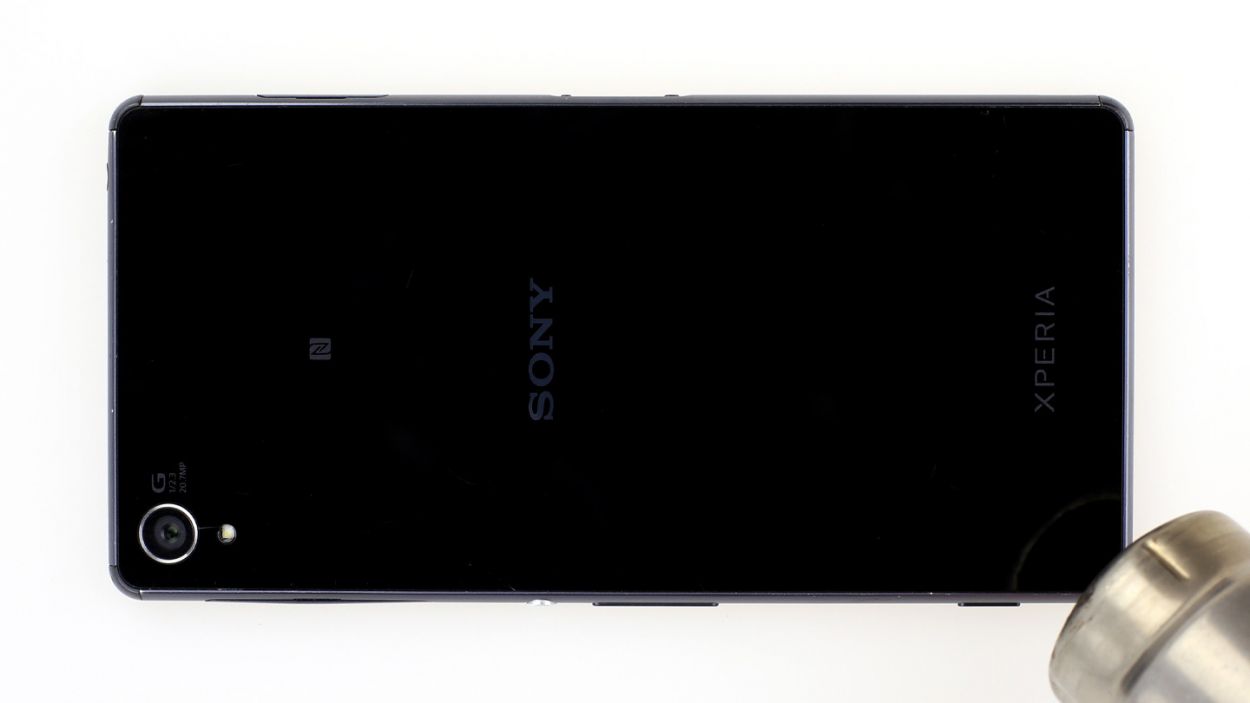
– Get ready to conquer the Sony Xperia Z3’s stubborn back enclosure! Heat it up with a heat gun to soften that glue, then carefully slide in a plastic pick to loosen the adhesive.
– Pro tip: the gap between the aluminum frame and the glass is super slim, so grab a flat, sturdy tool to help you get in there.
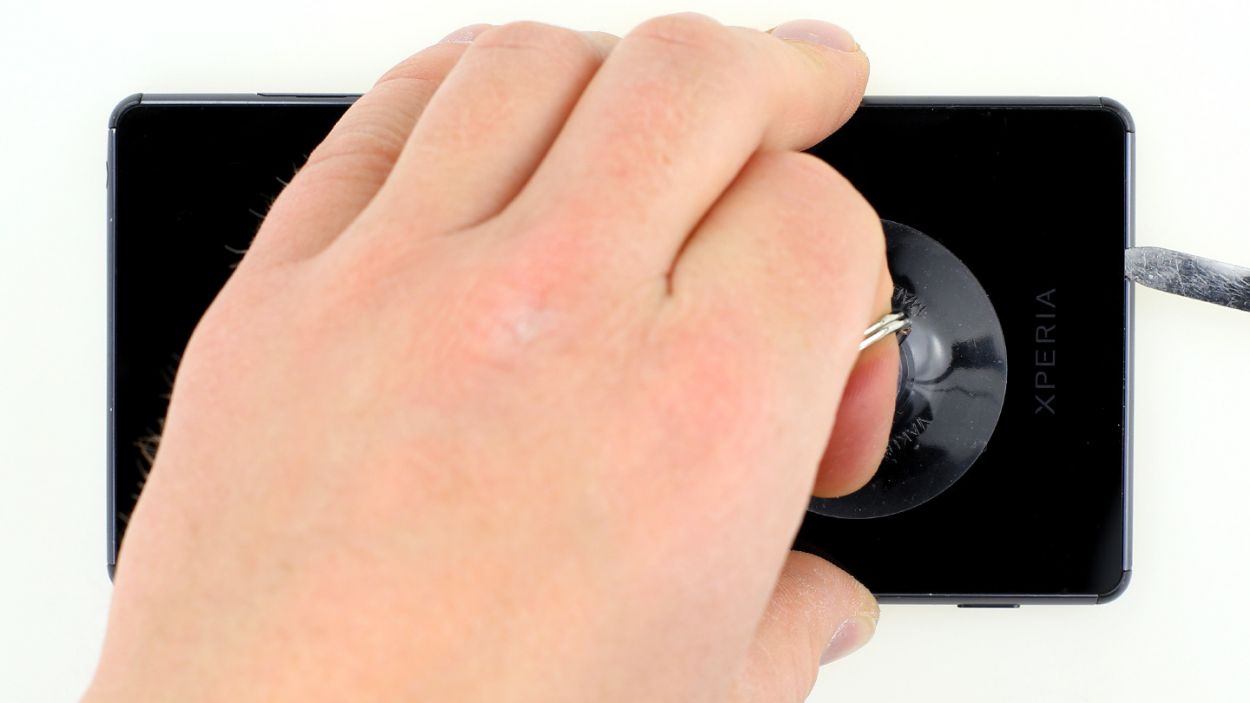
– Now it’s time to lift that back cover with a suction cup – go slow and steady!
– As soon as you see a tiny gap, whip out that plastic pick to avoid scratching the aluminum. You got this! If you need help, you can always schedule a repair.
Step 2
The inside of the back cover has a fresh coat of paint! Gently remove any sticky residue to keep it looking sharp and avoid any scratches or cracks. If you need help, you can always schedule a repair.
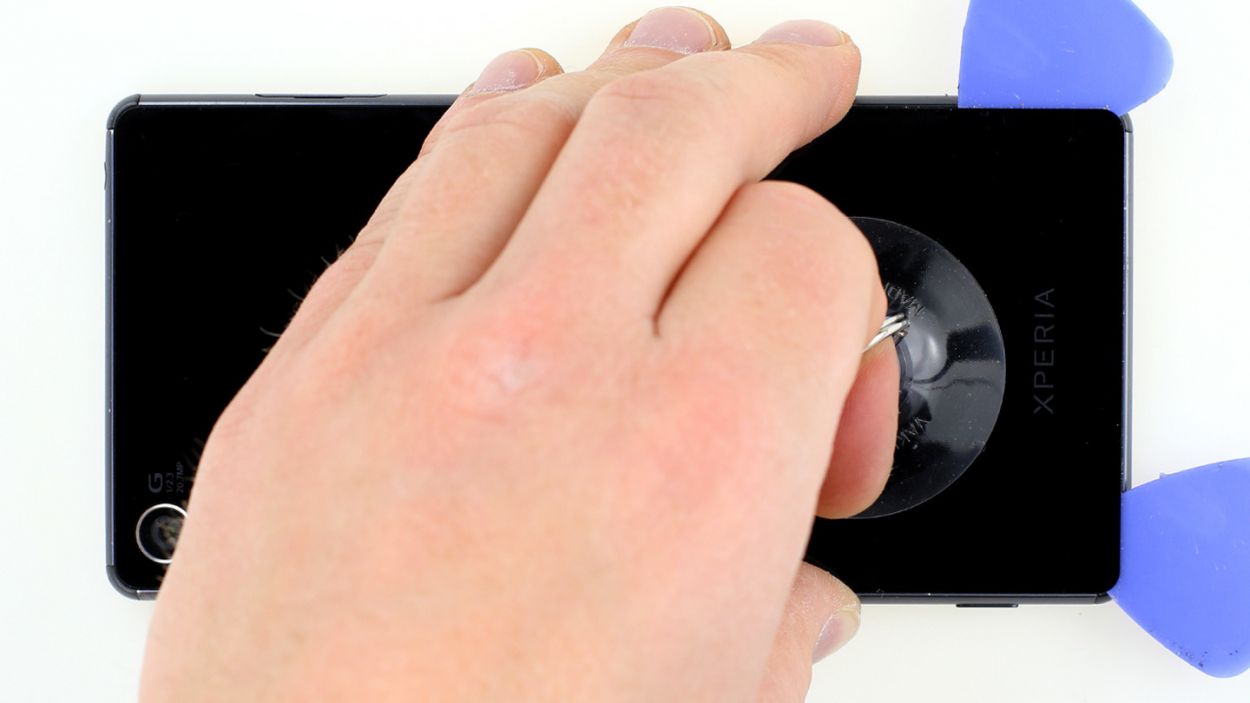
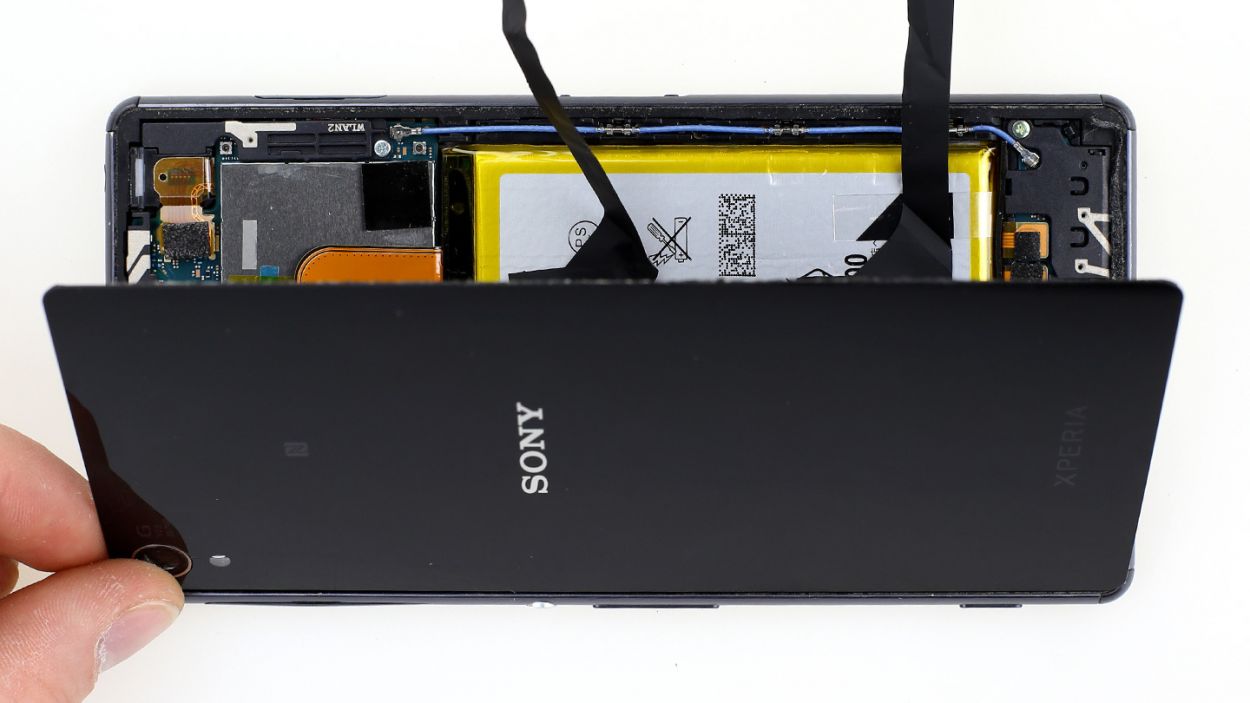
– Gently slide the pick in just a few millimeters between the back cover and the frame to keep everything safe inside the enclosure. Remember, the back cover is painted on the inside, so take your time! When you’re removing any sticky bits, do it with care to avoid any scratches or cracks.
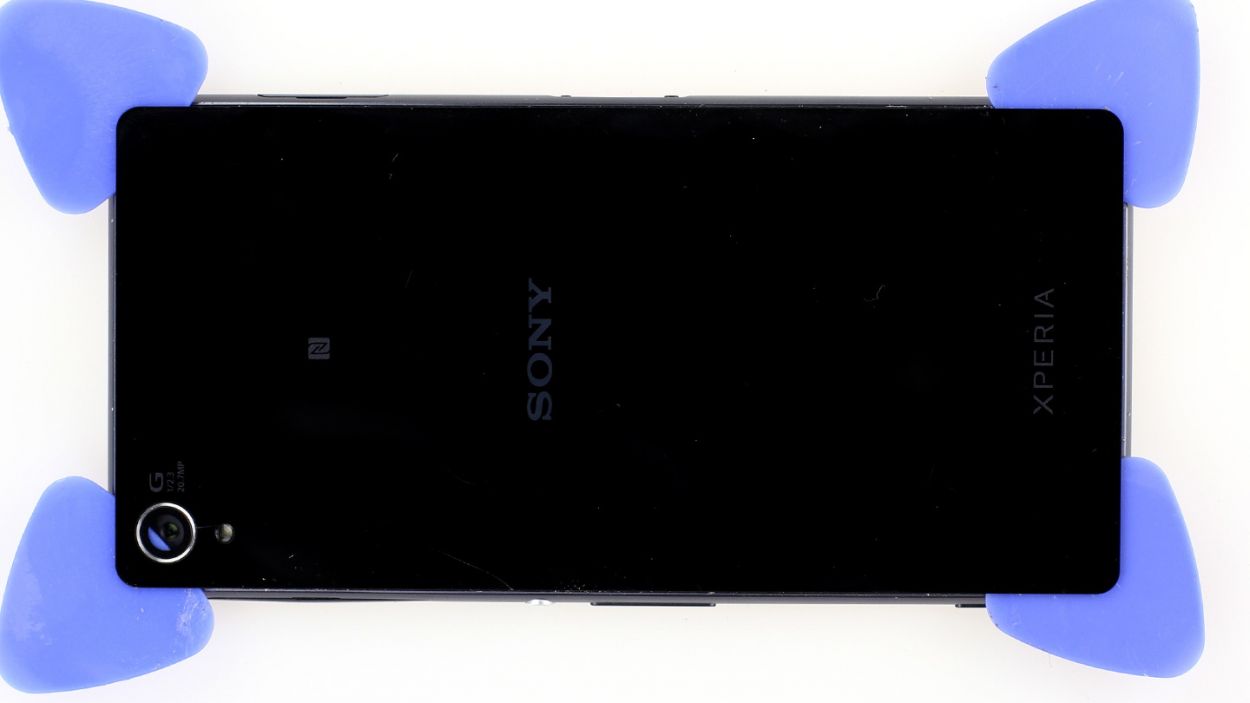
– The back cover is firmly glued all around the outer edge of the Sony Xperia Z3. Make sure to run the pick all the way around the phone. Oh, and don’t forget about those two adhesive+strips+Xperia+Z3&crid=1TJIMMAJSUJUZ&sprefix=repair+tools%2Caps%2C165&linkCode=ll2&tag=salvationrepa-20&linkId=c486487cf454ce8edd6f5beefab4110f&language=en_US&ref_=as_li_ss_tl’>adhesive strips on the battery – they won’t budge until you lift the top.
– Once you’ve tackled all that glue, you can carefully lift off the back cover. You’ve got this!
Step 3


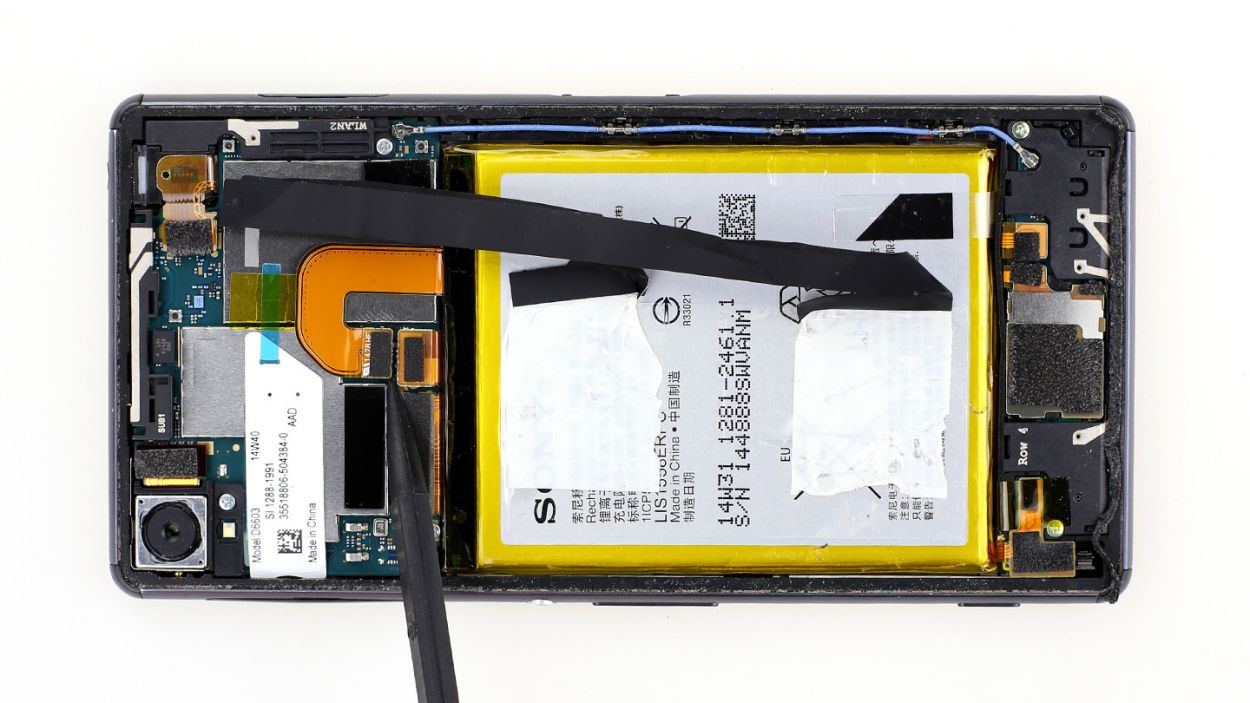
– Gently slide the sharp tip of the spudger just below the contact and give it a little lift. Remember, we want to keep those resistors attached to the logic board, so be careful!
– Now, with a little finesse, start lifting the battery. It’s just lightly stuck down, so it shouldn’t put up much of a fight.
– Once you’ve got it up, go ahead and take it out!
Step 4
– Slide that battery into place and make sure to connect the connector snugly.
Step 5
– Alright, it’s time for the grand finale! Grab that back cover and get ready to put it back on.
– Don’t worry, the old glue is still hanging in there, just waiting for its moment to shine.
– Place the back cover on, give it a gentle warm-up, and then apply a little pressure to make sure it sticks around for a while.