
DIY Guide to Replace Front Camera on Xperia Z5 Compact
Duration: 30 min.
Steps: 16 Steps
In this guide, we’ll walk you through the process of swapping out your Xperia Z5 Compact’s faulty front camera all by yourself! If your front camera is acting up, your selfies are coming out fuzzy, or it just won’t focus, this repair is just what you need. Let’s get started and bring your camera back to life!
Step 1

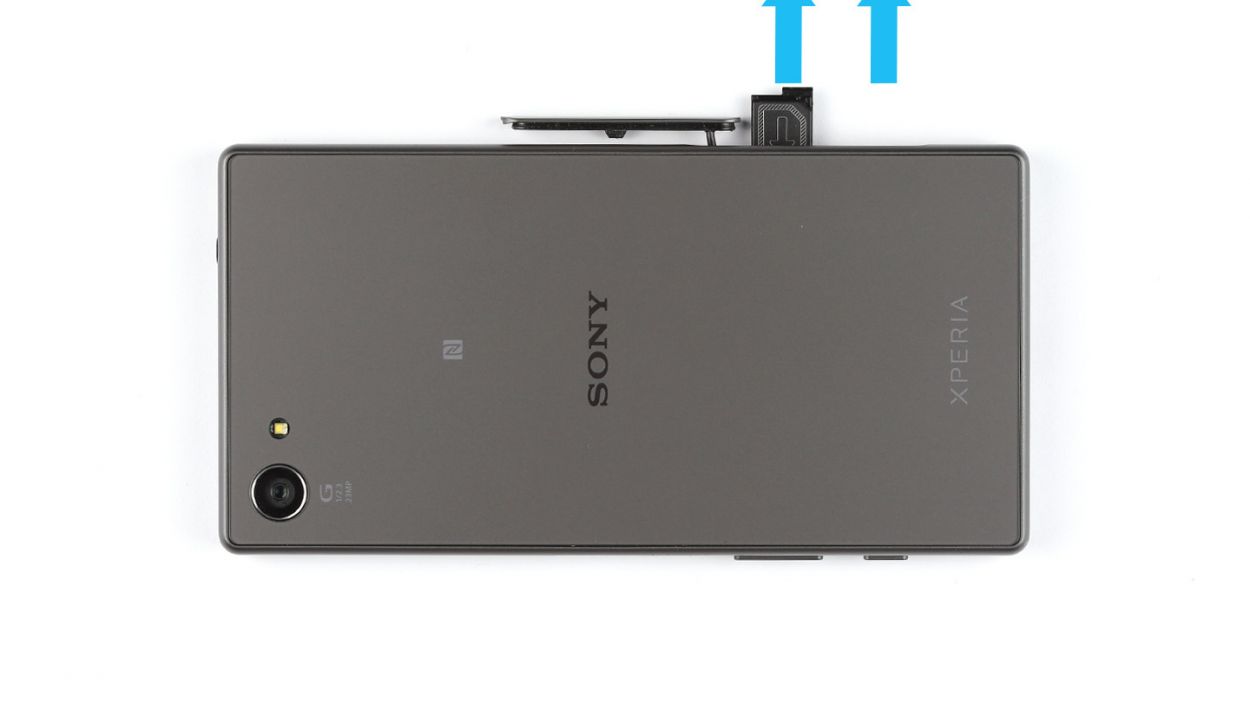
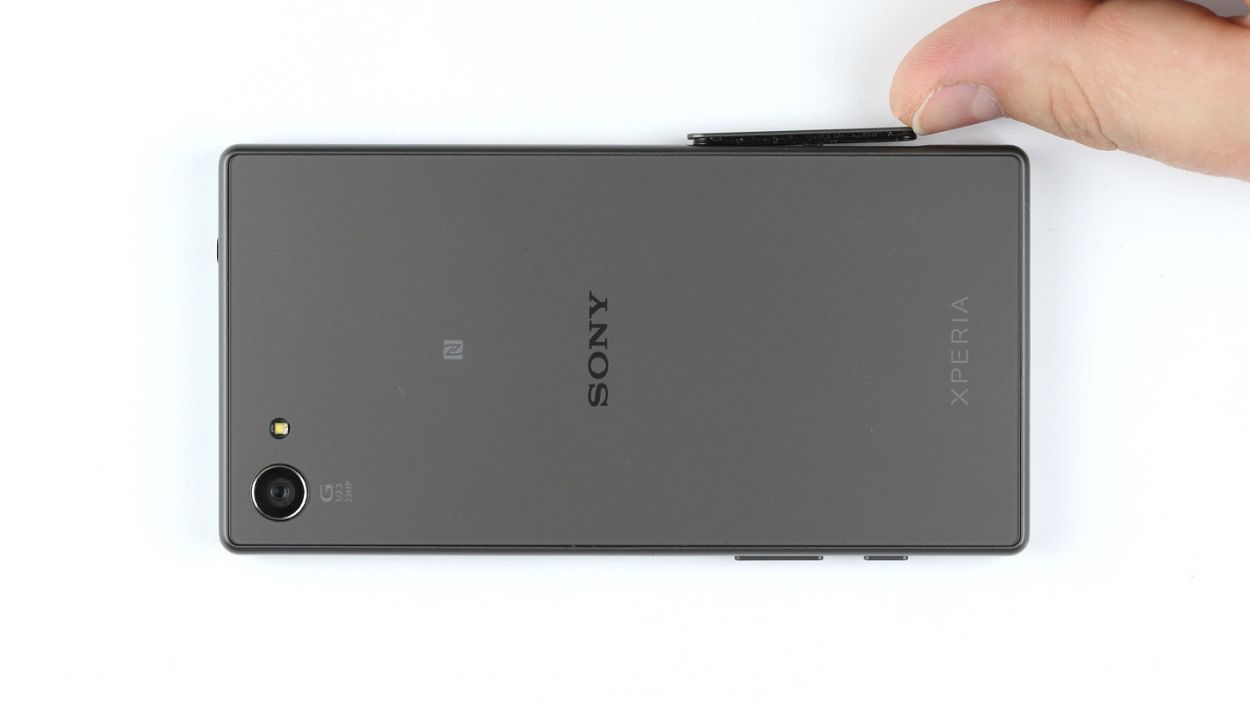
– Give that cover a gentle nudge with your finger or a spudger at the bottom of your smartphone. A little twist of 90° will help you get a better peek at the card slot.
– Pop out the SIM and microSD cards. The SIM card is hanging out in a tray, just waiting for its turn!
Step 2

The back cover has a stylish paint job on the inside! When you’re removing any sticky residue, take it easy to keep those scratches and cracks at bay. You’ve got this!
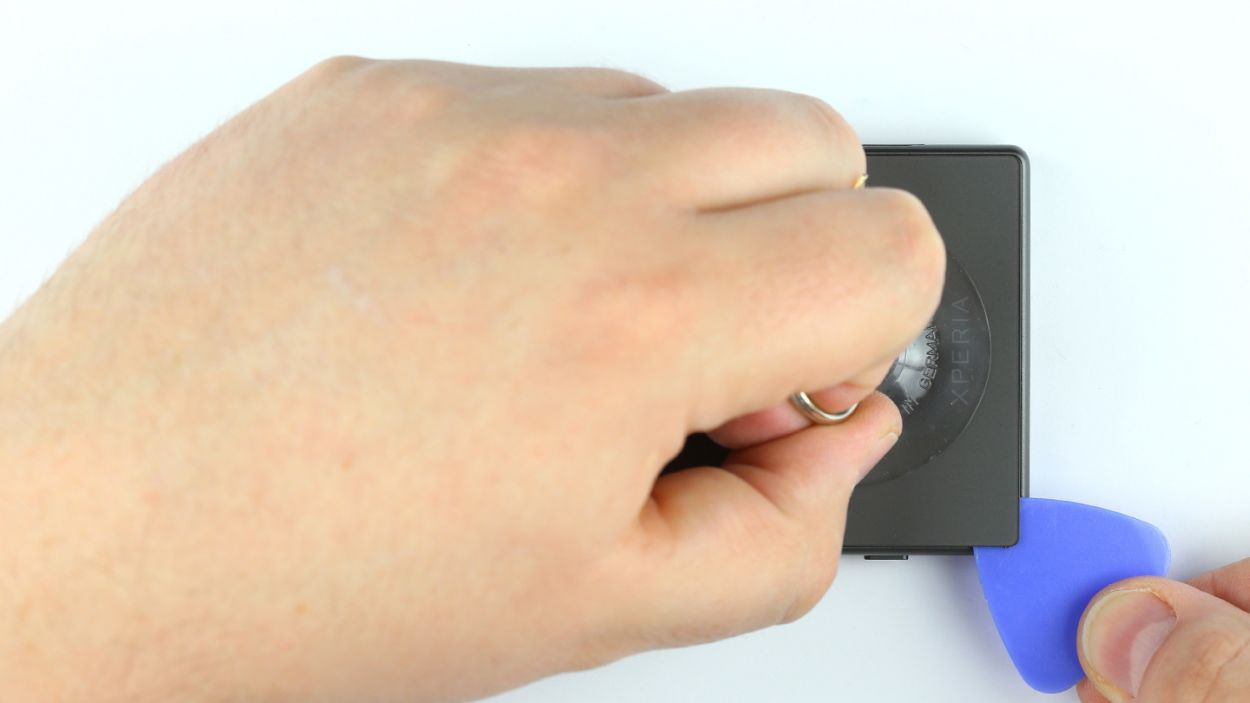
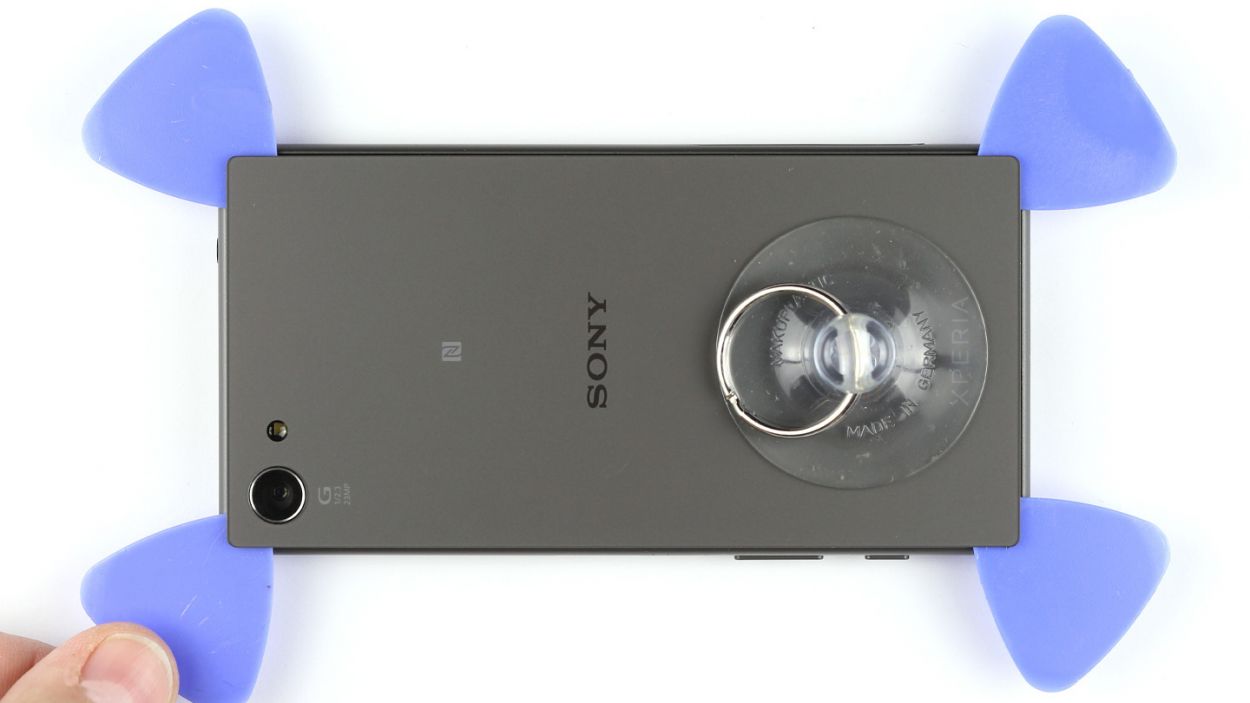
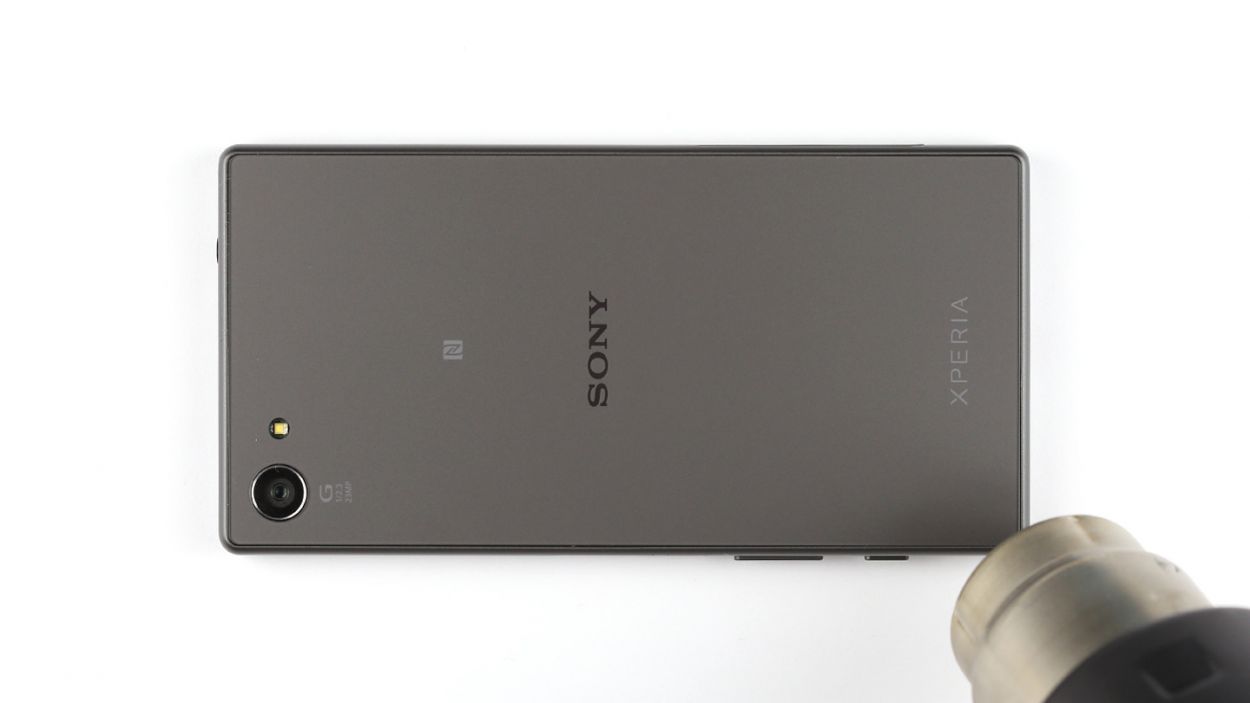
– The back cover is stuck on there pretty good! Grab a heat gun and warm it up a bit to loosen that stubborn glue.
– Now, get yourself a suction cup and attach it to the bottom of your device. Pull gently while using a plastic pick to hold down the chassis.
– Once you see a little gap forming between the chassis and the back cover, slide that pick right in! Just a heads up, the inside of the back cover is painted, so be careful when removing any leftover adhesive to avoid any scratches or cracks.
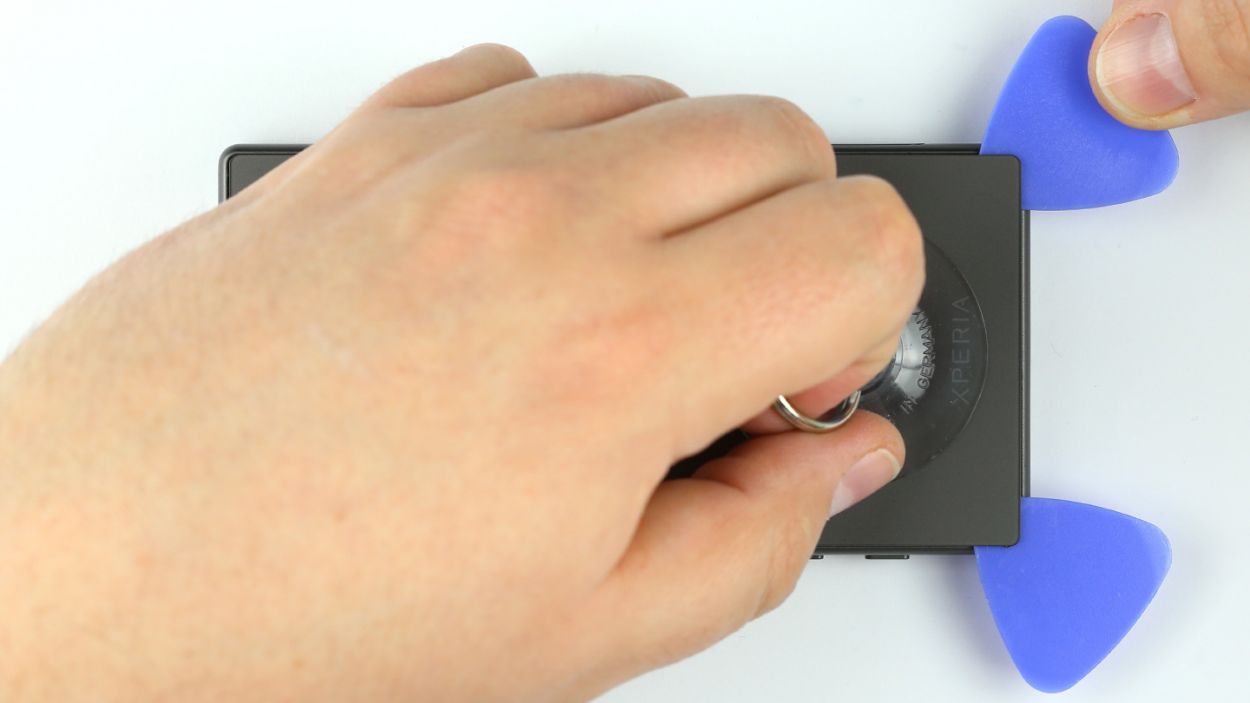
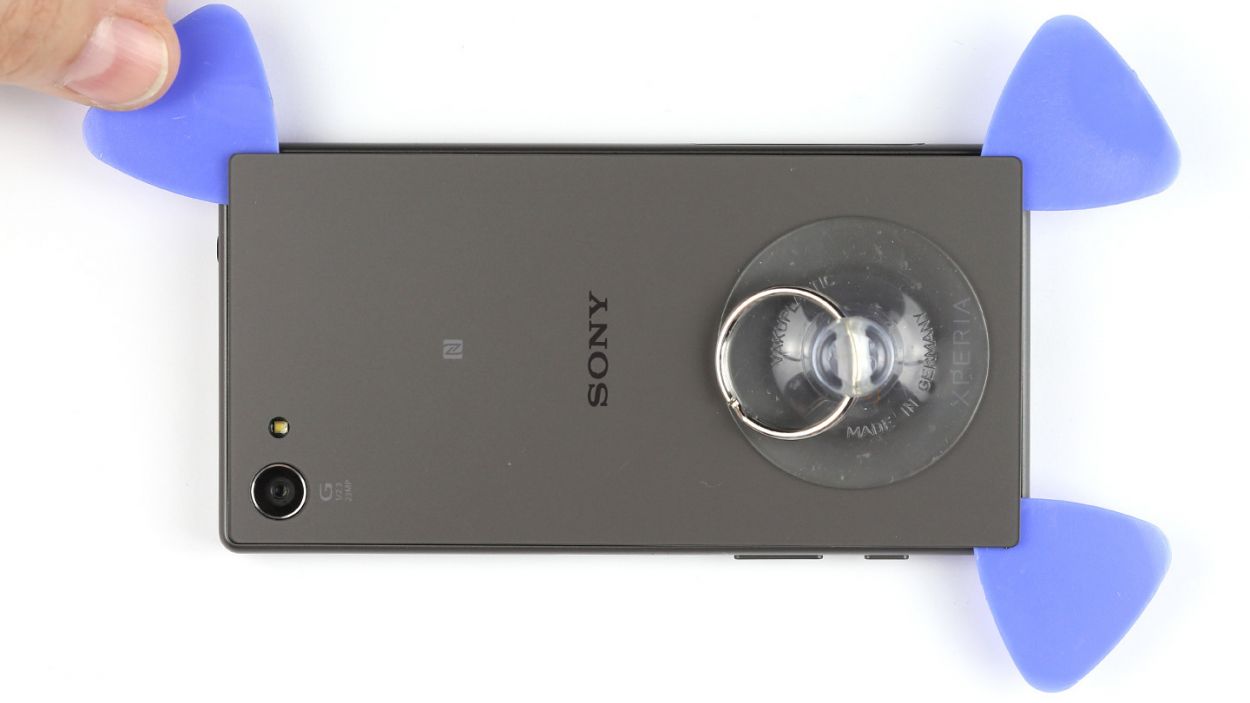
– Run the pick all the way around the device to fully detach the glue. If you’ve got a few picks handy, feel free to stick one in each corner for extra help.
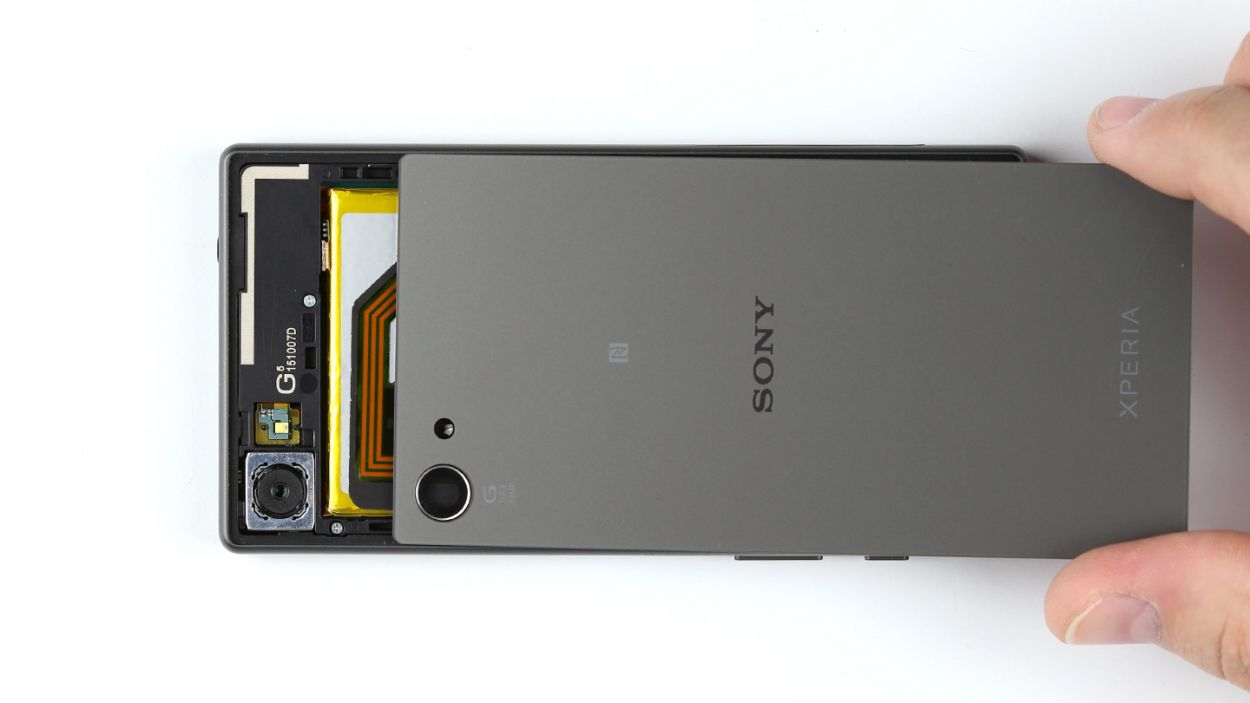
– Now it’s time to remove that back cover!
Step 3

– Remove the type plate. The type plate is installed in the SIM and microSD card slot.
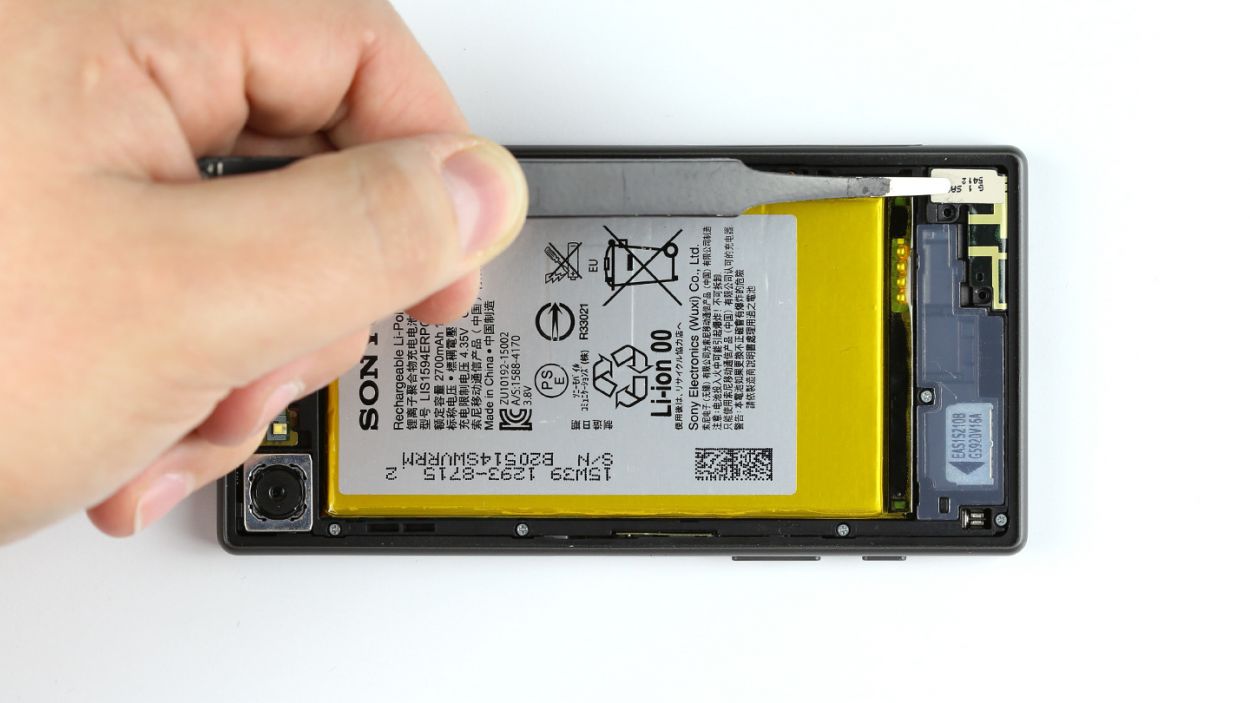
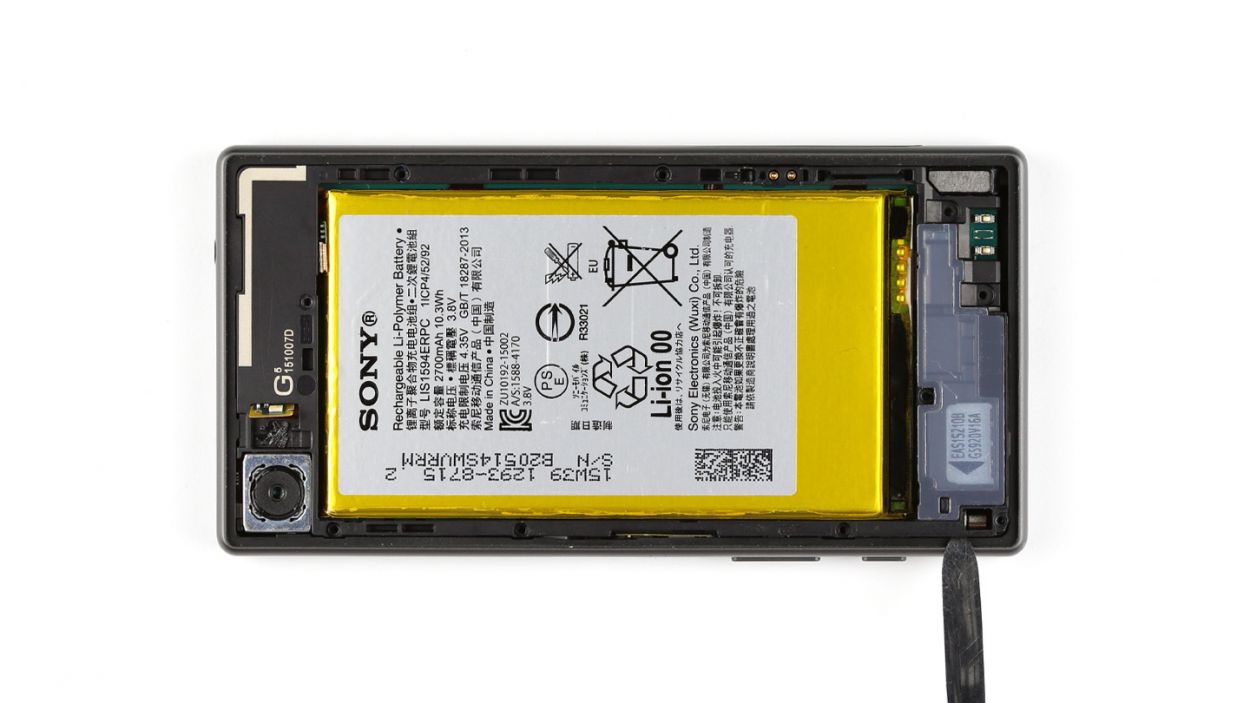
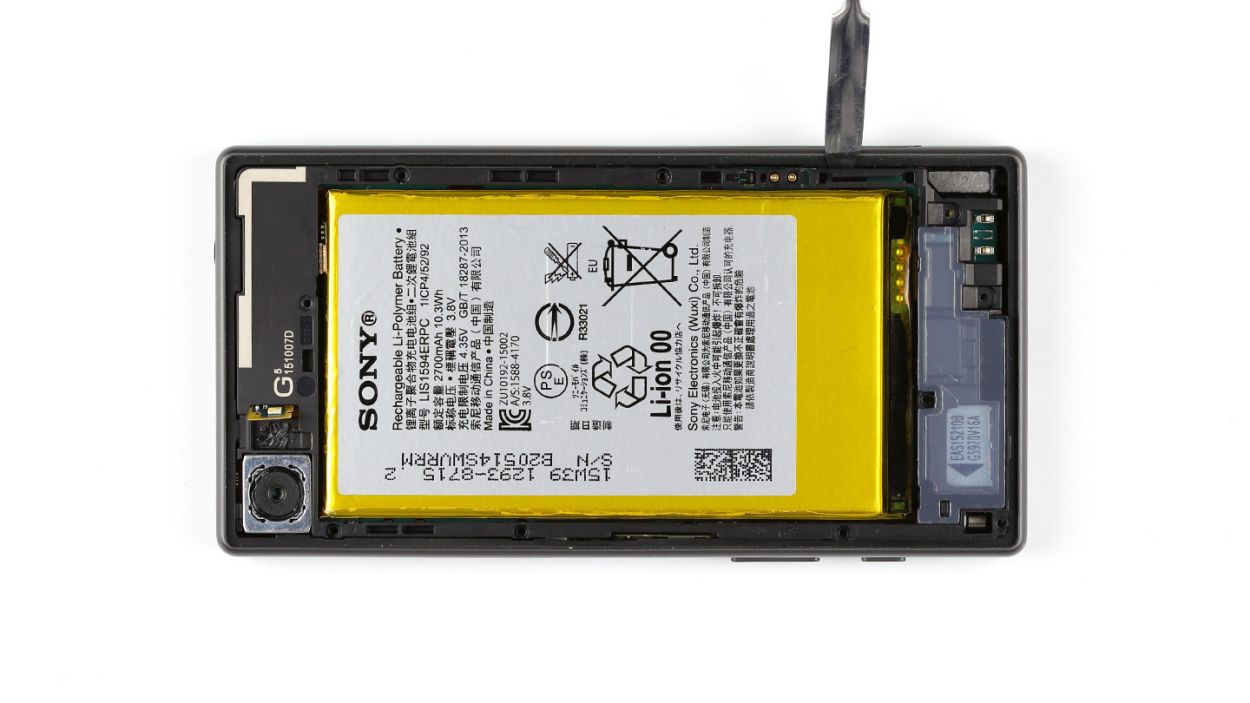
Step 4
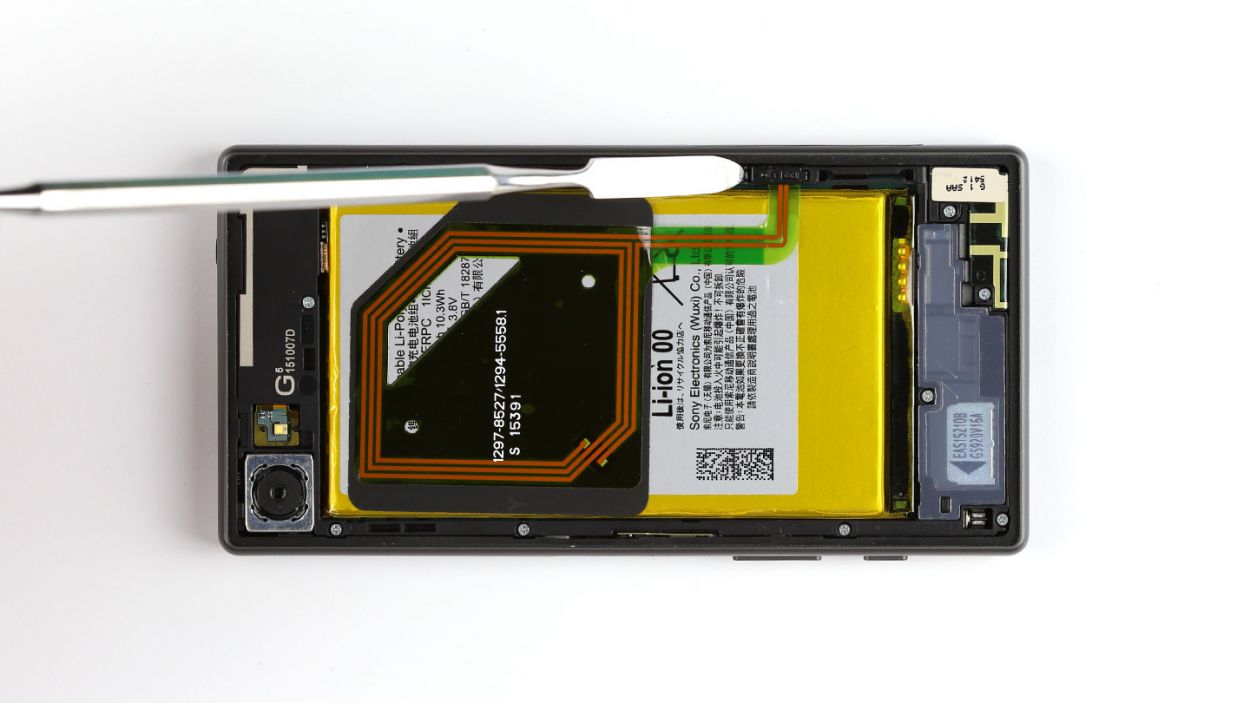
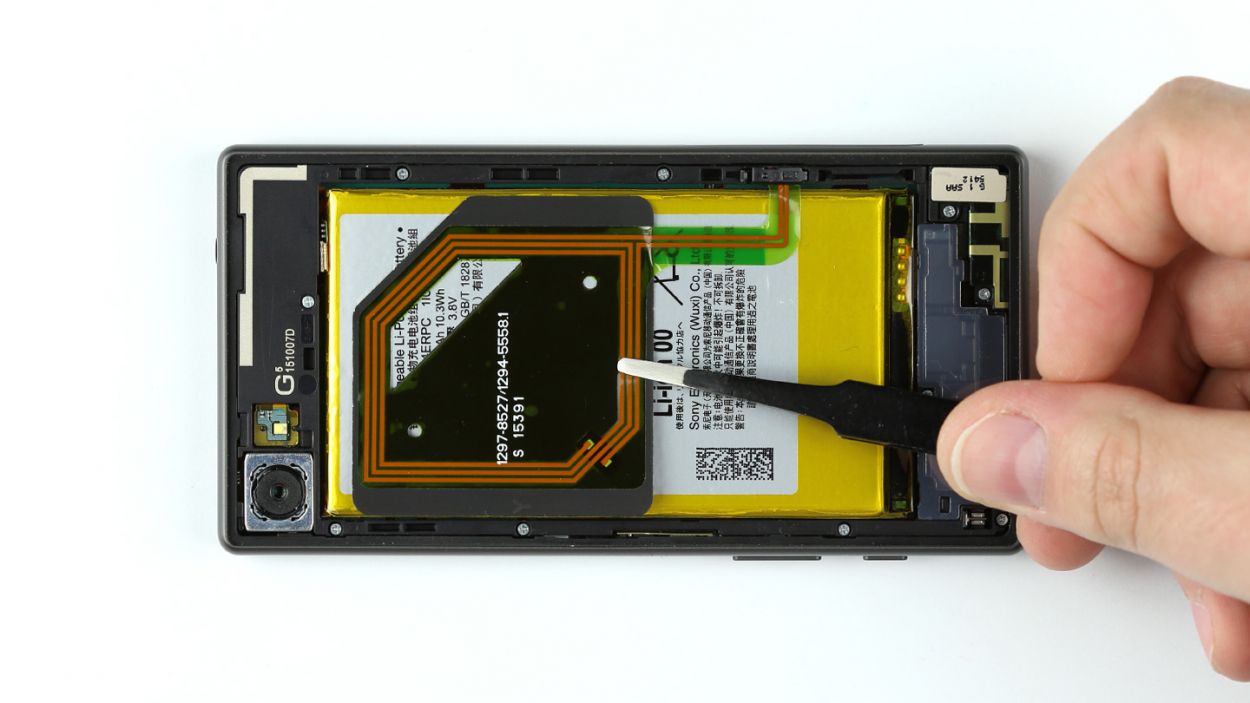
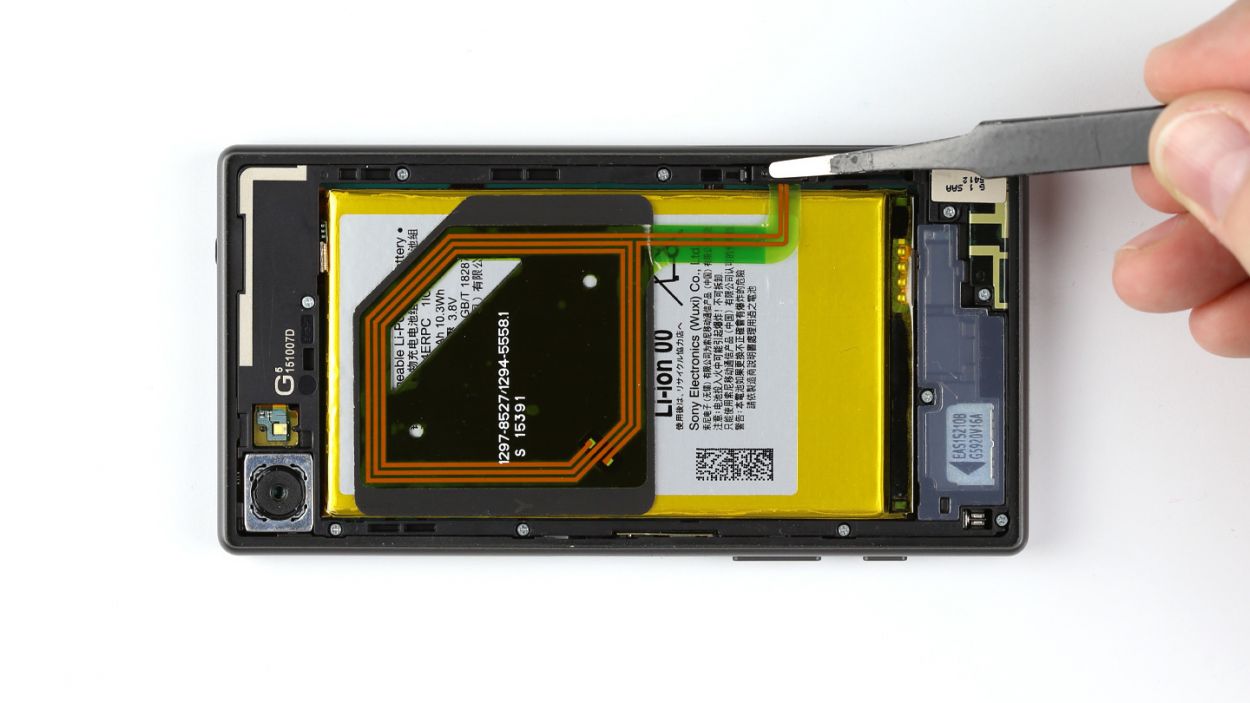
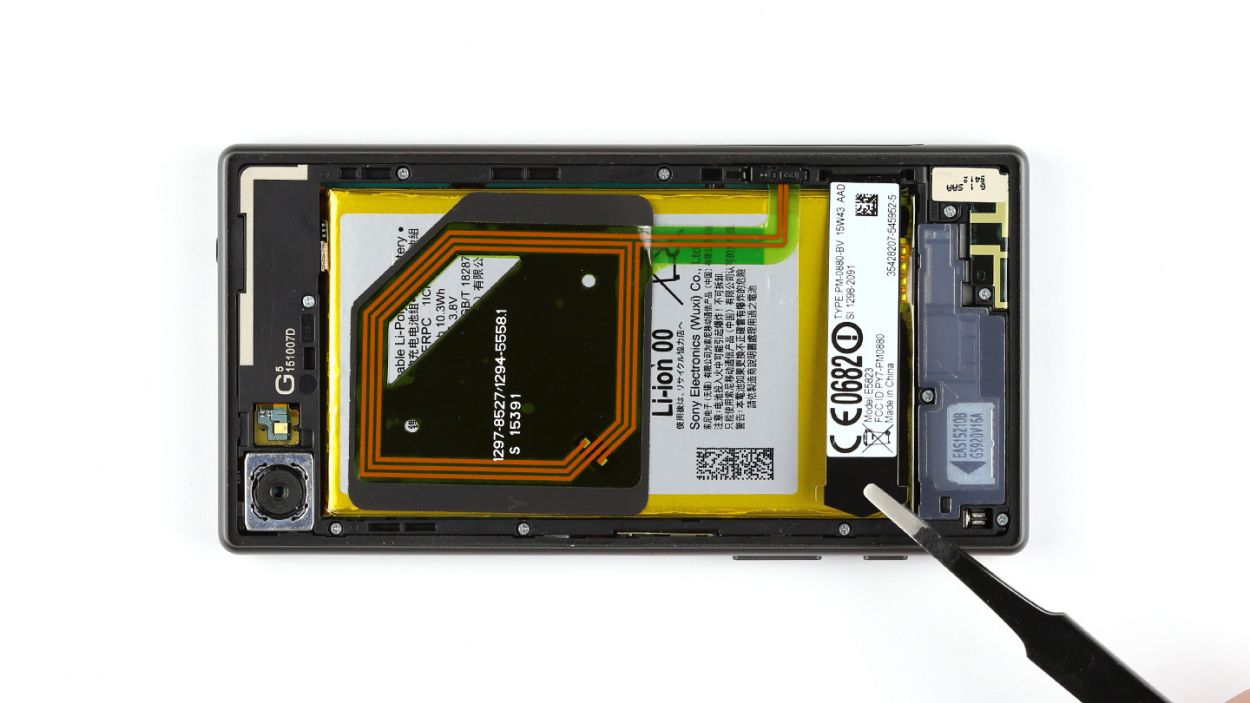
– First up, gently unplug the NFC antenna from the chassis. Easy peasy!
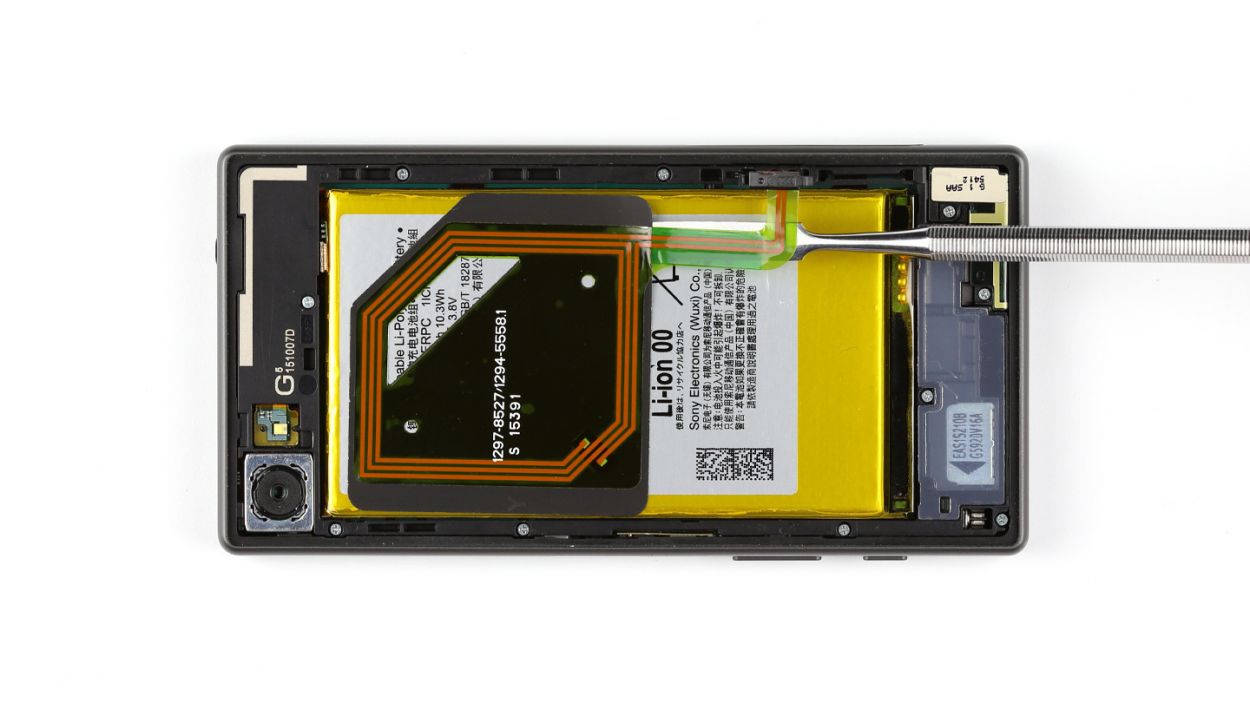
– Next, it’s time to detach the antenna from the battery. It’s stuck on there pretty good, so grab a steel laboratory spatula and slide it between the antenna and the battery. If that glue is being stubborn, a little heat on the NFC antenna should do the trick.
– Finally, go ahead and remove that NFC antenna. You’re almost there!
Step 5

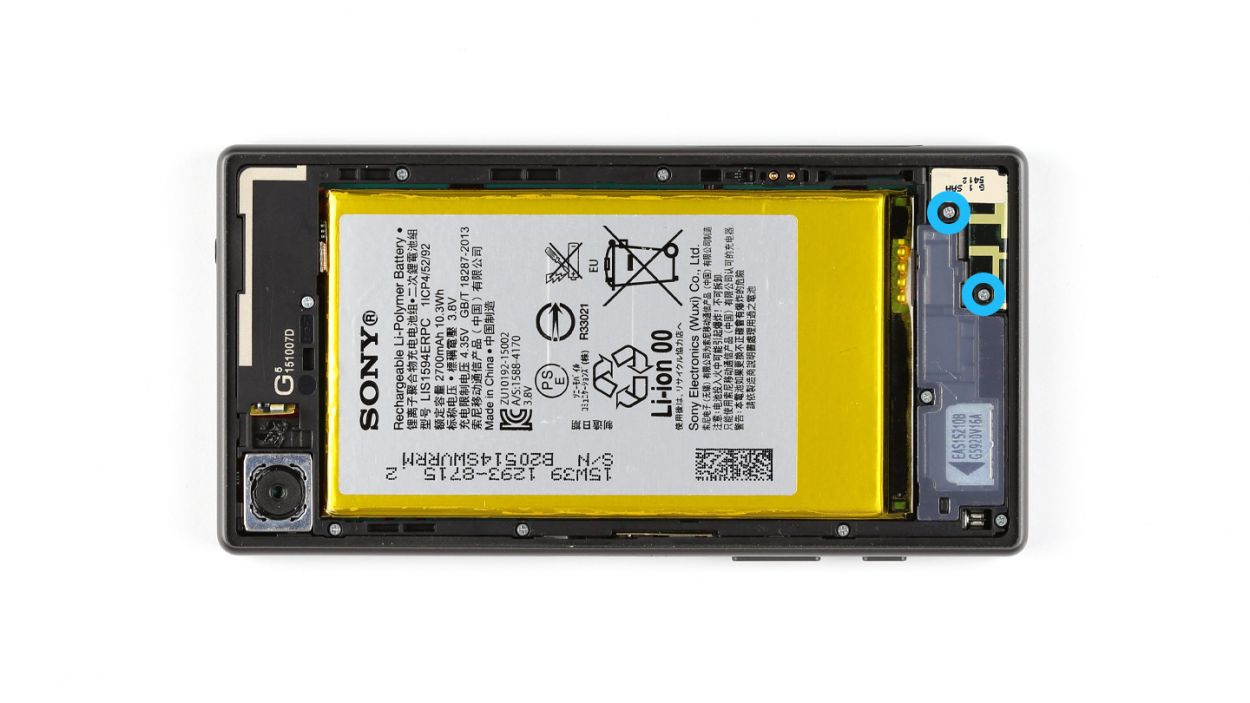
– Let’s get started! First, grab your trusty Phillips screwdriver and unscrew the two Phillips screws that are keeping the main antenna snug as a bug. These are 2 x 4.5 mm Phillips screws, so make sure to keep them safe!
– Once those screws are out of the way, gently lift the main antenna off the device. You’re doing great!
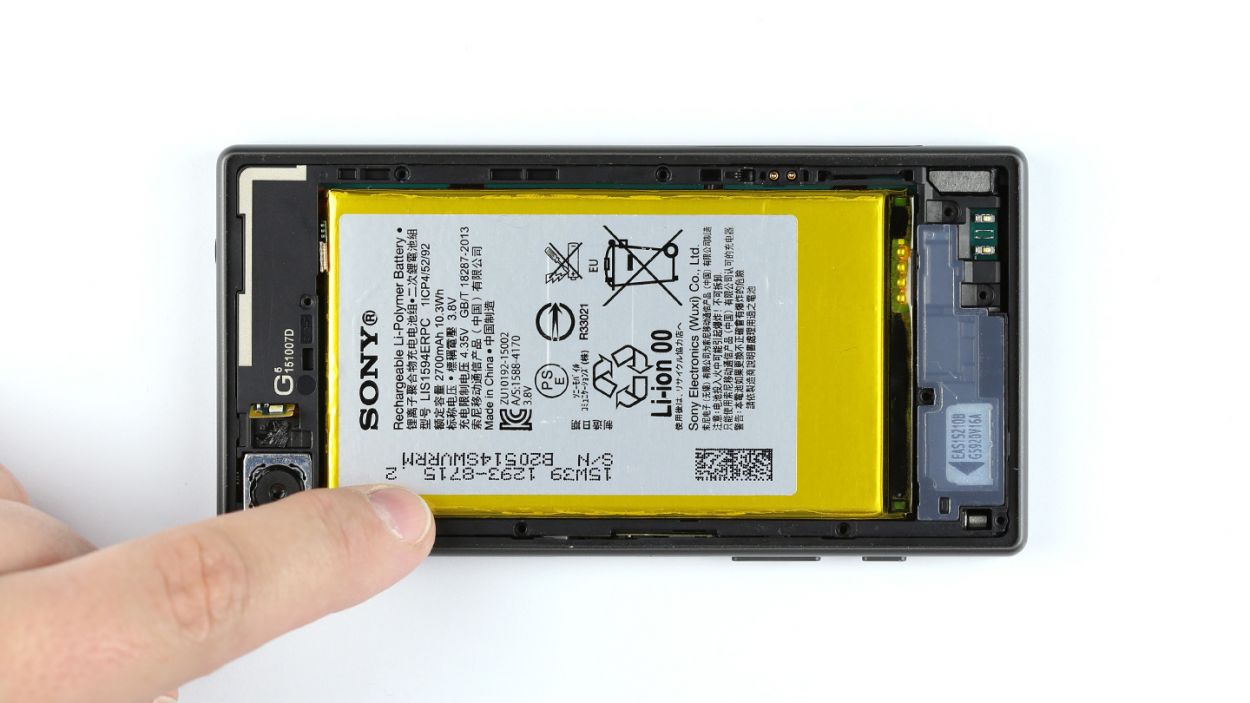
Step 6


– Grab your trusty steel laboratory spatula and gently pry the LED flash away from the chassis. It’s got a bit of glue holding it in place, so be careful!
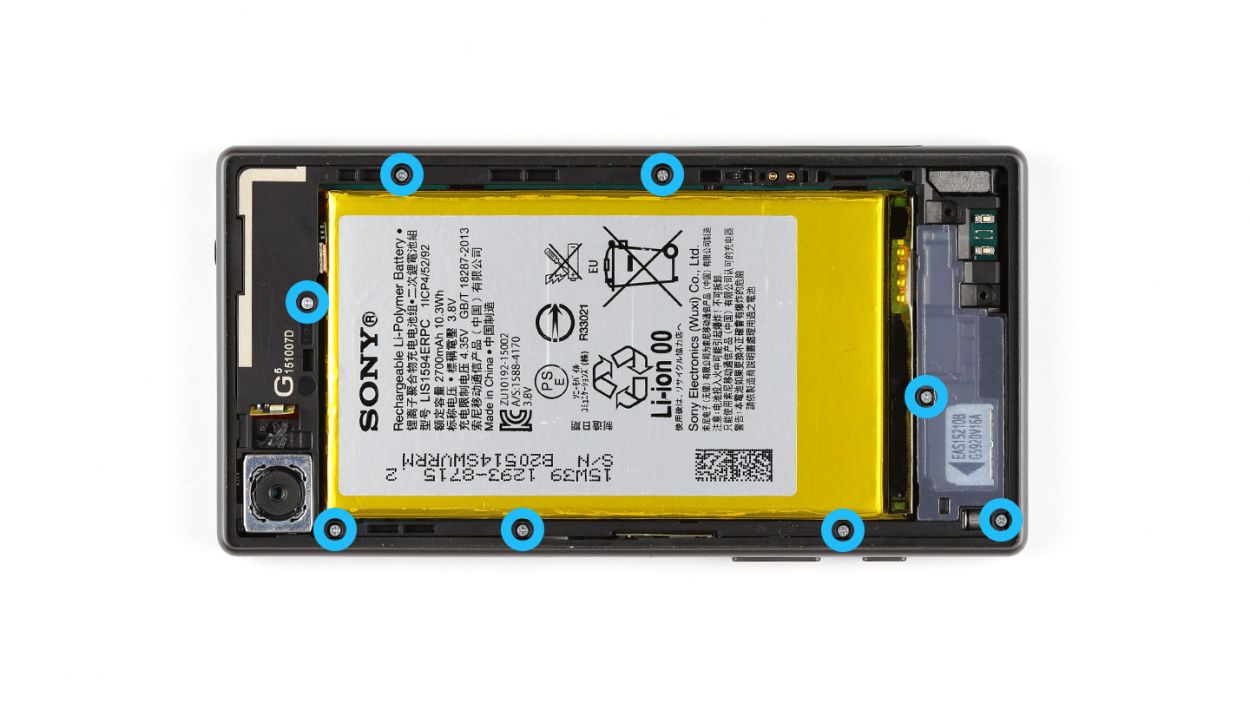
– Next up, let’s tackle those eight Phillips screws that are keeping the chassis snug against the display. You’ll need 8 x 4.5 mm Phillips screws for this part.
– The chassis is a little hooked onto the display, so use that steel spatula to help separate them. Just slide the spatula between the chassis and the display and give it a little nudge.
– Once you’ve done that, go ahead and remove the chassis. You’re doing great!
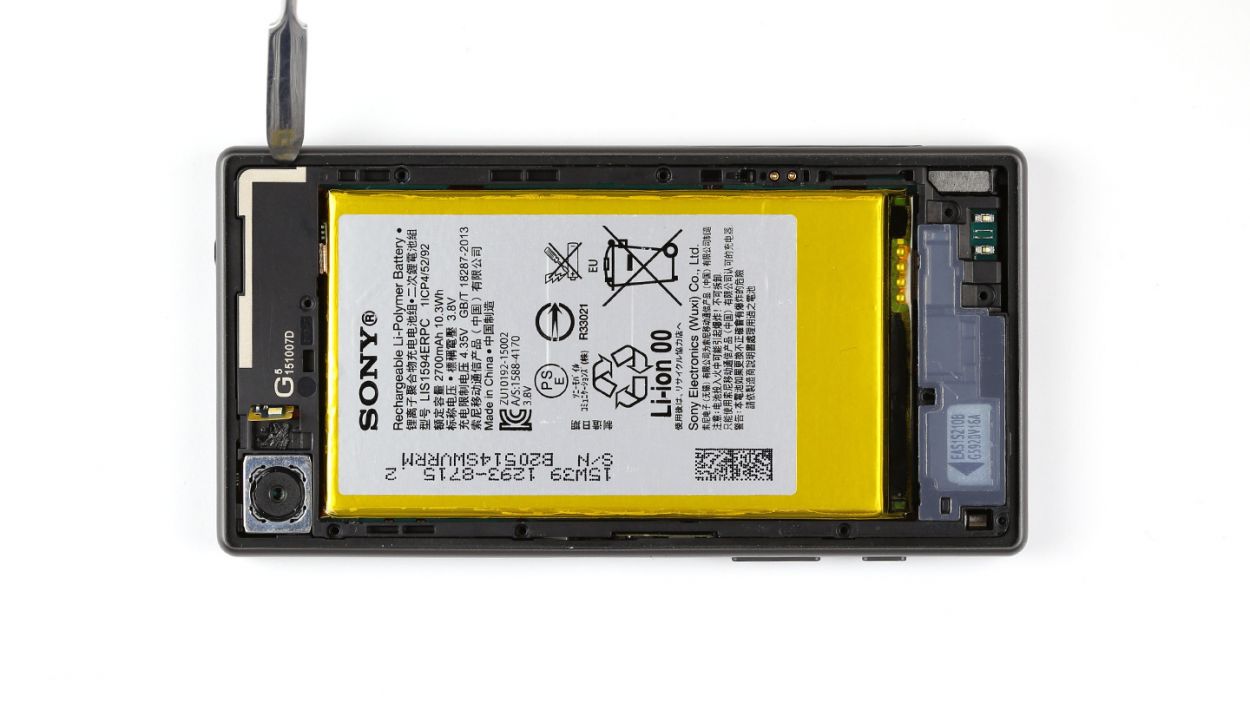
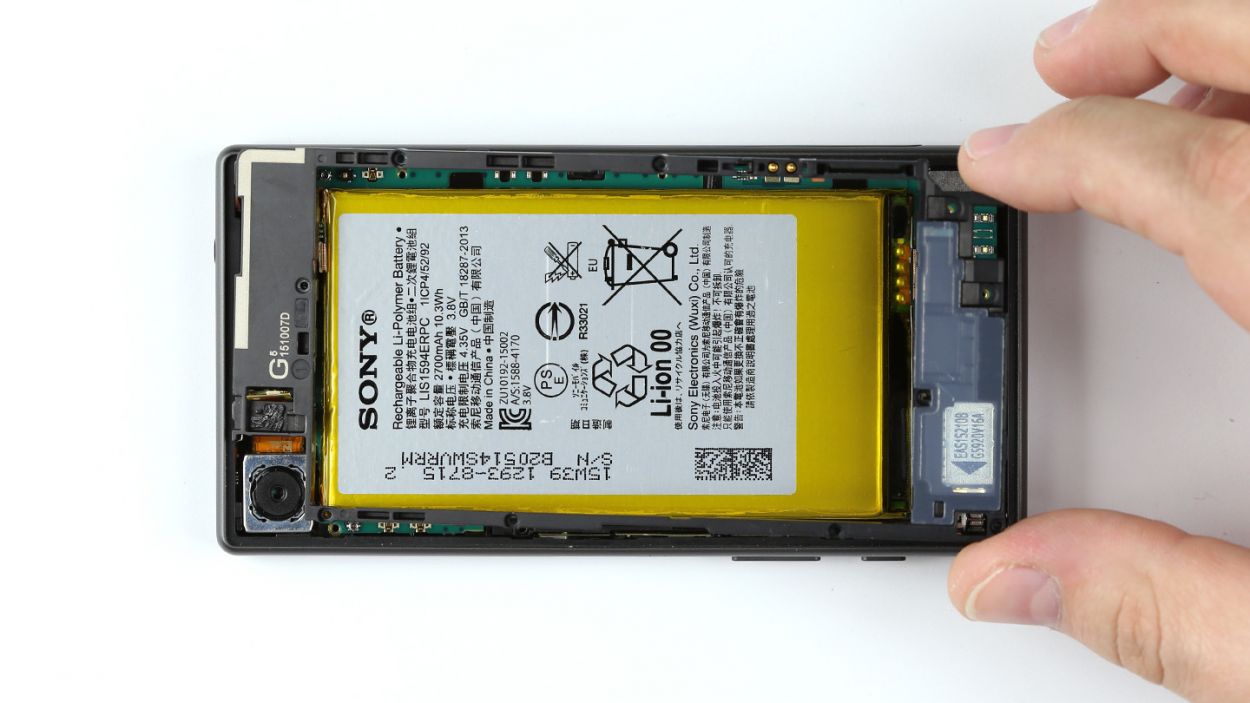
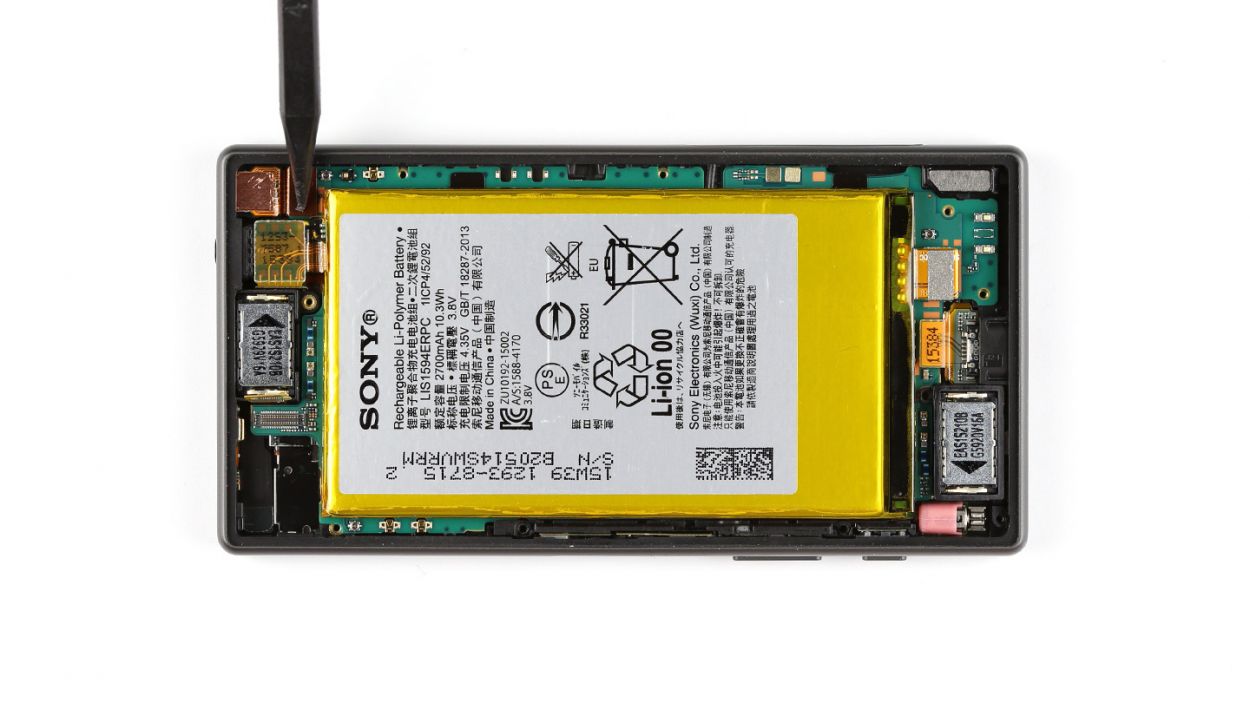
Step 7
– Pop off that battery connection from the logic board so we can get this show on the road!
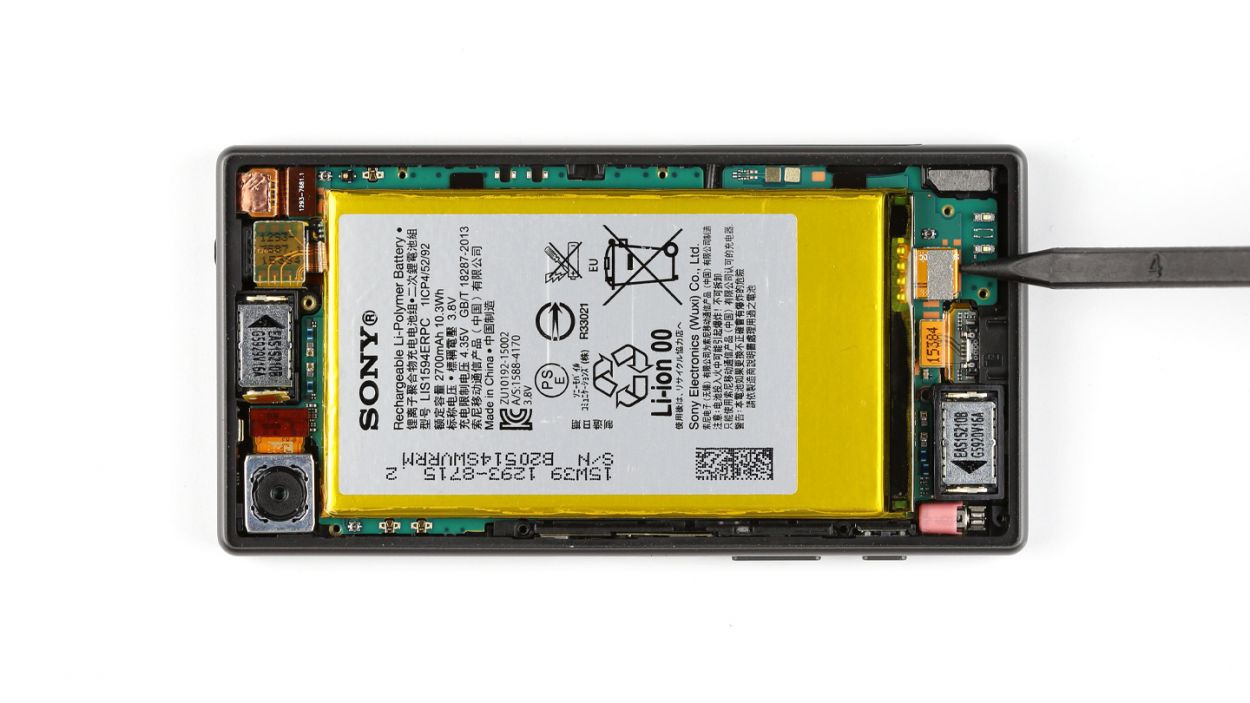
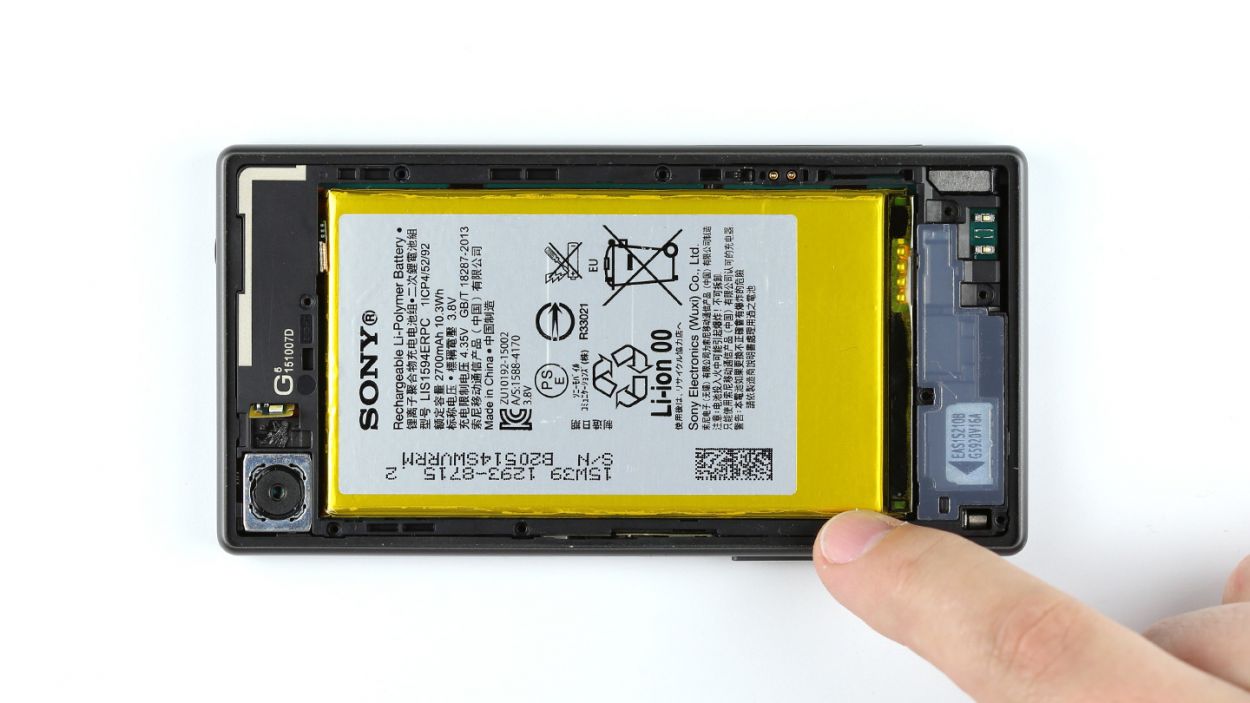
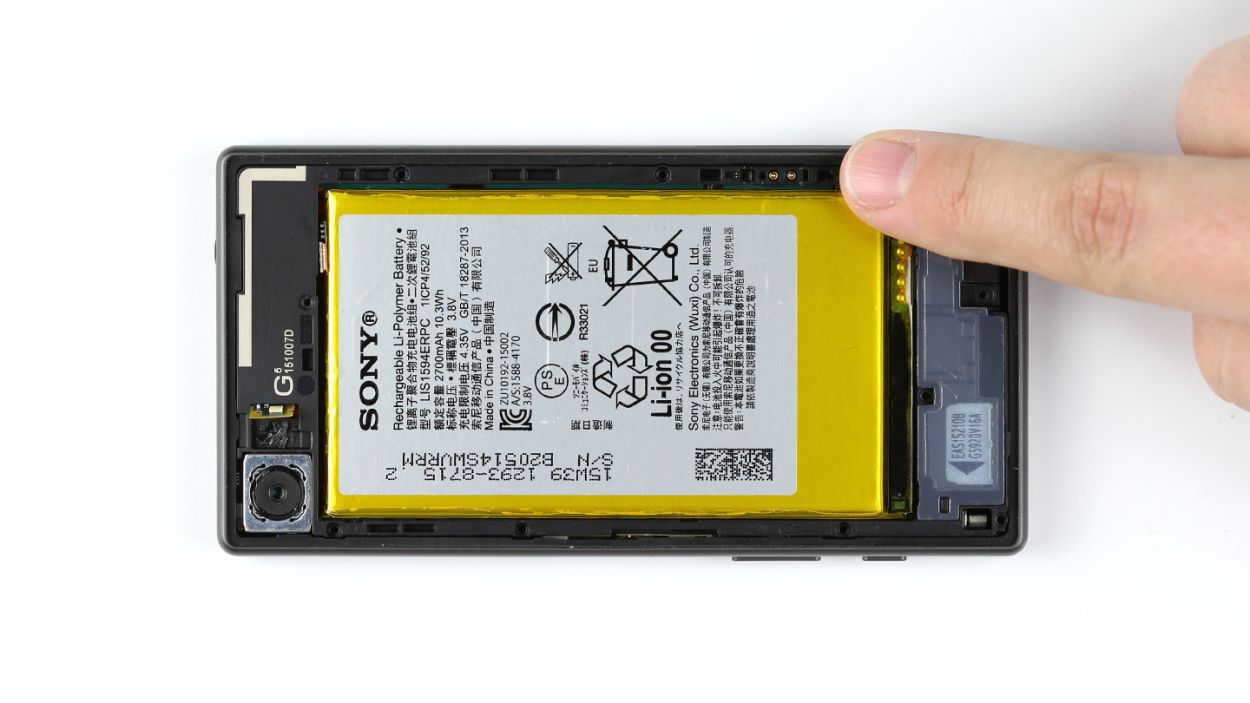
Step 8
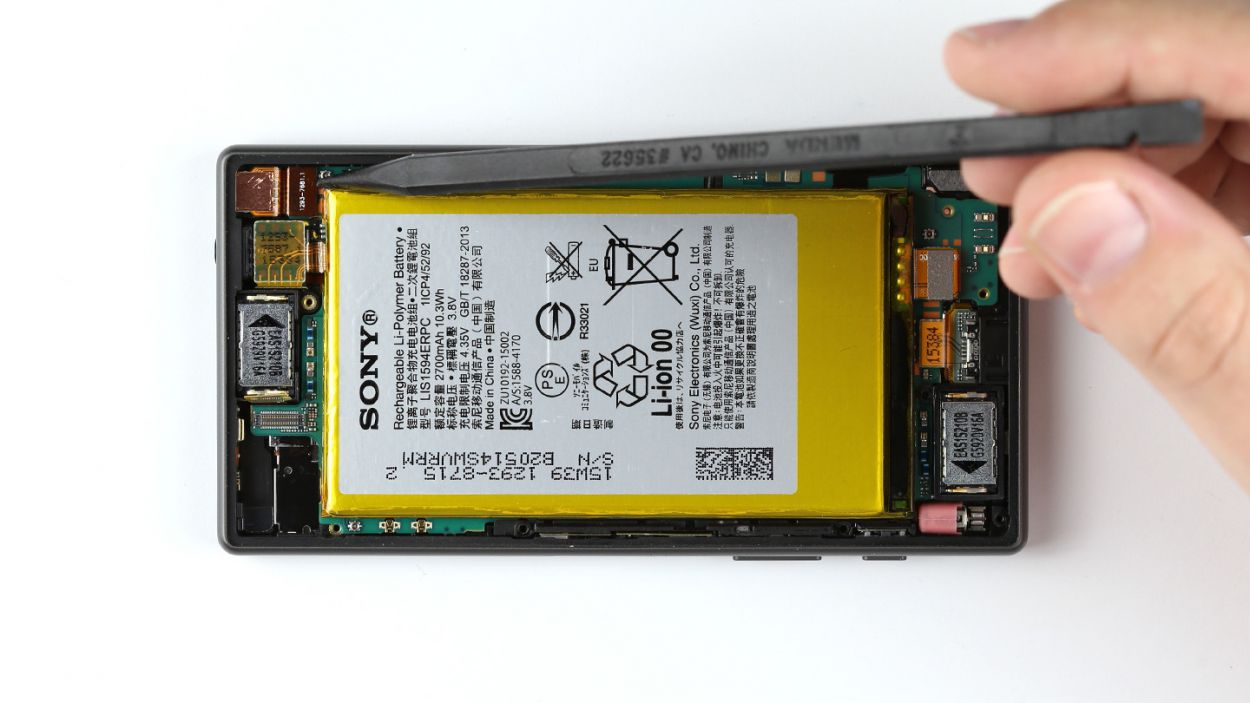

– First up, gently disconnect the front camera’s connector from the logic board. No need to rush, take your time!
– Next, carefully lift the front camera out of its cozy little spot in the enclosure. You’ve got this!
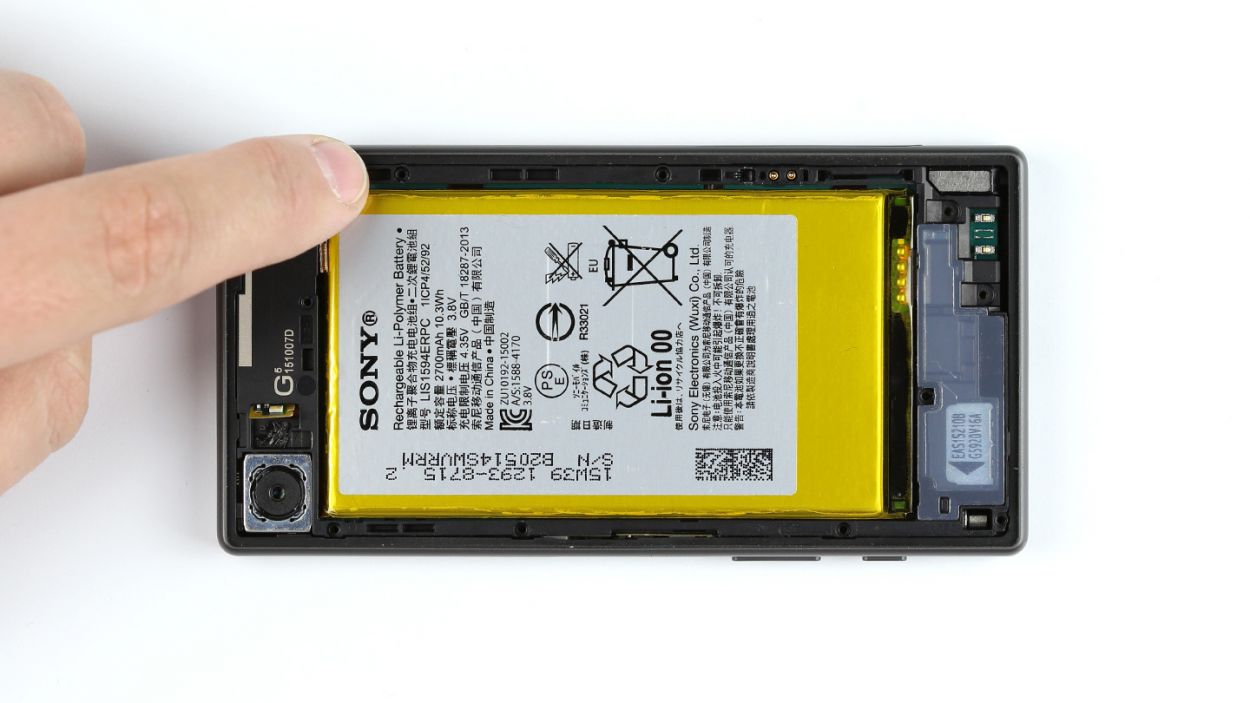
Step 9

– Gently slide the front camera into its cozy little home in the enclosure.
– Make sure to connect the front camera snugly to the logic board for a perfect fit.
Step 10

– Attach the battery connector to the logic board.
Step 11


– Gently set the chassis on top of the display.
– Give the chassis a little press to make sure it clicks snugly into the display frame.
– Secure the chassis to the display using those eight trusty Phillips screws (8 x 4.5 mm Phillips screws).
– Now, let’s attach the LED flash to the chassis and light things up!
Step 12

– Snuggle that main antenna right into the enclosure.
– Secure the main antenna to your device using those trusty two Phillips screws. You’ll need 2 x 4.5 mm Phillips screws for this part!
Step 13

– First things first, let’s get that NFC antenna cozy on the battery! Gently press it down so the glue can do its magic and stick like a champ.
– Now, let’s make a solid connection! Plug the NFC antenna’s contact into the chassis and ensure it’s all snug and secure.
Step 14
– Install the type plate. You have to attach the type plate in the SIM and microSD card slot.
Step 15

– Place the back cover snugly onto the chassis. Give it a good press all around the edges to make sure it’s all stuck together nice and secure.
– If it’s feeling a bit stubborn, warm up the back of your device to help it stick better. A little clamp action can work wonders by keeping constant pressure on that back cover.
Step 16

– If the cover is closed up tight again, give it a gentle nudge with your finger or a trusty spudger to pop it open. You can also give the cover a little twist of 90° to make it easier to reach that card slot.
– Now it’s time to slide those SIM and microSD cards back into their cozy spots. Just place the SIM card right into the tray and you’re all set!
