DIY Guide to Replace Oppo Find X5 Lite Screen
Duration: 120 min.
Steps: 46 Steps
Before diving into that screen repair, if your glass is sporting some serious cracks, give it a little love with parcel tape. It’ll keep those shards in check and help you avoid any accidental pokes during the process. Stay safe and keep smiling!
Alright, let’s get your device looking brand new again! In this easy-to-follow tutorial, we’ll walk you through the steps to replace the screen like a pro. Just follow along, and you’ll have your device back in tip-top shape in no time. If you need any help along the way, you can always schedule a repair with our friendly team at Salvation Repair.
Step 1
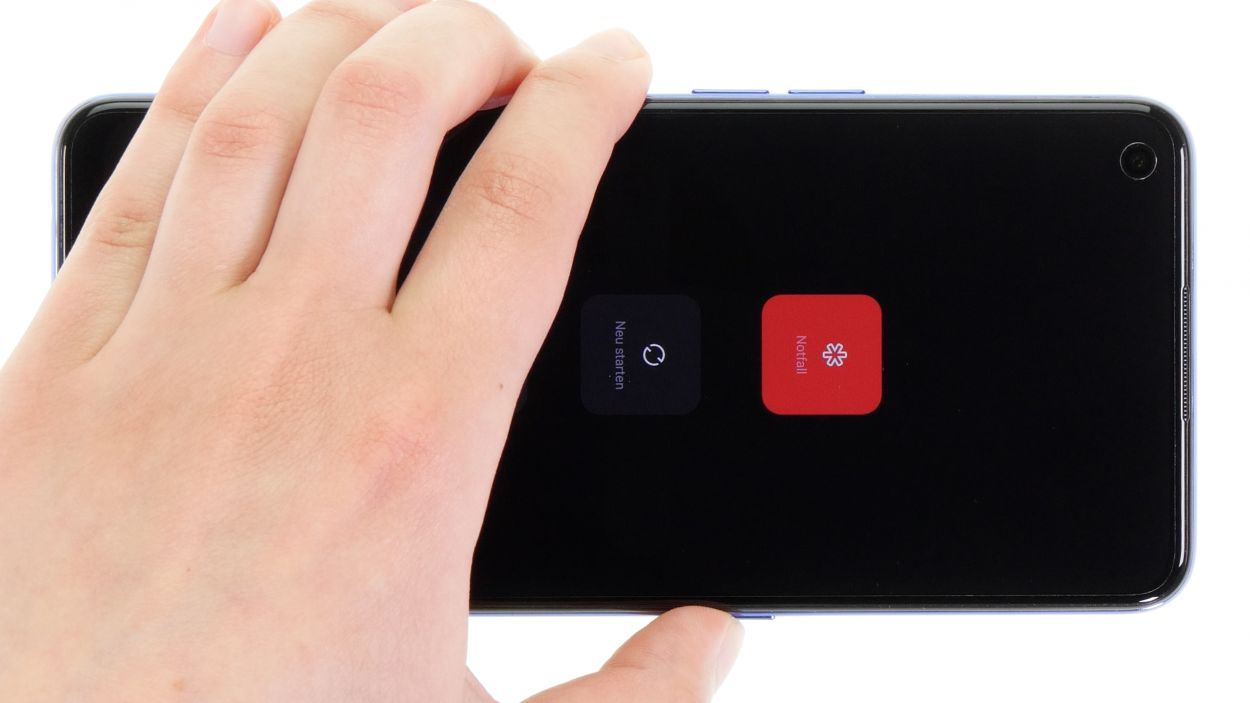
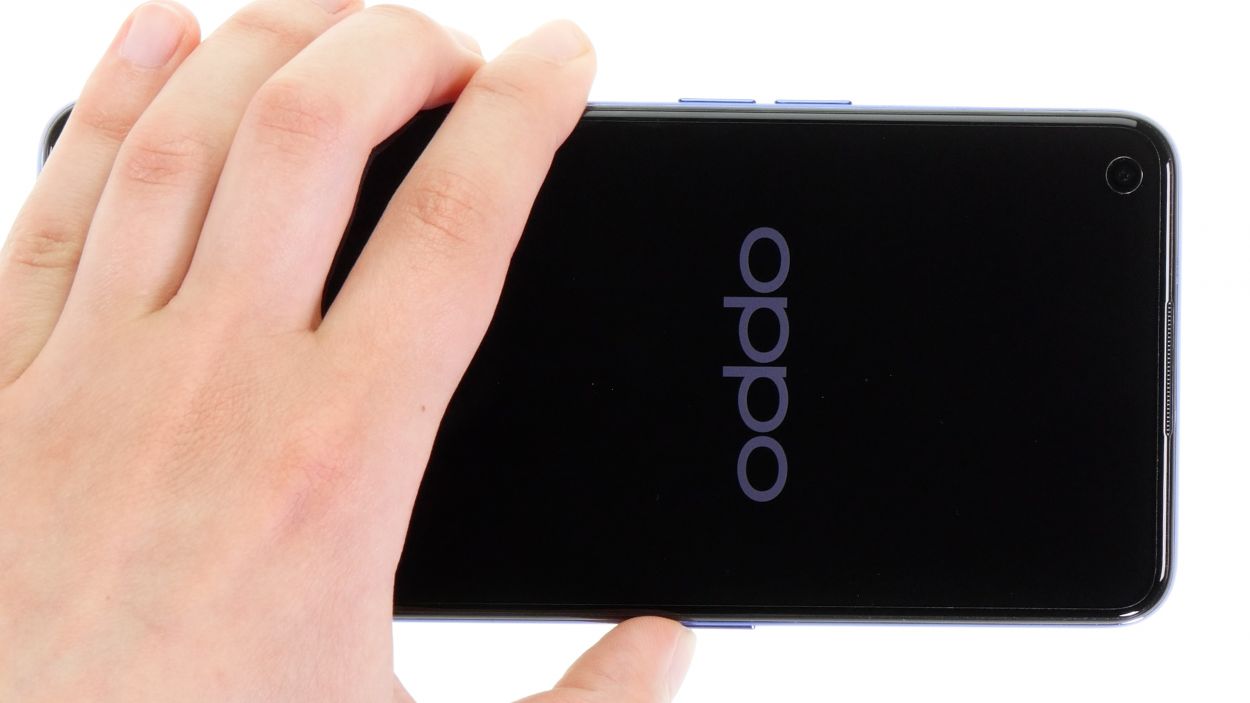
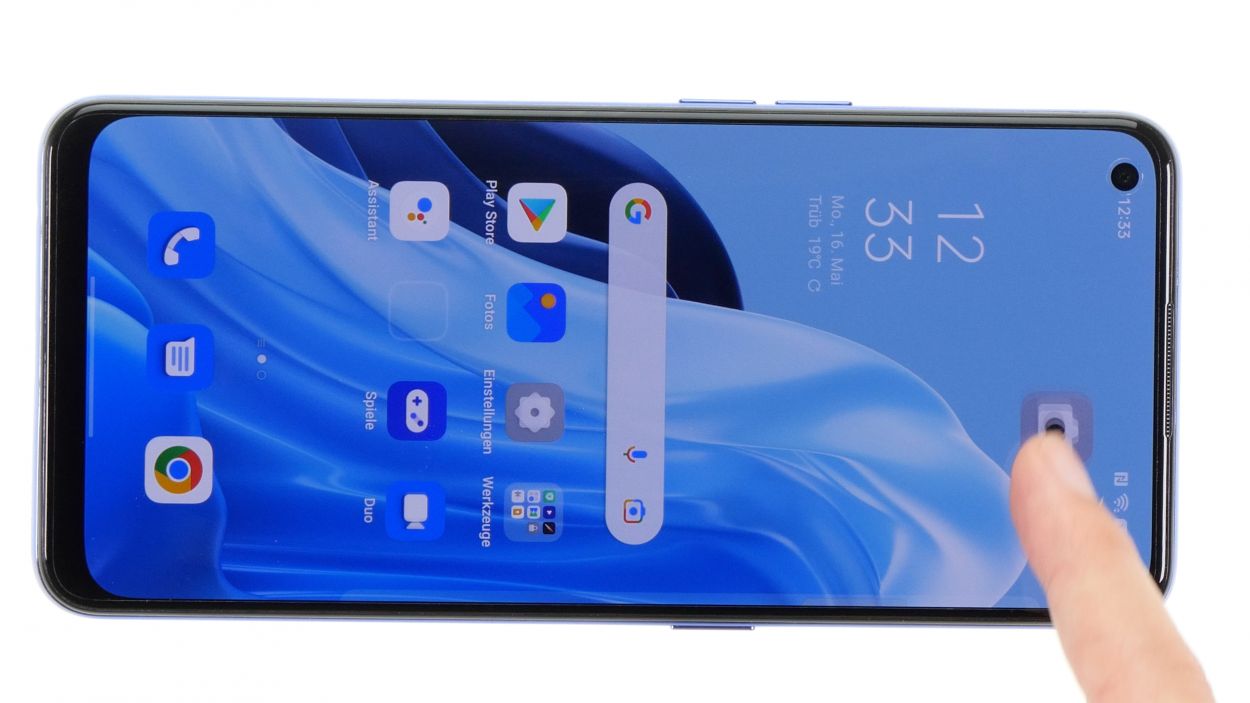
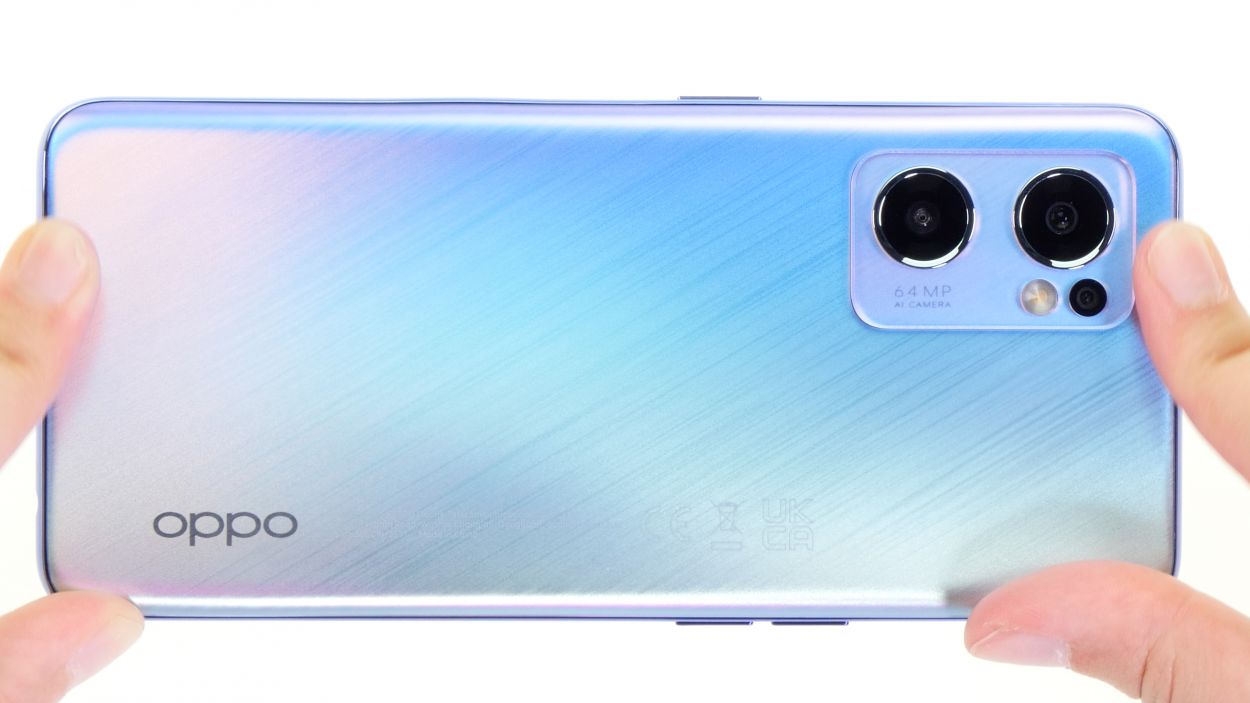
Before diving into the repair of your Oppo Find X5 Lite, give our checklist a whirl to test its basic functions. This way, you can easily see if your repair hit the mark!
– Give that power button a good press and hold for a few seconds!
– When the menu pops up, just tap on ‘Power off’ and you’re on your way!
Step 2
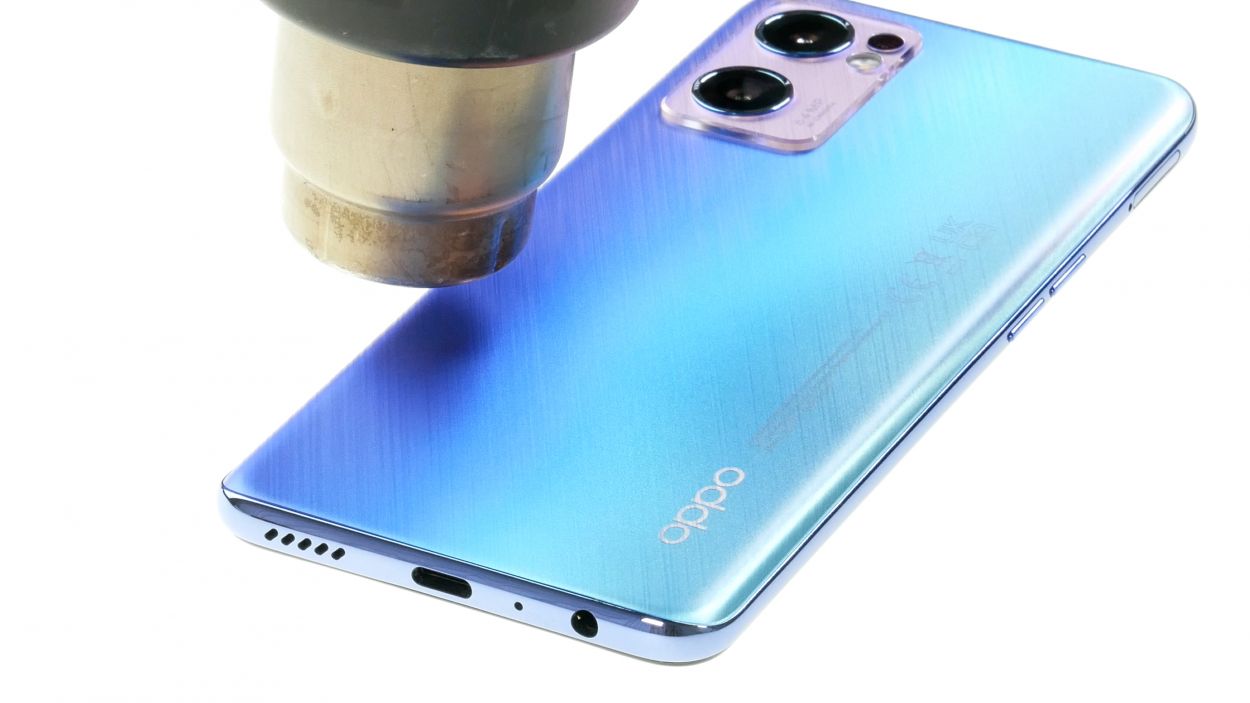
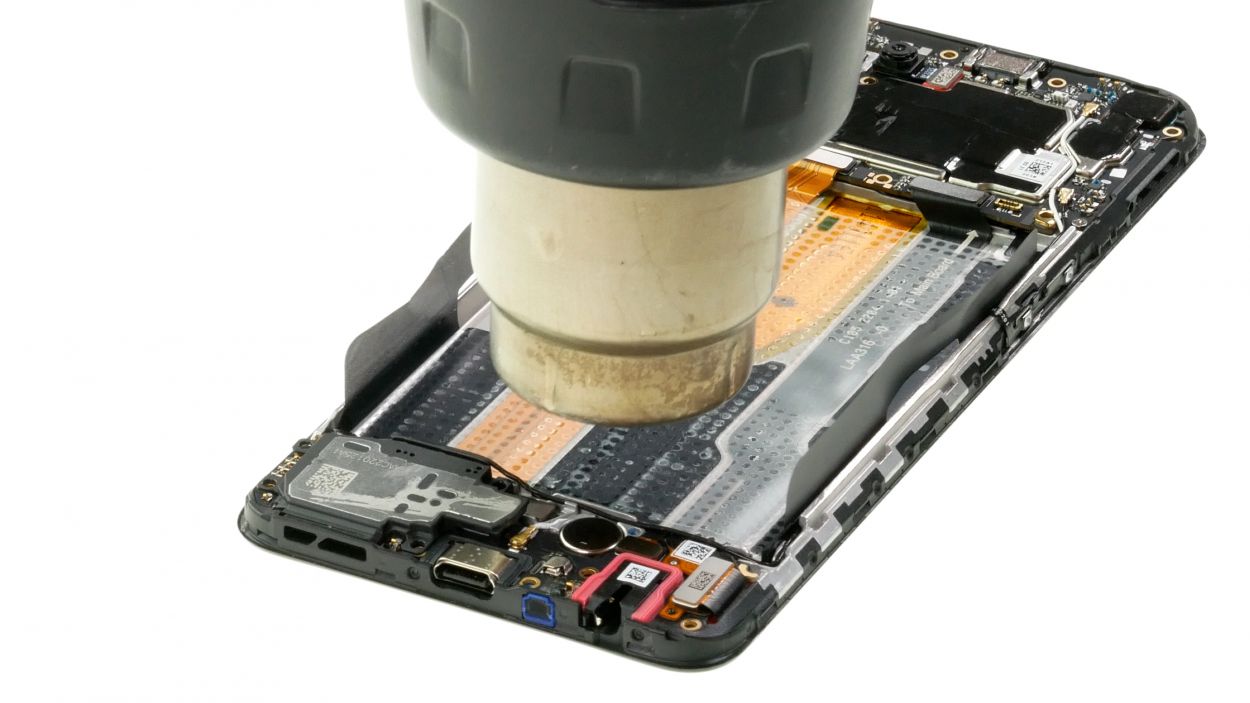
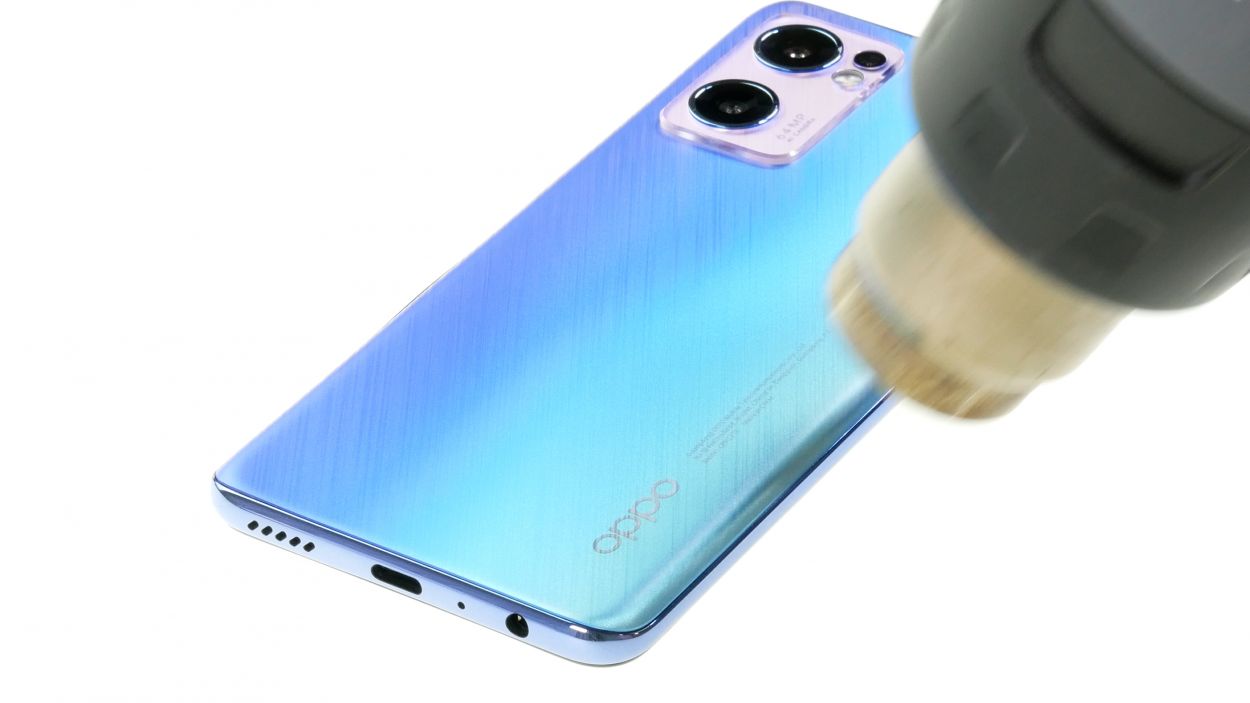
The back cover is really stuck on there! Give it some love with a heat gun or a regular hair dryer to warm it up nicely.
– Heat the edge of the back cover by running the hot air device evenly over it.
Tools Used
- heat gun to heat parts that are glued on so they’re easier to remove.
In most cases, you can also use a hairdryer.” rel=”noopener”>Heat gun
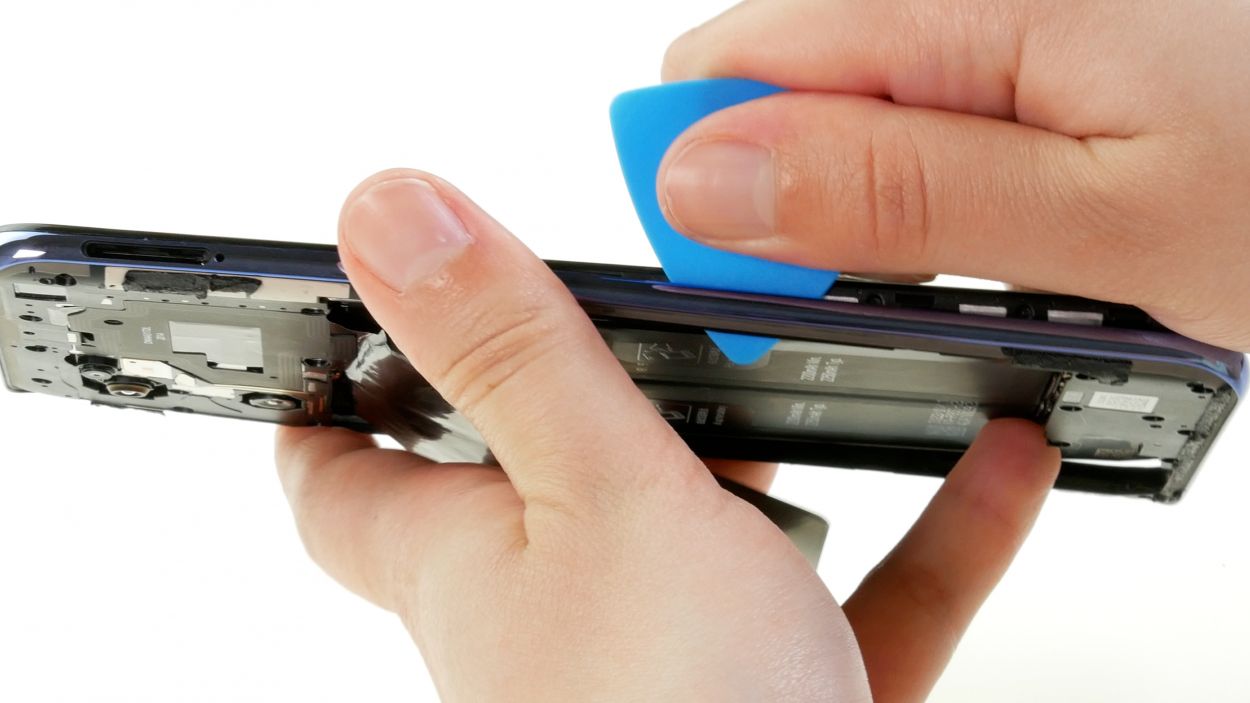
Step 3
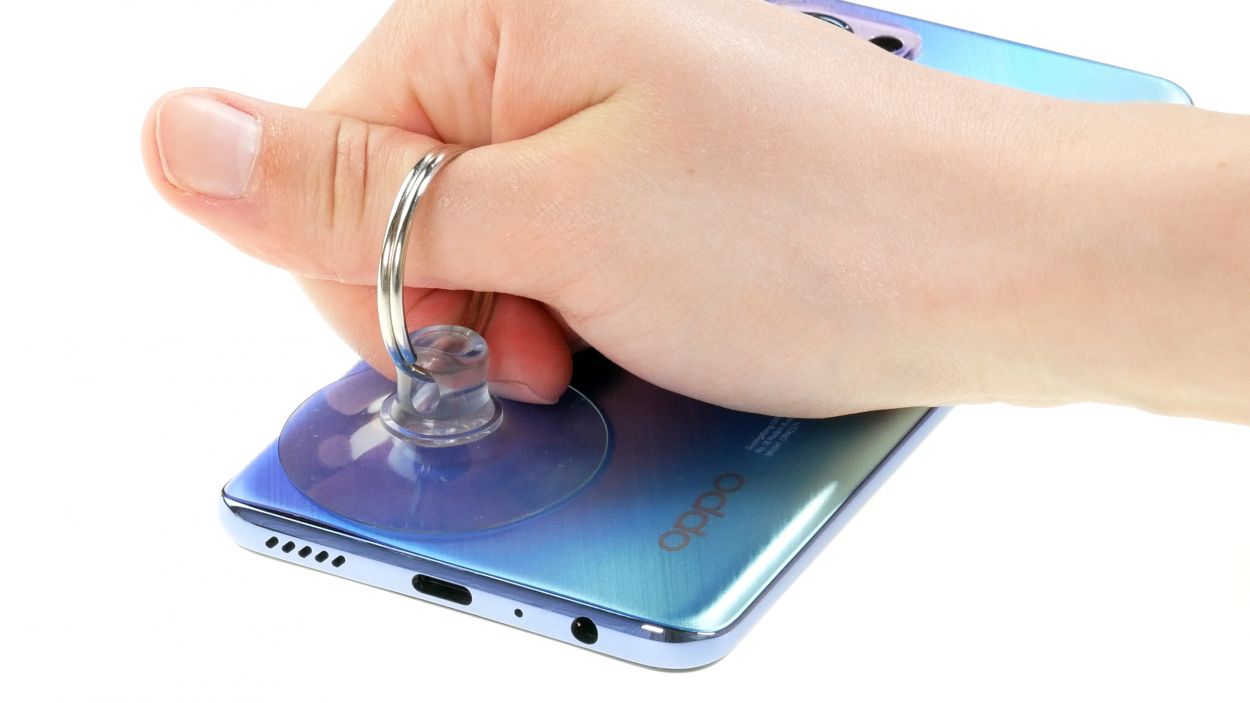
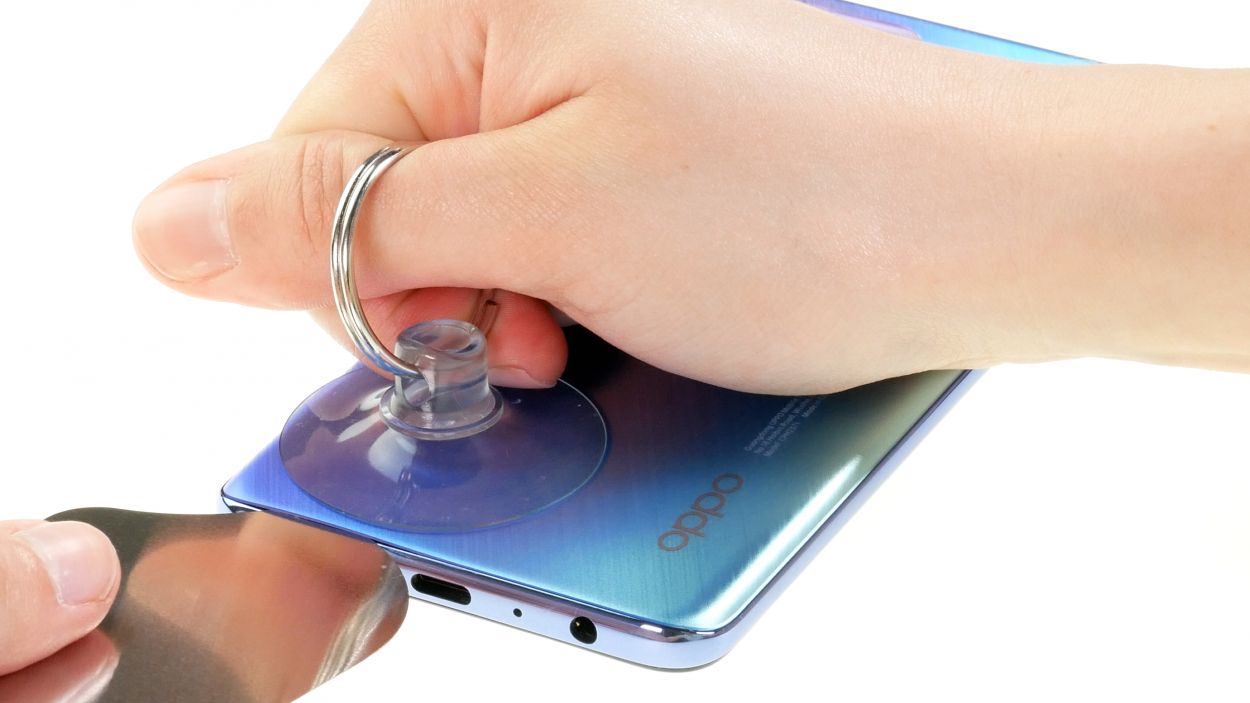
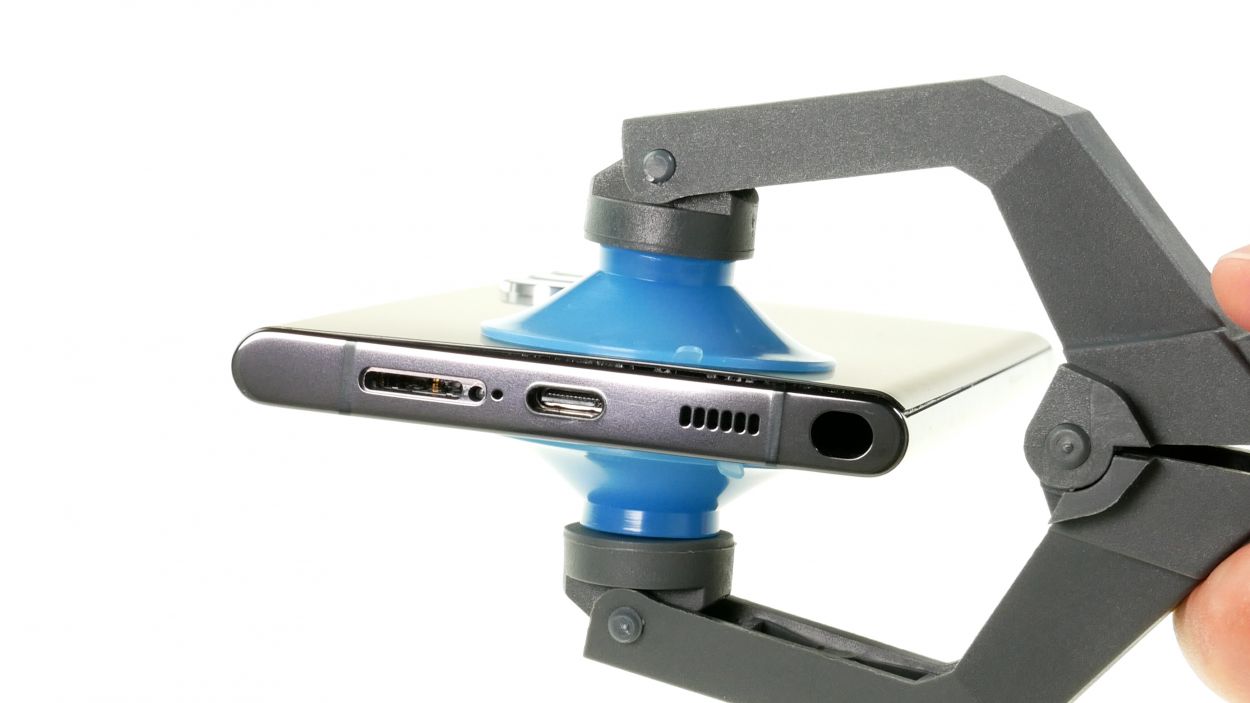
If you’re looking for a fun alternative to the suction cup, check out the iSclack! It makes lifting the back cover a breeze with way less effort. Remember, if you need help, you can always schedule a repair!
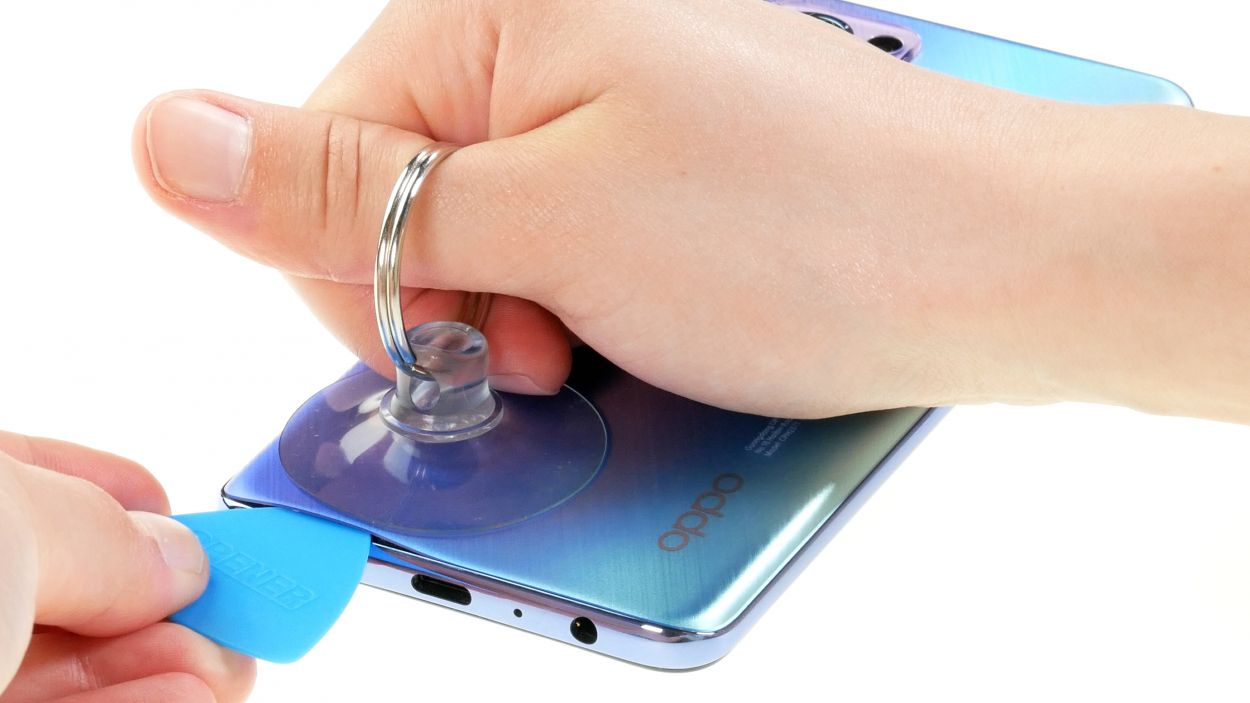
– Grab a suction cup and stick it to the lower edge of the back cover. Then, gently pull it up to make a little gap for you.
– While you’re doing that, slide a flat tool into the tiny space between the back cover and the screen unit. You’re on the right track!
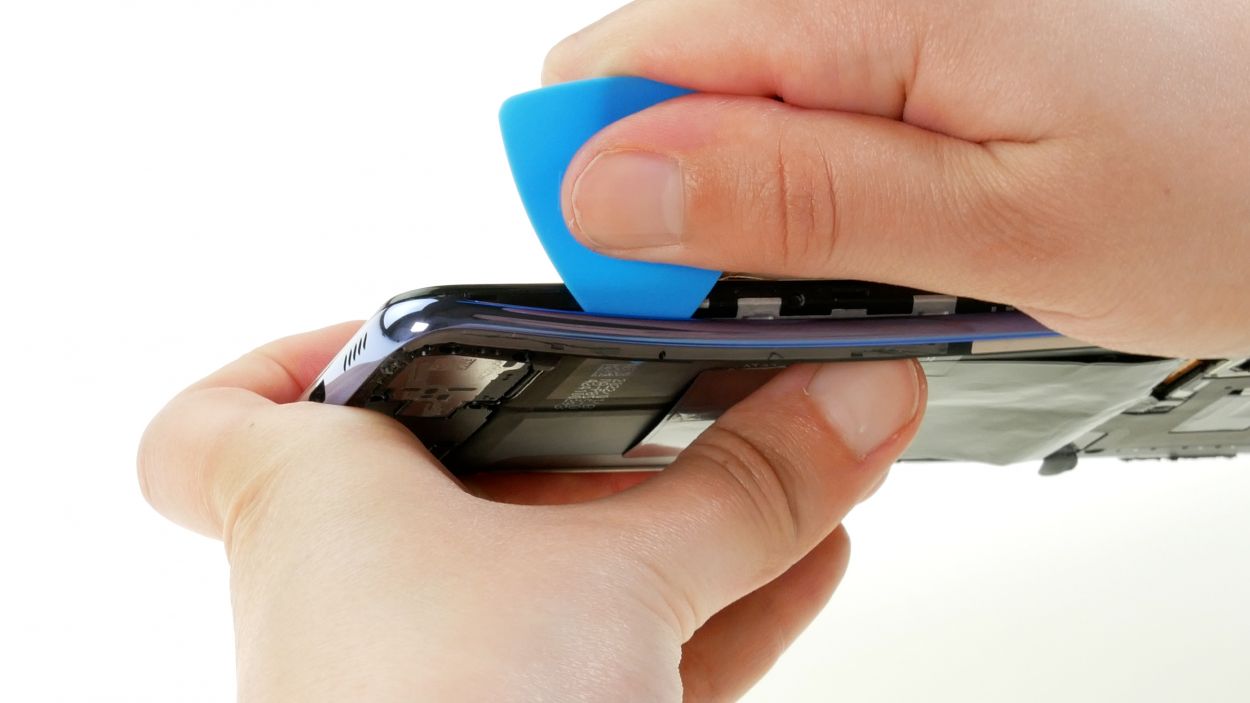
Step 4
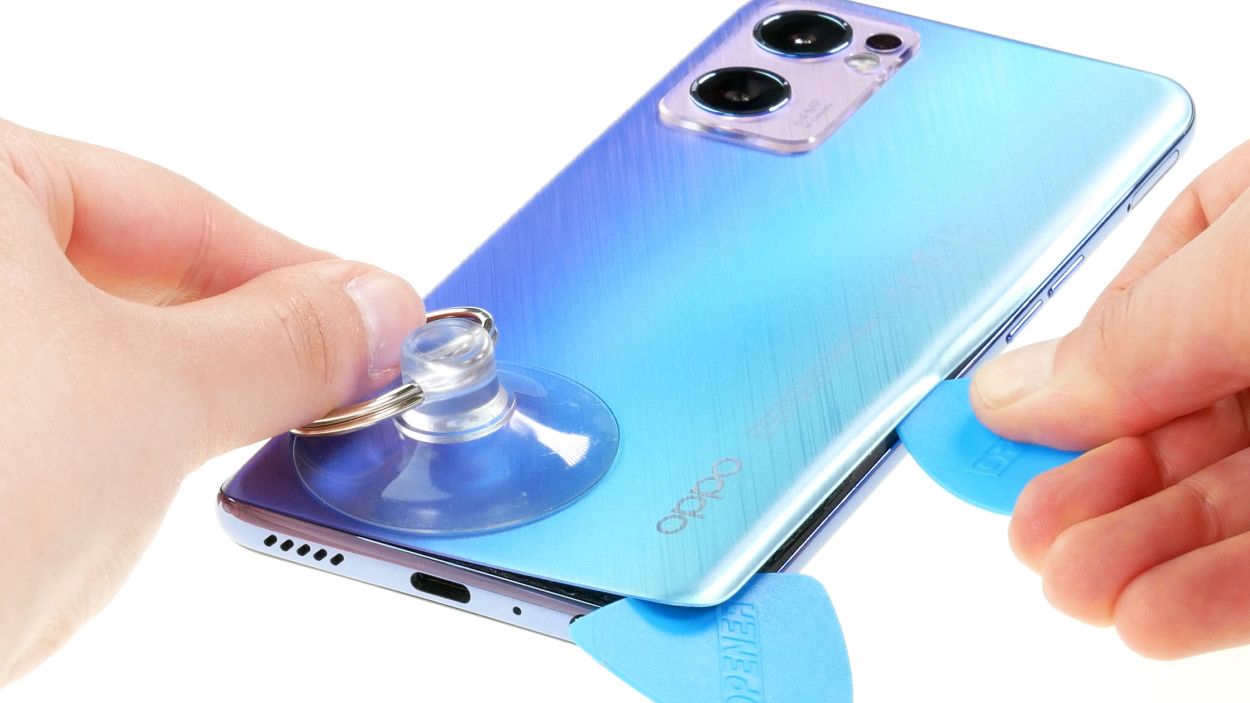
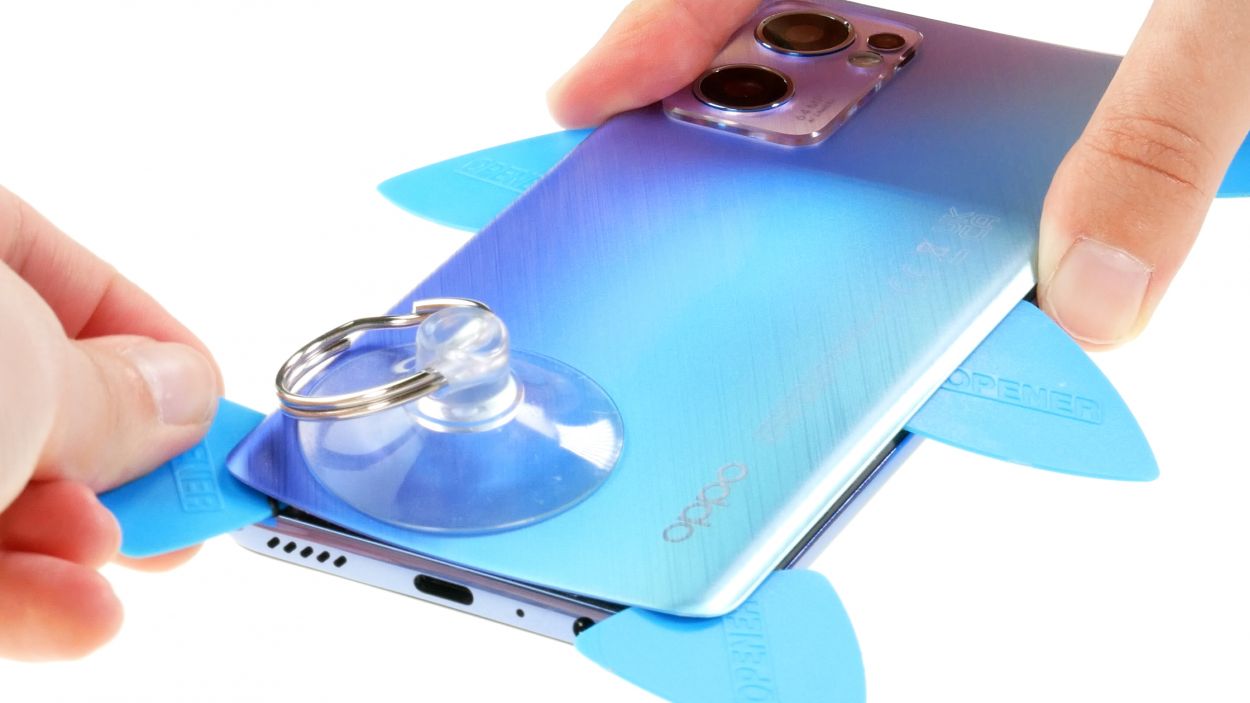
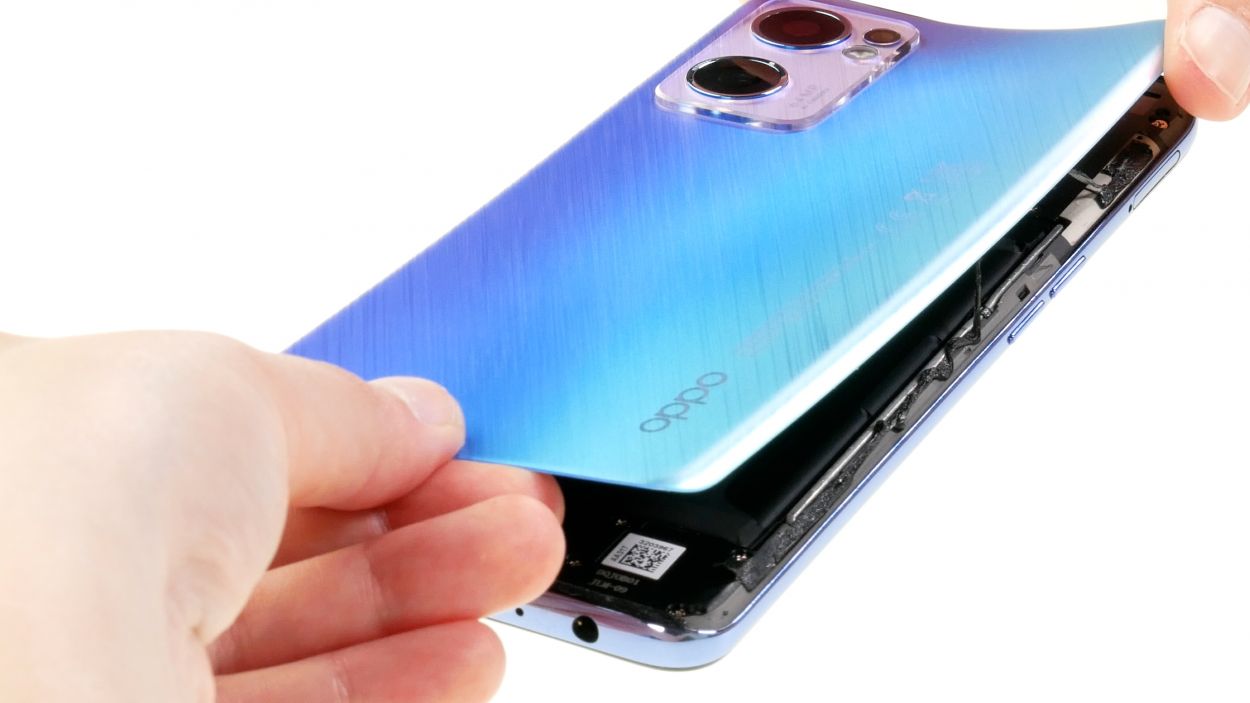
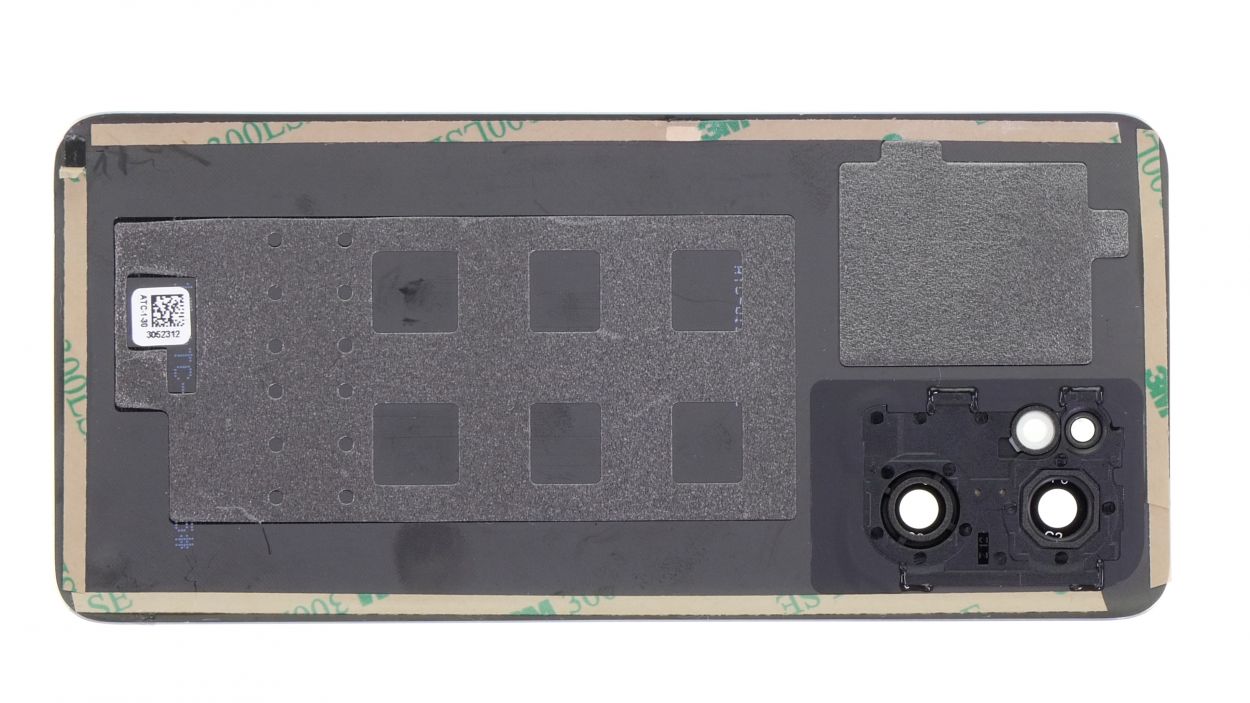
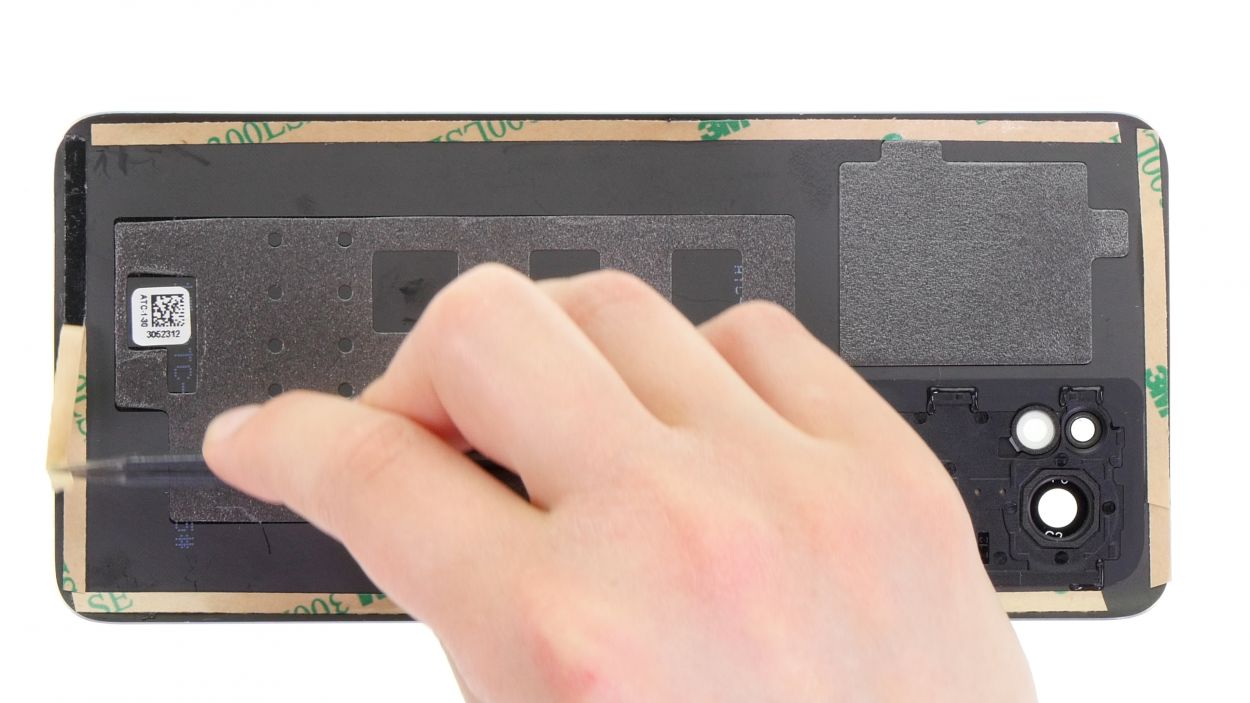
– Wander your tool all the way around the edge of the back cover, gently freeing it bit by bit.
– Once it’s free, set that back cover aside like it just won a break!
Hey there! Just a friendly reminder: when you’re working on that camera module, be careful not to push your tool in too deep. A hard plastic pick is your best buddy for this job!
To keep that back cover from getting all cozy with the glue again, try sliding some flat plastic picks in at regular intervals. It’s like giving your device a little breathing room!
Tools Used
- heat gun to heat parts that are glued on so they’re easier to remove.
In most cases, you can also use a hairdryer.” rel=”noopener”>Heat gun - Pick Set
- VAKUPLASTIC Suction Cup
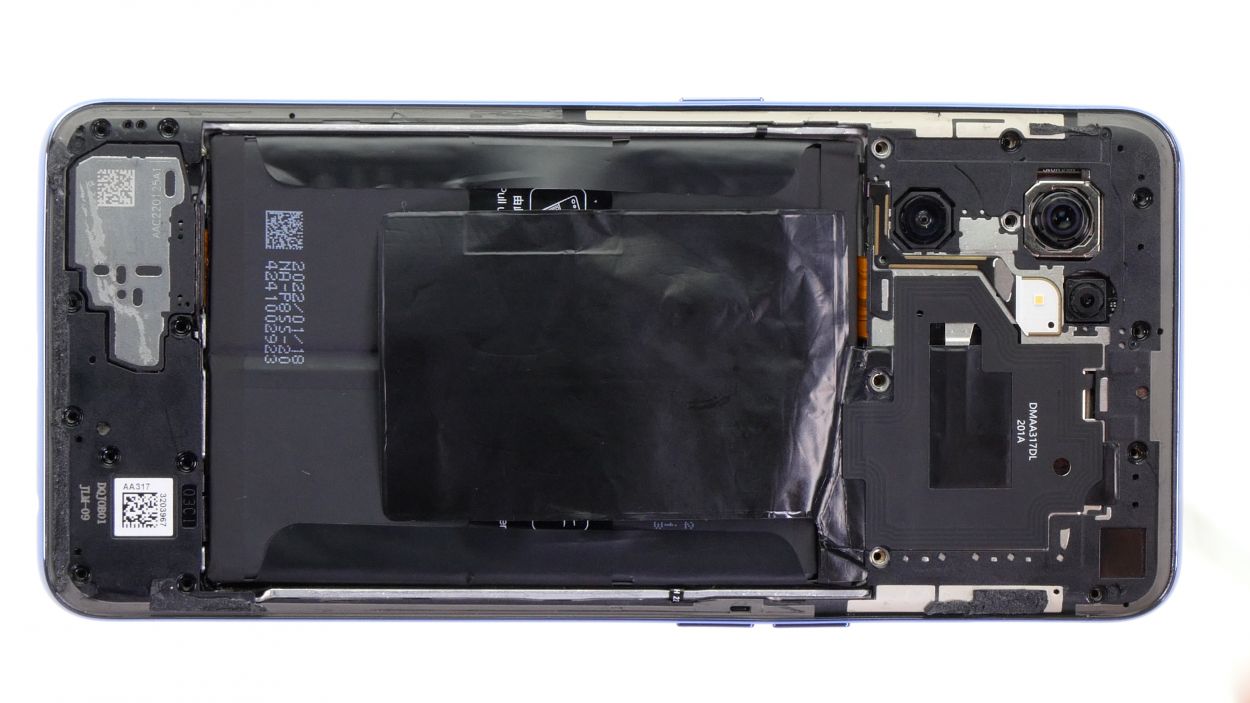
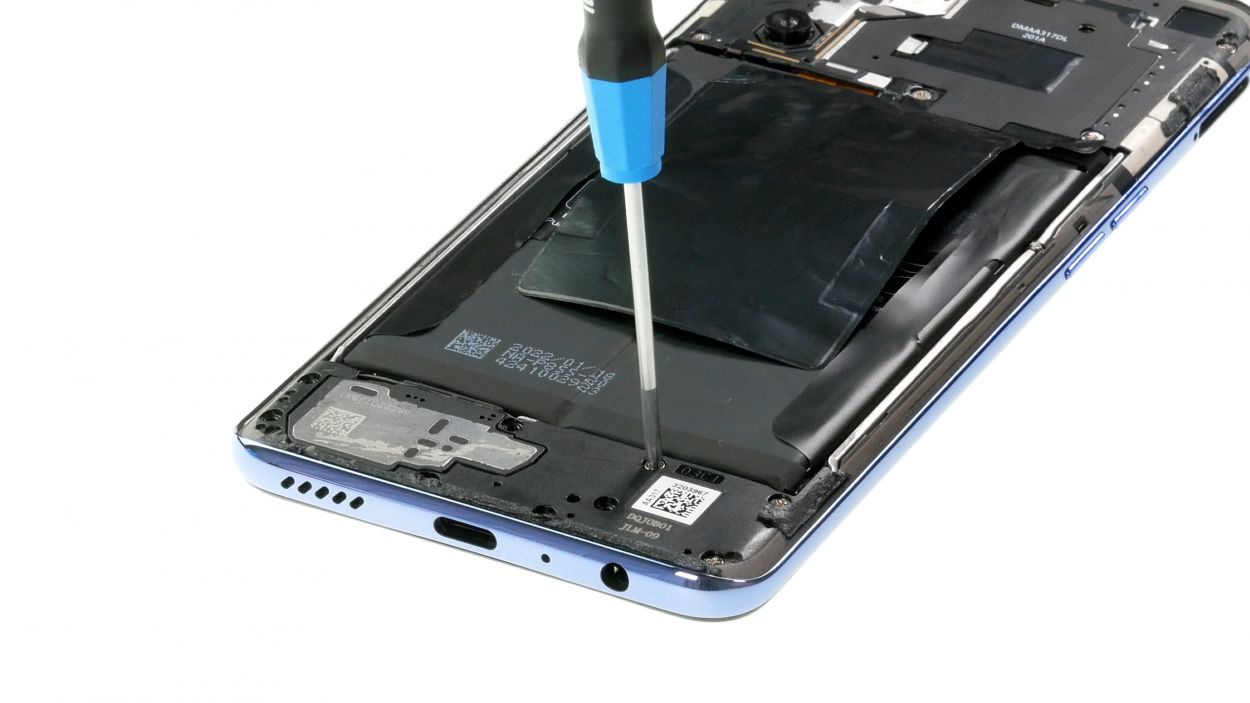
Step 6

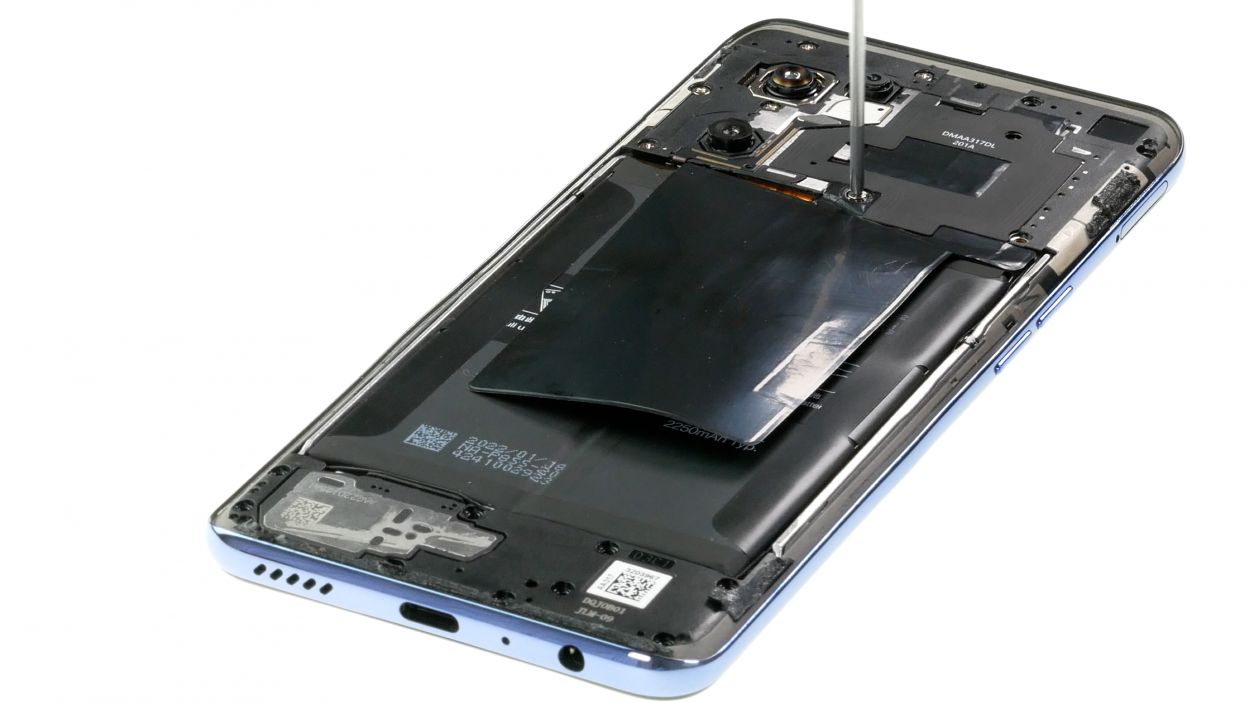
18 × 3.7 mm Phillips
To keep all those tiny screws and parts from playing hide and seek, we suggest using a screw storage solution like our handy magnetic pad. It’s a great way to keep everything safe and organized while you work your magic!
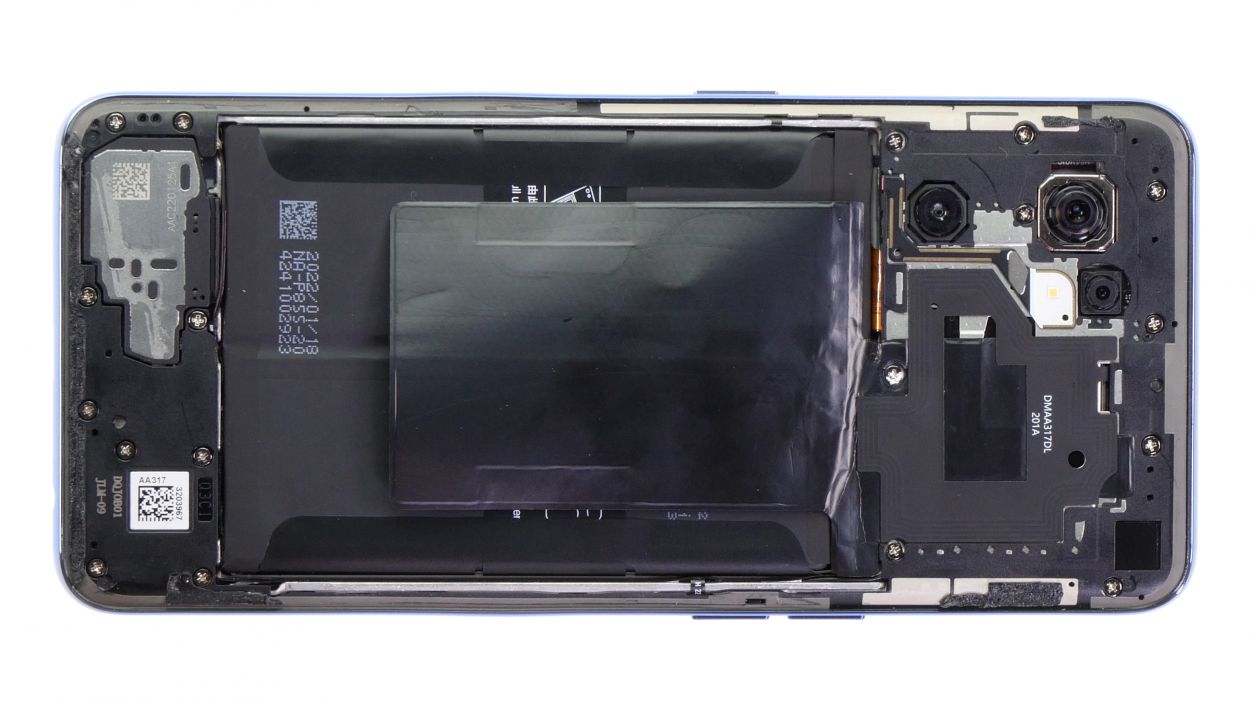
– Remove the 18 Phillips screws fixing the middle frame and place them in the screw storage.

Step 8

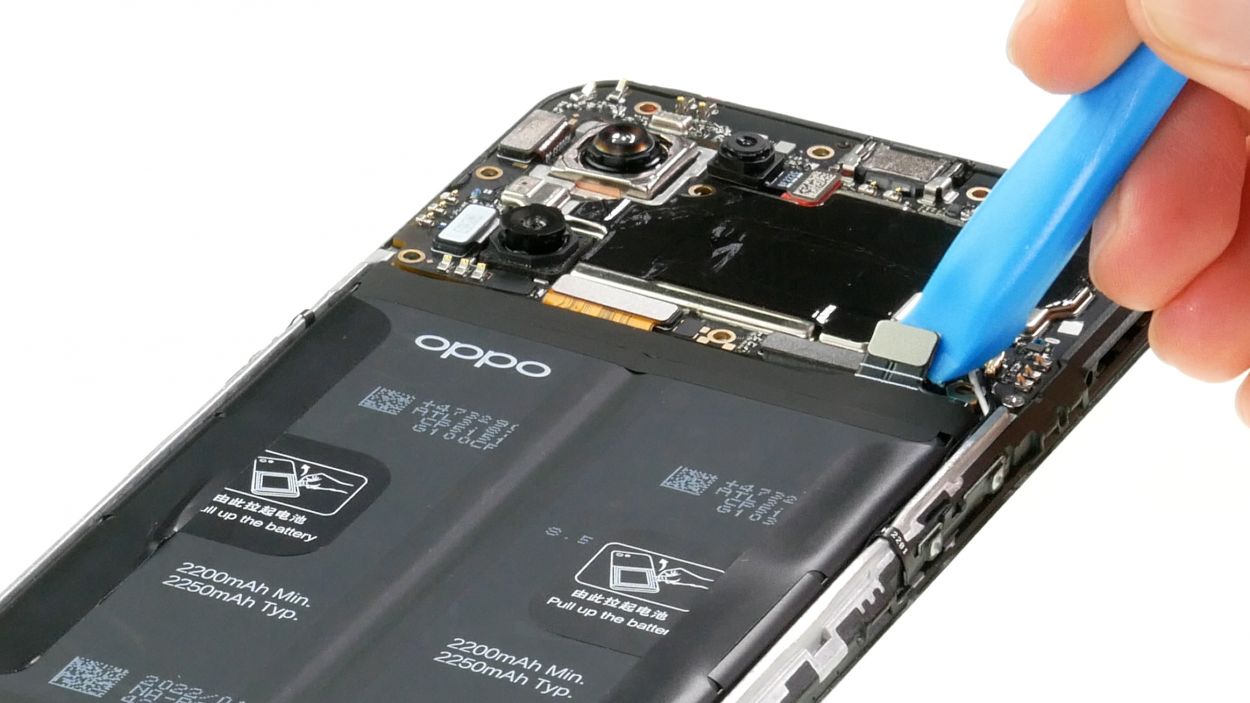
Hey there, to keep everything safe and sound during your repair adventure, make sure to disconnect the battery right off the bat!
– With the help of a spudger, let’s give the battery connector a little nudge and detach it from the motherboard. Easy peasy!
Tools Used
Step 9
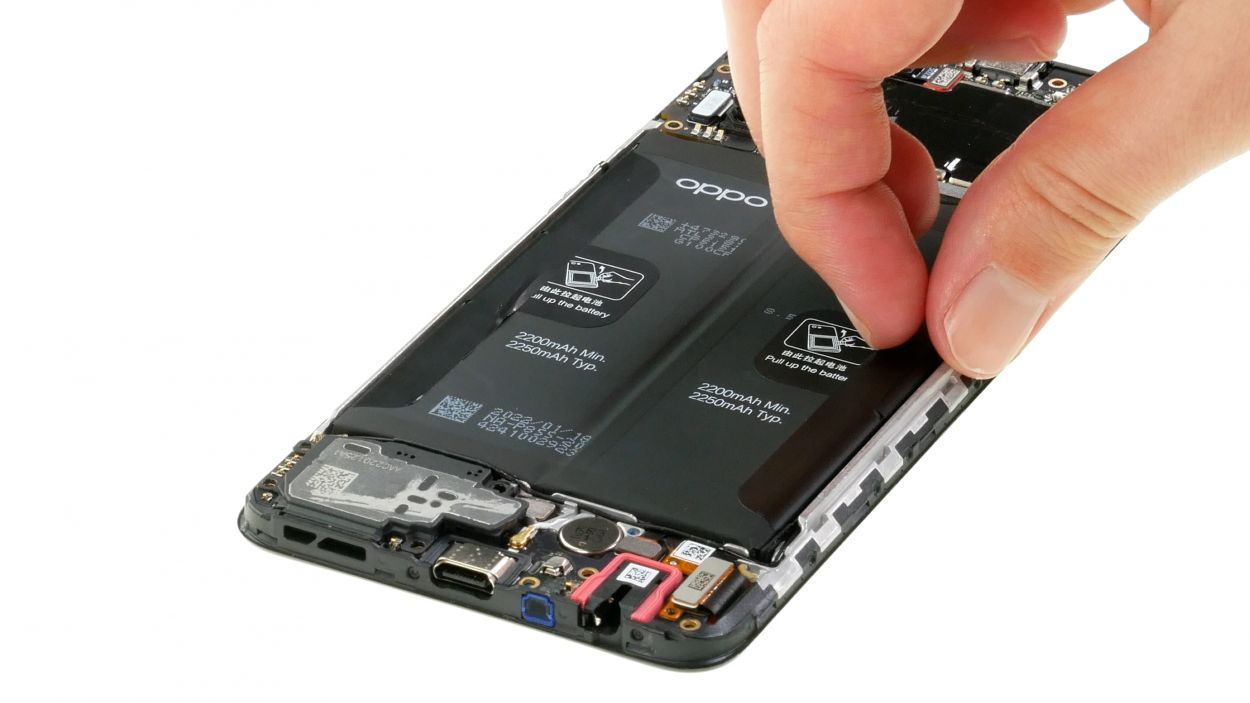
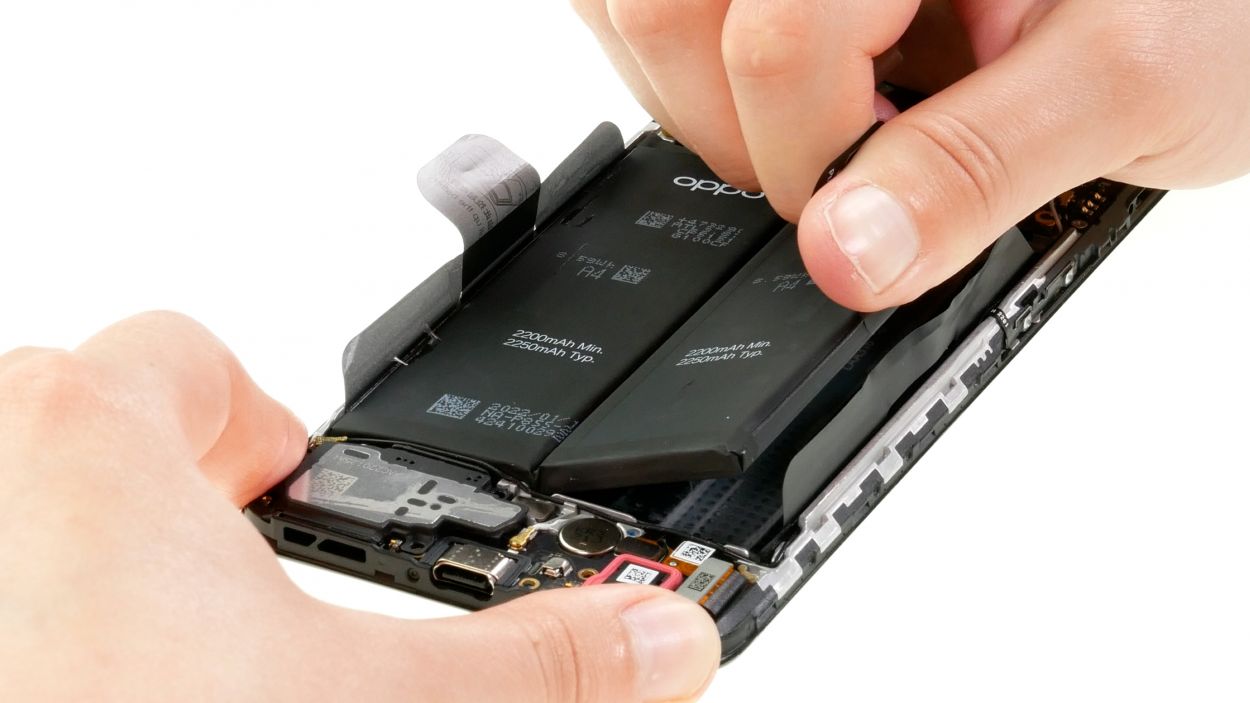
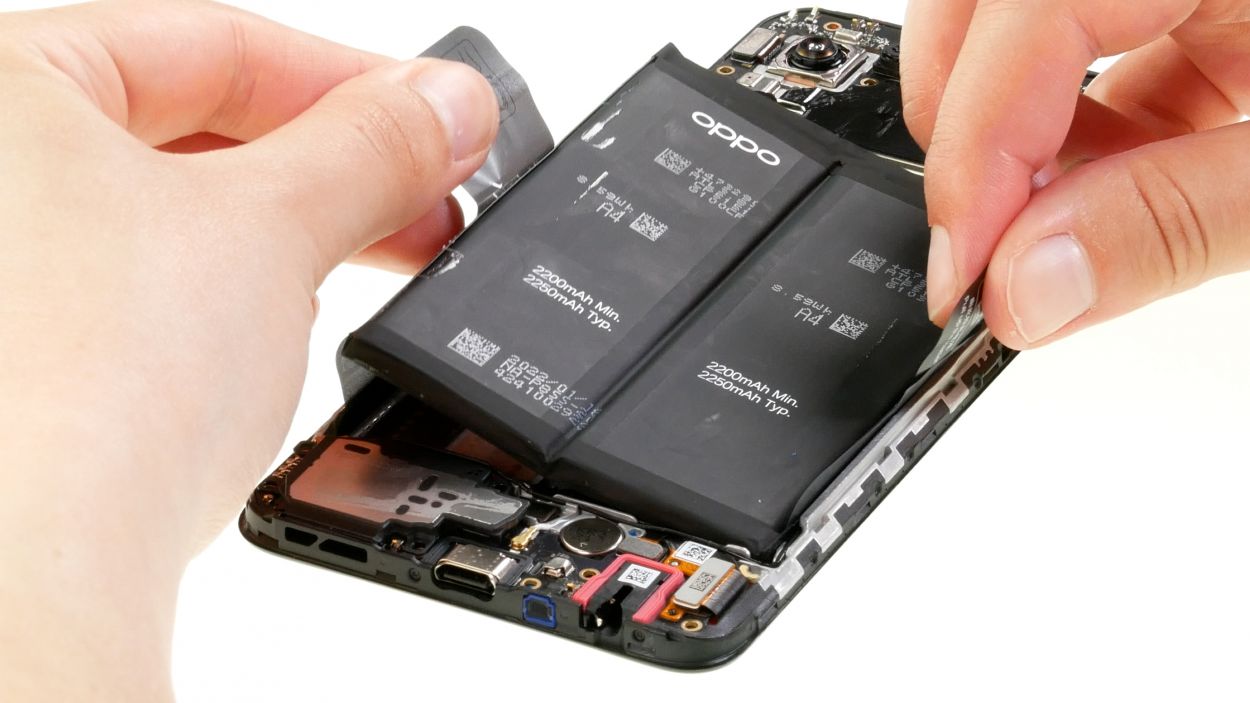
Step 10
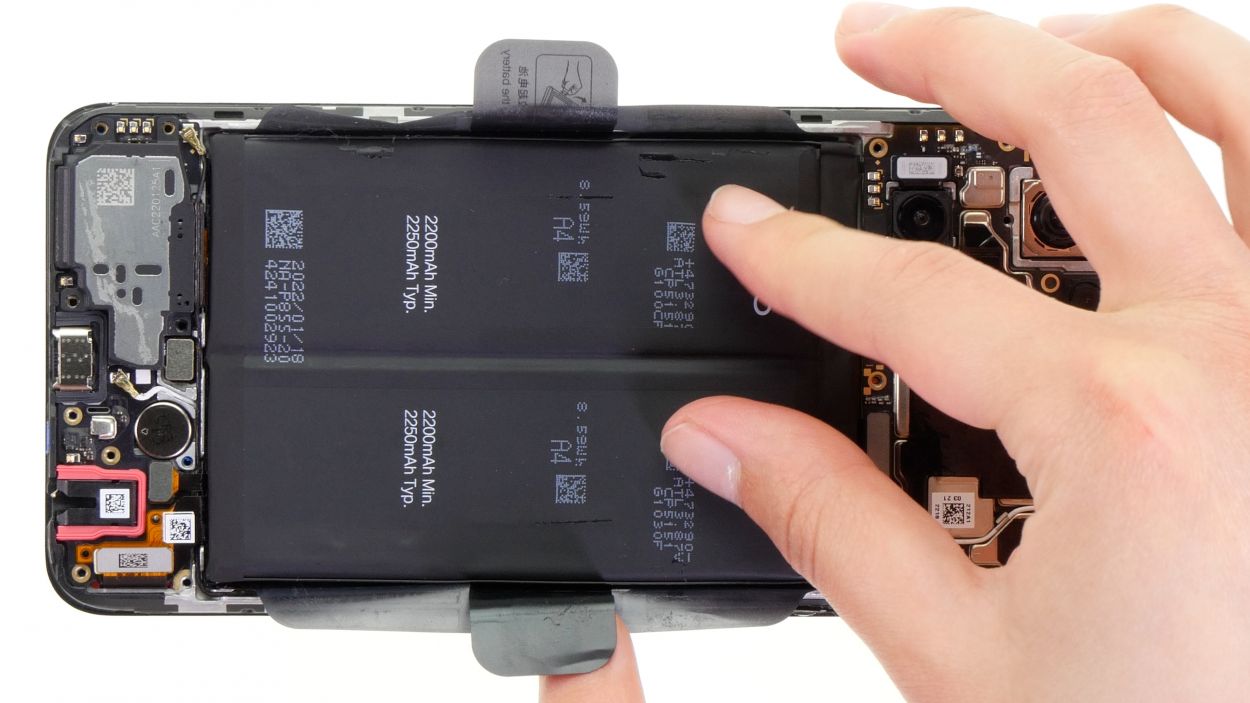
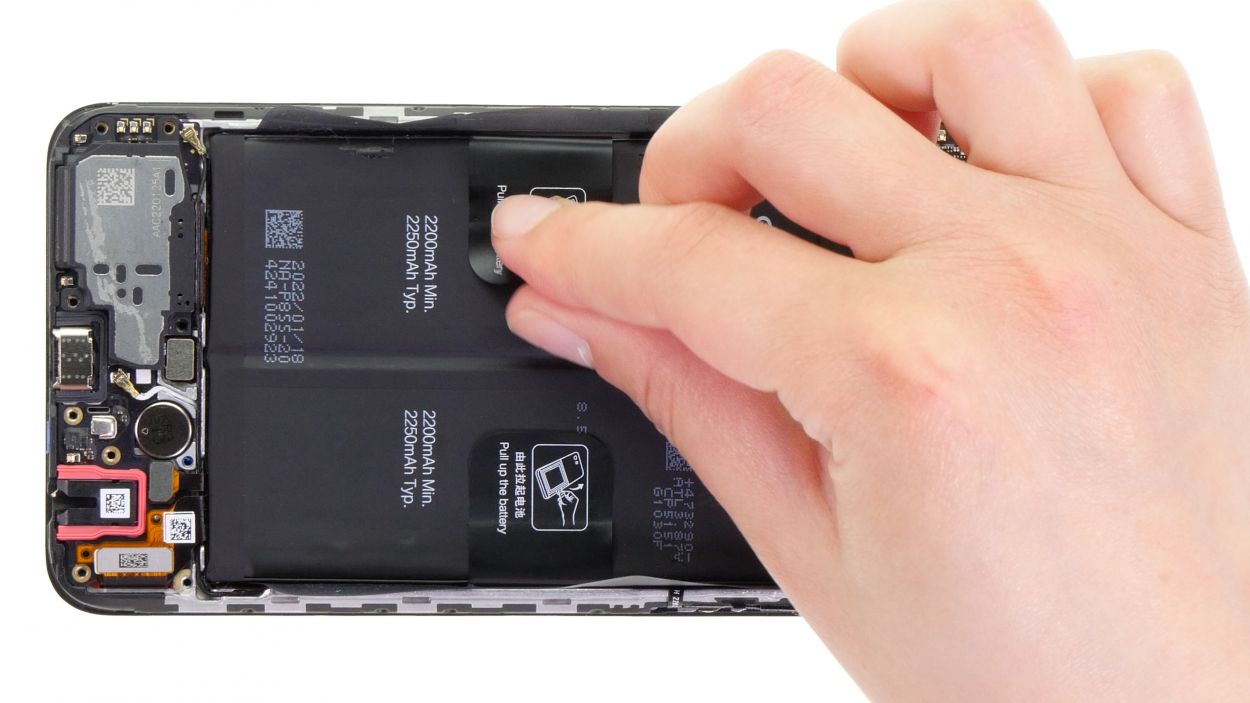
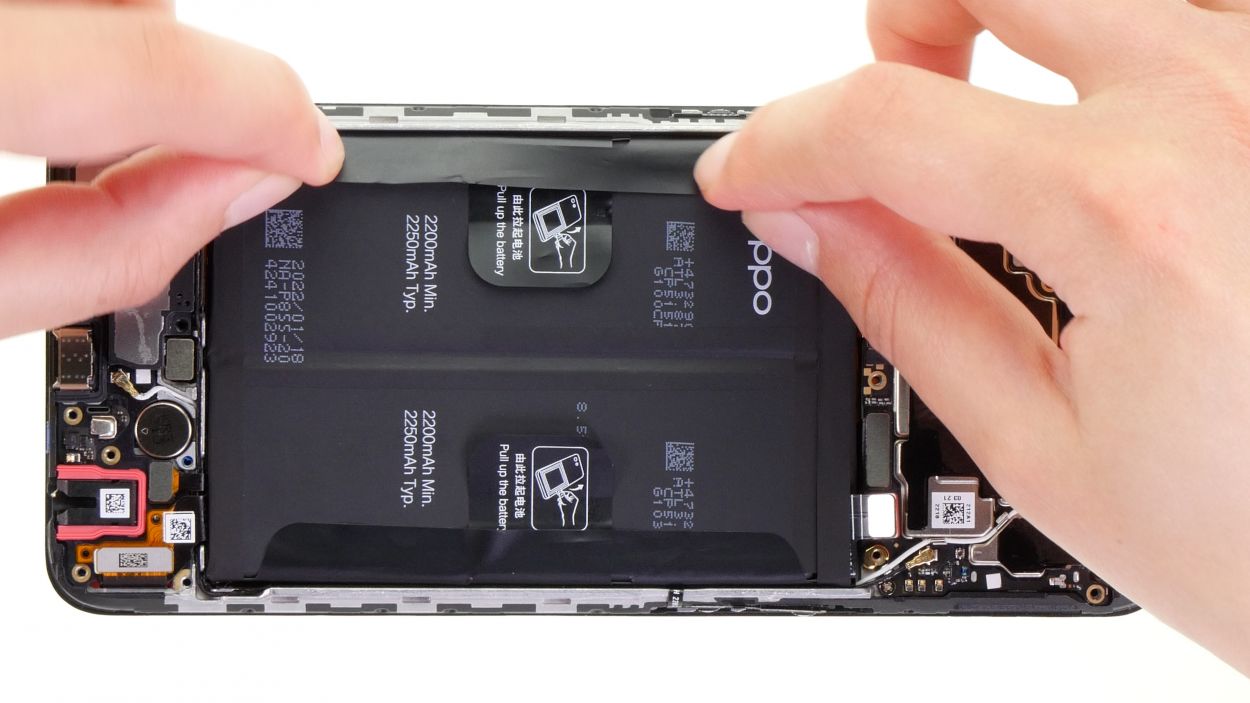
– Preheat the adhesive to make it super easy to remove. Yeah, you got this!
– Now, slide it off the case bottom like a pro. A trusty old spatula can be your BFF here.
Tools Used
- heat gun to heat parts that are glued on so they’re easier to remove.
In most cases, you can also use a hairdryer.” rel=”noopener”>Heat gun - Steel Laboratory Spatula


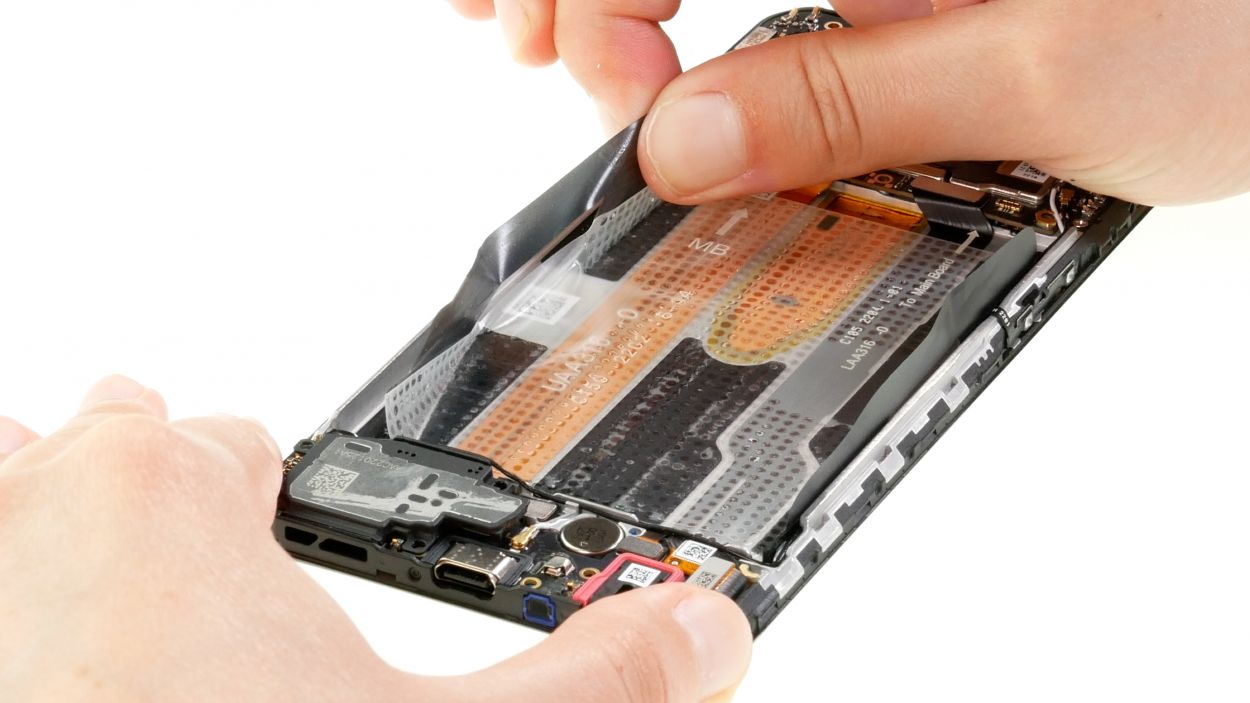
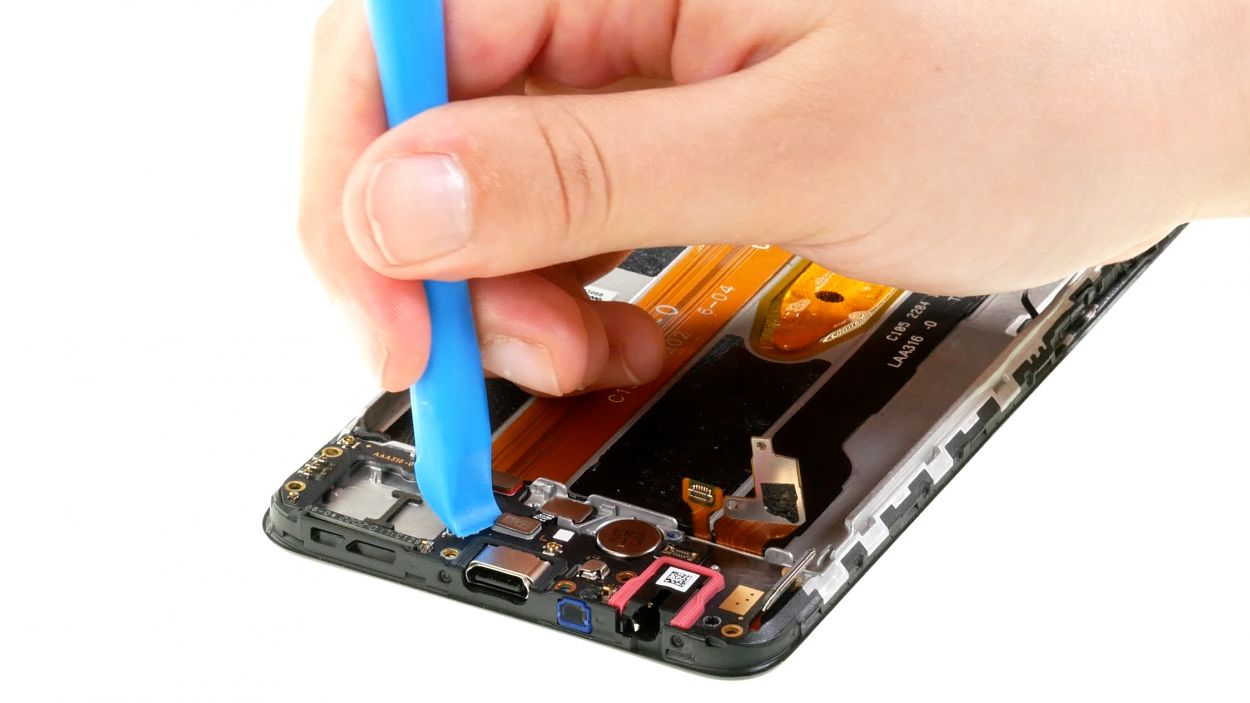
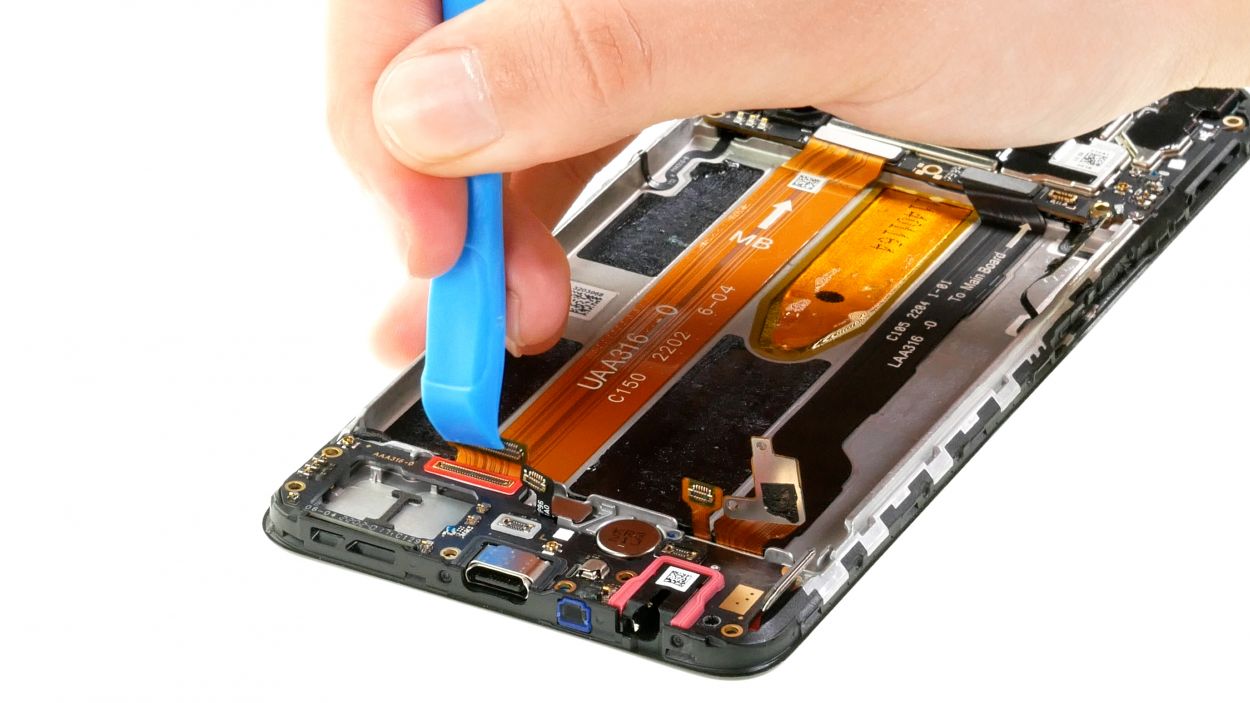
Step 12
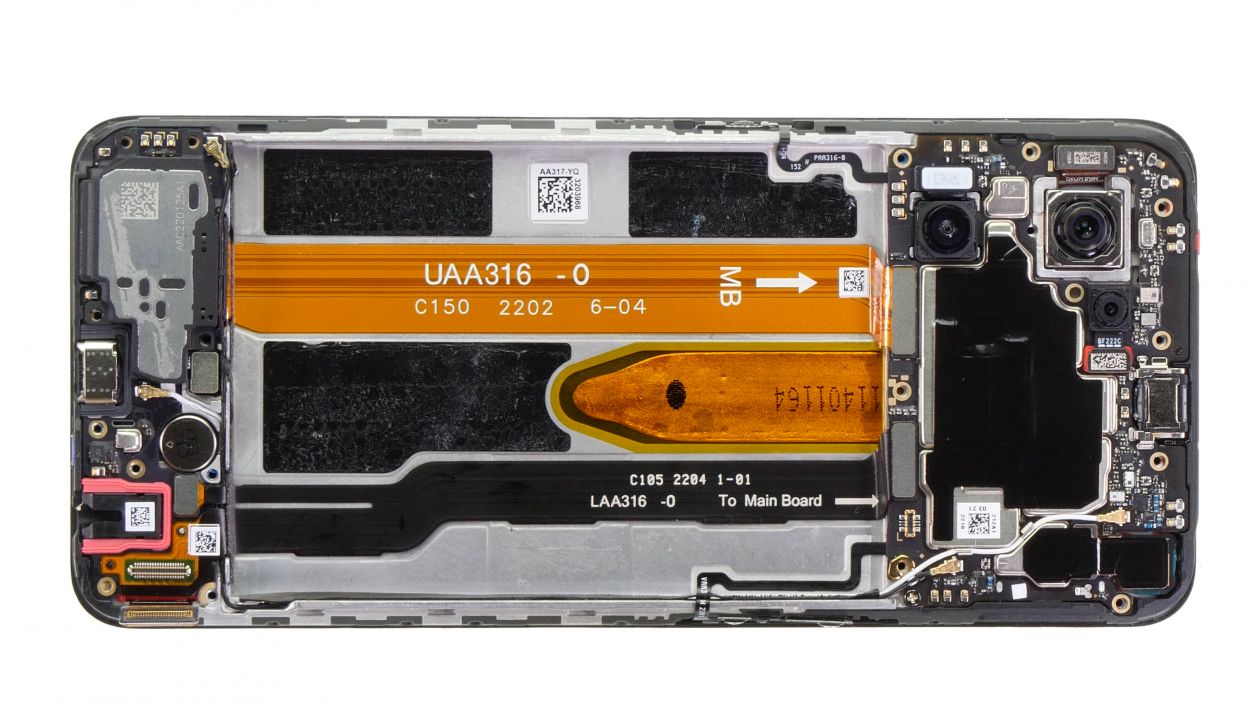
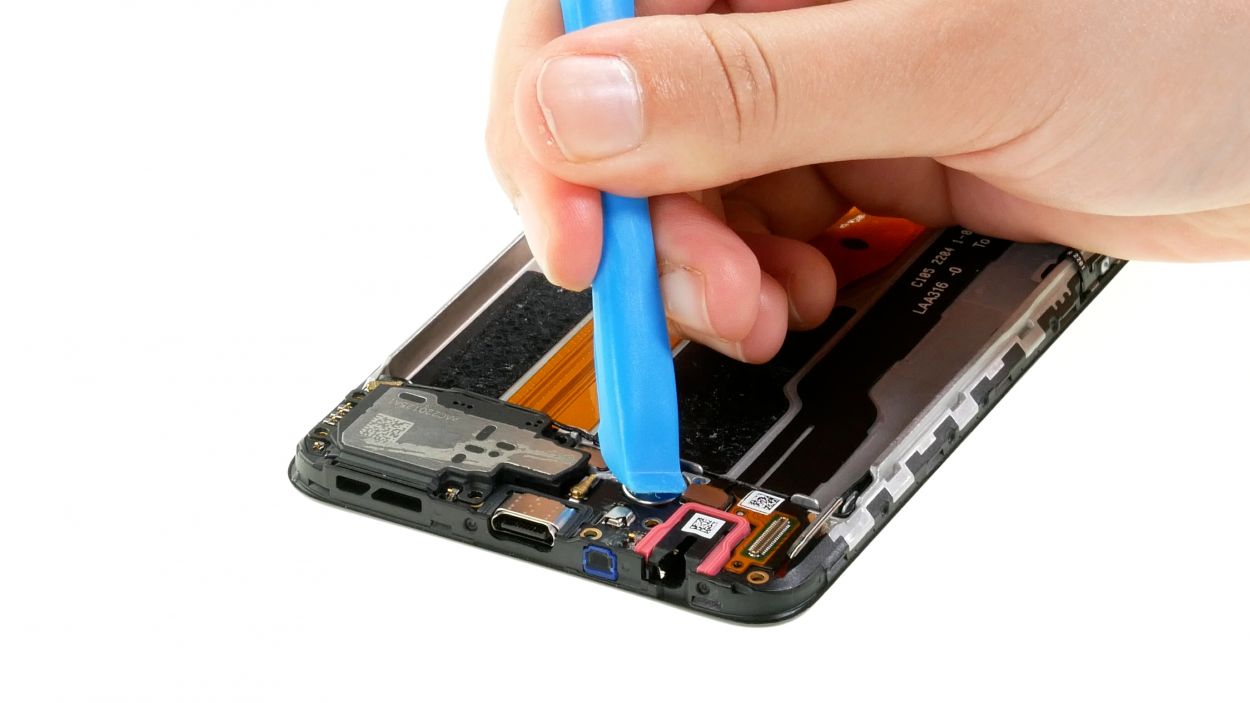
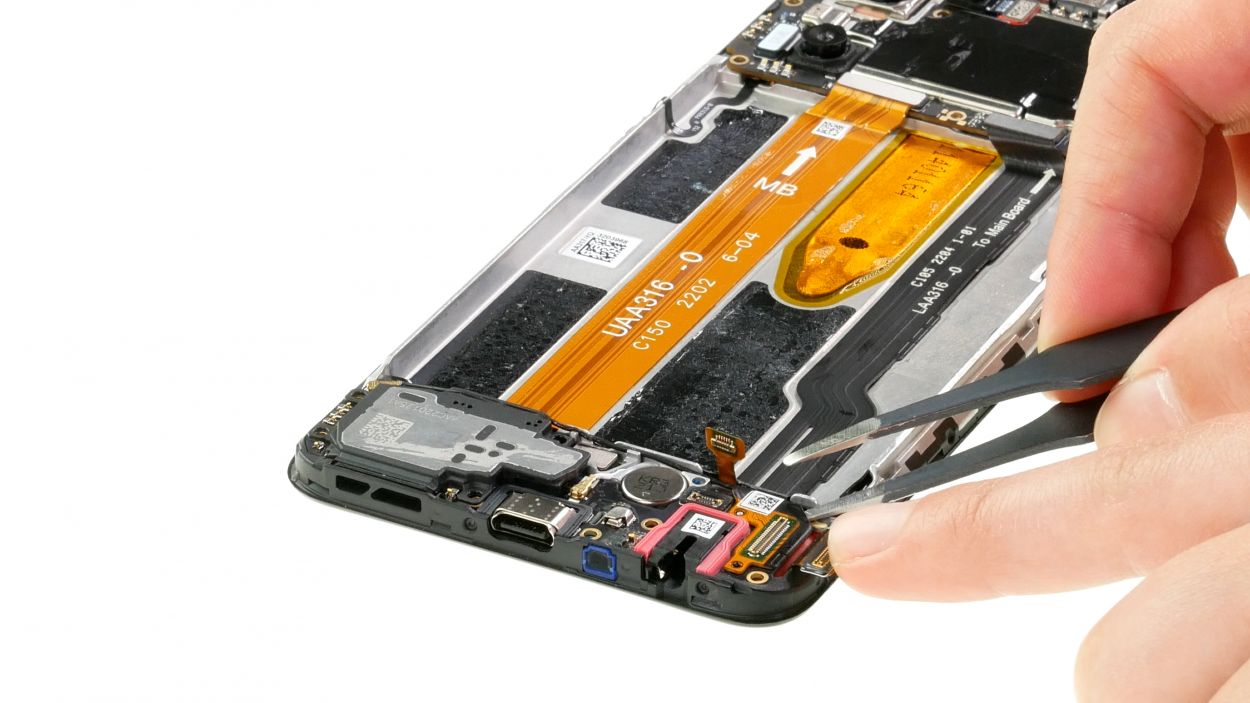
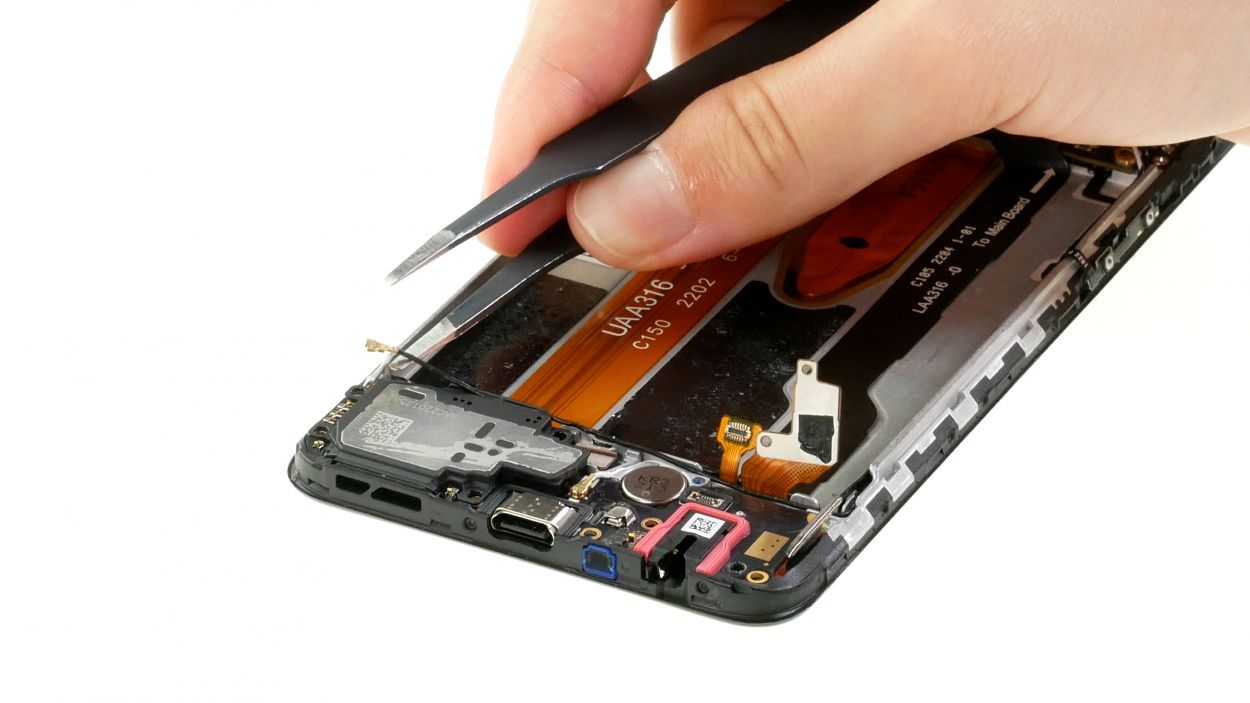
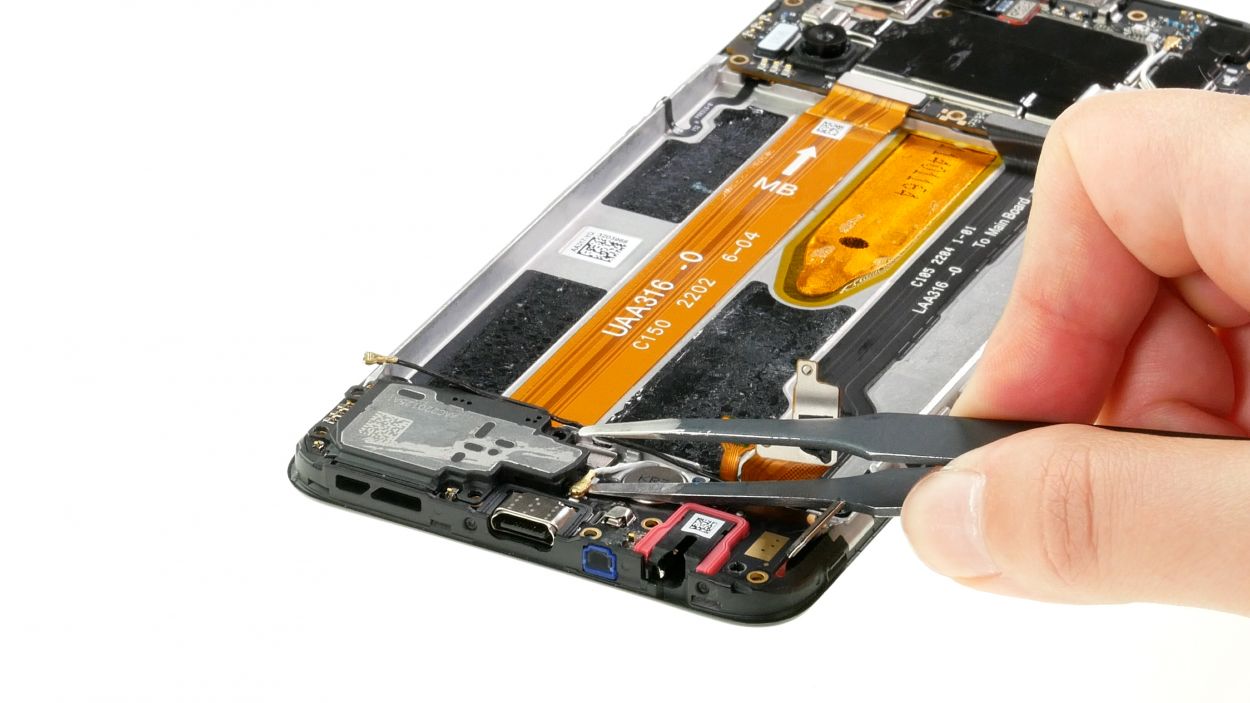
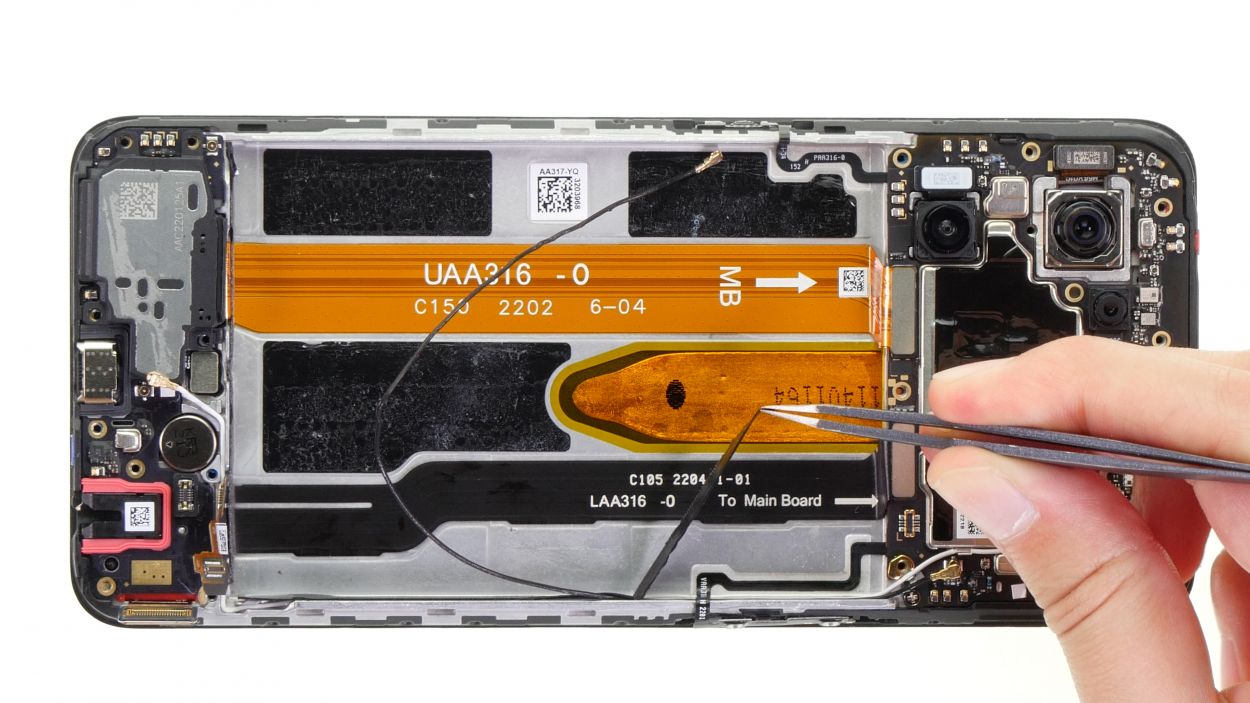
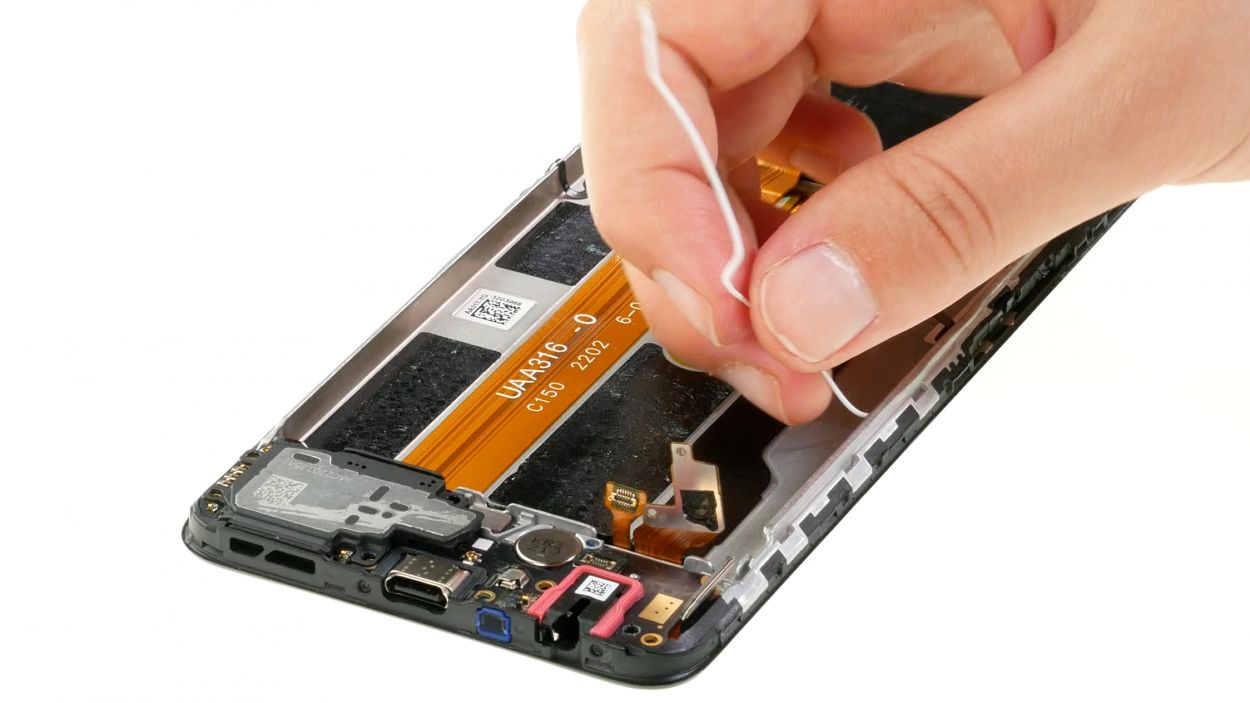
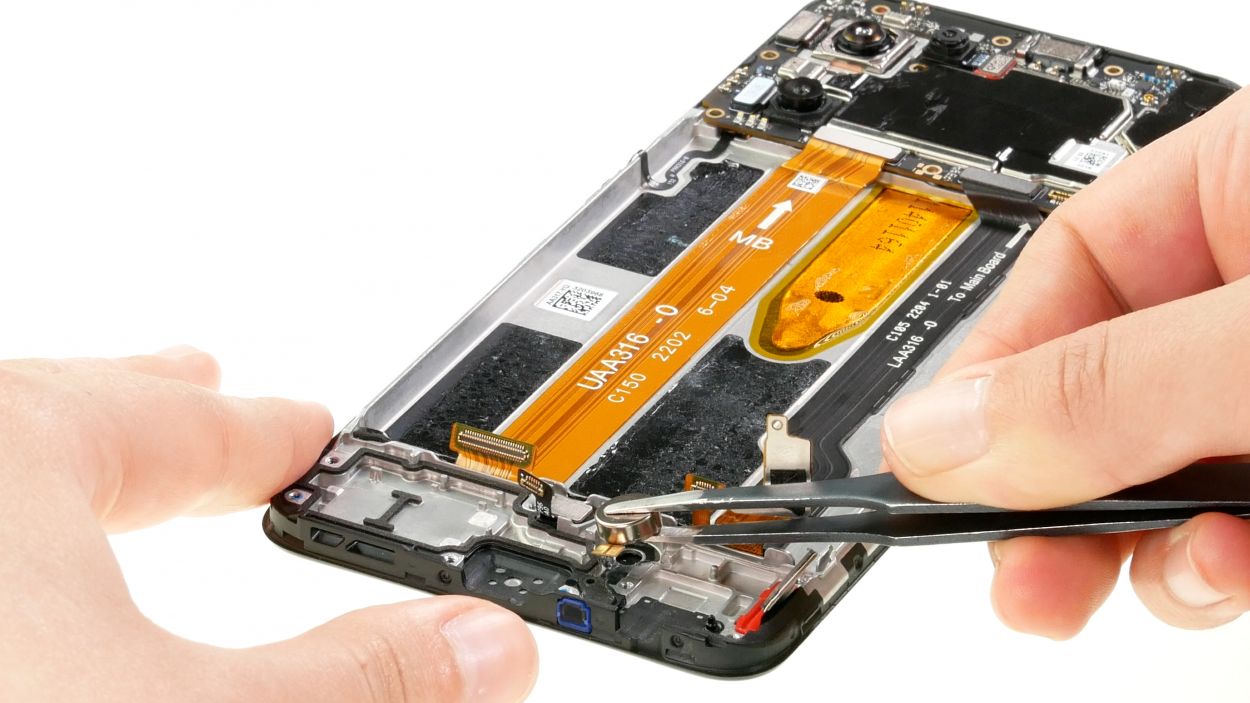
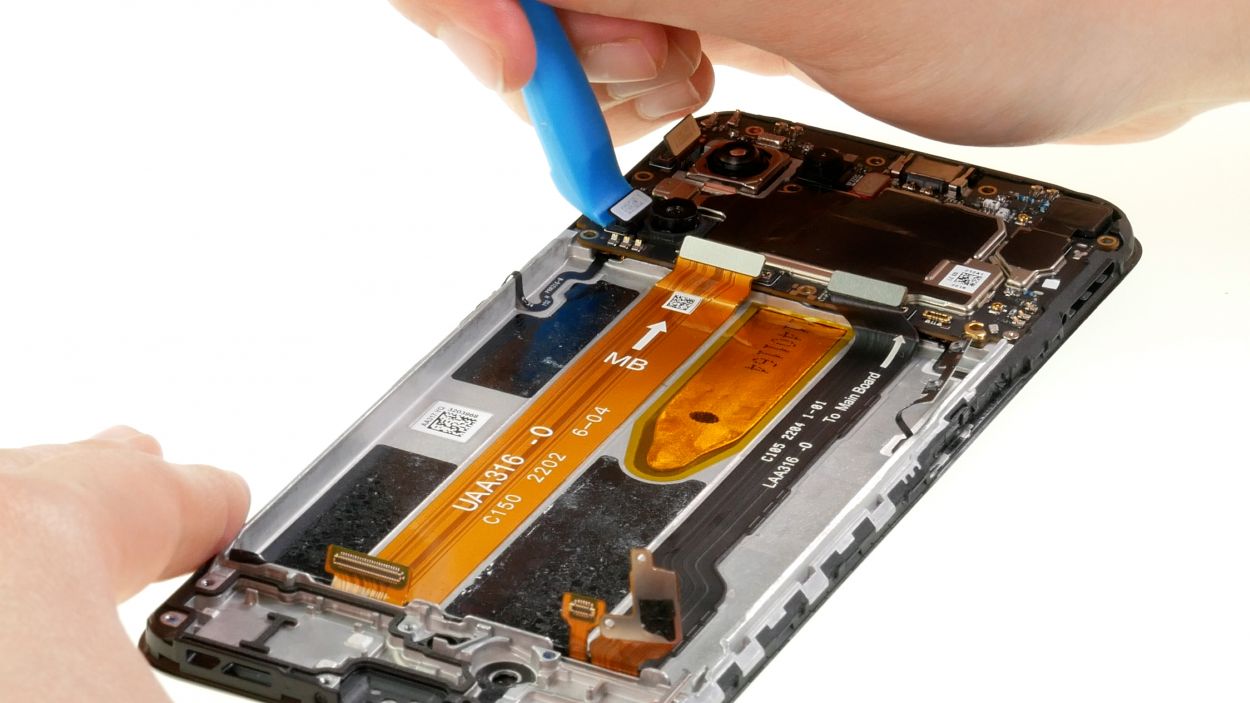
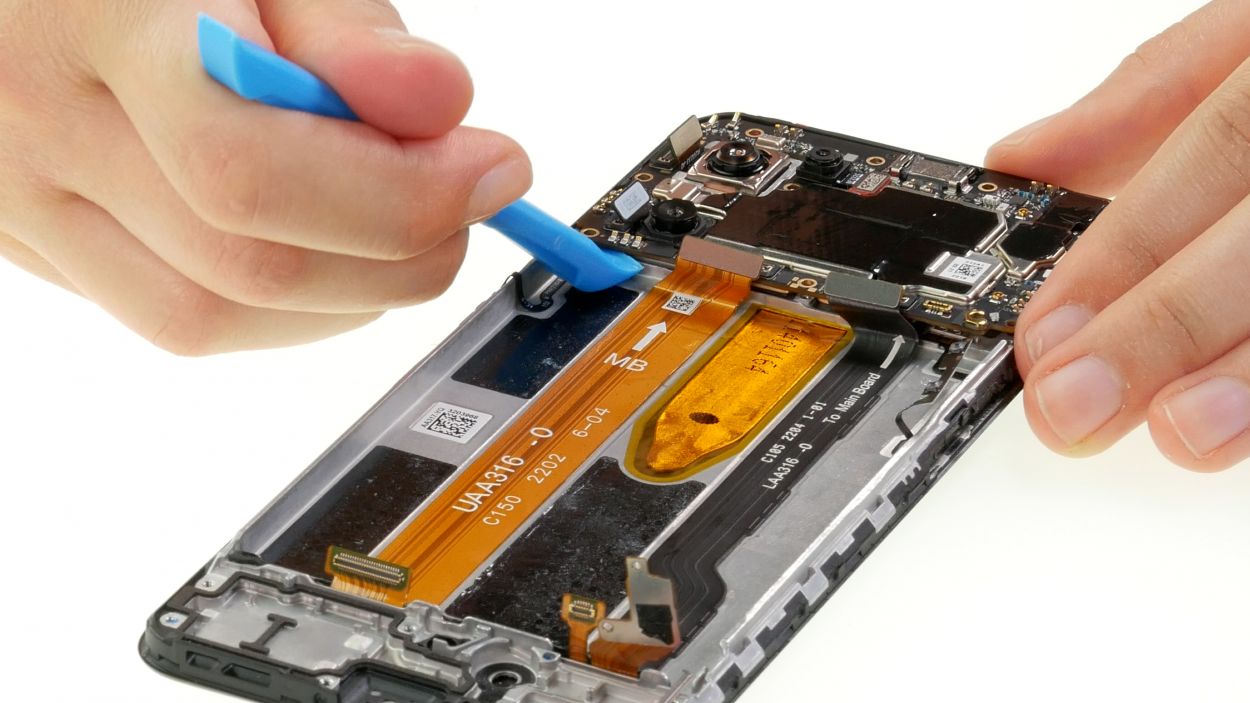
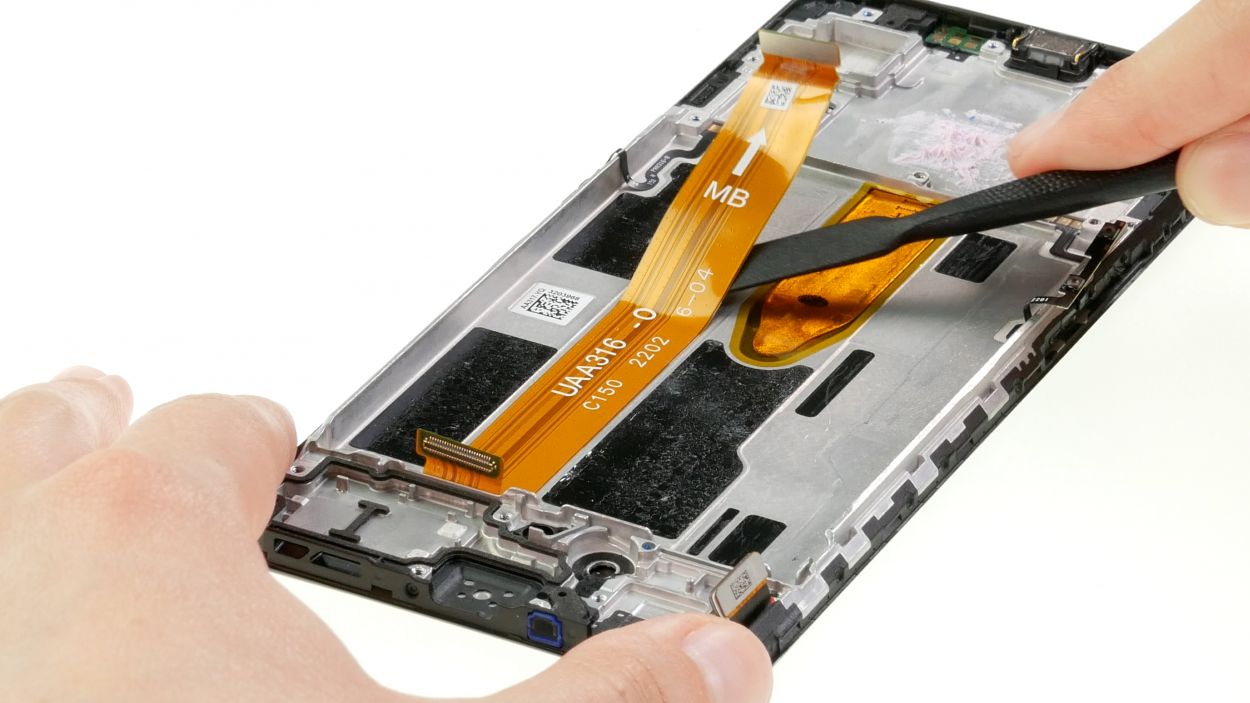
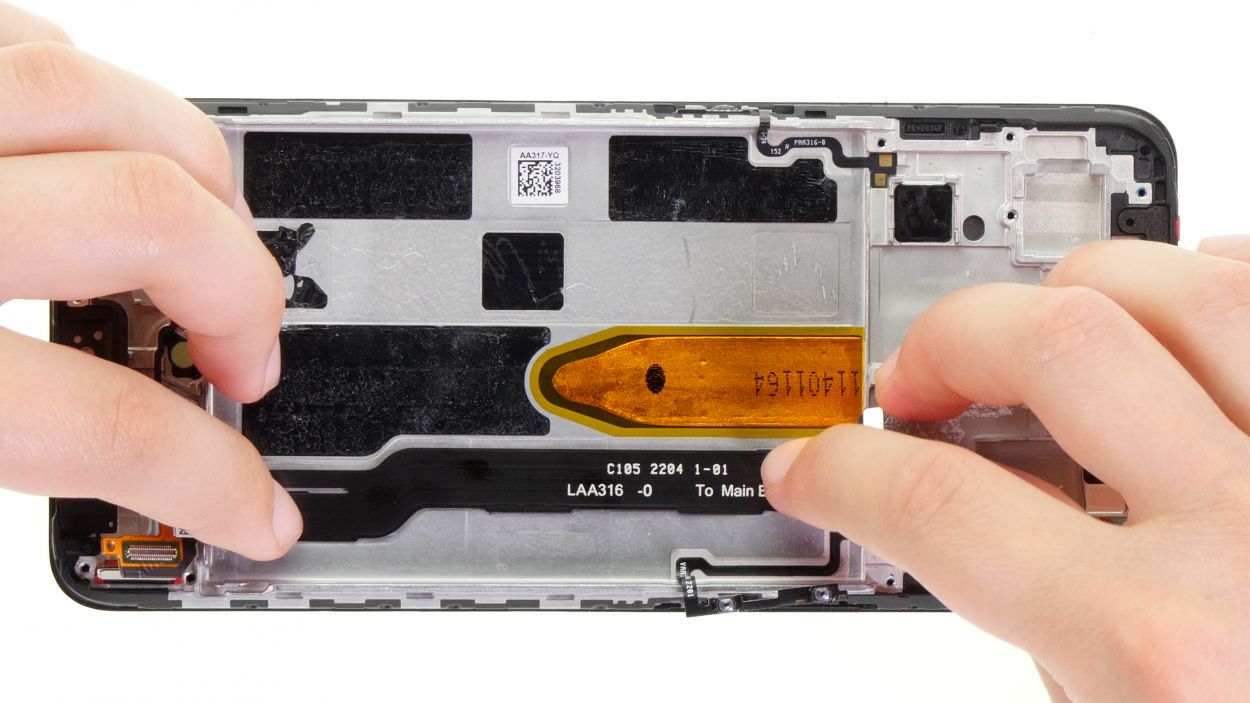
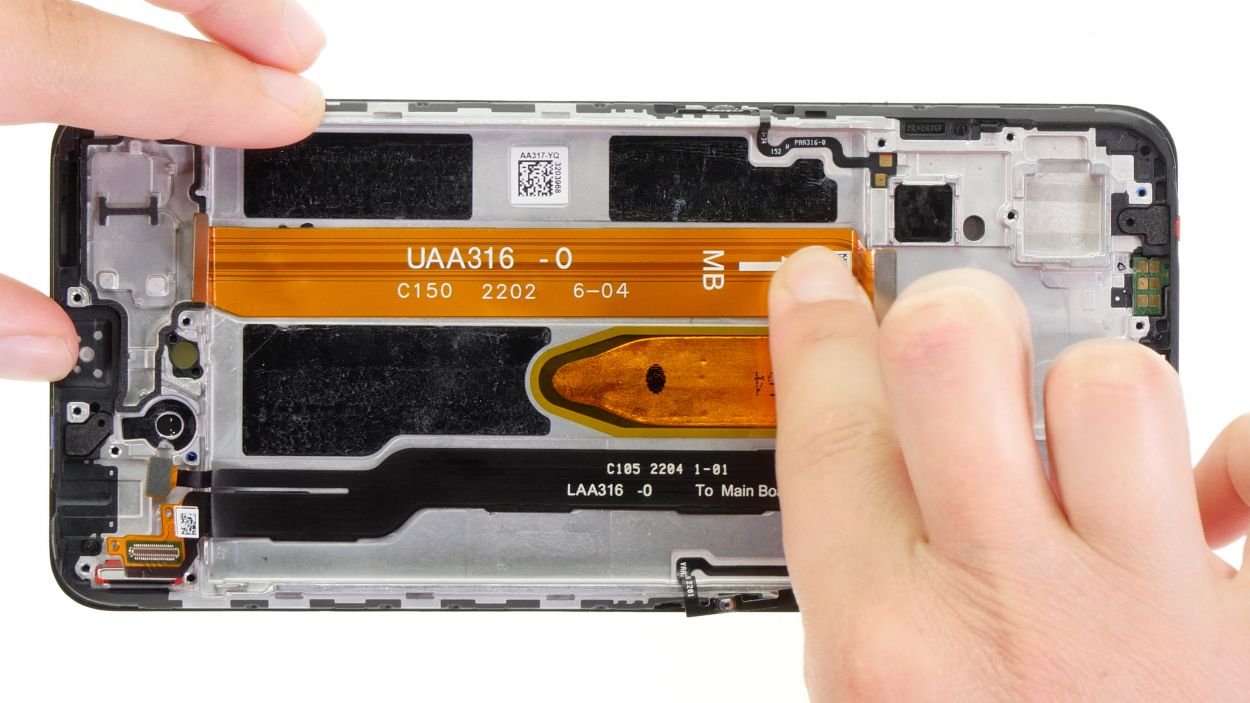
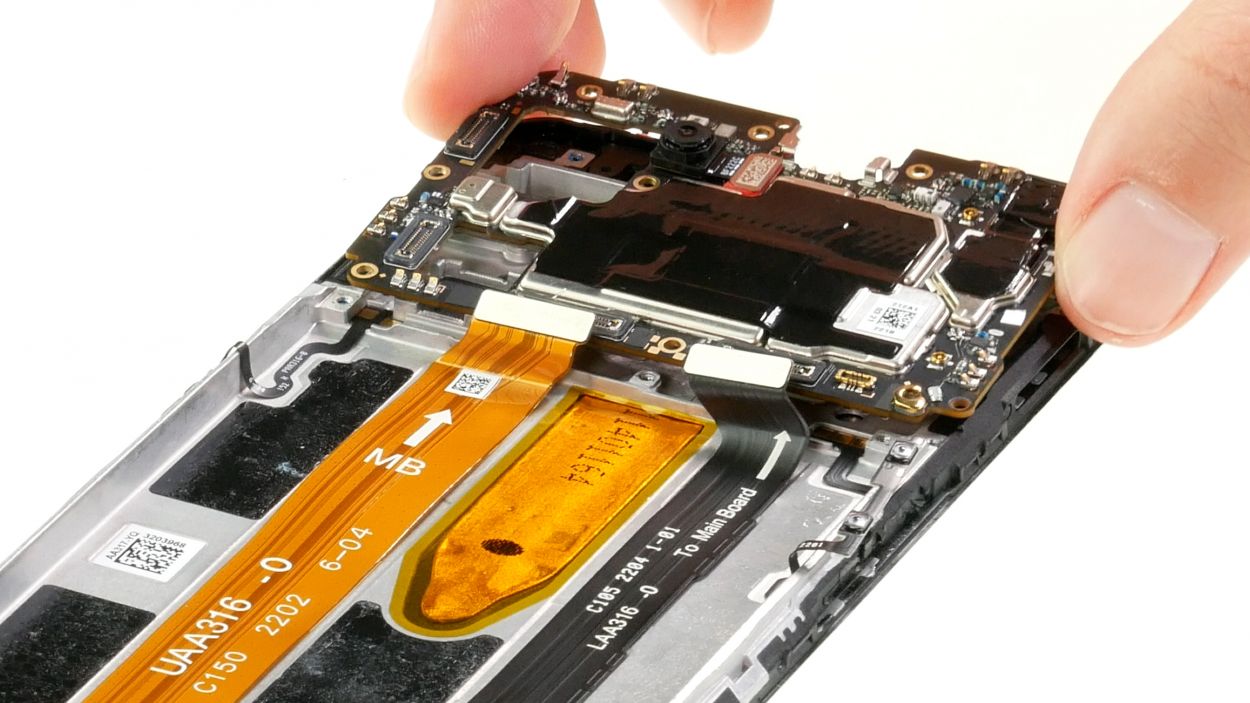
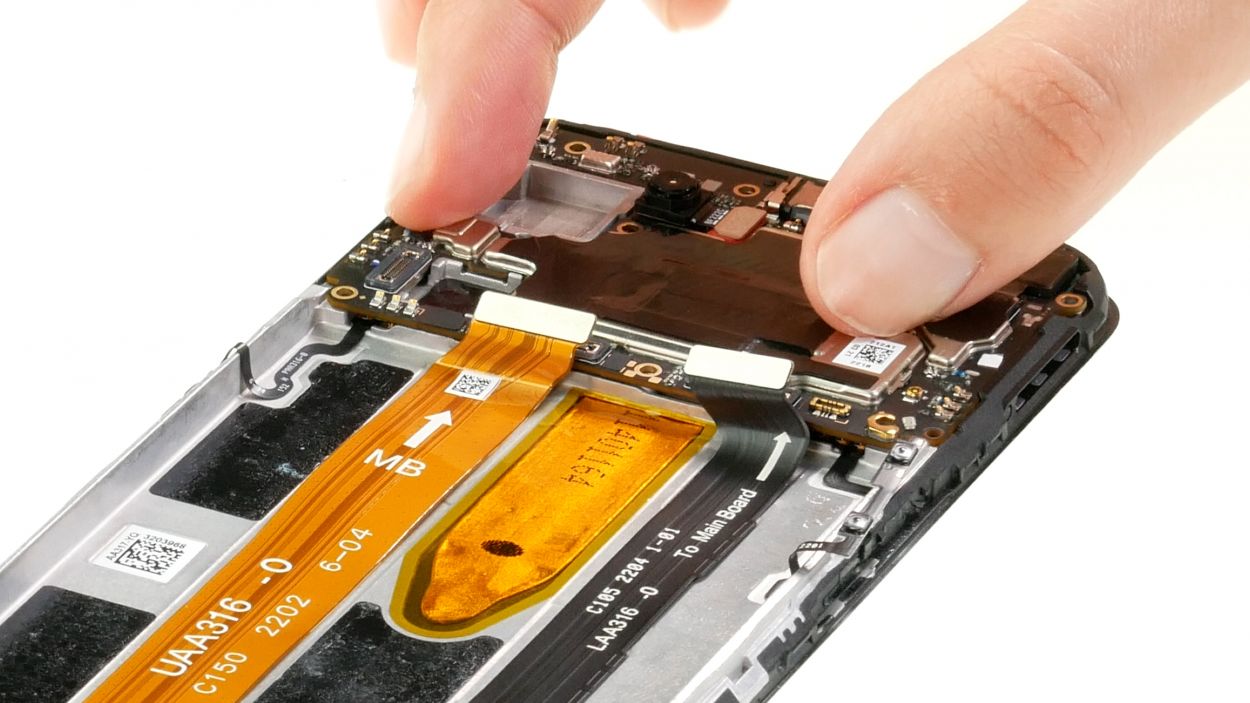
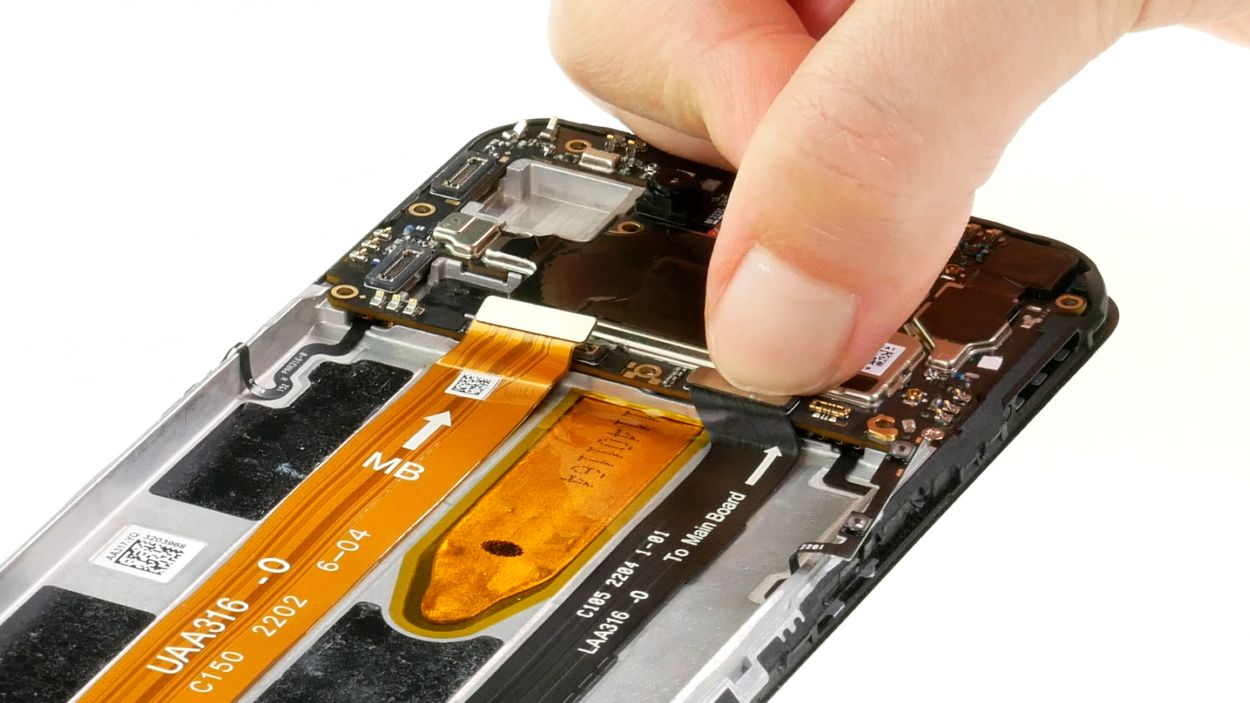
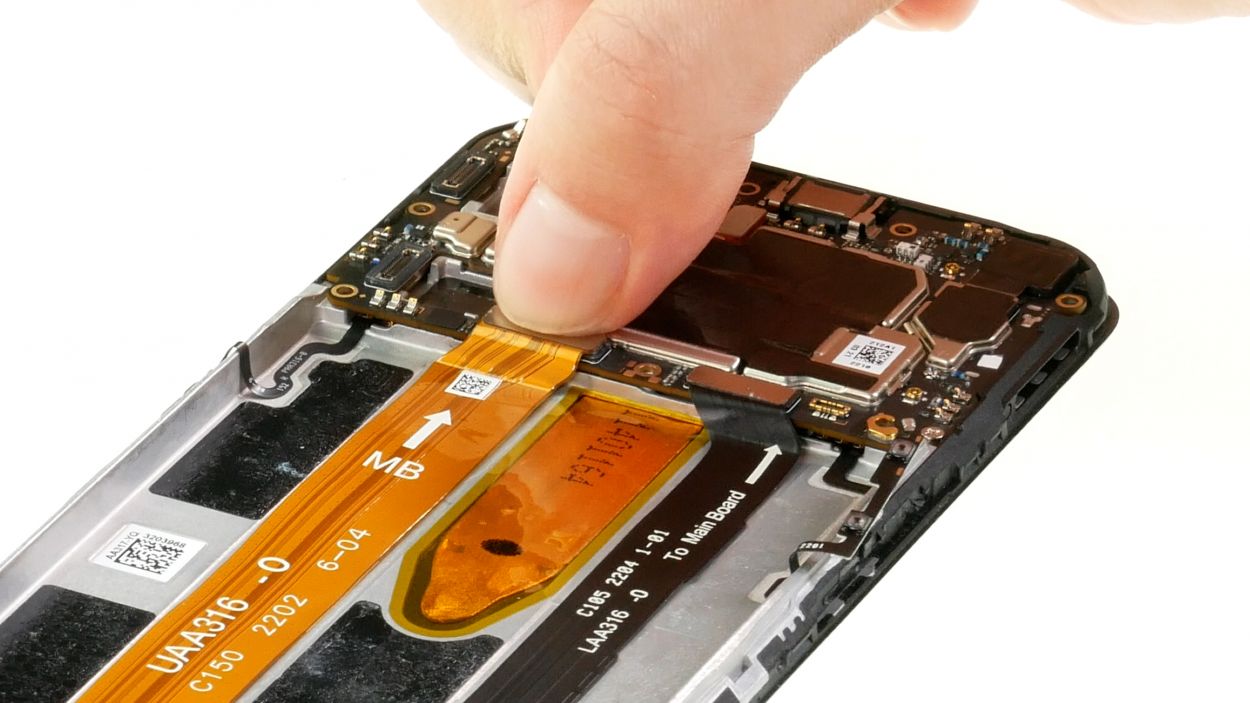
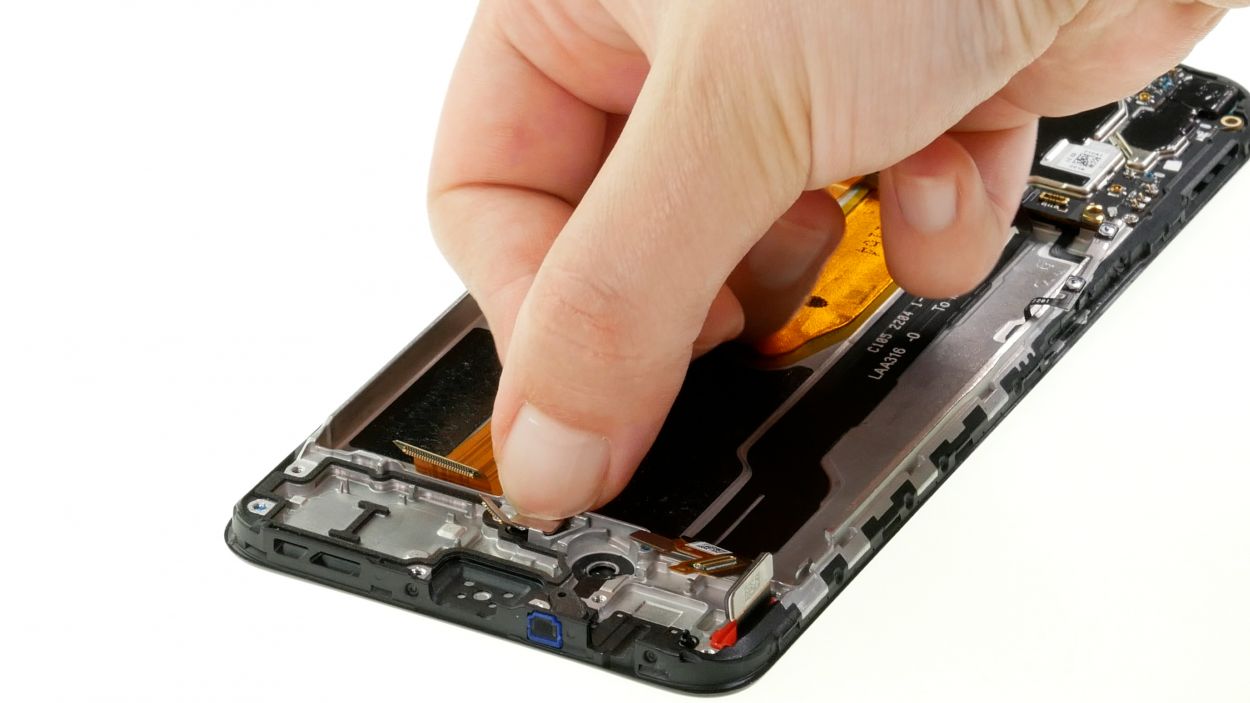
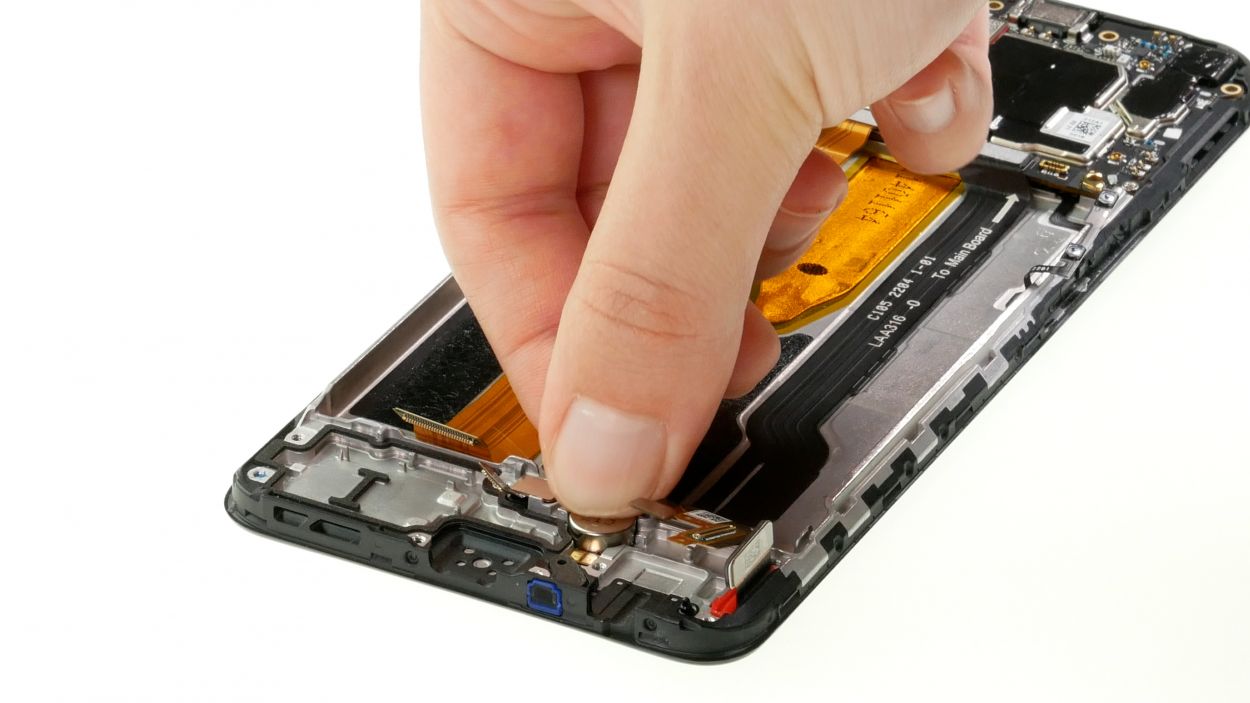
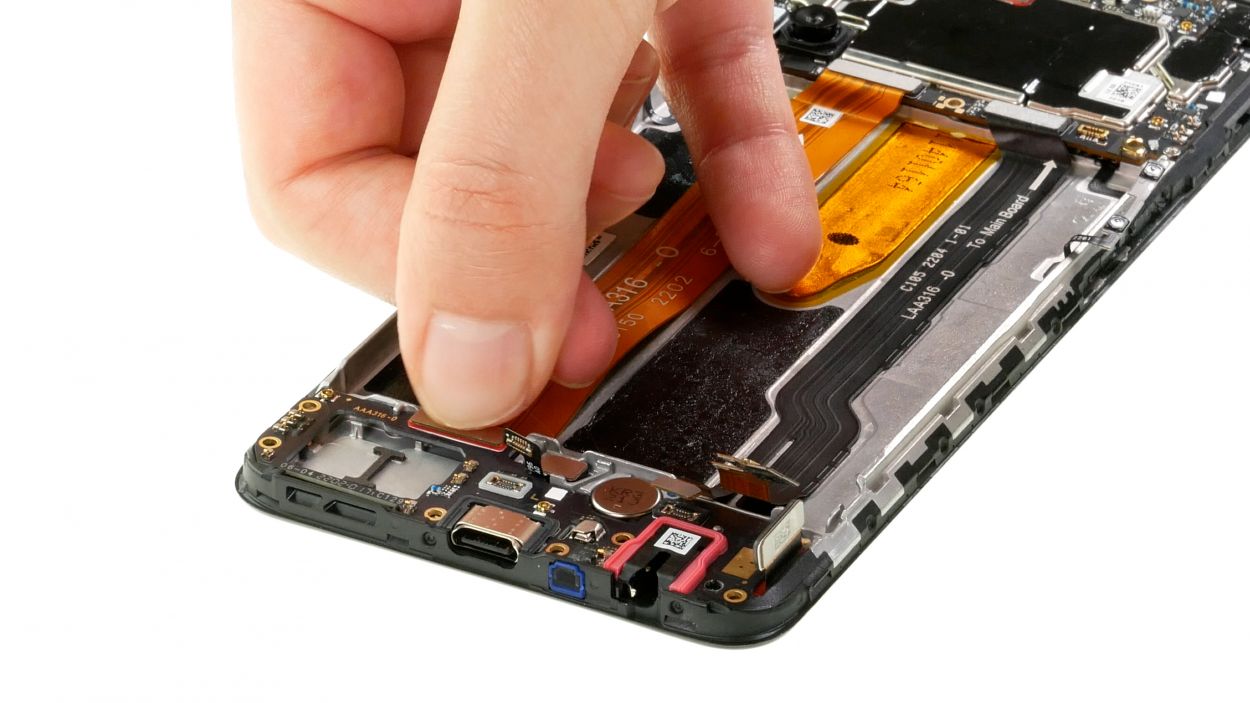
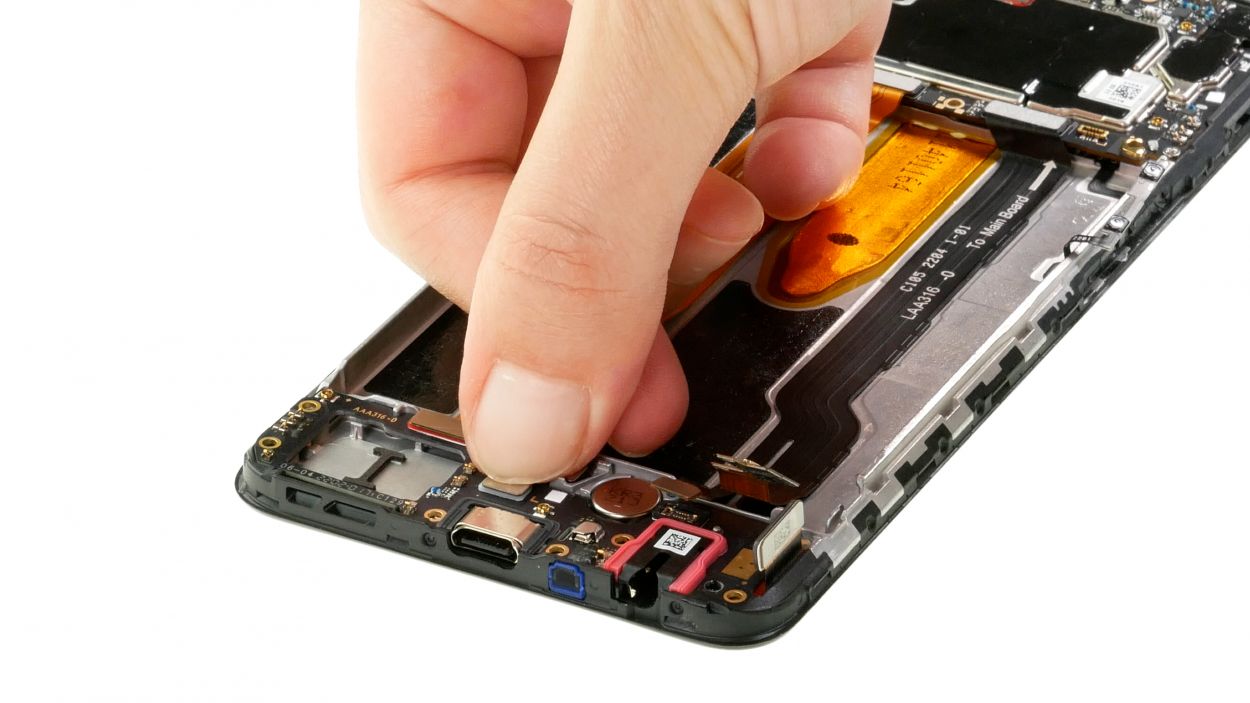
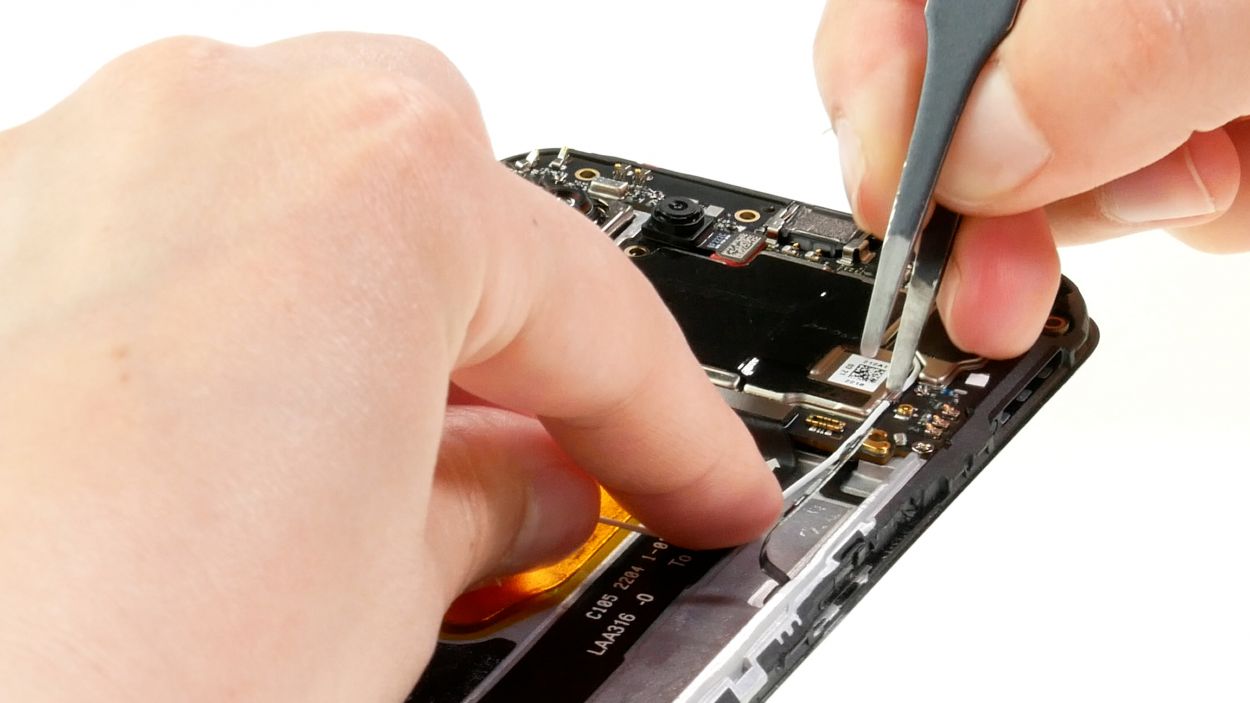
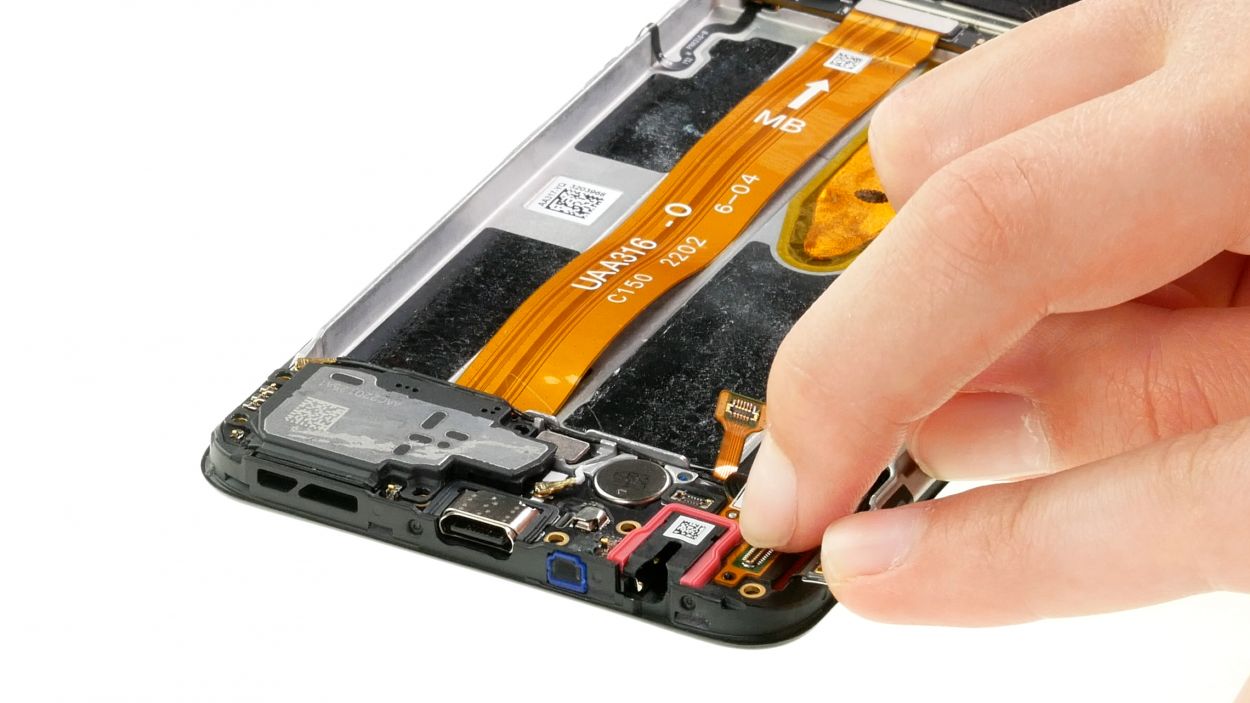
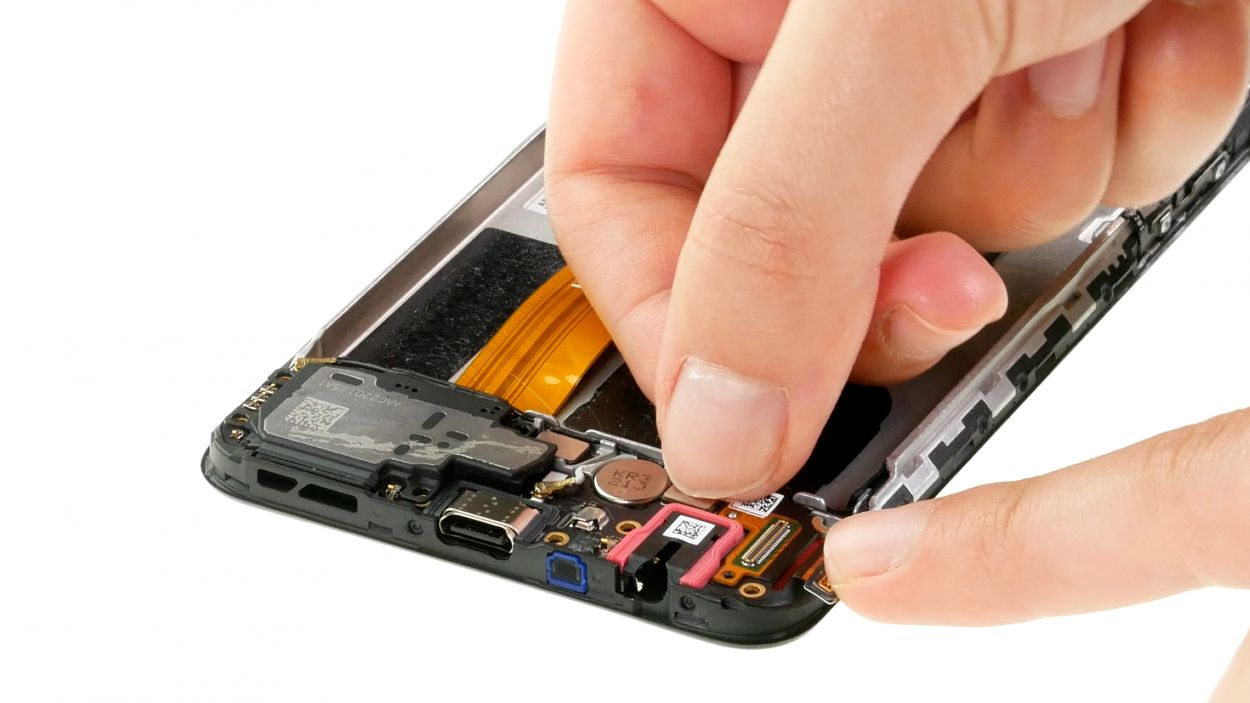
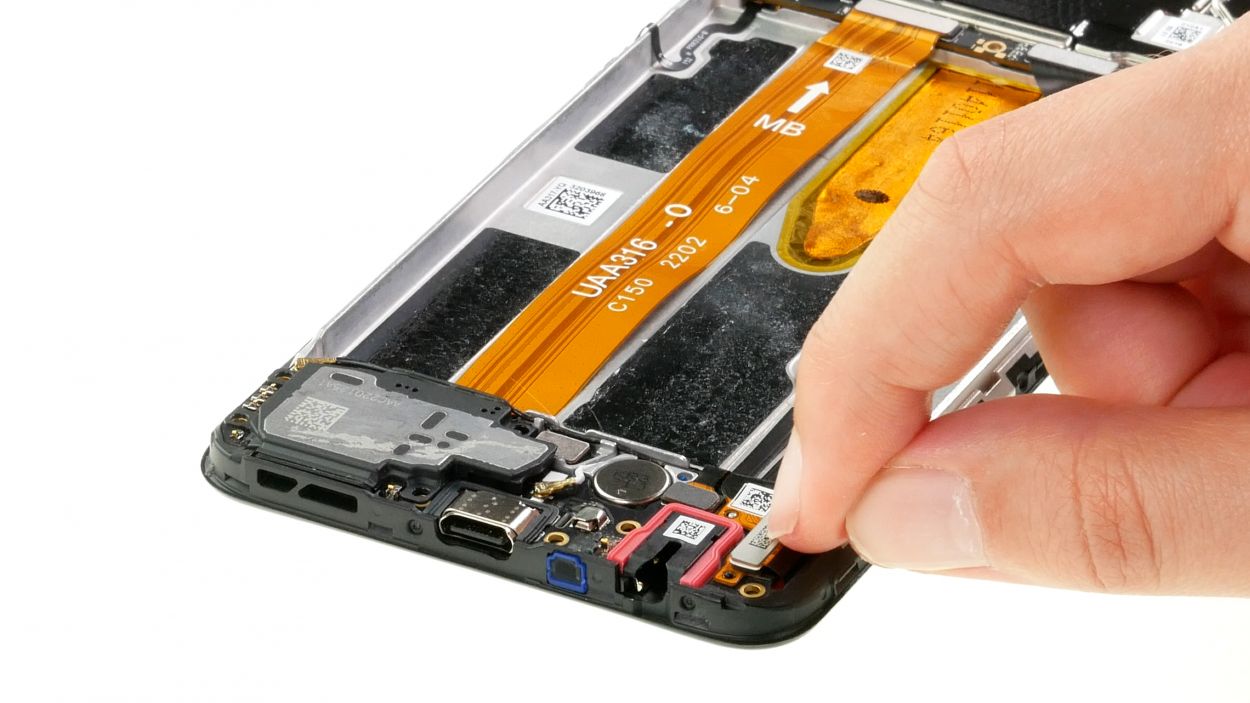
– Time to get started! Begin by carefully prying the cable’s connector away from the USB board.
– Next, gently loosen the slot – tweezers are your best friend for this part. If you need help, you can always schedule a repair
Hey there! To keep your device safe and sound, especially the motherboard, make sure to grab those ESD-certified tweezers. They’re your best buddies in this repair adventure!
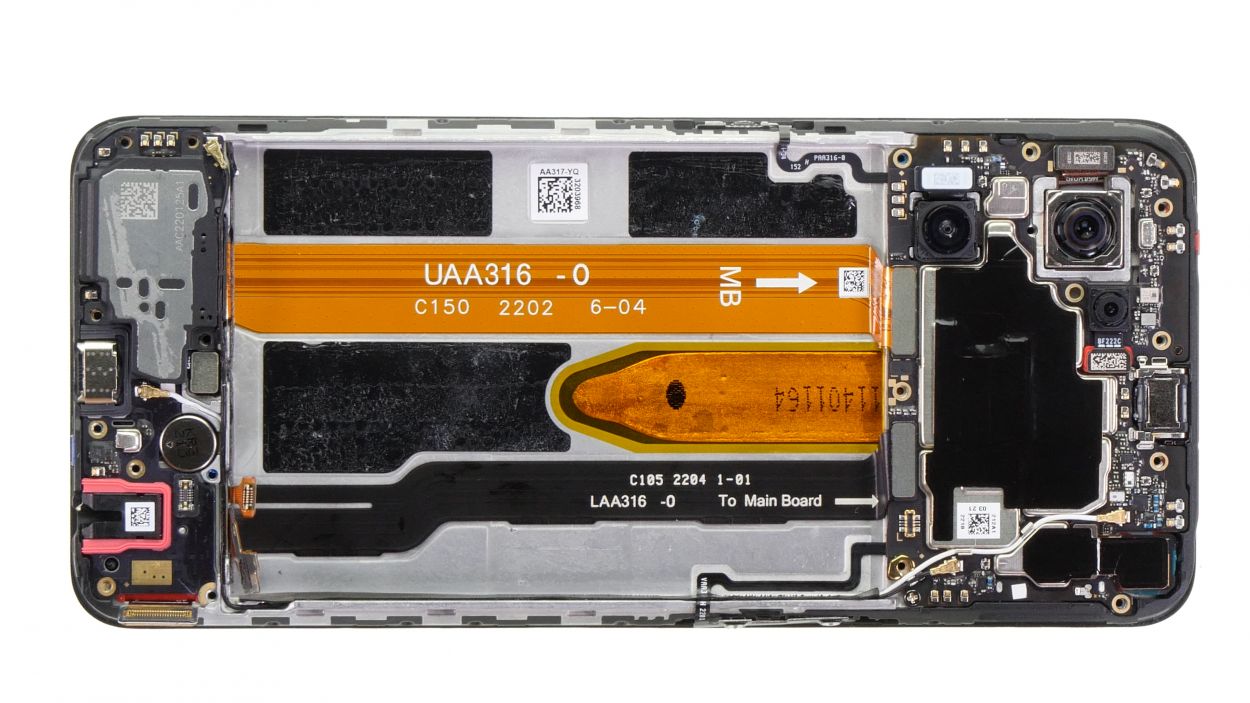
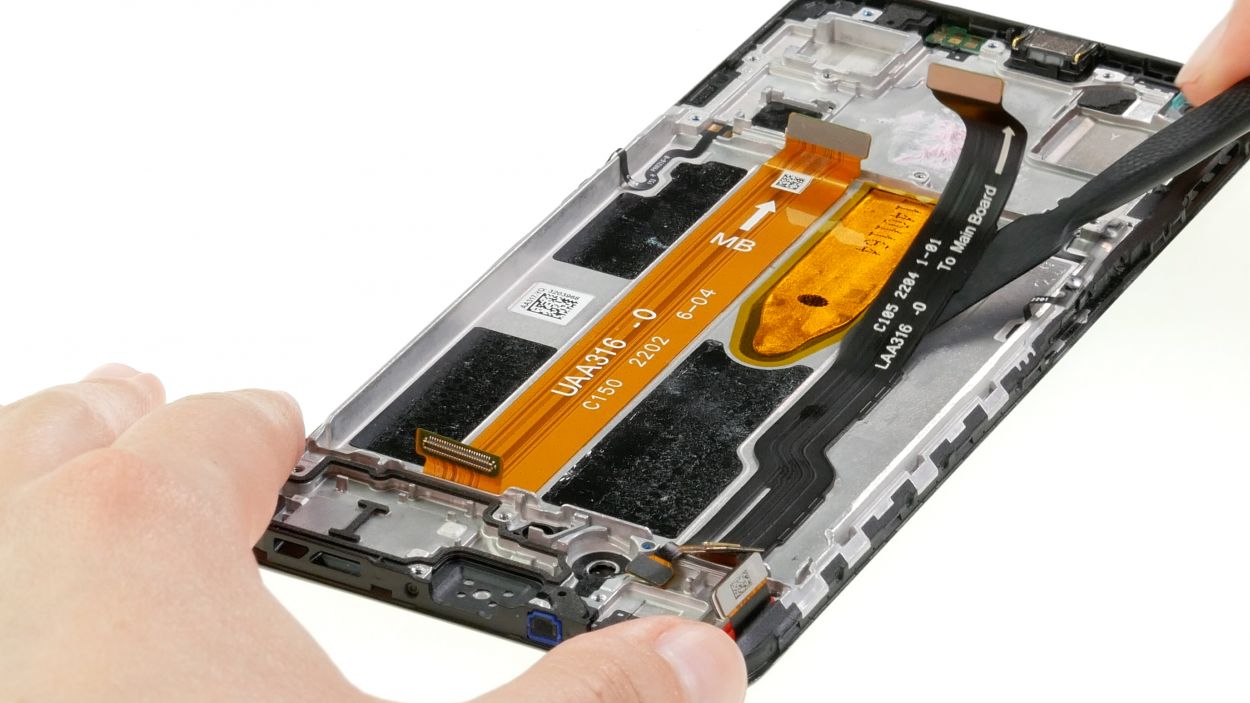
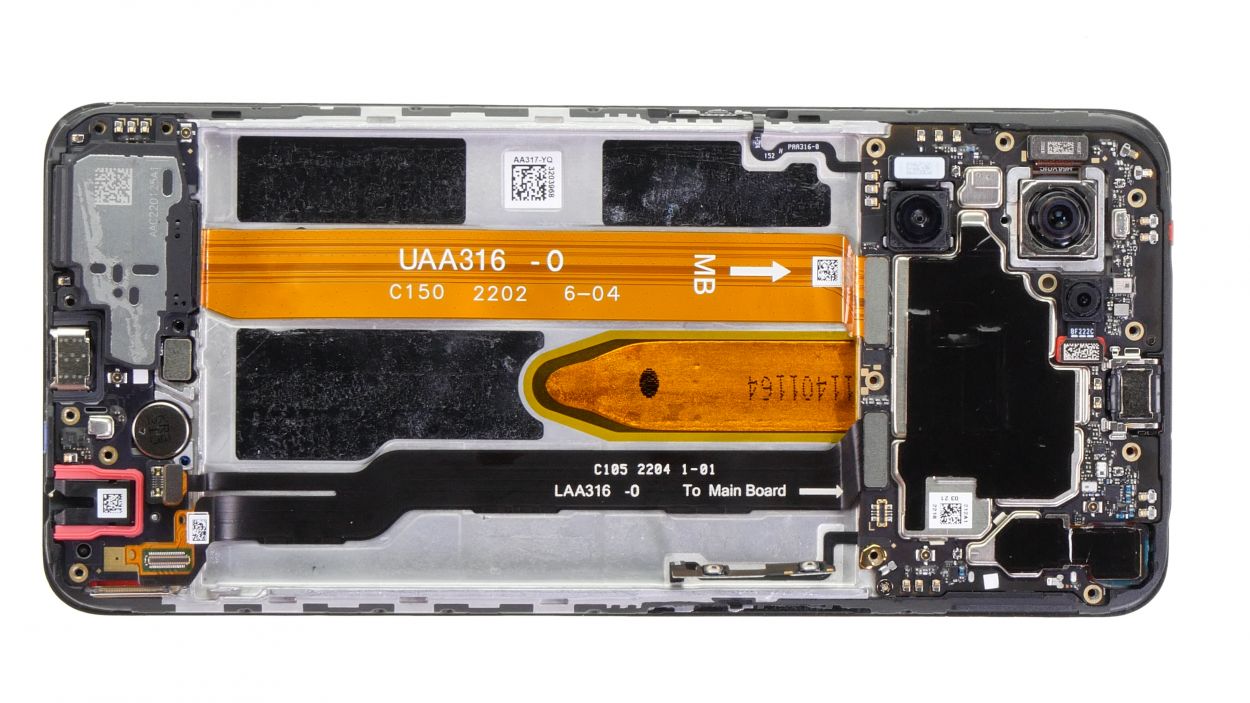
Time to get up close and personal with that stuck USB and screen connector! Don’t worry, we’ve got this! The connecting cable is split into two parts: the USB end and the connector that meets the motherboard. And, yes, that slot on the screen side is a bit stubbornly stuck, but don’t worry, it’ll come loose with a gentle tug. If you’re feeling unsure or stuck (no pun intended!), you can always schedule a repair. We’ll take care of the rest!
Tools Used
- heat gun to heat parts that are glued on so they’re easier to remove.
In most cases, you can also use a hairdryer.” rel=”noopener”>Heat gun - Pry Tool
- Piergiacomi Tweezers 2a SA ESD
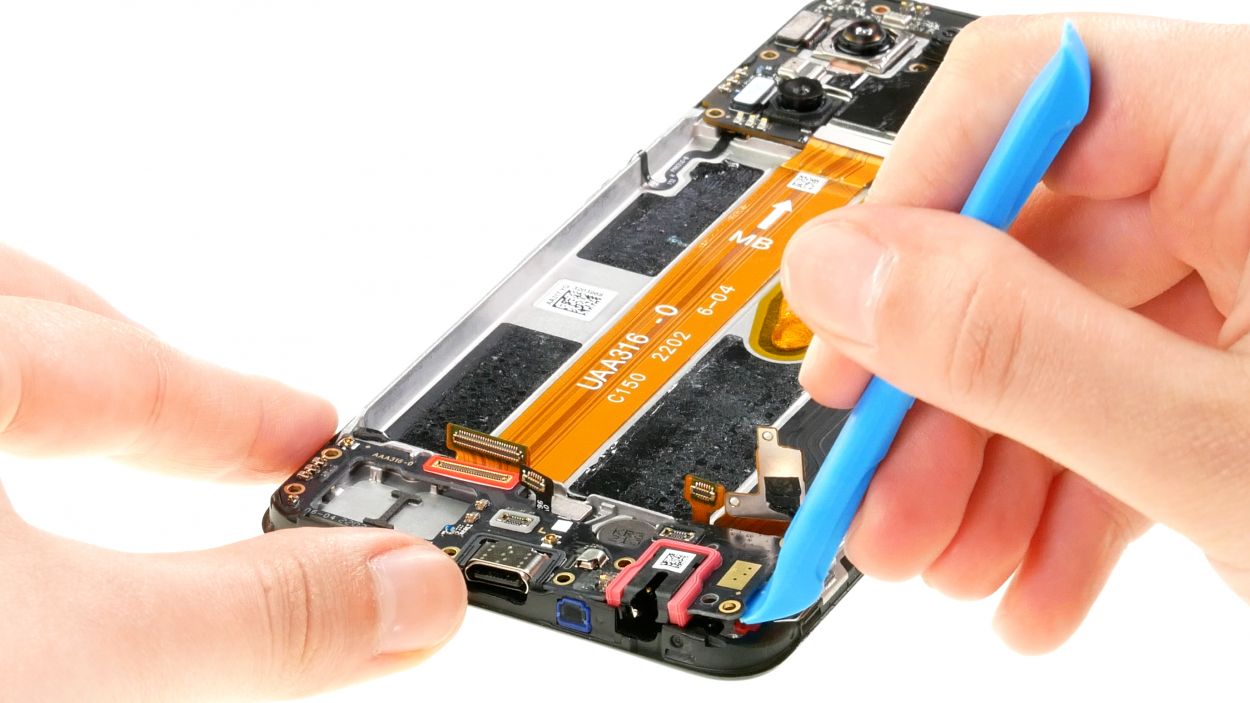
Step 13
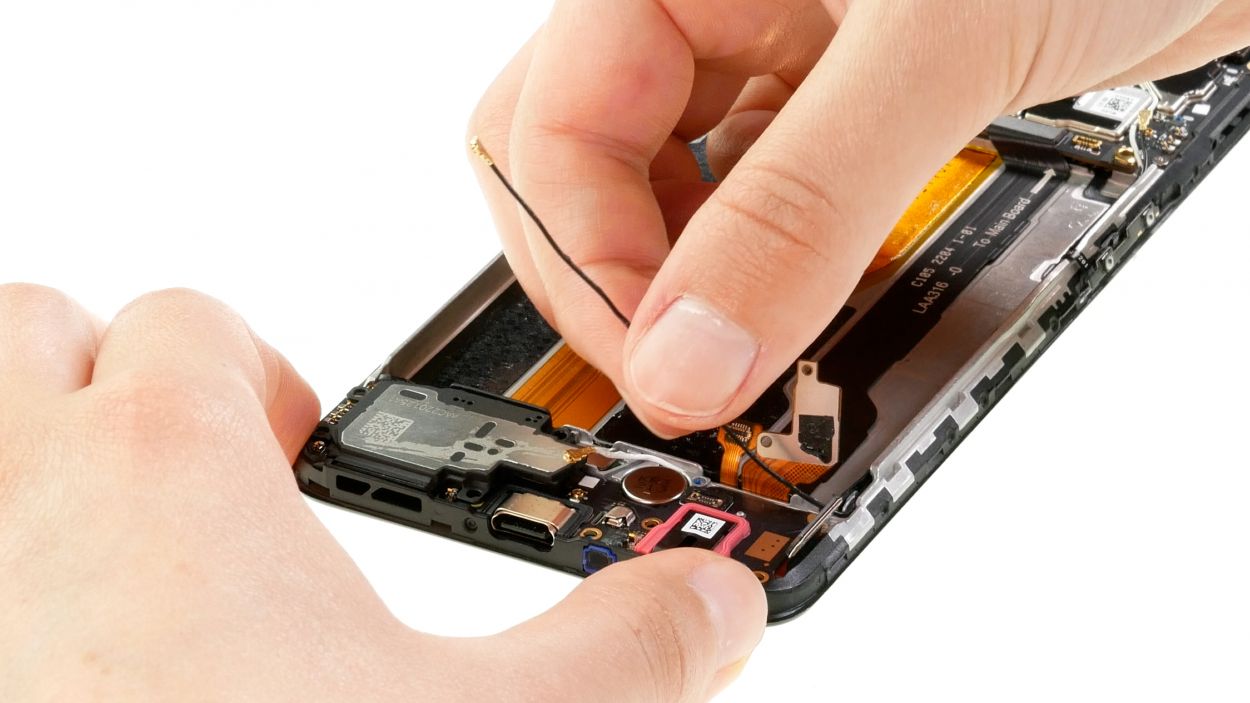
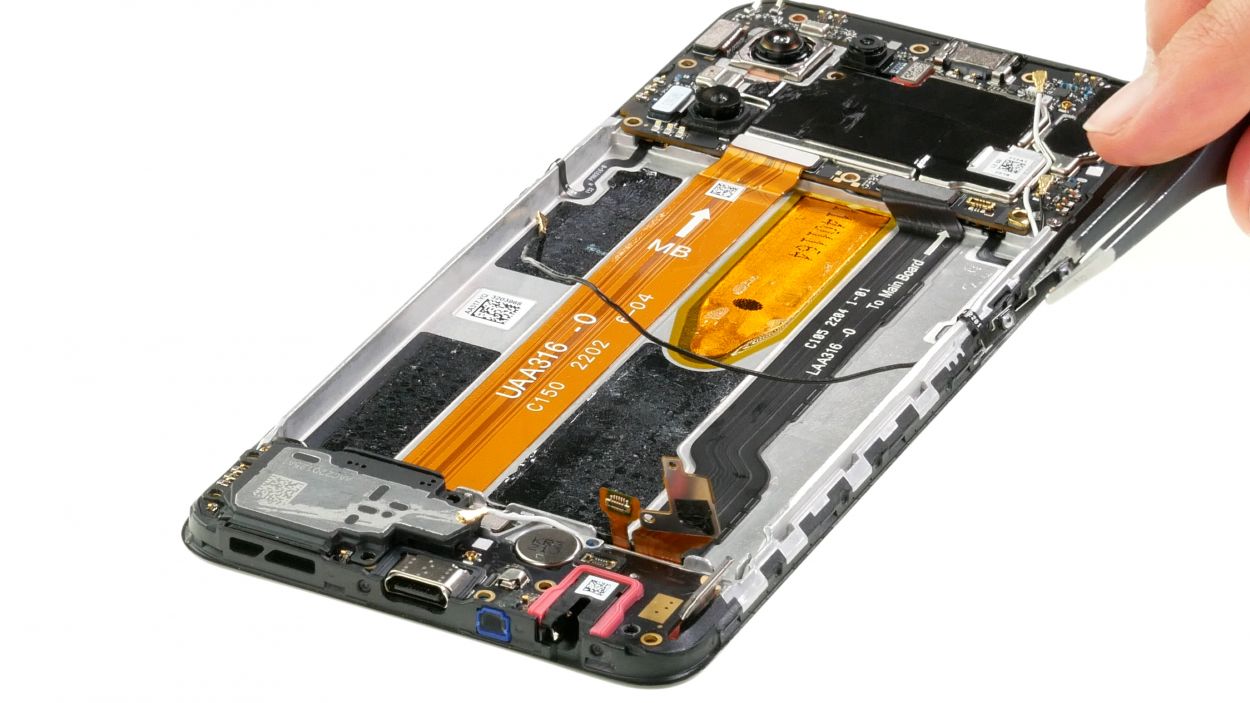
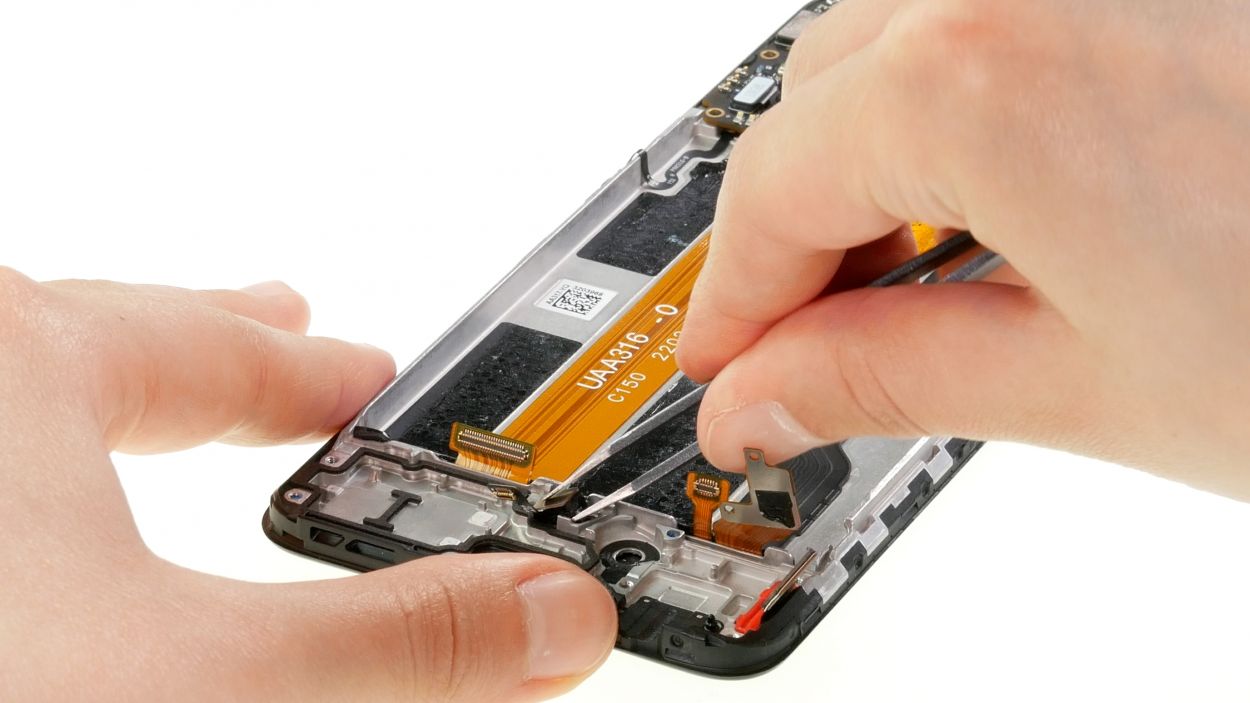
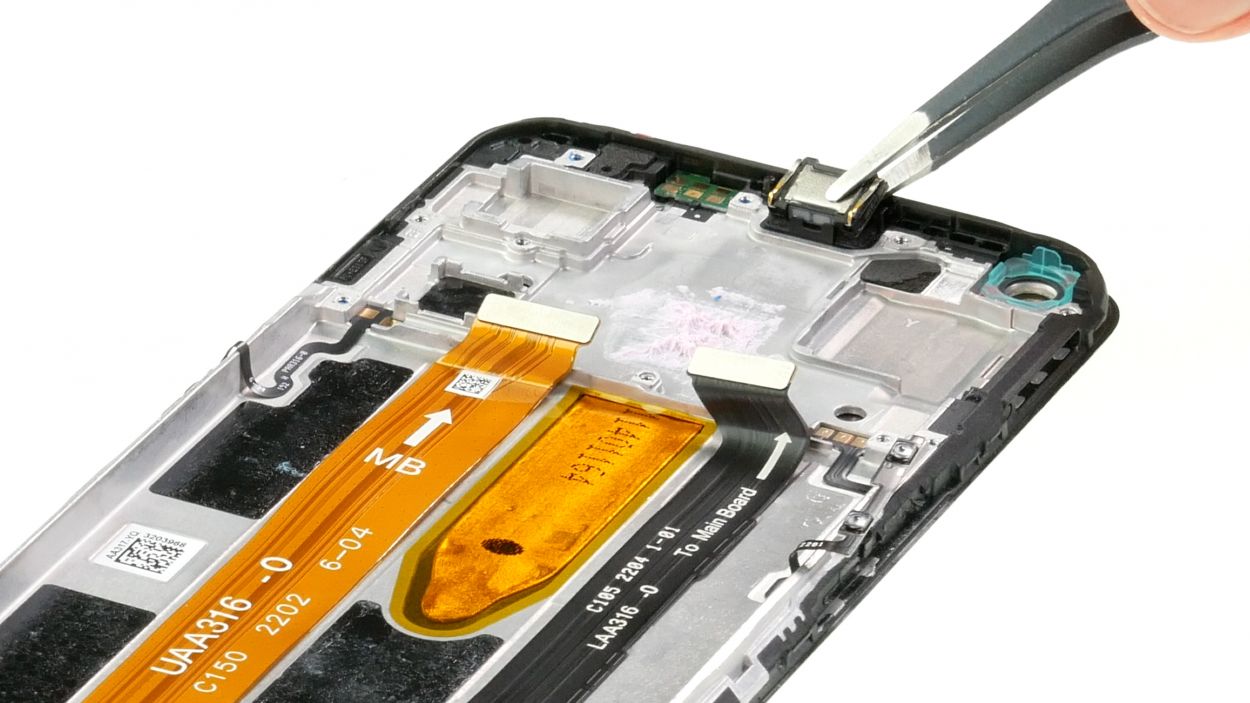
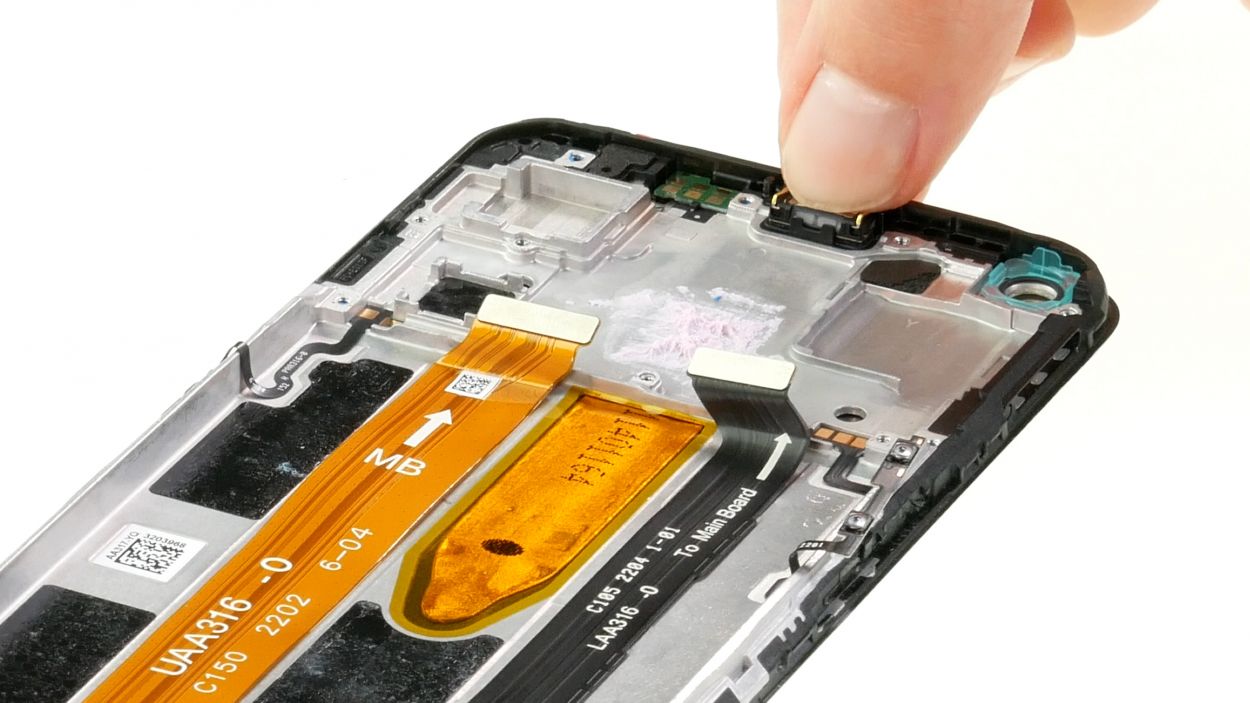
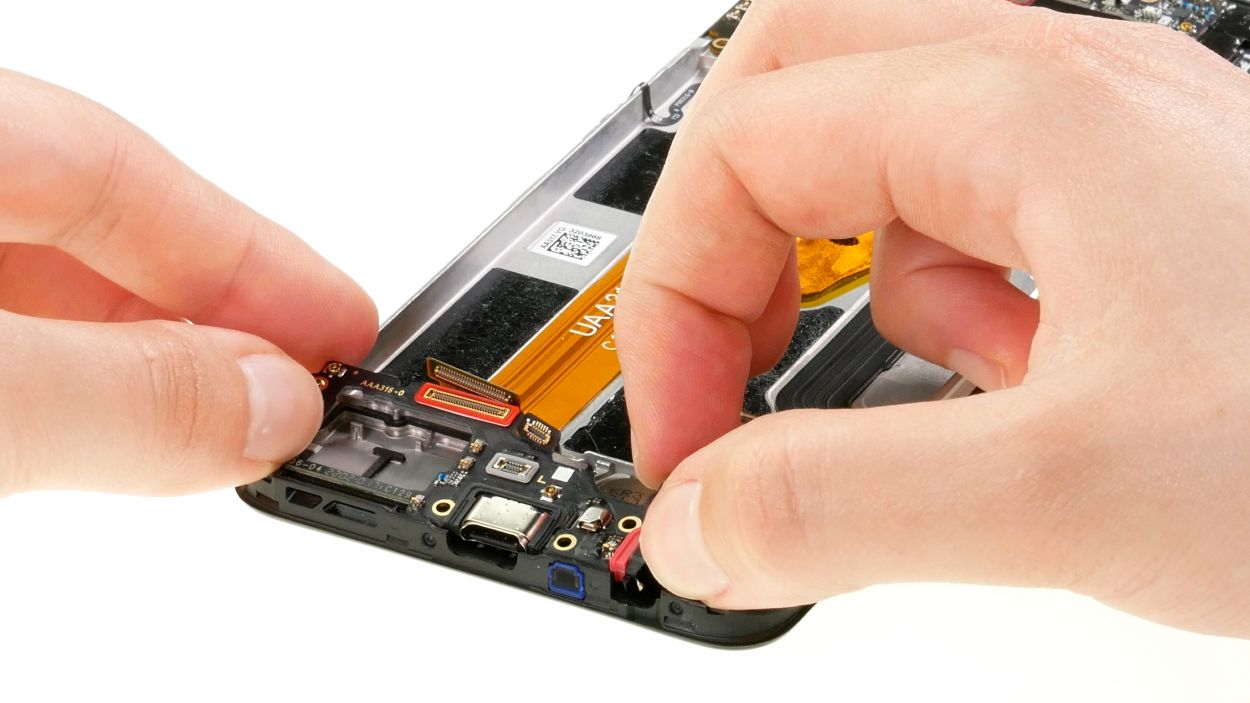
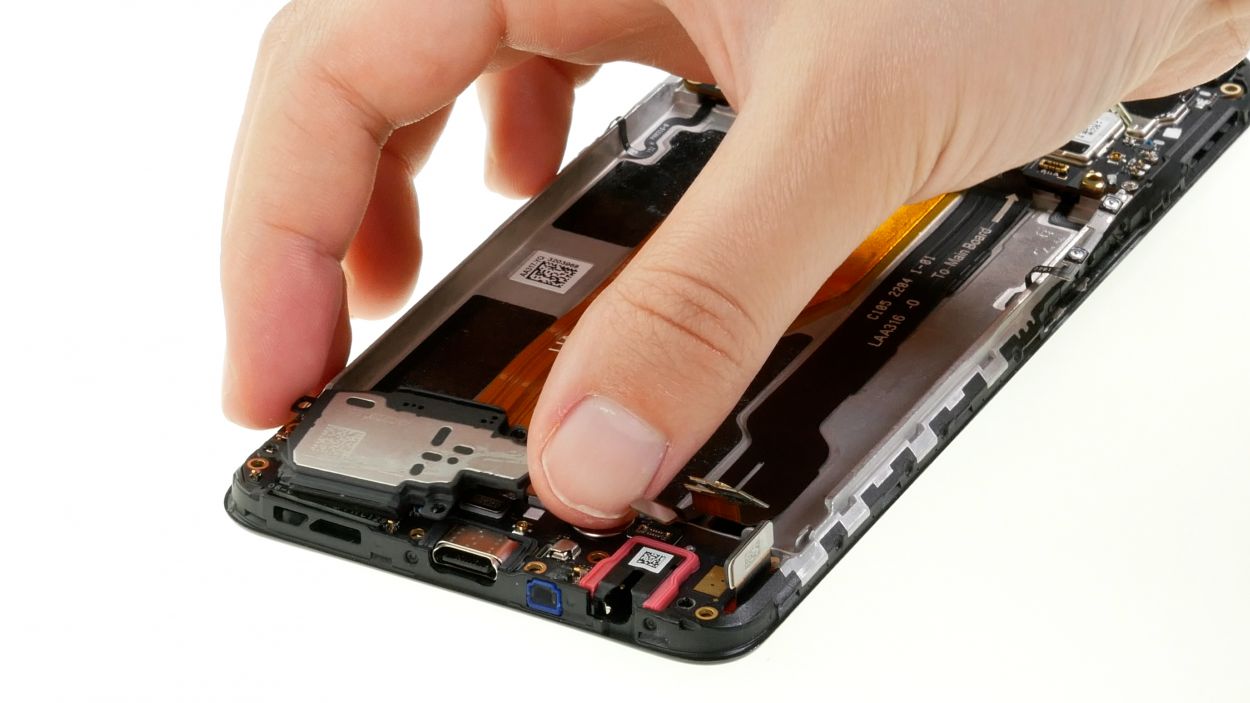
Each of the two antenna cables is secured with a couple of tiny metal plugs. For a smooth disconnection, we suggest grabbing some ESD tweezers. If you need help, you can always schedule a repair!
– Gently pop off those four metal plugs from the antenna cables, freeing them from the USB and motherboard like a pro!
– Begin by easing the cables out of their snug little guides along the edge of the case.
Tools Used
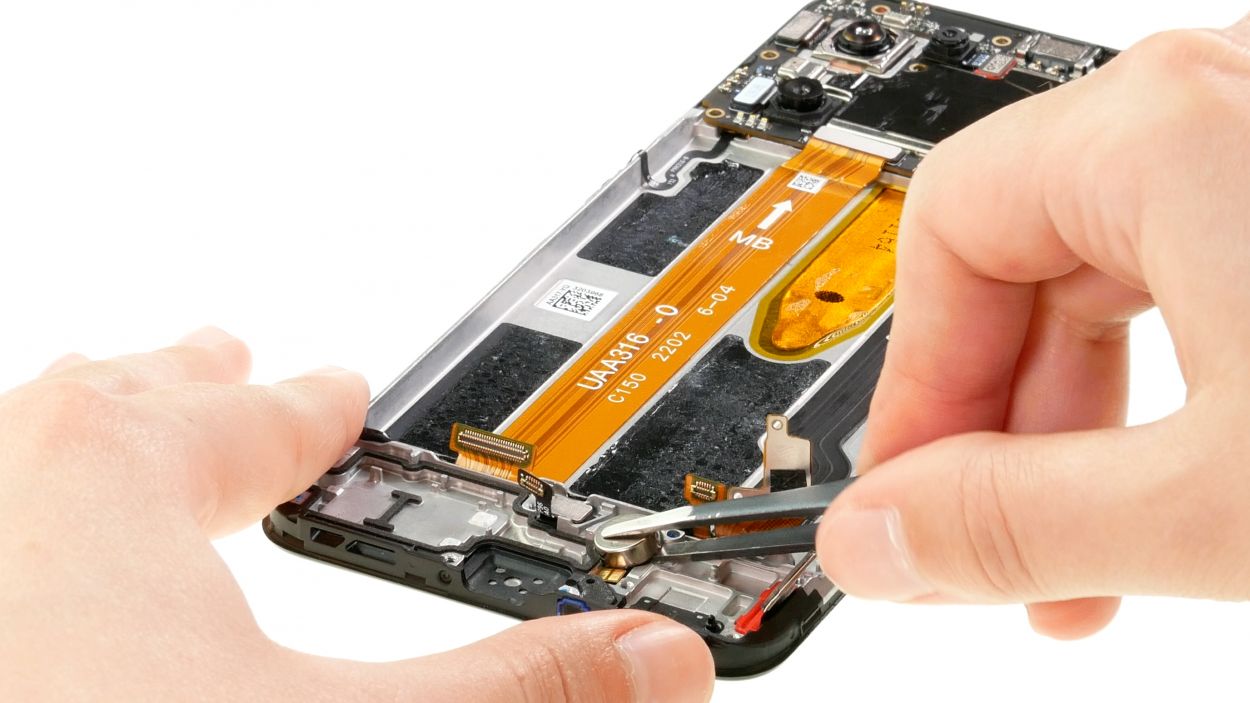
Step 14

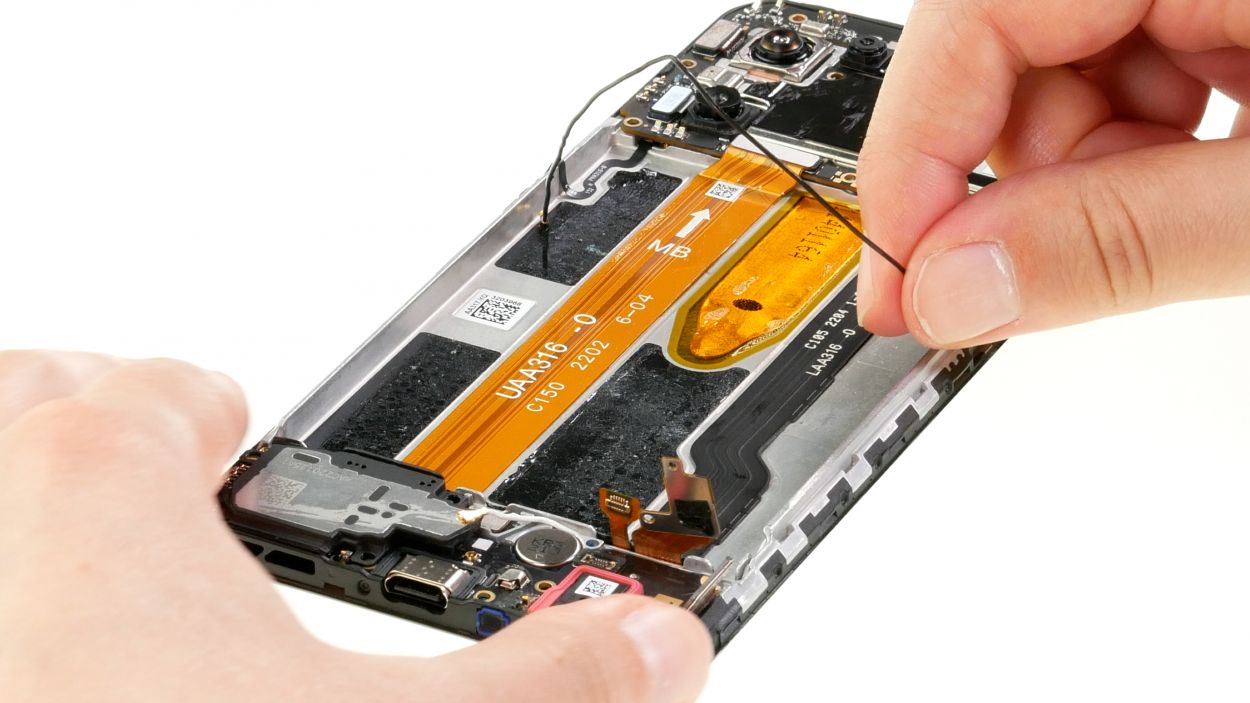
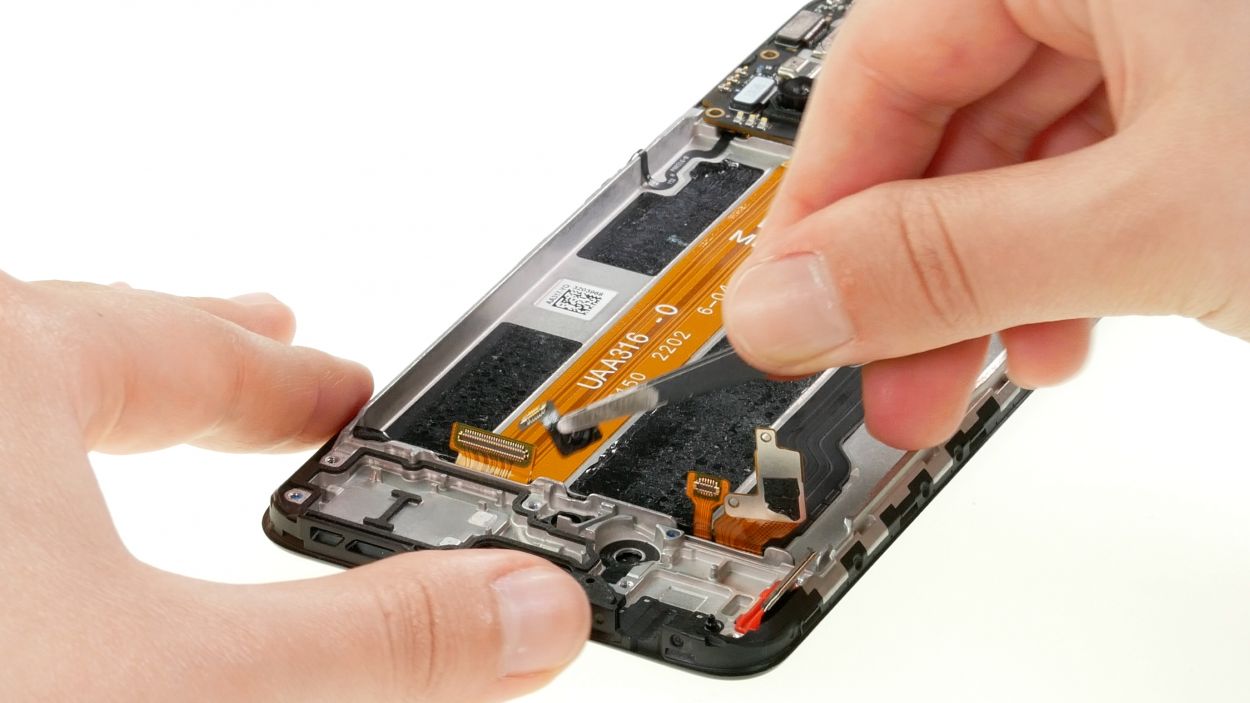
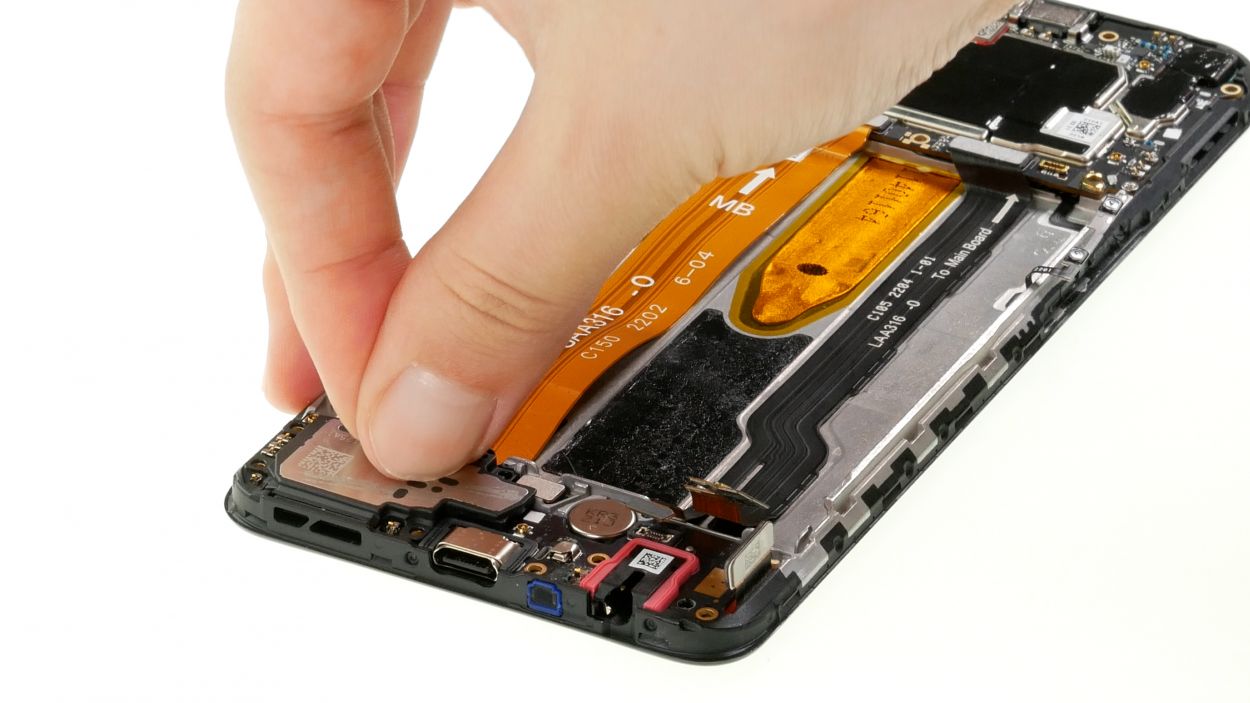
Alright, here’s the scoop: those two antenna cables are hanging out right under the volume cable. To set them free, you’ll need to disconnect the volume cable first. Easy peasy! If you need help, you can always schedule a repair.
– To kick things off, let’s peel away that pesky adhesive strip holding the volume cable in its cozy spot.
– Next up, give the glued volume cable a little warmth to make its exit smoother and easier.
– Now, gently coax it away from the edge of the case using your trusty pair of tweezers.
Tools Used
- heat gun to heat parts that are glued on so they’re easier to remove.
In most cases, you can also use a hairdryer.” rel=”noopener”>Heat gun - Piergiacomi Tweezers 2a SA ESD
Step 15
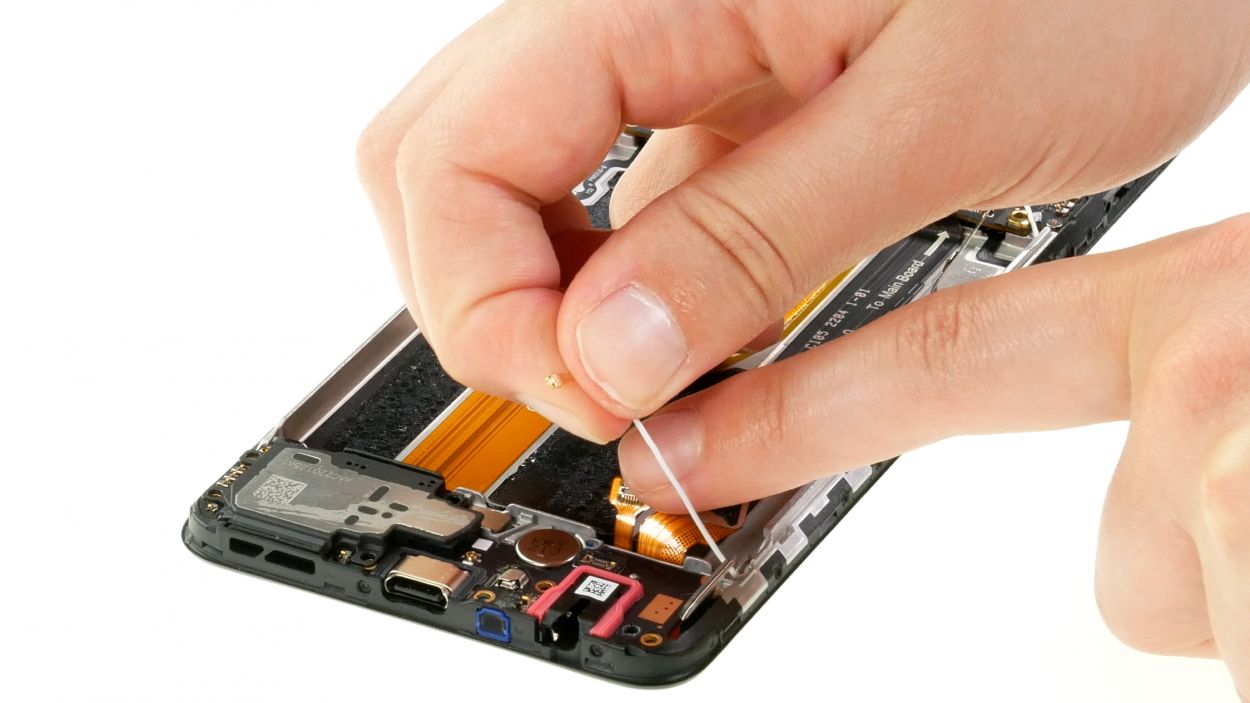
– Pull both antenna cables out of their guide one by one and put them aside.
Tools Used
Step 16
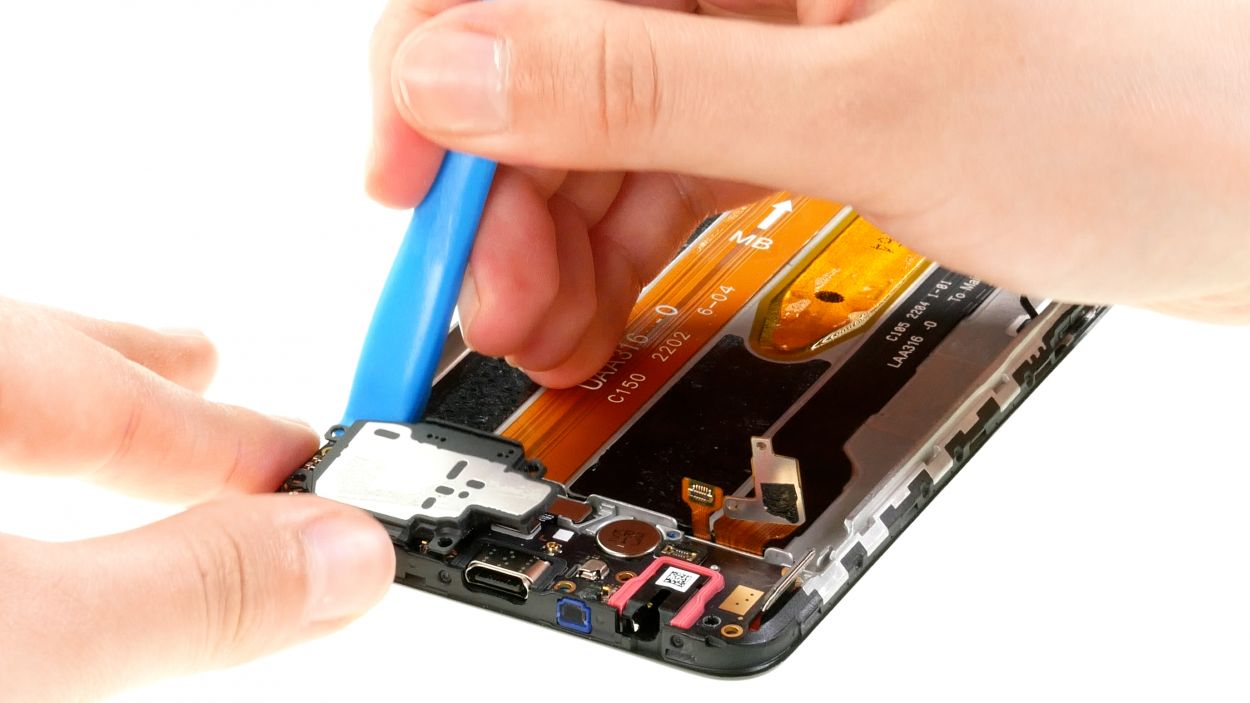
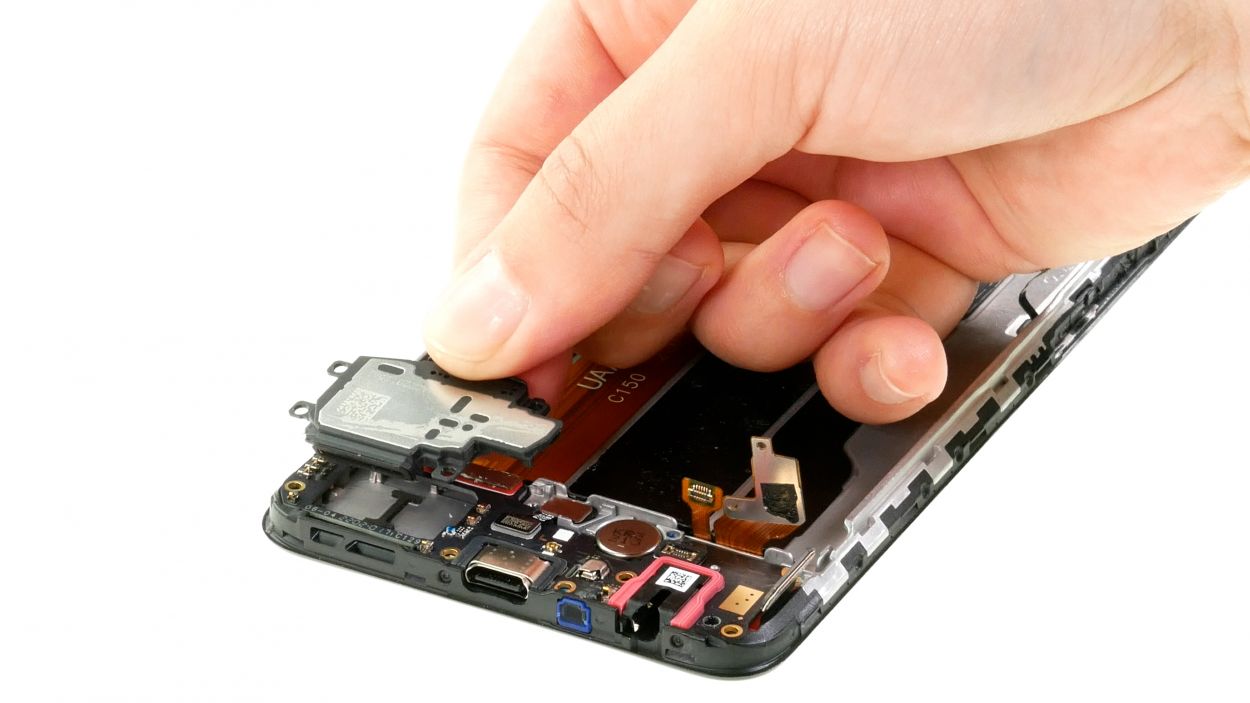
– The speaker should come right out since it’s not screwed or glued down. A little spudger tool can help with the first lift if needed.
– If you need help, you can always schedule a repair
Tools Used
Step 17
– First up, gently disconnect the fingerprint sensor and the orange cable from the USB board. You’ve got this!
– Next, carefully pry the board out and set it aside like a pro.
Tools Used
Step 18
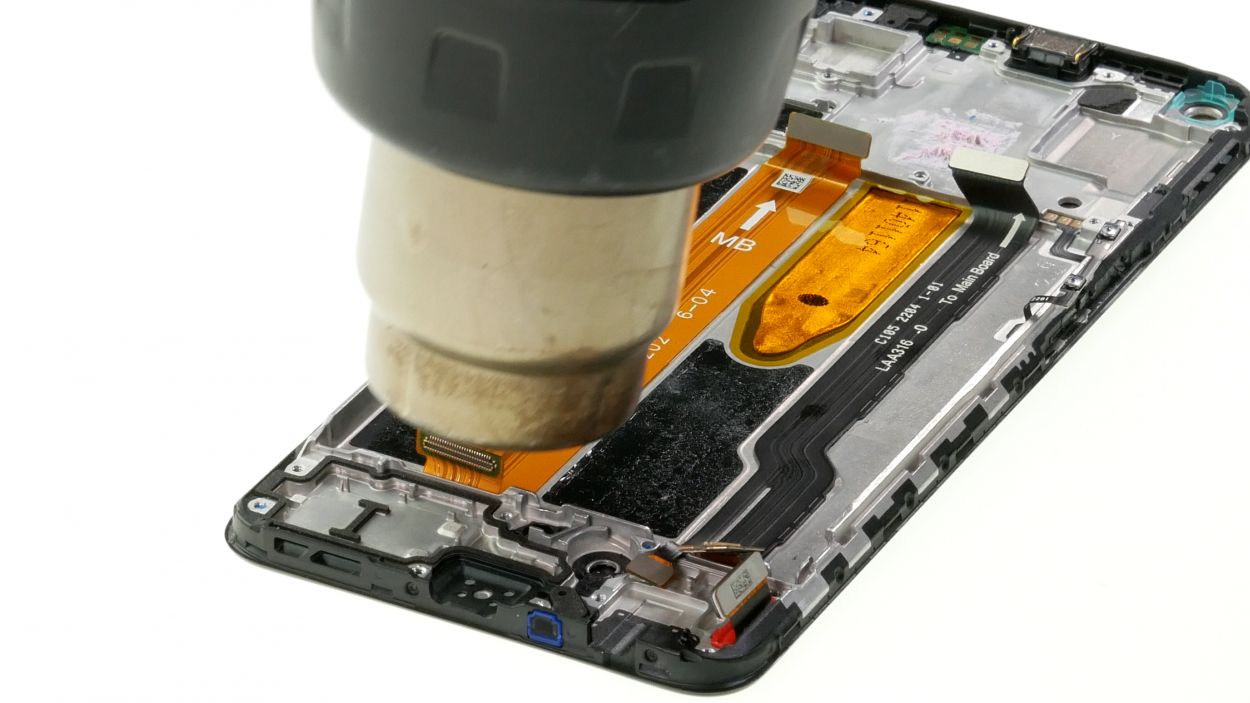
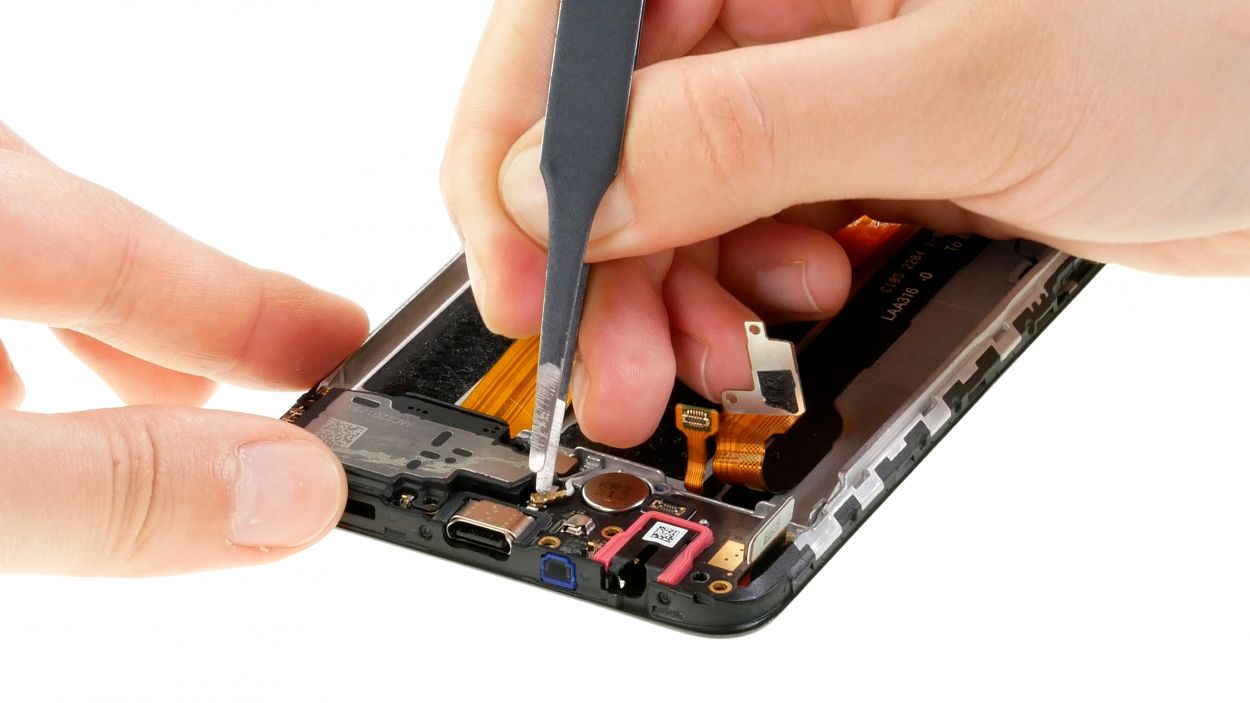
The vibration motor is a little stuck together. To loosen it up, give it a little kissy heat with a hair dryer.
– Release the vibration motor from its guide by carefully running a pair of tweezers underneath it.
Tools Used
- heat gun to heat parts that are glued on so they’re easier to remove.
In most cases, you can also use a hairdryer.” rel=”noopener”>Heat gun - Piergiacomi Tweezers 2a SA ESD
Step 19
The fingerprint sensor is a bit stuck, but no worries! A little blast of hot air will help loosen it up for an easy removal. Just a quick warm-up and you’re good to go!
– Gently pop that sensor out from its cozy little guide using some ESD tweezers. You’ve got this!
Tools Used
- heat gun to heat parts that are glued on so they’re easier to remove.
In most cases, you can also use a hairdryer.” rel=”noopener”>Heat gun - Piergiacomi Tweezers 2a SA ESD
Step 20

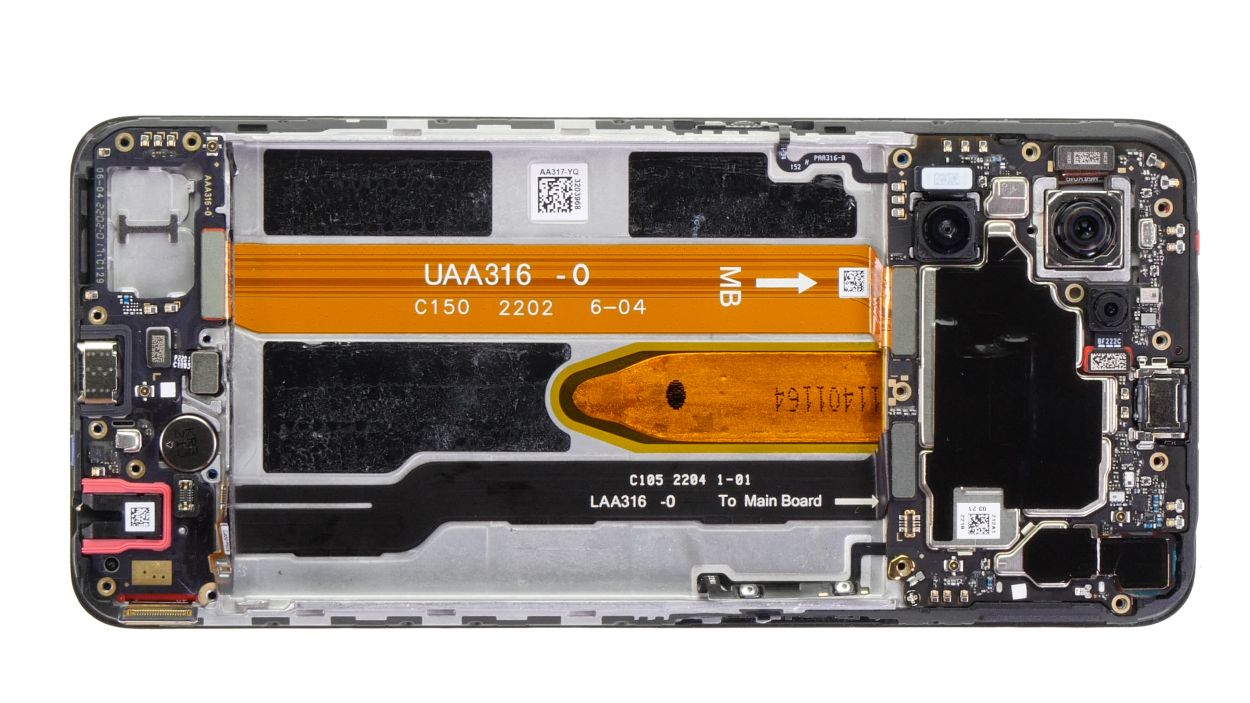
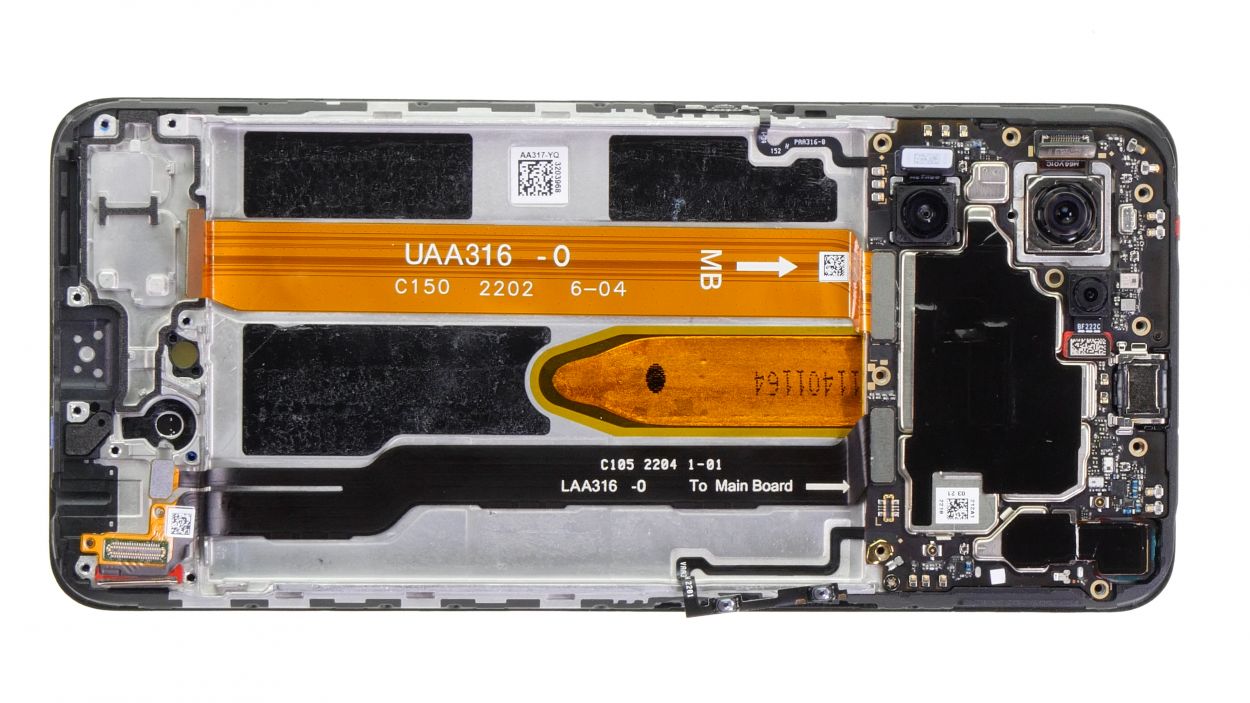
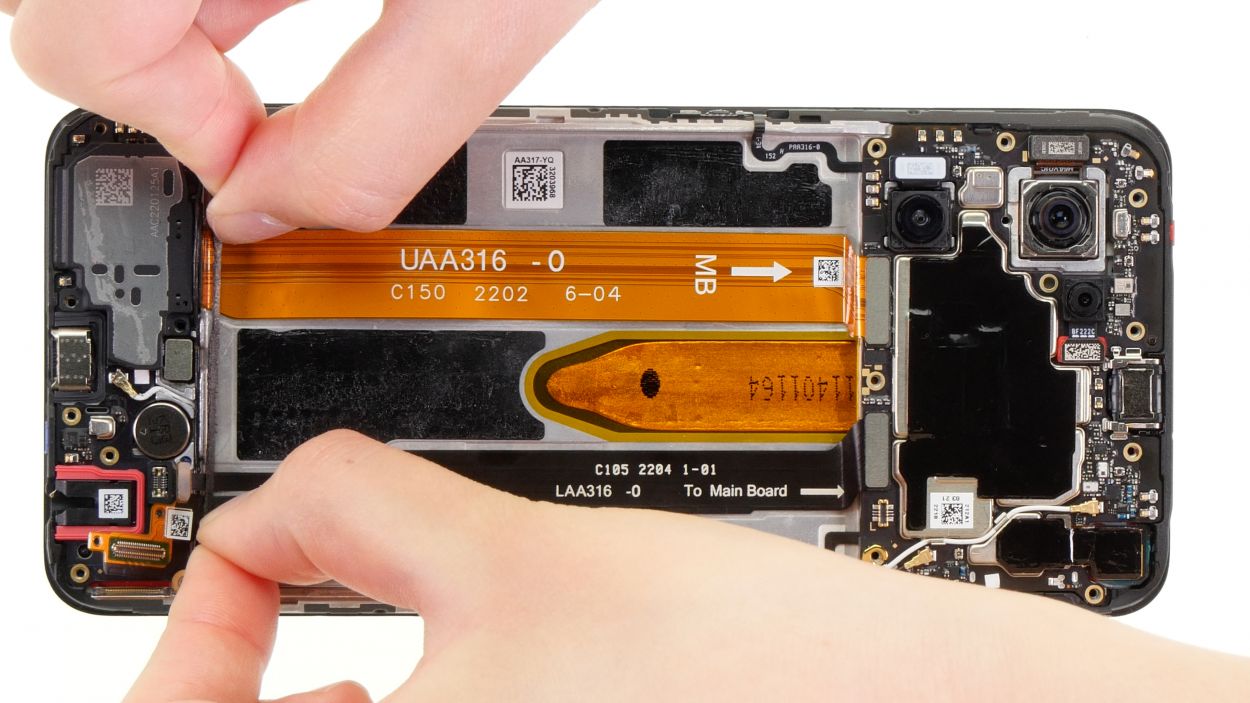
– Carefully separate the connectors of the two connecting cables and camera modules from the motherboard.
Tools Used
Step 21

1 × 2.7 mm
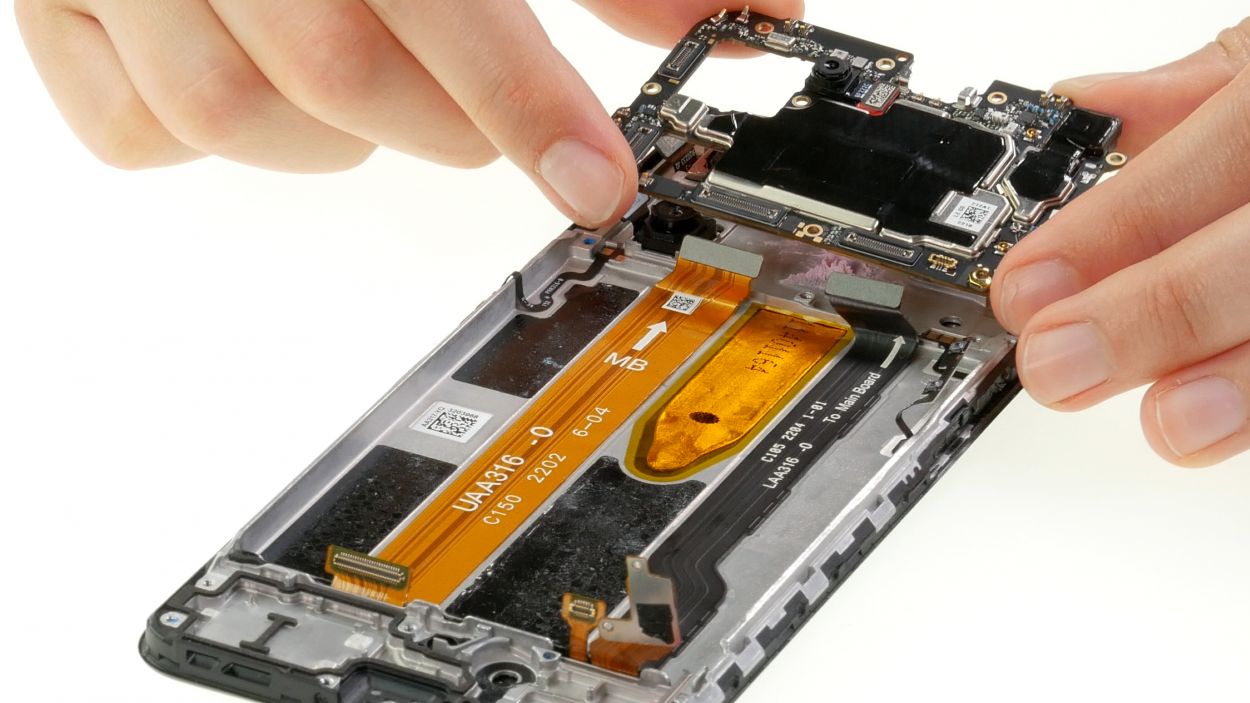
– Gently unscrew that lone Phillips screw keeping the motherboard snug as a bug.
– Once it’s free, lift it up and set it aside like a pro.
Step 22
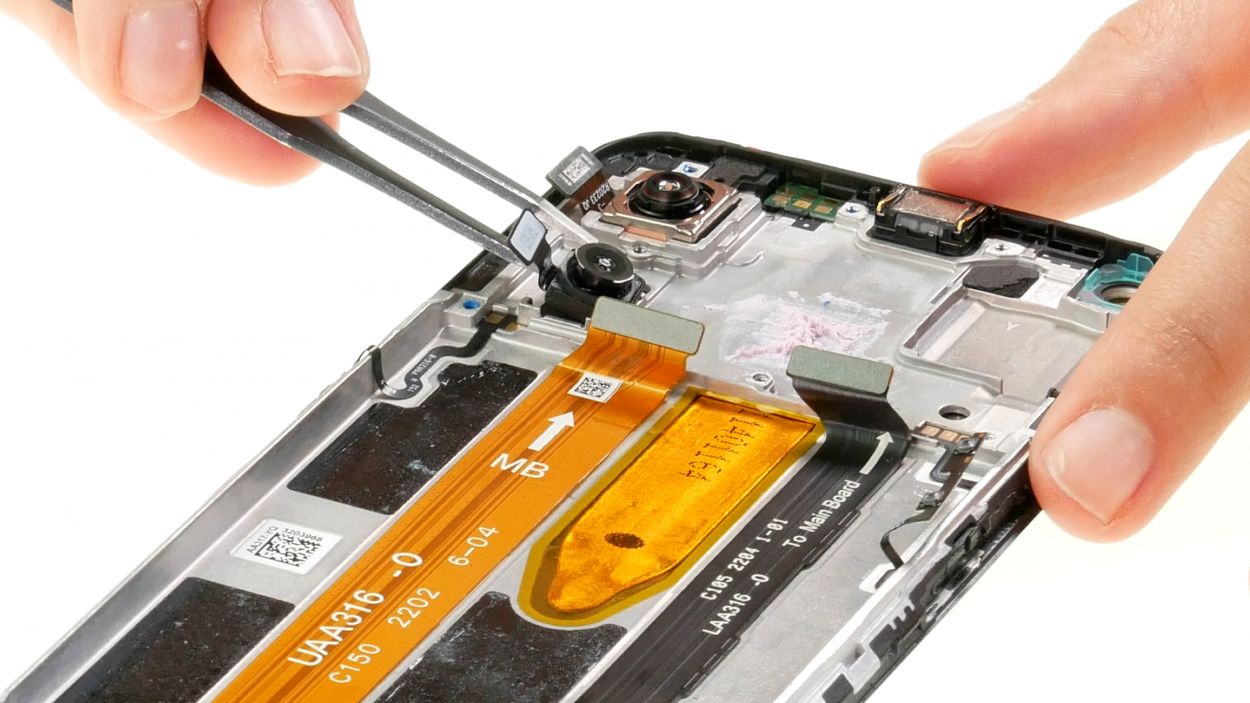

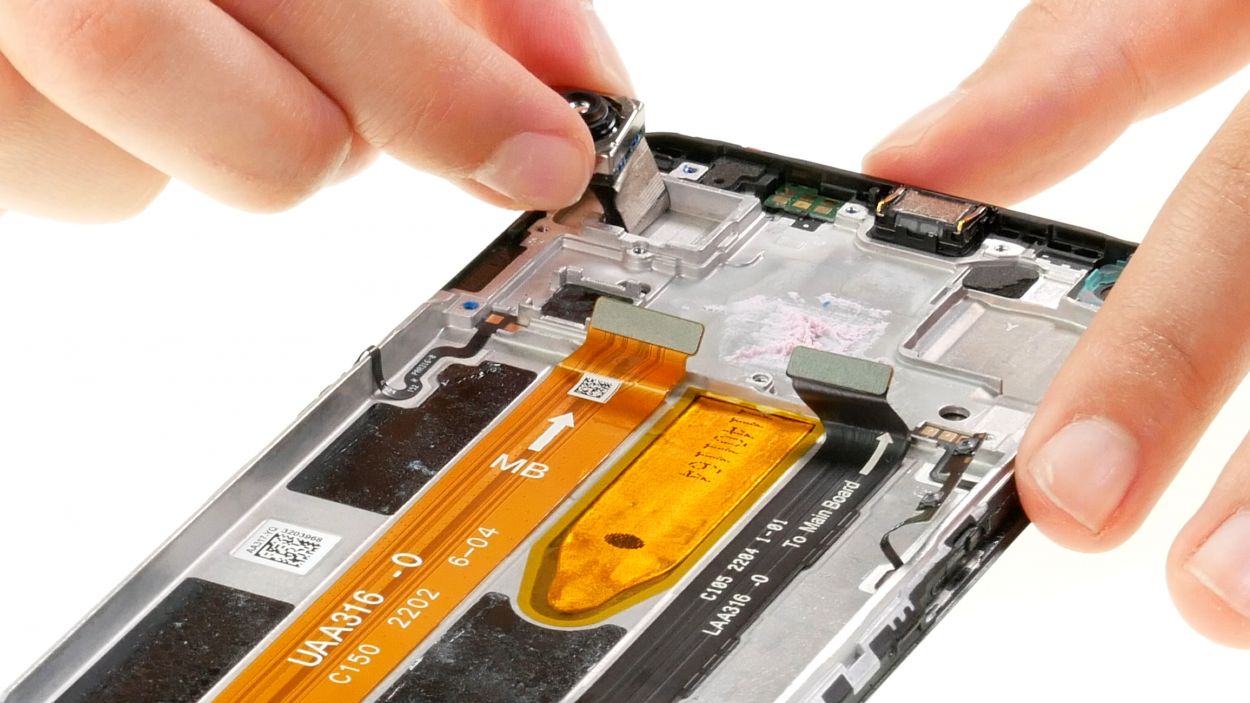
Take it easy when you’re peeling off those camera modules! A little extra care goes a long way in keeping everything safe and sound.
– Release the two camera modules from their guides one after the other by carefully sliding a pair of tweezers underneath them.
Tools Used
Step 23

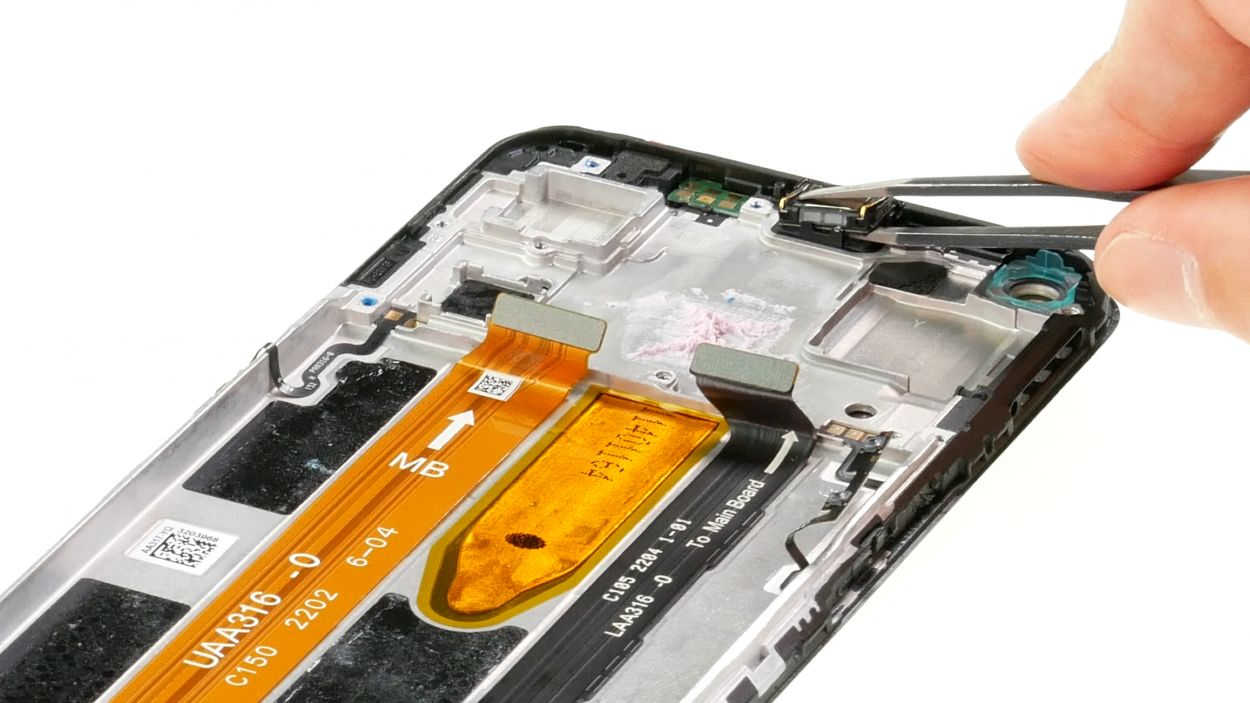
– The earpiece is just hanging out, not glued or screwed in, so you can easily pop it out of the device.
– Grab a pair of tweezers to give it a gentle lift and get things started.
Tools Used
Step 24
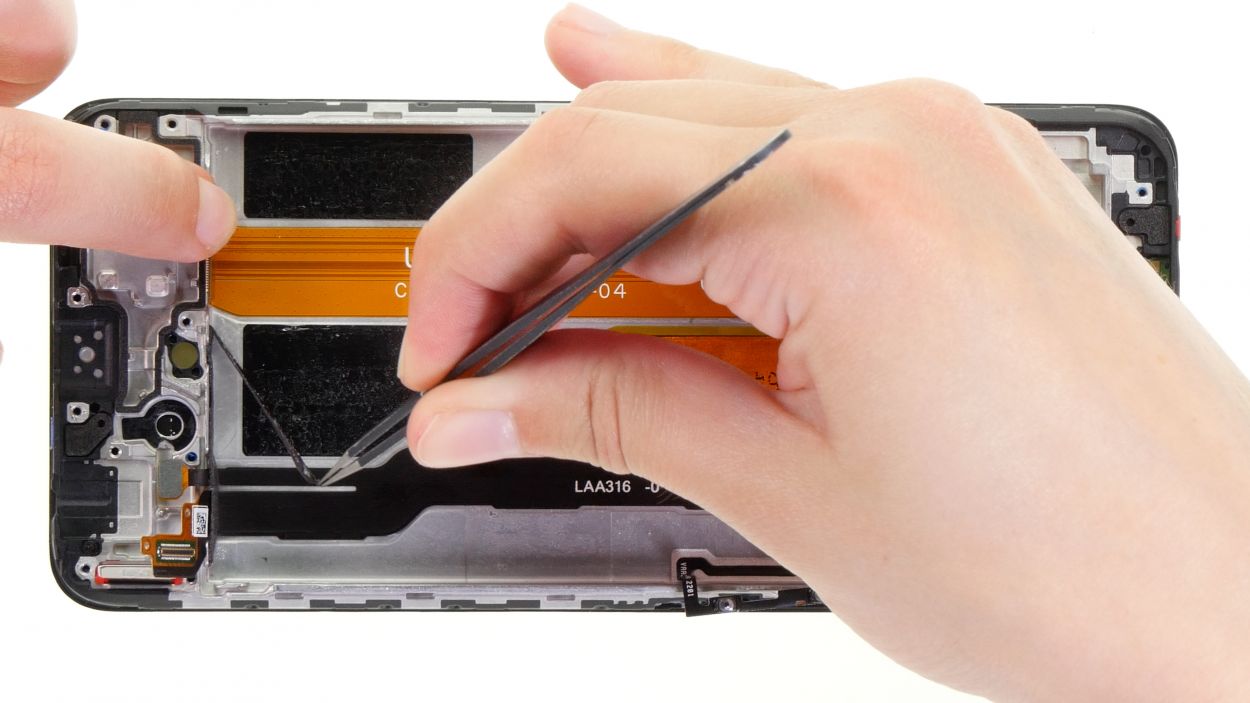
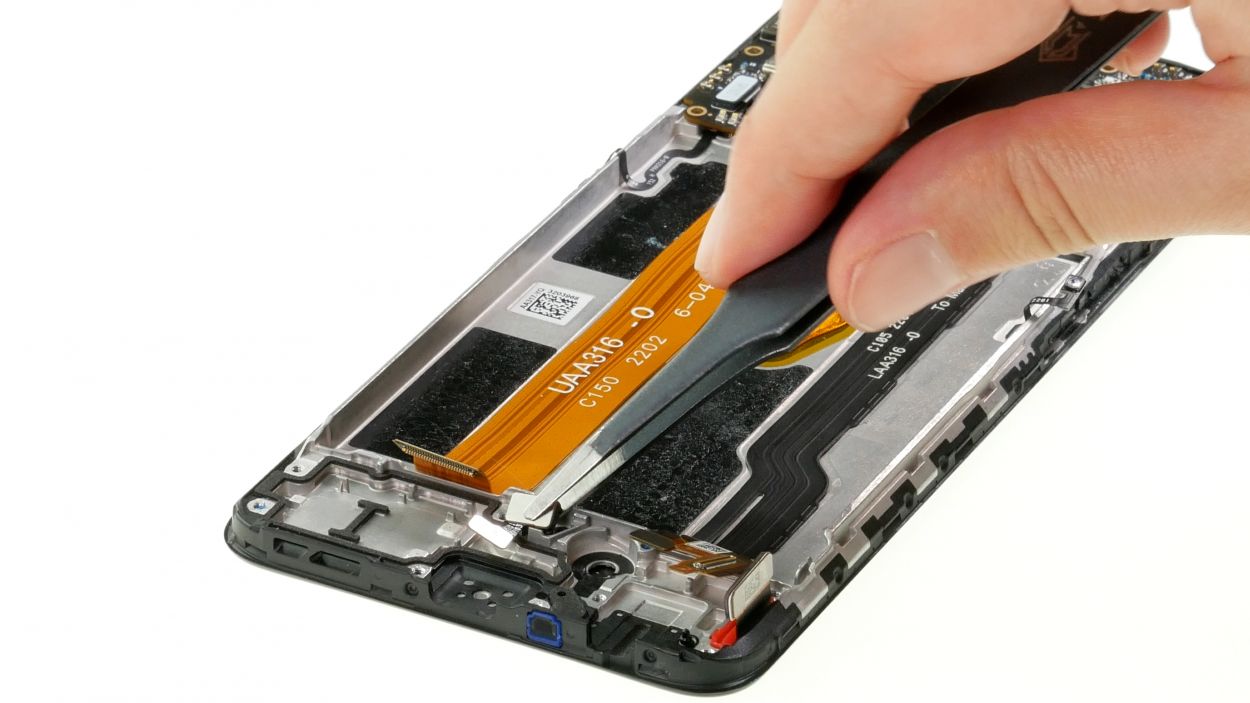
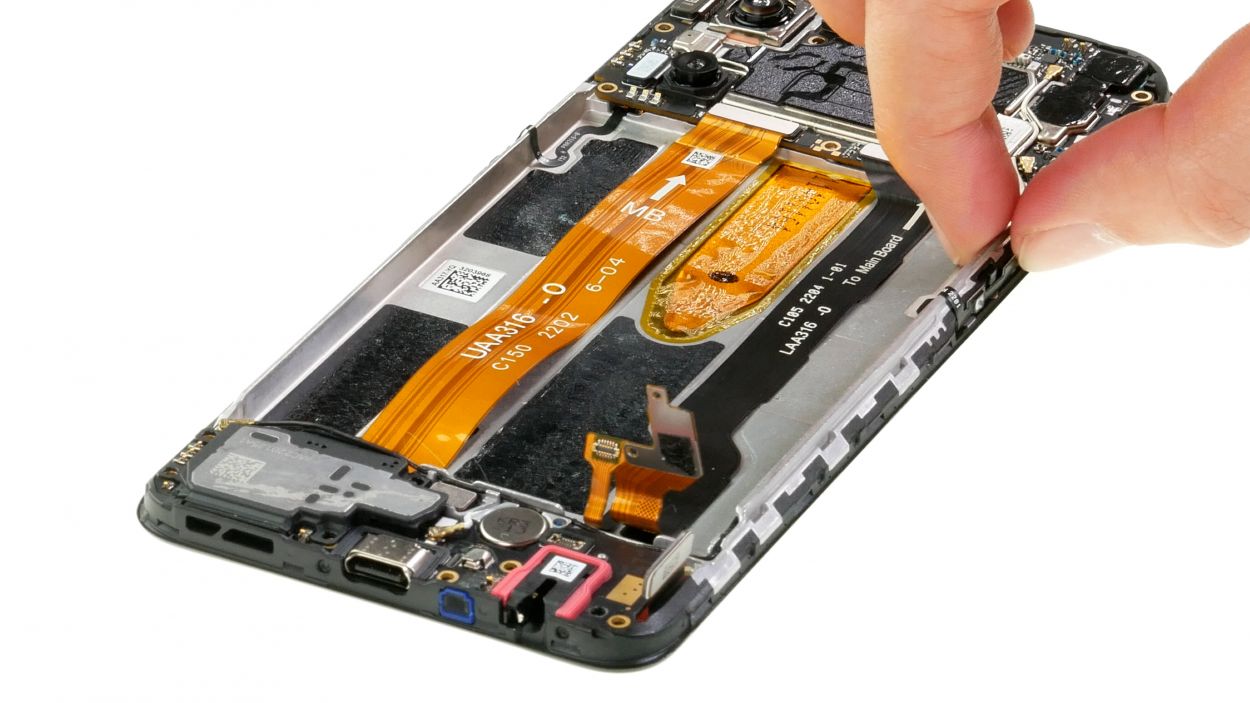
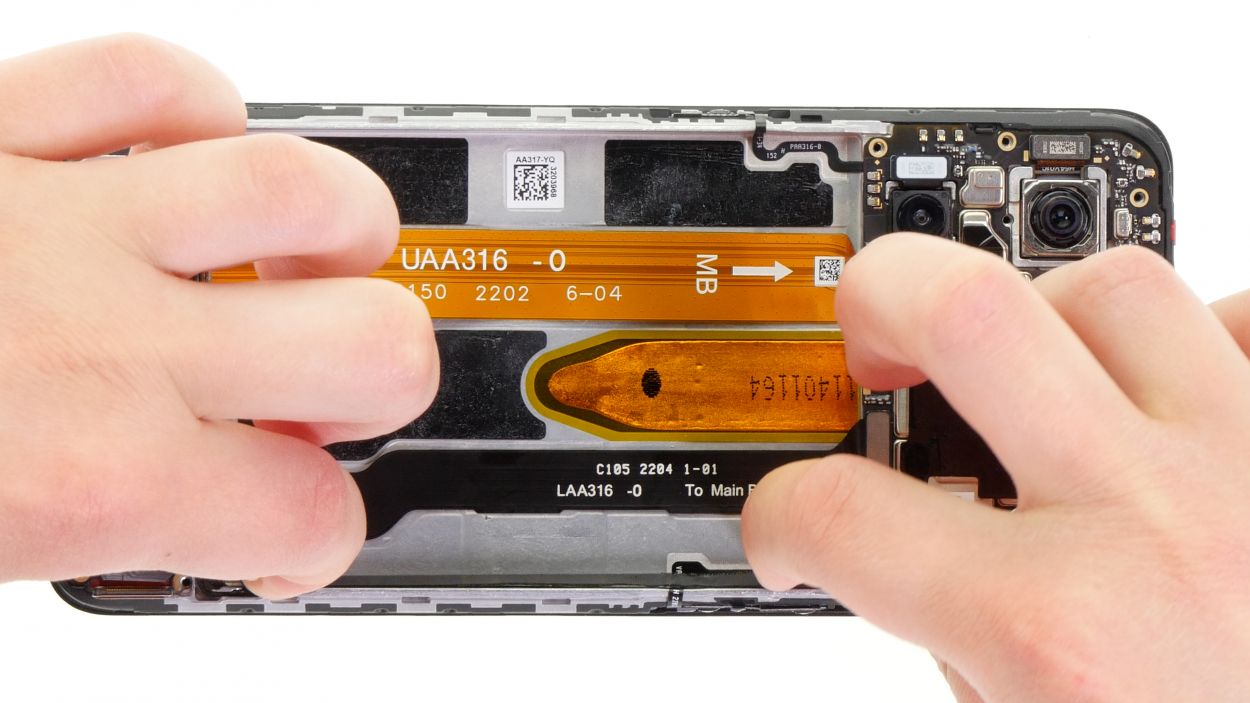
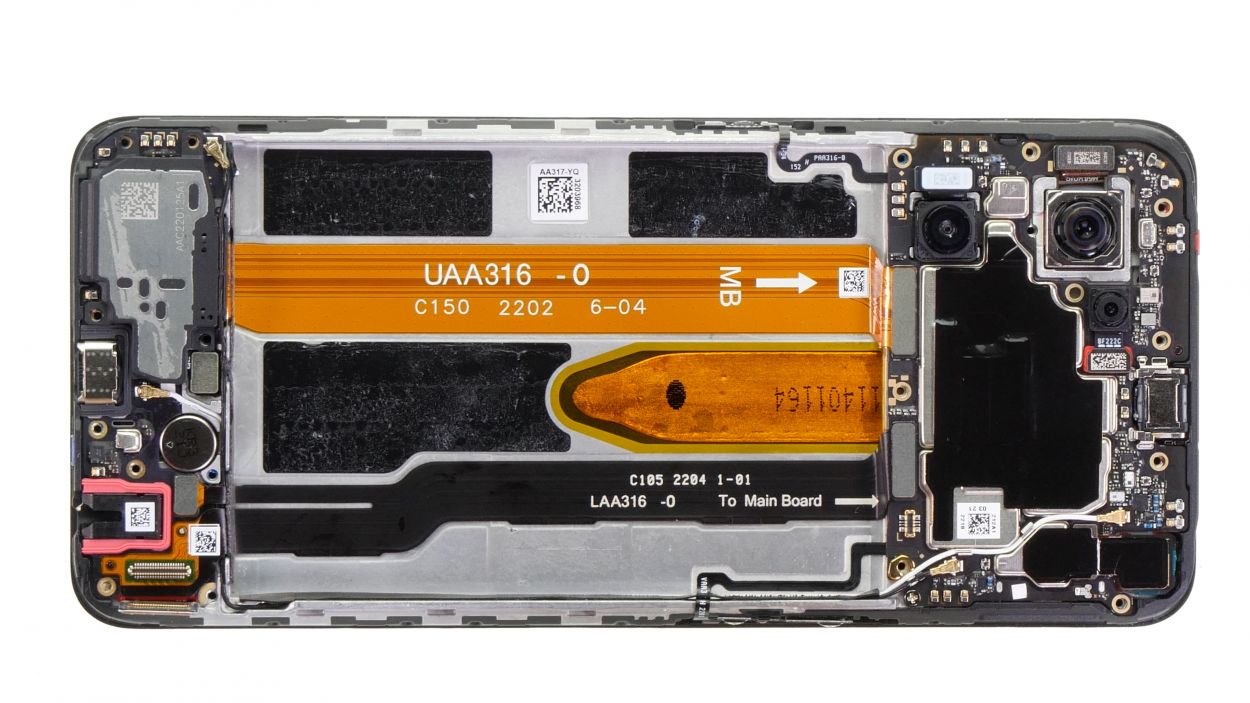
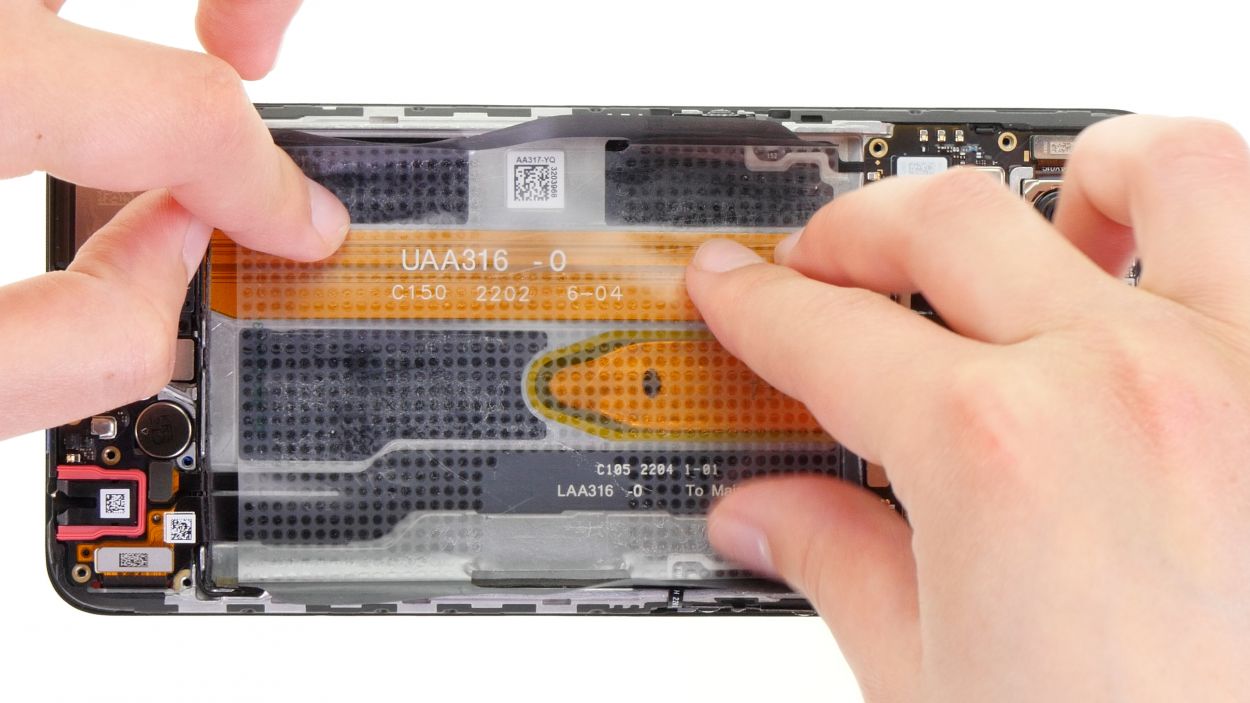
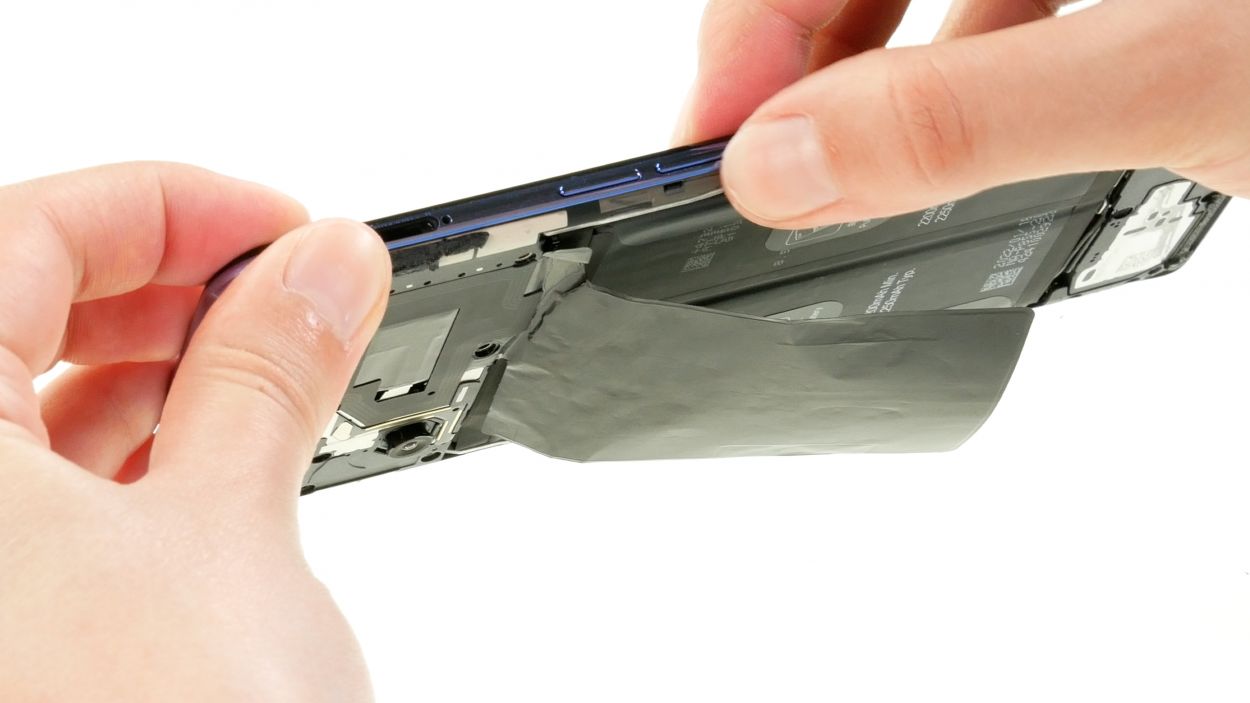
– First things first, peel off that adhesive strip from the inside of the case. It’s holding those connecting cables snugly in place!
– Next up, give those glued cables a little warmth. A bit of heat will make them much easier to pop off.
– Now, grab a steel spatula and gently slide it under each cable to detach them from the bottom of the case, one at a time. You’ve got this!
Tools Used
- heat gun to heat parts that are glued on so they’re easier to remove.
In most cases, you can also use a hairdryer.” rel=”noopener”>Heat gun - Steel Laboratory Spatula
Step 26
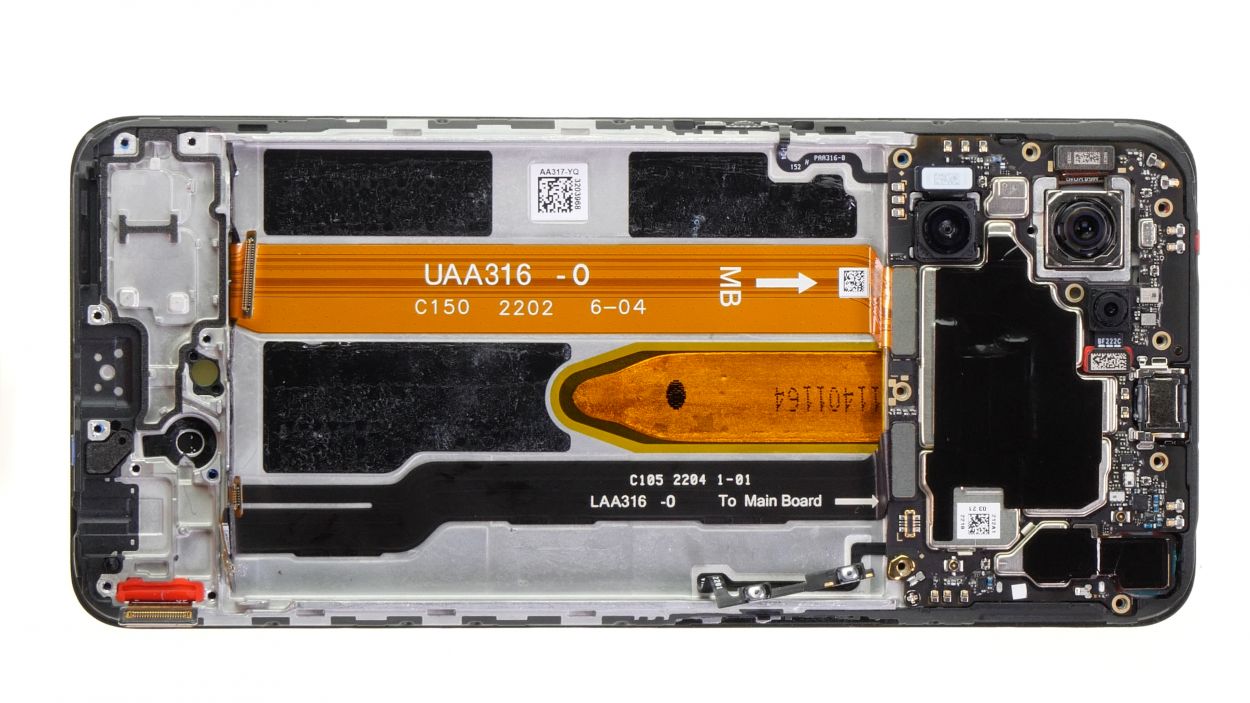
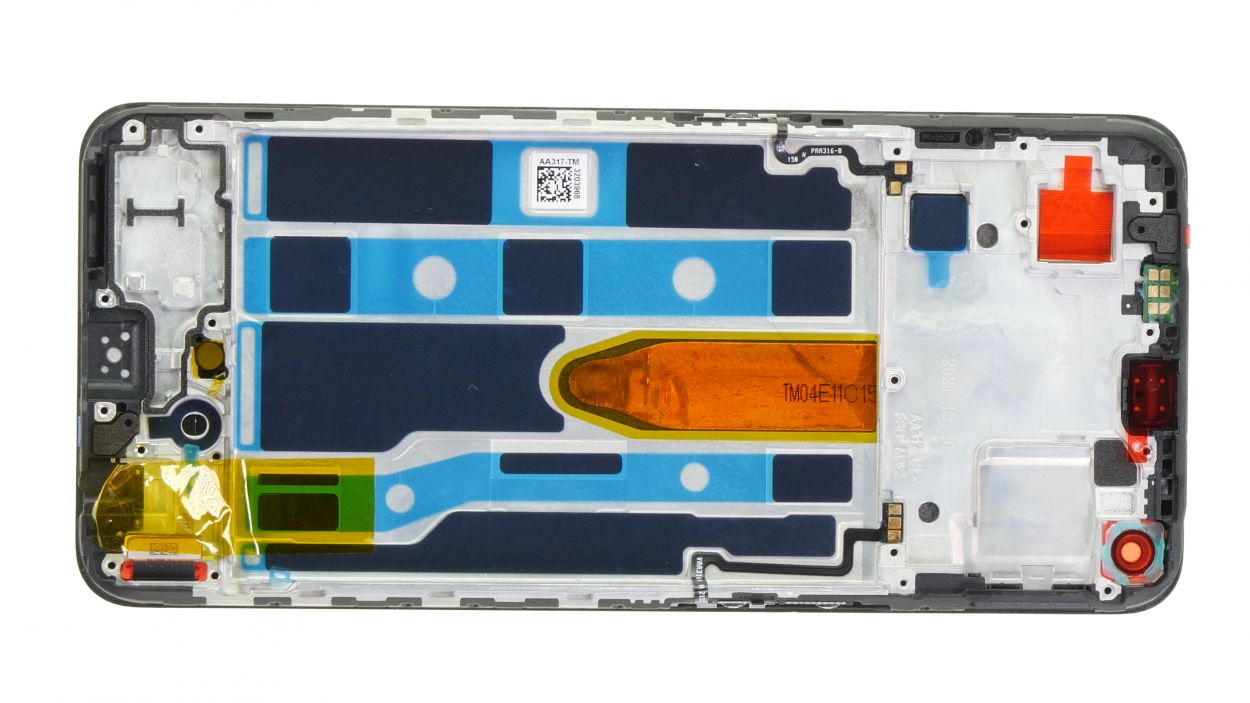
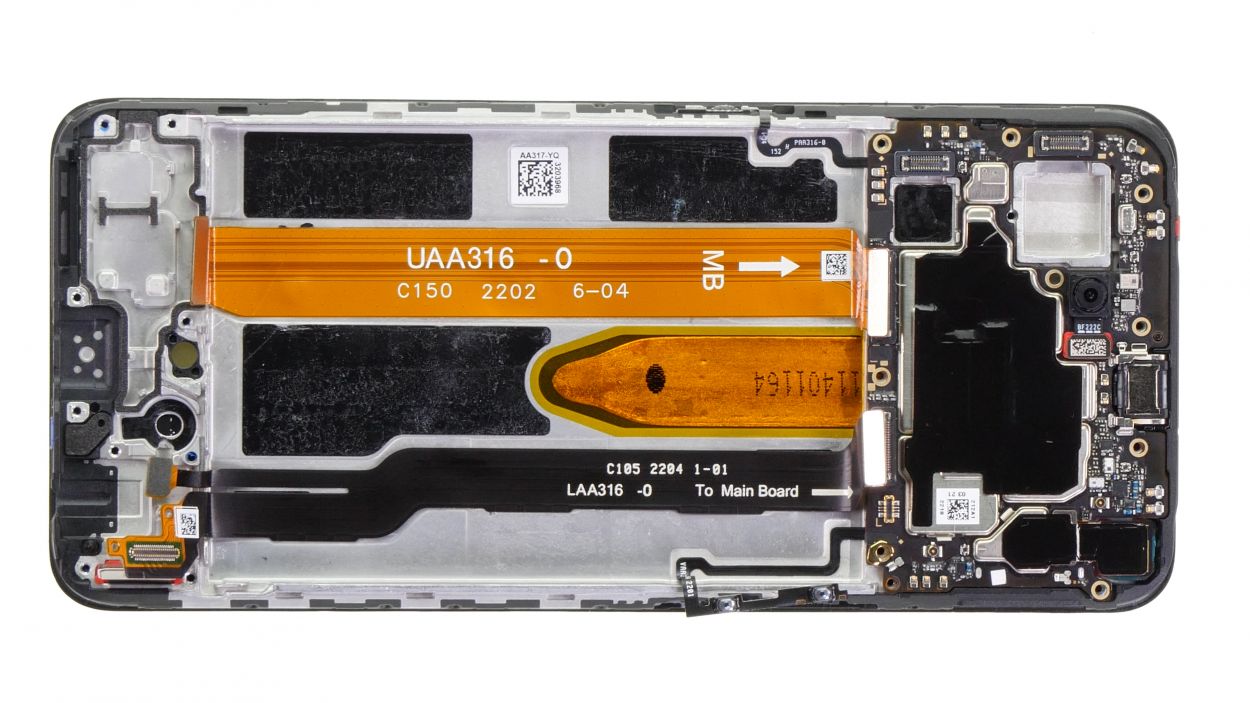
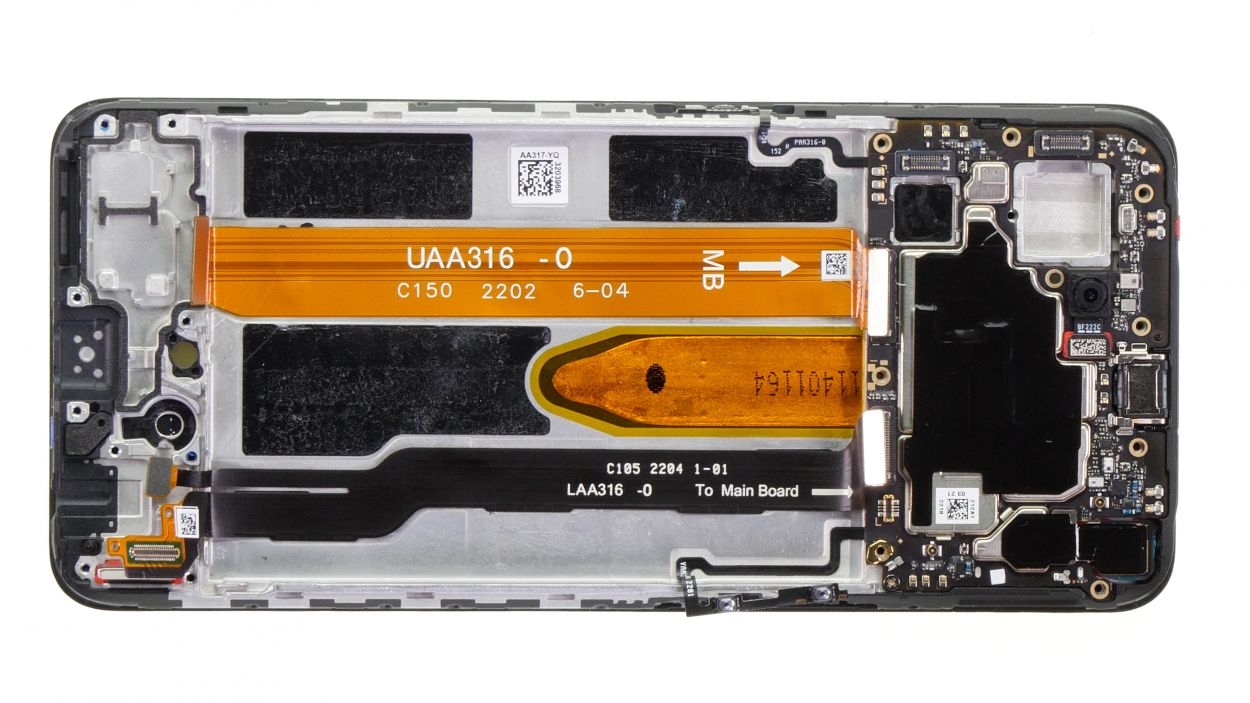
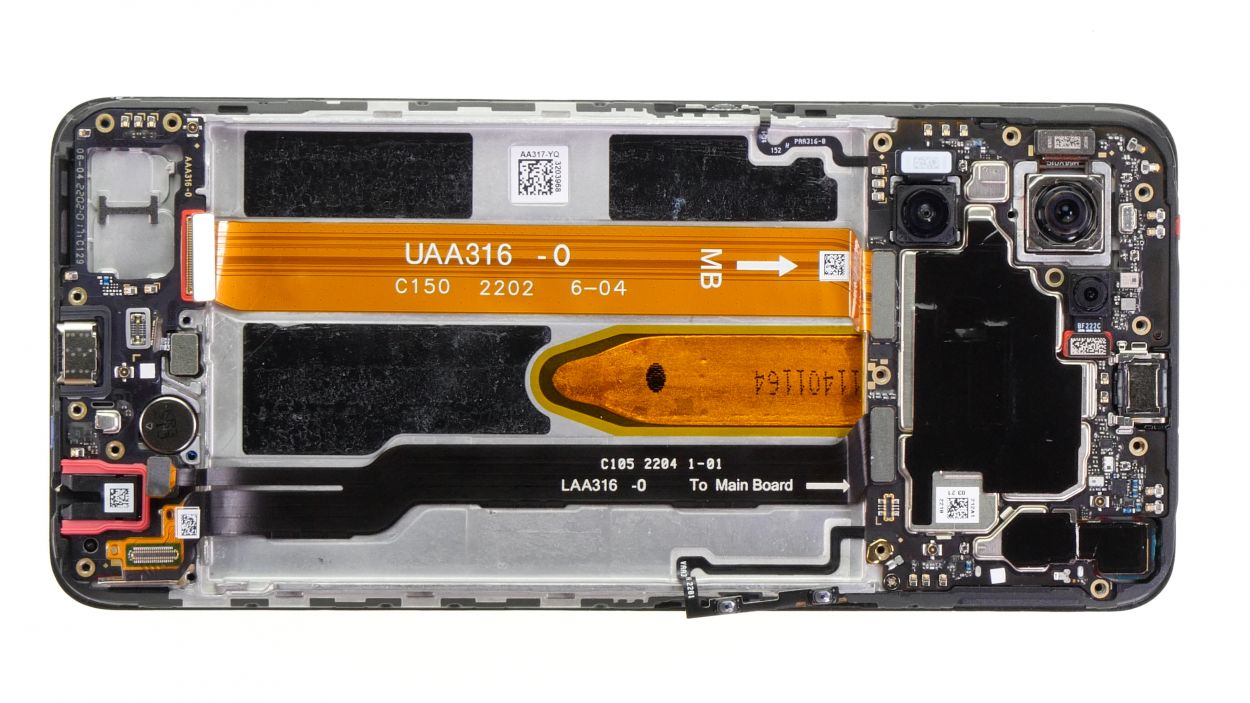
The labeling on the cables helps you with the alignment.
– Reattach the two connecting cables to the case bottom and press them firmly.
Step 27
To ensure a snug fit for the earpiece, make sure those shiny golden contacts are pointing forward. You’ve got this!
– Slide the earpiece into its little cozy spot and give it a gentle but firm press. You’ve got this!
Tools Used
Step 28
1 × 2.7 mm
When you’re putting things back together, just keep an eye out for the front camera and connectors—let’s keep them safe and sound!
– Gently place the motherboard back where it belongs, ensuring it’s nice and level all around.
– Secure it snugly with that trusty Phillips screw.
Tools Used
Step 29
Take it easy when connecting those parts—no need to use Hulk strength here! Forcing connectors can lead to a complete meltdown of your component. Let’s keep things smooth and gentle!
– Attach the two connecting cables back to the motherboard by gently pressing them in place. They must click into place audibly and perceptibly.
Step 30


– Gently slide those two camera lenses back into their cozy little guides.
– Give them a light press to ensure the glue sticks like best friends.
– Reconnect the lenses to the motherboard and let the magic happen!
Step 31
– Gently nestle the fingerprint sensor into its new home in the screen.
– Give it a little love tap – just enough for the glue to get cozy again!
Tools Used
Step 32

– Put the vibration motor back in its guide and press it lightly.
Step 33
When you’re sliding in that USB board, just keep an eye out and make sure no connectors get squished. You’ve got this!
– Gently place the board into the screen unit. To ensure it sits just right, make sure the charging jack snugly fits into the edge of the case.
– Carefully press down the connector for the fingerprint sensor along with the orange connecting cable.
Step 34
– Put the speaker back on the USB board and press it lightly.
Step 35


To ensure a snug fit for the cables, start by inserting the white cable first. You’ve got this!
– First things first, let’s get that white antenna cable connected to the motherboard. You’ve got this!
– Next, gently press it back into its cozy spot on the edge of the case, and then go ahead and attach the second connector on the USB board. Easy peasy!
– Now, let’s keep the momentum going and do the same with the black cable. You’re doing great!
Tools Used
Step 36
– Fold the volume cable back over the antenna cables and press it against the outer edge of the case.
– Finally, fix the connecting and volume cables with the adhesive+strips+Oppo+Find+X5+Lite&crid=1TJIMMAJSUJUZ&sprefix=repair+tools%2Caps%2C165&linkCode=ll2&tag=salvationrepa-20&linkId=c486487cf454ce8edd6f5beefab4110f&language=en_US&ref_=as_li_ss_tl’>adhesive strips on the inner edge of the case.
Tools Used
Step 37

To keep that slot snugly in place on the USB board, just pop in those two little plastic lugs. They’re your trusty sidekicks for a solid fix!
– Kick things off by gently pressing the screen cable slot back onto the board. It’s like giving it a little hug!
– Next up, firmly yet kindly press the actual connector of the cable back into its happy place. You’re doing great!
Step 38

– Carefully press the screen cable onto the slot of the connecting cable.
Step 40

To keep things safe and sound, connect the battery at the very end. This way, you can dodge any pesky short circuits!
– Reconnect the battery by gently pressing its connector onto the motherboard.
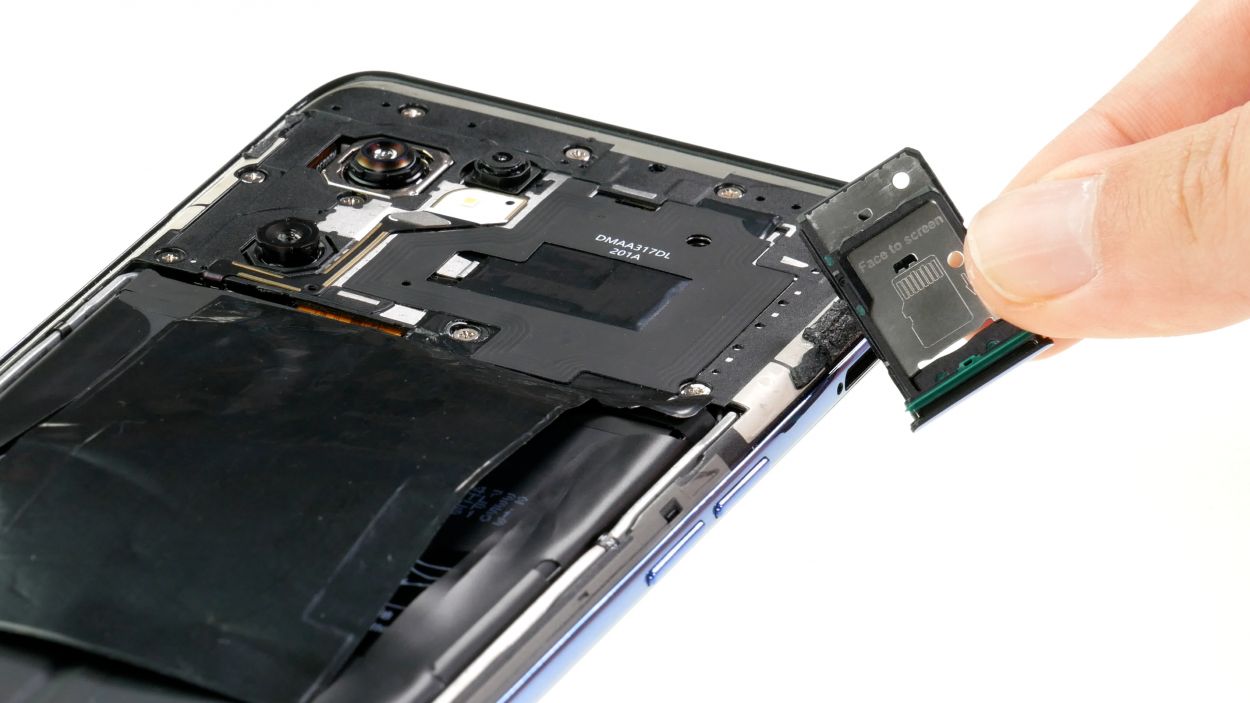
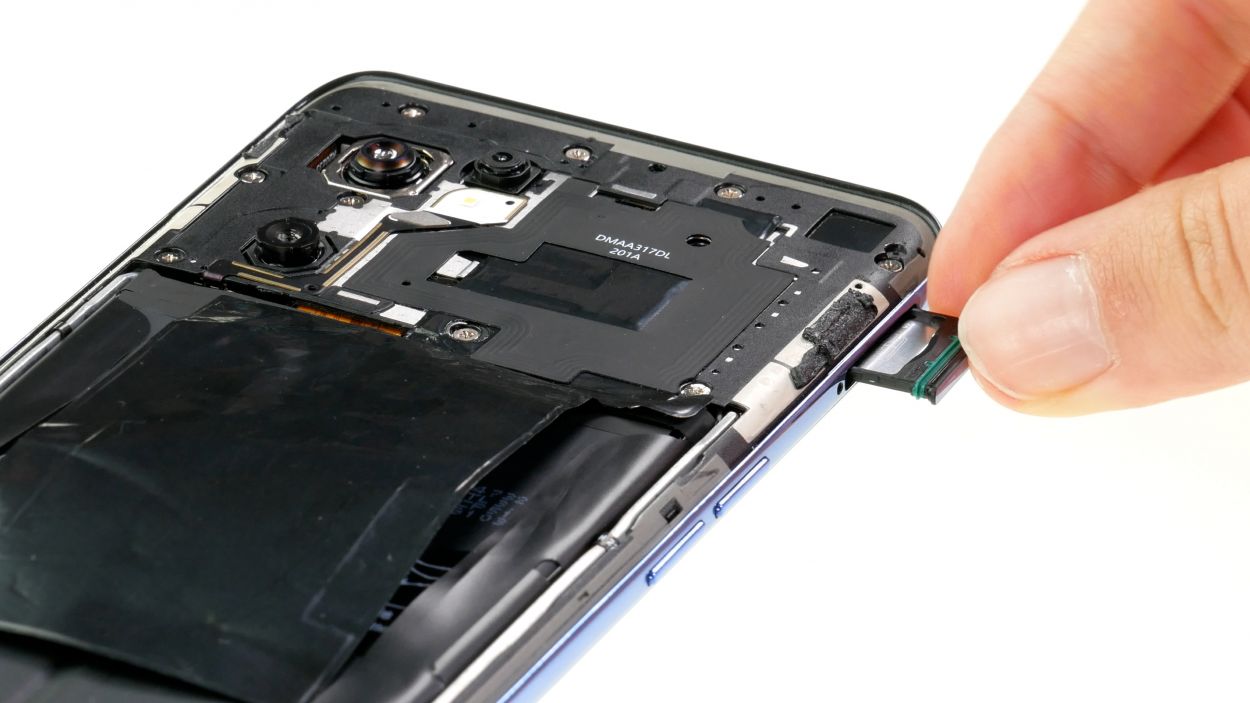
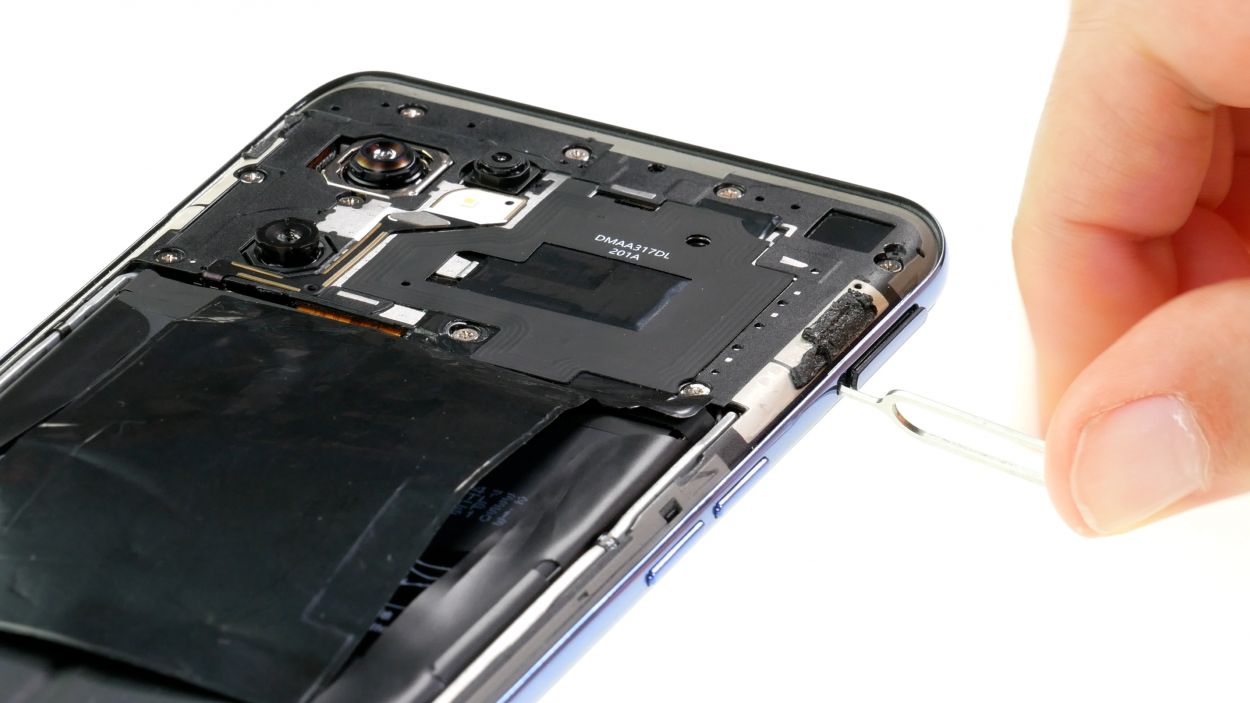
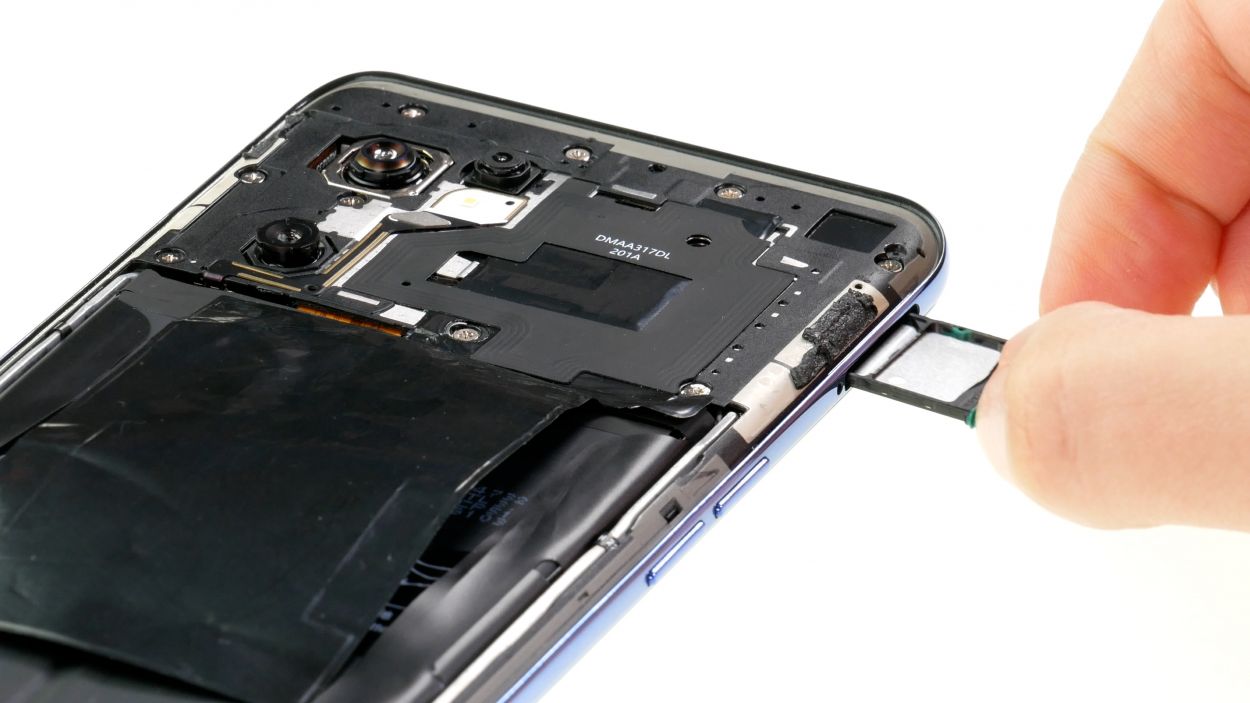
Don’t stress! Inserting the SIM tray the right way around is a breeze. You got this! Make sure to line it up properly, it’s like solving a cute little puzzle. If you need help, you can always schedule a repair. That way, you can focus on getting back to your devices in no time. Our expert technicians at Salvation Repair are here to help you get back on track. Just follow these easy steps and you’ll be done in no time!
Step 45

If your adhesive frame is still holding strong, there’s no need to swap it out for a new one! But if it’s showing signs of wear or isn’t sticking like it used to, we suggest grabbing a fresh adhesive frame. Remember, a solid bond is key to a successful repair! If you need help, you can always schedule a repair.
Step 46
Give that back cover a little extra love by running some hot air along the edge again, ensuring the glue sticks just right. And hey, if you’ve got some books lying around, stack ’em on your device for a few minutes to help it bond even better. If you need help, you can always schedule a repair.
– Close your Oppo Find X5 Lite after the repair by pressing the back cover back onto the screen unit.
Tools Used
- heat gun to heat parts that are glued on so they’re easier to remove.
In most cases, you can also use a hairdryer.” rel=”noopener”>Heat gun


