
How to Replace Oppo Find X5 Lite Battery – DIY Guide
Duration: 45 min.
Steps: 17 Steps
Hey there! If your battery looks like it’s been hitting the gym and is all puffed up, remember that the gas inside can be a bit of a fire hazard. If you’re not feeling up to the task, no worries! Just schedule a repair and let the pros handle it.
Get ready to tackle your battery replacement with this easy-to-follow photo guide! We’re here to walk you through the process, step by step, making it a breeze for you to swap out that old battery on your own. And remember, if you need help, you can always schedule a repair.
Step 1
Before you dive into fixing your Oppo Find X5 Lite, grab our handy checklist to test the basic functions! It’s a great way to see if everything is working smoothly after your repair adventure. Let’s ensure your device is back to its best!
– Hold down the power button – you got this!
– Tap “Power off” from the menu. Easy peasy!
Step 2
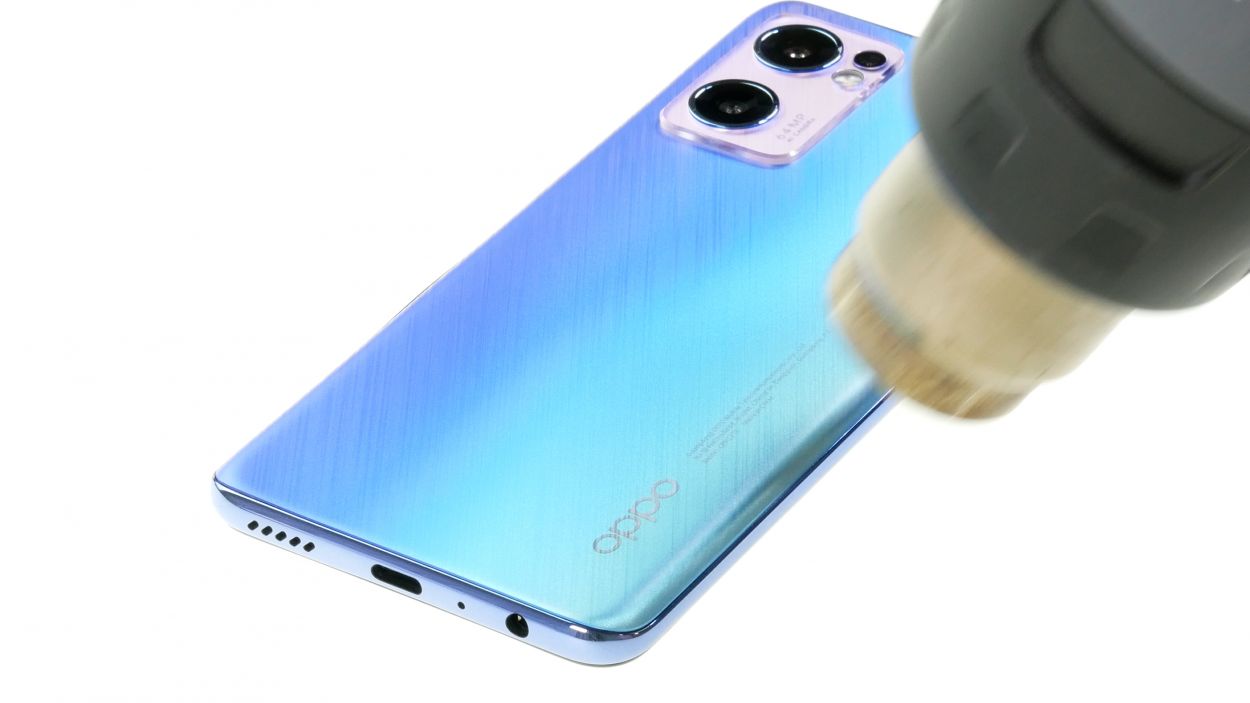
That back cover’s glued on tighter than a drum! Don’t worry, a little heat from a heat gun or even your hairdryer will loosen things right up. Let’s get this party started!
– Warming up the back cover is key! So, grab that hot air device and glide it smoothly over the edges to get things toasty. You’re doing great!
Tools Used
- heat gun to heat parts that are glued on so they’re easier to remove.
In most cases, you can also use a hairdryer.” rel=”noopener”>Heat gun
Step 3
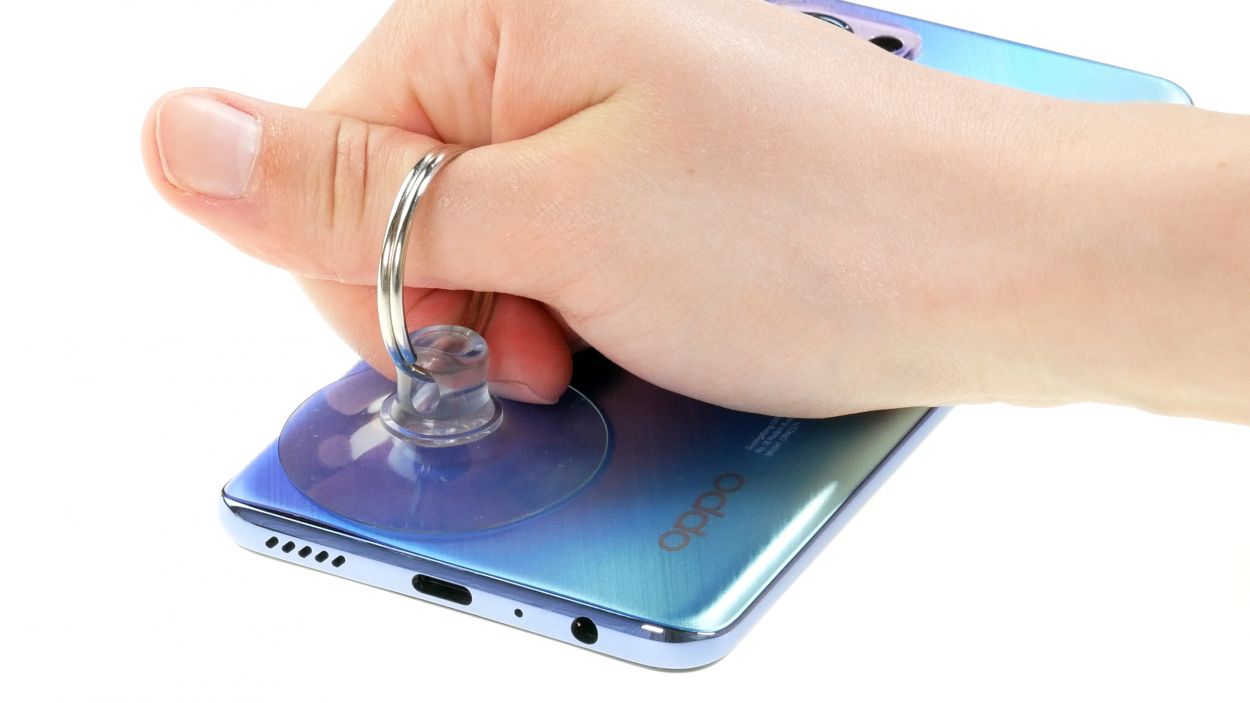
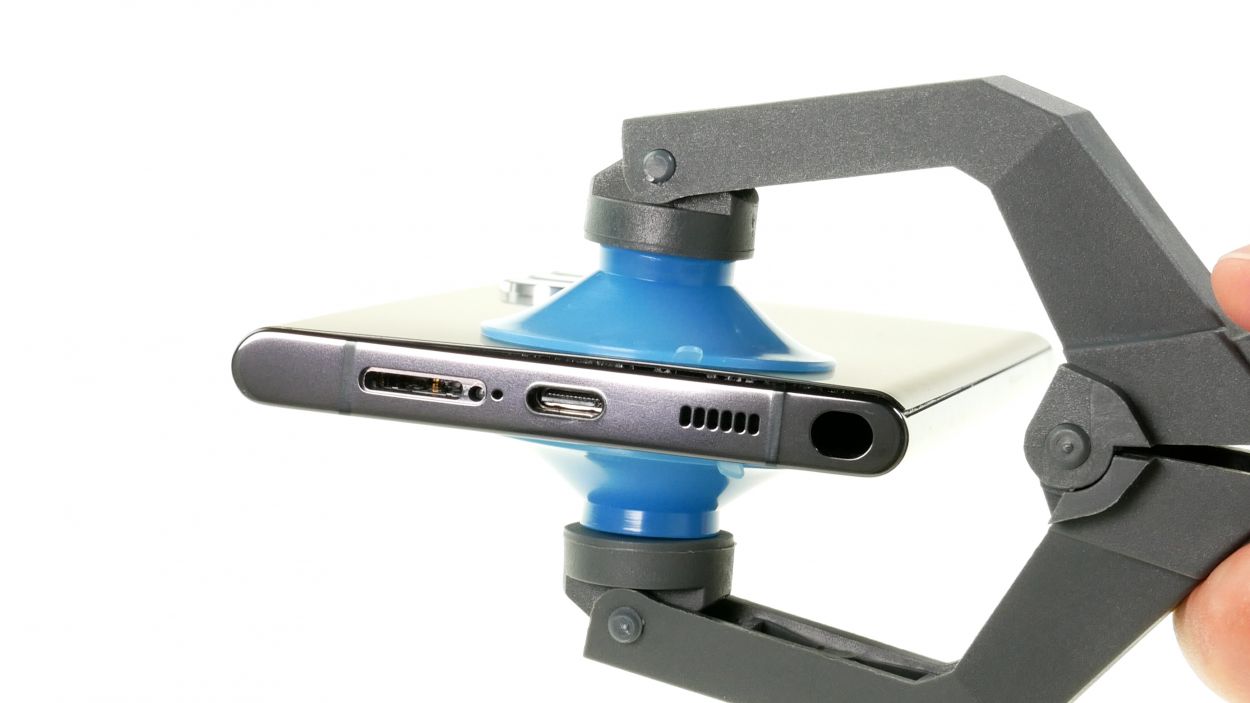
If you’re looking for a different approach to lifting that back cover, consider giving the iSclack a try! It’s a breeze to use and requires less muscle power. Just a little nudge and you’re in! If you need help, you can always schedule a repair.
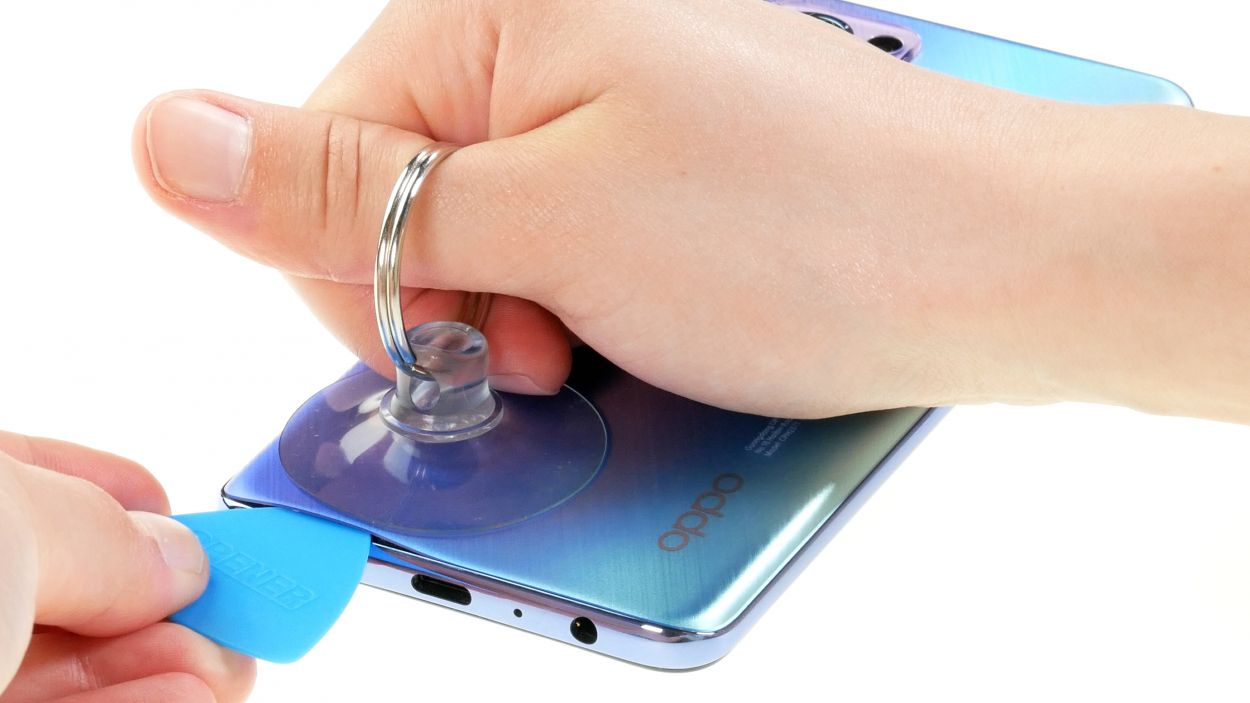
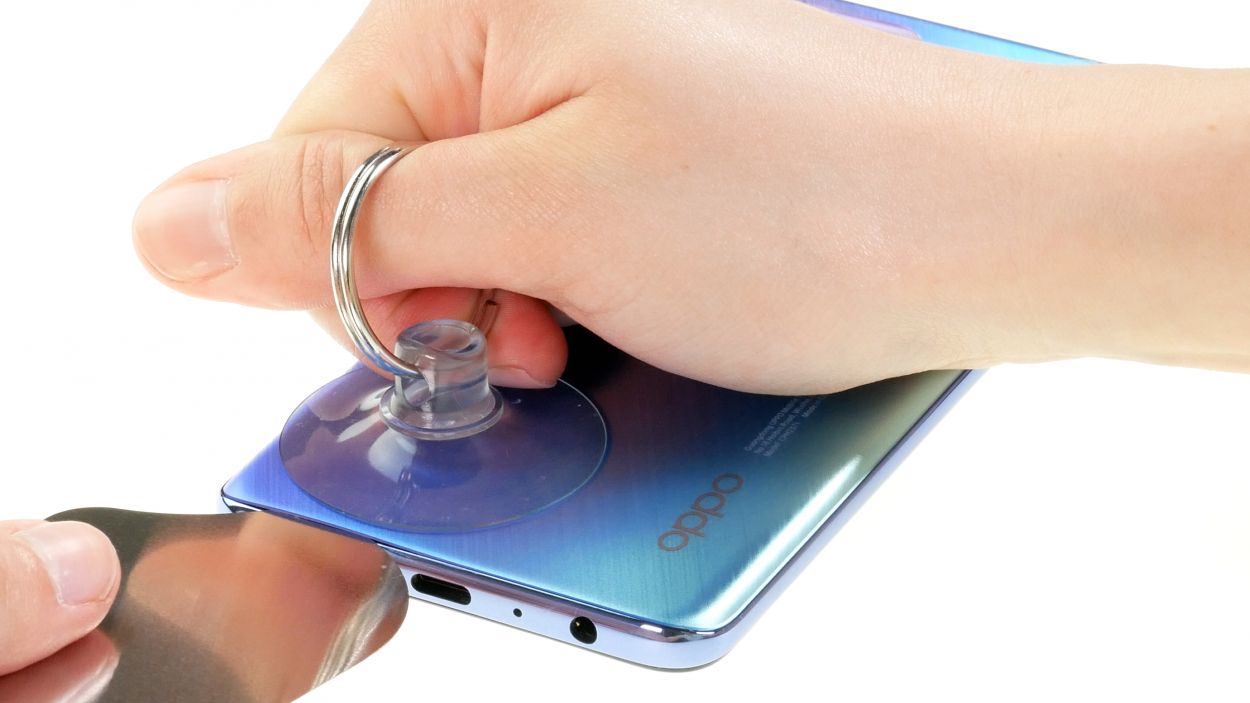
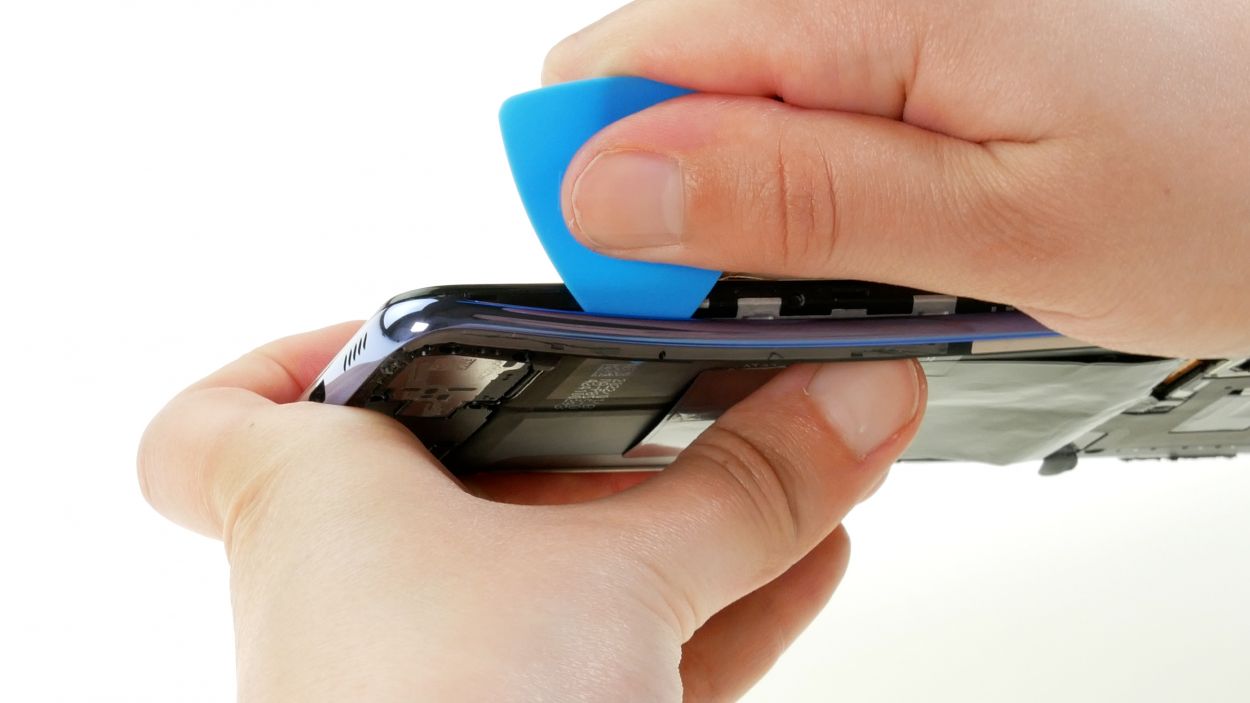
– Grab a suction cup and stick it to the lower edge of the back cover. Give it a gentle pull upwards to create a little gap.
– While you’re at it, slide a flat tool into that gap between the back cover and the screen unit.
Step 4
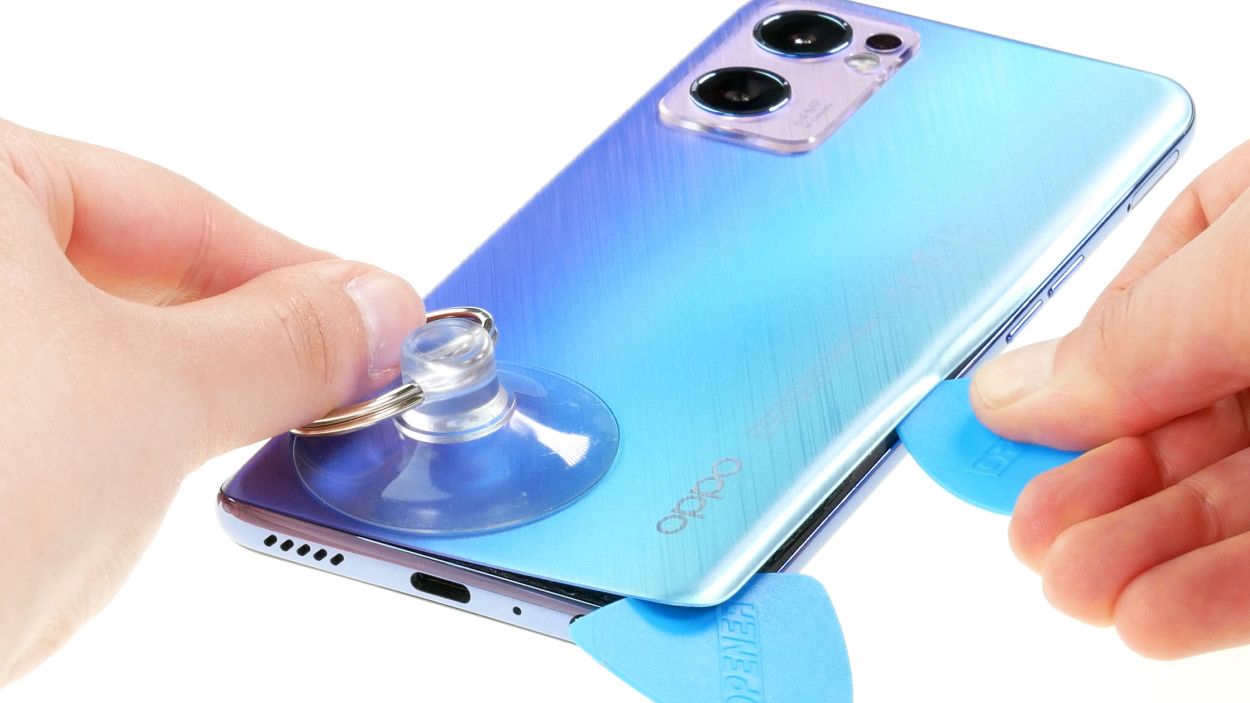
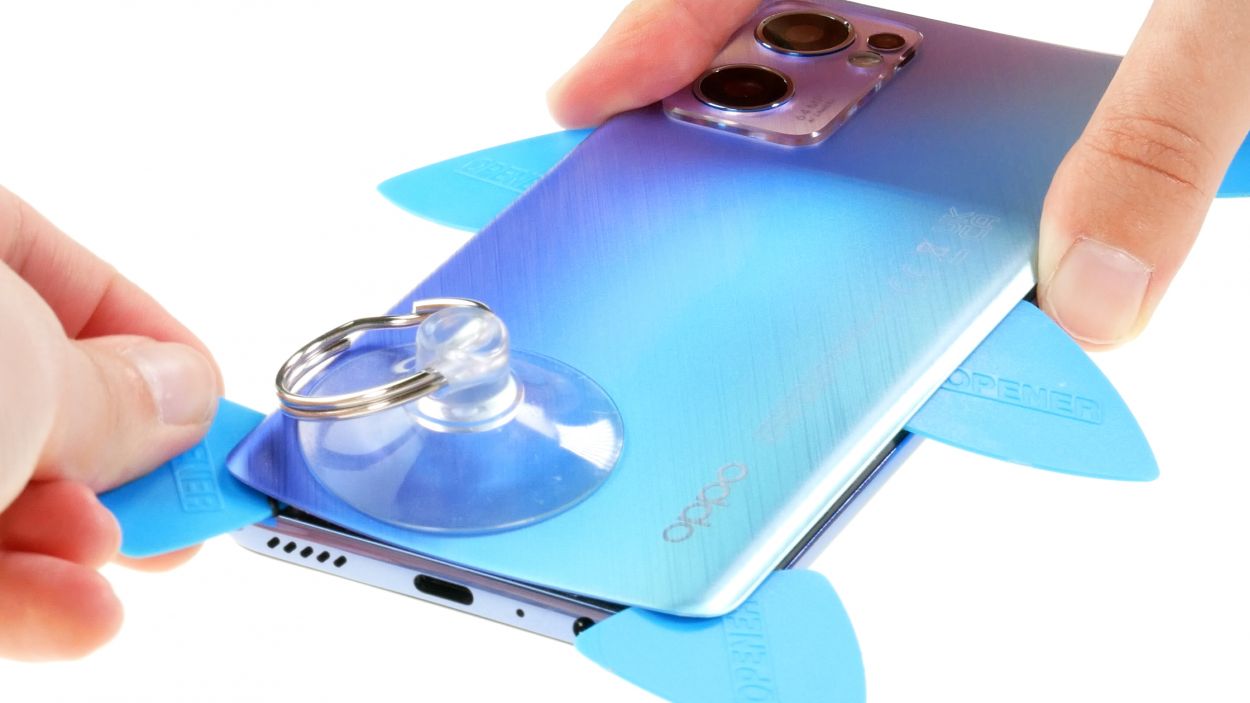
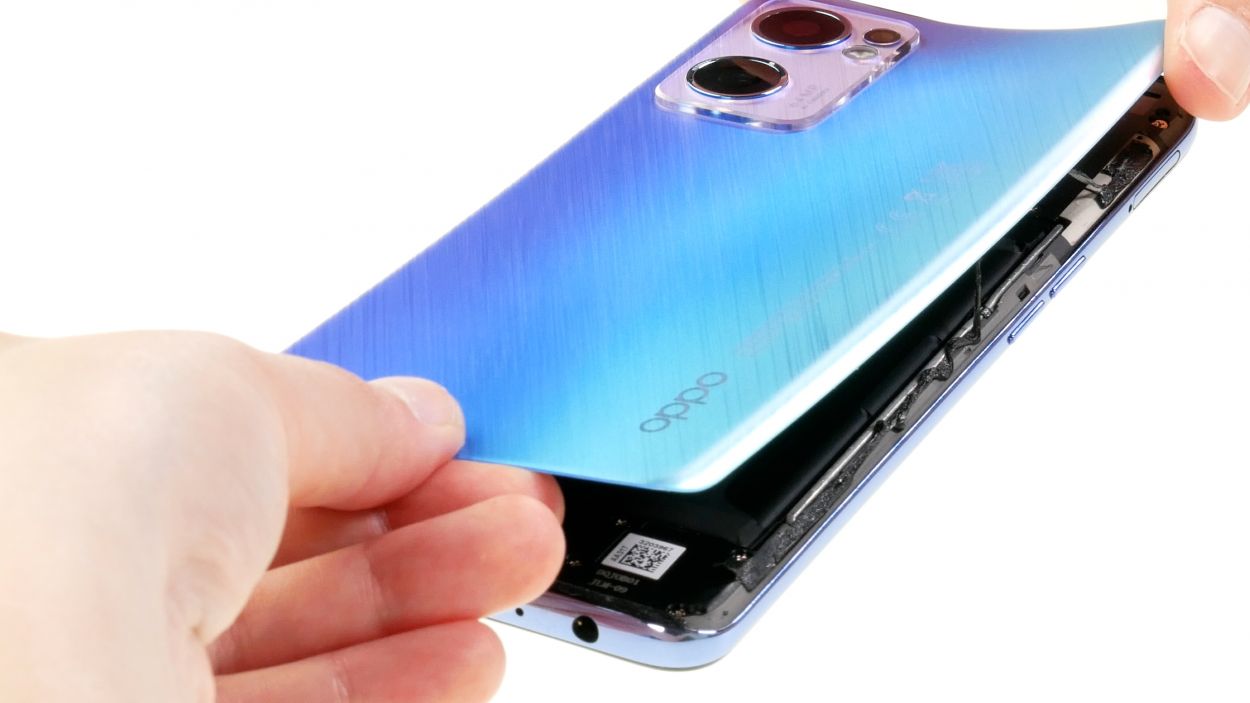
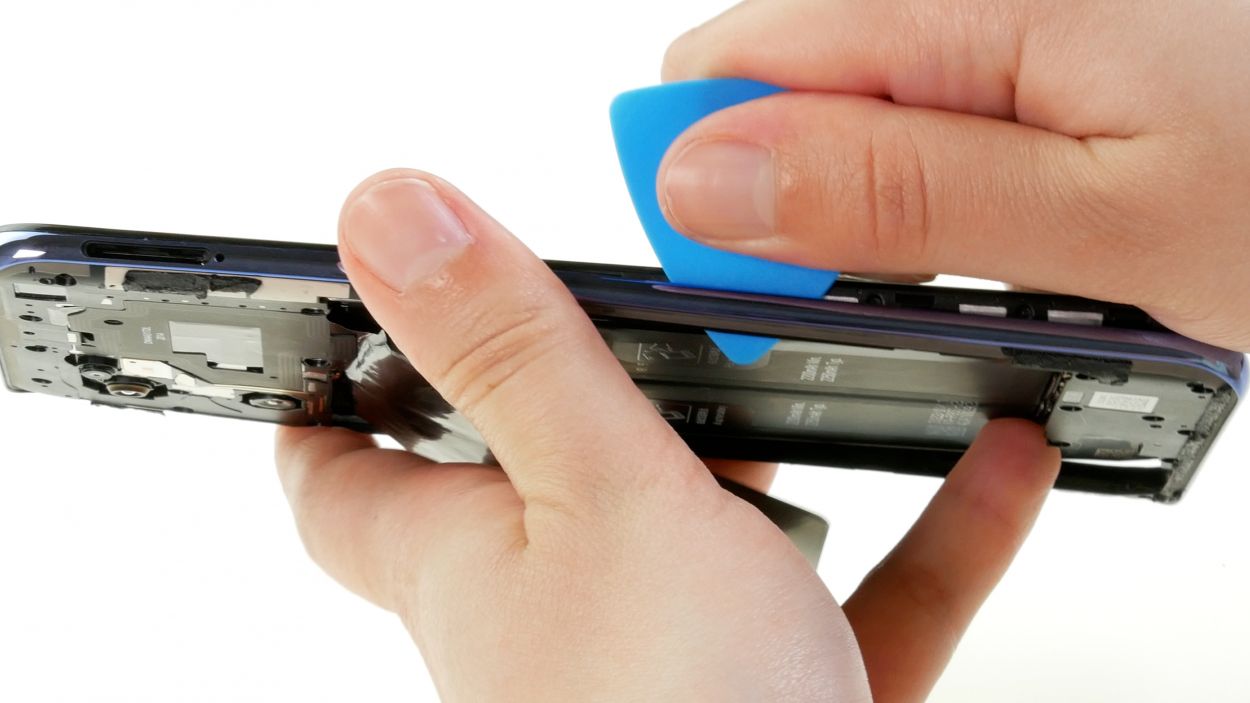
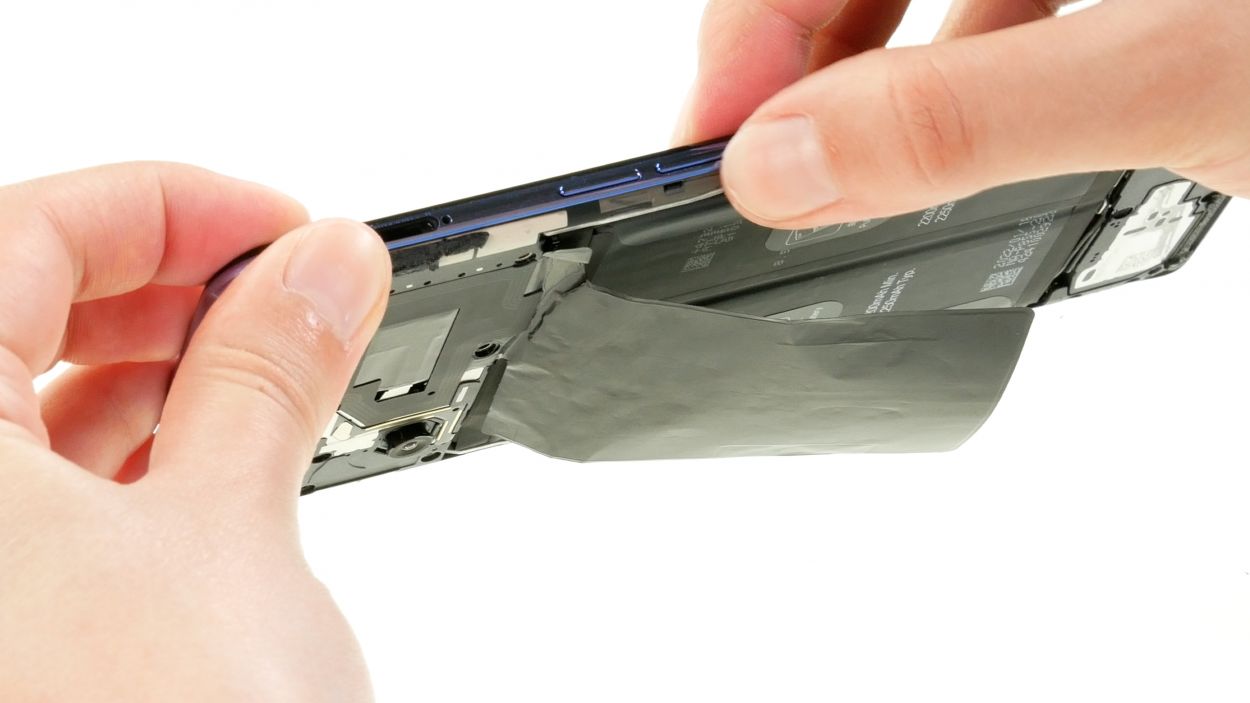
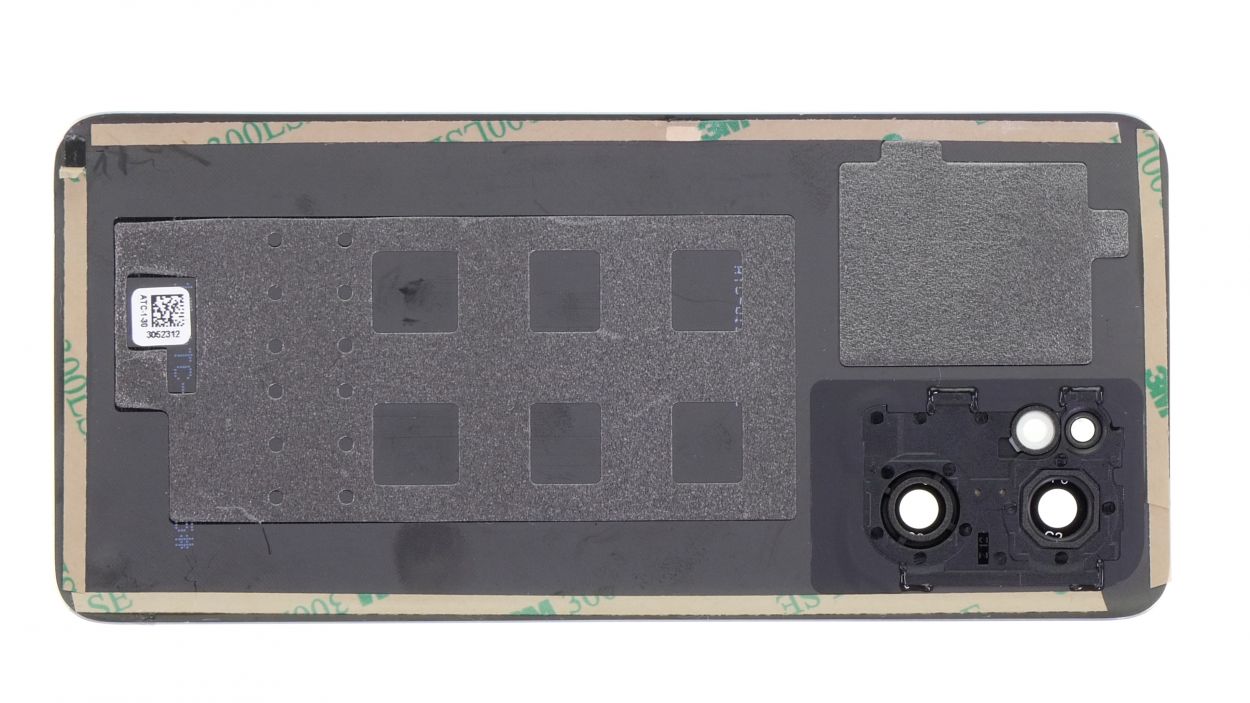
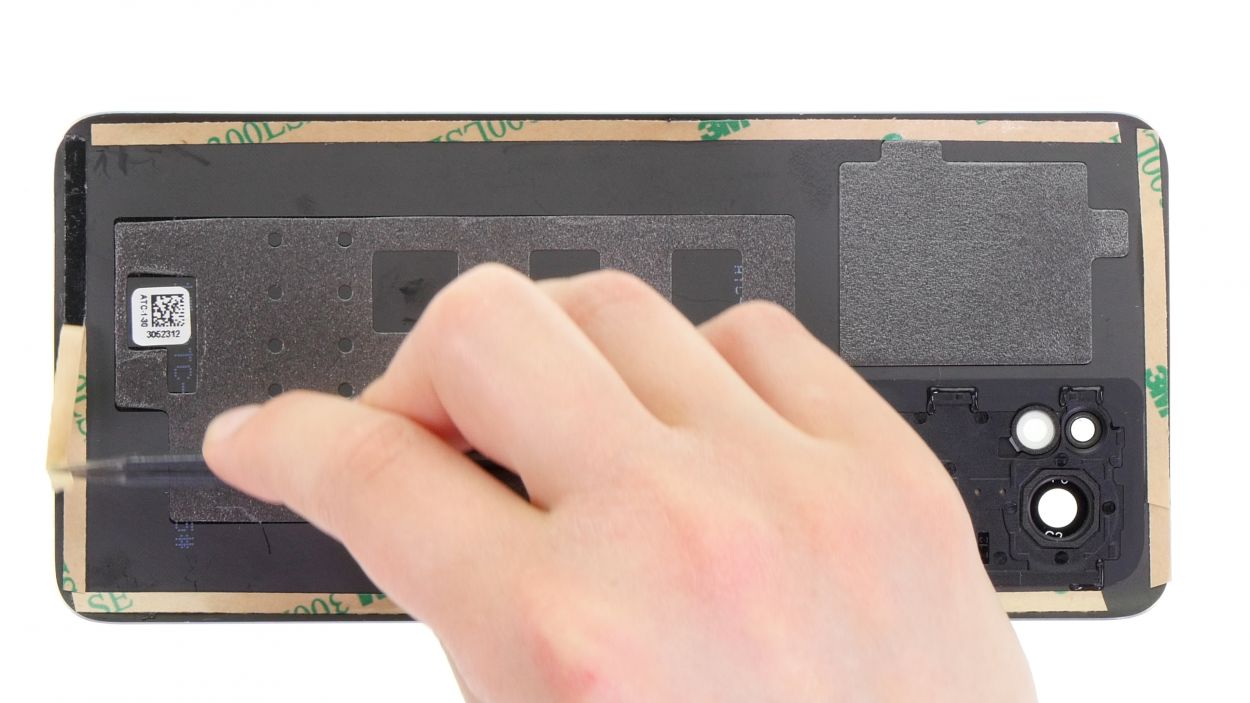
– Carefully run your tool all the way around the edge of the back cover to gently pry it loose, piece by piece.
– Set the detached back cover aside for now.
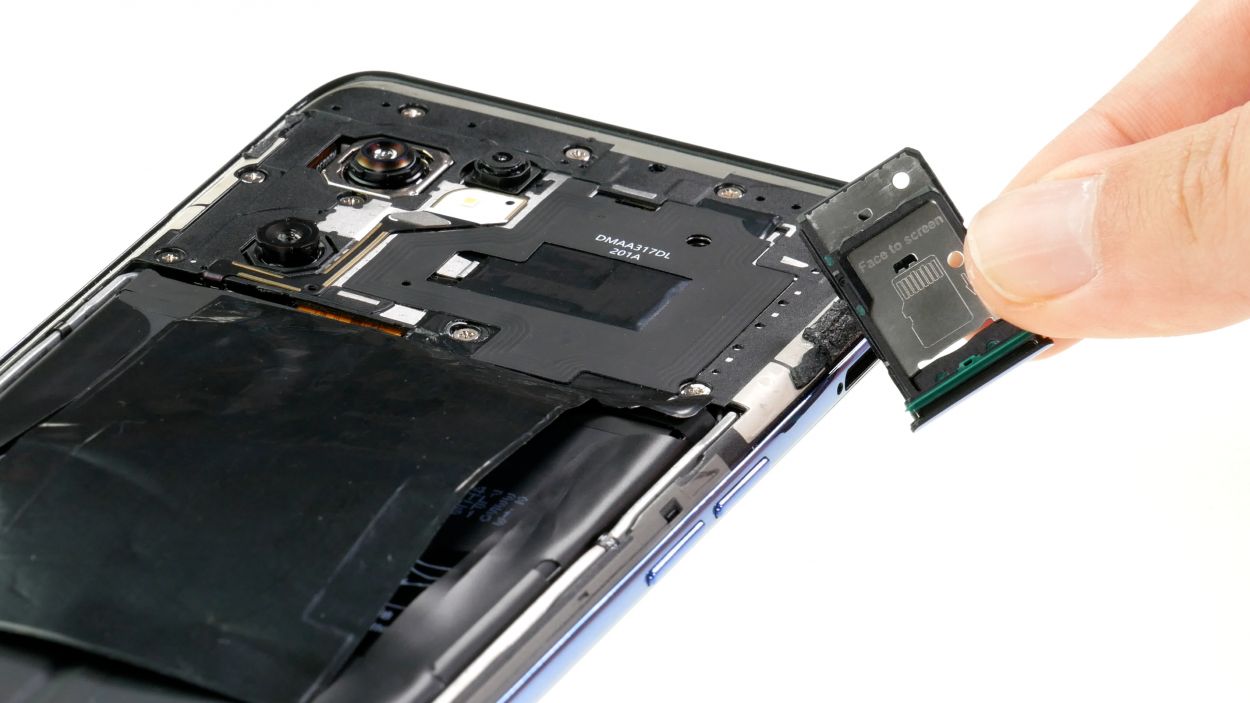
Hey there! Just a friendly reminder: when you’re working on the camera module, be careful not to push your tool in too deep. A hard plastic pick is your best buddy for this job!
To keep that back cover from getting too cozy with the glue again, we suggest gently sliding some flat plastic picks underneath it at regular intervals. It’s a simple trick to keep things breezy!
Tools Used
- heat gun to heat parts that are glued on so they’re easier to remove.
In most cases, you can also use a hairdryer.” rel=”noopener”>Heat gun - Pick Set
- VAKUPLASTIC Suction Cup
Step 6

18 × 3.7 mm Phillips
Keep your screws and small parts safe and sound by using a screw storage container. It’ll make your repair journey a breeze!
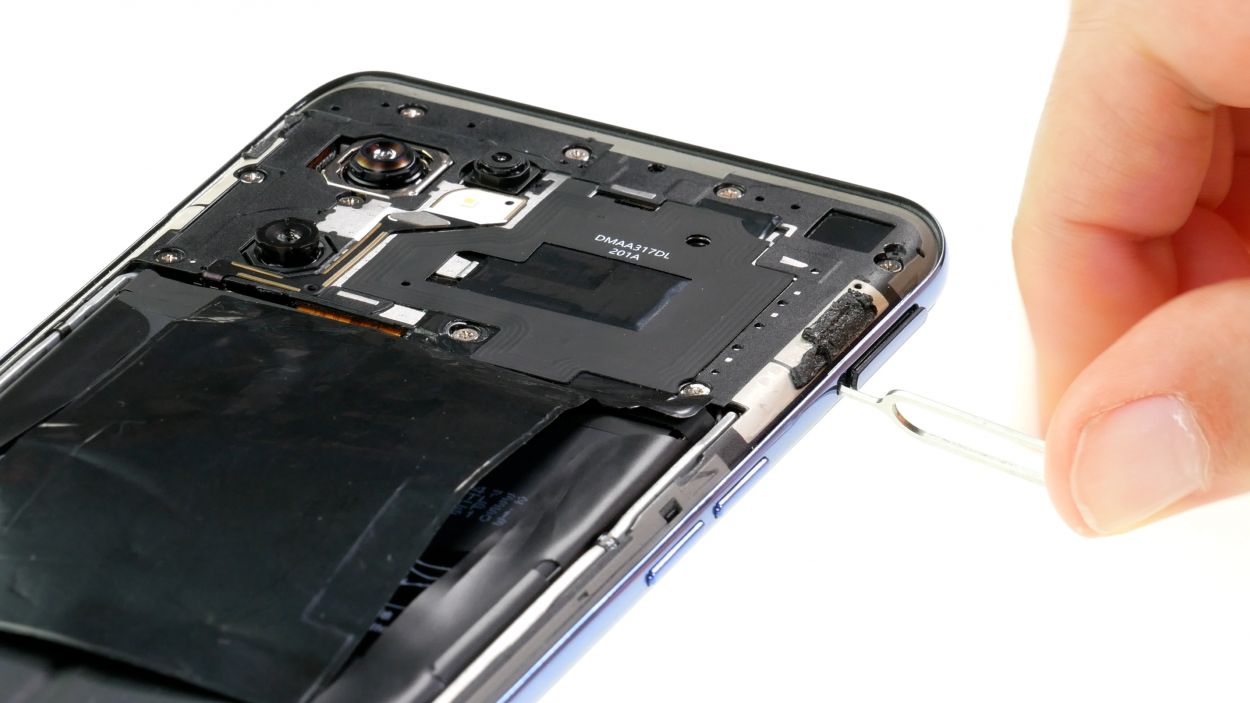
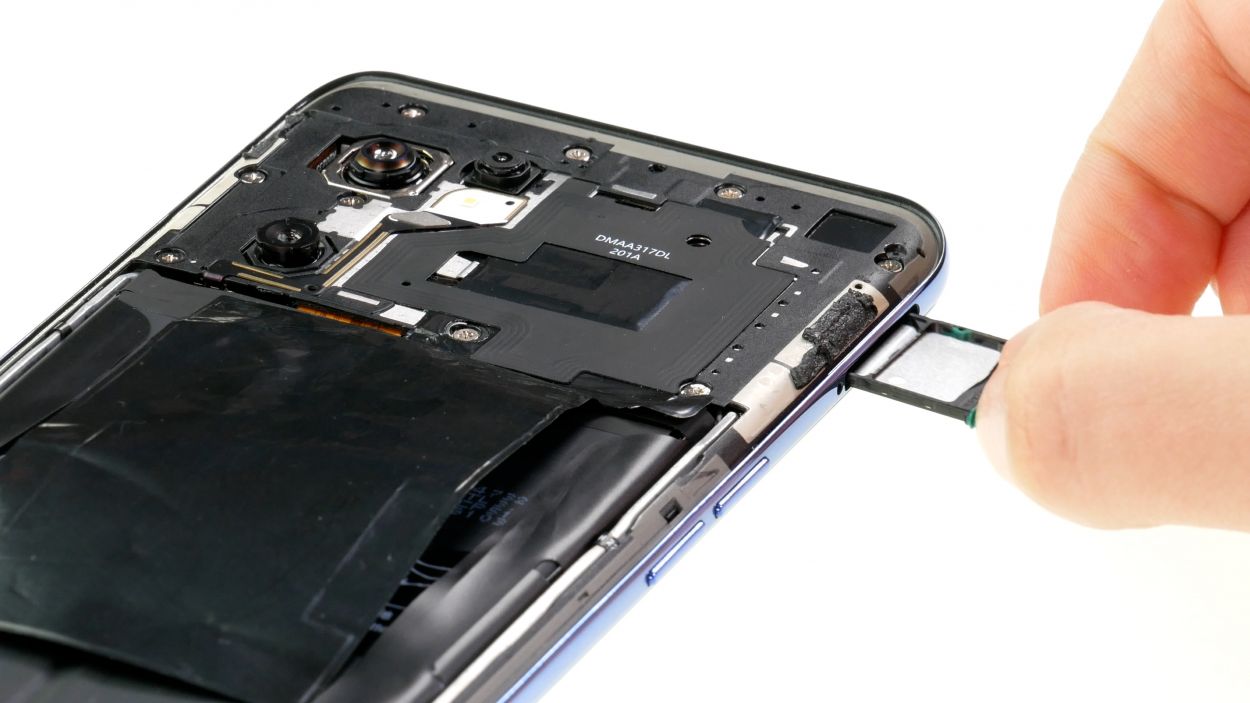
– Let’s get those 18 Phillips screws out of the middle frame! Pop ’em out and keep them safe in your screw storage – you’ll need them later. 😉

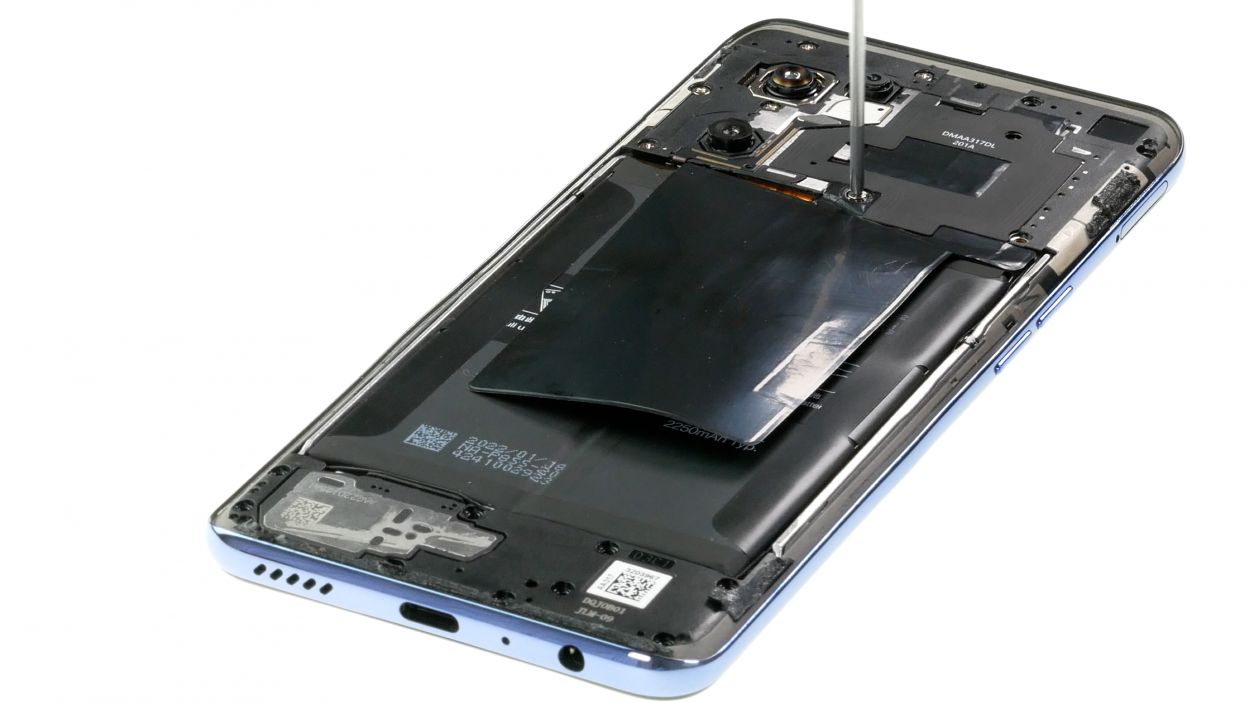
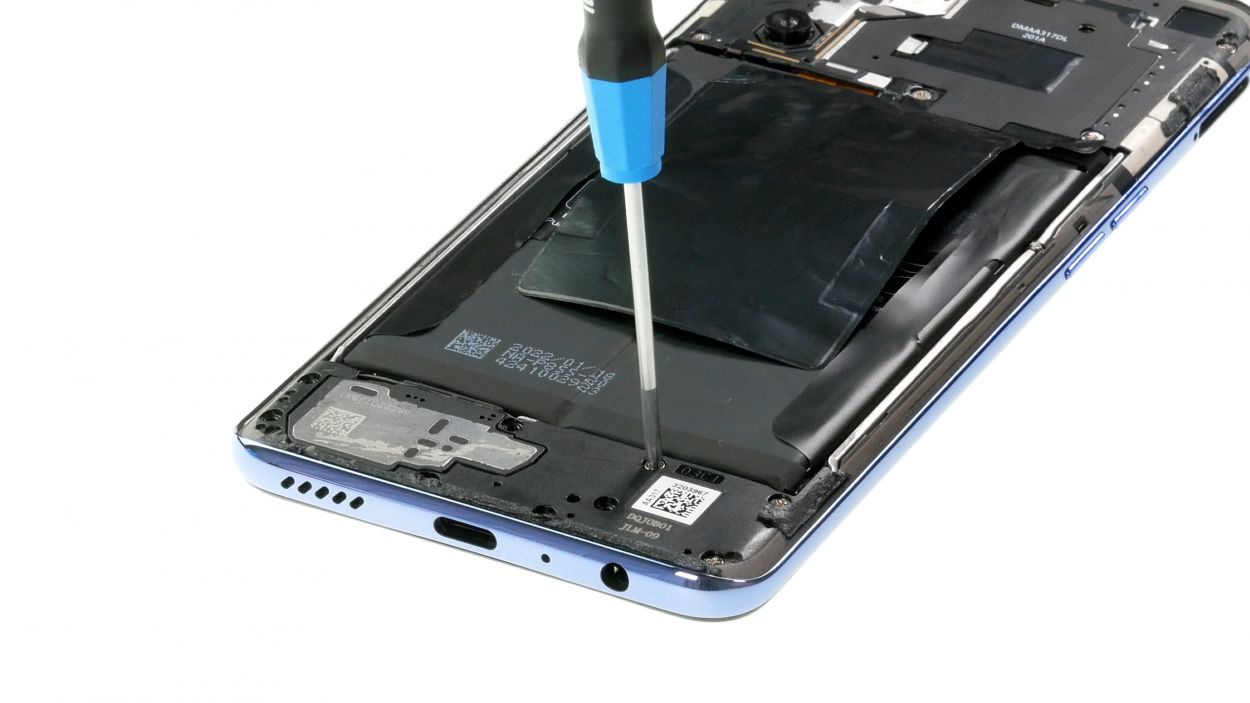
Step 8

To keep things safe and sound during your repair adventure, make sure to disconnect the battery as soon as you can. Let’s avoid any unexpected zaps!
– Carefully detach the battery connector with a spudger from the motherboard.
Tools Used
Step 9
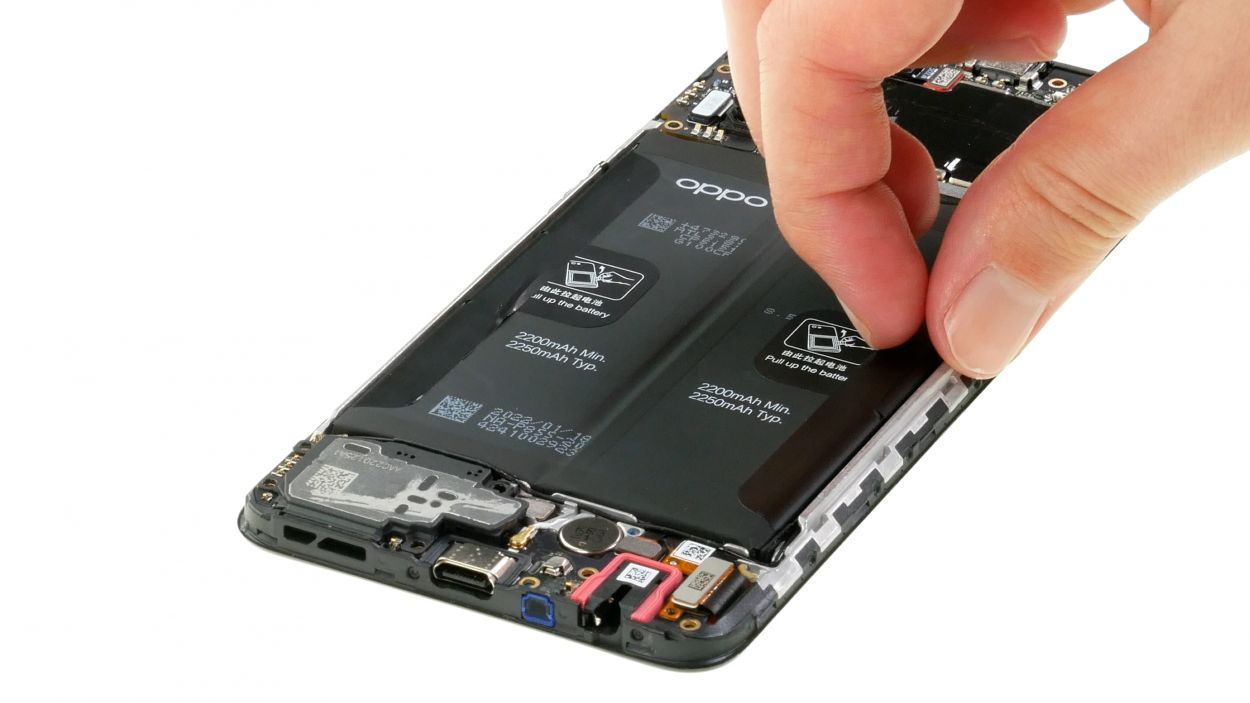
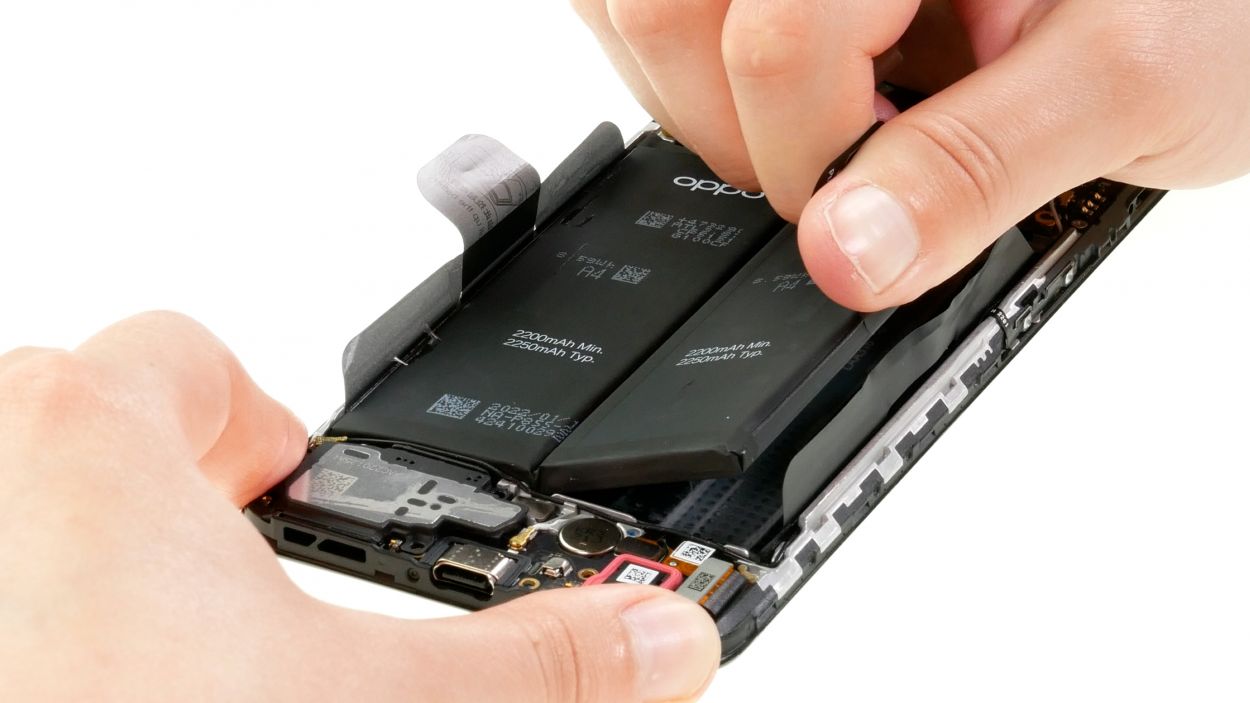
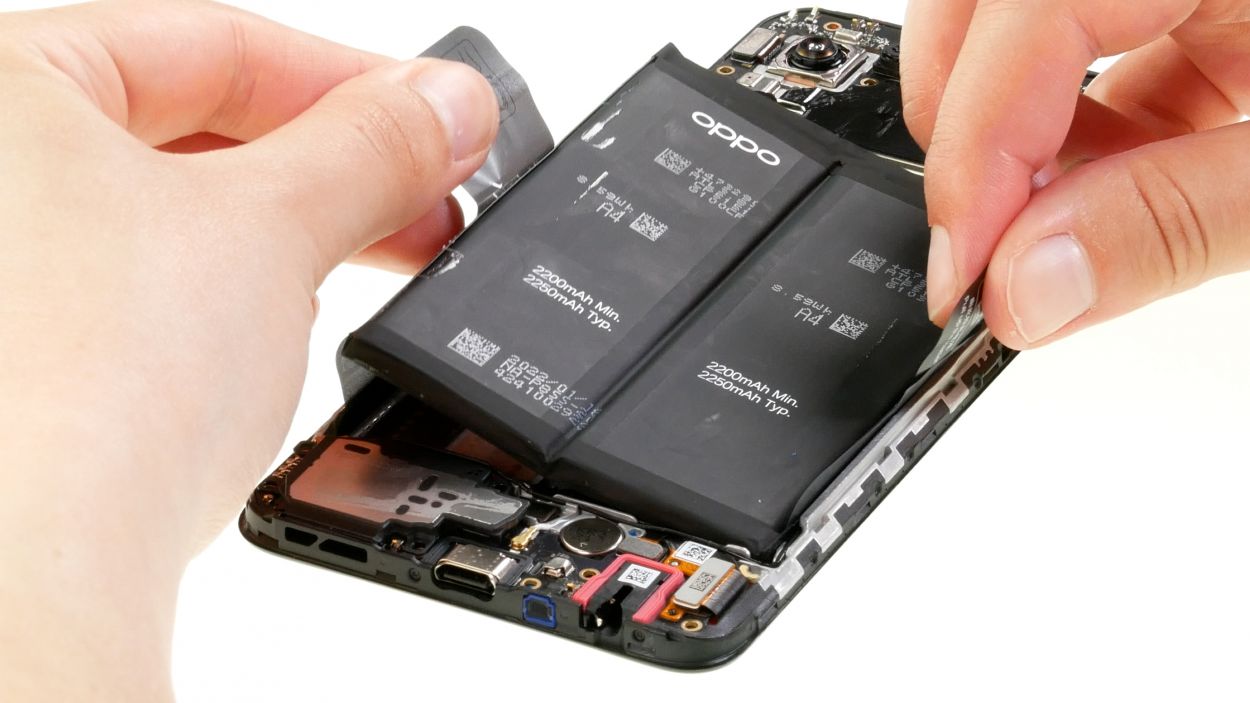
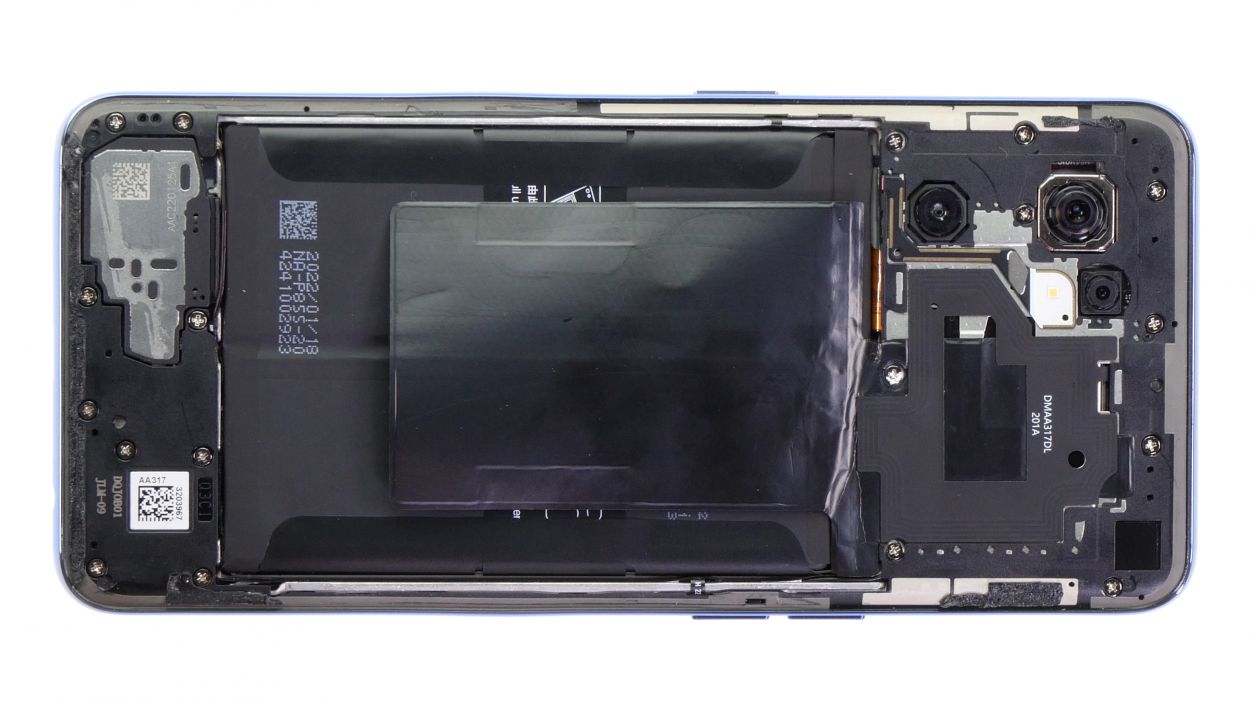
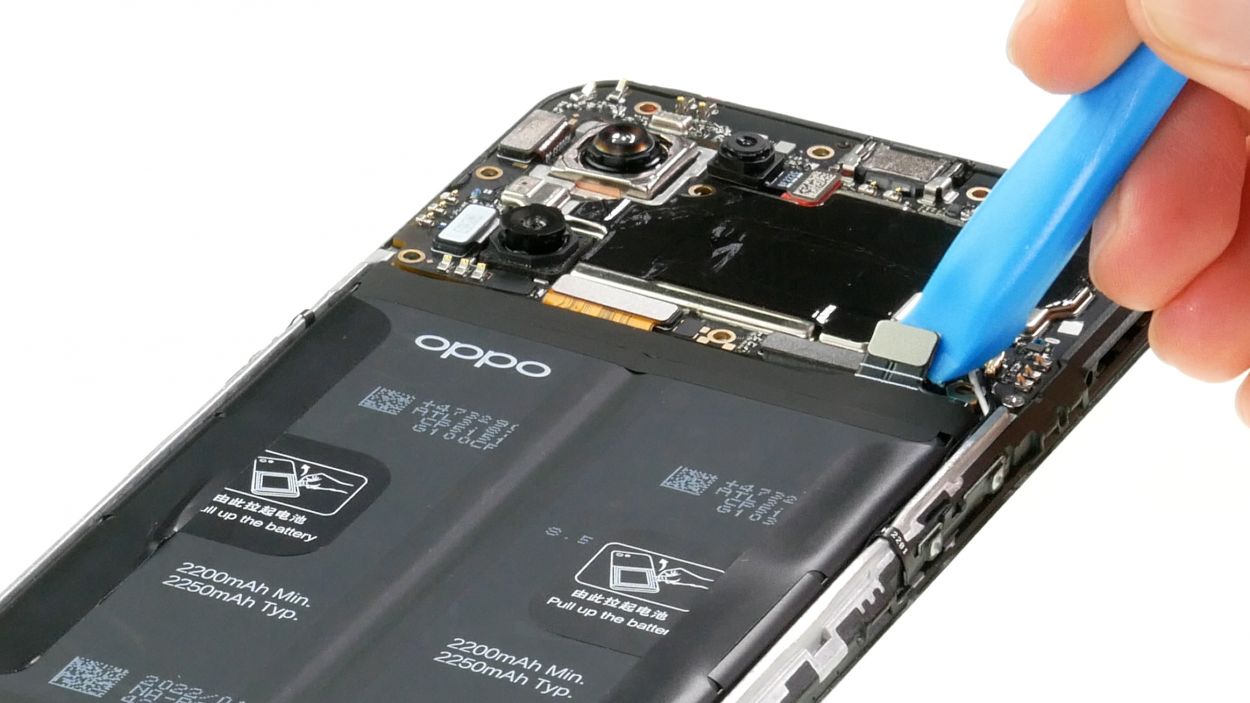
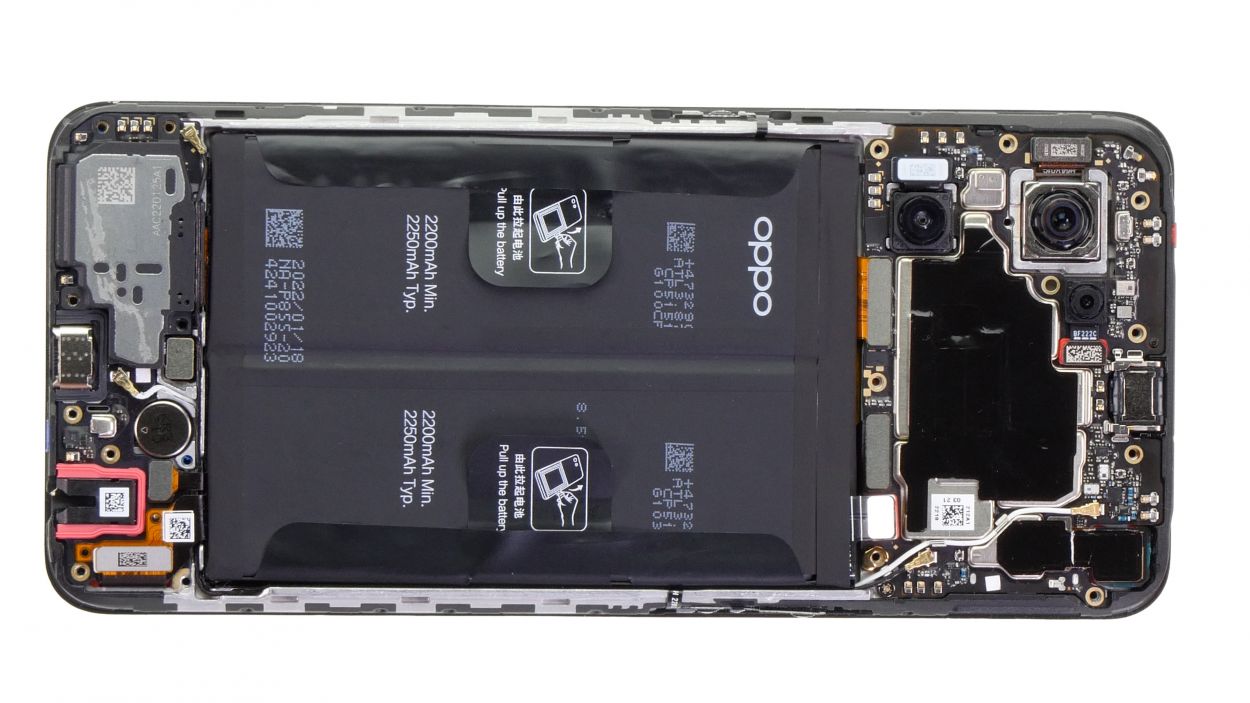
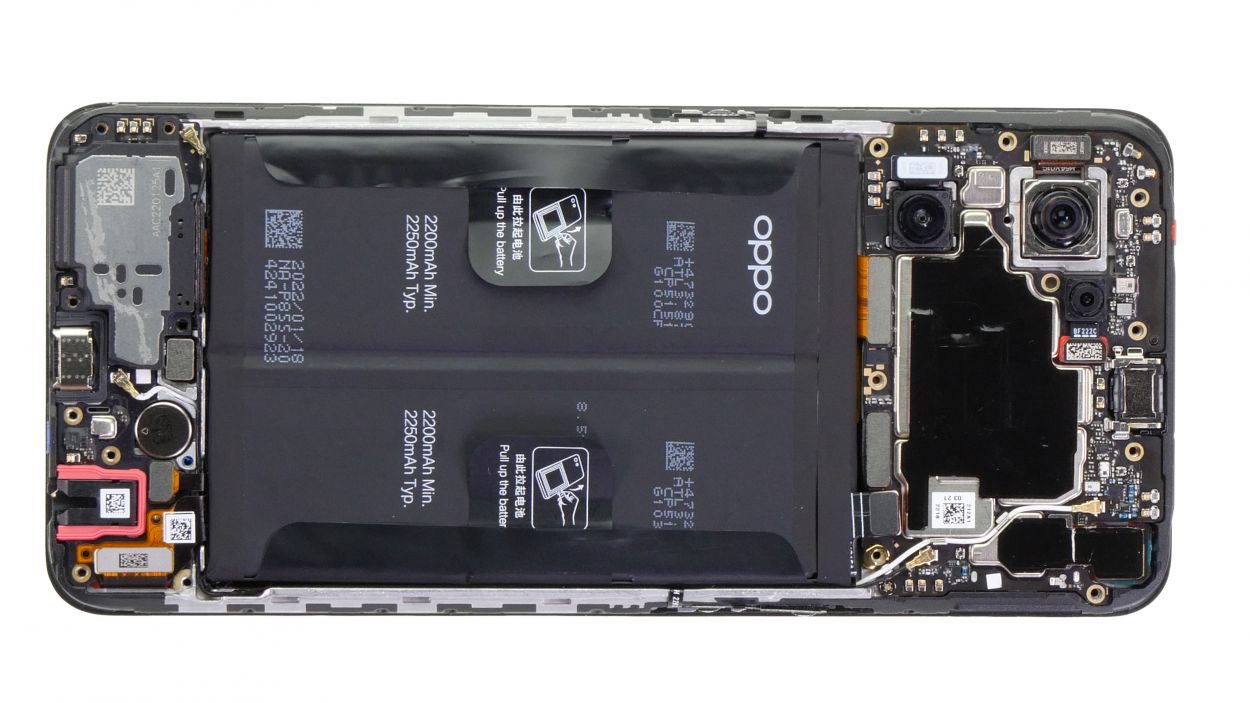
– Time to get started. Begin by carefully removing the four adhesive tabs from the battery’s surface, one at a time.
– Next, gently pull the two narrow adhesive tabs upwards on both sides until the battery is detached. If you need help, you can always schedule a repair
Removing the battery of the Oppo Find X5 Lite is as easy as pie! It’s snugly held in place with an adhesive film, and with the help of those nifty adhesive tabs, you can pull the battery out without needing to heat things up or use any crazy tools. Just have a go and you’ll be on your way! Remember, if you need help, you can always schedule a repair.
Step 10
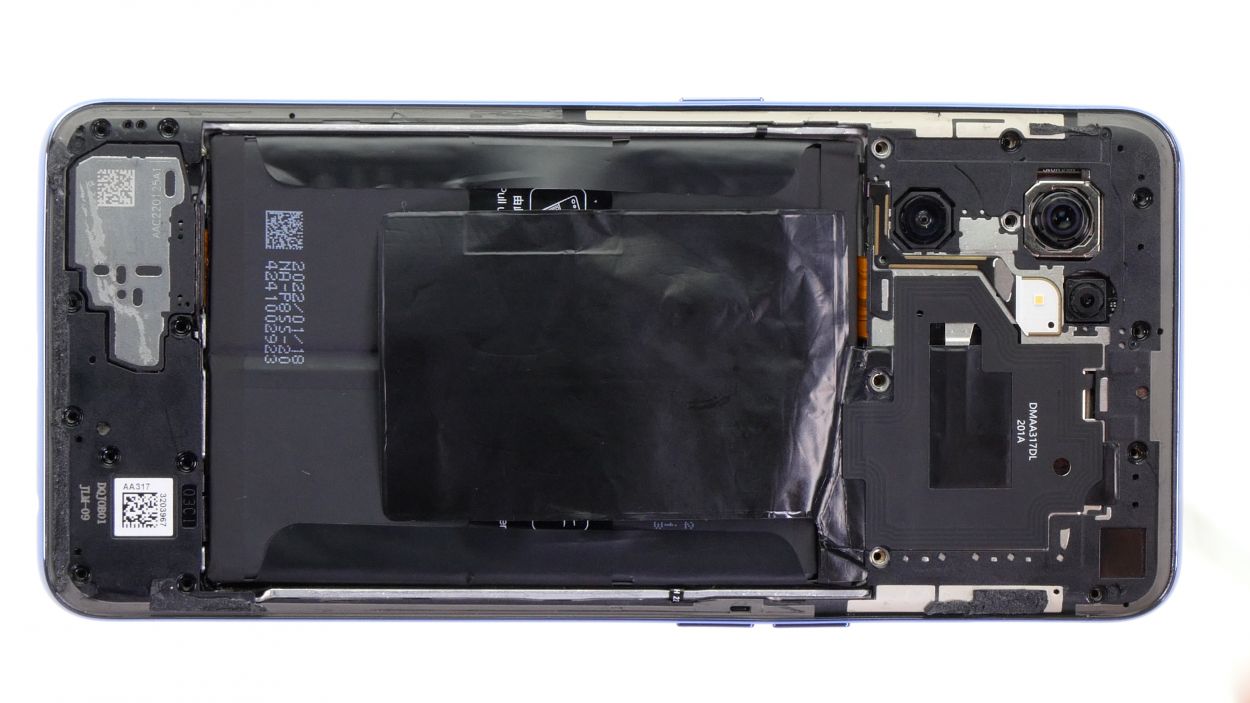
– Gently slide the new battery into its cozy spot and give it a little press to make sure it’s snug as a bug.
Tools Used
Step 11

To keep things safe and sound, connect that battery at the last moment! It helps dodge any pesky short circuits.
– Reconnect the battery by gently pressing its connector onto the motherboard.
Step 13
18 × 3.7 mm Phillips
– Let’s get this party started! Secure that middle frame with those 18 Phillips screws. Easy peasy!
Tools Used
Step 15
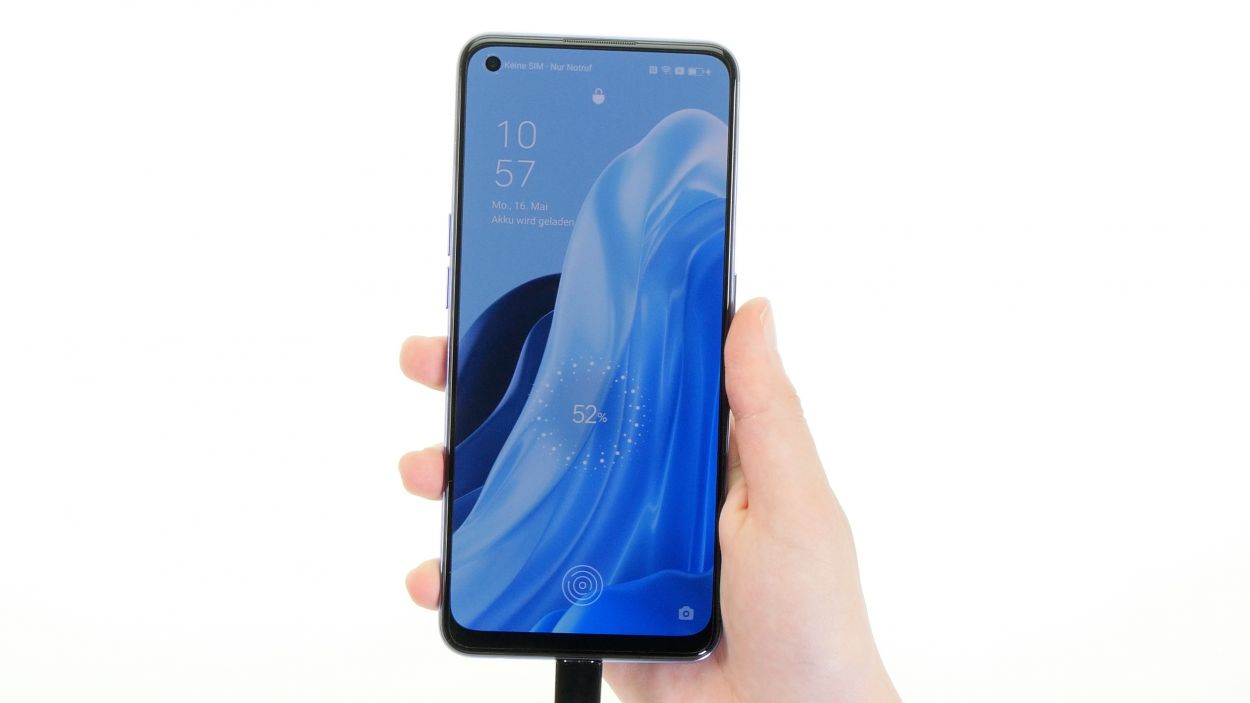
Now’s the time to give that shiny new battery a whirl and check out the basic functions! Don’t forget to use our handy checklist to make sure everything’s in tip-top shape. If you need help, you can always schedule a repair.
– Connect your Oppo to the mains in order to see if the replacement battery is charging.
Step 16

Is your adhesive frame looking a little worse for wear? No worries! If it’s still sticking like a champ, you’re good to go. But if it’s showing its age or not sticking as it should, grab a fresh adhesive frame and let’s get this party started! Need a hand? You can always schedule a repair
Step 17

– Close your Oppo Find X5 Lite after the repair by pressing the back cover back onto the screen unit.
Alright, champ! Let’s give that back cover some extra love. Heat up the edges again with your hot air tool – think of it as a warm hug for the glue. Then, for extra bonding power, give your device a little book-weight spa treatment for a few minutes. Need a hand? You can always schedule a repair.
Tools Used
- heat gun to heat parts that are glued on so they’re easier to remove.
In most cases, you can also use a hairdryer.” rel=”noopener”>Heat gun


