DIY Guide to Replace Midframe on Moto X Play
Duration: 30 min.
Steps: 8 Steps
In this guide, we’ll walk you through the steps to take off the midframe of your Moto X Play. If that midframe has seen better days, it’s time for a change!
Step 1
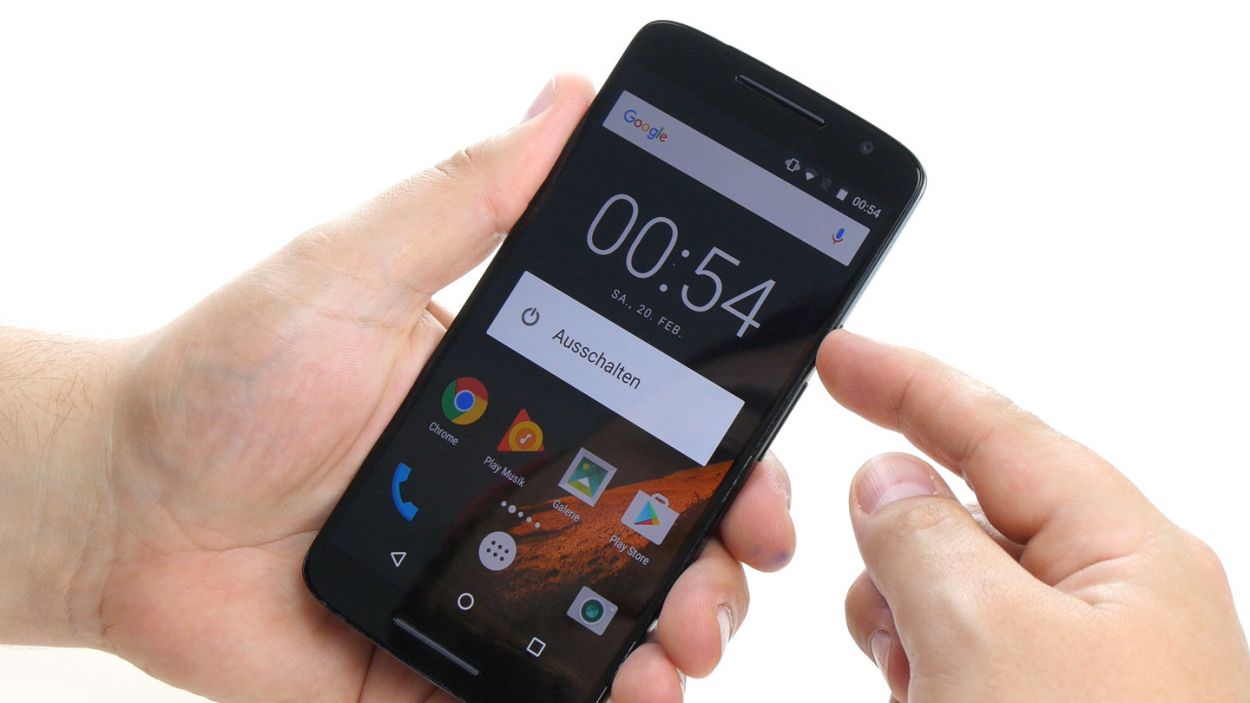
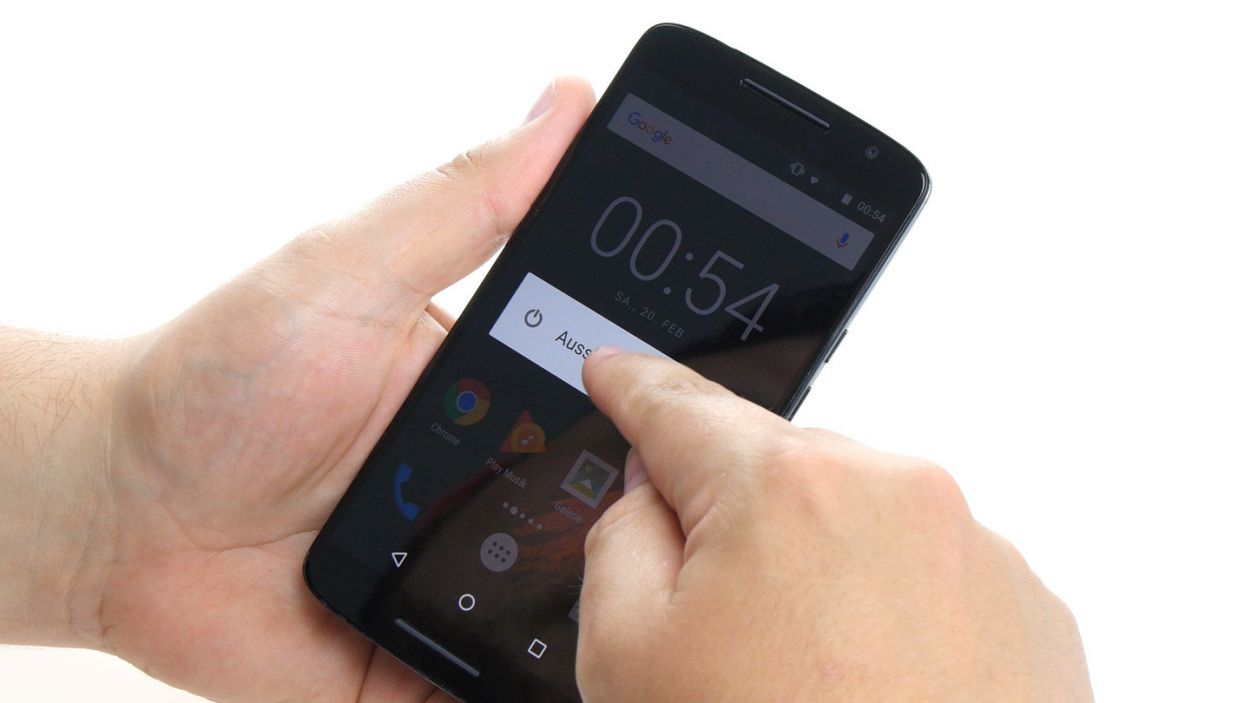
– First things first, let’s give your device a little break! Press and hold that power button until you see the ‘Power off’ option pop up on your screen.
– Now, just tap that option with your finger to confirm that you want to turn off your Moto X Play. Sit tight and wait for the screen to go dark—you’re almost there!
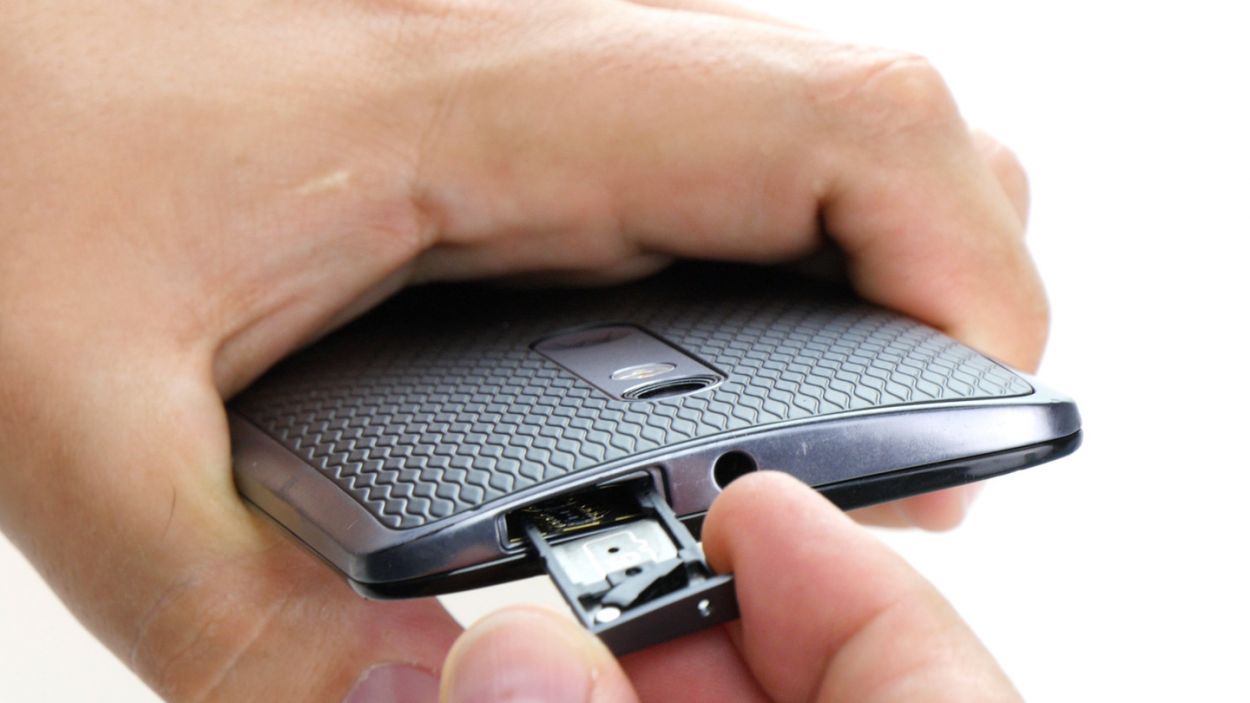
Step 2


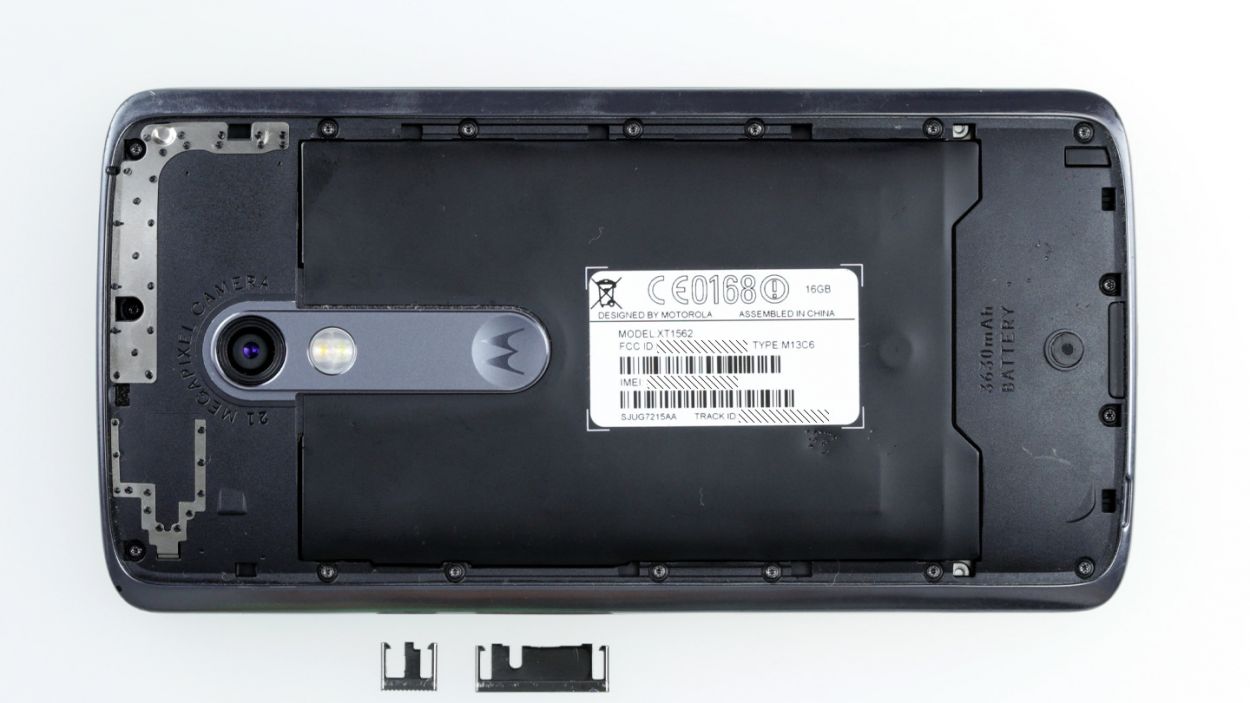
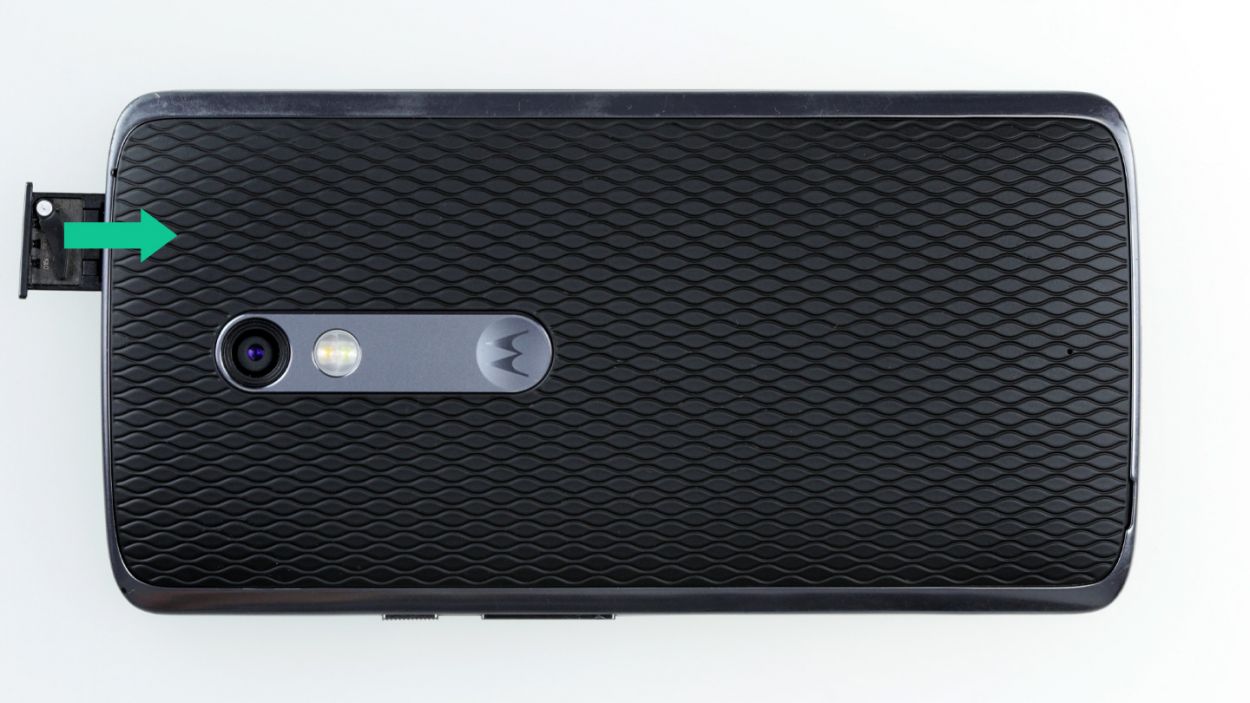
– Pop that SIM tray out of your device by giving it a gentle nudge with a SIM tool or a straightened paperclip. Just poke it into the tiny hole and watch the magic happen!
– Once the tray is peeking out of its cozy little home, feel free to pull it out along with the cards. You’ve got this!
Step 3
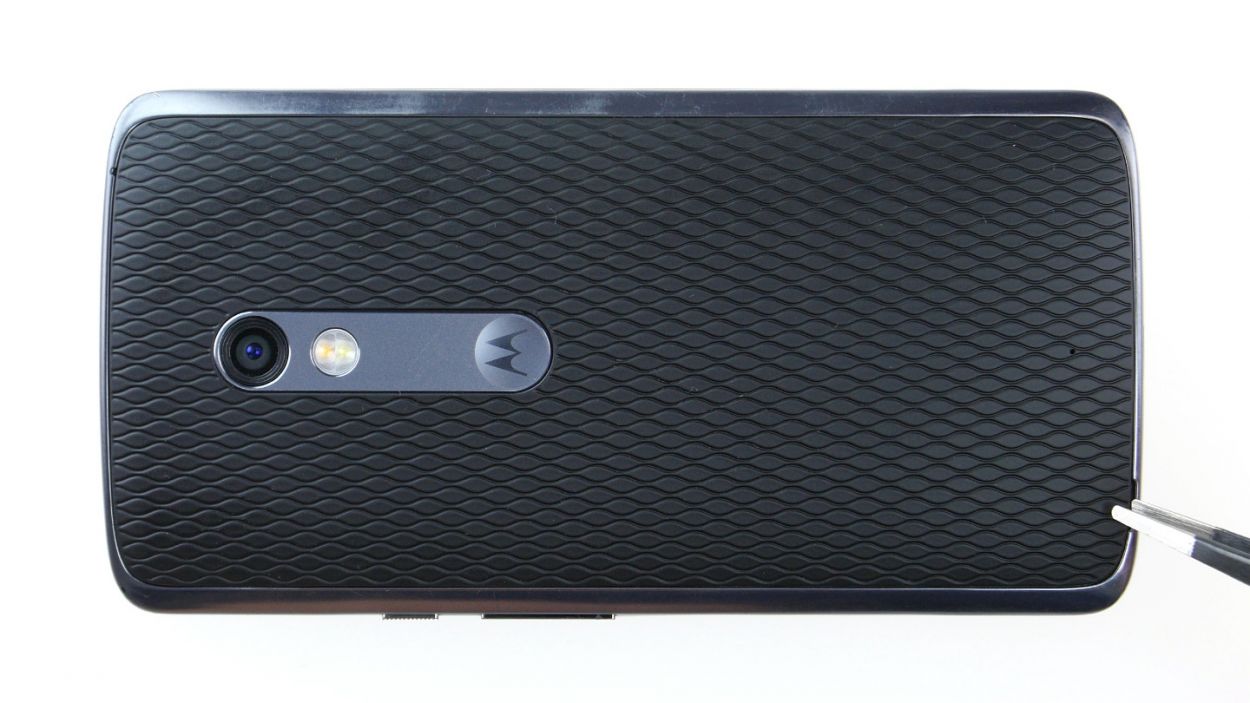
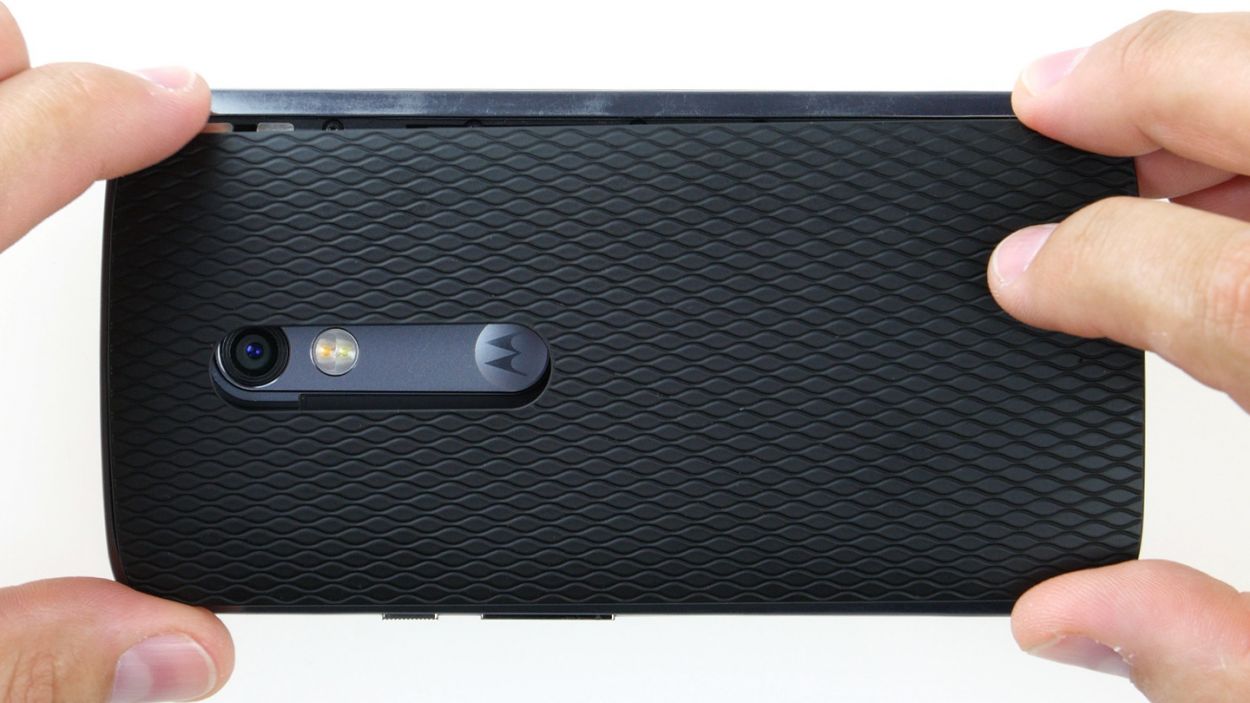
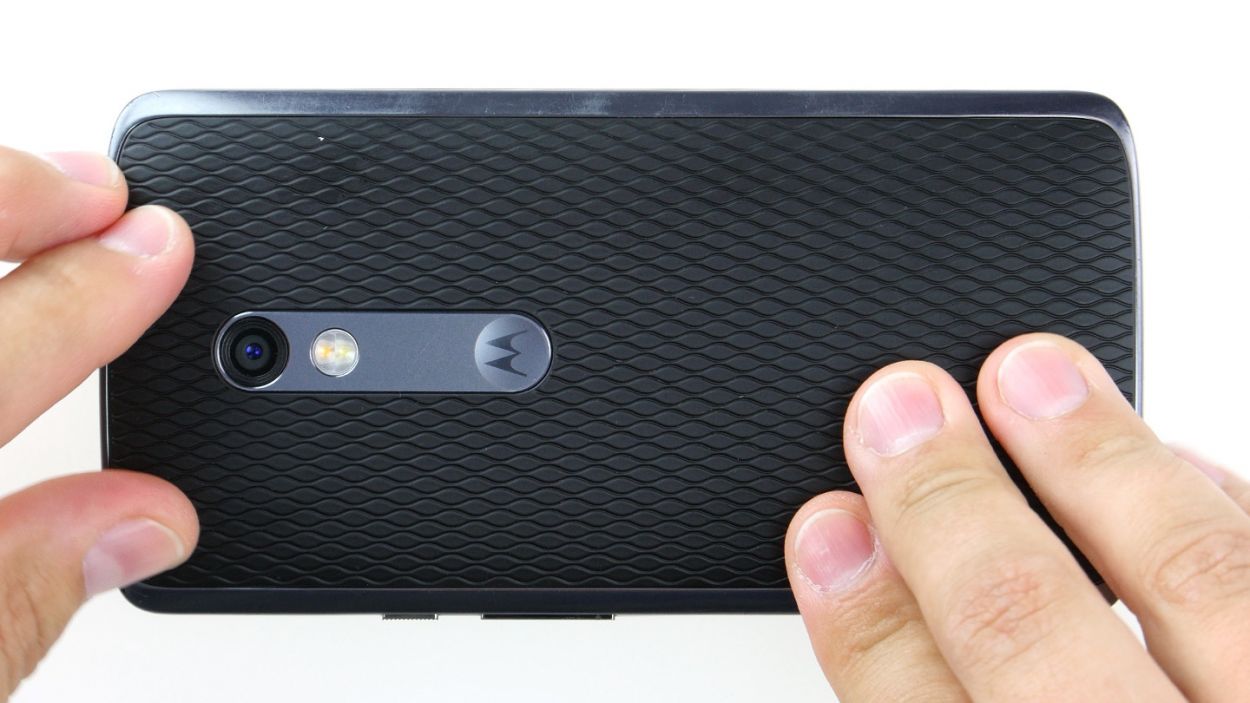
– In the lower left corner of the back cover, there’s a nifty little slot just waiting for your fingernail or a handy tool. Slide it in and pop that back cover off your device!
– The cover is attached to the chassis at several spots, like it’s giving a big hug. Gently unhook all those connections and lift the back cover away from your device.
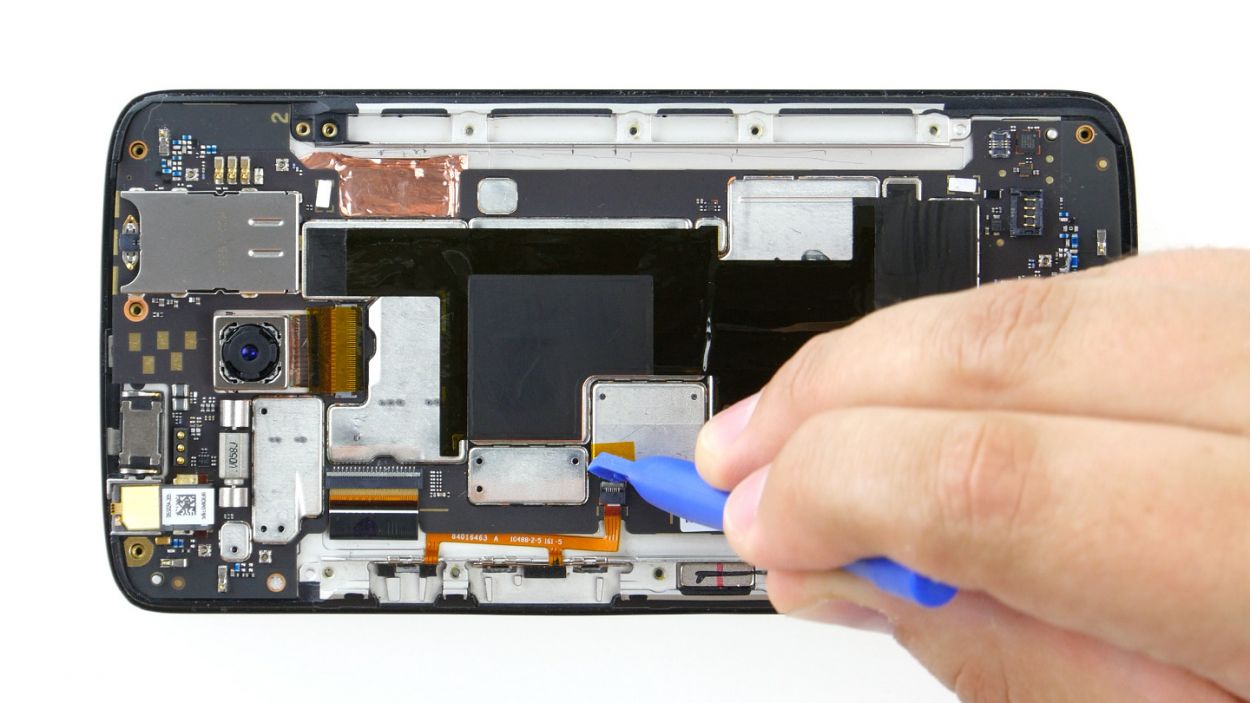
Step 4
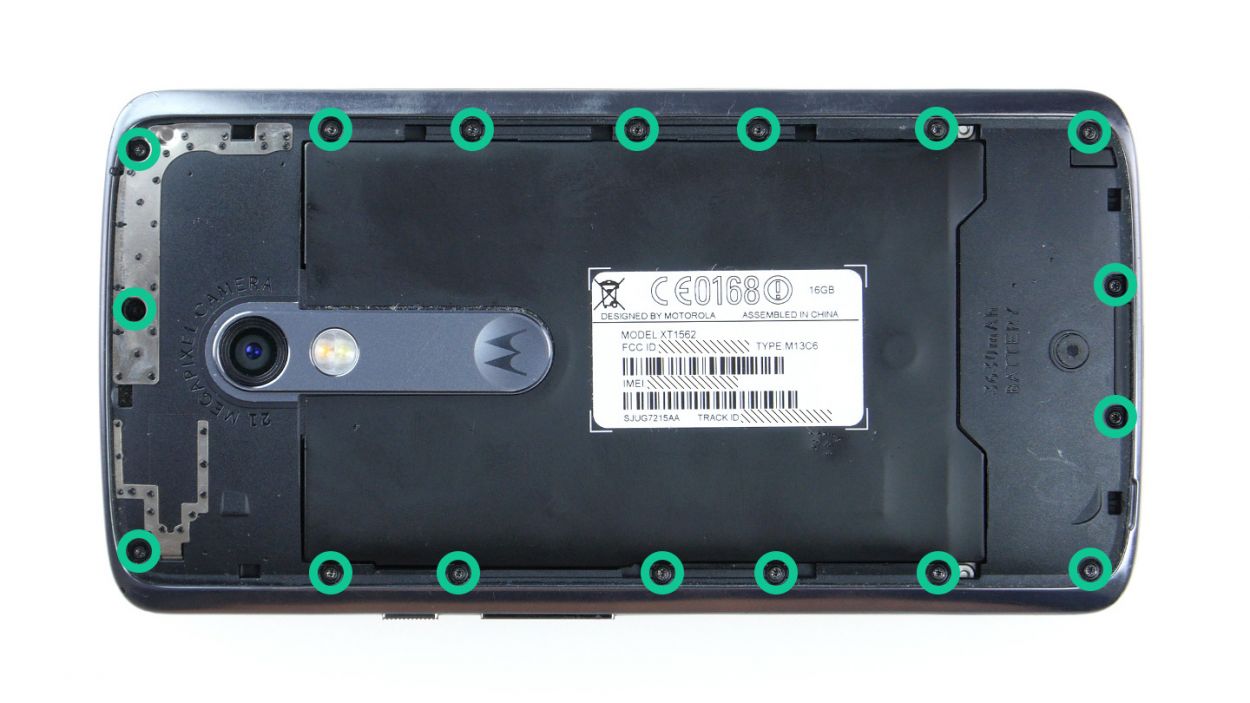
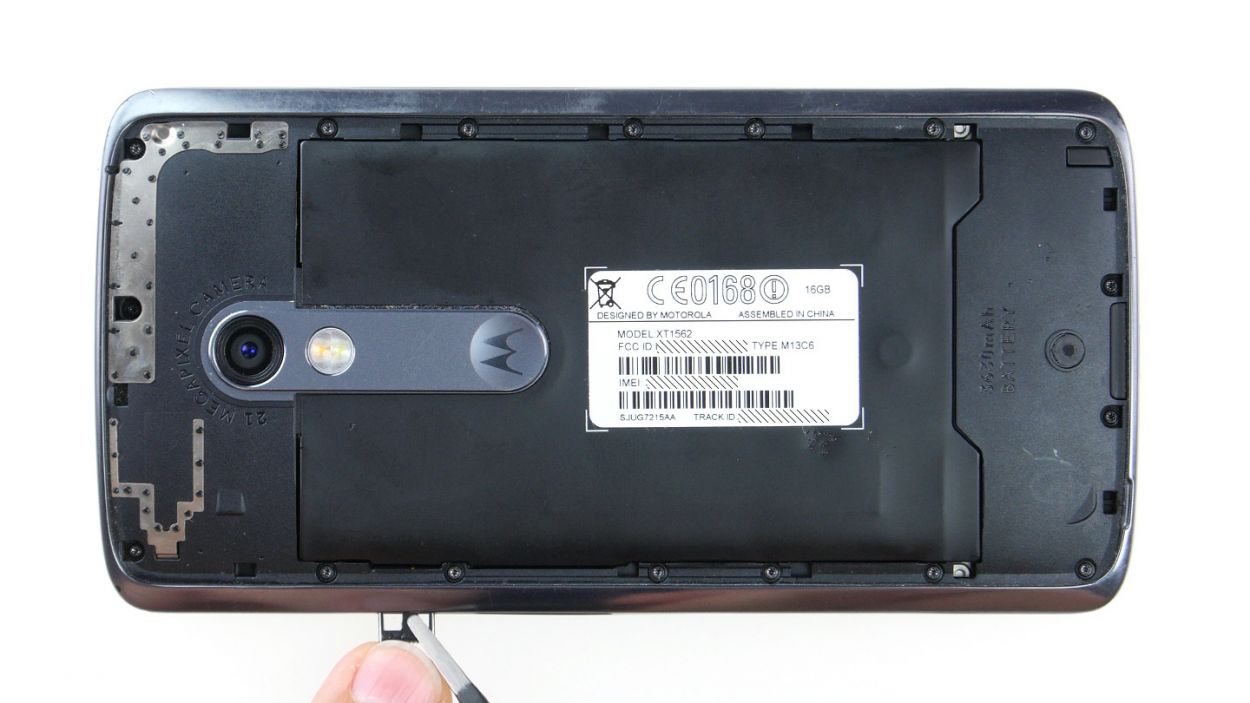
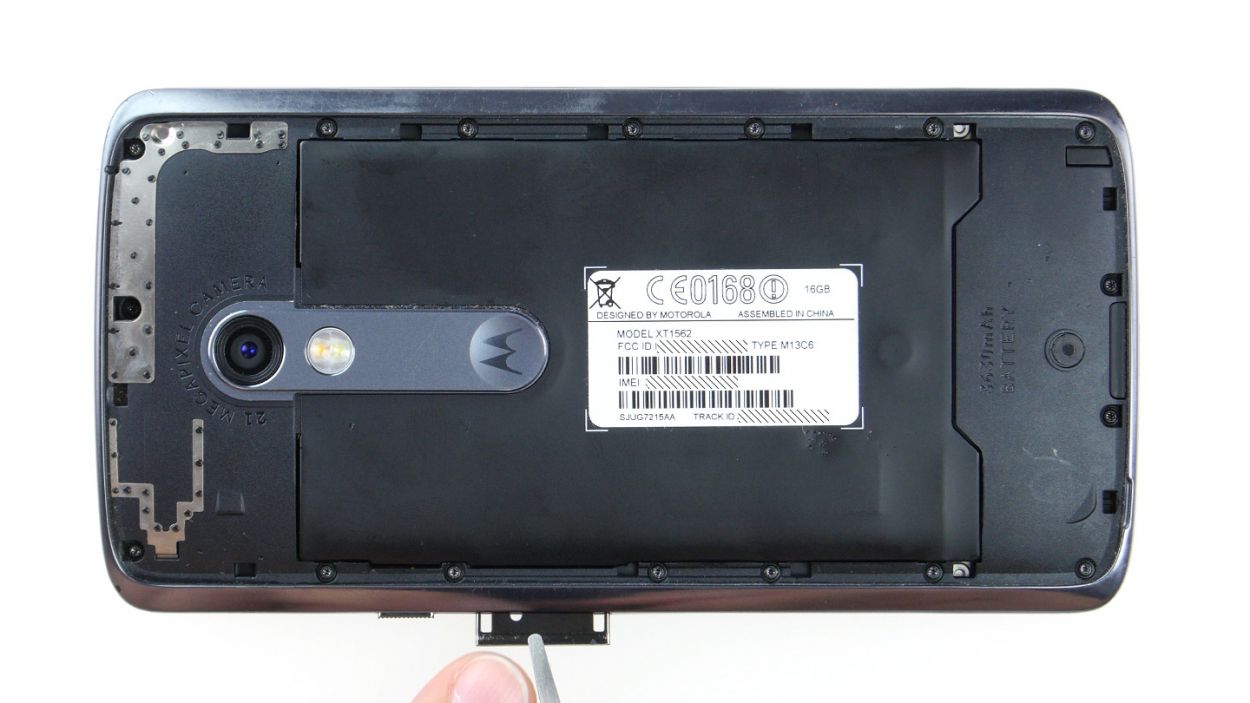
– First things first, let’s tackle those seventeen screws holding the midframe in place. Grab your trusty 3.1 mm T3 Torx screwdriver and get to work!
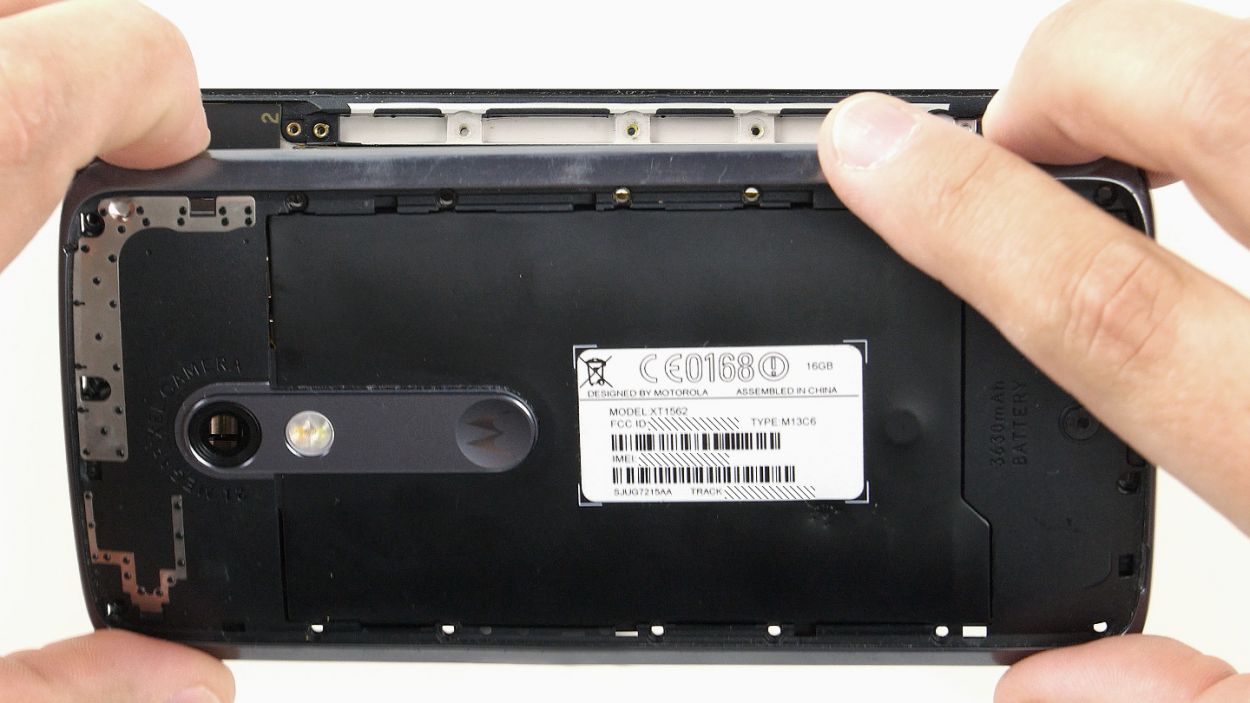
– Once those screws are out of the way, gently lift off the midframe. Just a heads up, the power button and volume rocker might decide to join the party and pop out. If they stick around, no worries—you can always remove them later!
Step 5


– Carefully place the midframe back onto your device, ensuring that all the openings align perfectly with the threaded holes. It’s like a puzzle piece fitting snugly into place!
– Now, grab those seventeen screws and let’s secure the midframe to the device. You’ll be using 17 x 3.1 mm T3 Torx screws for this job. Tighten them up, and your device will be as good as new!
Step 6
– Alright, champ! Time to pop those power and volume buttons back in. Just follow the pic and gently press them into their spots. You’ll hear a satisfying *click* when they’re snug. Easy peasy! If you get stuck, you can always schedule a repair
Step 7

– Gently slide the back cover back into its rightful place on the device.
– Firmly press down on the back cover all around until you hear those satisfying clicks as every hook secures itself in place.
Step 8
– Insert the SIM tray back into your device. Make sure it’s aligned properly.