DIY Guide to Replace Earpiece on Moto X Play
Duration: 60 min.
Steps: 18 Steps
In this guide, we’ll walk you through the steps to swap out that troublesome earpiece on your Moto X Play. If your calls sound like they’re happening underwater or you can’t hear the other person at all, it’s time to roll up your sleeves and get to work! Remember, if you need help, you can always schedule a repair.
Step 1
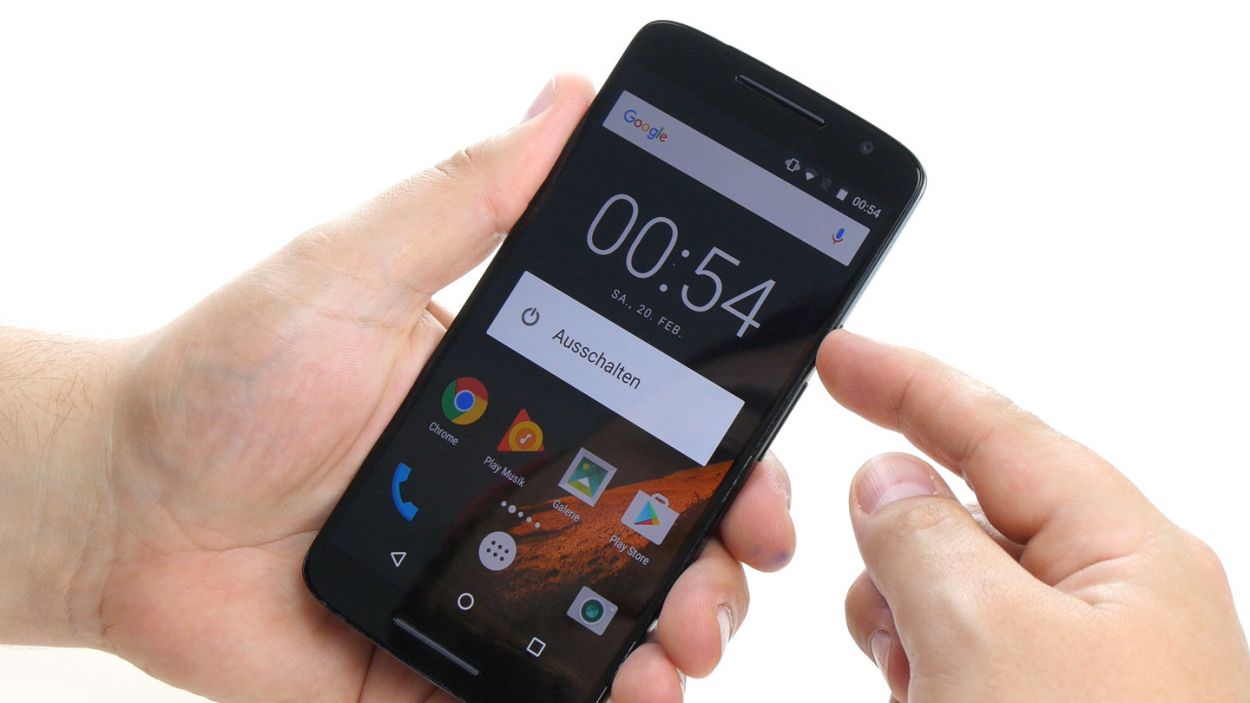
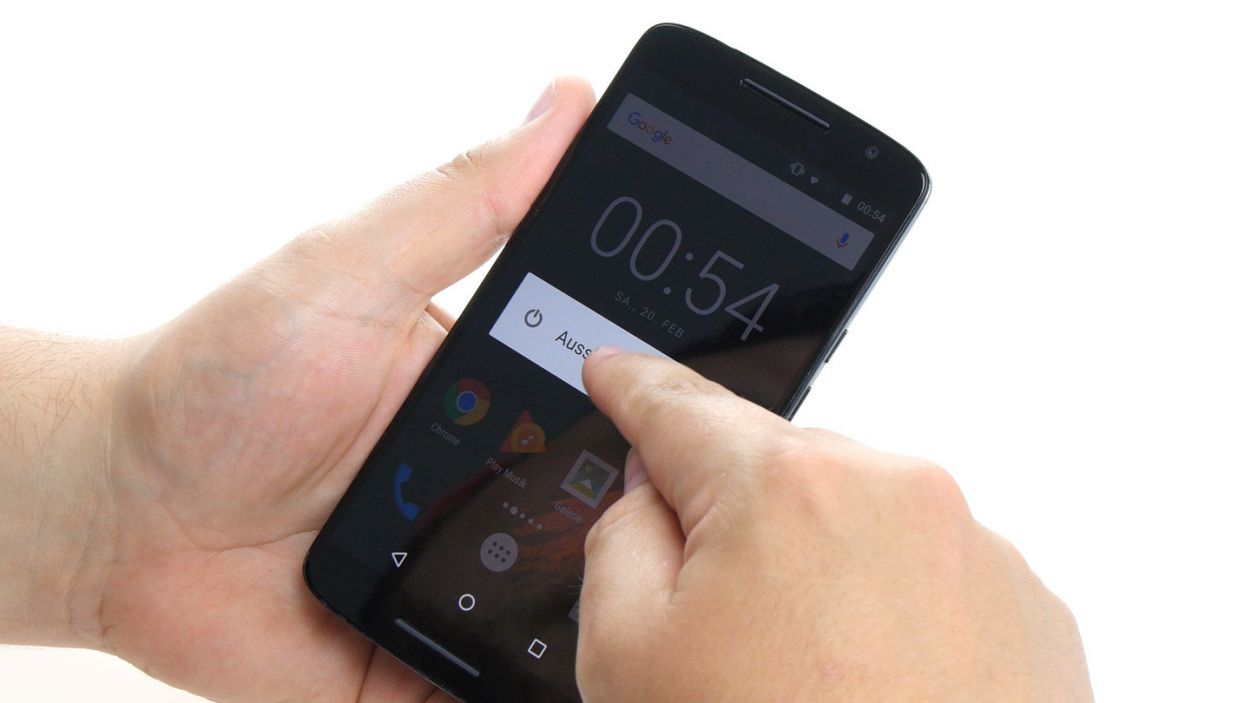
– First things first, let’s get that device powered down! Press and hold the power button until you see the ‘Power off’ option pop up on your screen.
– Now, give it a gentle tap with your finger to confirm that you’re ready to shut down your Moto X Play. Sit tight and wait for the screen to go completely blank!
Step 2


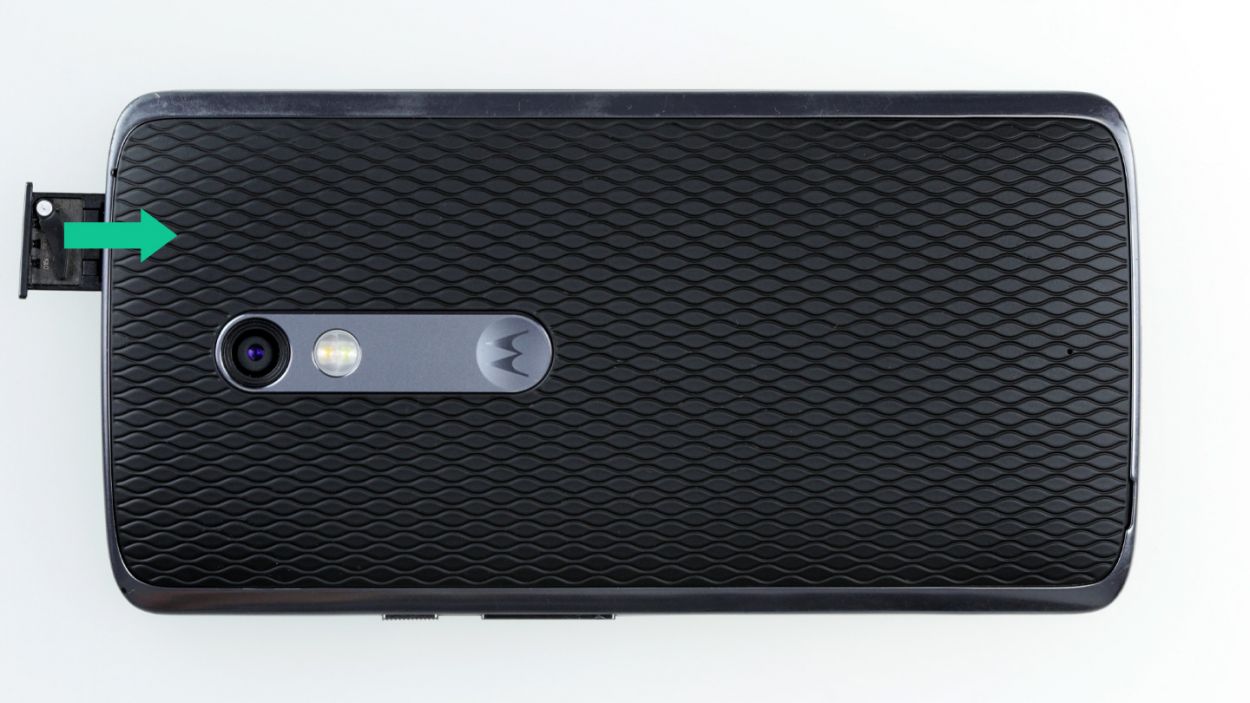
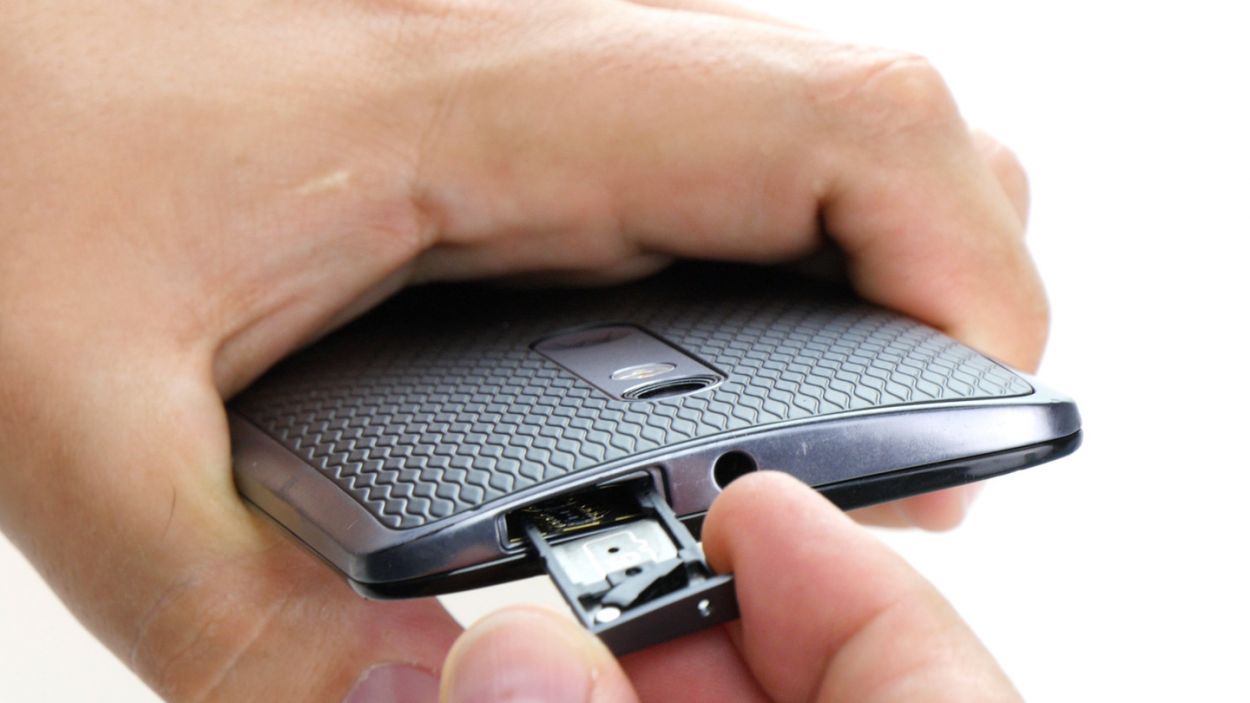
– Eject the SIM tray! Use a SIM tool (or a straightened paperclip – you’re resourceful!) and gently nudge it into the tiny hole.
– Once you see the tray peeking out, give it a gentle tug and pull out your SIM cards. Easy peasy!
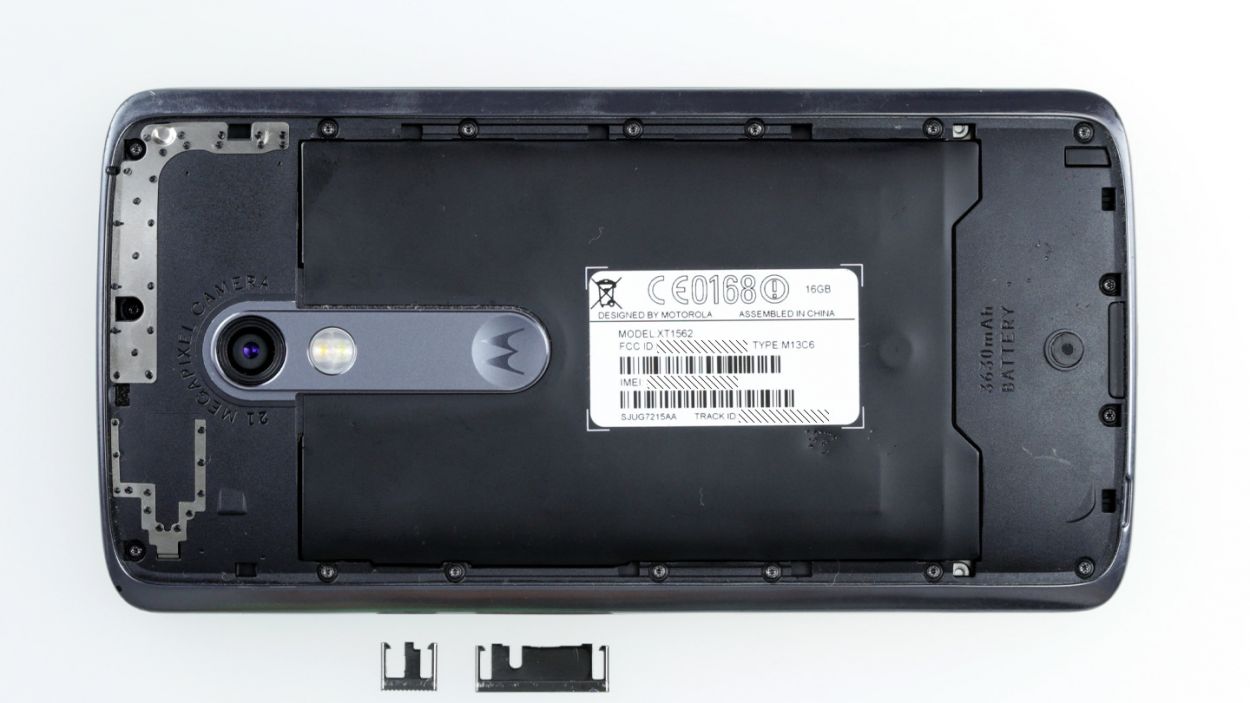
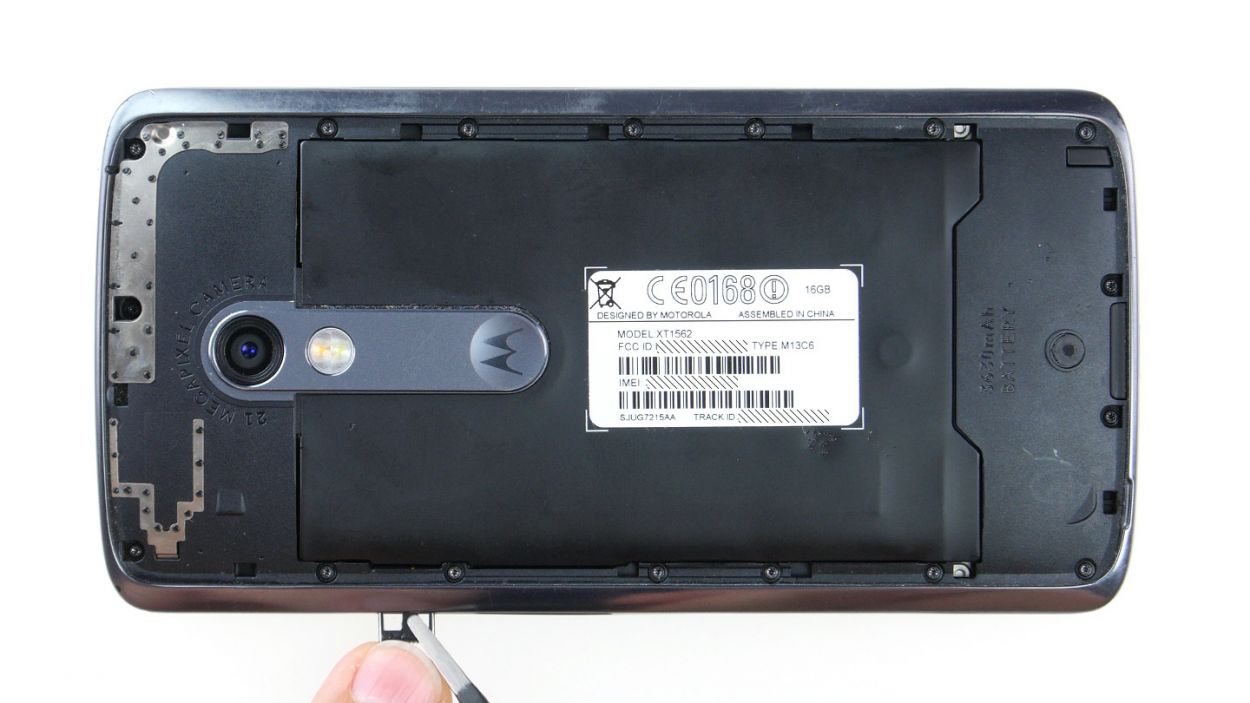
Step 3
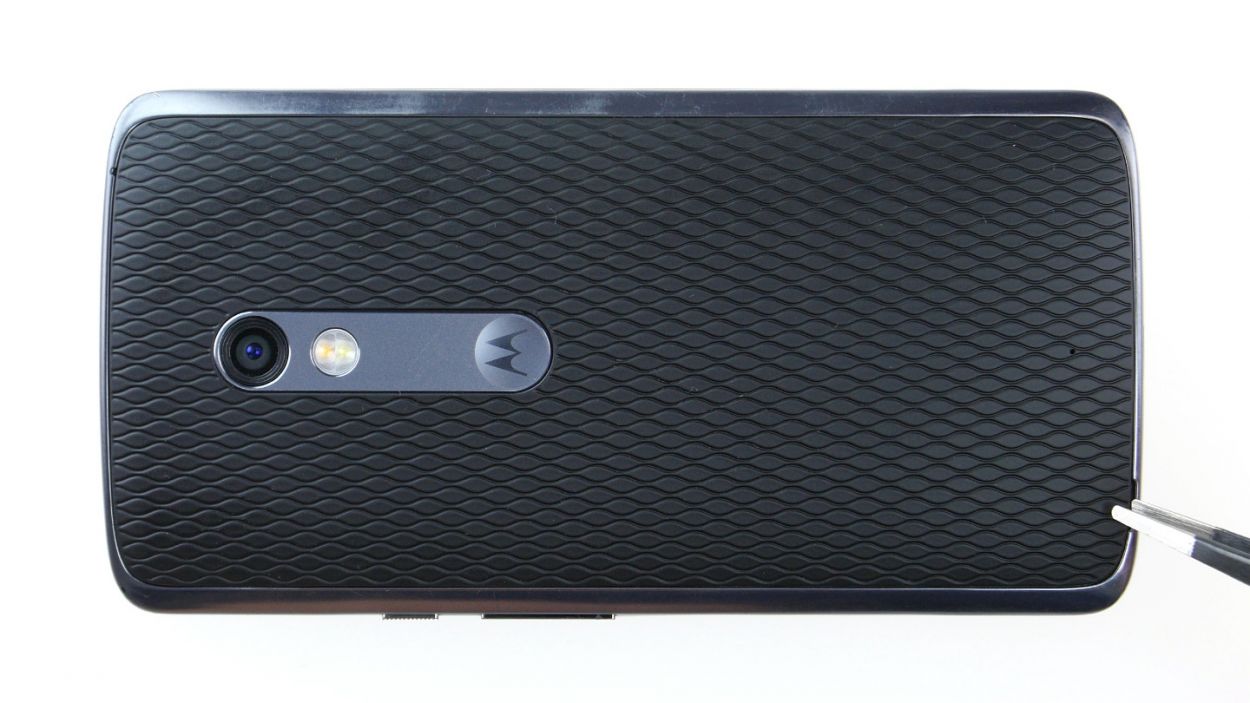
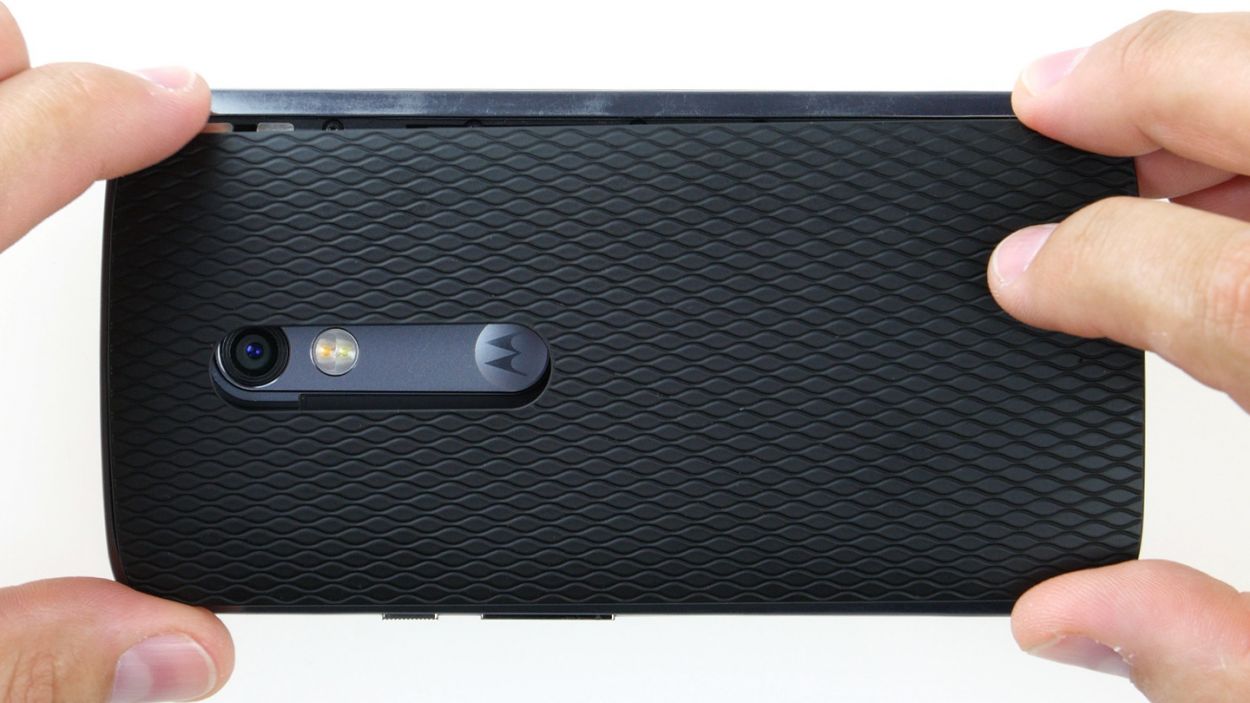
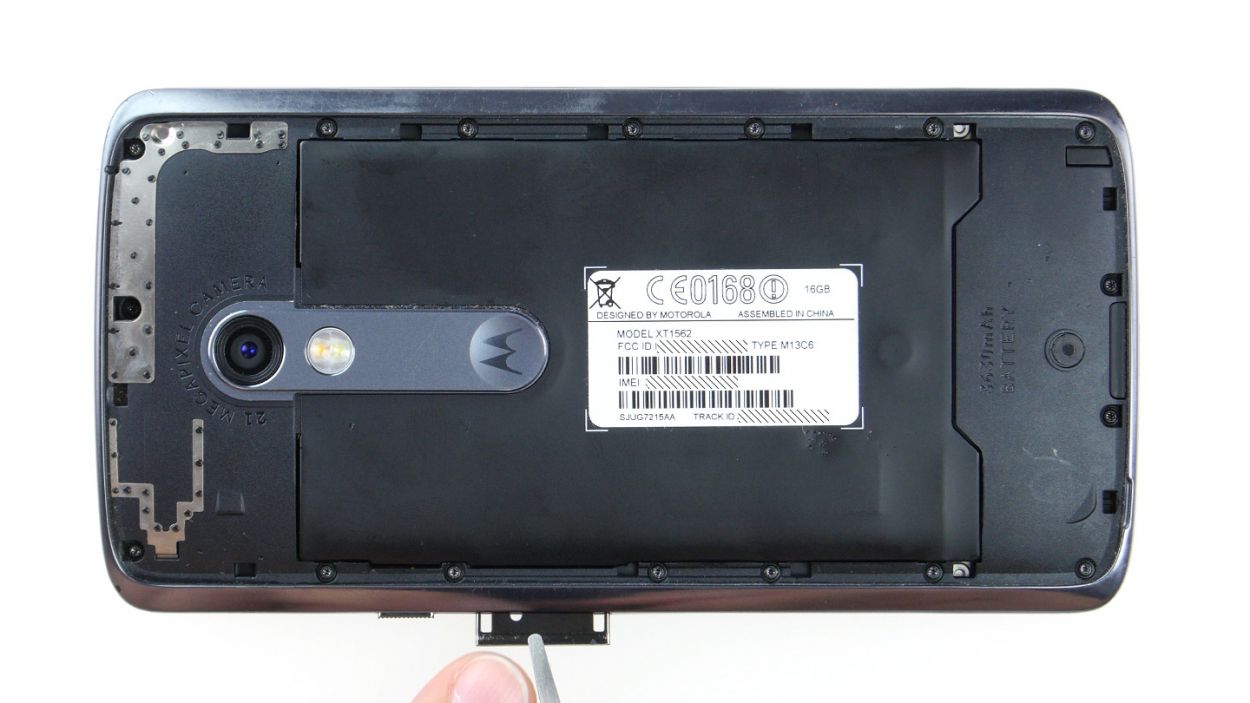
– Hey there! Spot that long slot down at the bottom left of the back cover? Gently pry it open with your fingernail or a handy tool – you’re unhooking the back cover!
– Time to free the cover! It’s hooked on in a few places. Just carefully unhook it all and lift it off. You got this!
Step 4
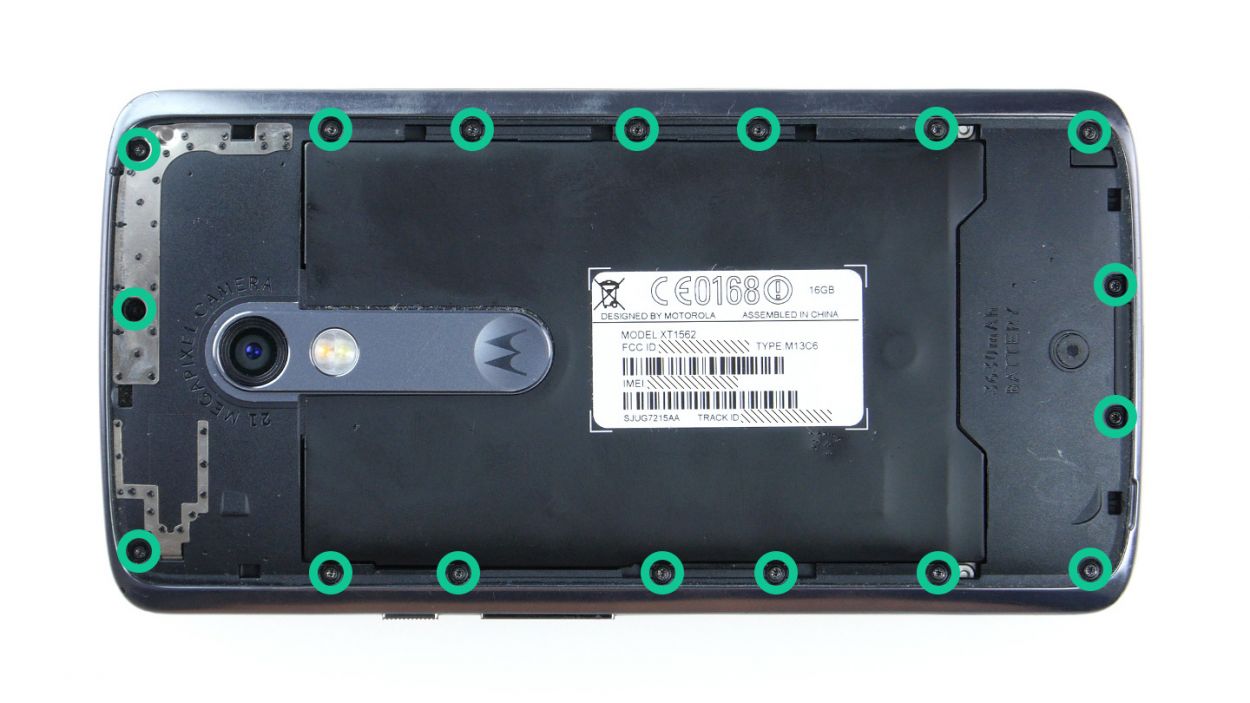
– First things first, let’s tackle those seventeen screws holding the midframe snugly in place. Grab your trusty 3.1 mm T3 Torx screwdriver and get to work!
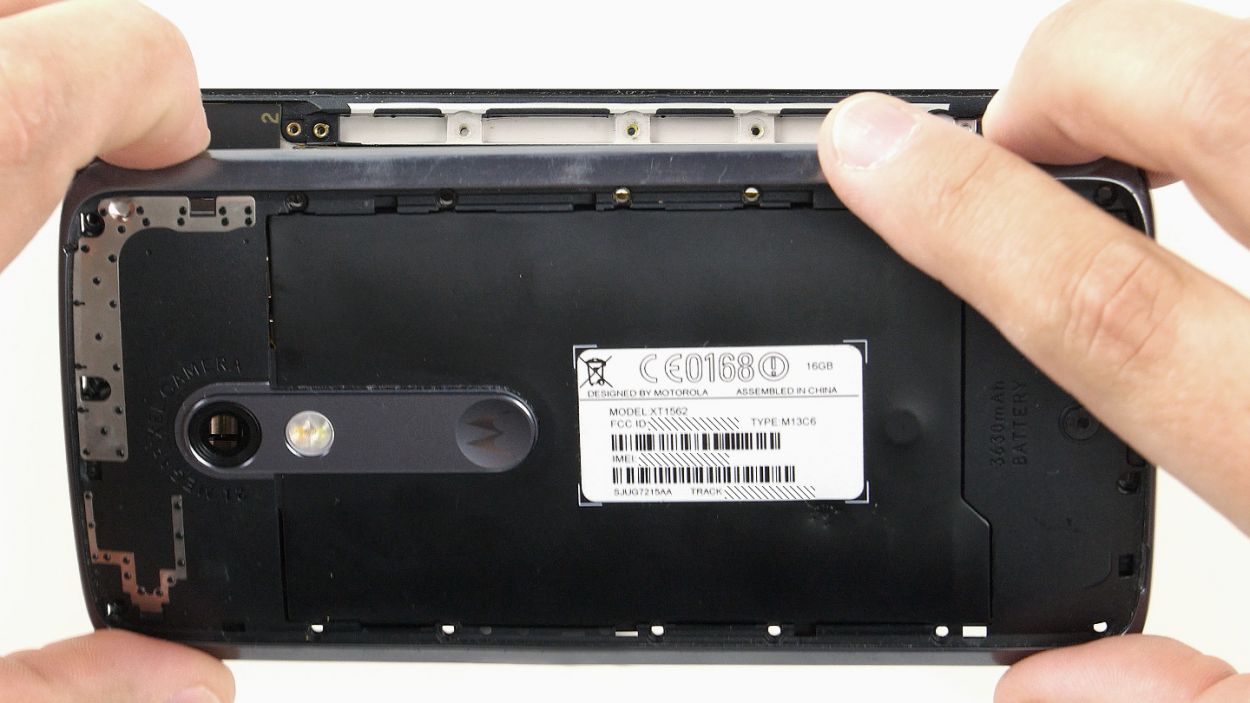
– Now that the screws are out, carefully lift off the midframe. Just a heads up, the power button and volume rocker switch might decide to take a little tumble during this step. If they stick around, no worries—you can always pop them out later!
Step 5
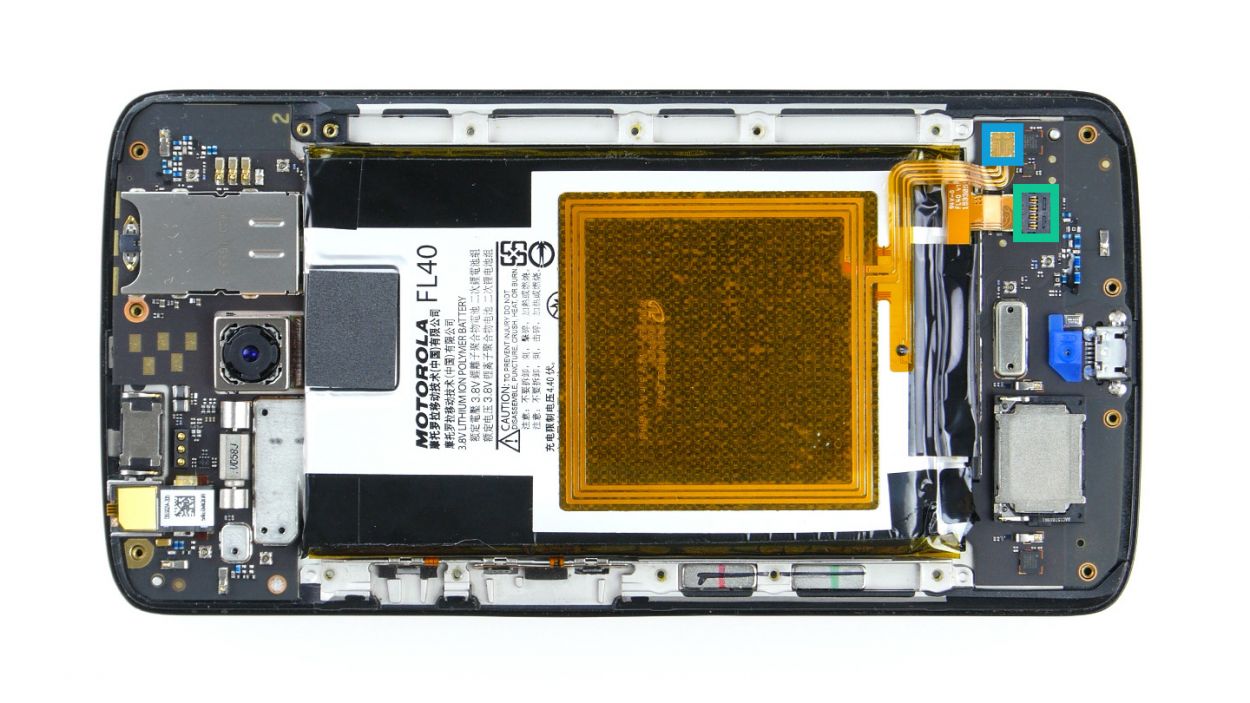
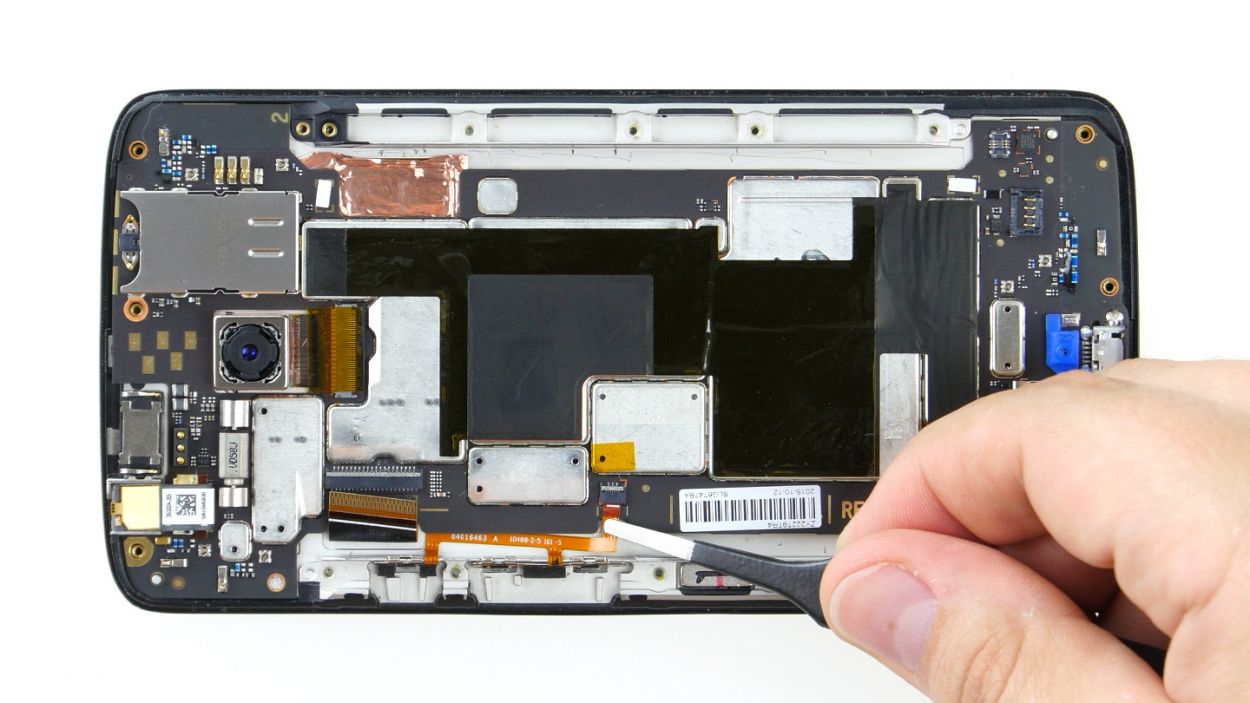
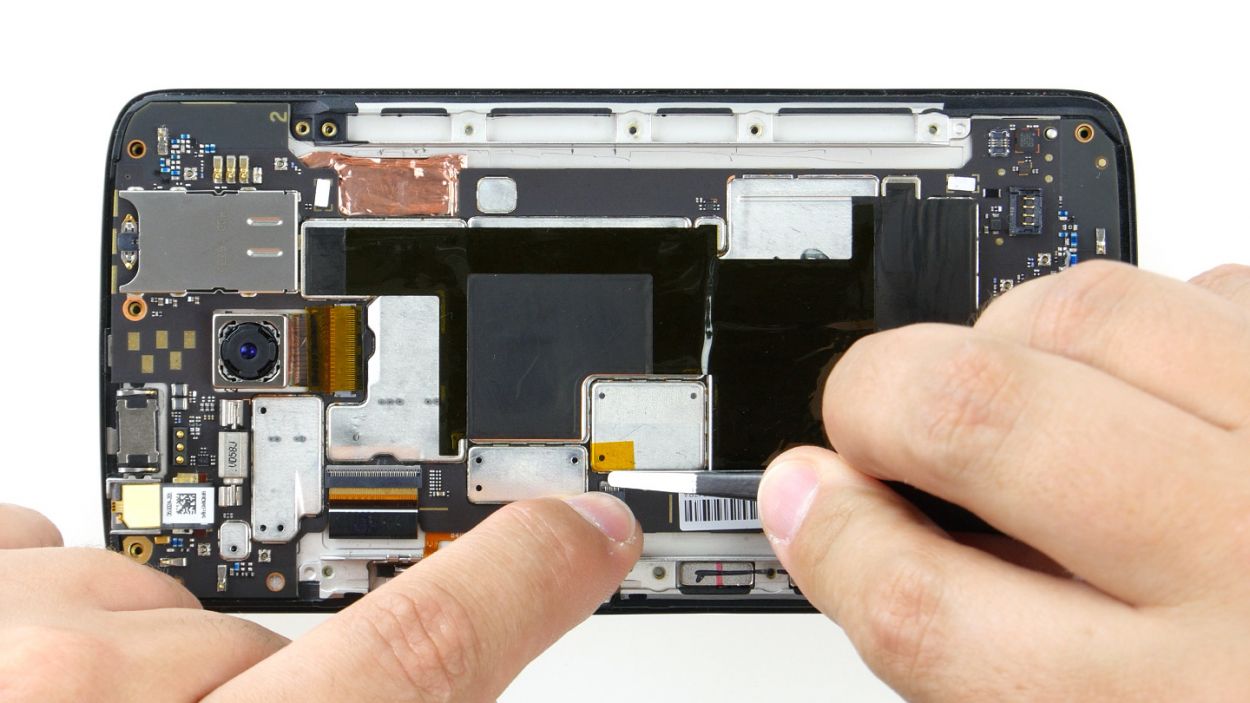
– Unplug the two connectors for the battery and the NFC antenna from the PCB. Say goodbye to the NFC antenna and battery for now!
– Gently wiggle those connectors loose with your trusty spudger. Slide the blade underneath the contact and carefully pop it out of the socket. You’ve got this!
Step 6
Yo! Watch it! Grab a gentle tool like that steel spatula and be gentle as can be so that battery and circuit board don’t get hurt. If you need help, you can always schedule a repair
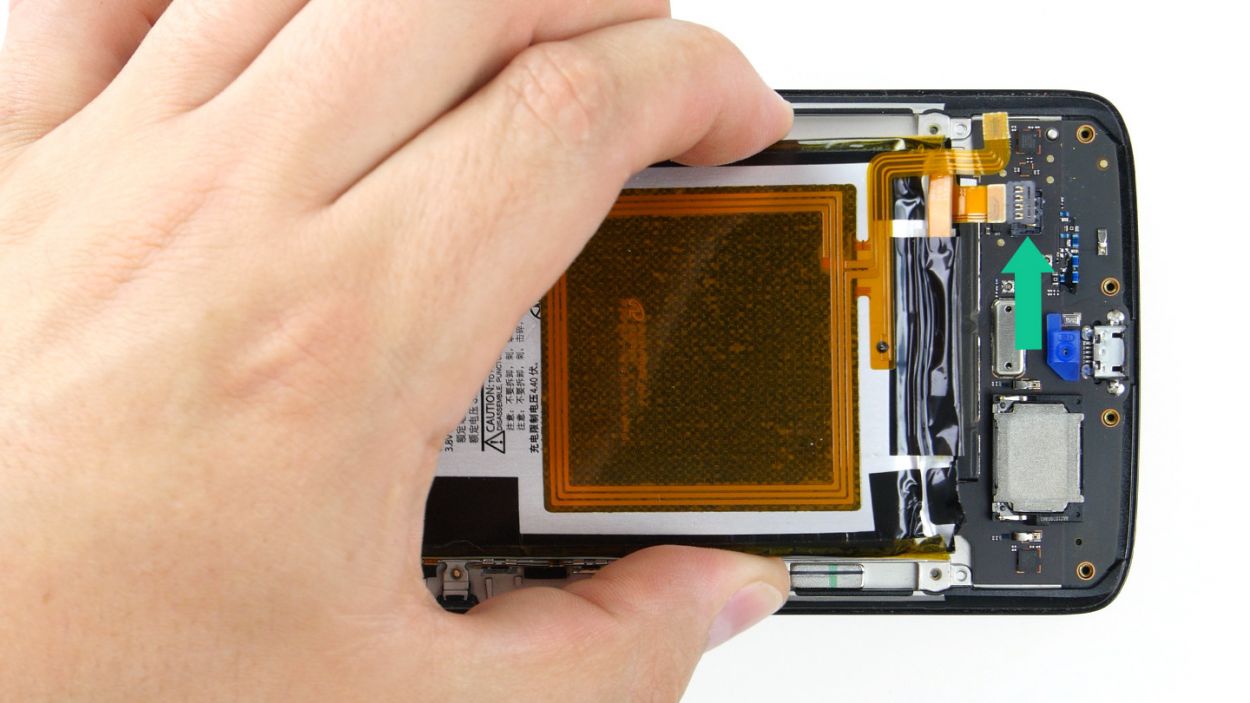
– Alright, let’s get that battery out! It’s stuck to the PCB with some glue, but no worries! Just gently slide your tool between the battery and those metal strips on the long sides. Use your tool as a lever to pop it loose from the glue. Easy peasy!
– Now that you’ve loosened it up a bit, lift the battery just a tad and carefully slide your tool underneath. Take it slow here—nobody wants to accidentally damage the PCB!
– Once you’ve got that tool in place, go ahead and lift the battery out of the enclosure. You’ve got this!
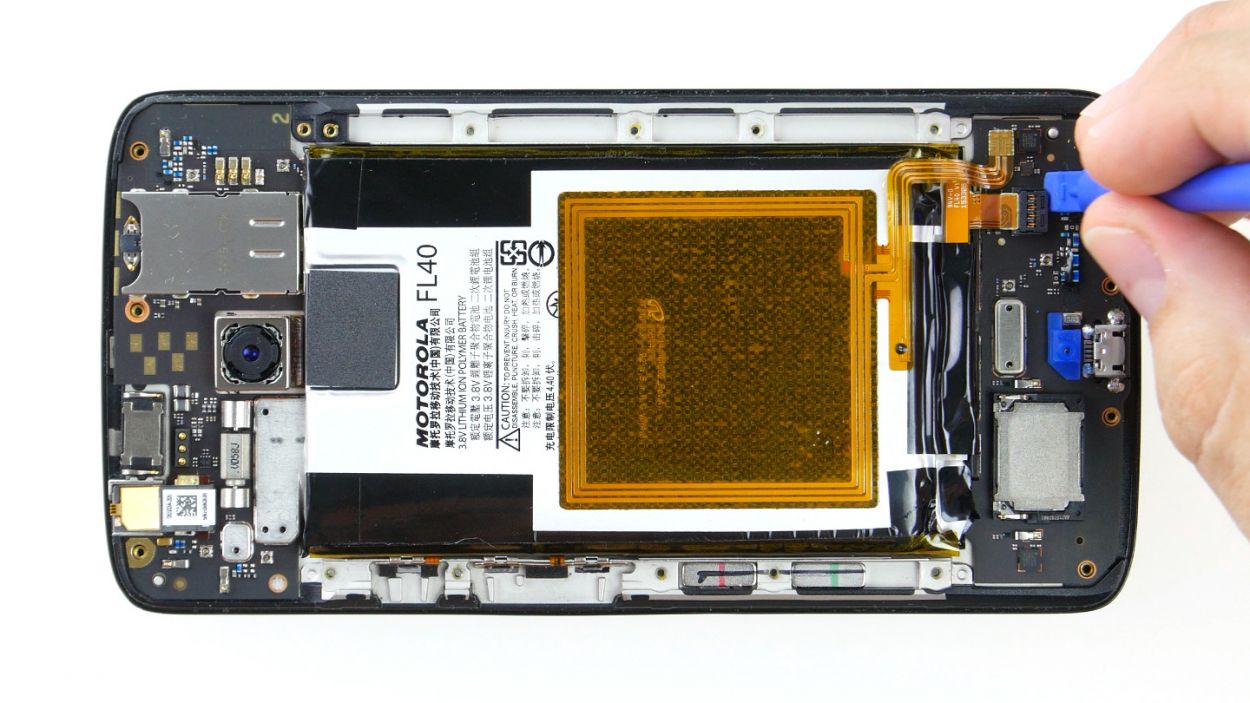
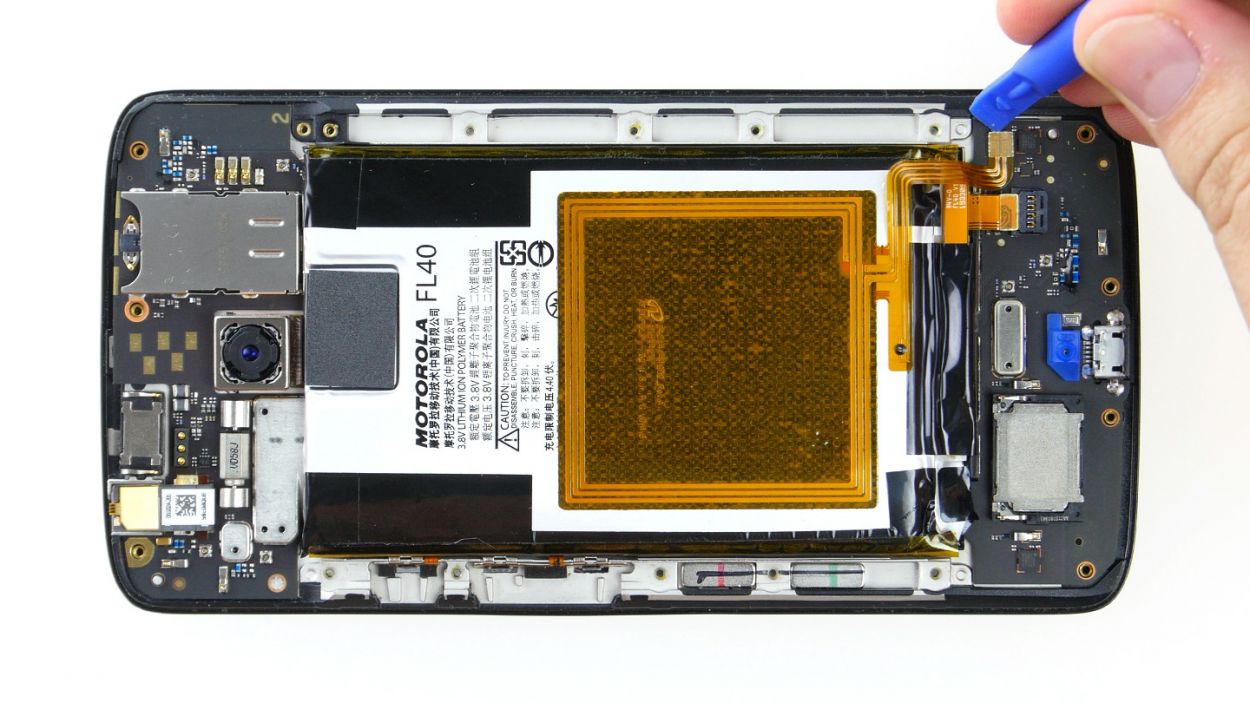
Step 7
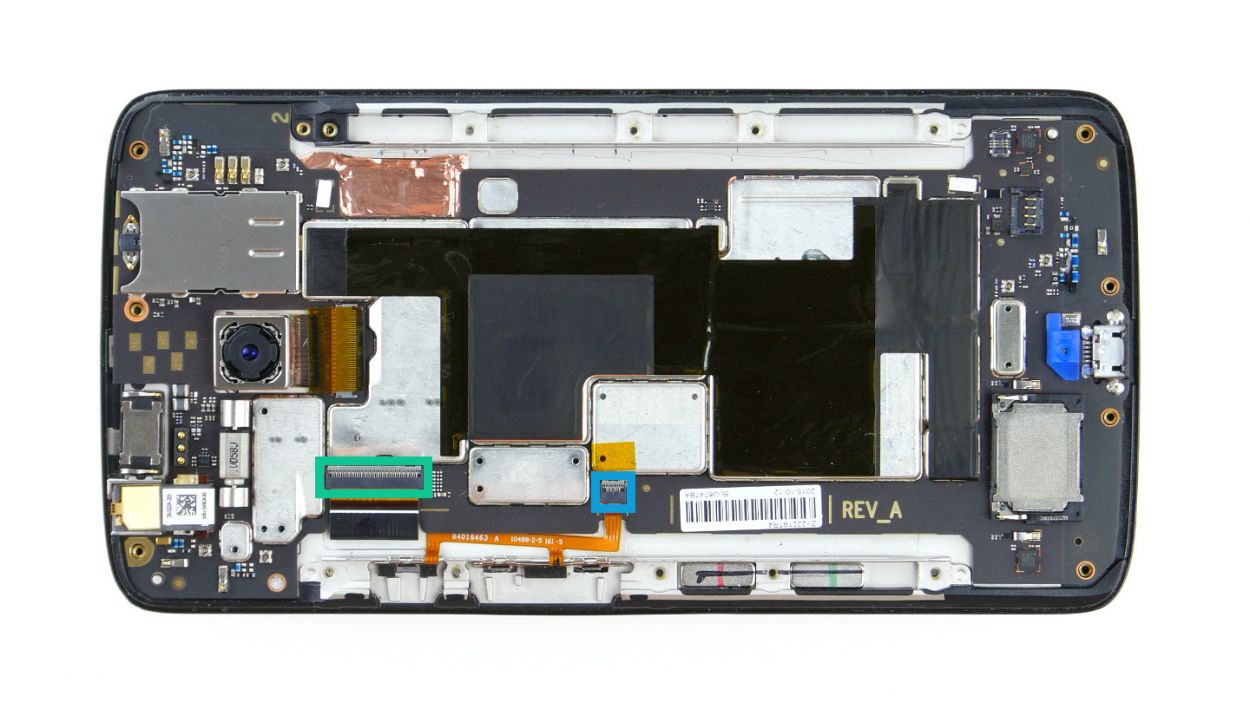

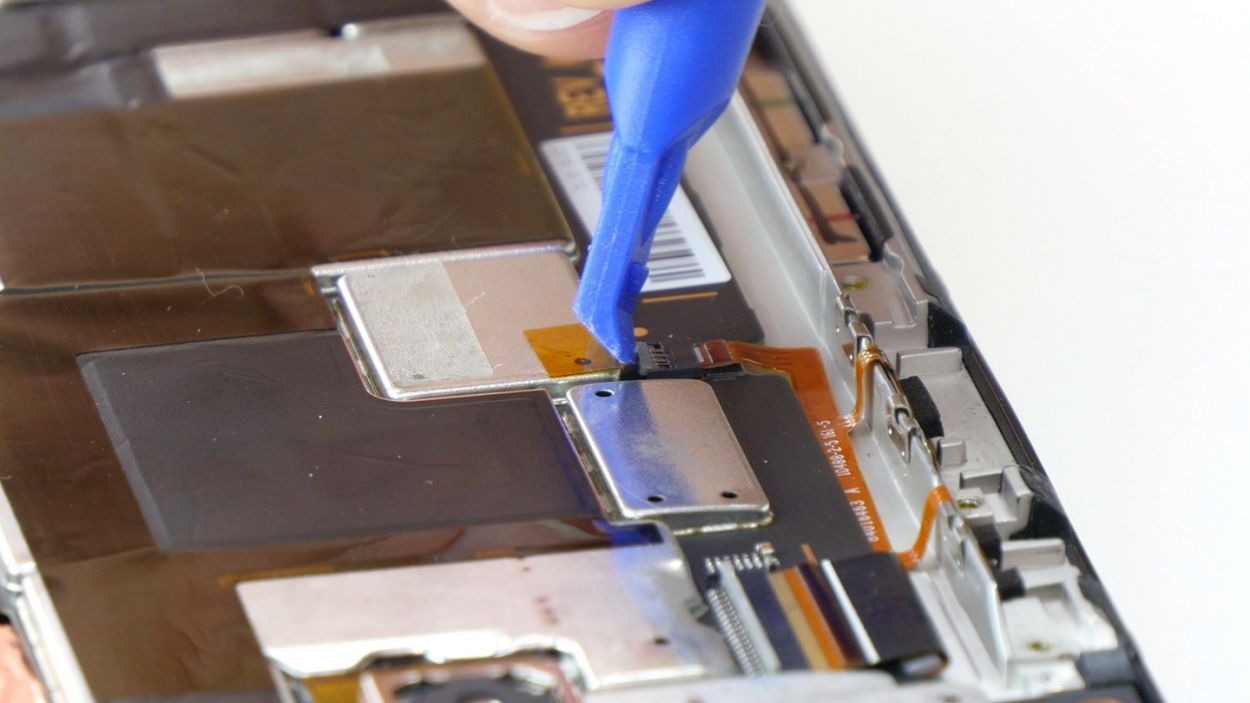
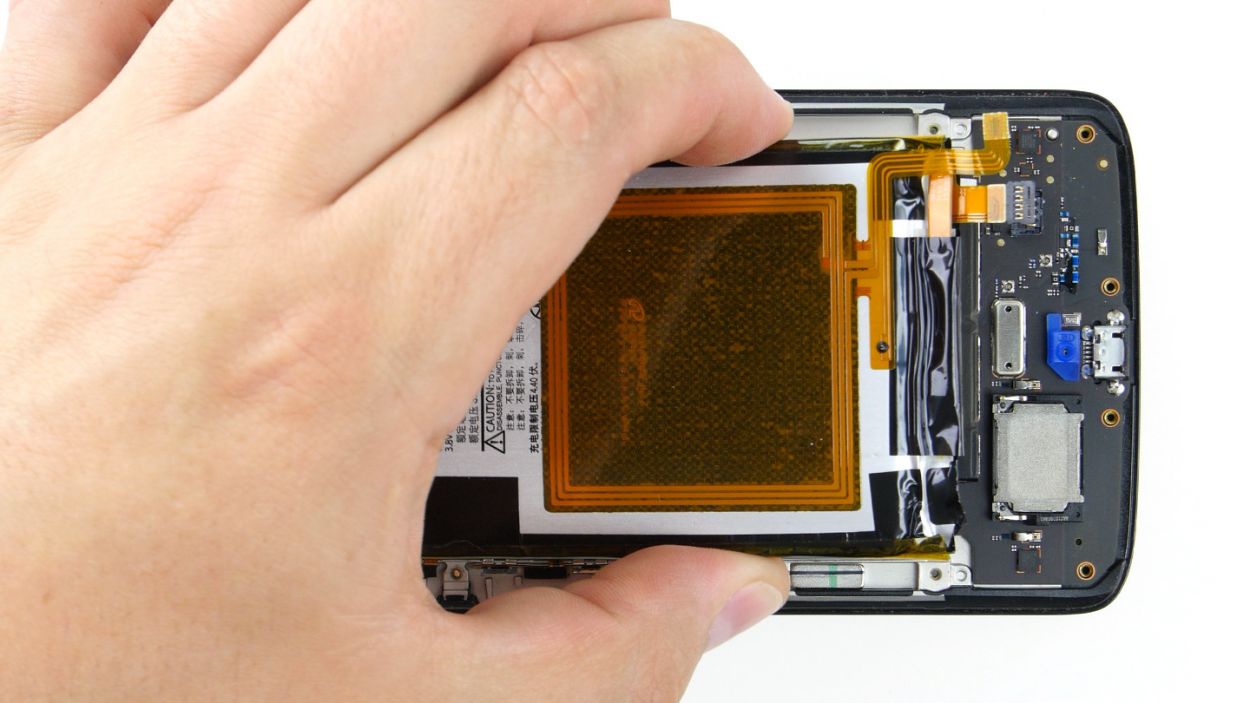
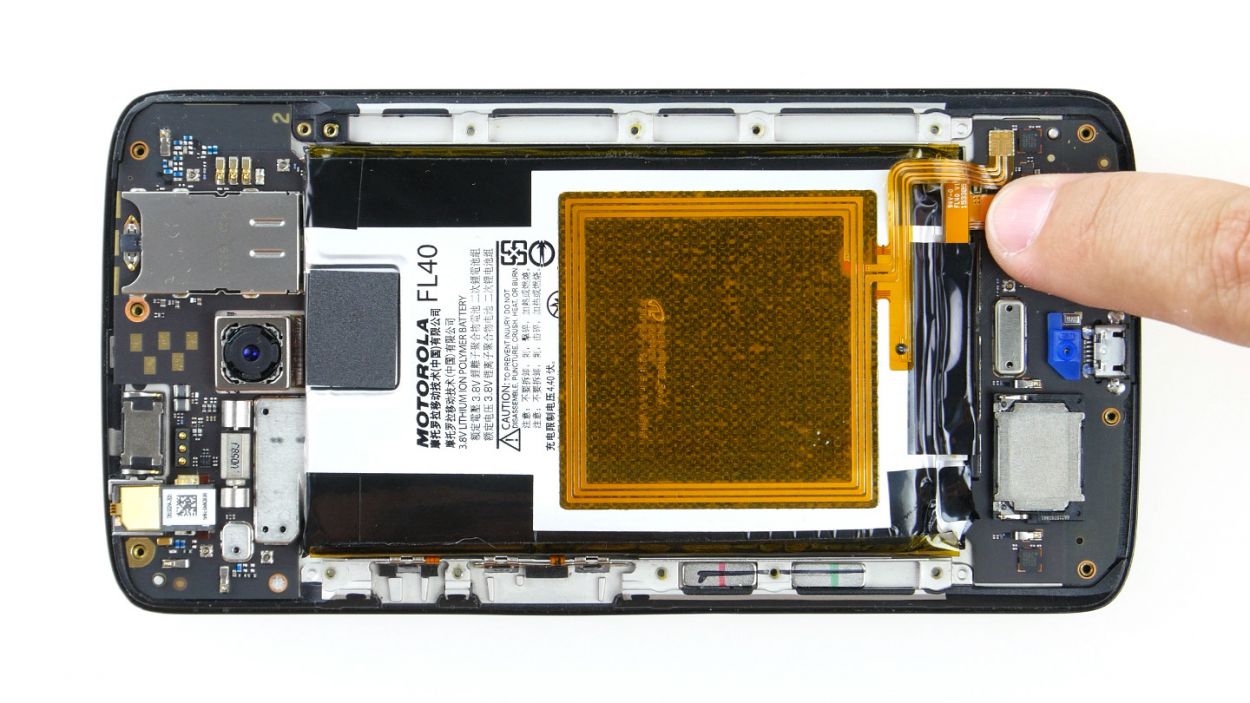
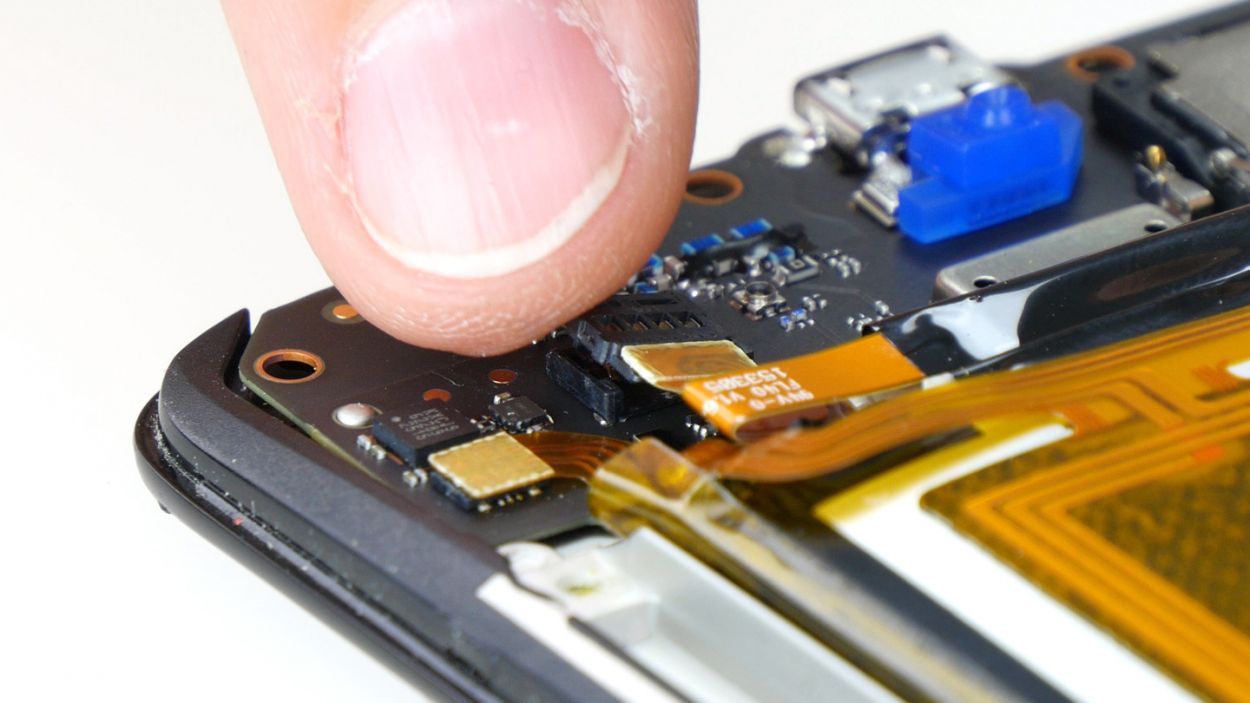
– First things first, let’s disconnect those two plug contacts for the display and the control buttons from the PCB. They’re ready to part ways!
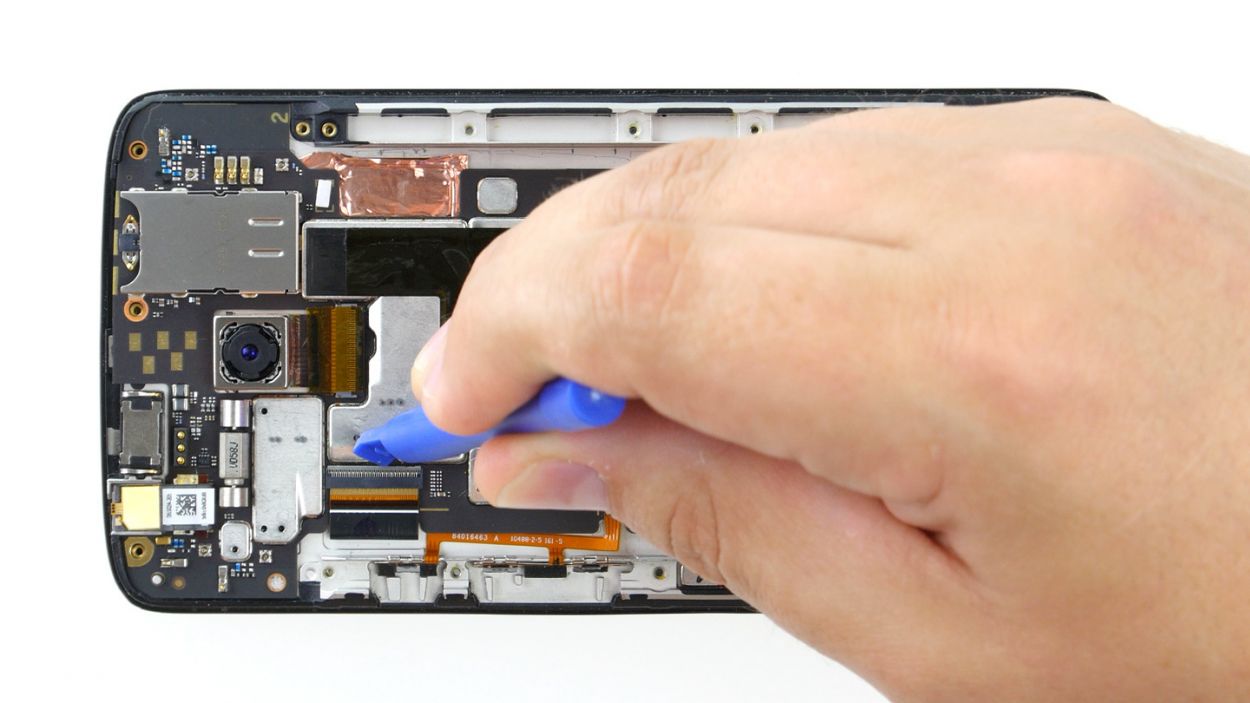
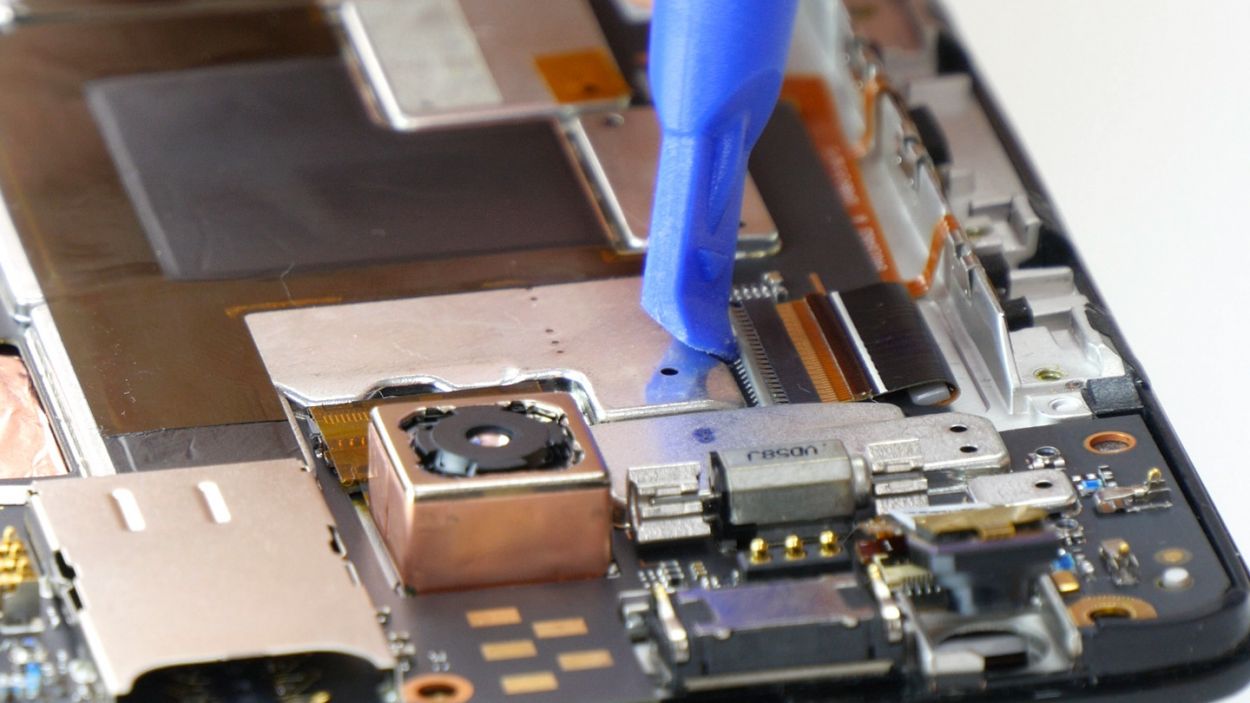
– Next up, grab your trusty spudger and gently pry apart the two brackets on the sockets. Just slide the blade underneath each bracket and give it a little tilt – they’ll pop right up.
– Now, it’s time to gently pull those two cables out of their sockets. Remember, a little finesse goes a long way here – use minimal force to keep those cables safe and sound.
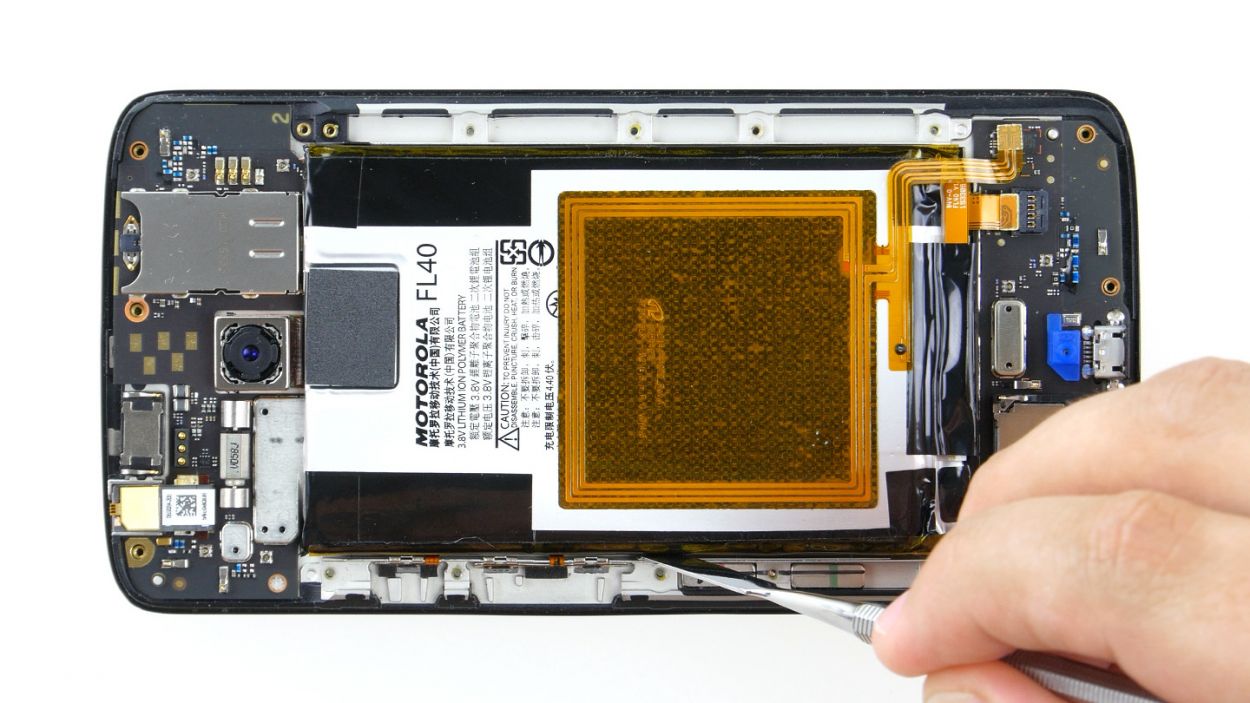
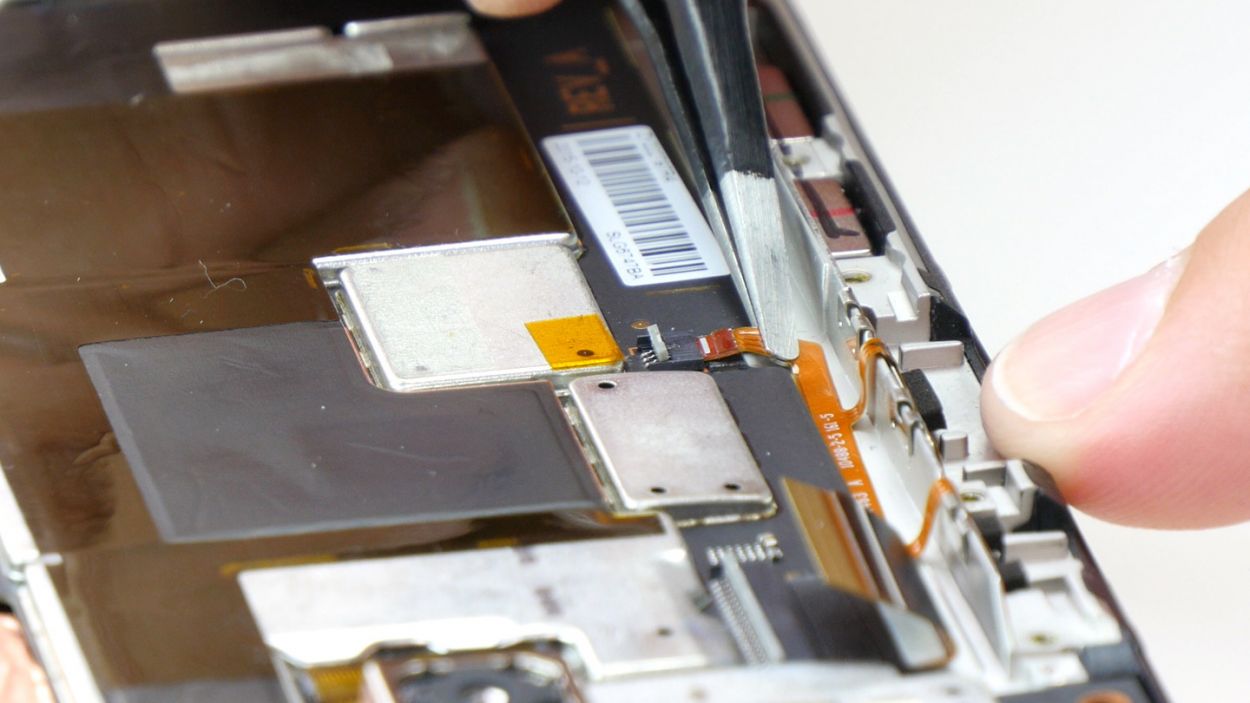
Step 8
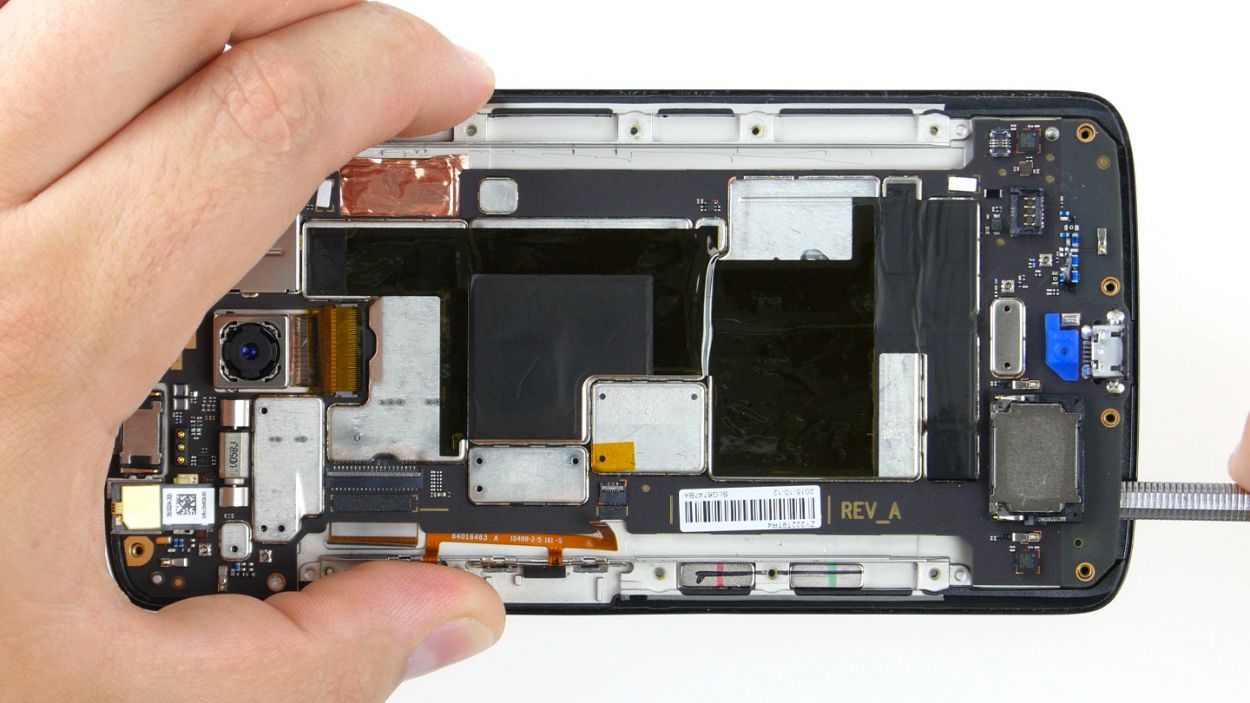
Take it easy during this step! Grab a flat, blunt tool like the round end of a steel laboratory spatula to keep your PCB safe and sound.
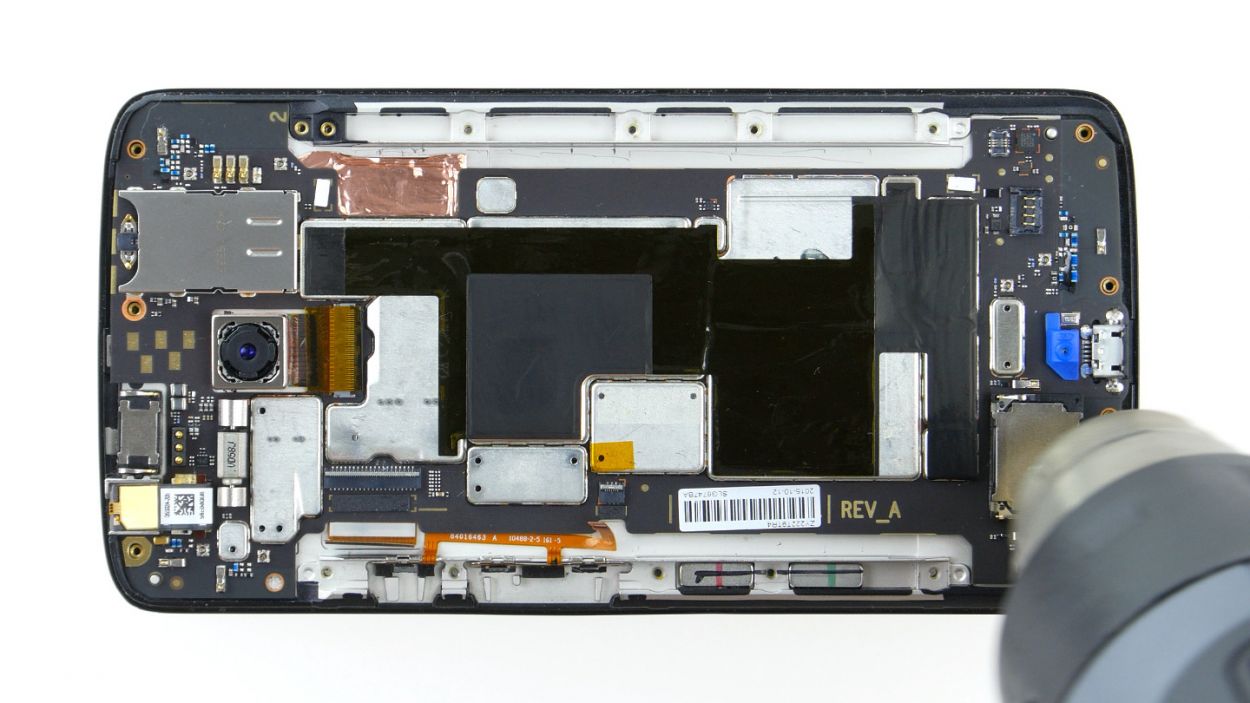
– Time to get this repair started! Begin by heating up the device with some hot air – this will help loosen the glue.
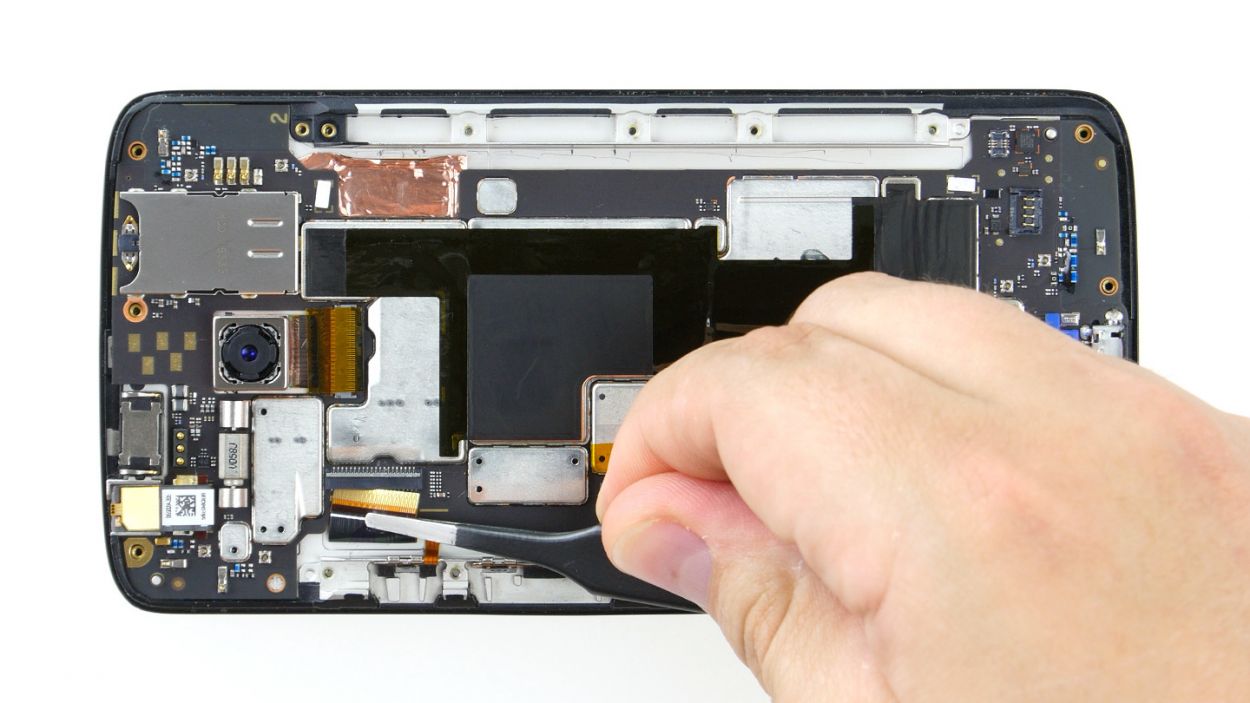
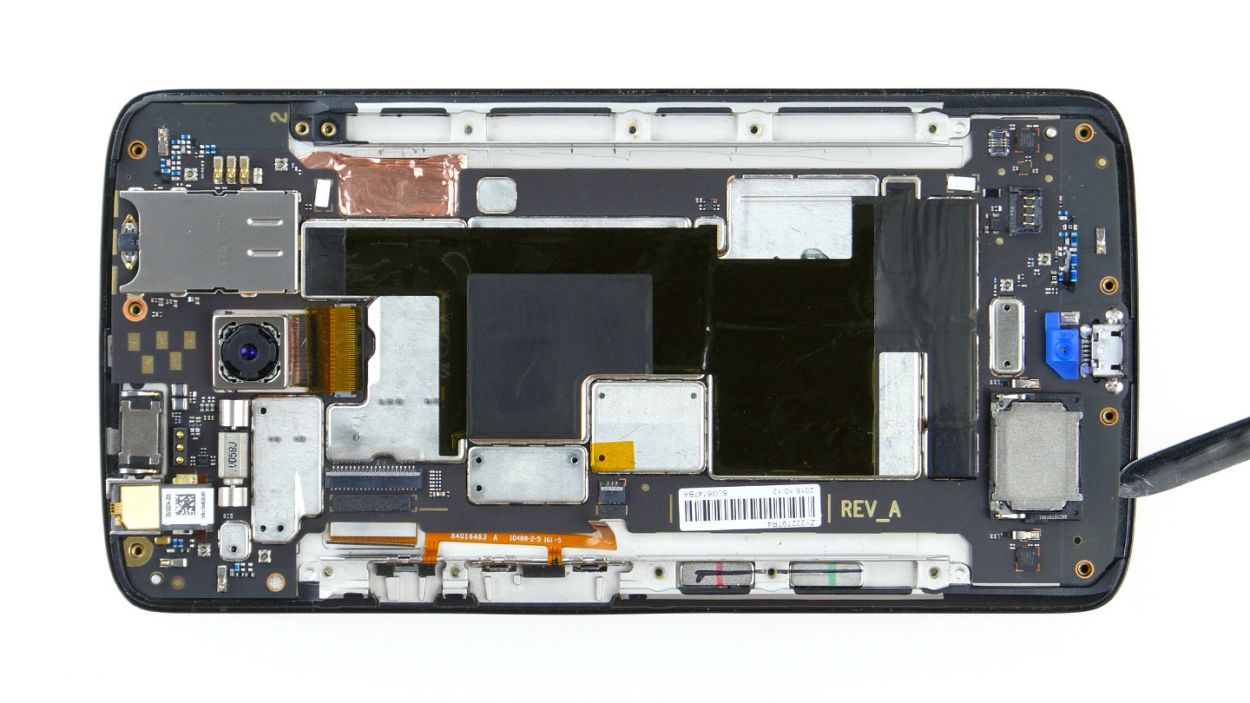
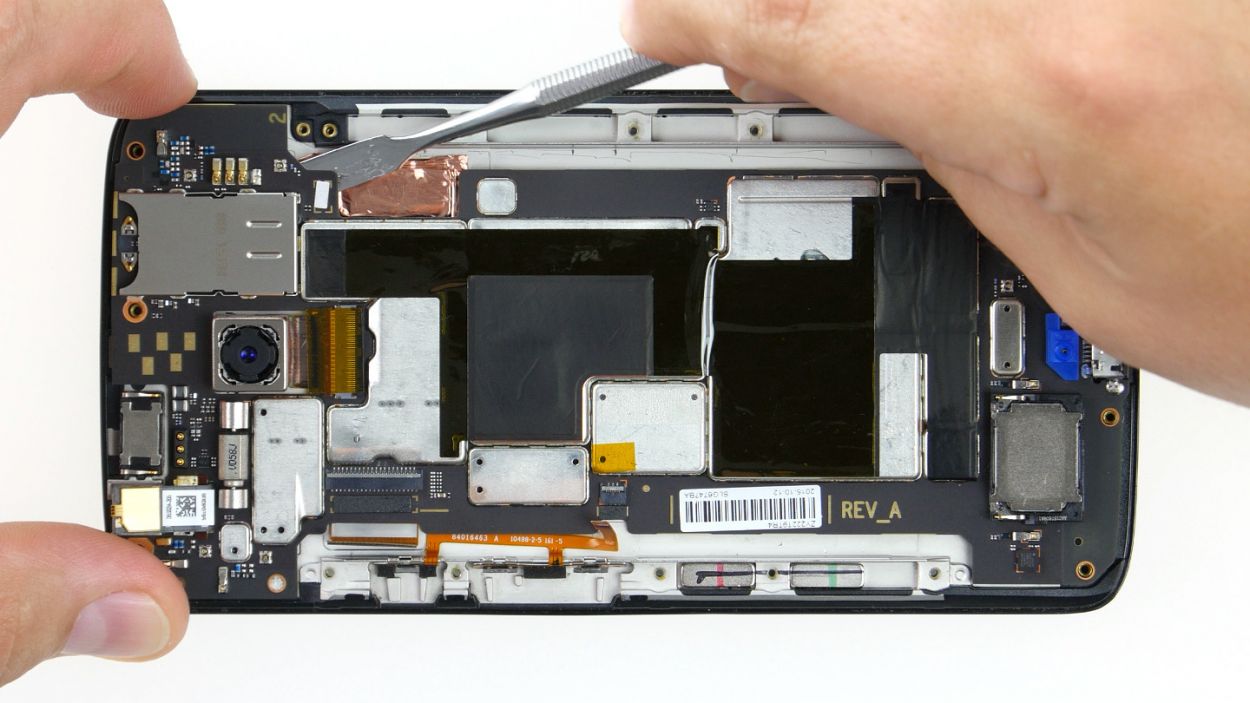
– The PCB is stuck to the enclosure, so you’ll need to carefully pry it out. Be gentle, or you might damage some components or the PCB itself.
– Use your trusty tool to pry the PCB loose on all sides – the more leverage you have, the better.
– Once you can lift the PCB a bit, you can slide your tool in further and keep prying.
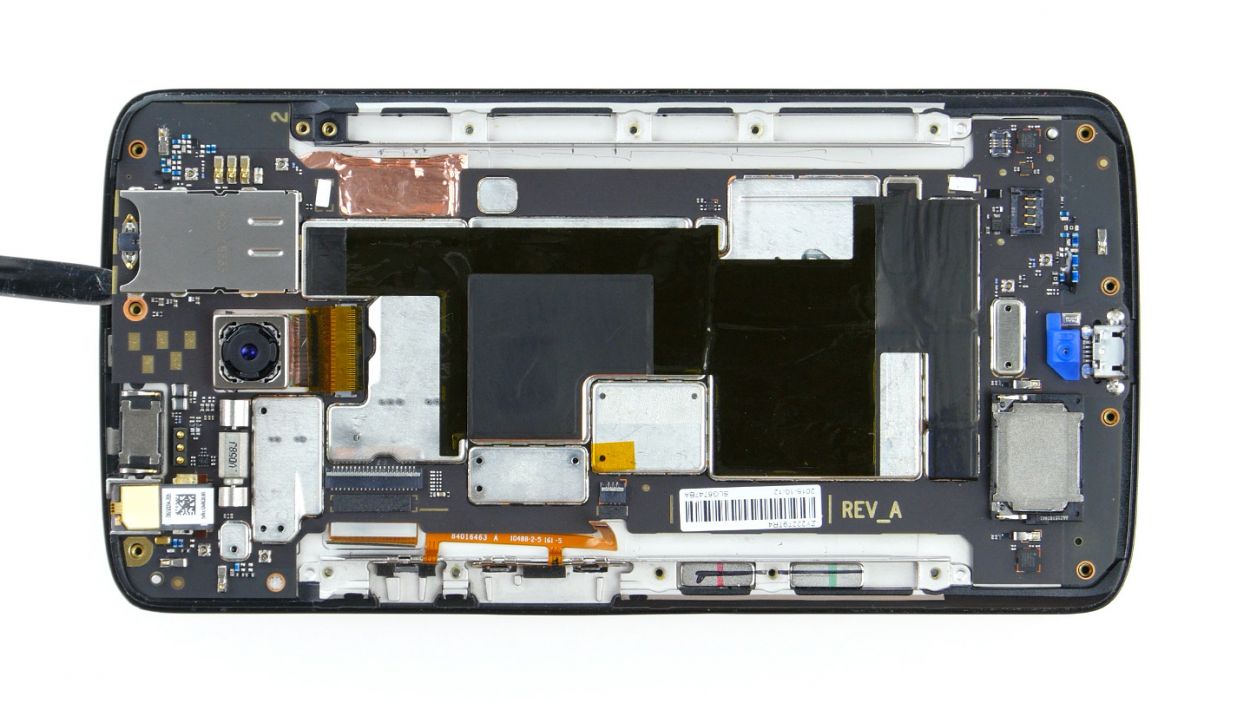
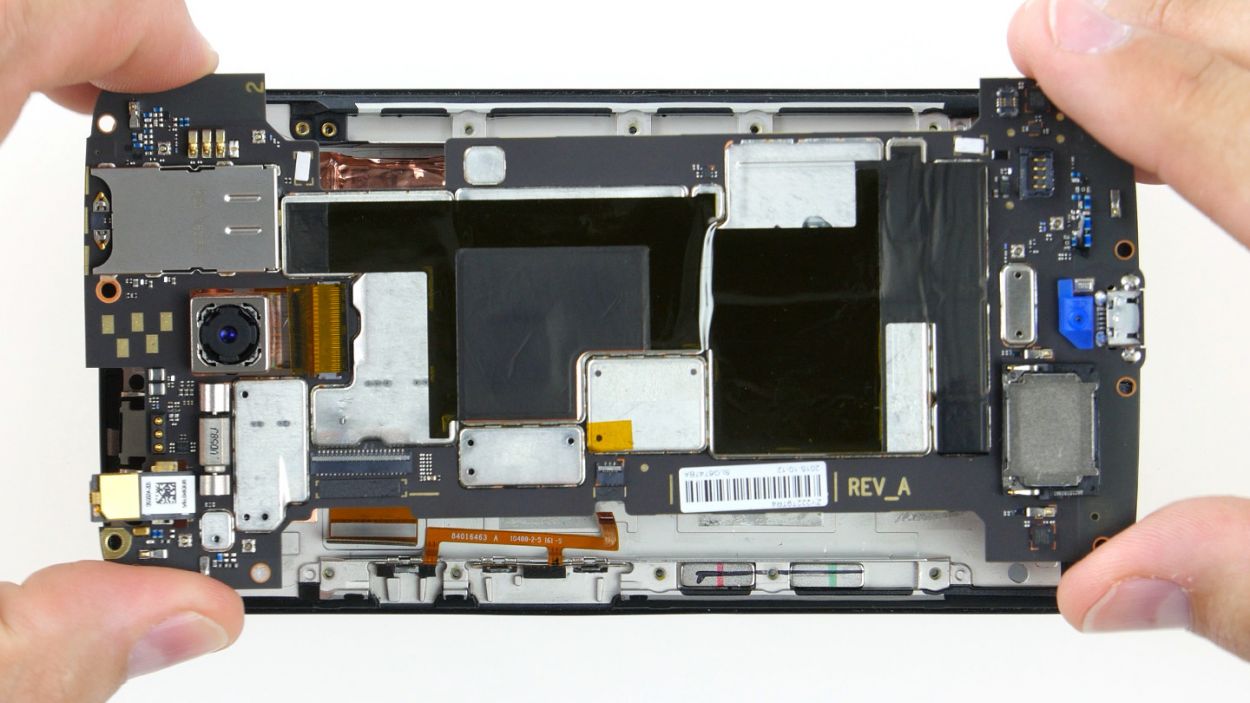
– Now it’s time to remove the motherboard from the device. If you need help, you can always schedule a repair
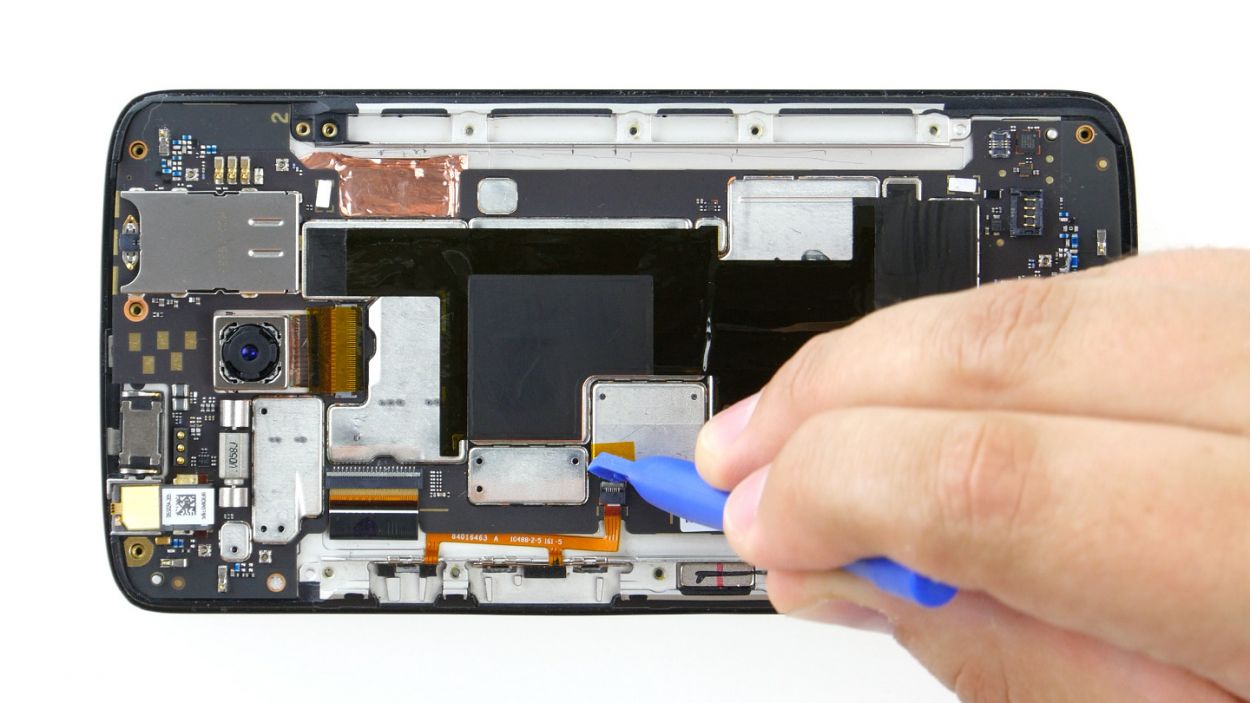
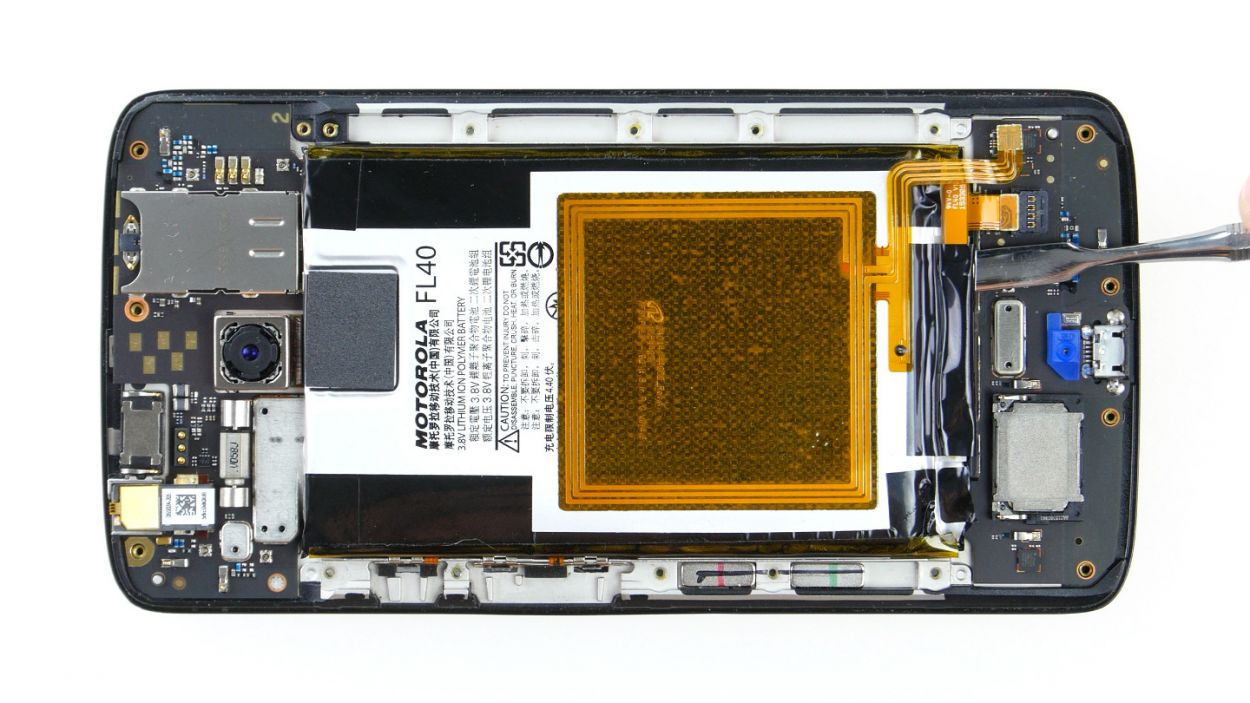
Step 9
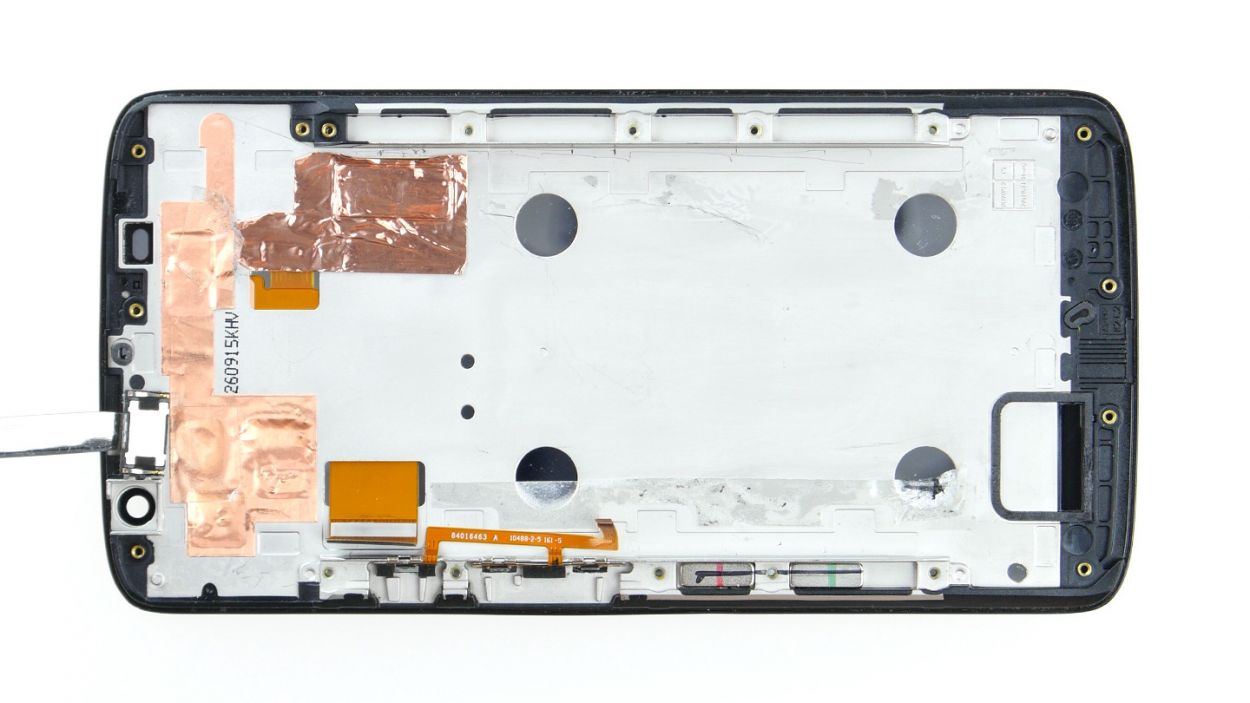
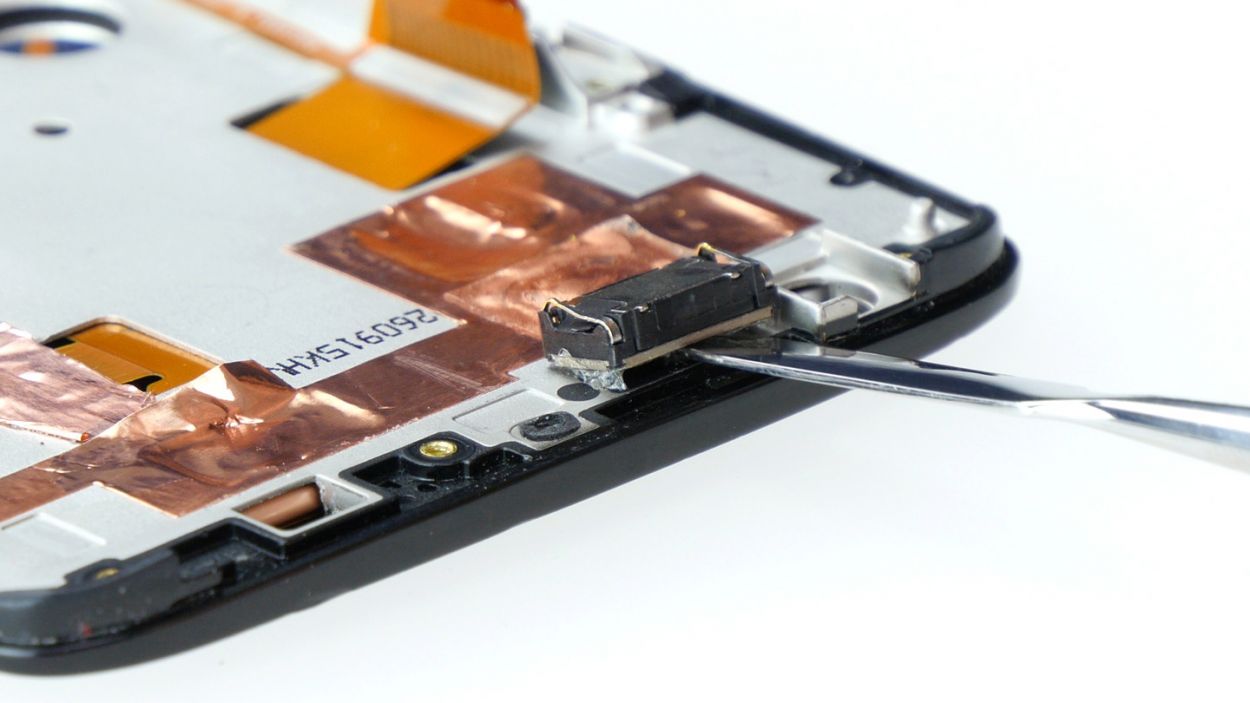
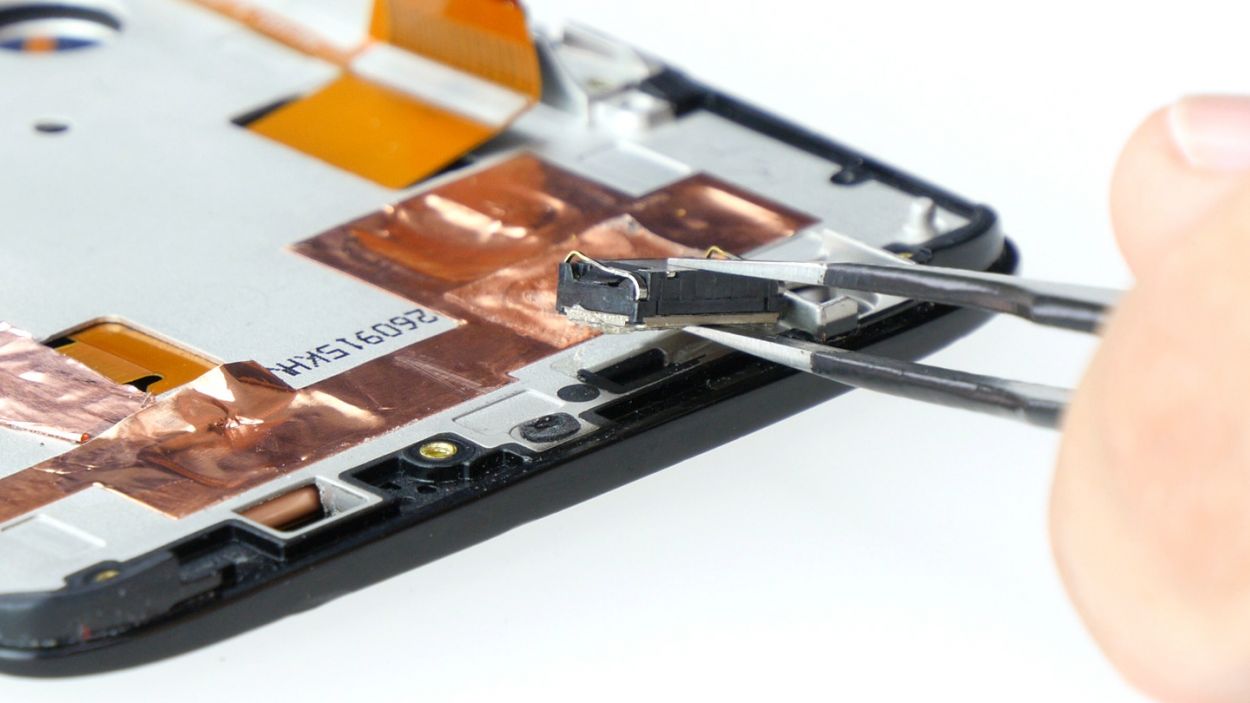
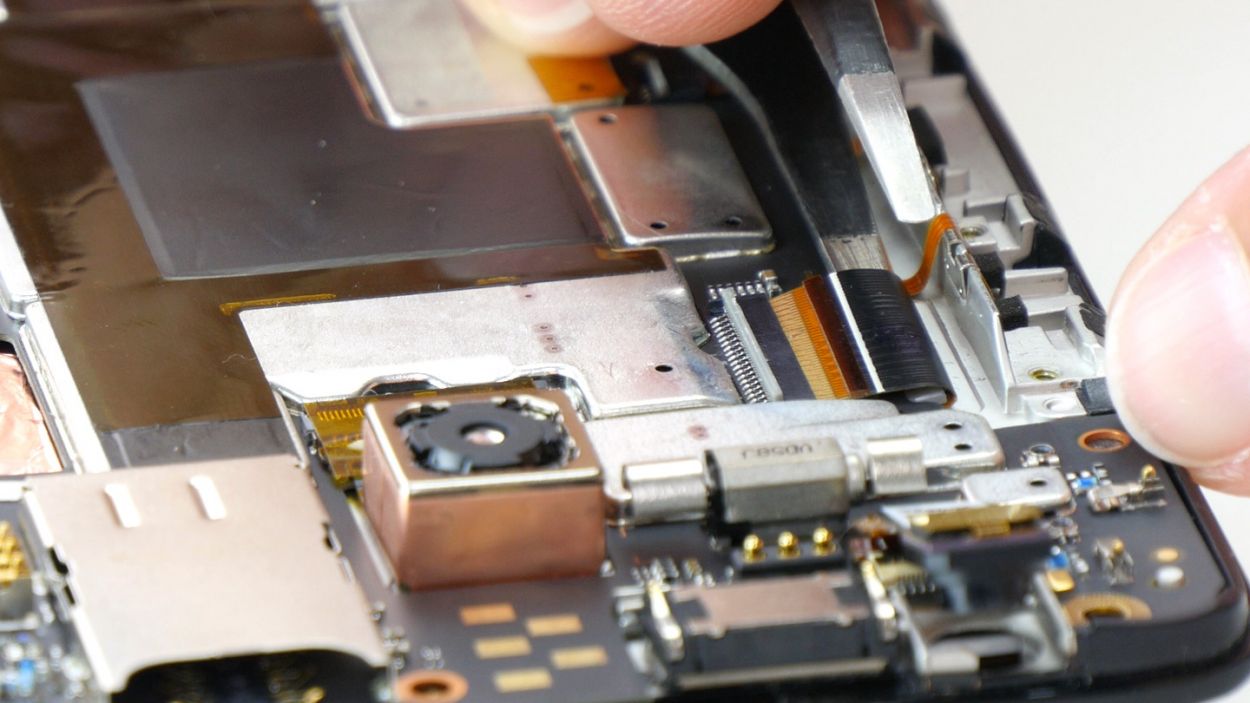
– The earpiece is nestled in a cozy little spot right in the center of the upper edge of the display frame, all snug and glued in place. Grab your trusty steel spatula and gently coax the earpiece out of its comfy recess.
– Now, go ahead and remove the earpiece!
Step 10
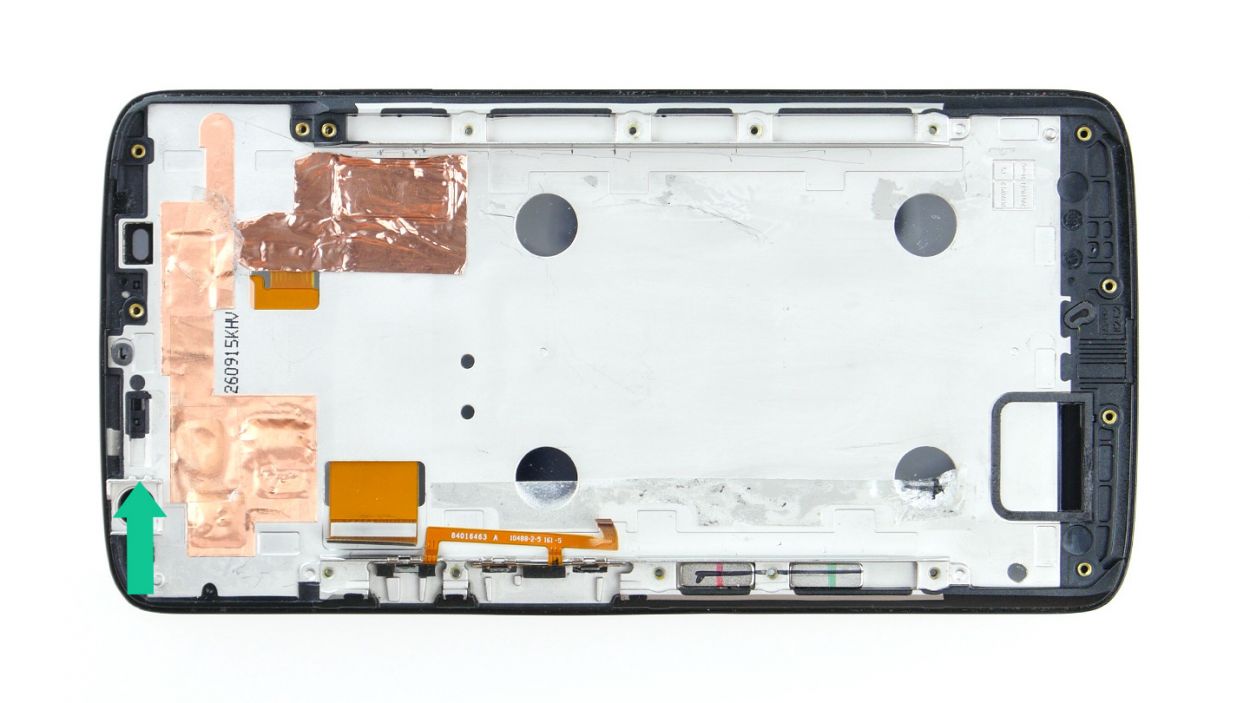


– Slide the earpiece into the cozy spot in the center of the top edge of the display frame. Just make sure that little guy is nicely snug! That black plastic tab on the earpiece should fit right between those two handy tabs (look for the arrow) in the display frame.
– Give that earpiece a firm hug against the frame so the glue can make a strong bond!
Step 11
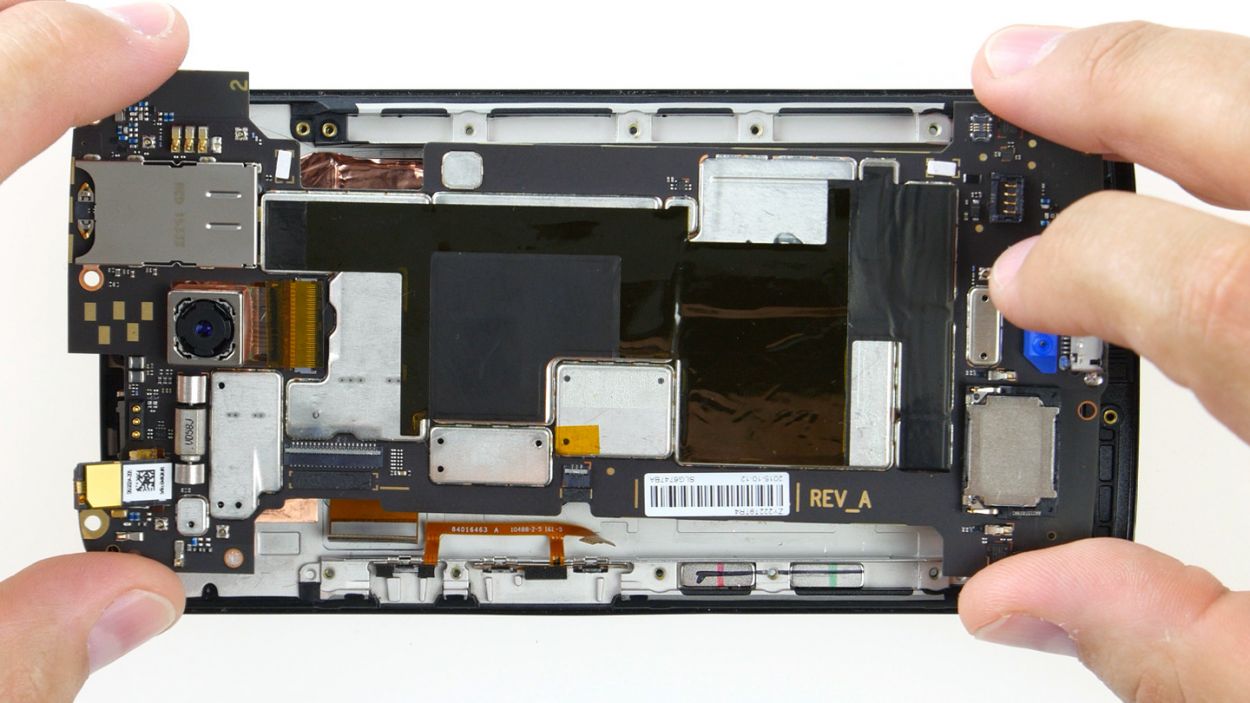
– Put the PCB back in the enclosure and press it against the enclosure so the glue will stick again. Make sure no cables get stuck below the PCB.
Step 12


– First up, let’s connect those two plug contacts for the display and the control buttons to the PCB. It’s a match made in tech heaven!
– Now, gently slide each cable back into its cozy socket. Make sure to push it all the way in for that perfect electrical connection. Just be careful not to bend or tear those cables; they’re delicate little things.
– Finally, give those brackets a little press to lock the cables in place. You’re doing great!
Step 14


– Reconnect the battery contact and the NFC antenna’s connector to the PCB. Let’s get that NFC antenna back in action!
– Gently press down on the two connectors until they snugly fit into their sockets. Listen for that satisfying click!
Step 15


– Let’s get that midframe snugly back onto your device! Just make sure all the openings line up perfectly over those threaded holes.
– Now, grab your seventeen trusty screws and secure that midframe like a pro! You’ll need those 17 x 3.1 mm T3 Torx screws to do the job right.
Step 16
– Remember to pop those two buttons back in for the power and volume controls! Just line them up like you see in the first picture and slide them into their cozy little spots. You’ll hear a satisfying click as they snugly fit into the enclosure. Easy peasy!
Step 17

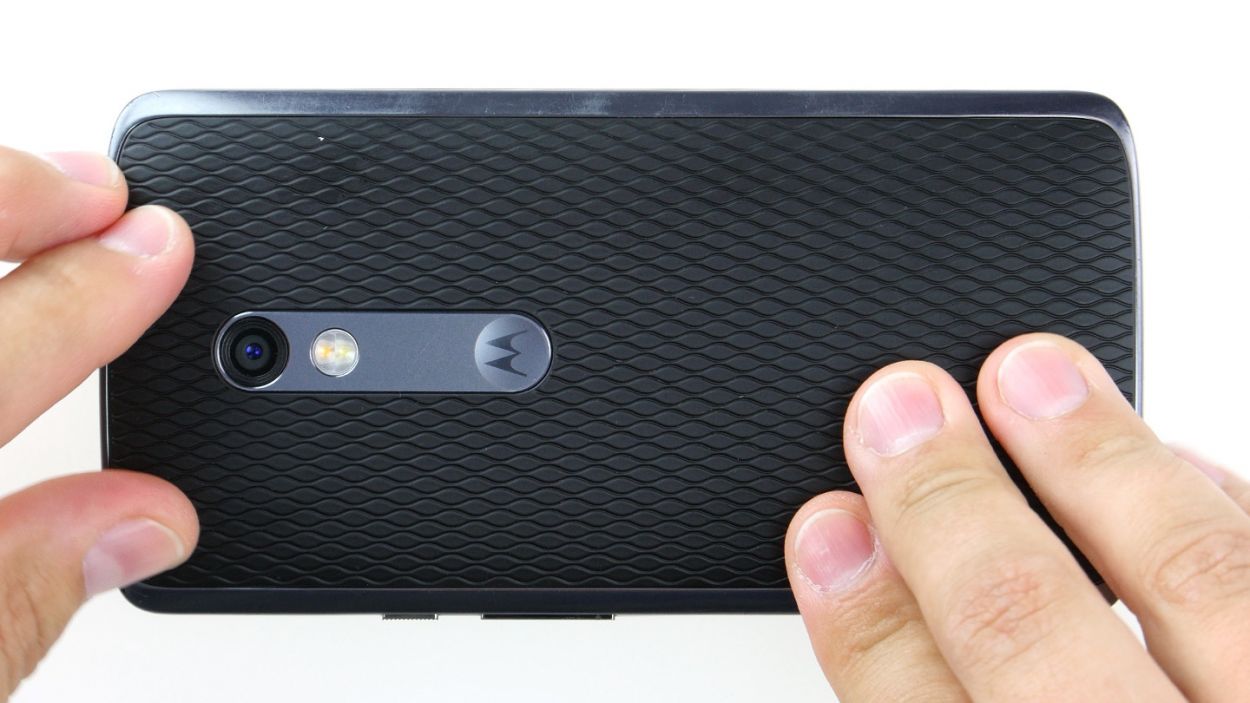
– Carefully place the back cover back where it belongs on your device.
– Give the back cover a good press all around until you hear those little hooks snap into place like they were meant to be there.
Step 18
– Pop that SIM tray back into your device like a pro! Just make sure it lines up perfectly, and you’ll be golden.