DIY Guide to Replace Battery in Moto X Play
Duration: 45 min.
Steps: 12 Steps
Ready to tackle that pesky battery issue on your Moto X Play? We’ve got your back! In this guide, we’ll walk you through the steps to swap out your faulty battery with ease. If your X Play is crashing during those intense gaming sessions, refuses to charge, or just can’t seem to hold a charge anymore, this repair is just what you need. Let’s get started and breathe new life into your device!
Step 1
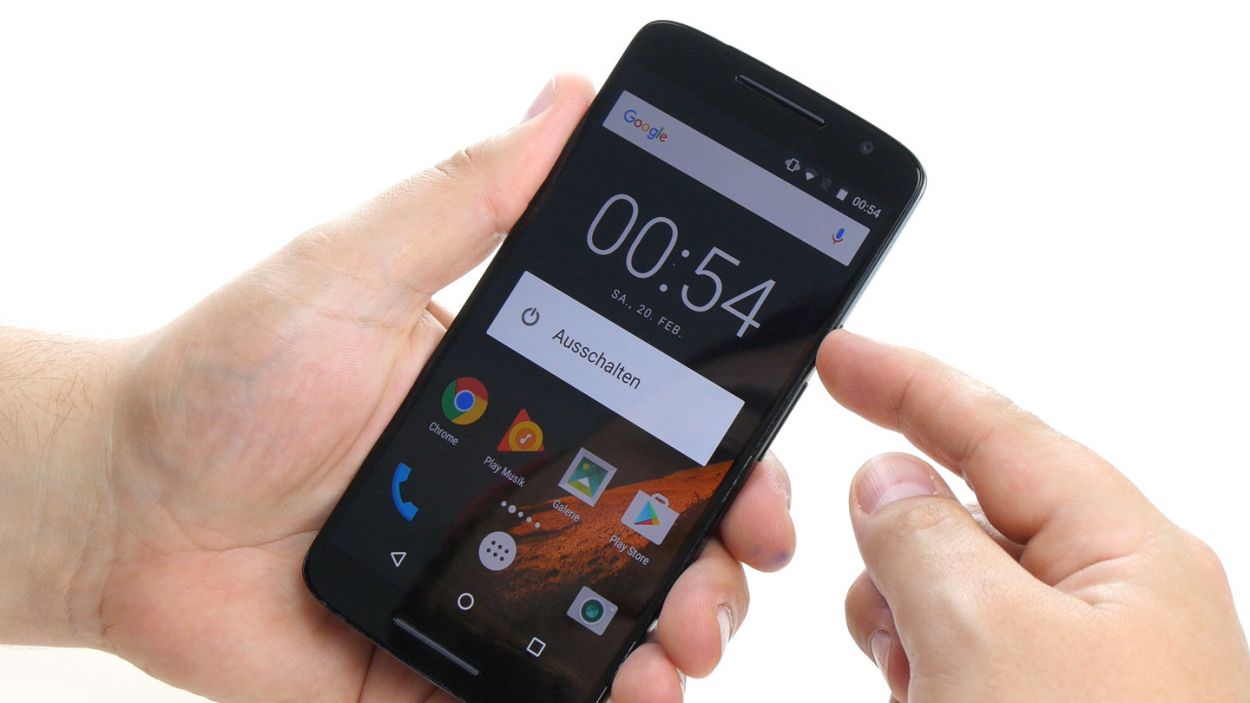
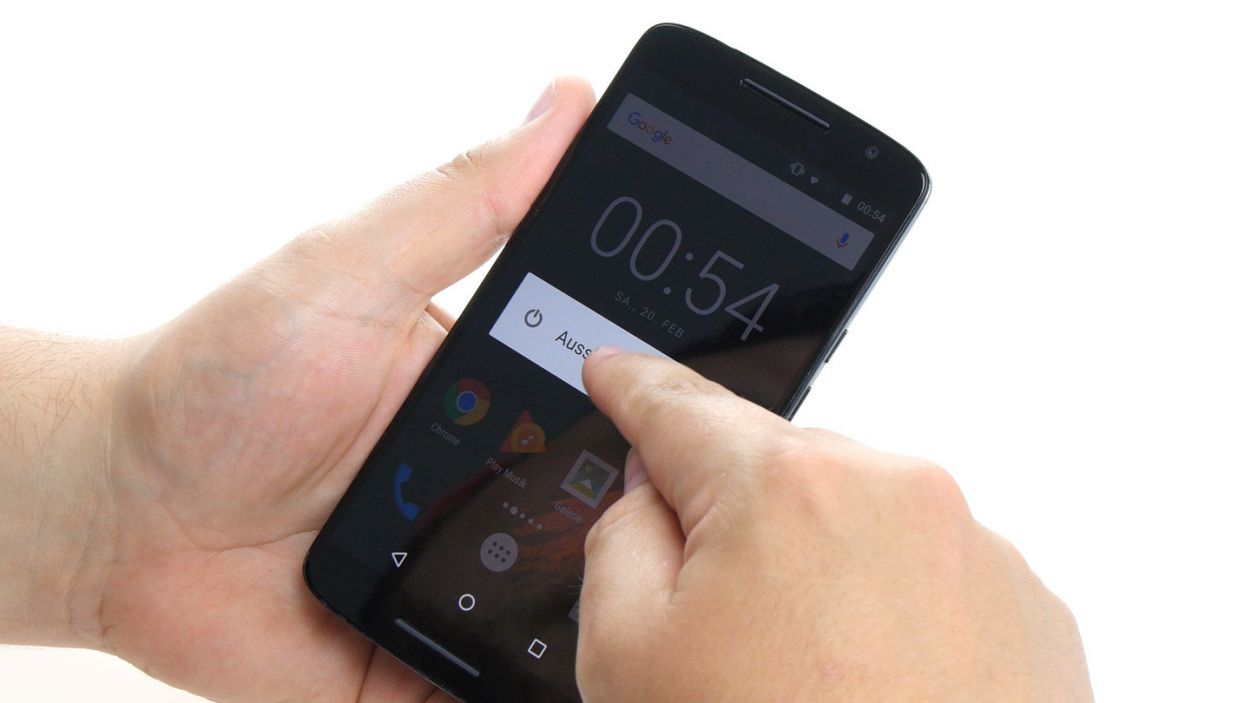
– Turn off your device by holding down the power button until the “Power off” option appears.
– Use your finger to confirm that you want to shut down your Moto X Play and wait until the screen goes blank.
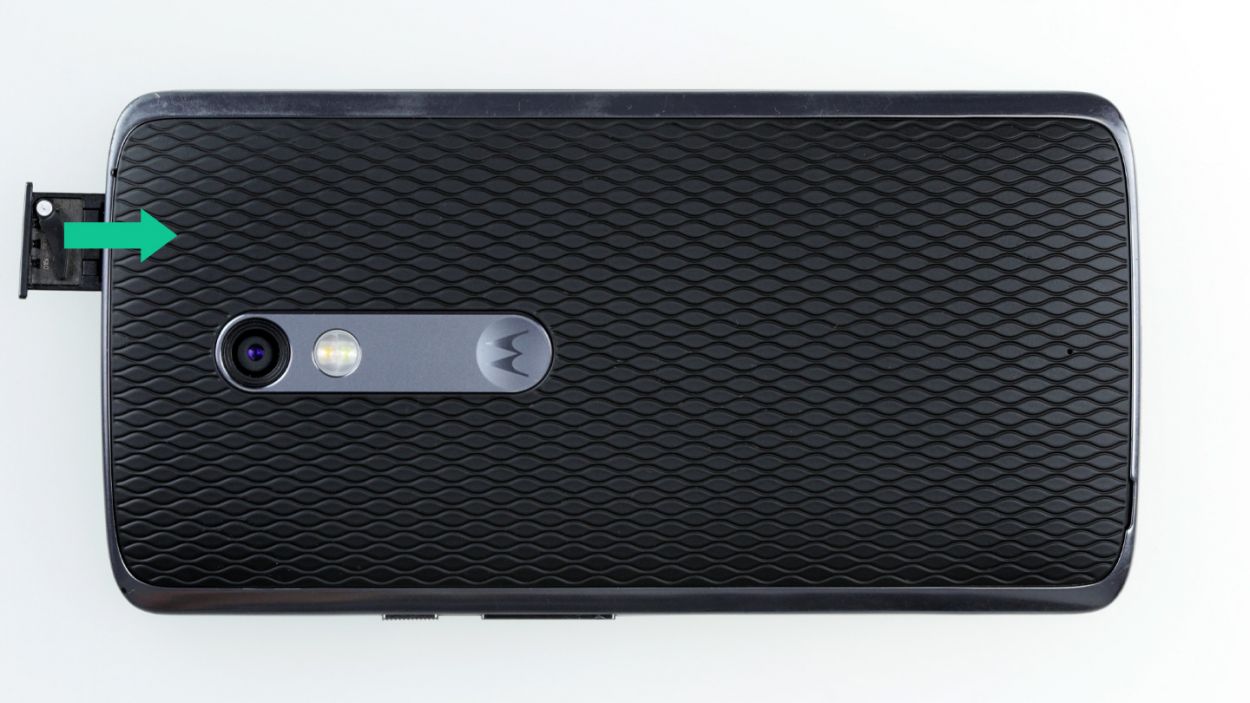
Step 2


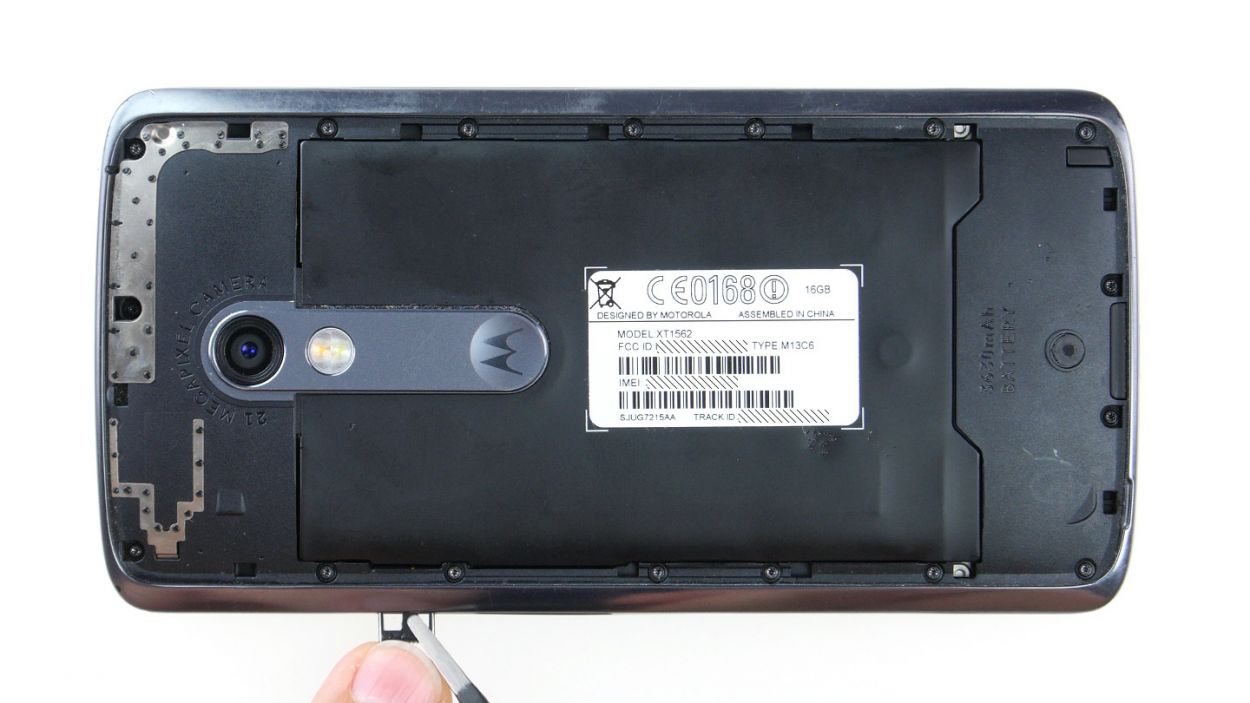
– Let’s kick things off by gently popping out the SIM tray! Grab a SIM tool or a straightened paperclip and give that tiny hole a little poke.
– Once the tray is peeking out just a bit, you can easily pull it out along with the cards. You’re doing great!
Step 3
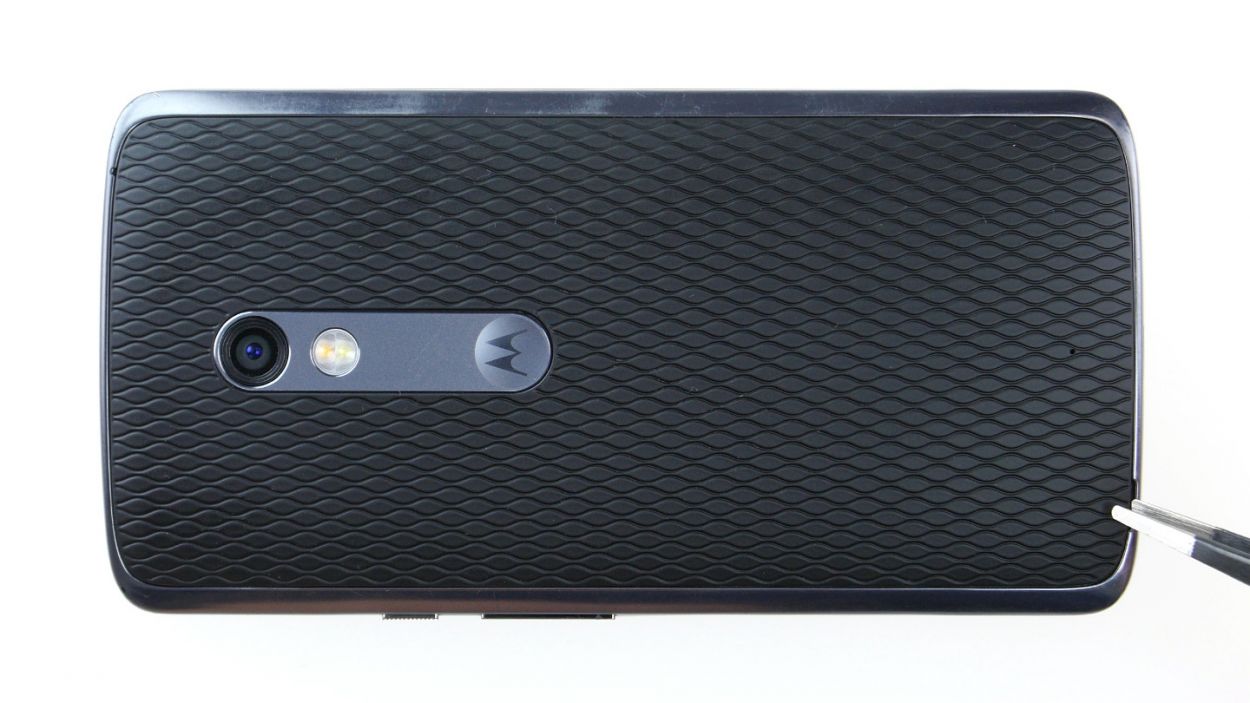
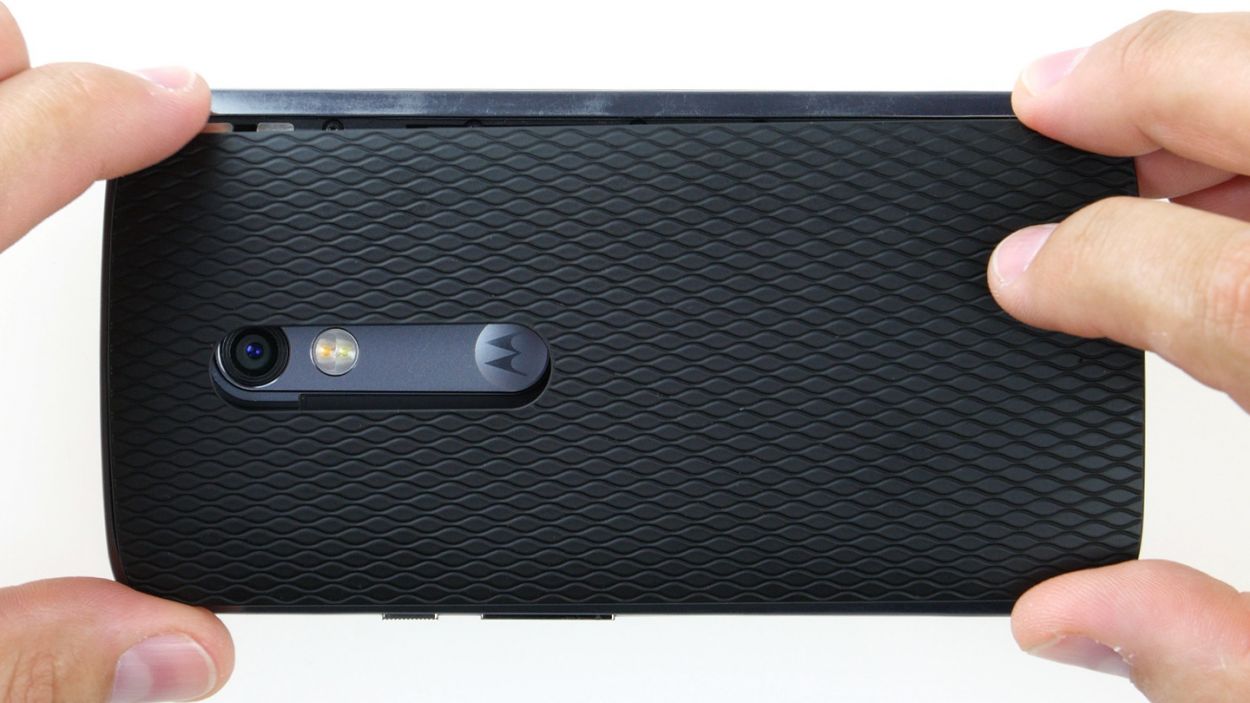
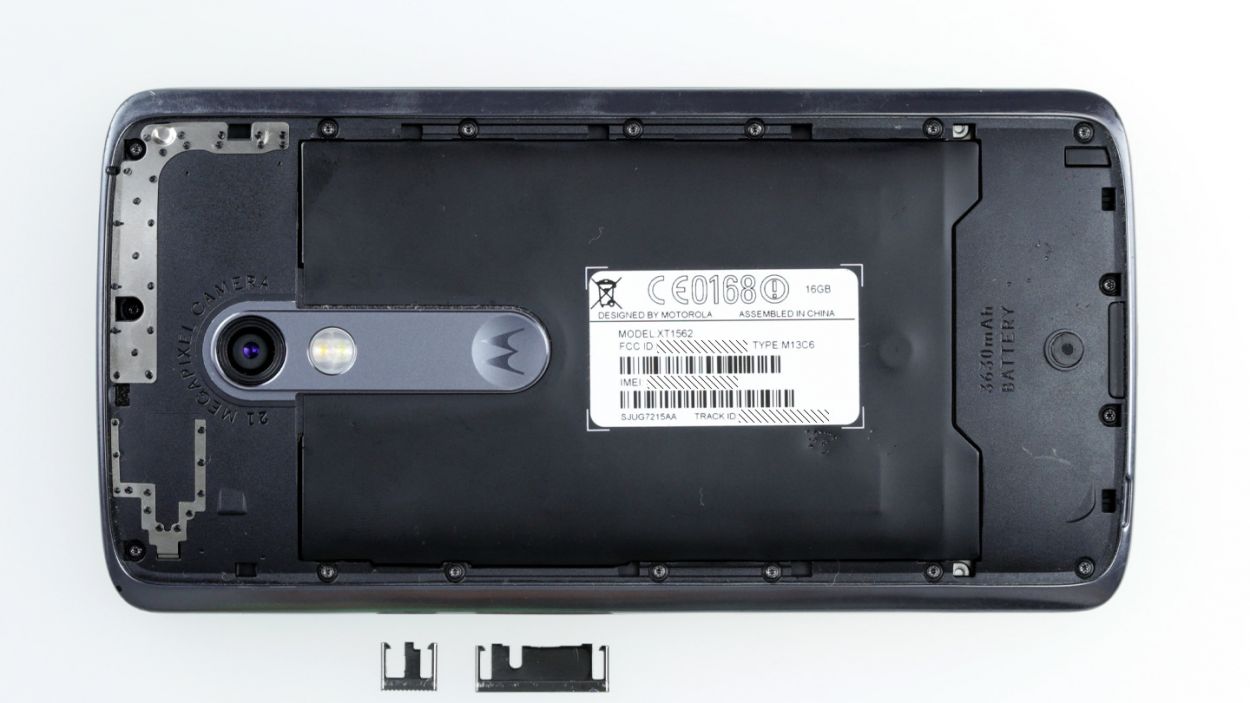
– Time to get started! Locate the long slot in the lower left corner of the back cover. You can use your fingernail or a tool to pry it open and release the back cover from your device.
– The cover is hooked onto the chassis at several points. Gently release all the hooks and carefully remove the back cover from your device. If you need help, you can always schedule a repair with Salvation Repair.
Step 4
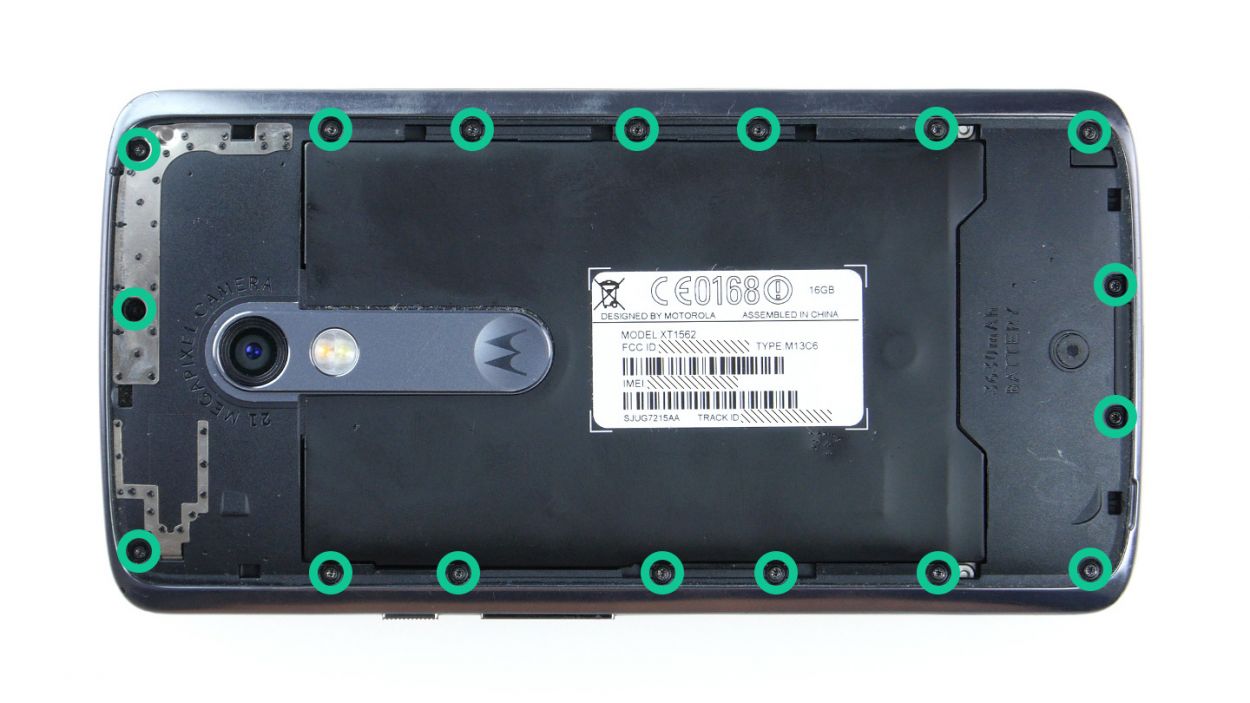
– First things first, let’s tackle those seventeen screws holding the midframe snugly in place. Grab your trusty 3.1 mm T3 Torx screwdriver and get to work!
– Once you’ve freed the midframe, be aware that the power button and volume rocker switch might decide to join the party and pop out. If they hang on tight, no worries—you can always take them out later!
Step 5
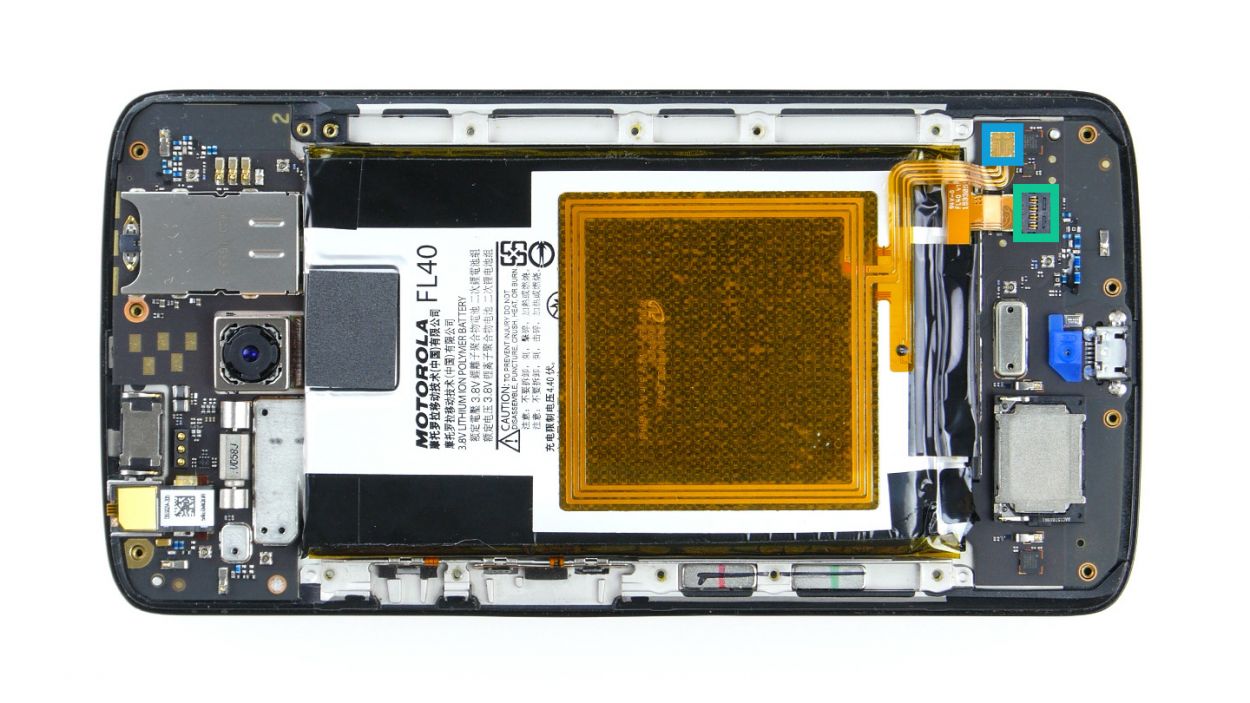
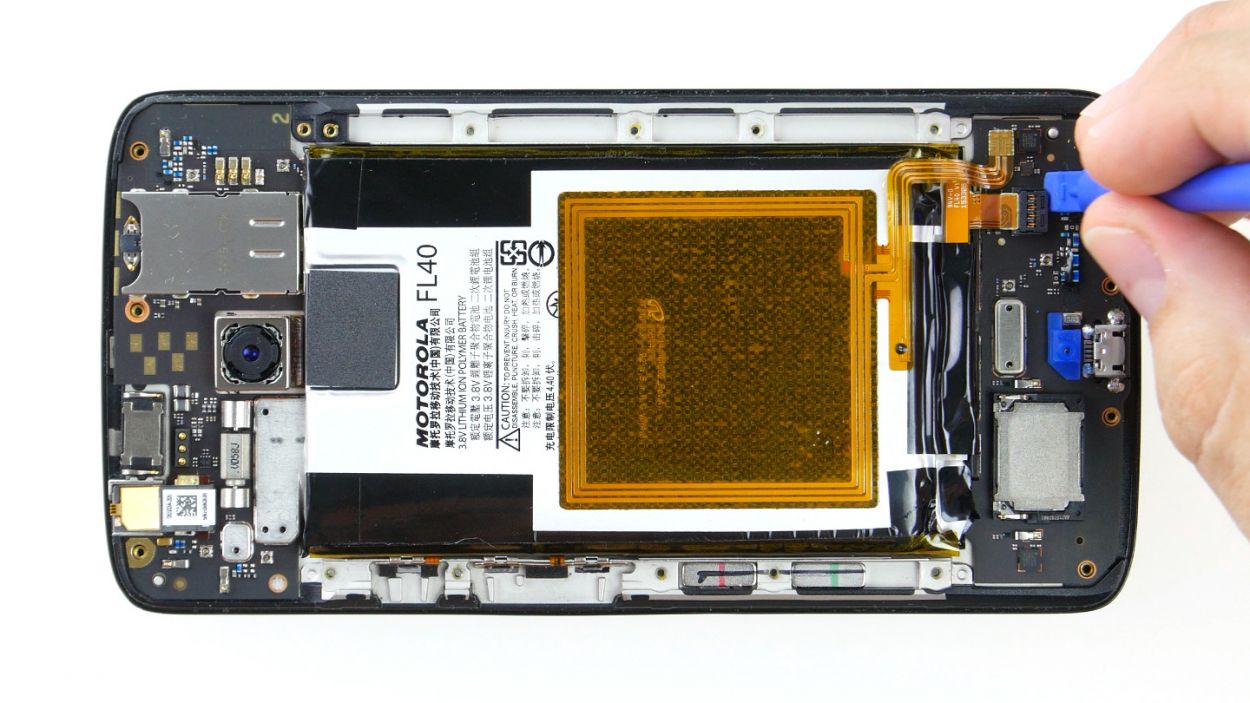
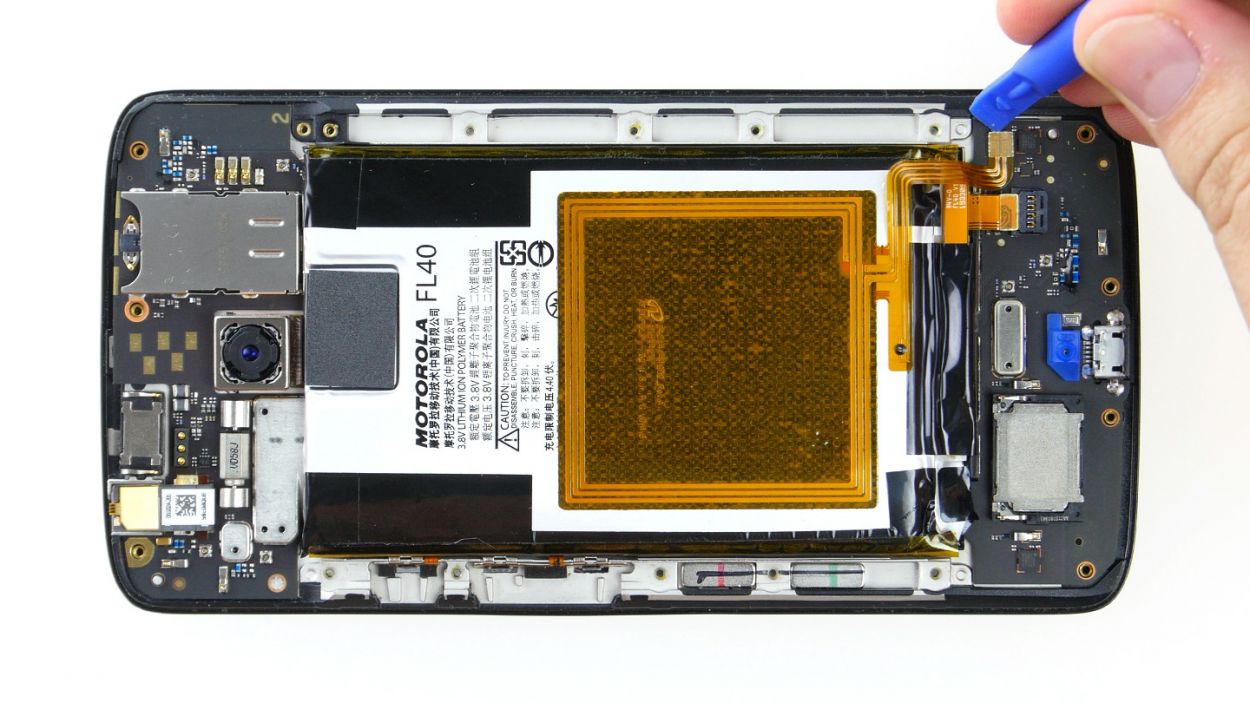
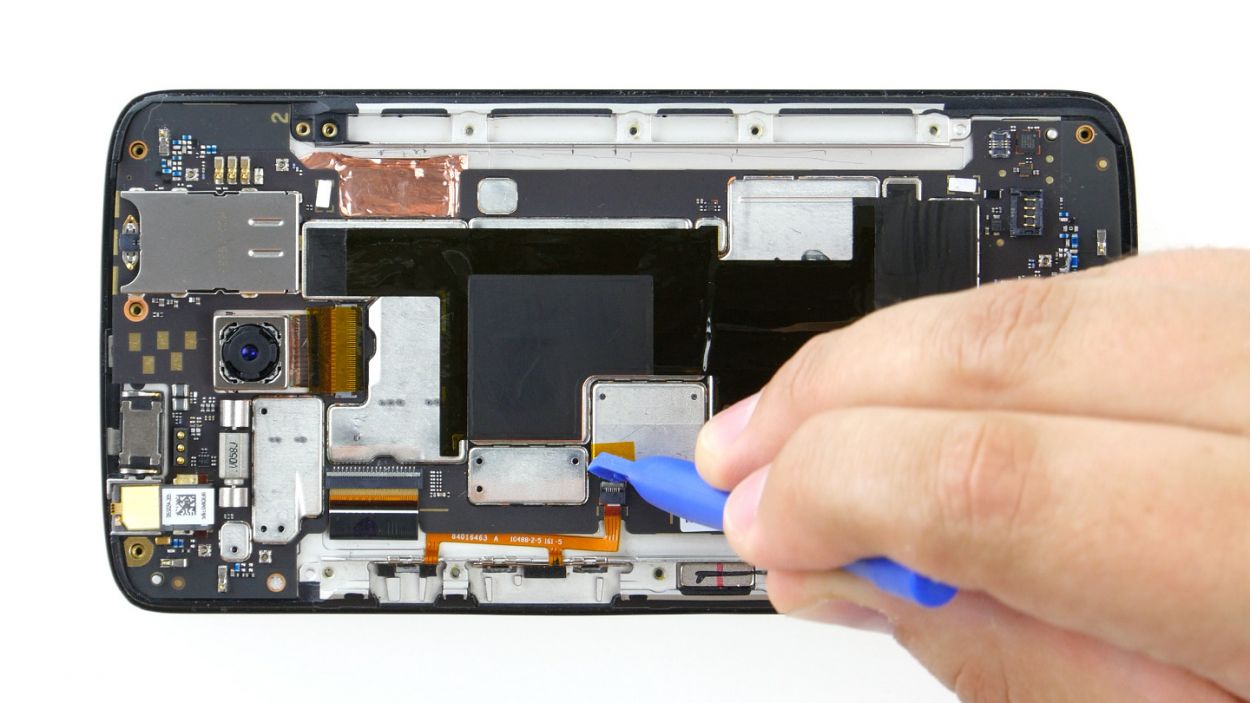
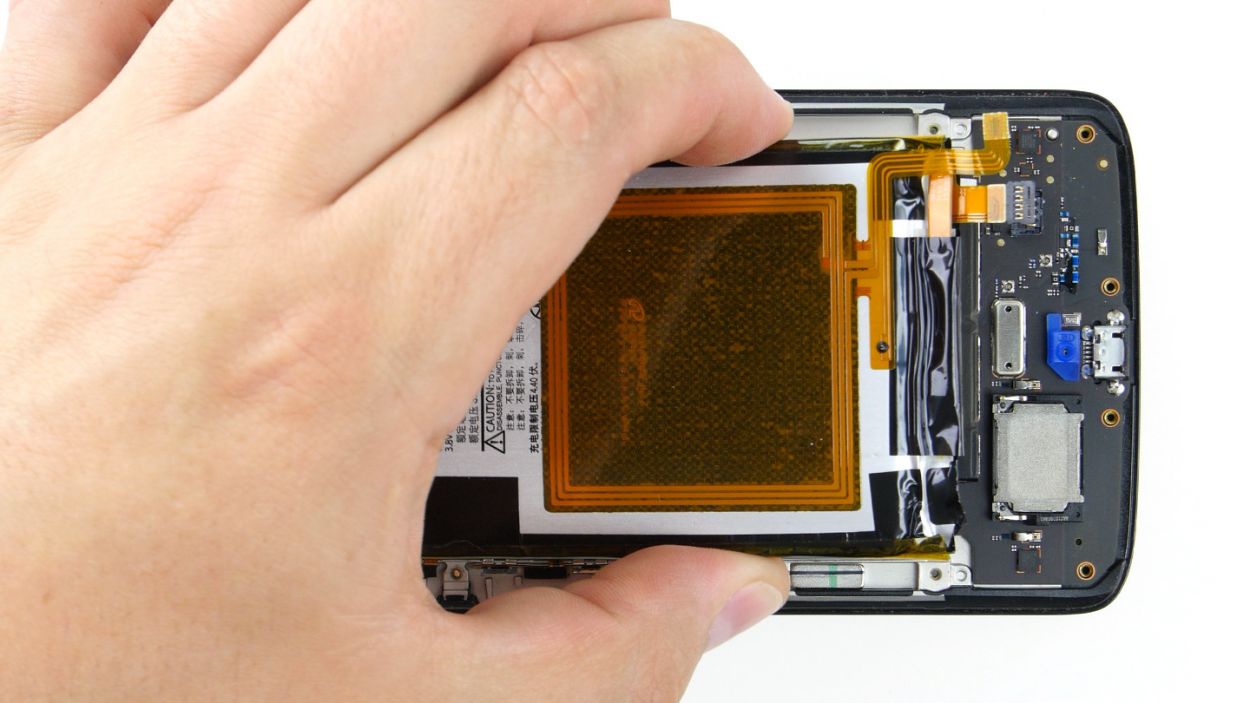
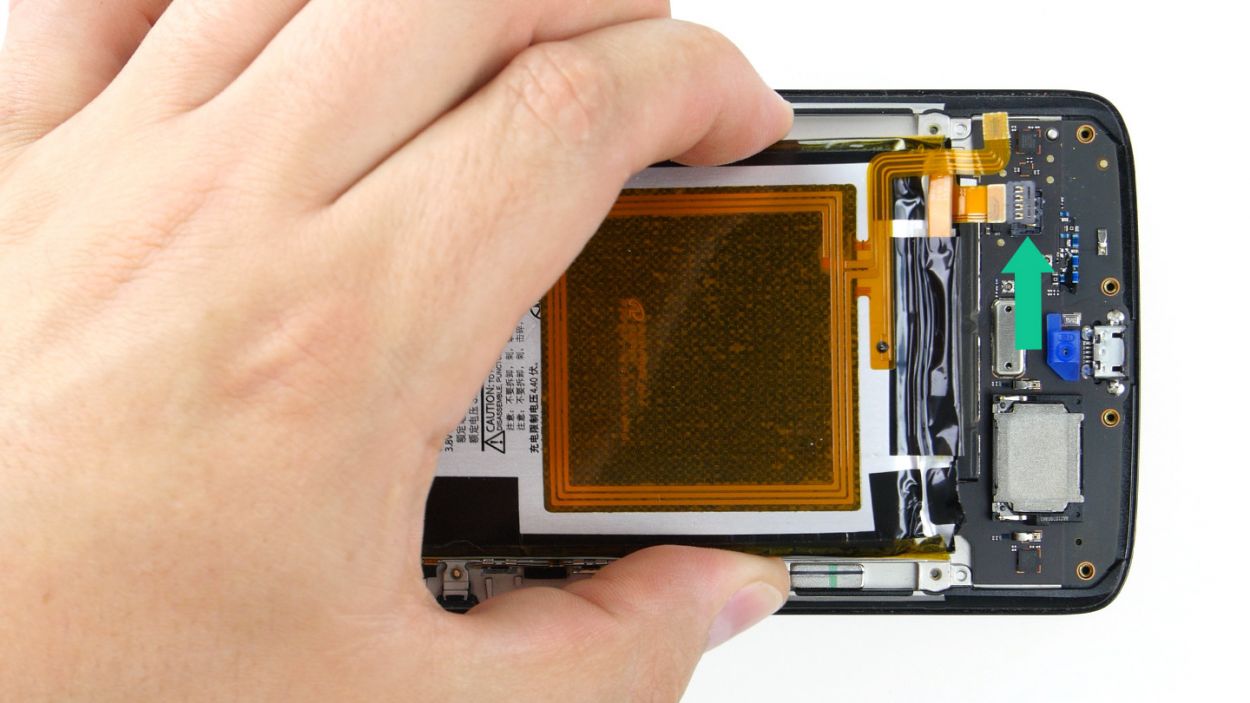
– Time to disconnect! Gently unplug the two contacts for the battery and the NFC antenna from the PCB. That’s the NFC antenna and the battery we’re talking about!
– Now, let’s get a bit hands-on! Carefully use your trusty spudger to disconnect those connectors. Slide the blade under the contact and gently pry it out of the socket. You’ve got this!
Step 6
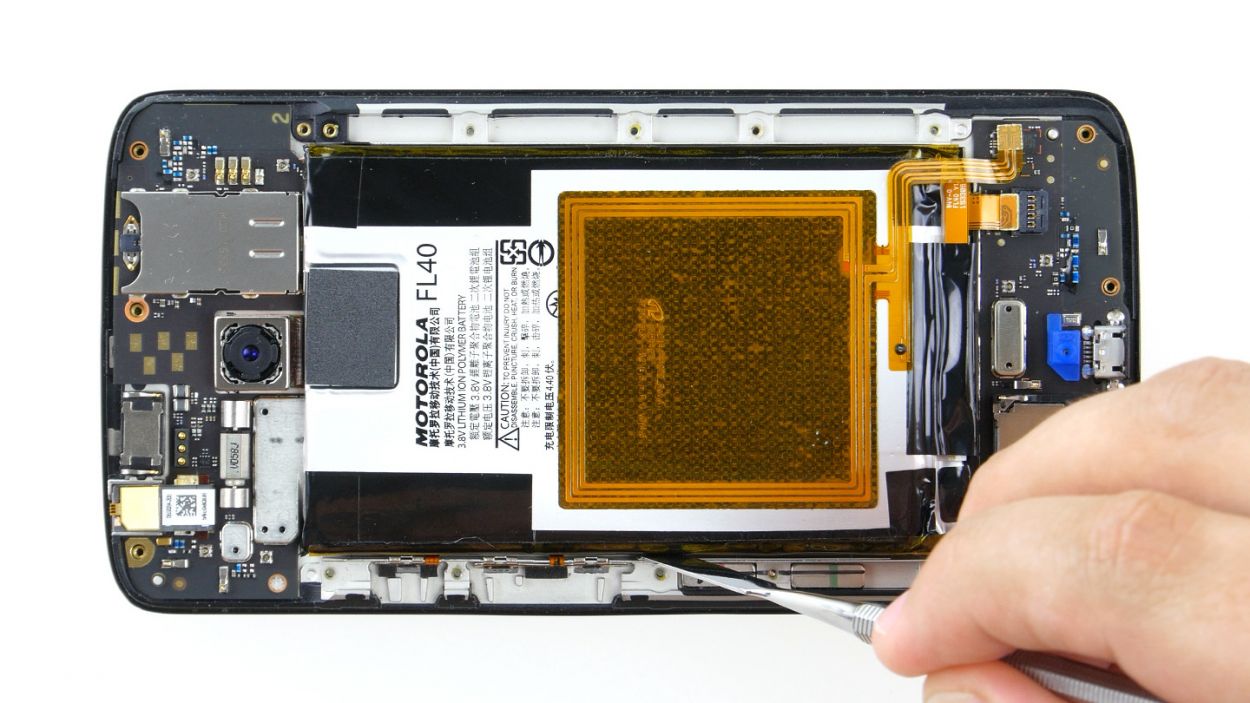
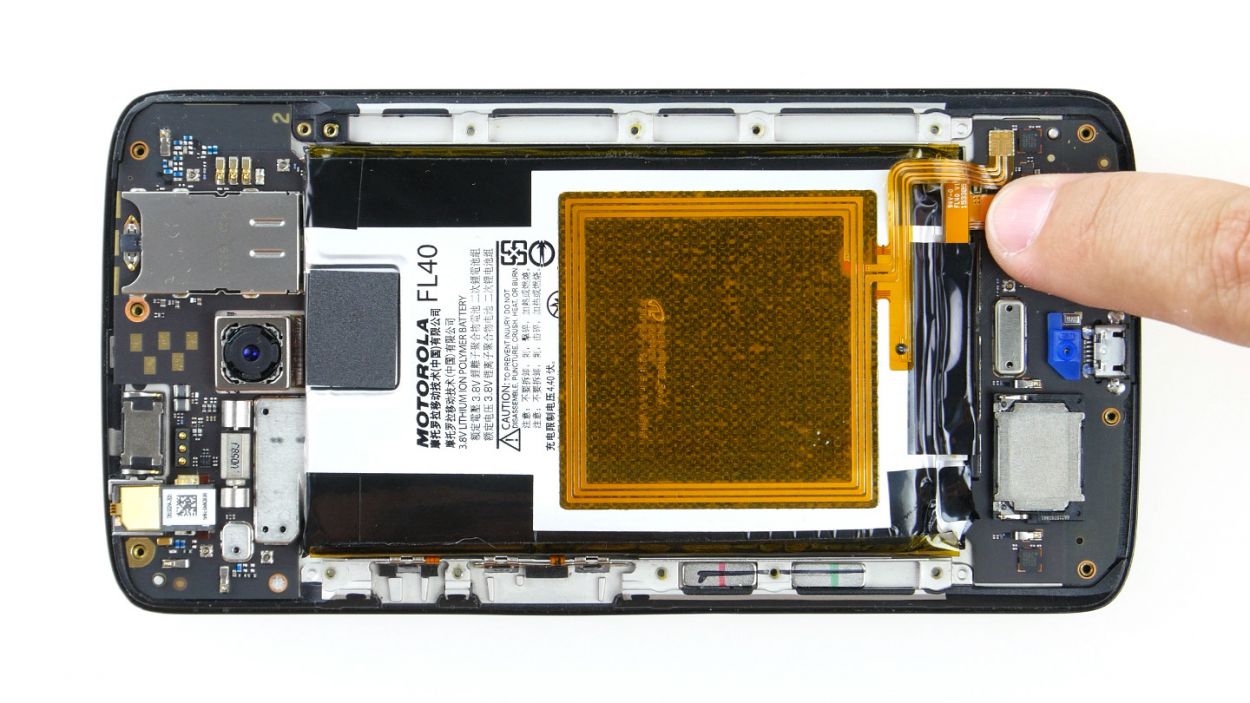
Proceed with caution during this step! Grab a flat, blunt tool like the round end of a steel laboratory spatula to keep the battery and PCB safe from any mishaps. You’ve got this!
– The battery is snugly glued to the PCB. To gently free it, slide your tool between the battery and the metal strips on both long sides, then use your tool as a lever. This will help loosen most of that sticky glue holding it down.
– Once you’ve got it loosened, lift the battery slightly and carefully slide your tool underneath. Just take it slow—nobody wants to accidentally damage the PCB!
– Now, it’s time to remove the battery from the enclosure. You’ve got this!
Step 8


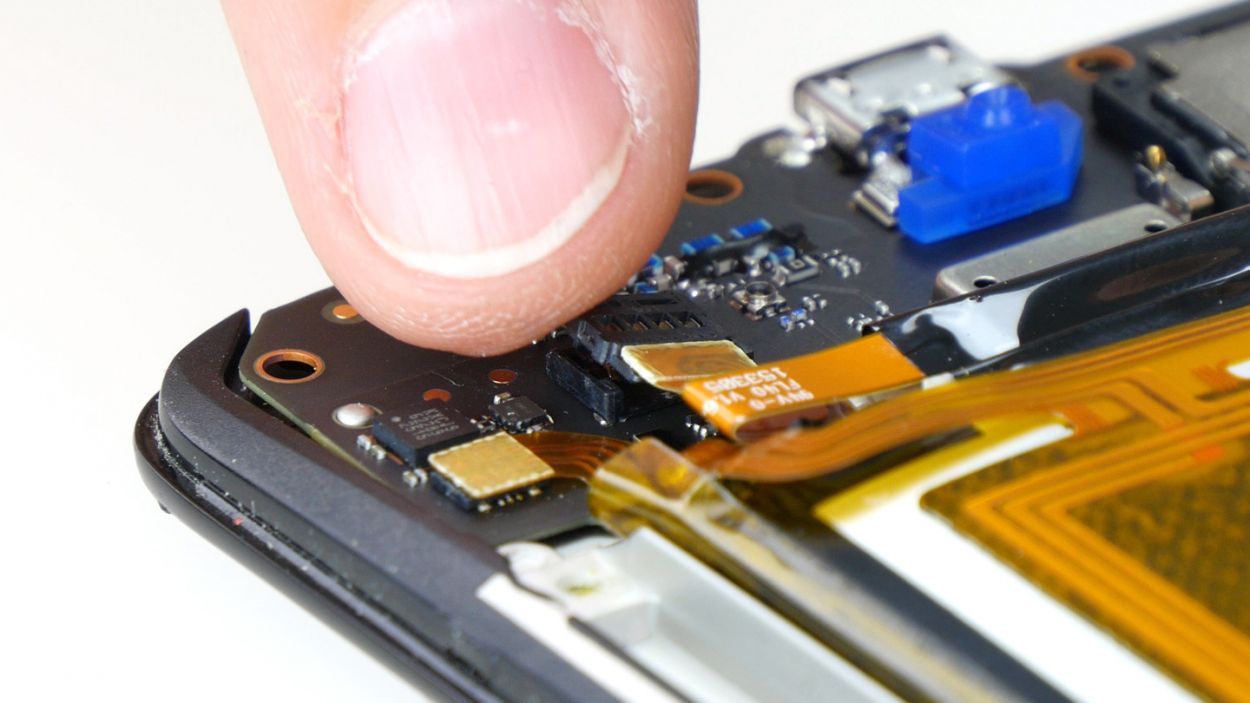
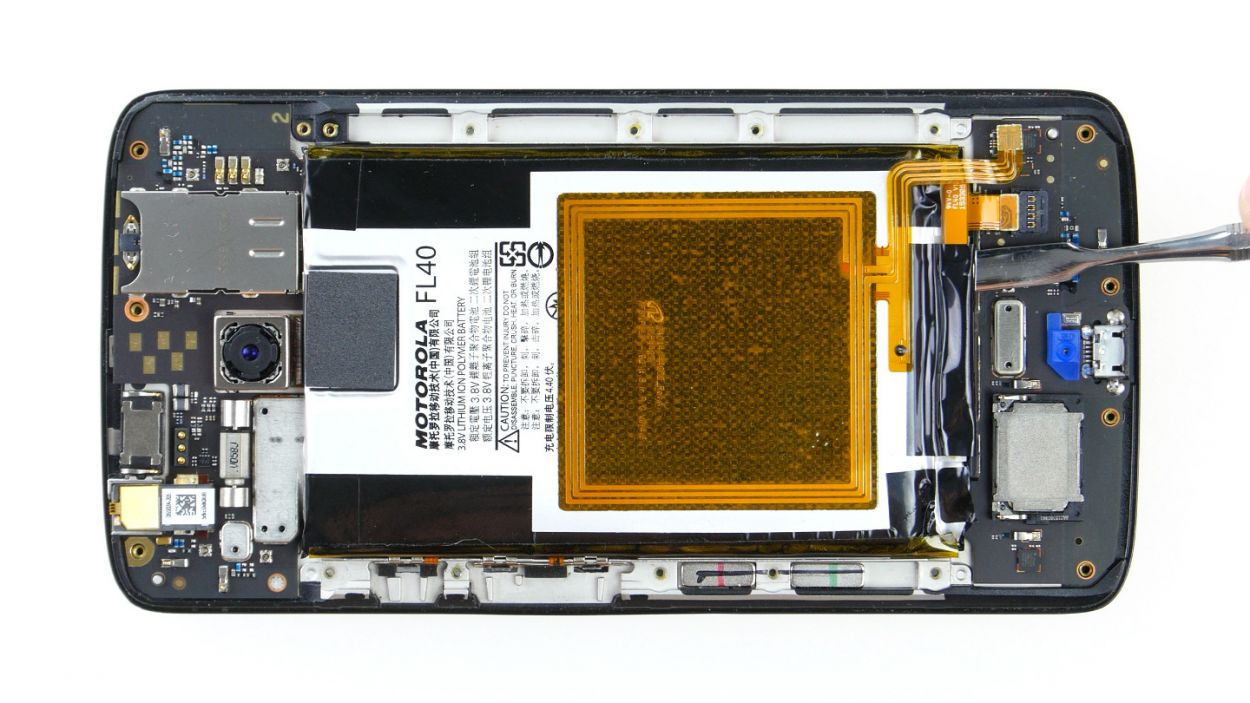
– Reconnect the battery contact and plug the NFC antenna’s connector back into the PCB. Let’s get that NFC antenna back in action!
– Gently press the two connectors into their sockets with your finger. You should hear a satisfying click when they lock into place. You’re doing great!
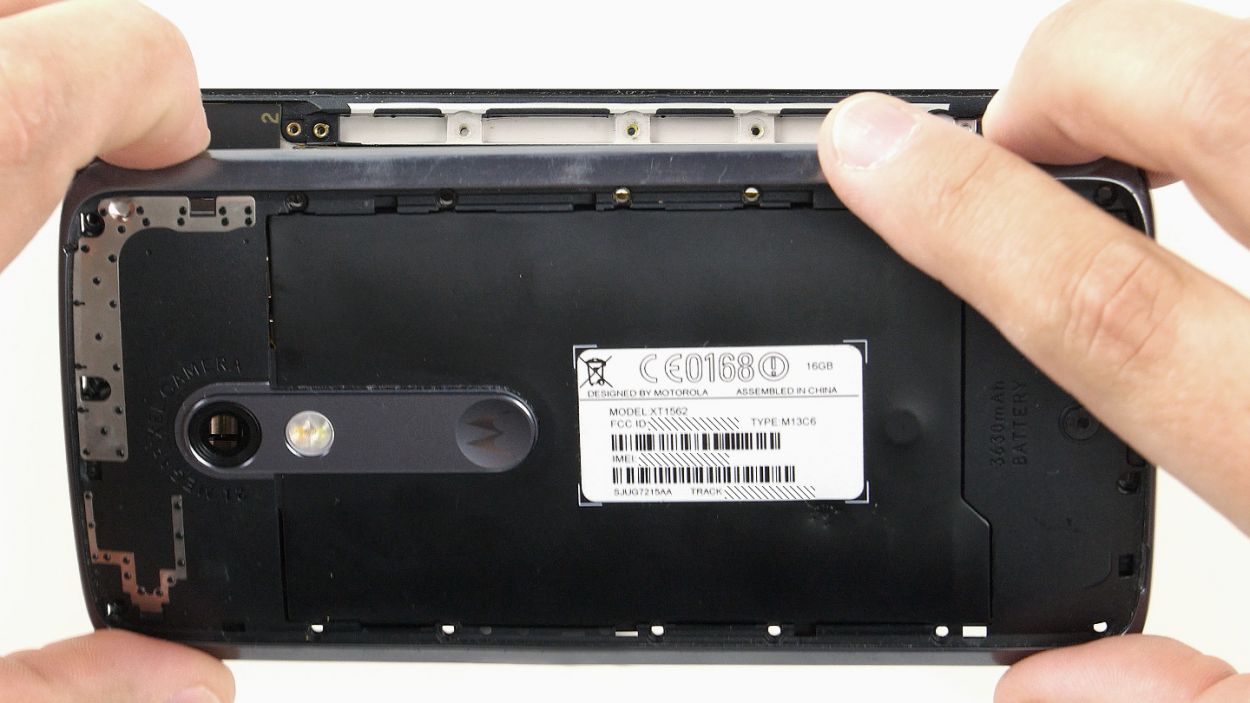
Step 9


– Time to get that midframe back on your device! Just make sure it’s lined up so all the openings are perfectly over those threaded holes.
– Now, grab those seventeen screws and let’s secure that midframe like a pro! Use 17 x 3.1 mm T3 Torx screws to lock it all in place.
Step 10
– Don’t forget to install the two buttons for the power button and the volume rocker switch again. Position the two buttons as shown in the first picture to insert them into the openings. You will hear the buttons click into place in the enclosure.
Step 11

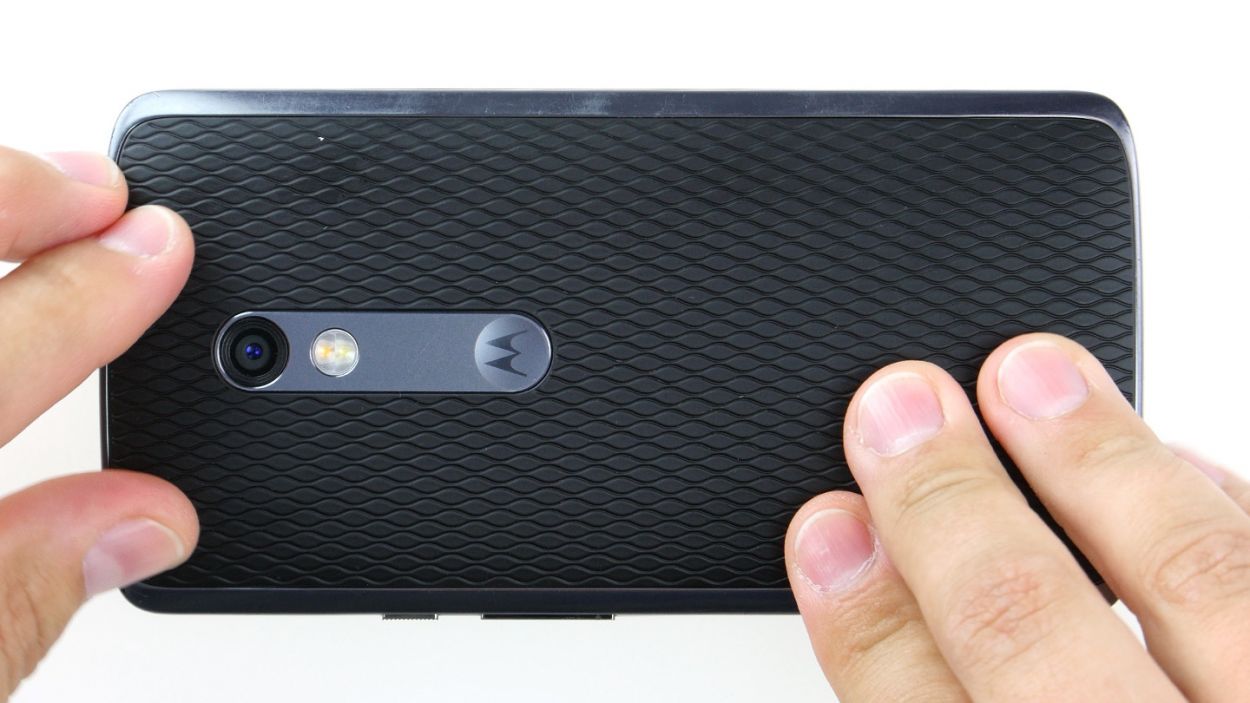
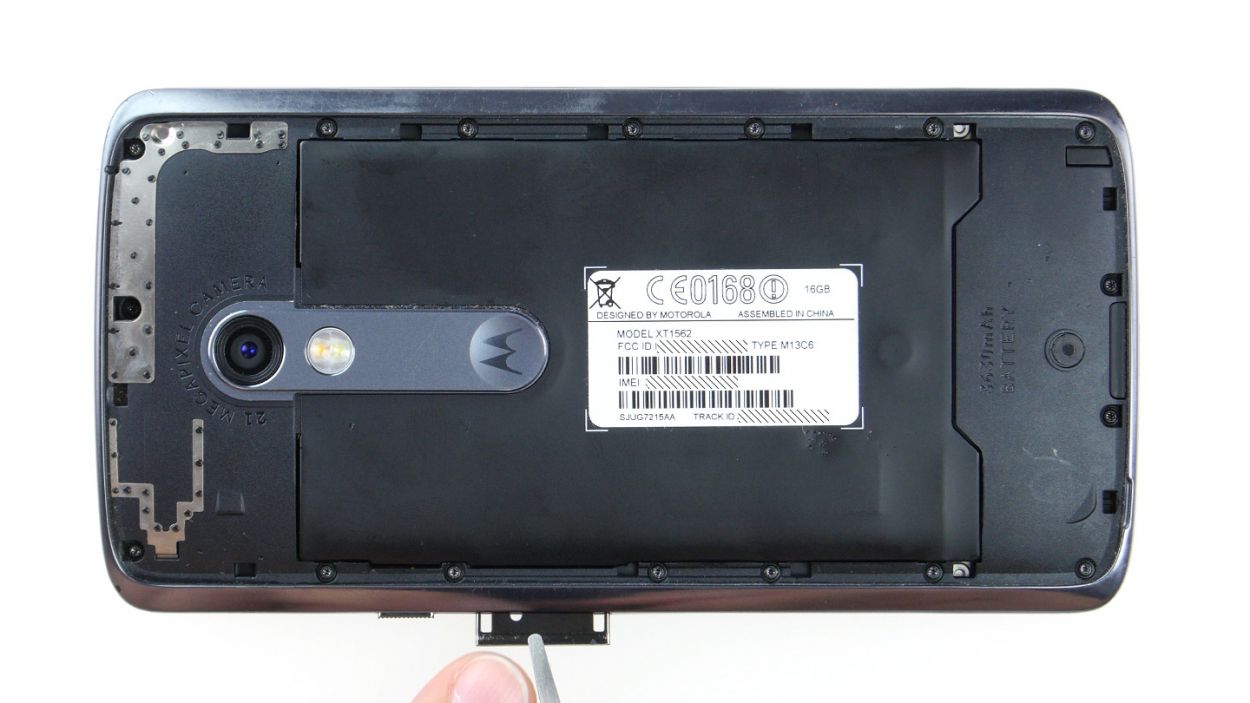
– Gently place the back cover back where it belongs on your device, just like a snugly puzzle piece.
– Give that cover a nice firm press all around until you hear those satisfying clicks from the hooks locking it into place.
Step 12
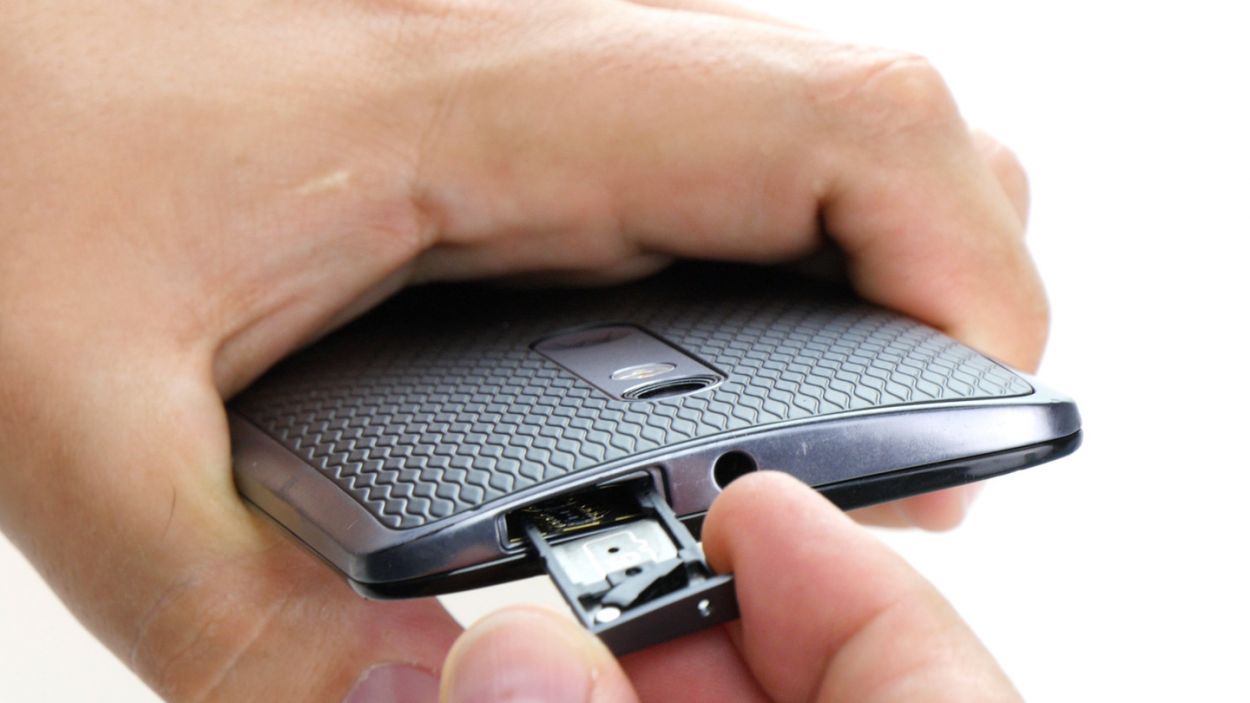
– Slide that SIM tray right back in, baby! And check that it’s all nice and snug.