DIY Guide: Replace Battery in Motorola Moto G10
Duration: 90 min.
Steps: 22 Steps
Hey there! Just a quick heads-up: once you pop open your device, the IP certification that keeps dust and water at bay will be on borrowed time. So, let’s handle it with care!
If your one-year manufacturer’s warranty has run its course, it might be time to give that battery a fresh start! In this easy-to-follow photo guide, we’ll walk you through the process step by step. Let’s get that device back in action!
Step 1
Check out our handy checklist to test the basic features of your Motorola moto g10 before diving into the repair. It’s a great way to see if everything’s working right afterward to know if your repair did the trick!
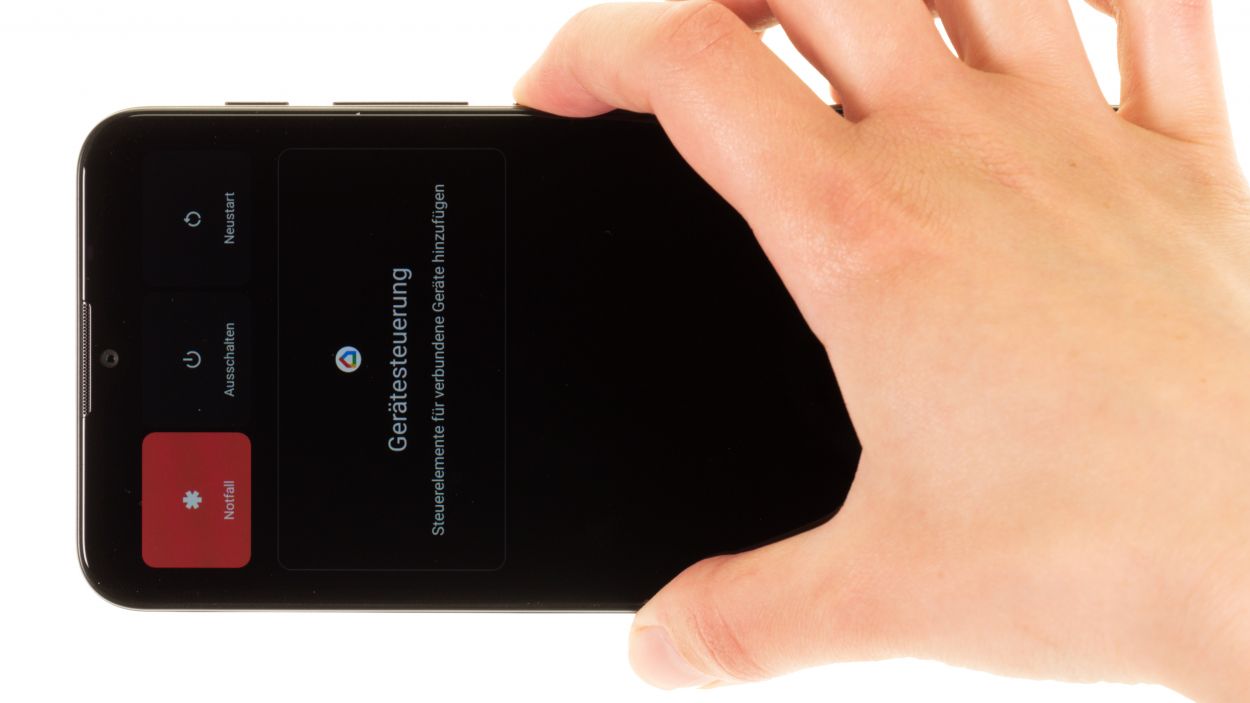
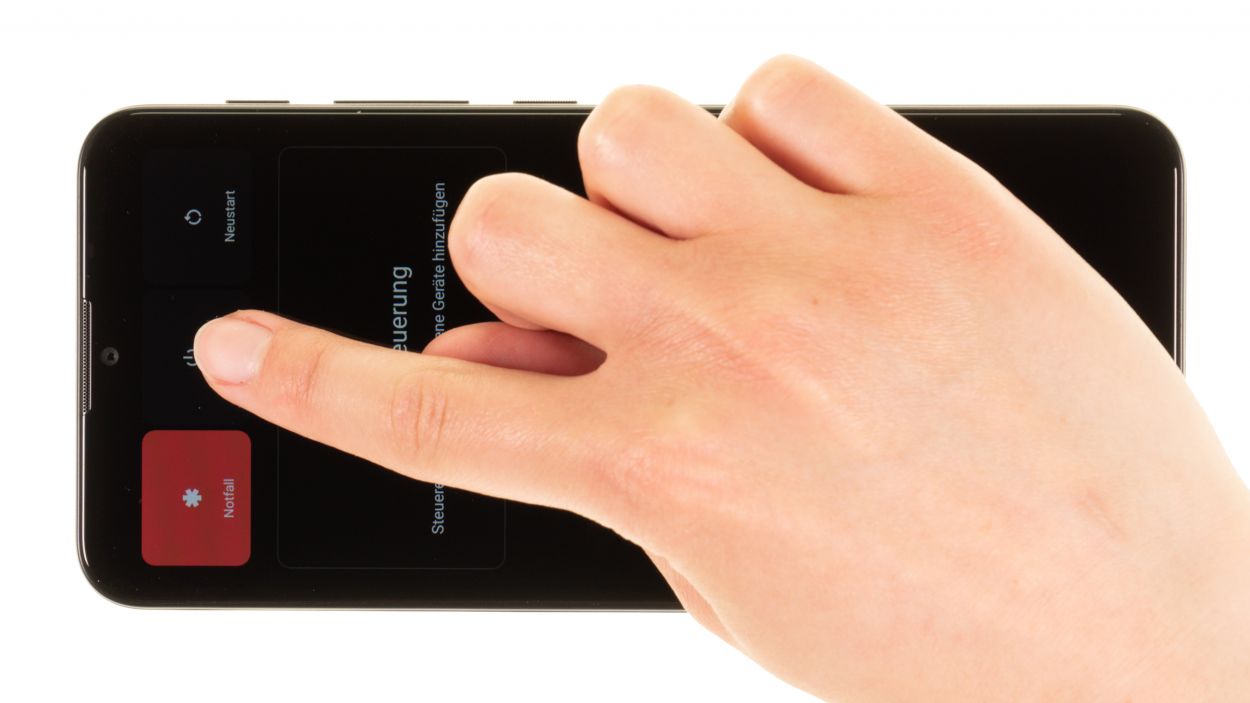
– Give that power button a long press until the Power Off menu pops up on your screen.
– Now, just tap on Power off in the menu that shows up. Your smartphone will gracefully shut down in just a few seconds.
Step 3
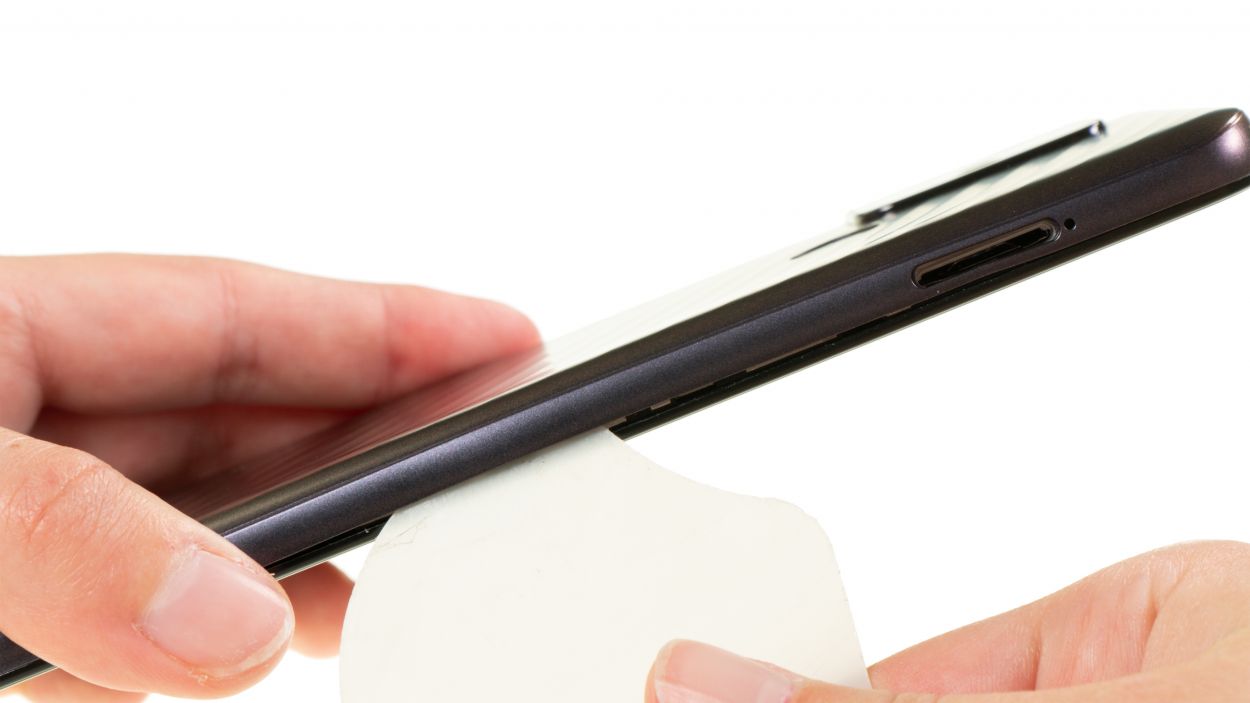
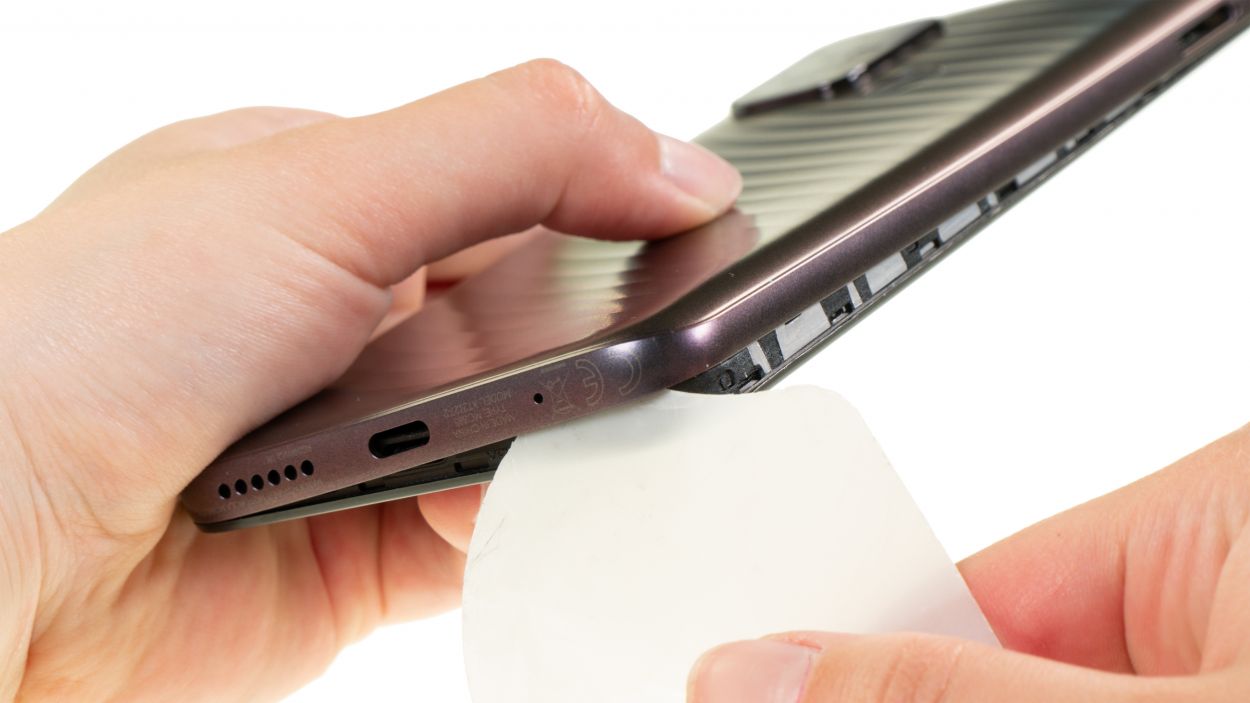
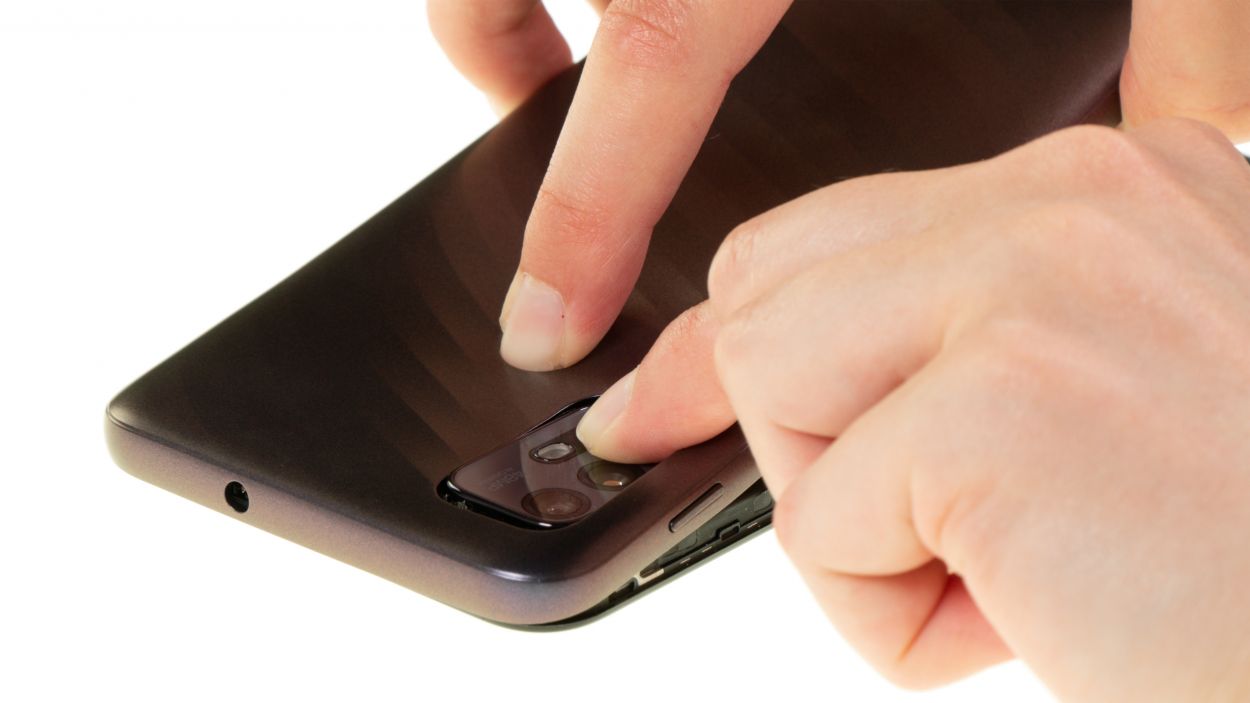
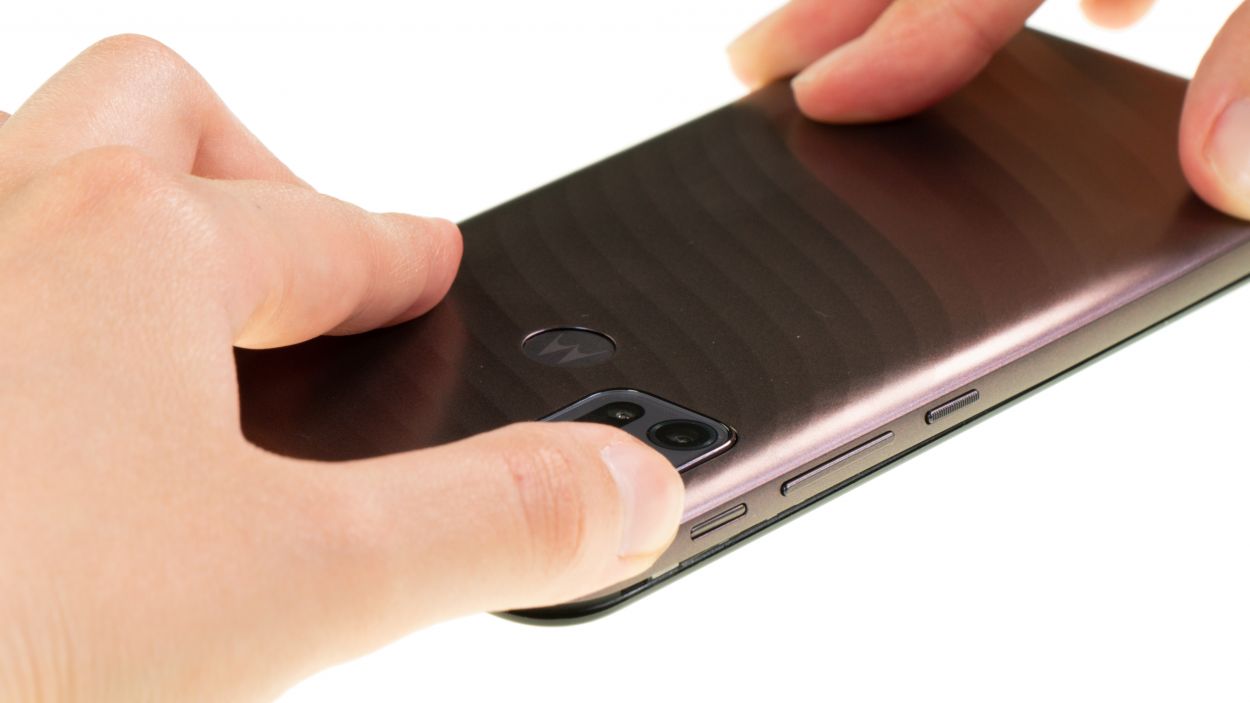
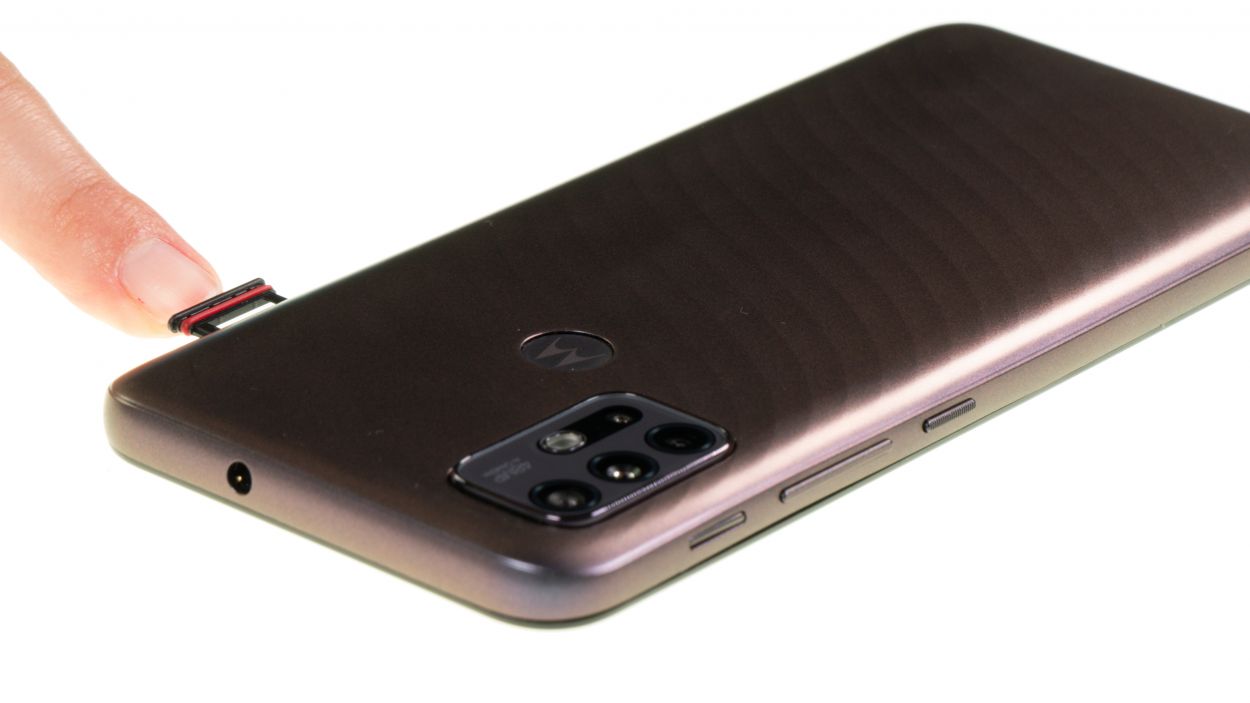
– Gently slide your tool beneath the edge of the back cover. You’re doing great!
– Now, glide that tool around the back cover, piece by piece. Listen for those satisfying pops as the hooks around the screen unit start to loosen. You’re almost there!
Heads up! The frame is a bit wobbly around the SIM tray area. So, take it easy and be extra cautious here!
The plastic back cover is snugly hooked onto the screen unit and has a bit of glue holding it in place. A flat plastic tool, like a pick or the iPlastix, works wonders for loosening it up. Remember, if you need help, you can always schedule a repair!
Tools Used
- Flat Picks
- battery? Then the iPlastix with its large blade will help you. The practical assistant is made of flexible, especially sturdy plastic and lies comfortably in the hand. Thanks to its design, you can even get into smaller gaps, for example to lift the screen or to prevent it from sticking together again.” rel=”noopener”>iPlastix Opening Tool
Step 4
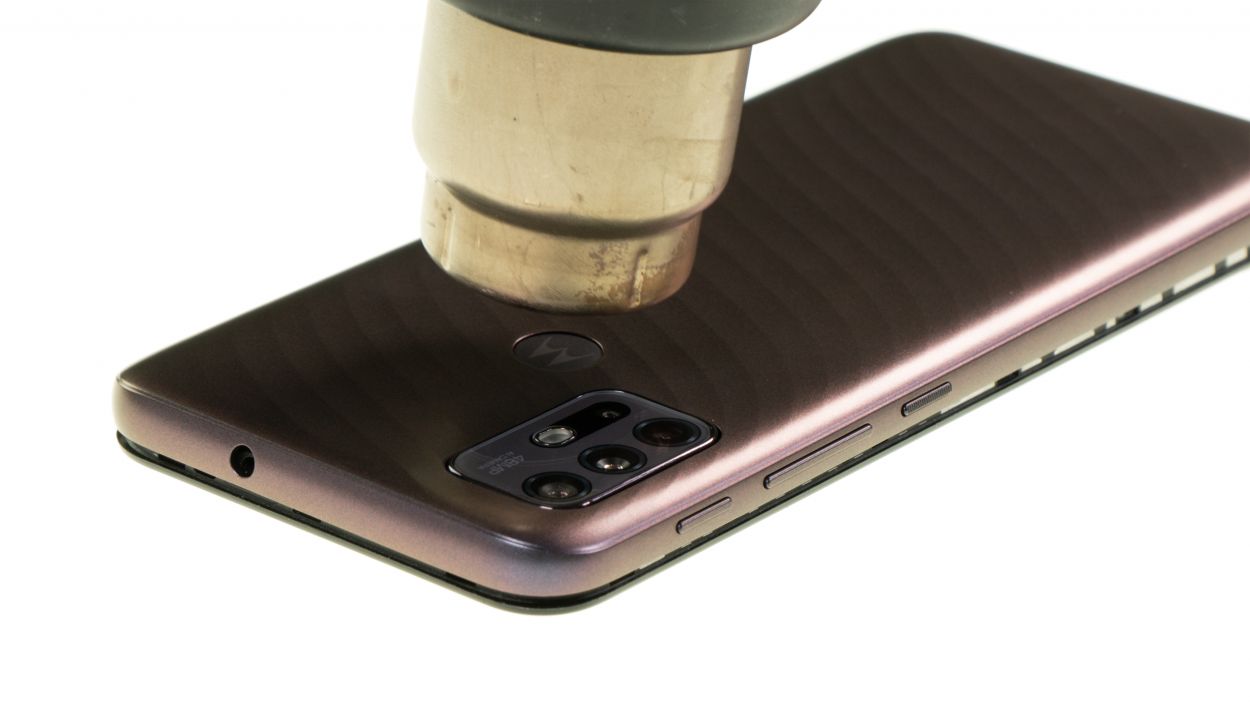
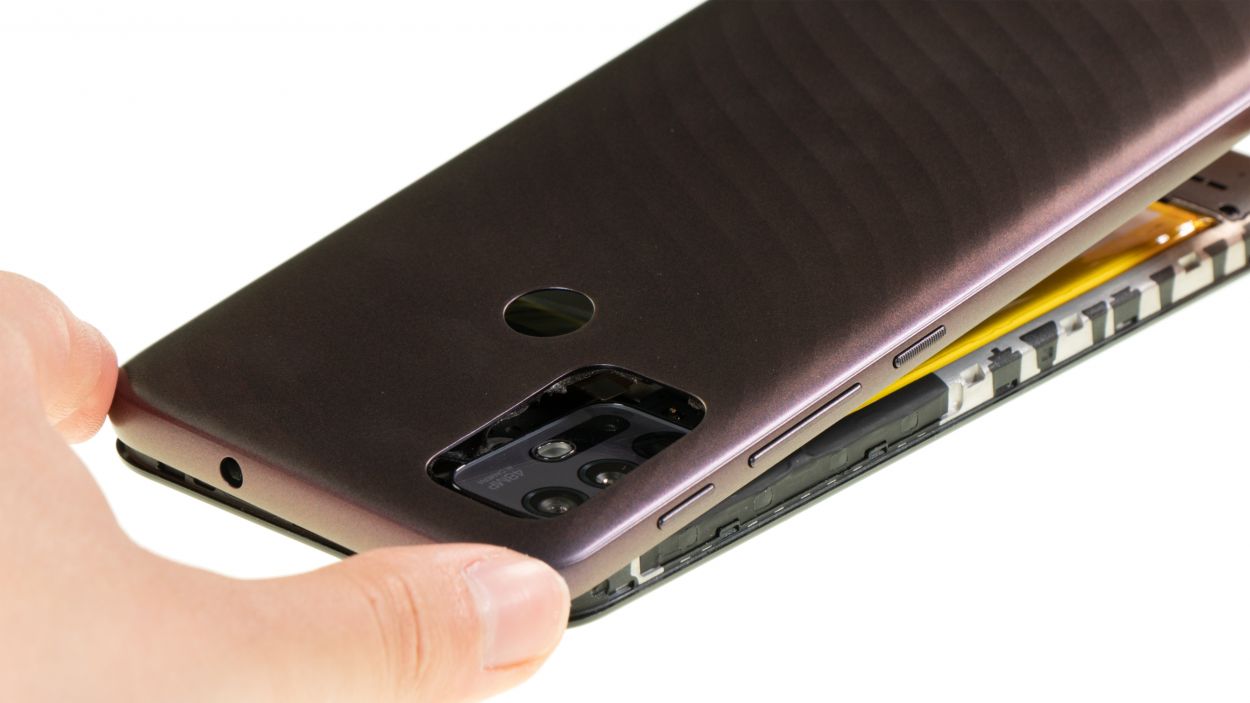
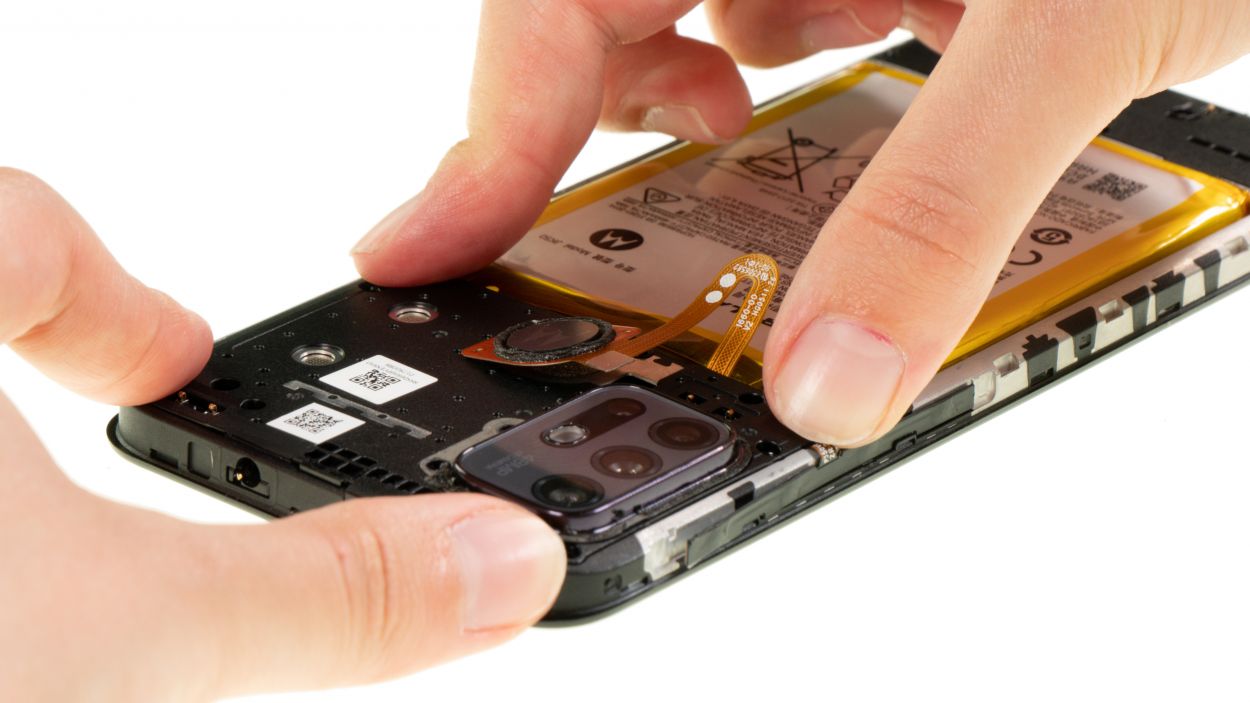
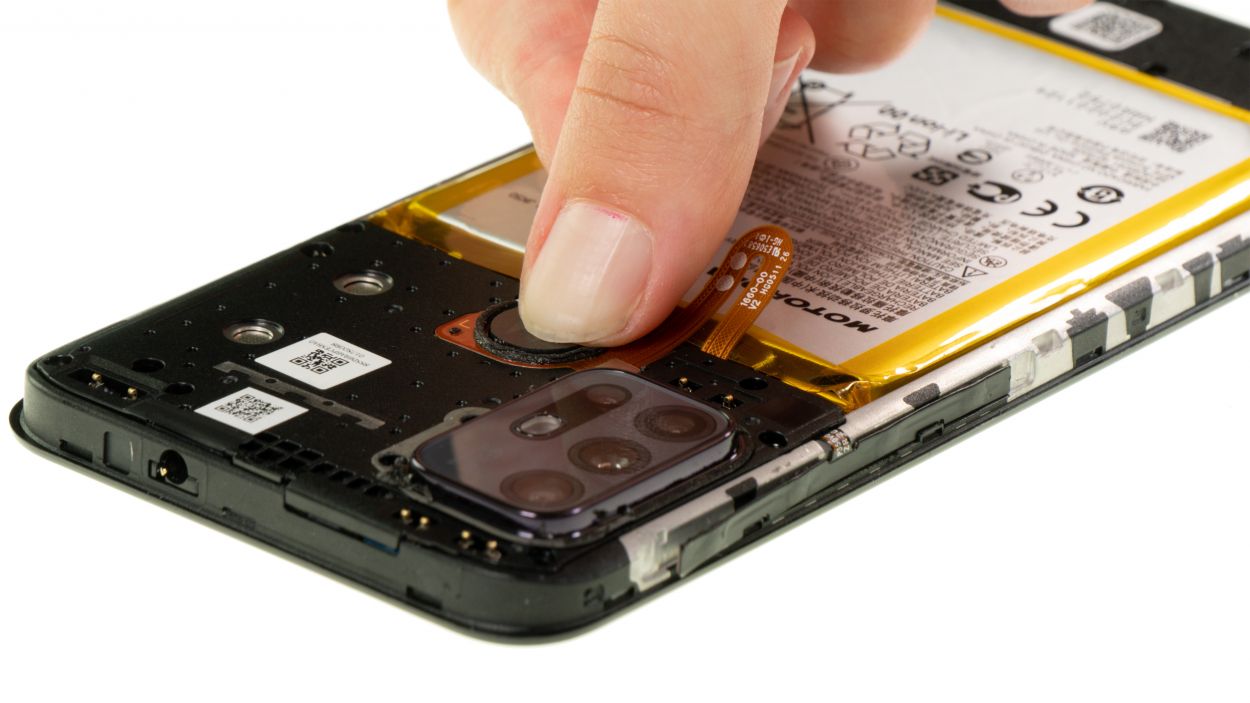
When you’re removing the back cover, give the camera module and fingerprint scanner a gentle press down. We want to keep them safe and sound, avoiding any unexpected disconnections!
The back cover is stuck on around the camera module and fingerprint scanner, so be prepared to give it a little extra love to get it off!
– Give that adhesive a little love by warming it up with a hot air tool. A heat gun works wonders, but if you’ve got a trusty hair dryer, that’ll do the trick too!
– Gently peel off the back cover like you’re unwrapping a present.
Tools Used
- heat gun to heat parts that are glued on so they’re easier to remove.
In most cases, you can also use a hairdryer.” rel=”noopener”>Heat gun
Step 5
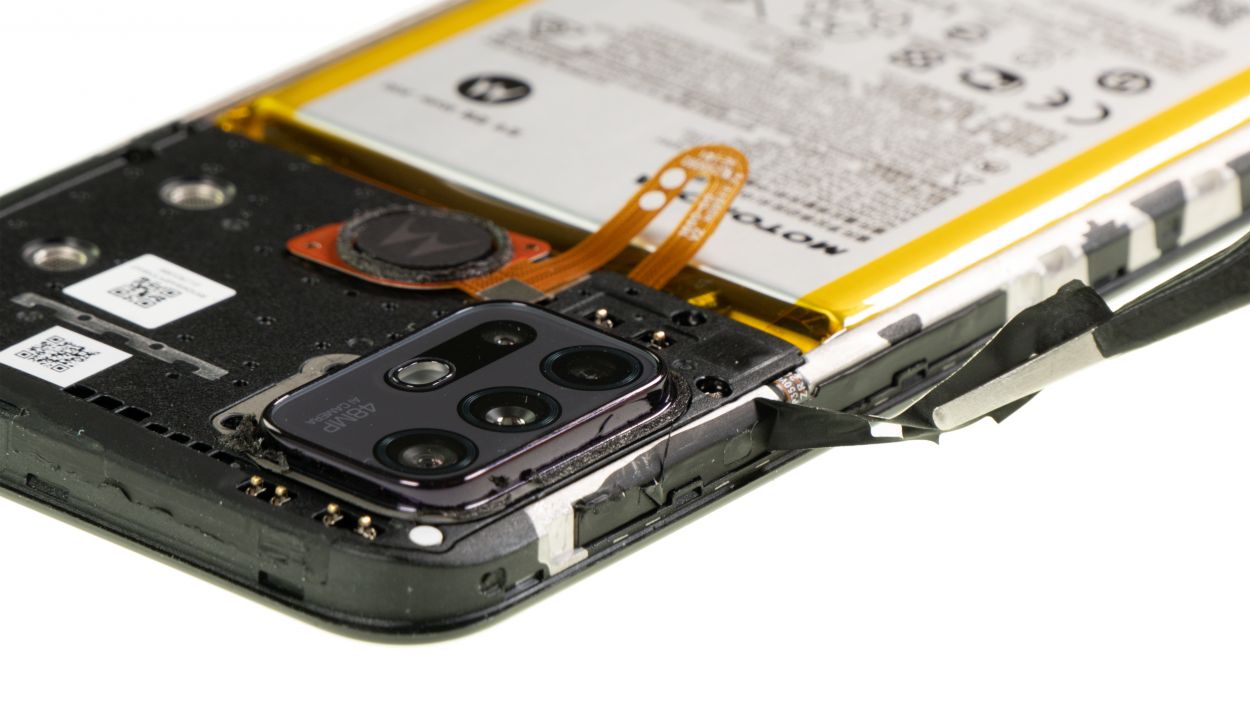
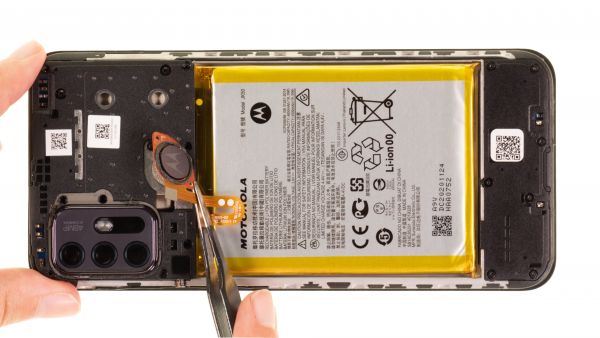
There are some protective film strips hanging out on the edge of your screen unit. Since they’re playing peek-a-boo with the screws, it’s time to say goodbye to them!
– Gently coax those strips off with your trusty tweezers.
– If you’re not planning to stick them back on after the fix, feel free to toss them aside.
Tools Used
Step 6
2 × 3.3 mm Phillips
7 × 3.9 mm Phillips
Keep your screws in check during the repair process so you don’t end up playing hide-and-seek with them! An old sewing box can work wonders for staying organized. And for an extra boost, our nifty magnetic pad ensures that everything stays right where you put it—no slipping allowed!
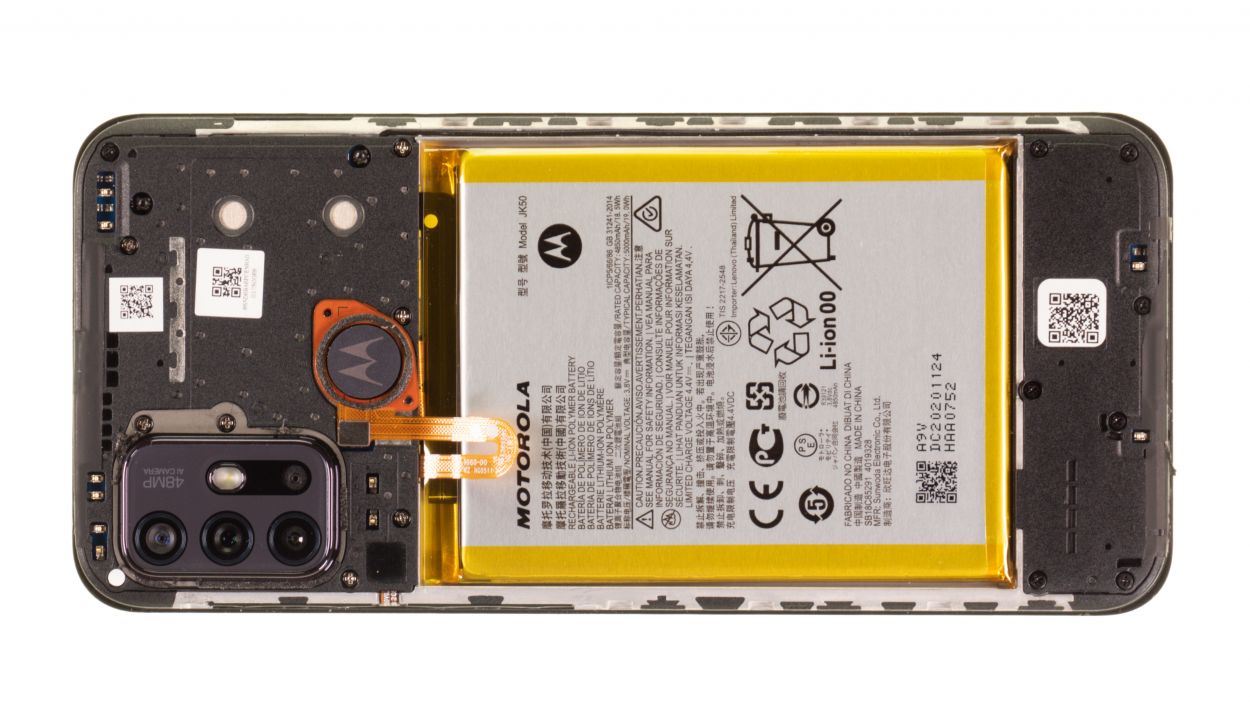
– Gently unscrew the nine Phillips screws holding the plastic cover above the motherboard. Remember, these little guys are important!
– Place the screws on your magnetic pad in a way that makes it super easy to spot the two different lengths later on. Organization is key!
Step 7
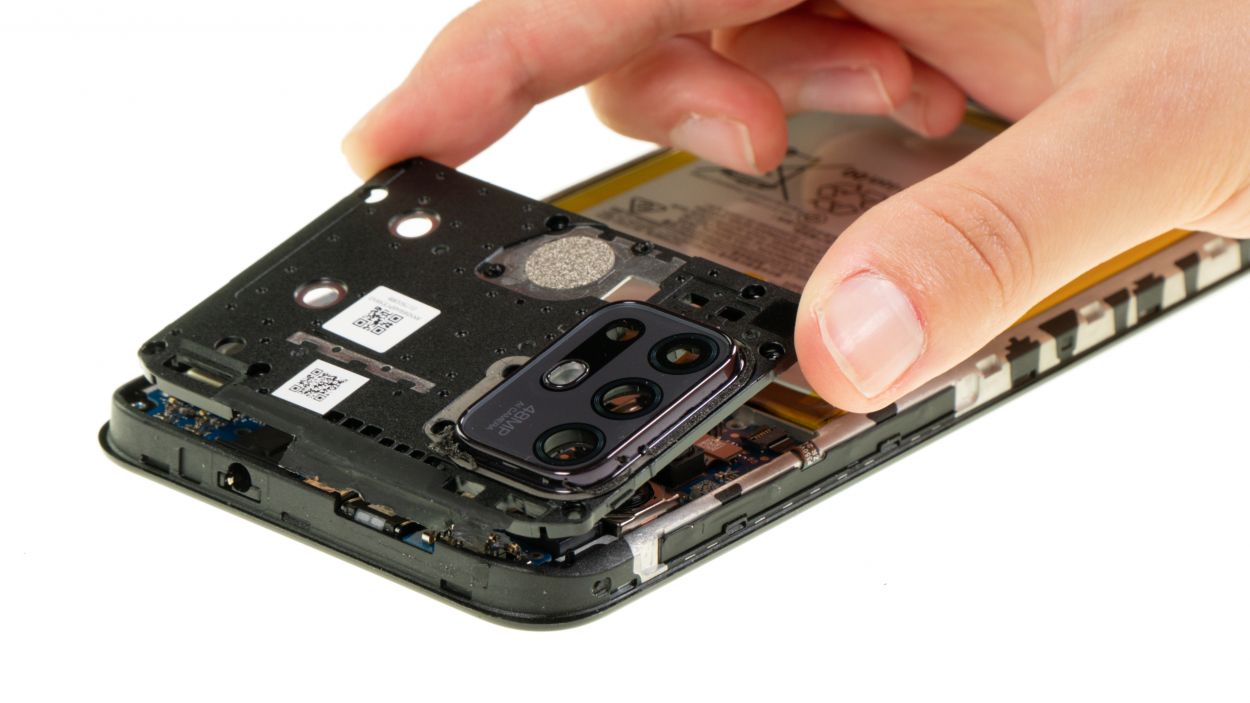
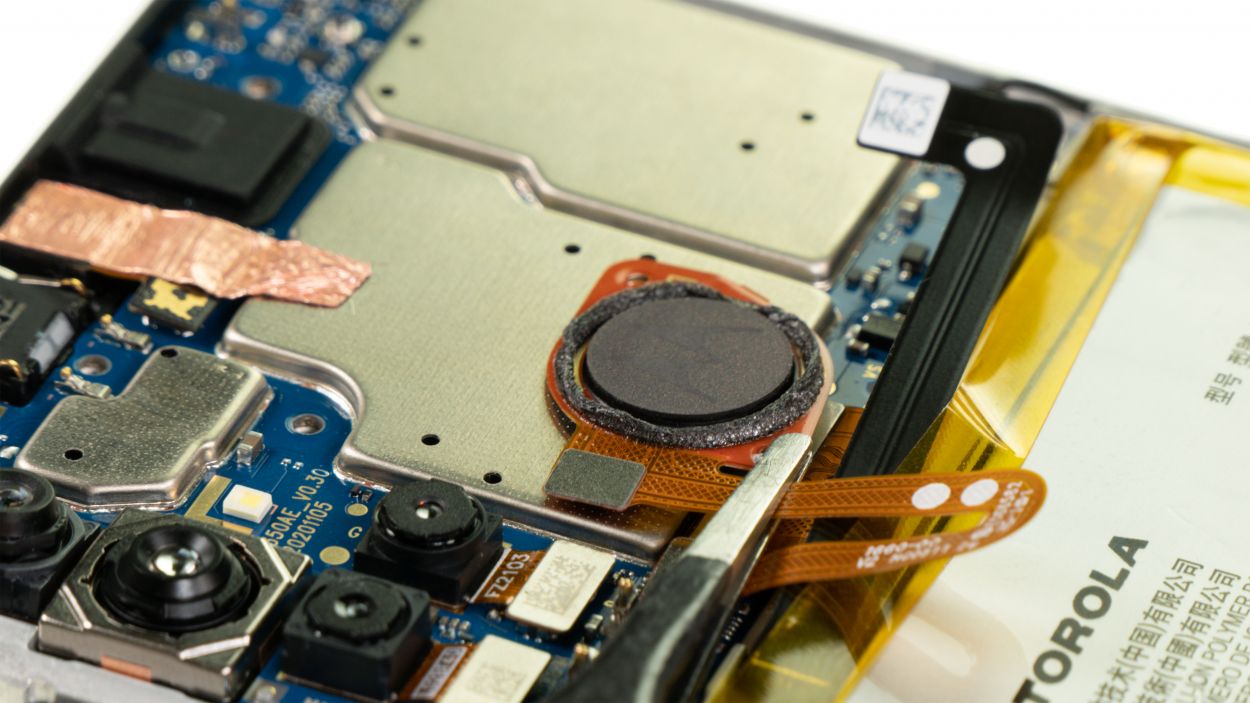
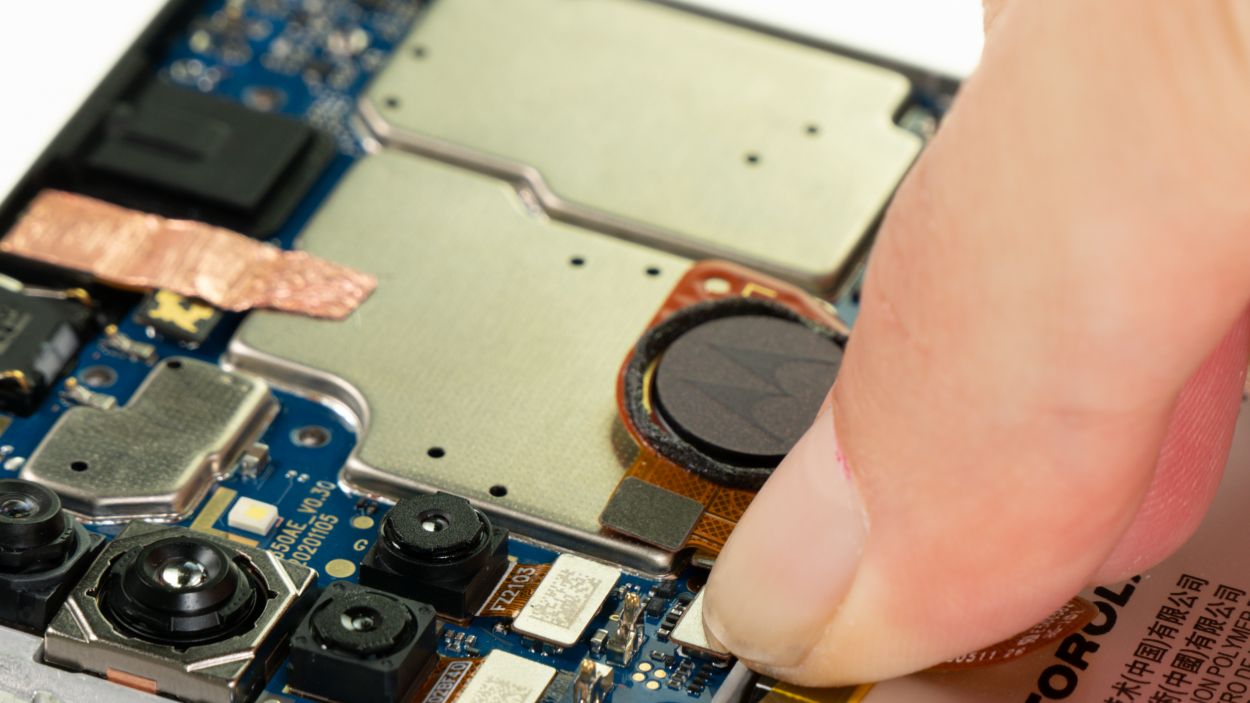
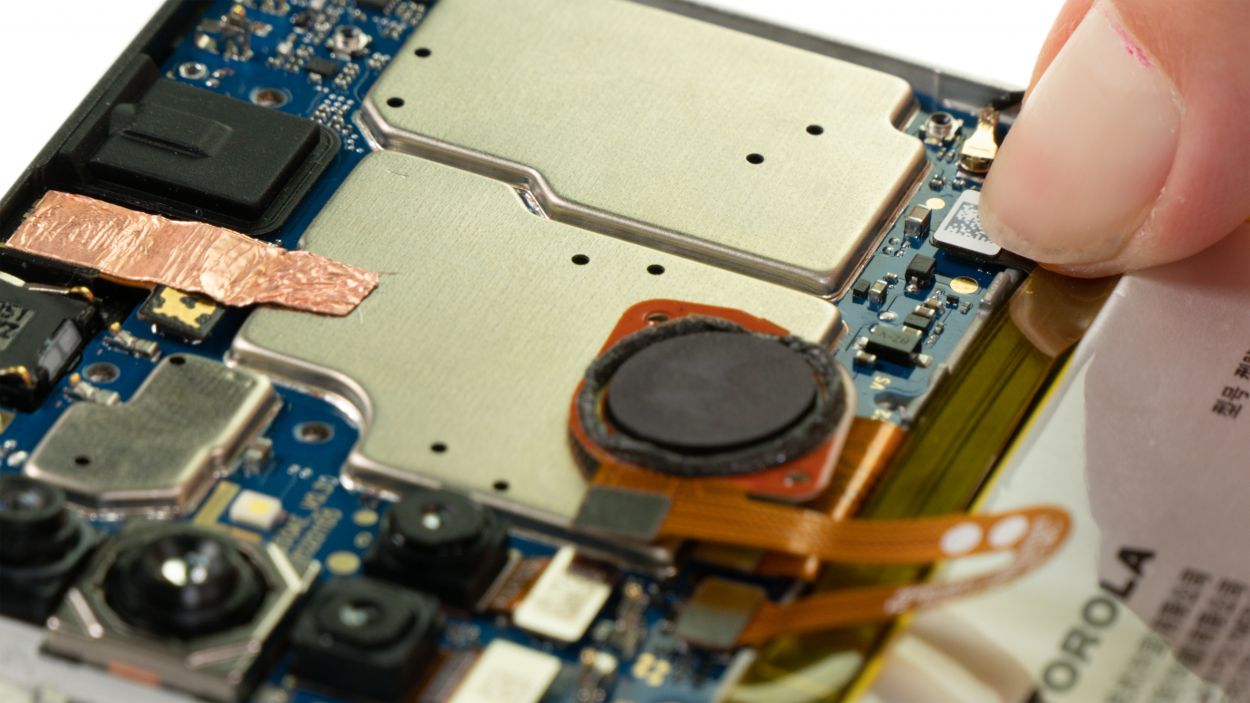
Hey there! That fingerprint sensor is hiding under the plastic cover. Give it some love and gently move it aside while you remove the cover. No need to be a superhero, just careful!
– Gently pry the plastic cover upwards, releasing those sneaky lugs that keep it attached to the screen. A trusty plastic spudger works wonders for this task!
– Carefully set the fingerprint sensor aside and lift out the now-loosened plastic cover from your device.
Tools Used
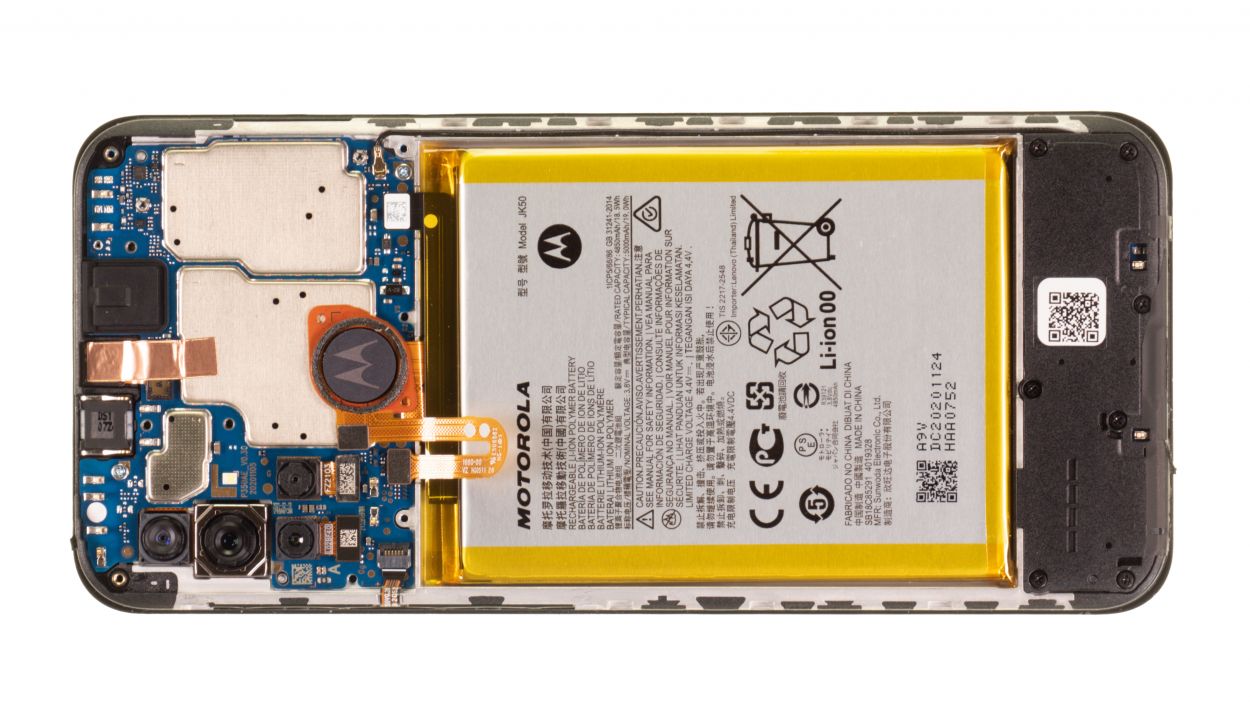
Step 8

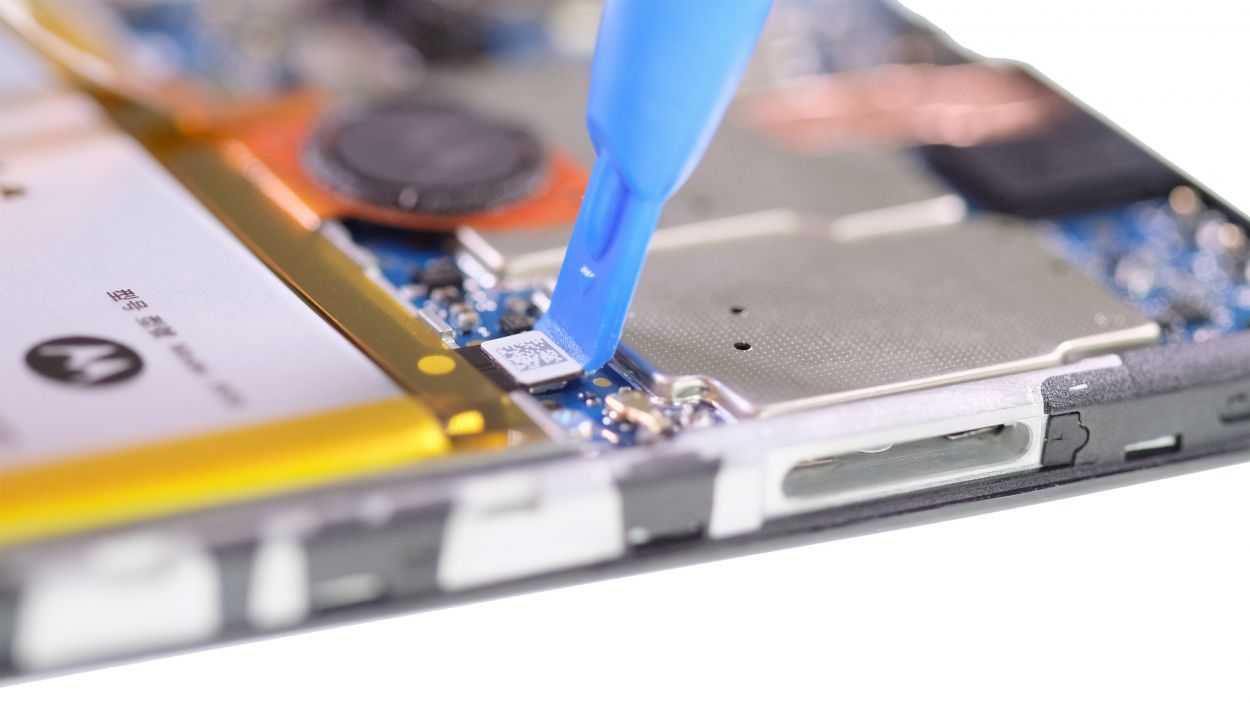
Make sure to unplug that battery connector ASAP to keep any pesky short circuits at bay!
– Gently wiggle the battery connector away from the motherboard using a plastic spudger. You’ve got this!
Tools Used
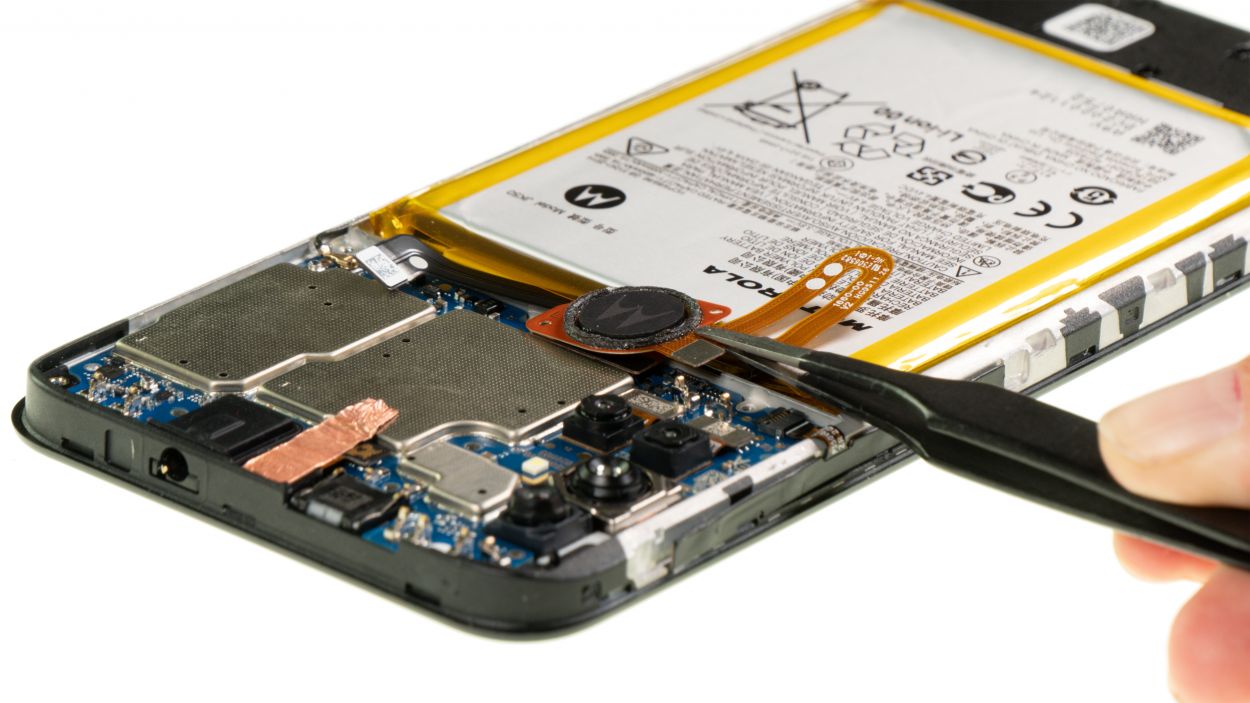
Step 9
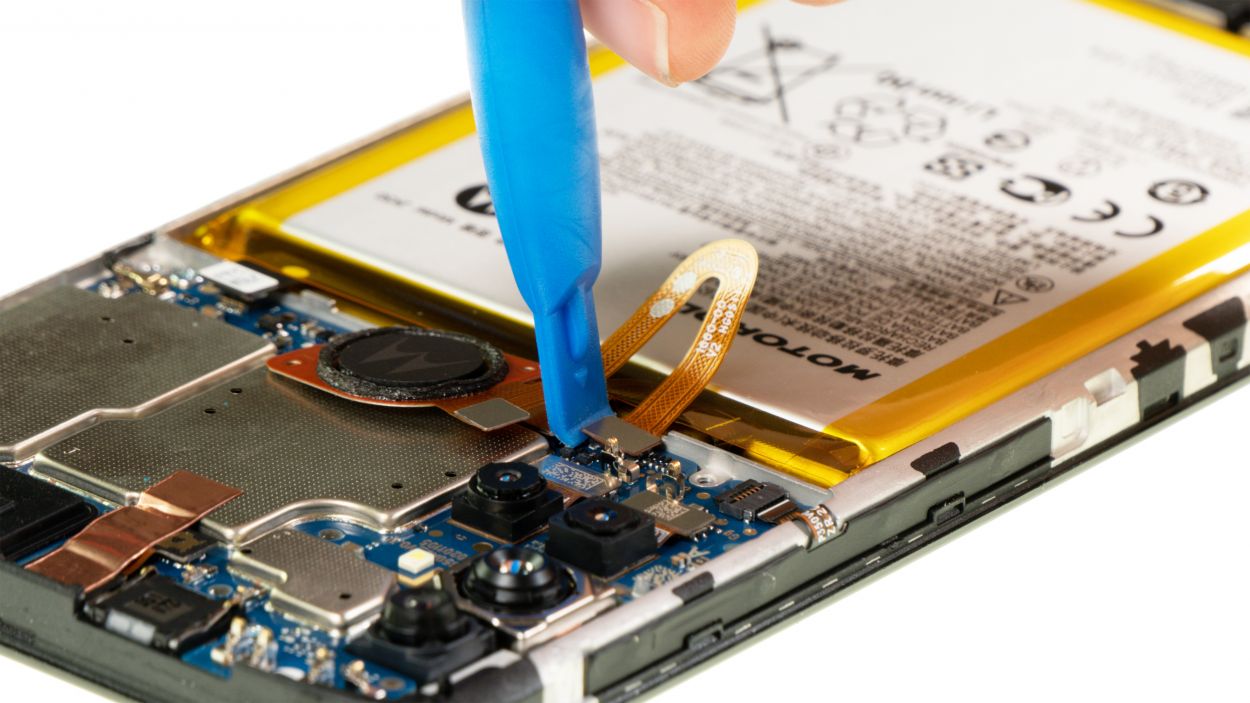
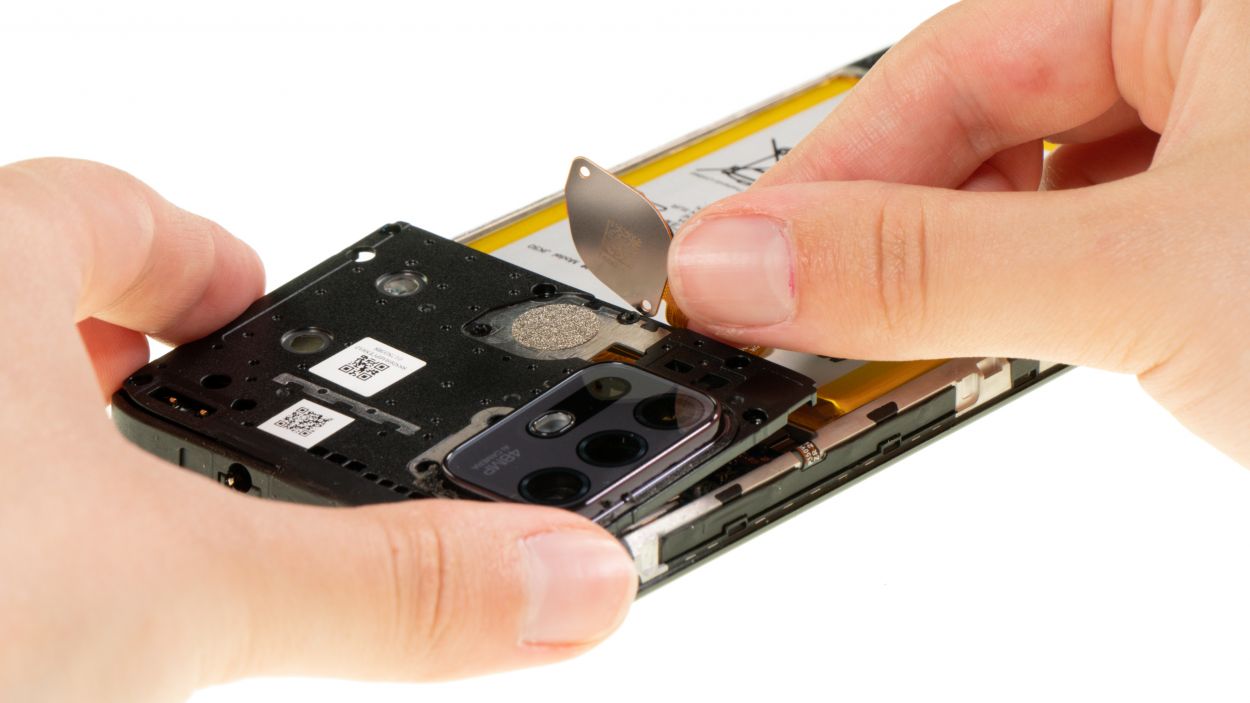
– Time to get up close and personal with that fingerprint scanner connector! Carefully pry it off the board with a trusty spudger. If you need help, you can always schedule a repair.
Tools Used
Step 10
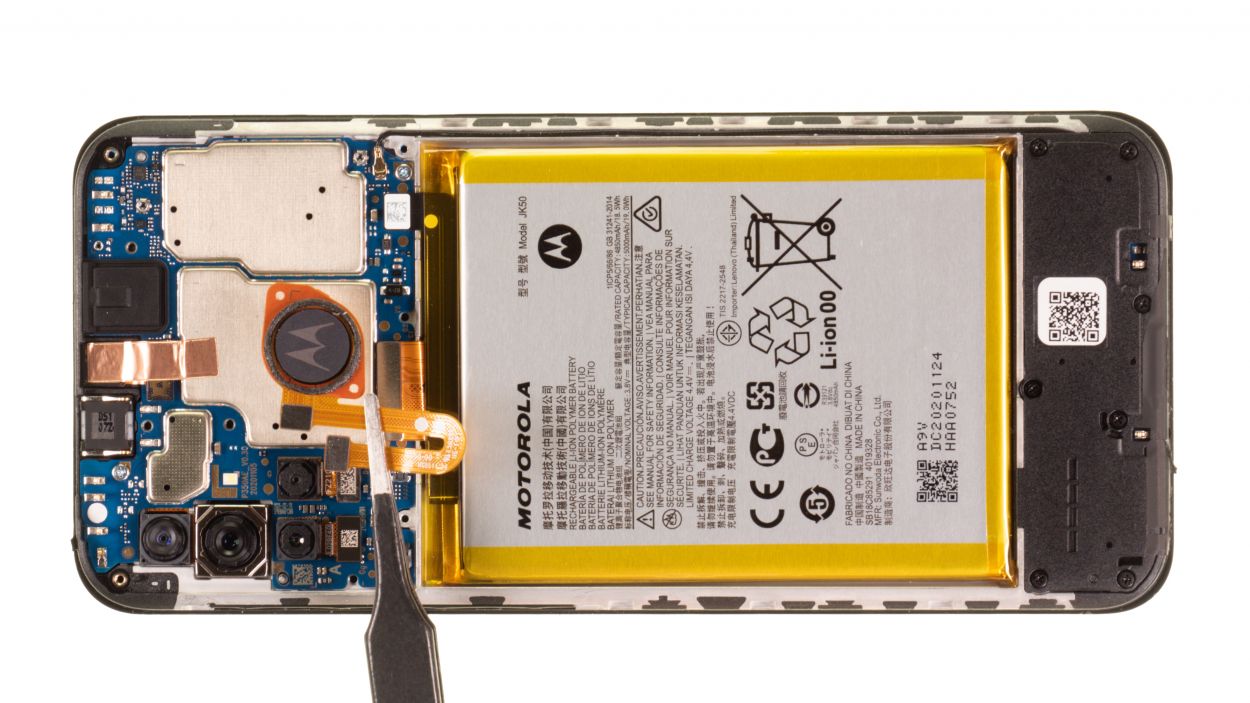
– Gently lift the fingerprint scanner out of your device and set it aside for now. You’ve got this!
Tools Used
Step 11
Tools Used
- heat gun to heat parts that are glued on so they’re easier to remove.
In most cases, you can also use a hairdryer.” rel=”noopener”>Heat gun
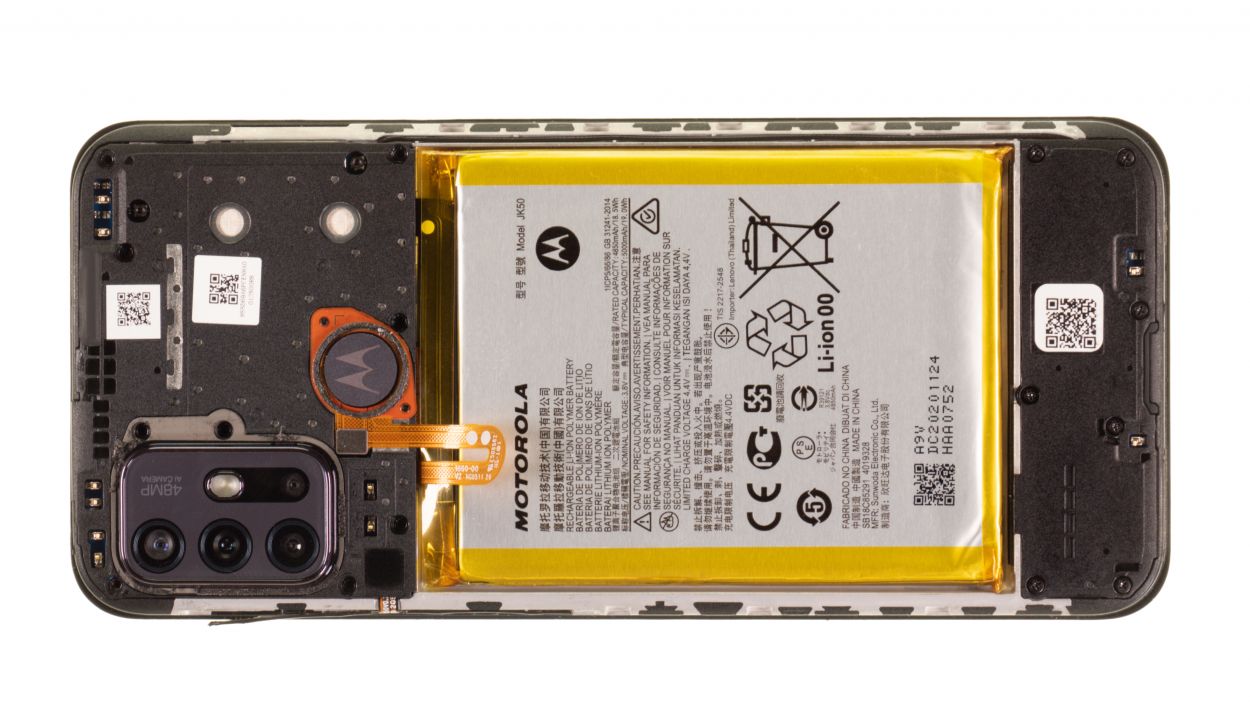
Step 12

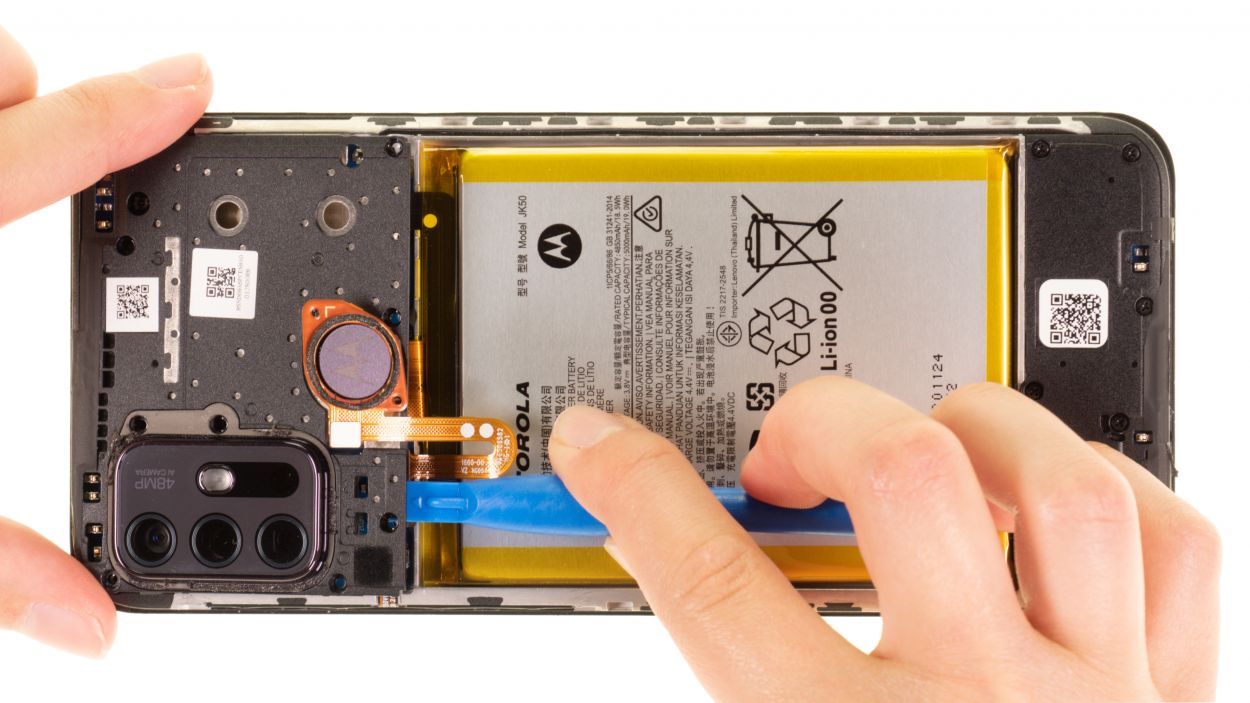
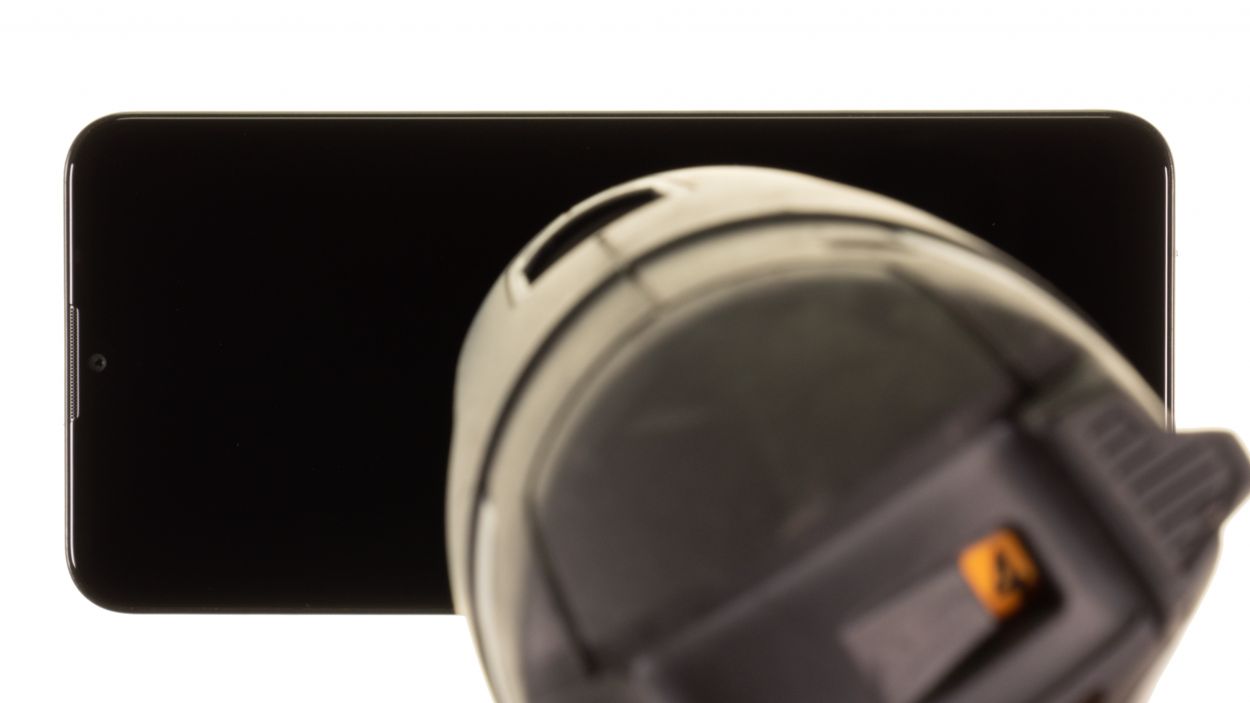
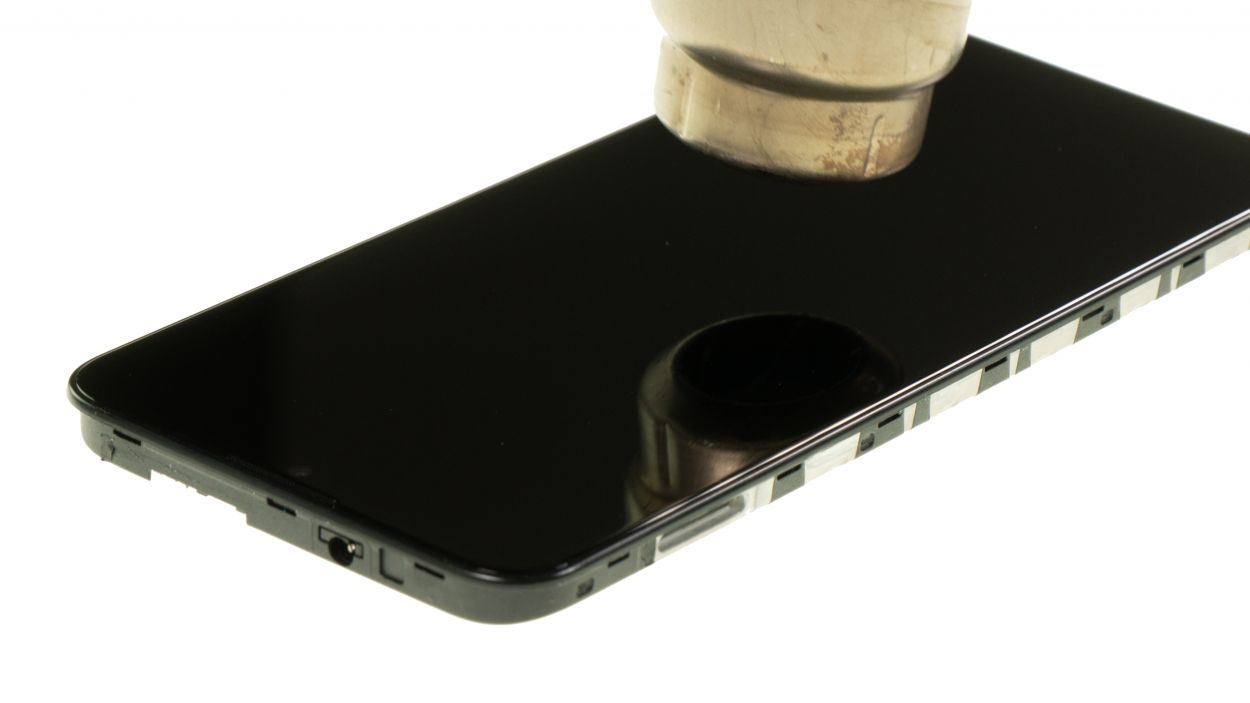
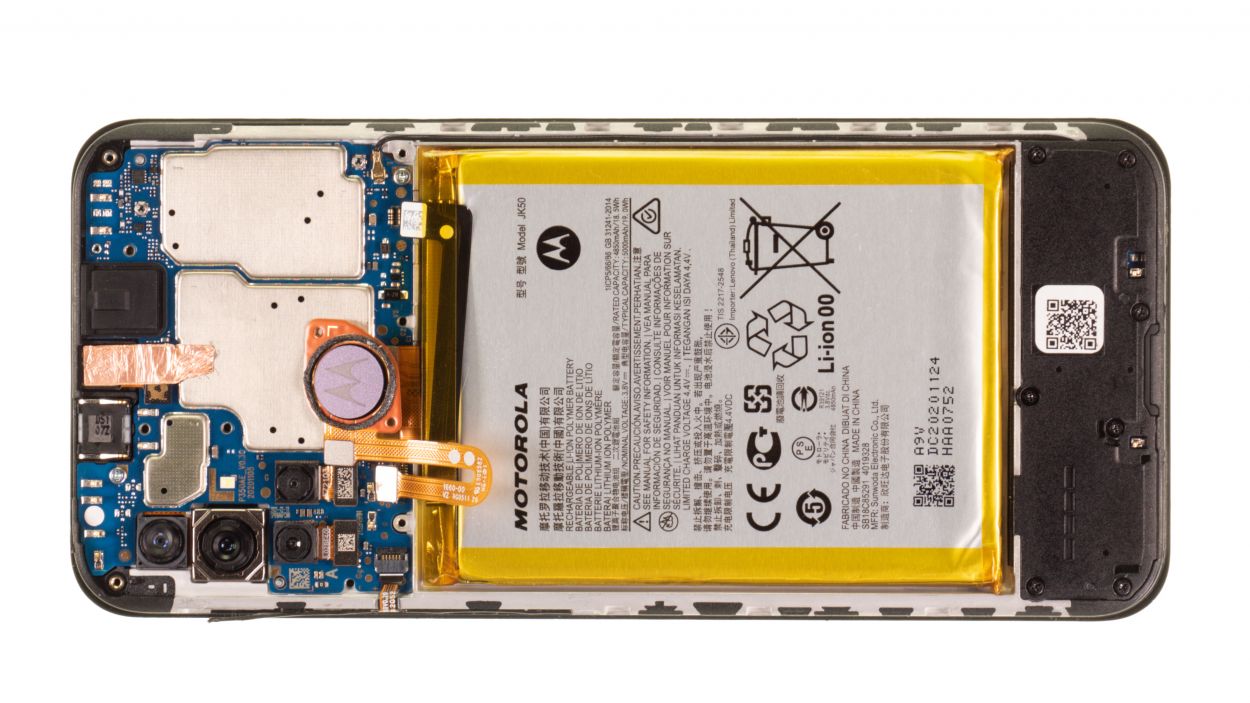
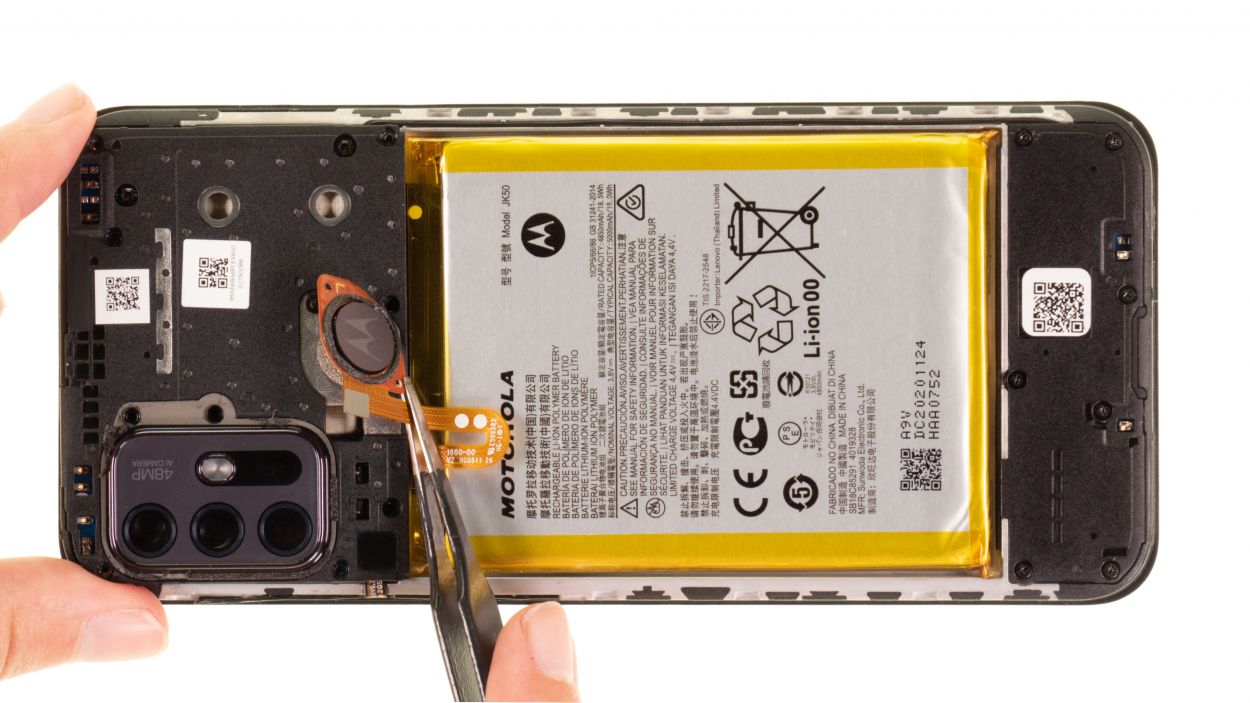
Once the adhesive is nice and toasty, the simplest way to pop that battery out is by using a suction cup along with a handy plastic lever tool. If you need help, you can always schedule a repair!
– First, place the suction cup on the lower edge of the battery and give it a gentle tug to help lift that battery up.
– While you’re doing that, take your trusty plastic lever tool and slide it in at the lower edge of the battery to gently nudge it upwards. The battery spudger is perfect for this little assist!
Tools Used
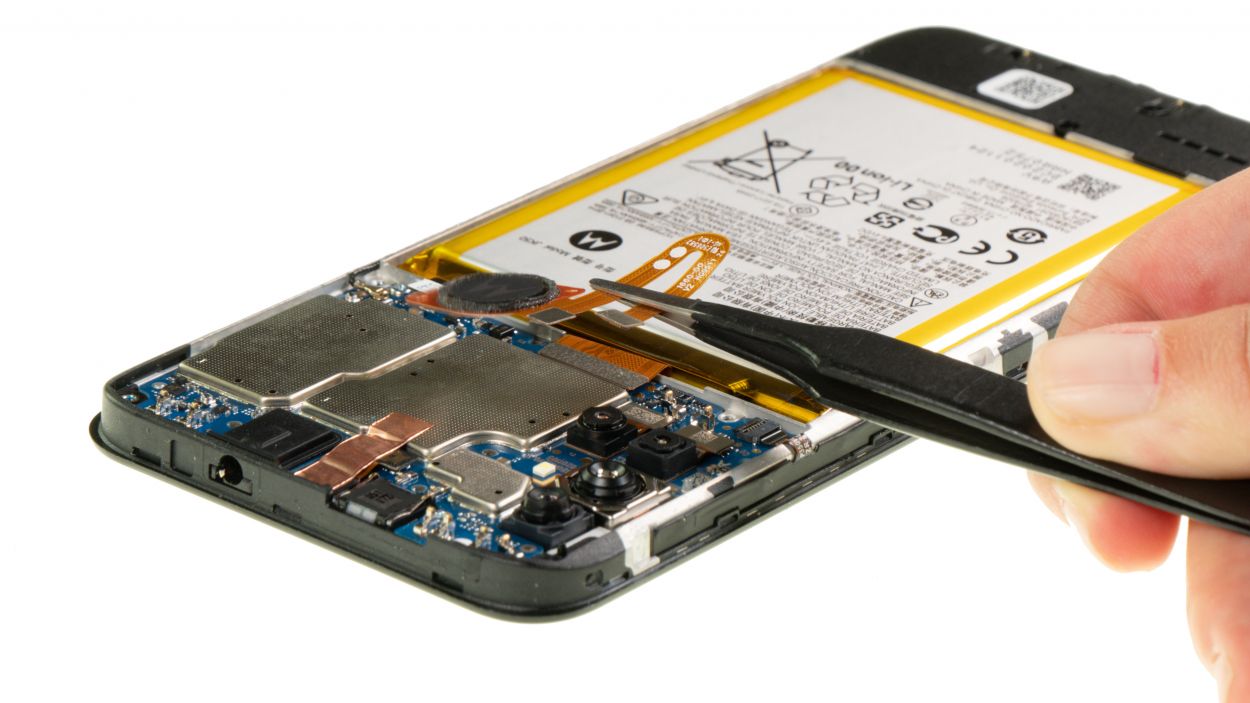
Step 13
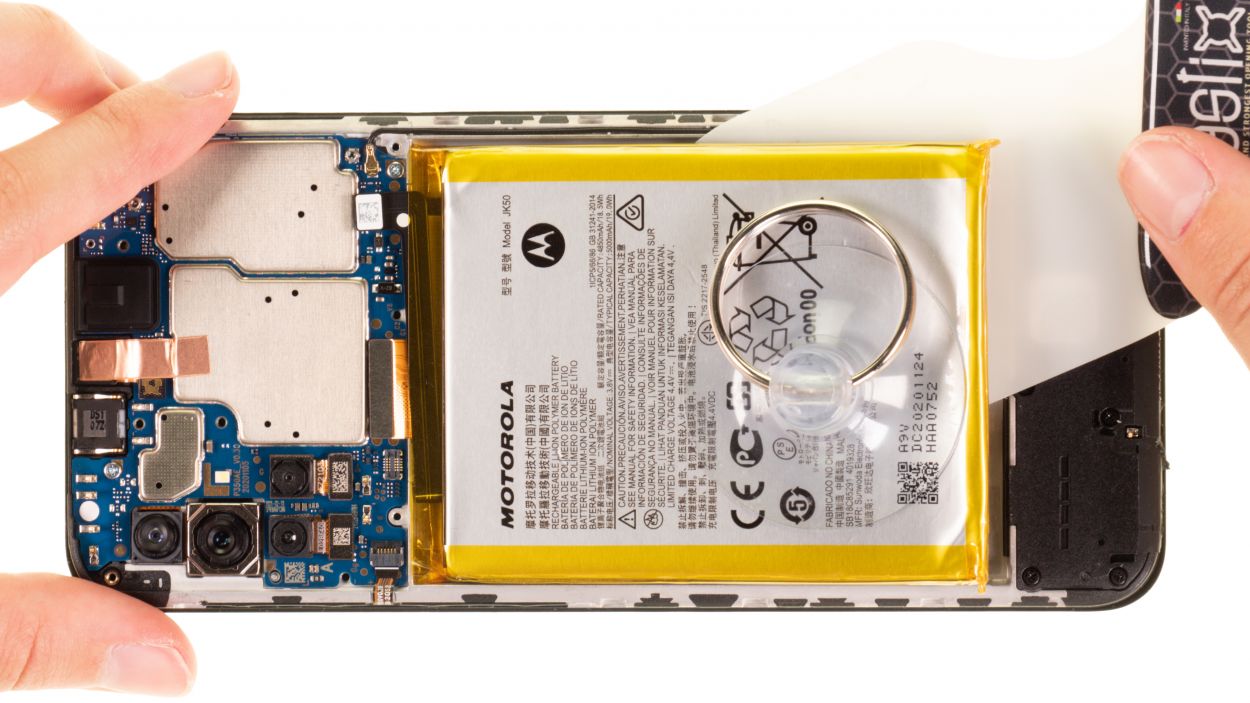

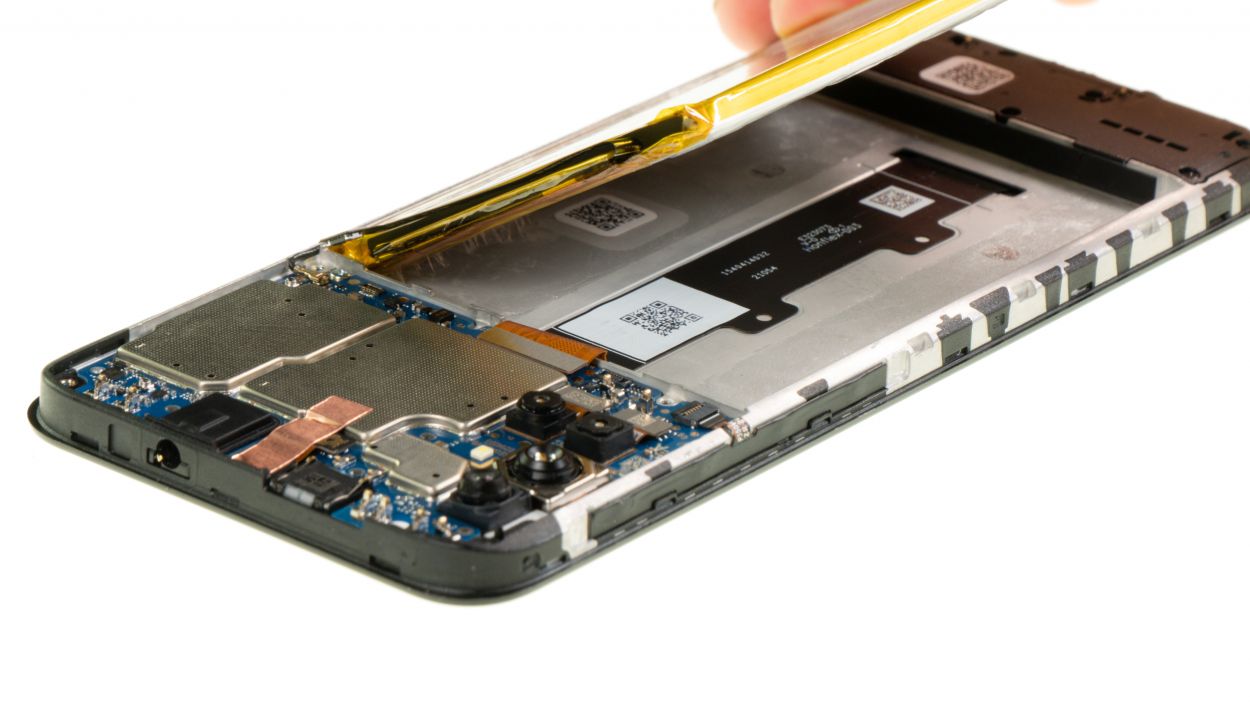
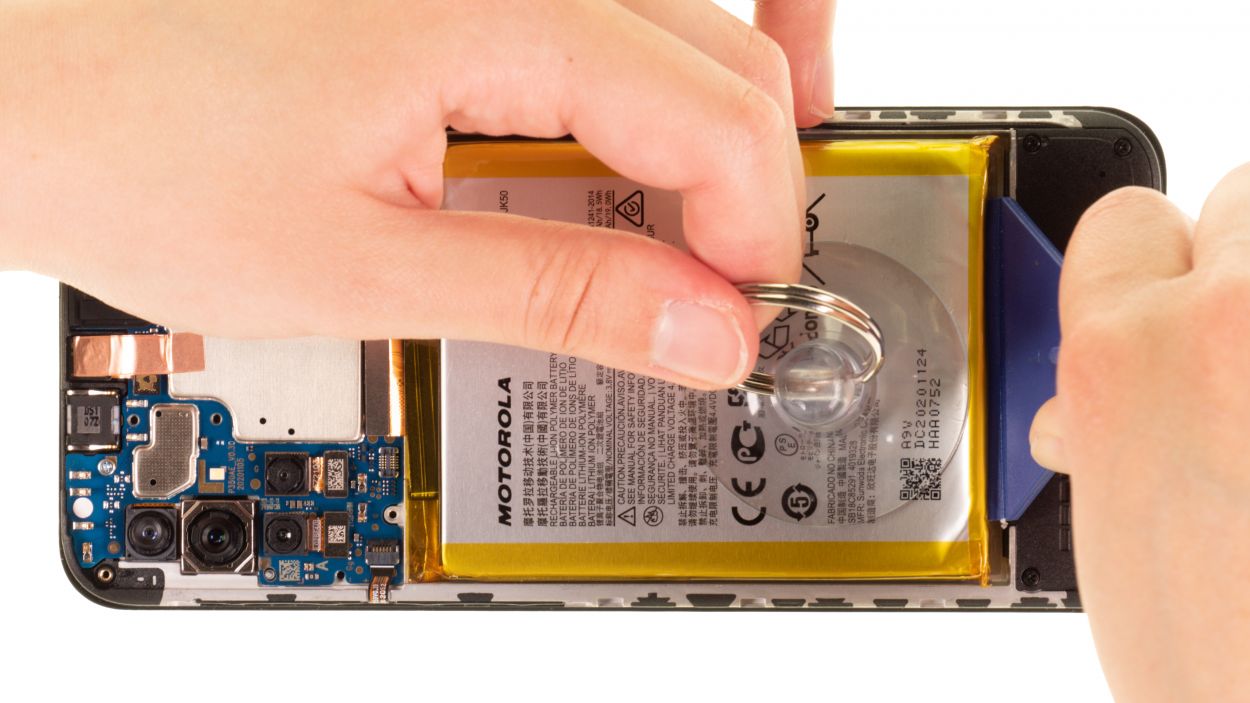
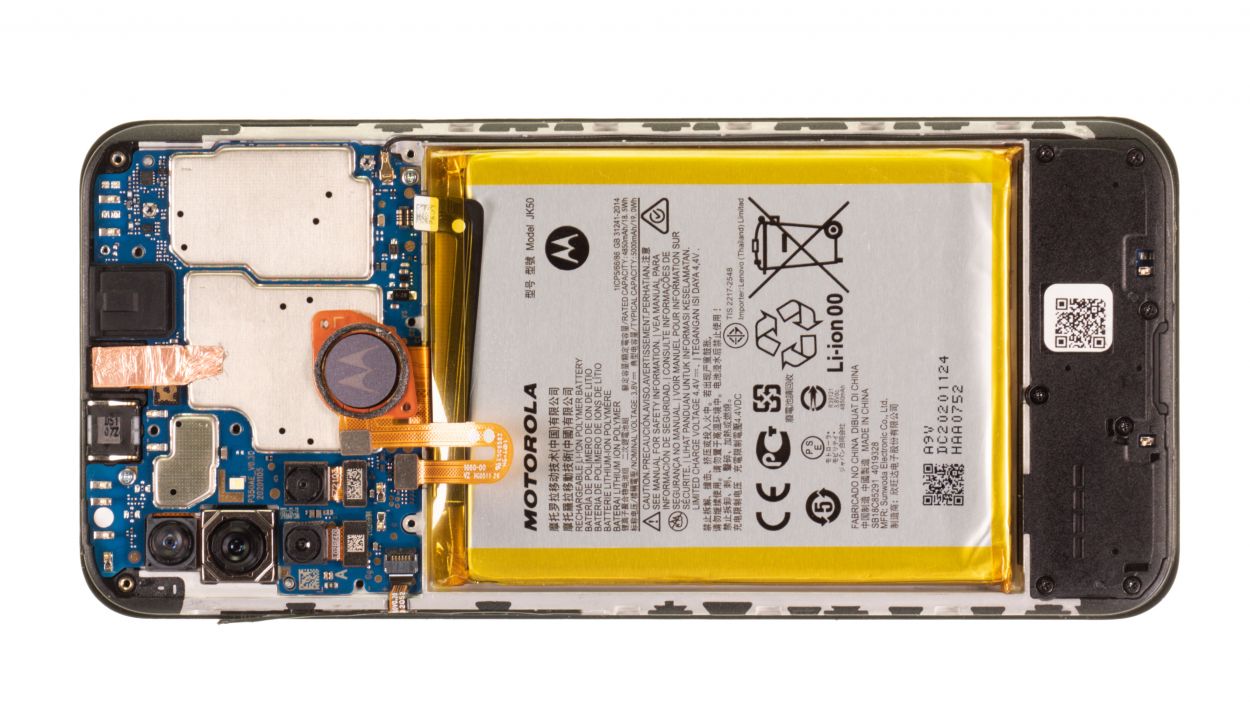
To get that battery loose, try sliding the iPlastix underneath it with a smooth, knife-like motion. It should pop right out! If you need help, you can always schedule a repair.
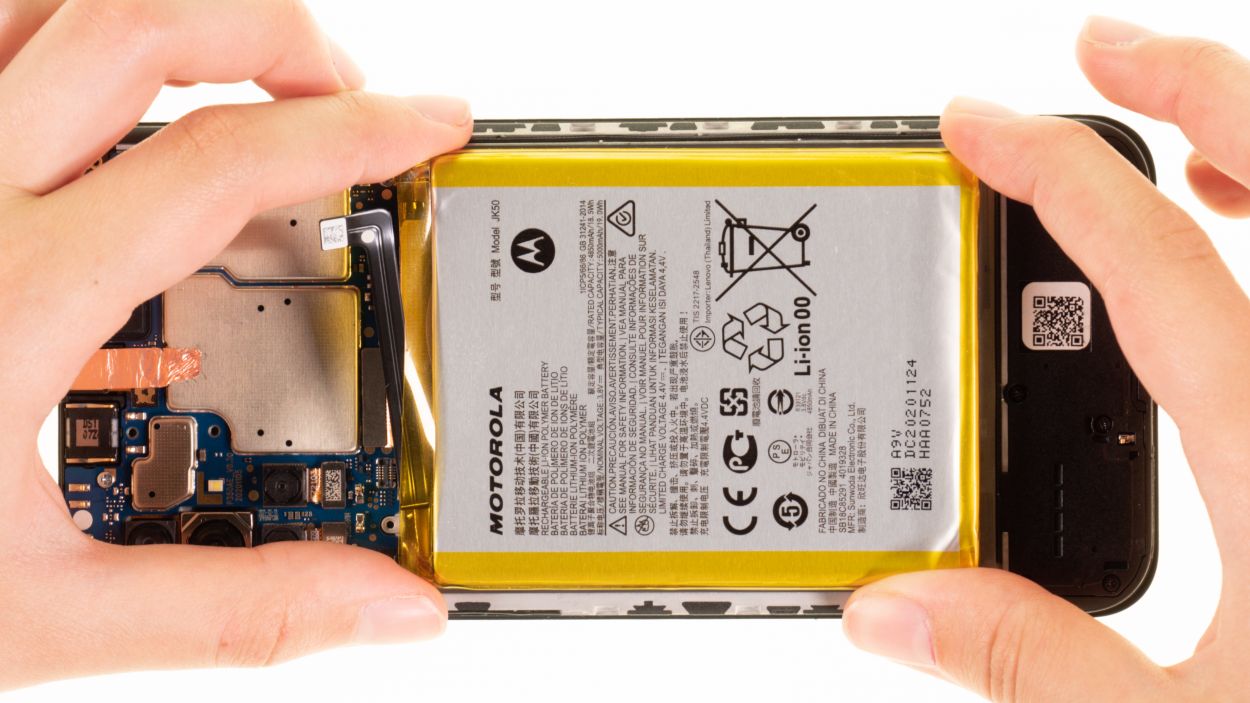
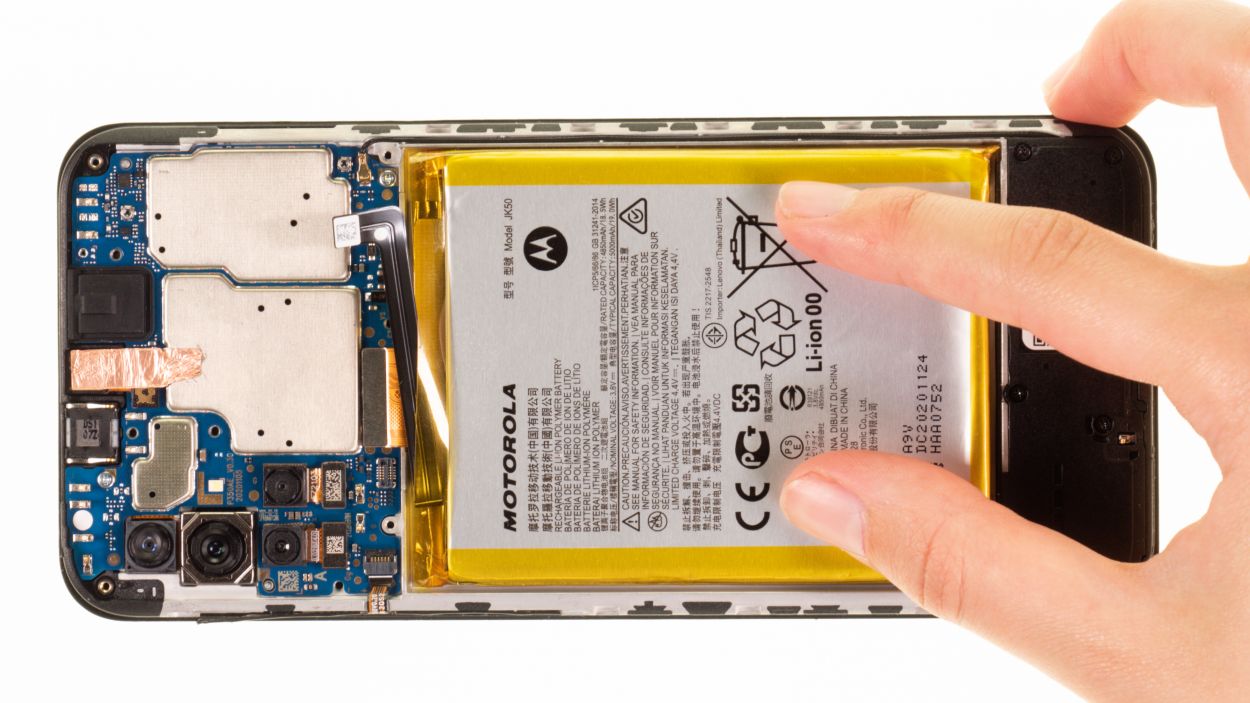
– Grab your trusty flat iPlastix and gently slide it under the battery starting from the lifted edge. Take your time and work it under bit by bit until the battery is fully free from the screen unit.
– Now that the battery is all loosened up, go ahead and lift it out of your device with ease!
Tools Used
- battery? Then the iPlastix with its large blade will help you. The practical assistant is made of flexible, especially sturdy plastic and lies comfortably in the hand. Thanks to its design, you can even get into smaller gaps, for example to lift the screen or to prevent it from sticking together again.” rel=”noopener”>iPlastix Opening Tool
- Battery Spudger
Step 14
The Moto G10’s replacement battery comes without any sticky strips on the back just yet. But don’t worry! The leftover adhesive at the bottom of the screen should do the trick to keep everything snugly in place. If you’re feeling a bit unsure, we totally recommend our universal adhesive+strips+Moto+G10&crid=1TJIMMAJSUJUZ&sprefix=repair+tools%2Caps%2C165&linkCode=ll2&tag=salvationrepa-20&linkId=c486487cf454ce8edd6f5beefab4110f&language=en_US&ref_=as_li_ss_tl’>adhesive strips to help you attach that battery like a pro!
Step 15
– Put the fingerprint scanner in its original place on the motherboard.
Tools Used
Step 16
Hey there! Remember, connectors are like friendships – don’t force them! Pushing too hard can cause some serious damage and might even lead to the whole component throwing in the towel. So, be gentle and give them the love they deserve!
– Gently reconnect the fingerprint scanner by pressing its connector snugly onto the motherboard. Listen closely for that satisfying click – it’s like a high-five for your device!
Step 17
Remember to plug in that battery connector last! It’s like the grand finale of your repair party—keeping everything safe and sound from any surprise short circuits!
– Gently plug the battery connector back into the motherboard, making sure everything fits snugly and securely.
Step 18
Make sure that the fingerprint scanner rests comfortably on the plastic cover. So, when you’re popping that cover on, just keep it to the side for a smooth installation!
– Time to get your fingerprint scanner in place! Hold it to the side for now.
– Next, slap that plastic cover over the motherboard and press down firmly – you got this!
– Now it’s time to reunite the fingerprint scanner with its new BFF, the cover. Place it gently on top.
Tools Used
Step 19
– Fasten the plastic cover with the nine Phillips screws.
2 × 3.3 mm Phillips
7 × 3.9 mm Phillips
Alright, folks! Just a friendly reminder to keep those screws straight. Mixing up the lengths can lead to some serious screen drama, and nobody wants that! So, double-check those screws and keep the repair smooth sailing. If you need help, you can always schedule a repair.
Tools Used
Step 20

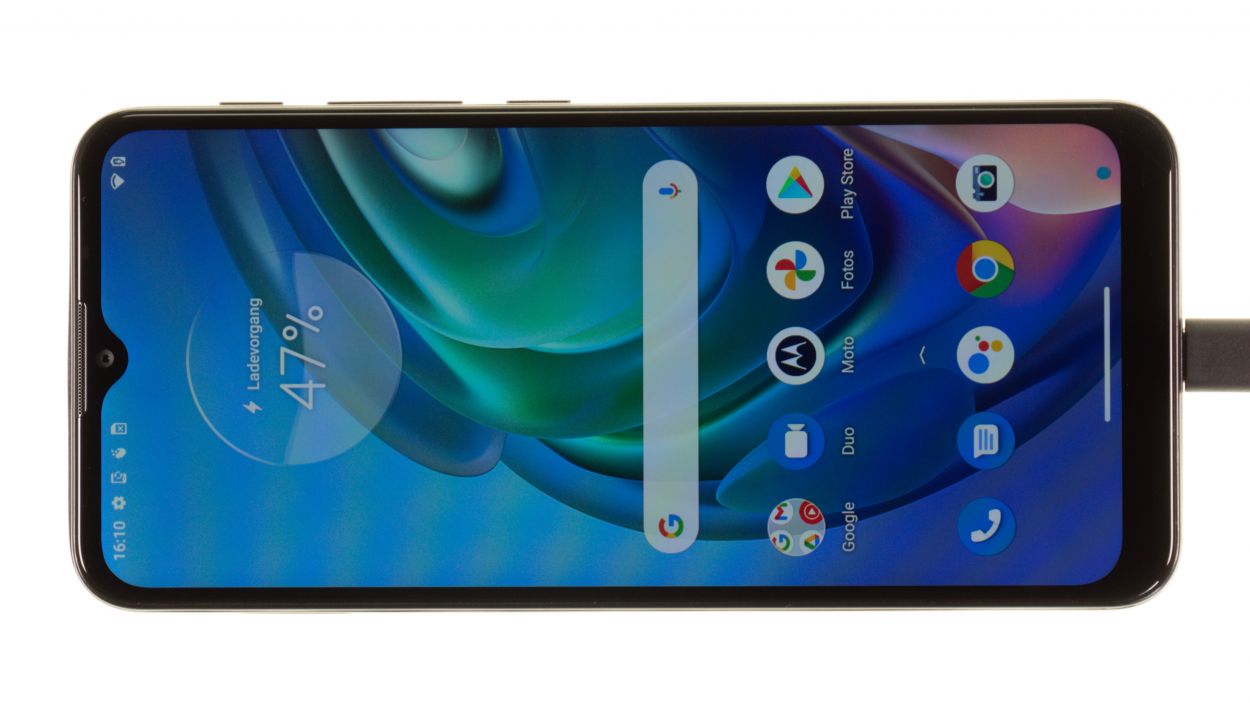
If you’re having a bit of a do-hickey during testing, give everything a peek-a-boo to make sure it’s all snug as a bug. You can always schedule a repair if you need a friendly face to come to the rescue!
– Plug in your moto g10 to the power source so we can see how that shiny new battery performs!
– For a little extra help with testing other parts, check out our handy checklist as your trusty sidekick.
Step 21

Make sure that the back cover is sitting nice and flat all around. If it’s sticking up in one spot, it usually means that something inside isn’t quite right. Let’s get it sorted out!
– Once everything is working like a charm, gently press the back cover onto the screen unit. You should hear and feel it snap into position – just like a puzzle piece finding its match!
– Take your trusty hot air device and warm up the camera module and fingerprint scanner areas. This will help the glue set properly, ensuring everything stays snug and secure.
Tools Used
- heat gun to heat parts that are glued on so they’re easier to remove.
In most cases, you can also use a hairdryer.” rel=”noopener”>Heat gun
Step 22
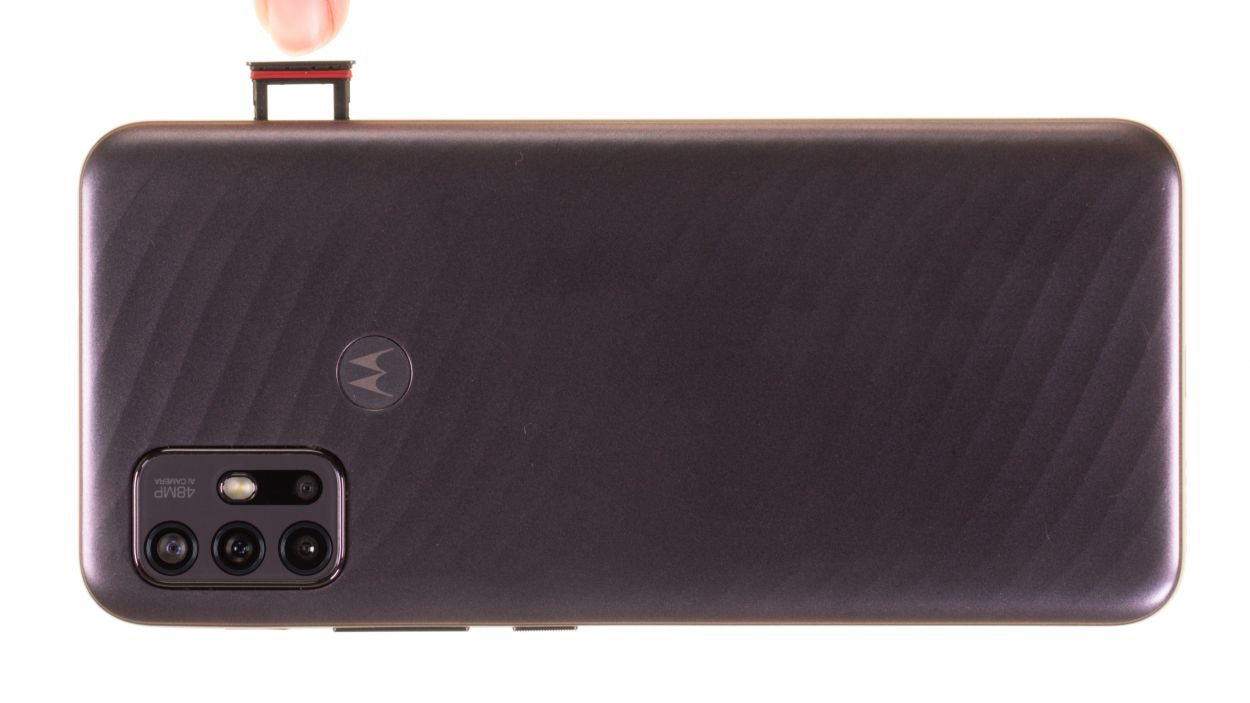
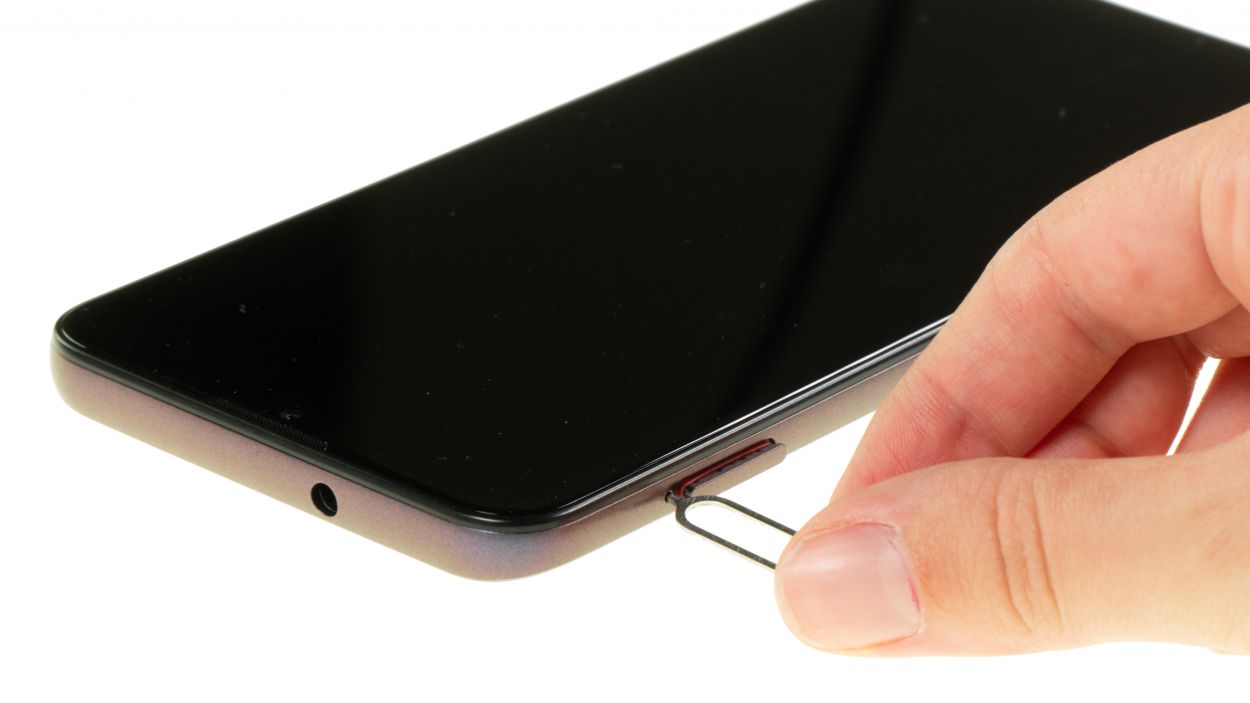
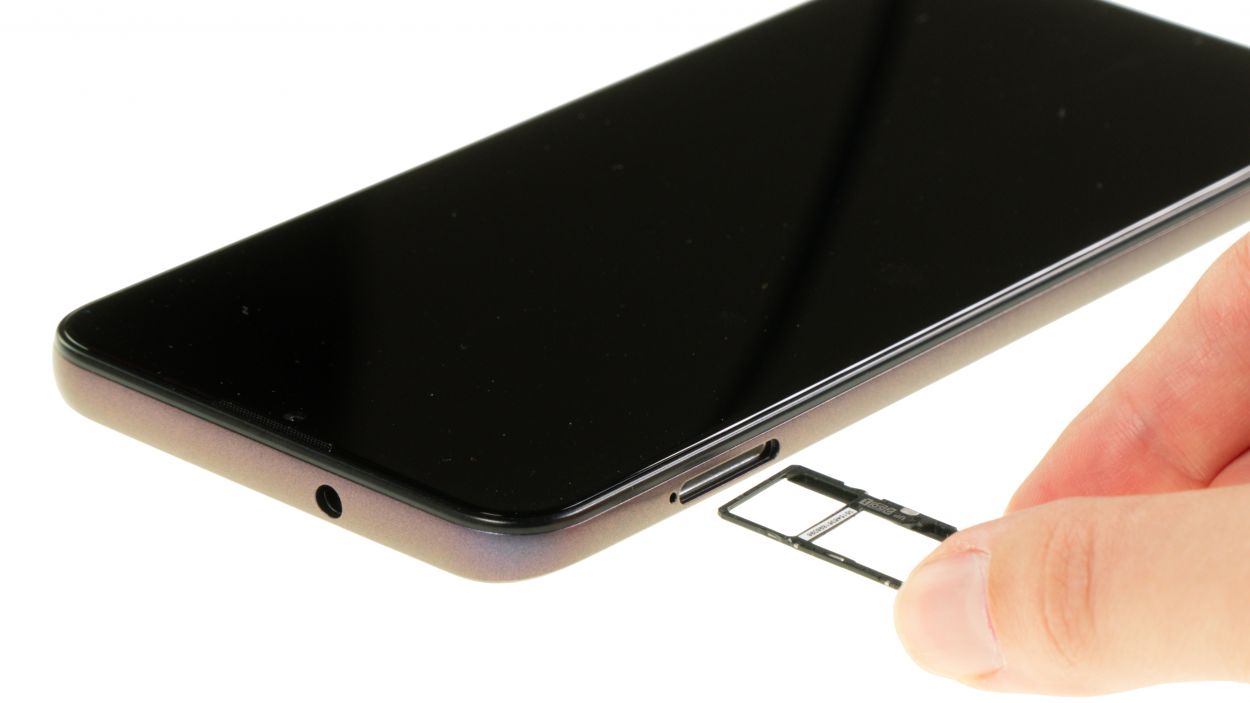
Remember to pop that SIM tray in the right way! If you give it a push from the wrong angle with too much gusto, you might end up with a wonky tray and a sad moto g10. Let’s keep everything happy and intact!
– Wrap up your repair by sliding the SIM tray back in. You’ll know it’s snug when you hear that satisfying click!