DIY Guide to Replace Battery on Motorola moto g60s
Duration: 60 min.
Steps: 32 Steps
Repairing this device is a bit of a challenge, but don’t worry! The main obstacle you’ll face is detaching the super-glued battery. Just take your time and be gentle, and the rest of the process should go smoothly. Before diving in, give your device a thorough check-up and test all its functions. If our guide helps you out, we’d love to see a positive review from you. Good luck with your repair adventure!
Step 1

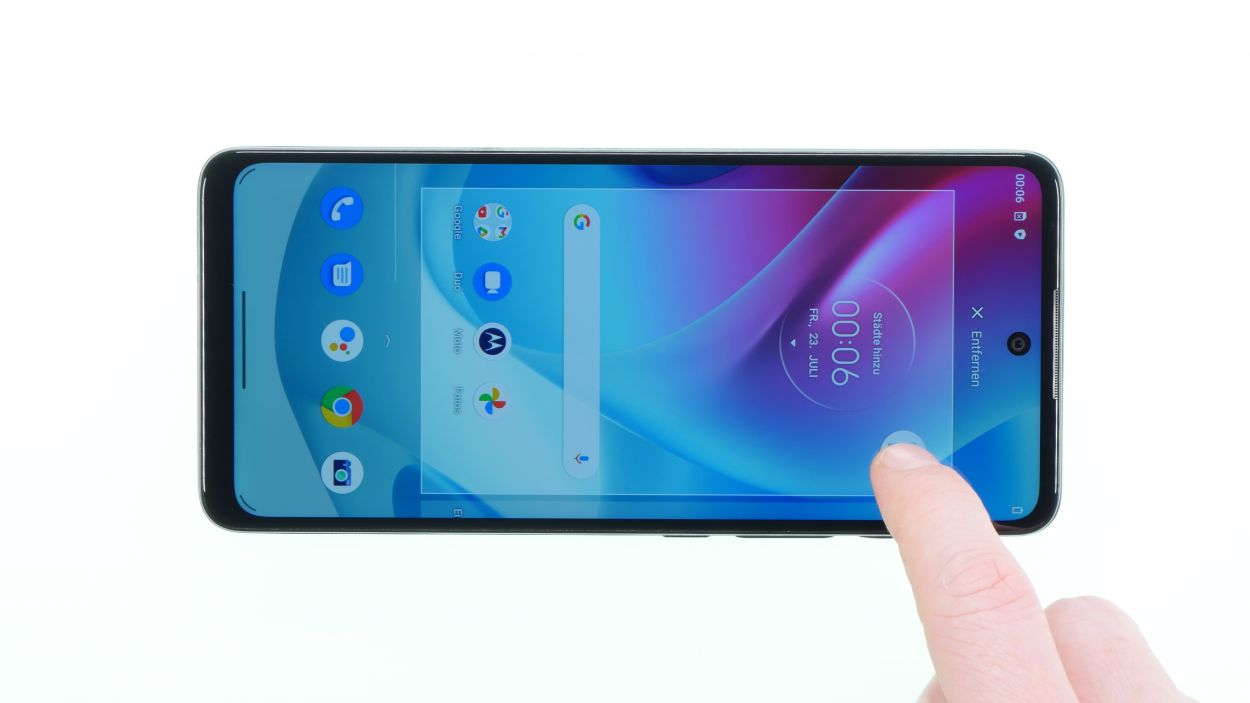
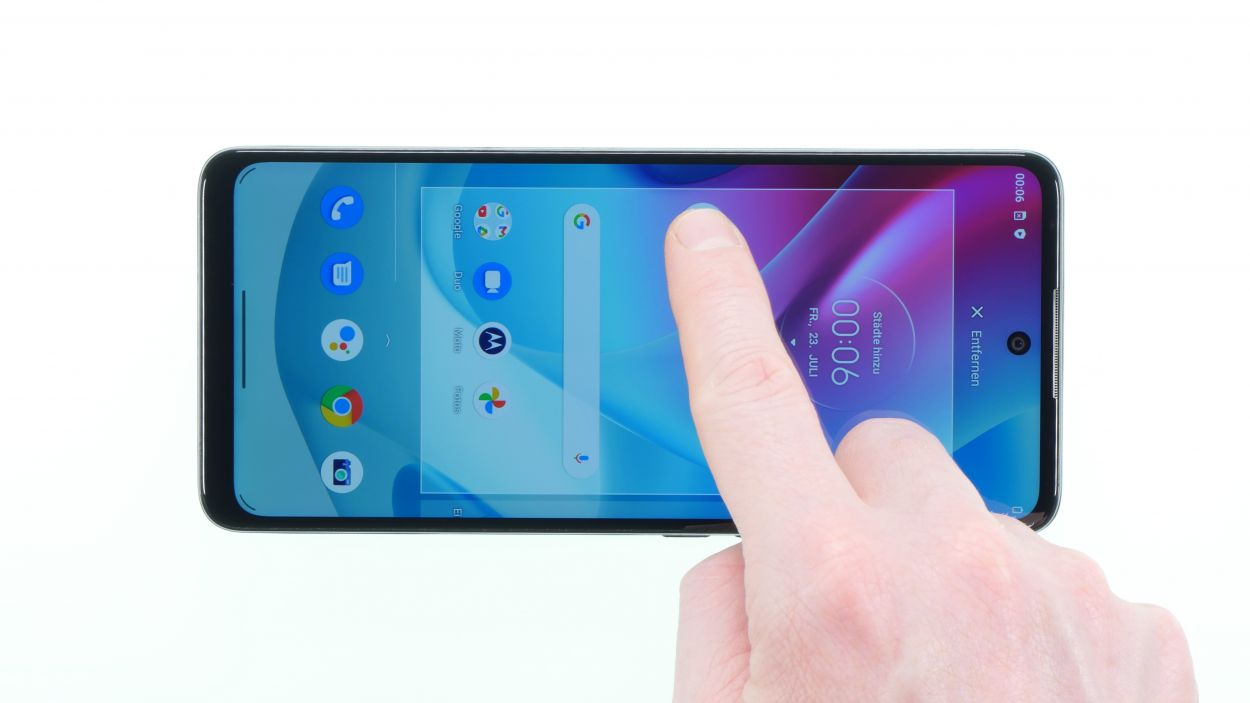
Before diving into the repair, it’s a smart move to give your device a little check-up. Make sure all its functions are working like a charm!
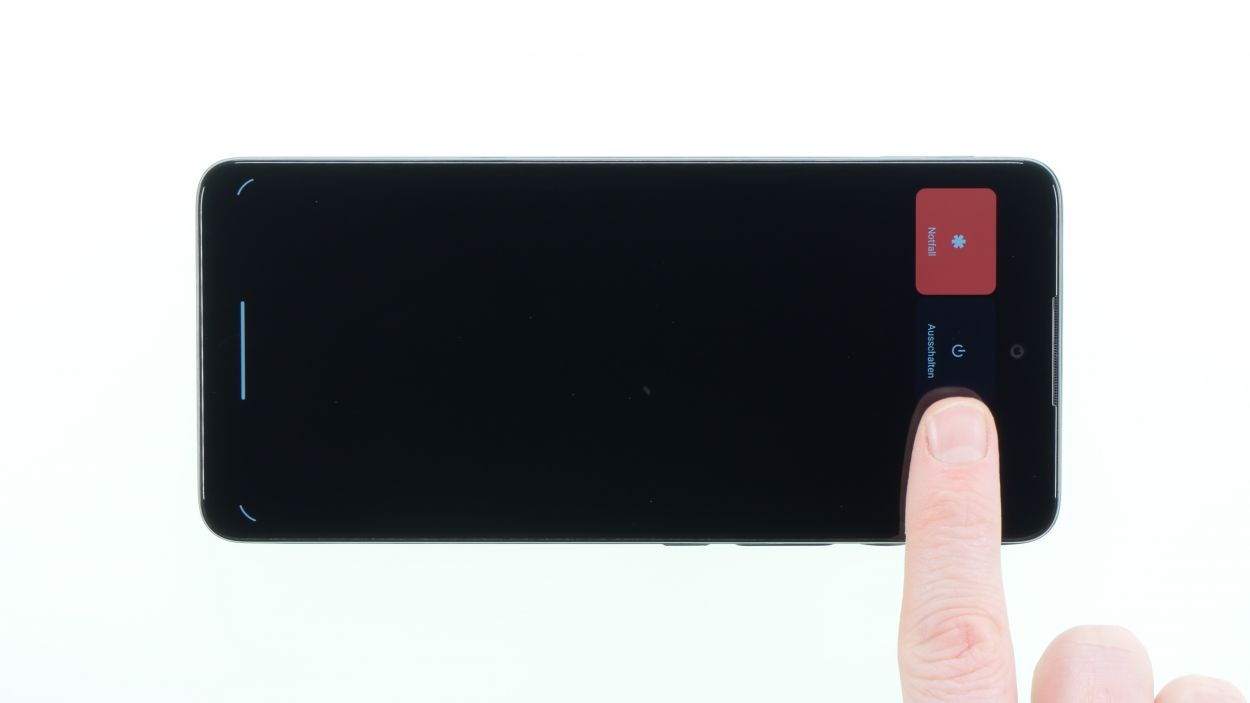
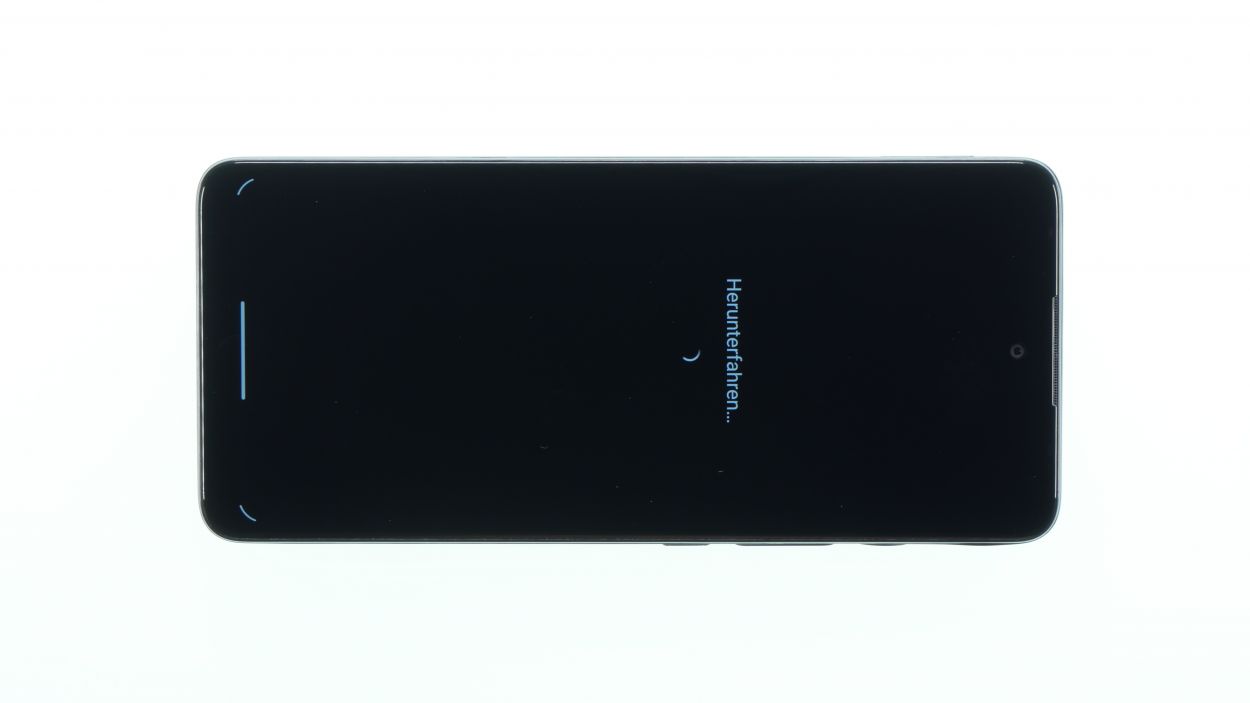
– Turn off your device before repairing it. To do this, hold the
Standby switch of the device pressed and confirm the icon turn off.
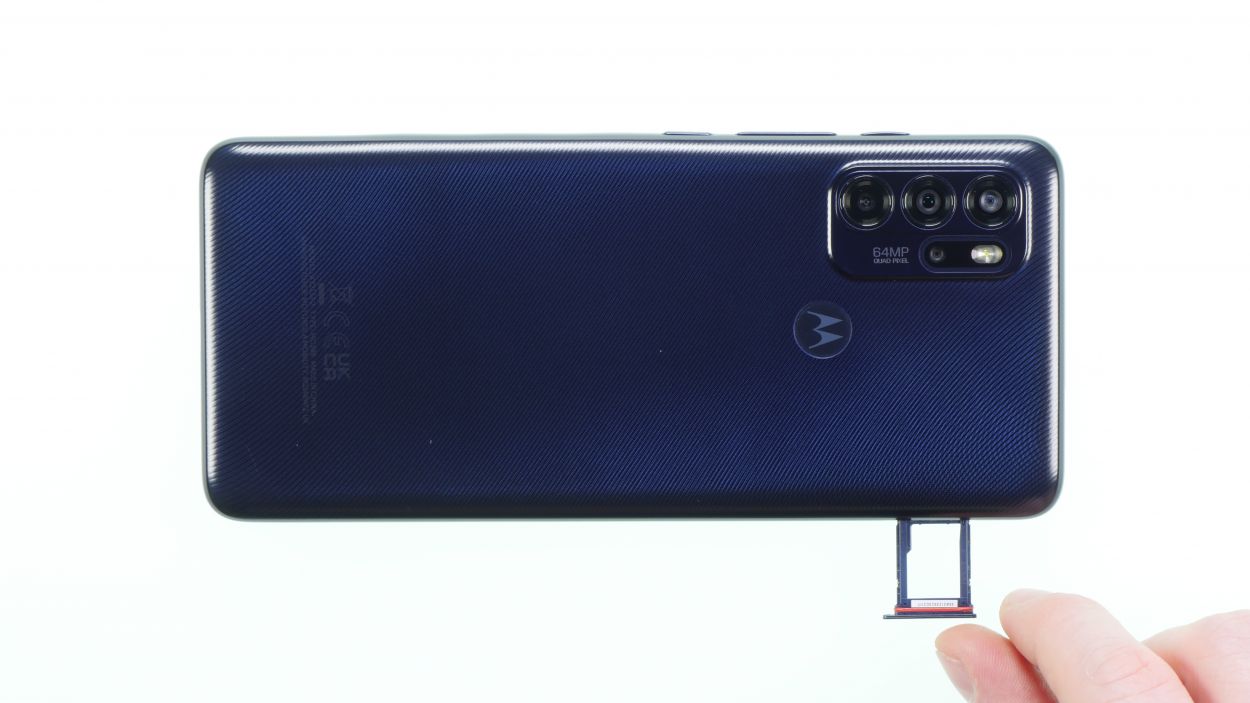
Step 2
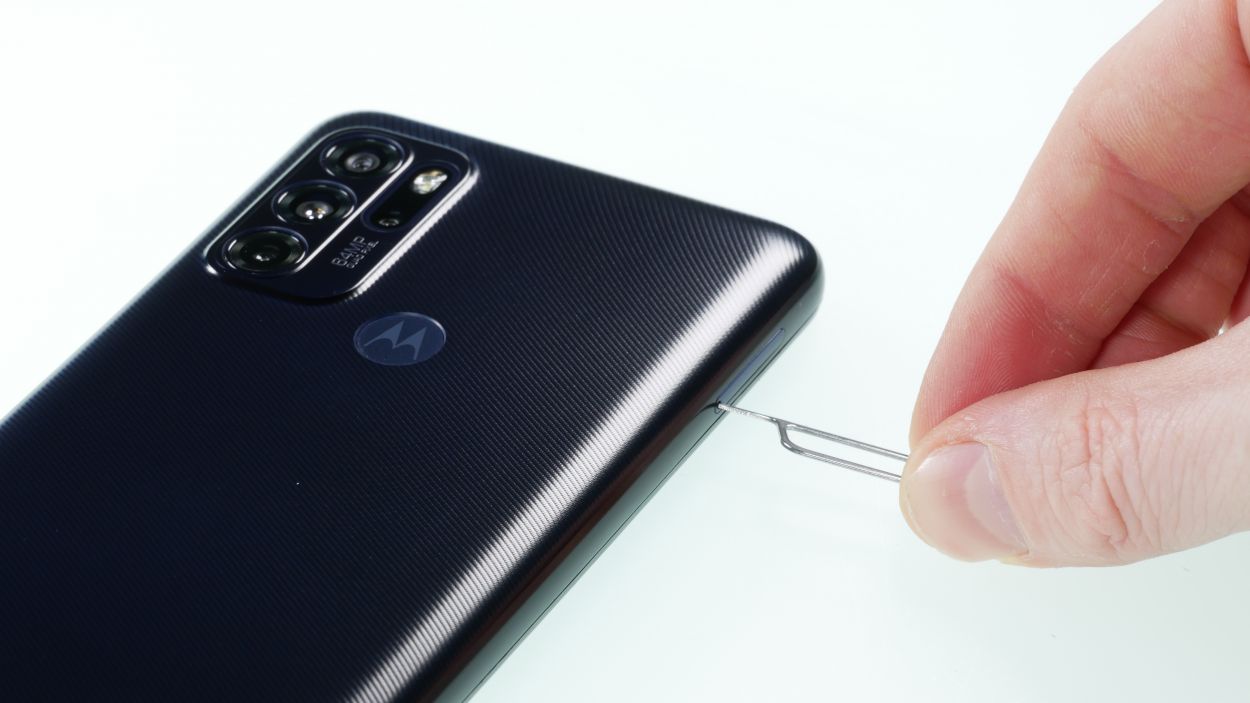
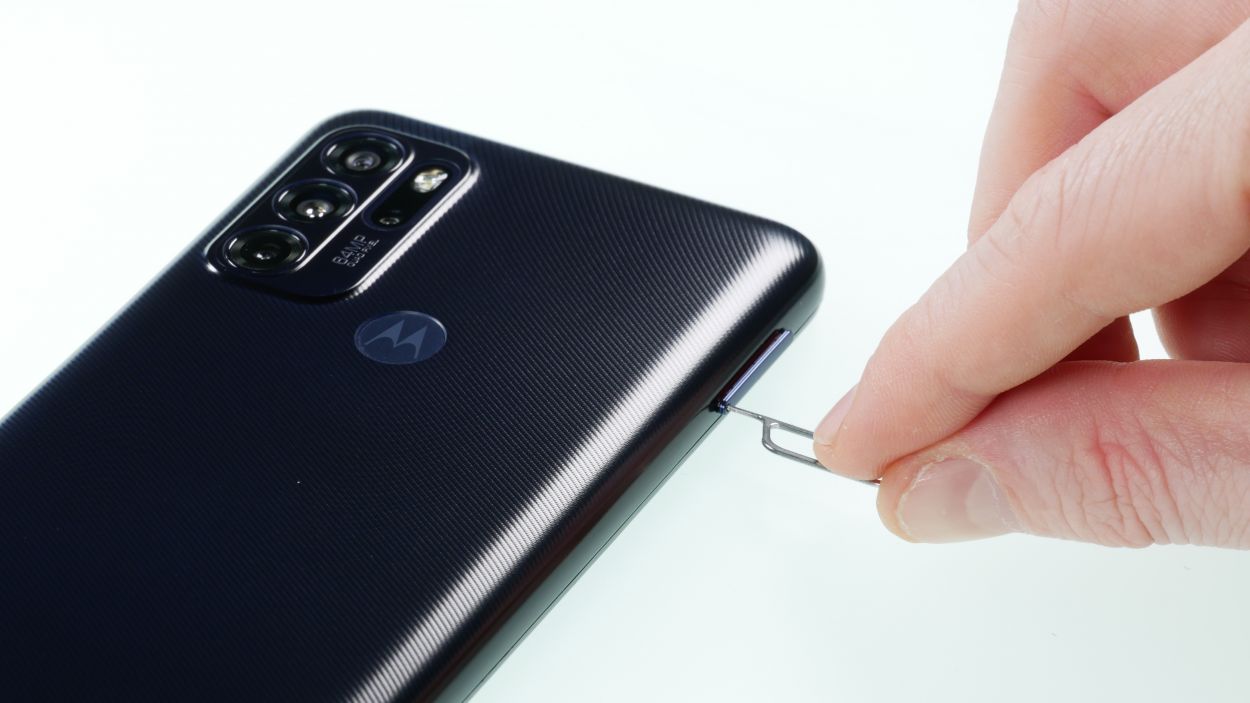
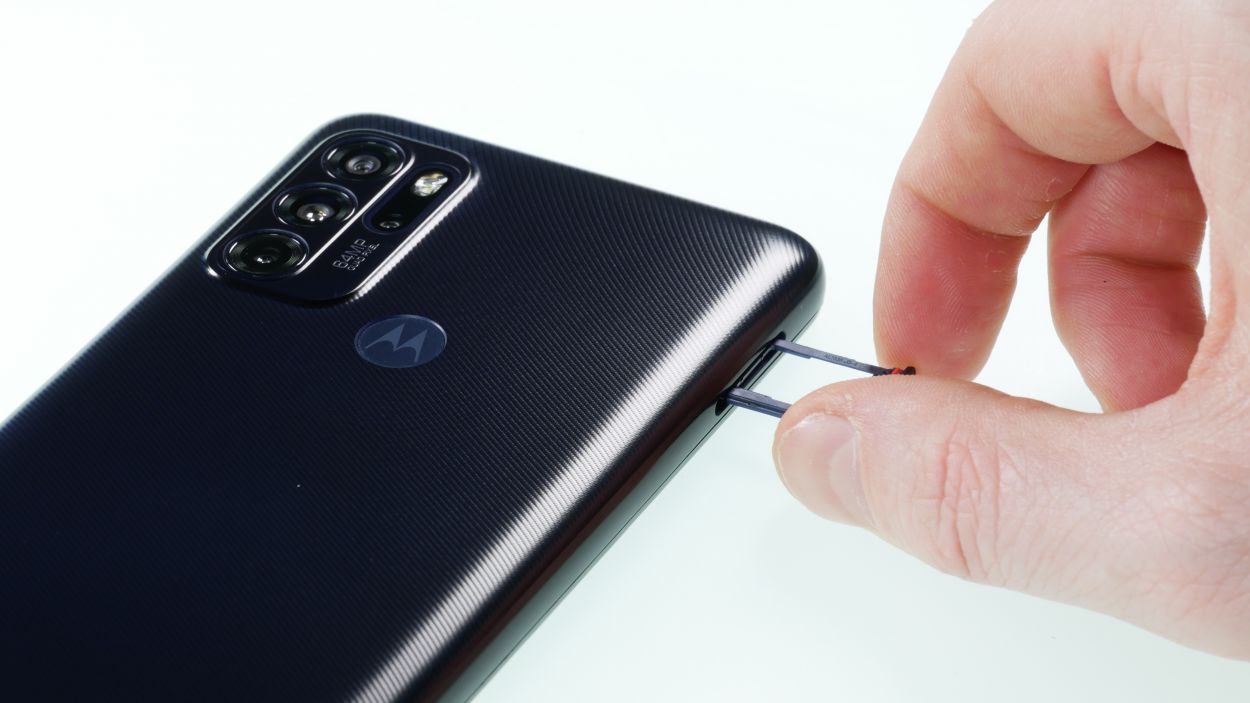
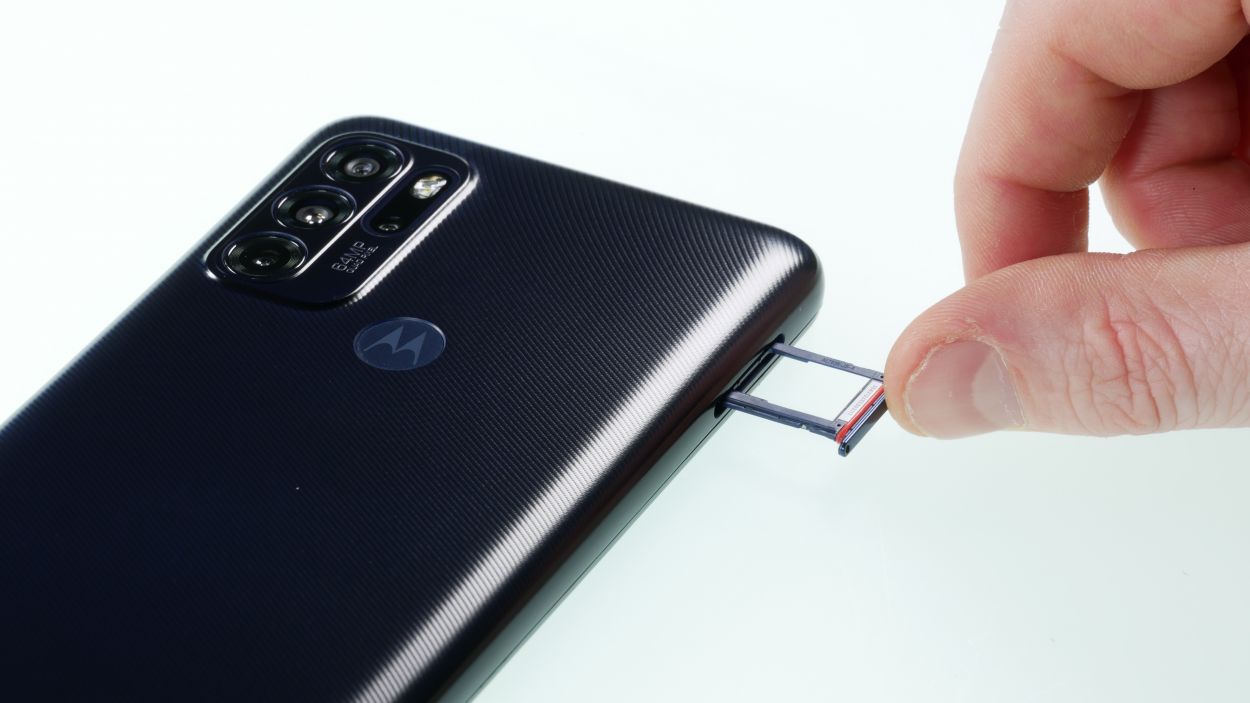
– Remove the sim and SD card holder with the supplied tool or a
Tool or a bent paper clip and then put it aside.
Step 3
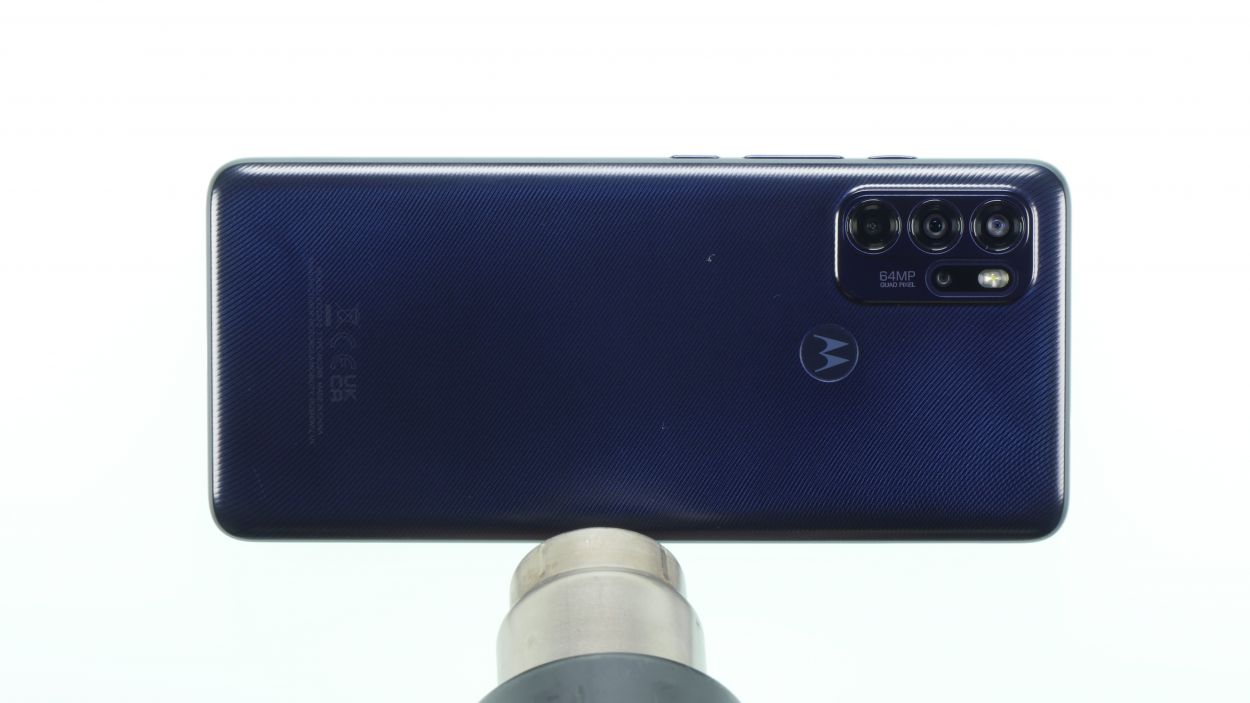
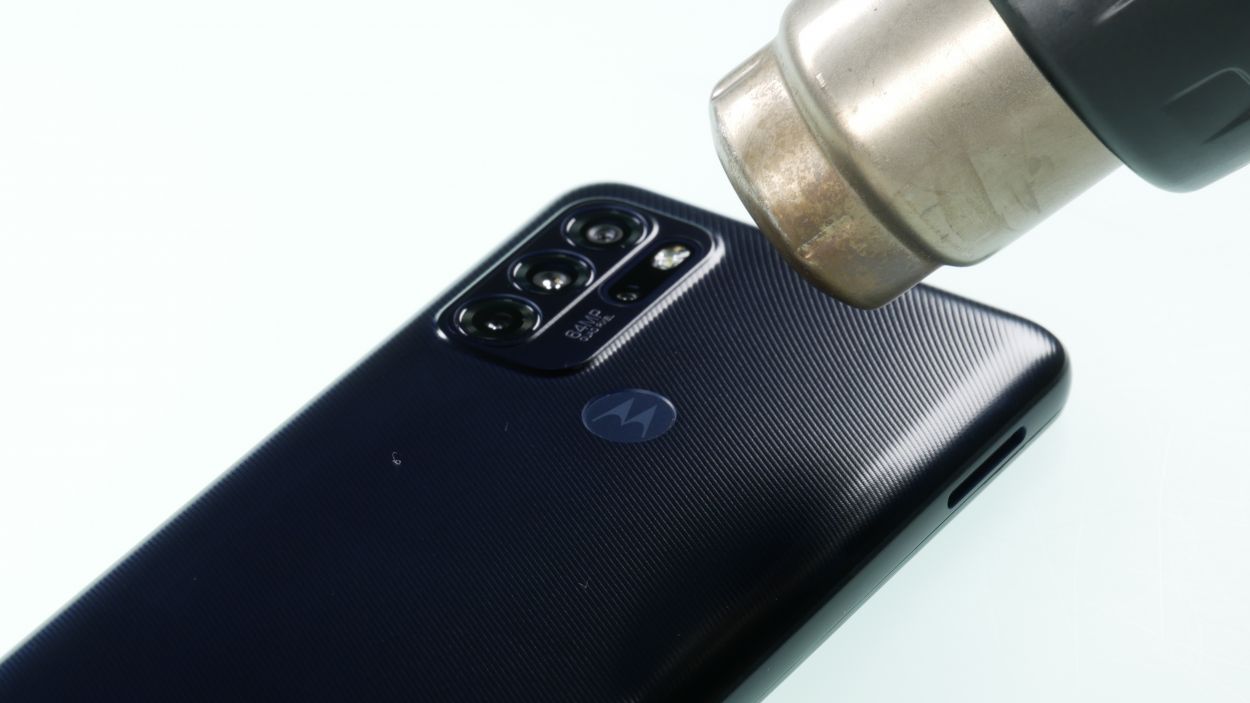


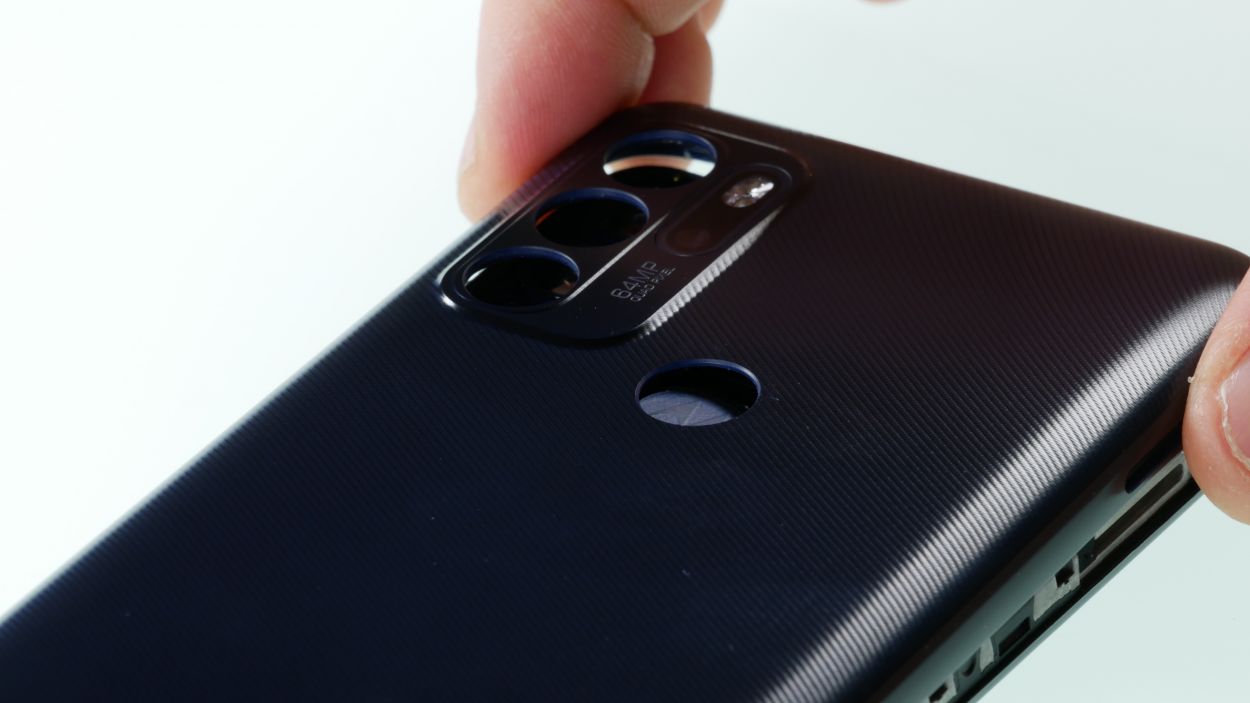
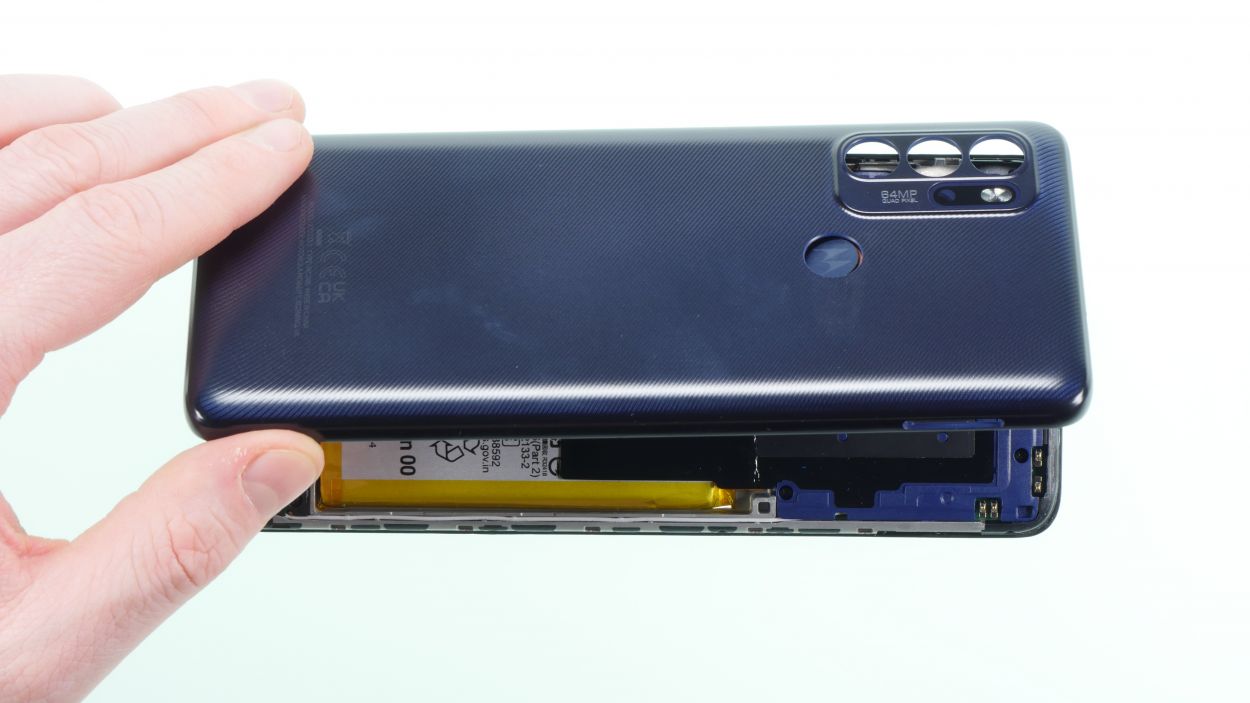

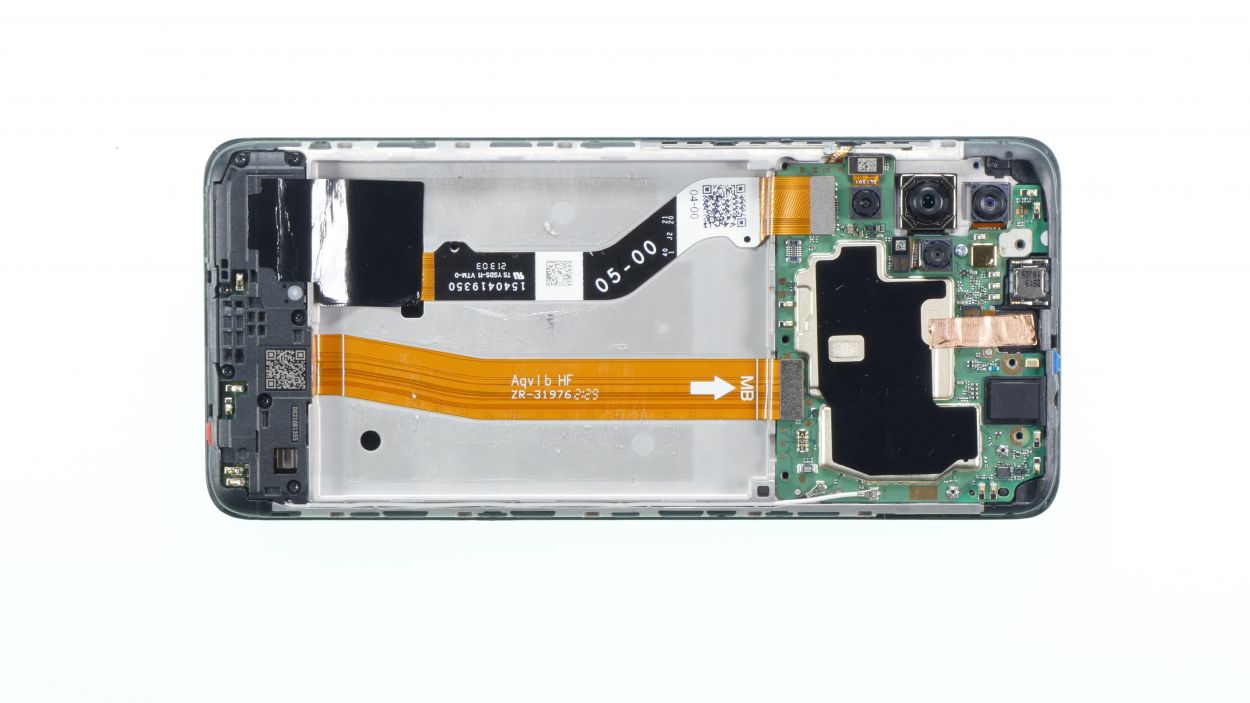
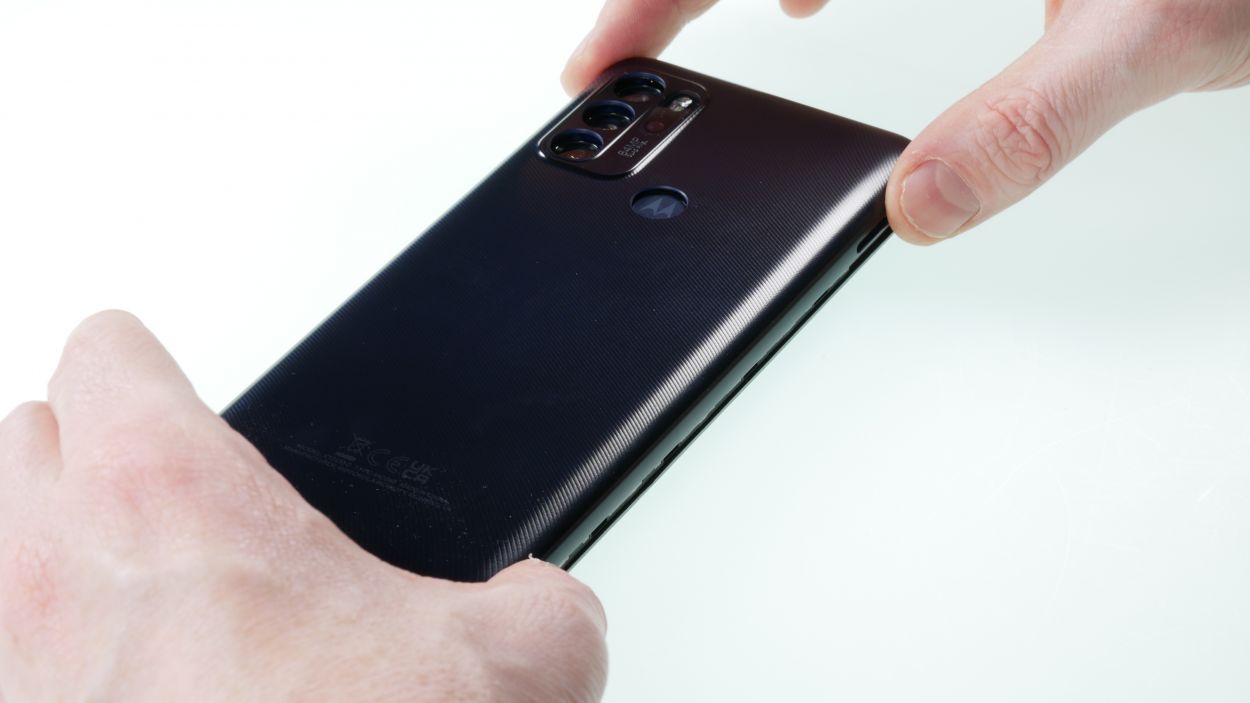
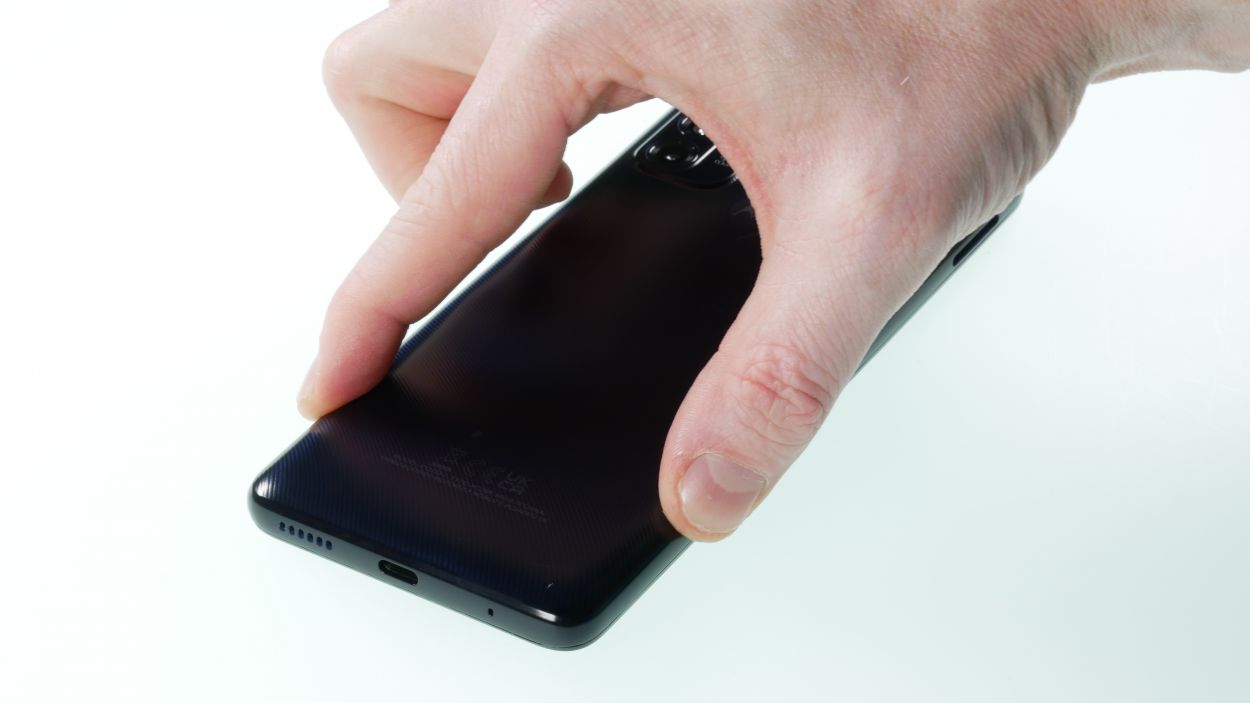
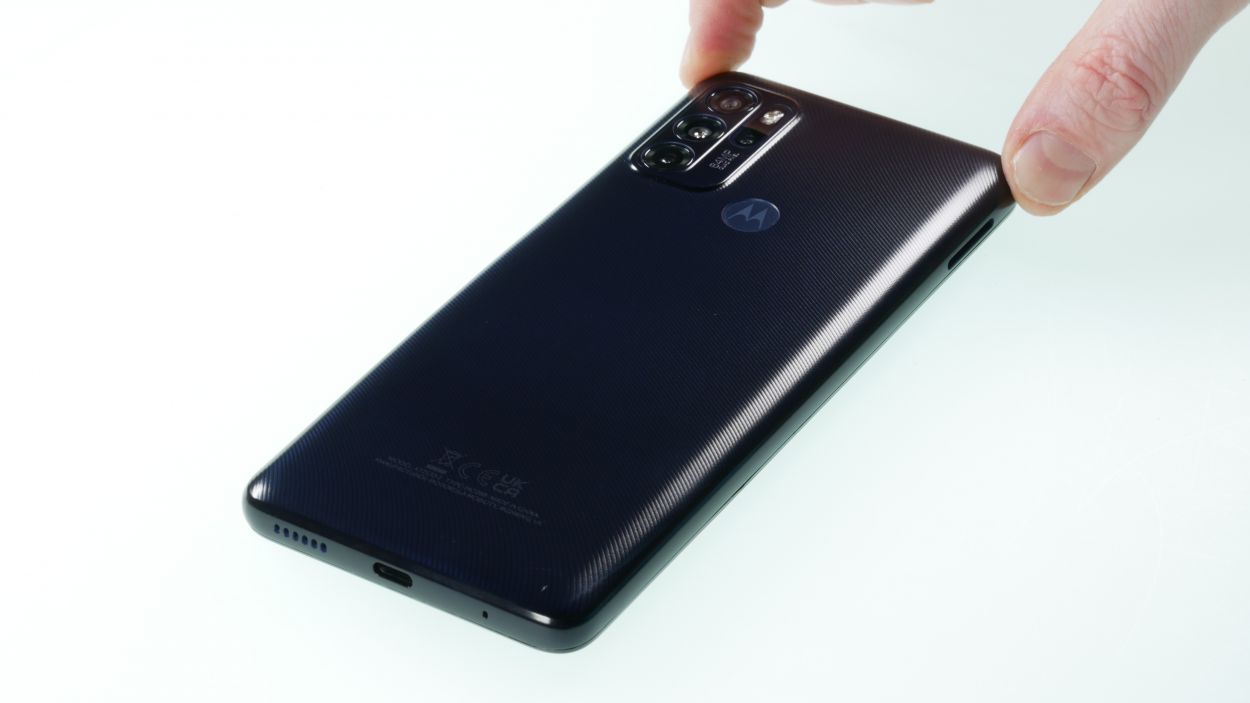
To get into your Motorola, you’ll need to tackle that back cover, which is held on with some glue and hooks. Just a little finesse and you’ll be in!
– First up, give the edge of that back cover and the fingerprint sensor a warm hug with a heat gun or a trusty hair dryer. Just a little heat goes a long way!
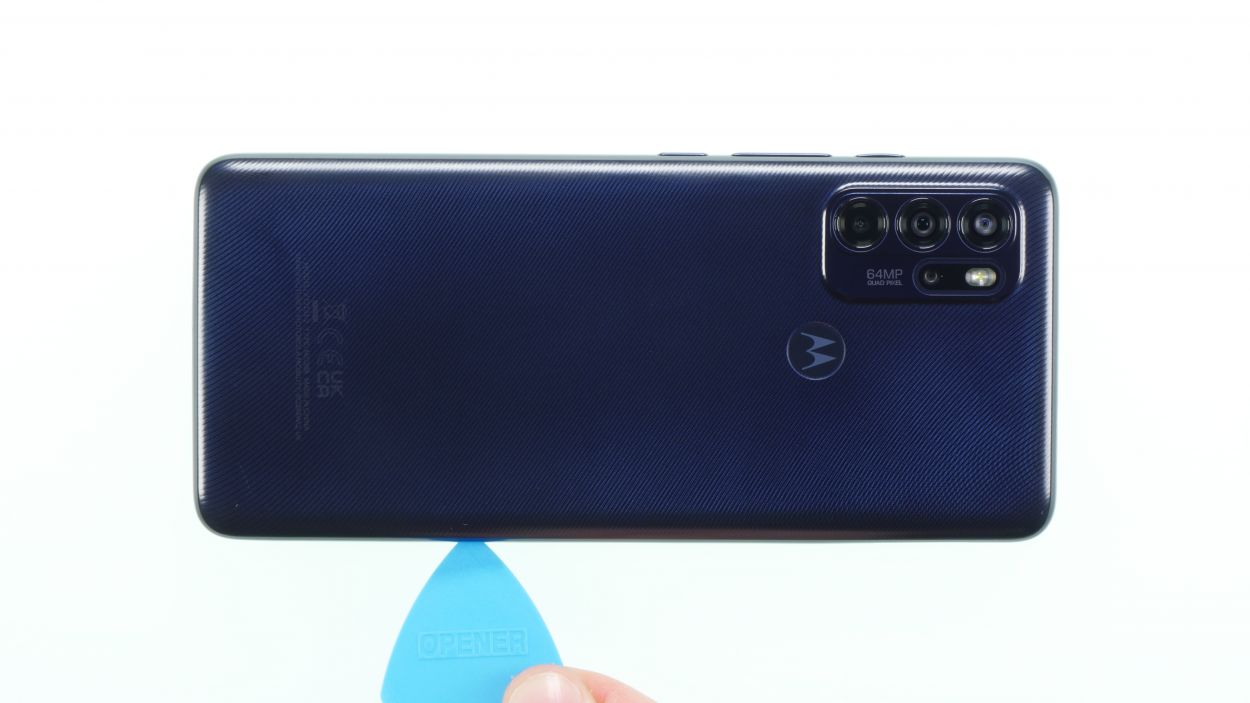
– Next, grab a plectrum and slide it between the display frame and the back cover switch. Take your time and guide it all the way around the device like a pro. This should help the back cover pop off without a hitch.
– Now, it’s time to gently press the fingerprint sensor out of the back cover. If it’s feeling a bit stubborn, don’t hesitate to warm it up a tad more and try again.
Step 4
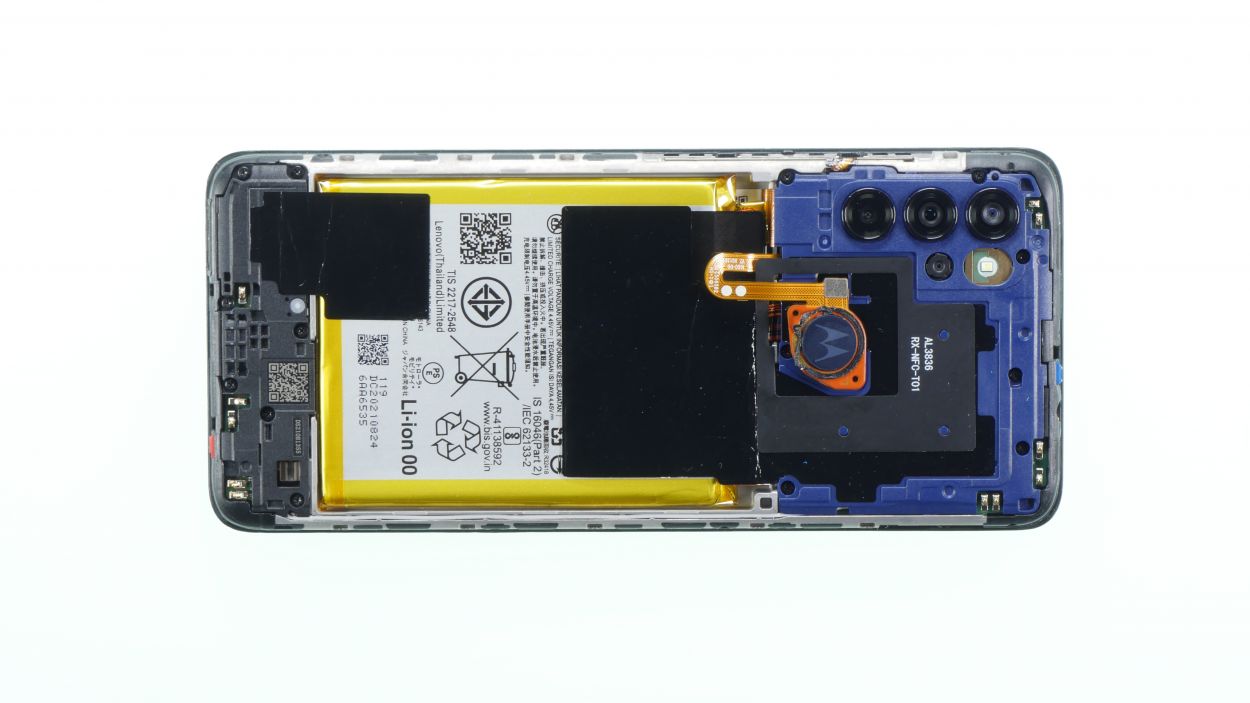
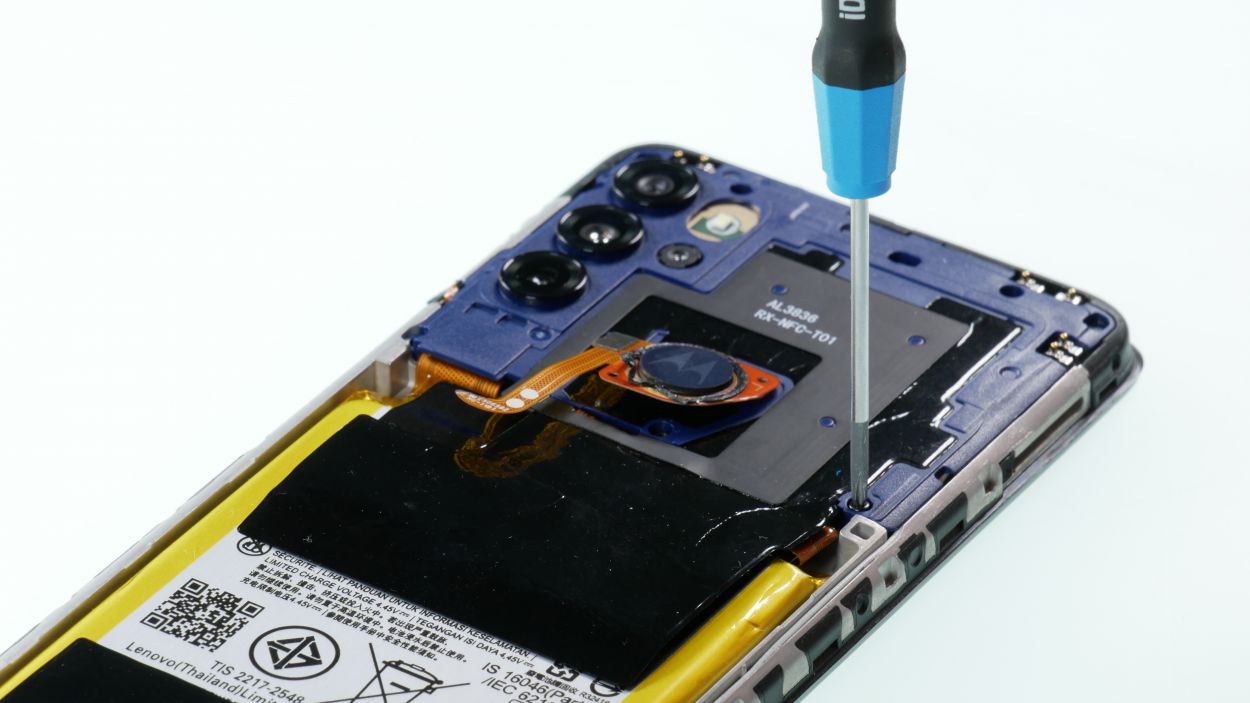
7 × 3,7 mm Phillips
To keep your screws from disappearing into the wild, why not rock a magnetic mat? It’s a handy little helper that makes sure everything stays in place while you tackle your repair!
– First things first, grab your trusty Phillips screwdriver and get ready to tackle those seven screws. Unscrew them and set them aside like a pro!
– Next up, it’s time to bring out the spudger! Carefully slide it in there and gently pry off the cover. Just a little leverage and voila, it’s out!
Tools Used
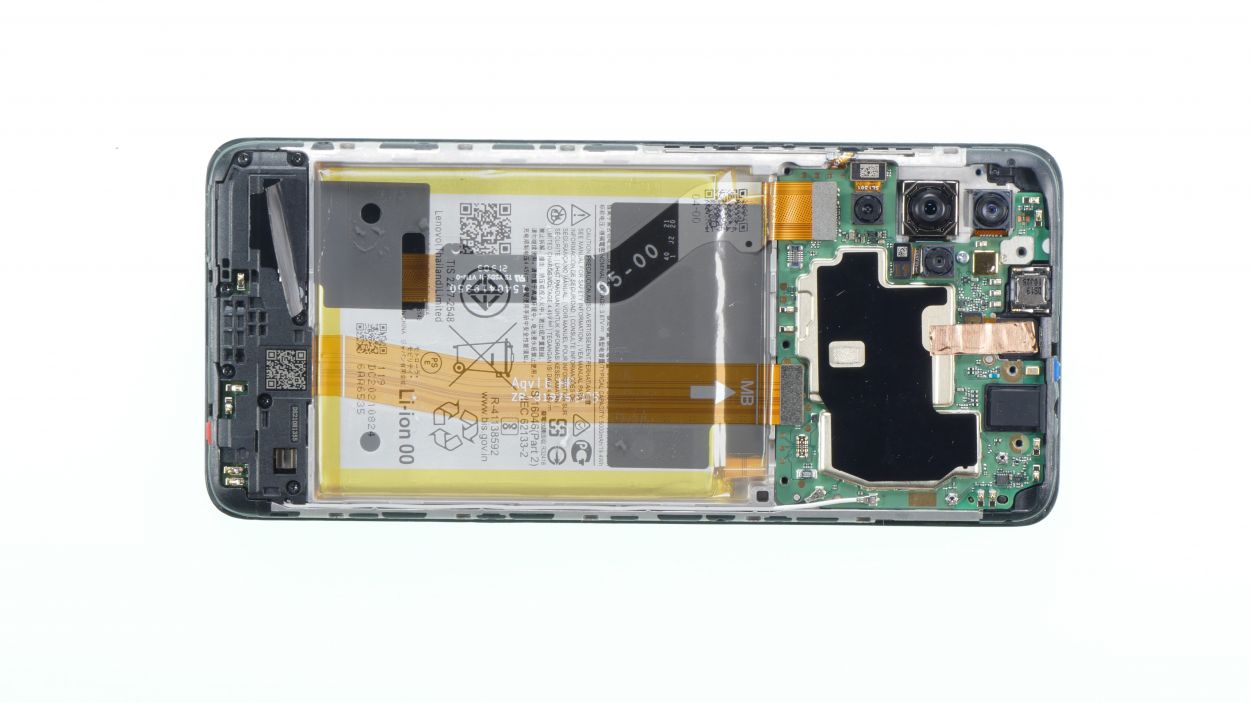
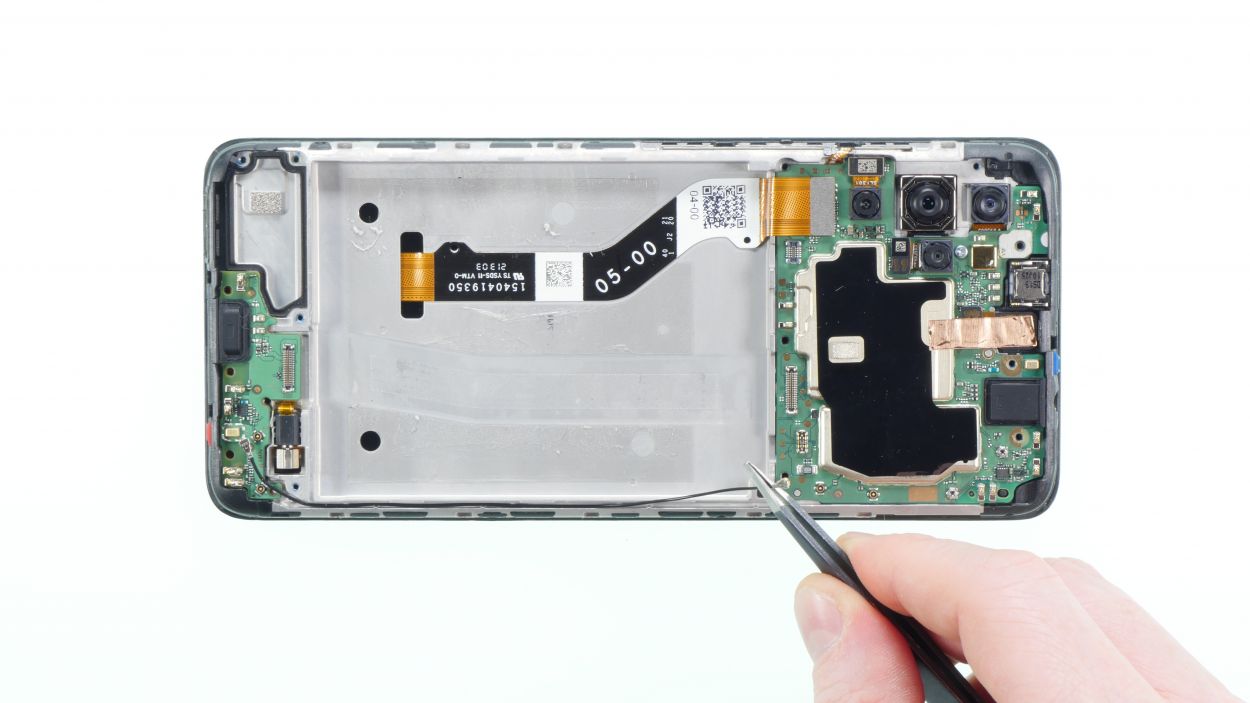
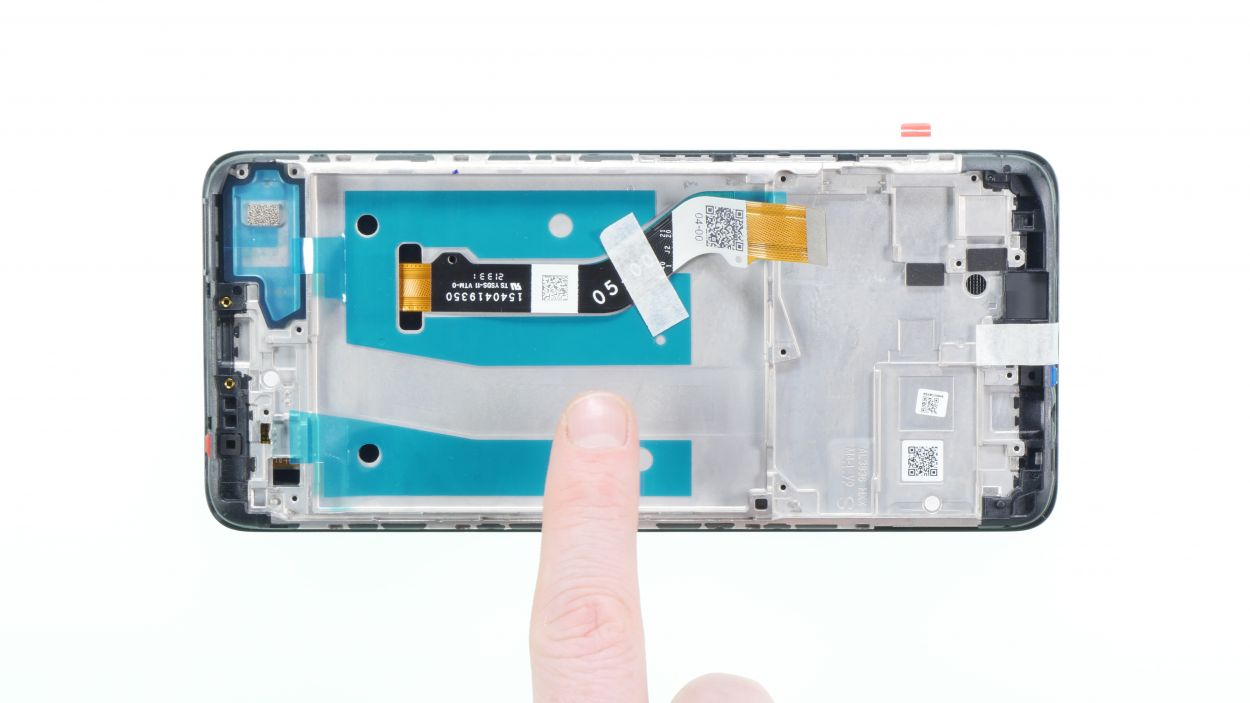
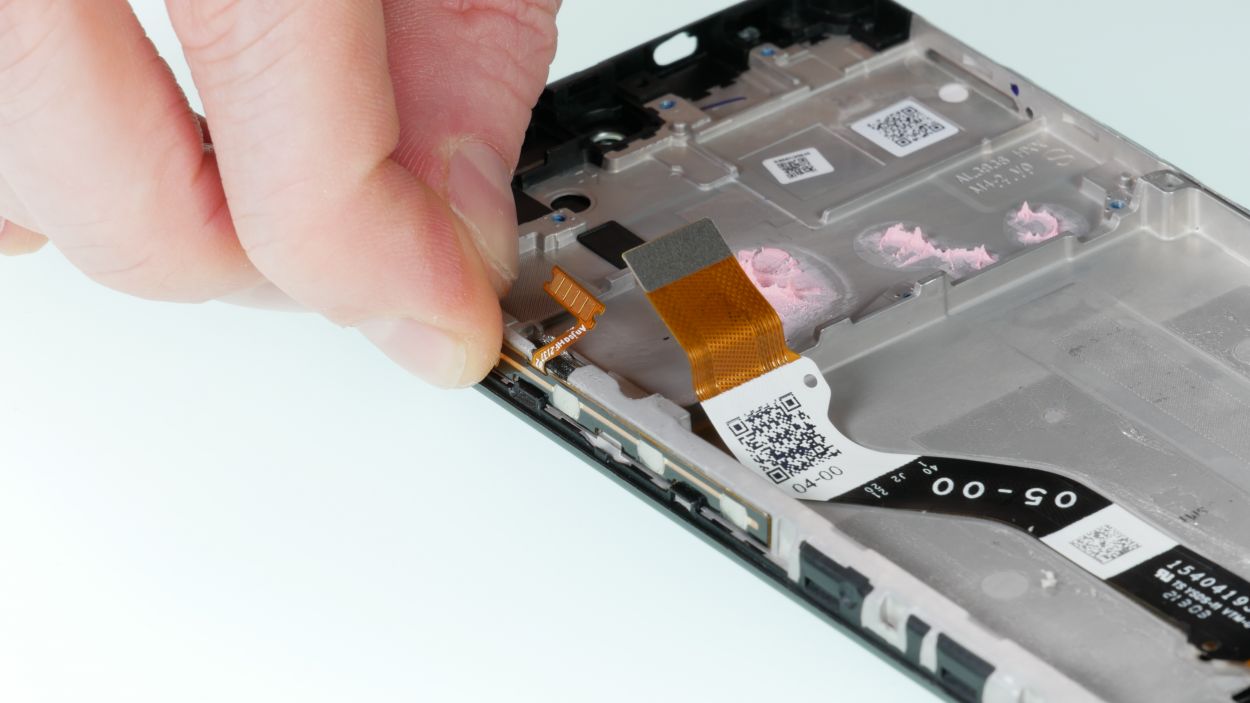
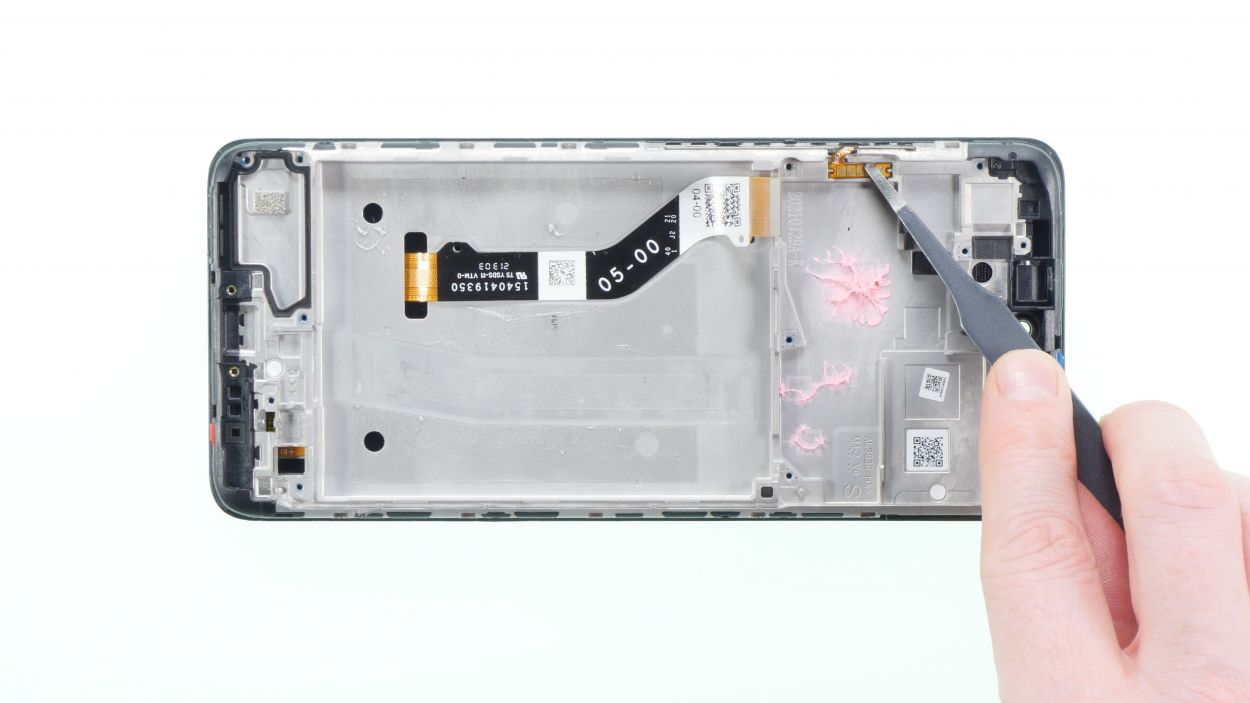
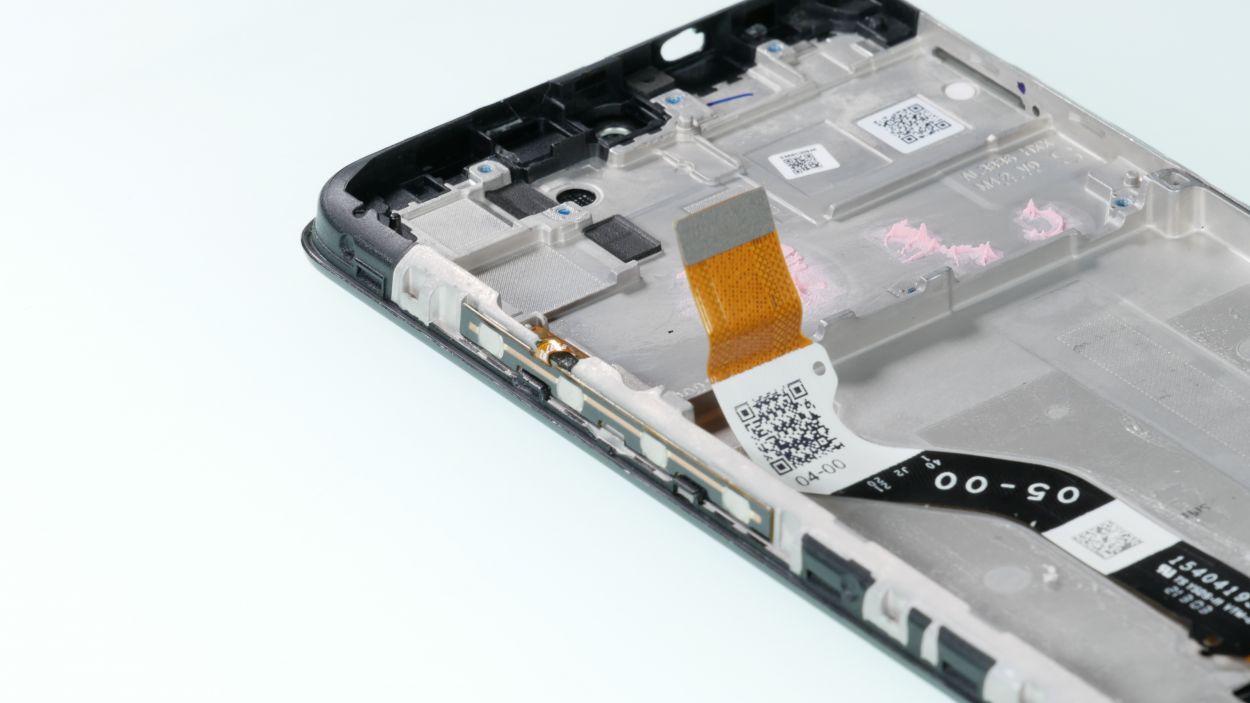
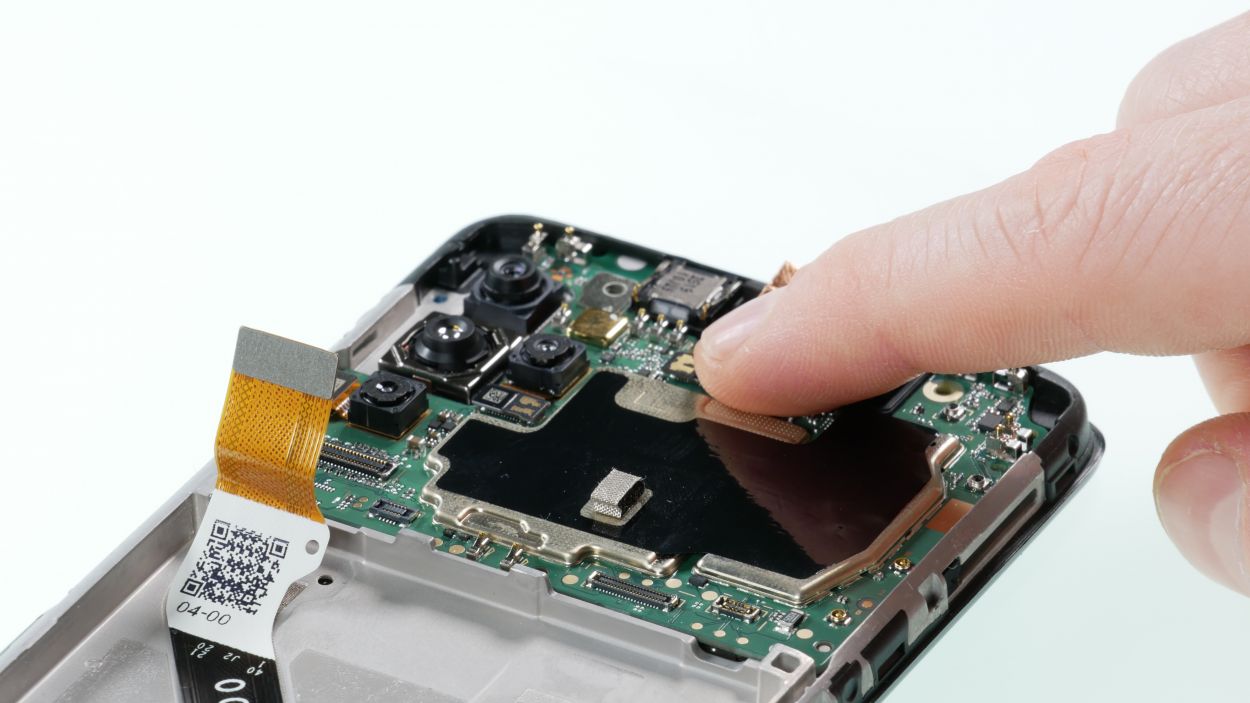
Step 5
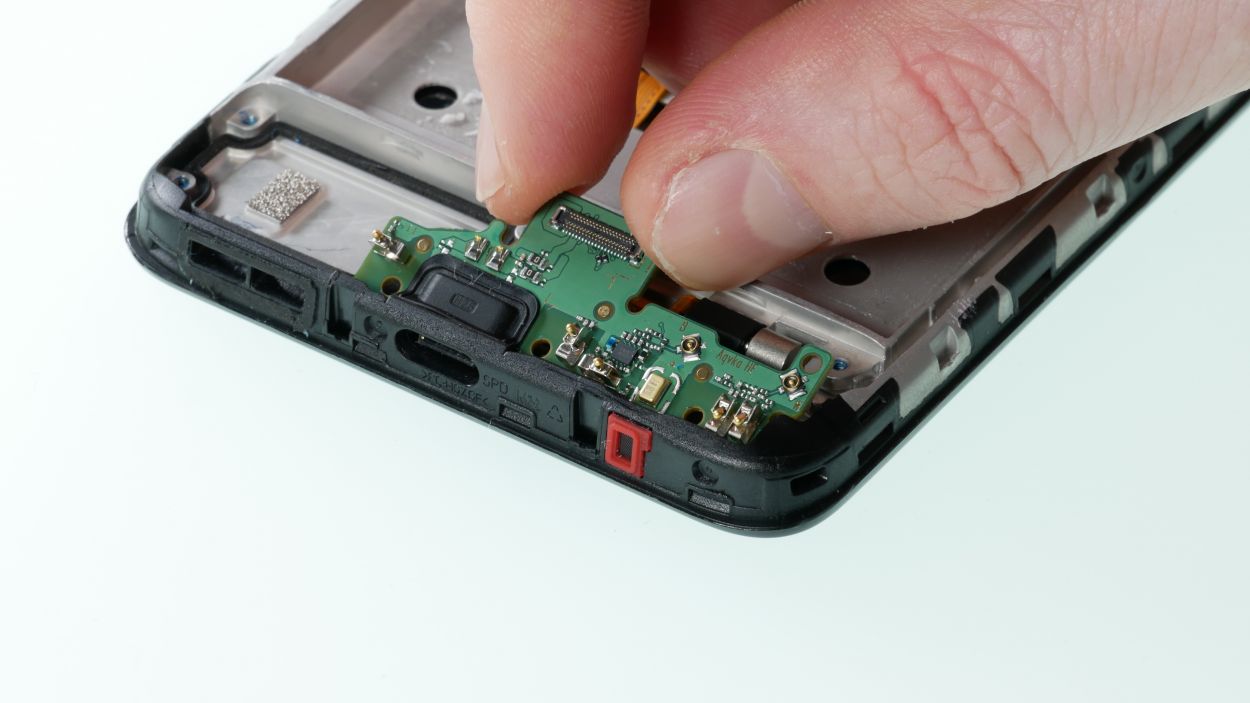
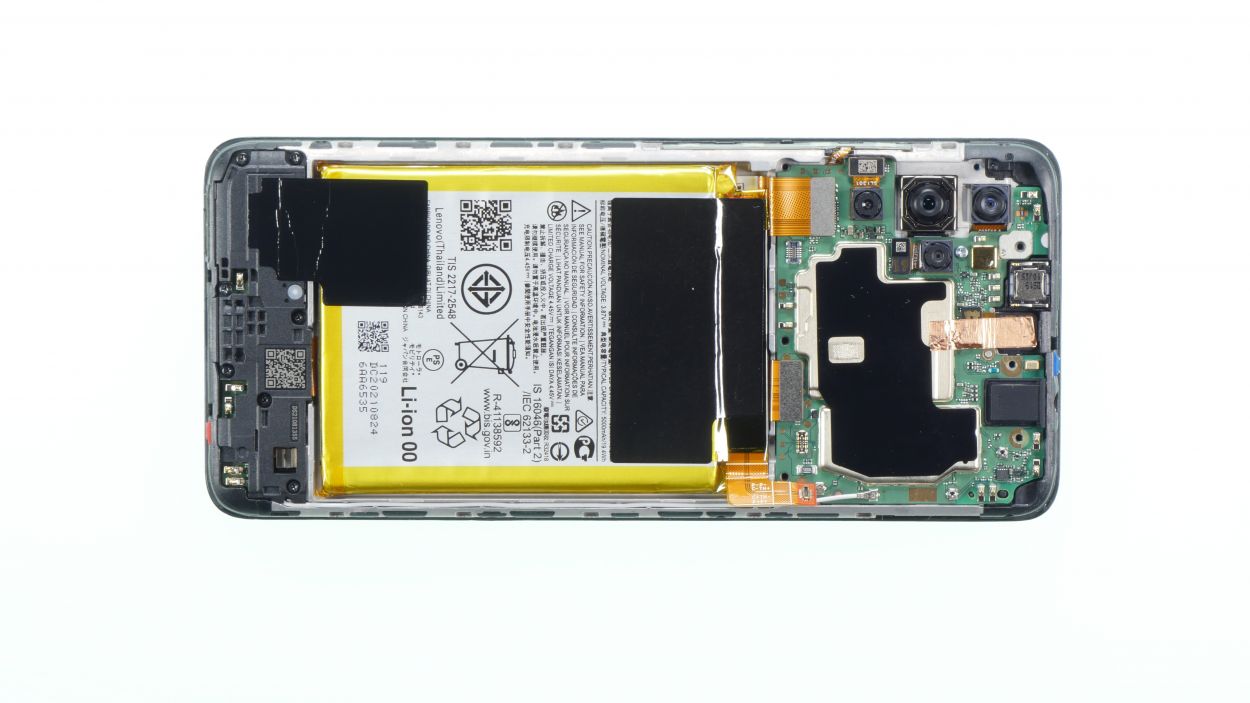
Battery Connector
Fingerprint Sensor Connector
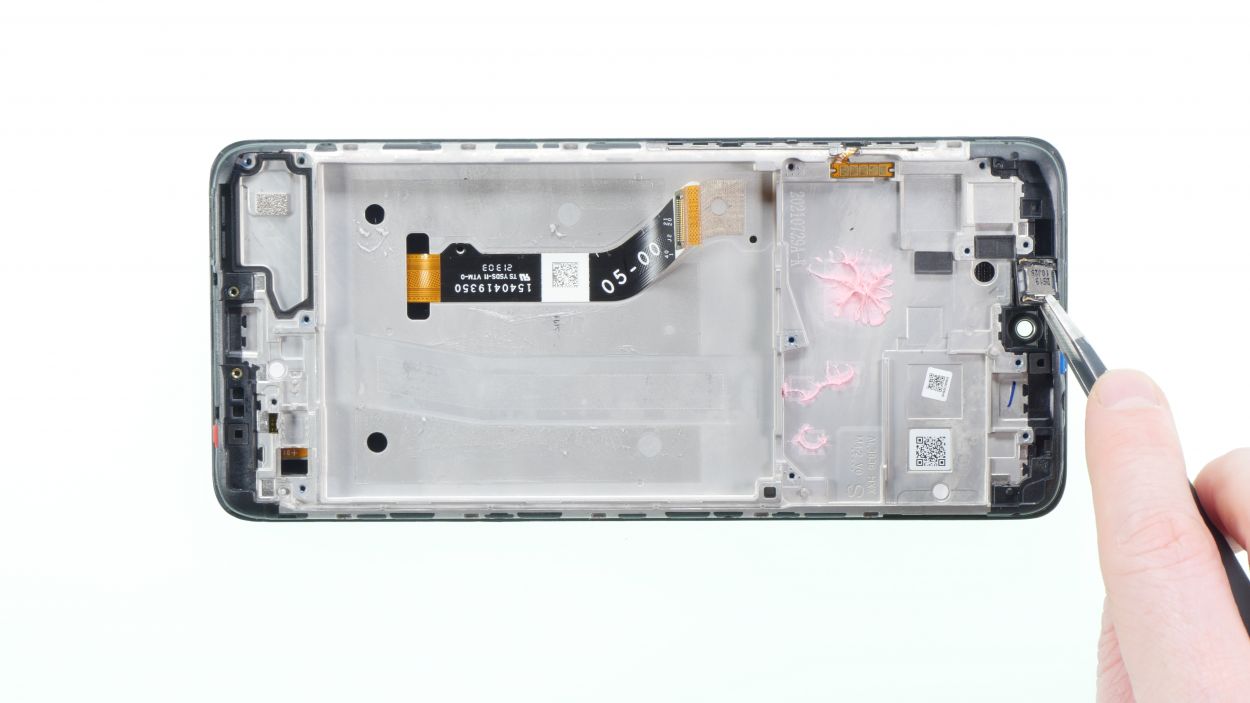
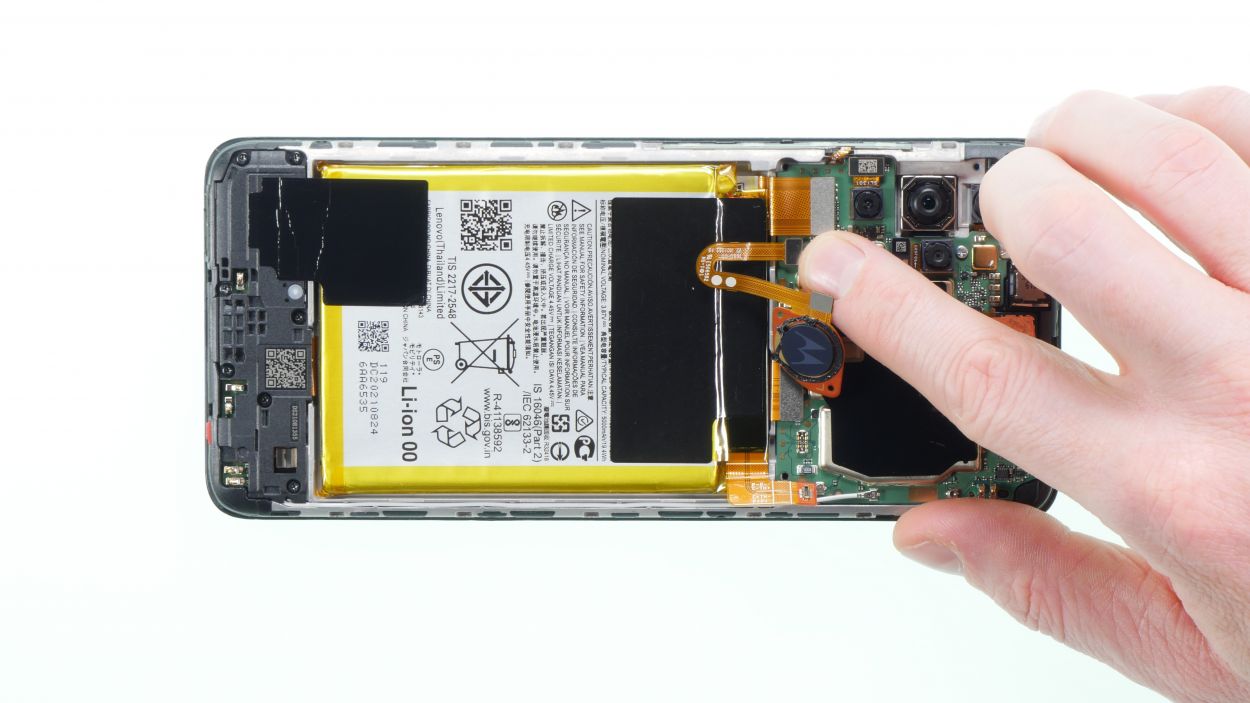
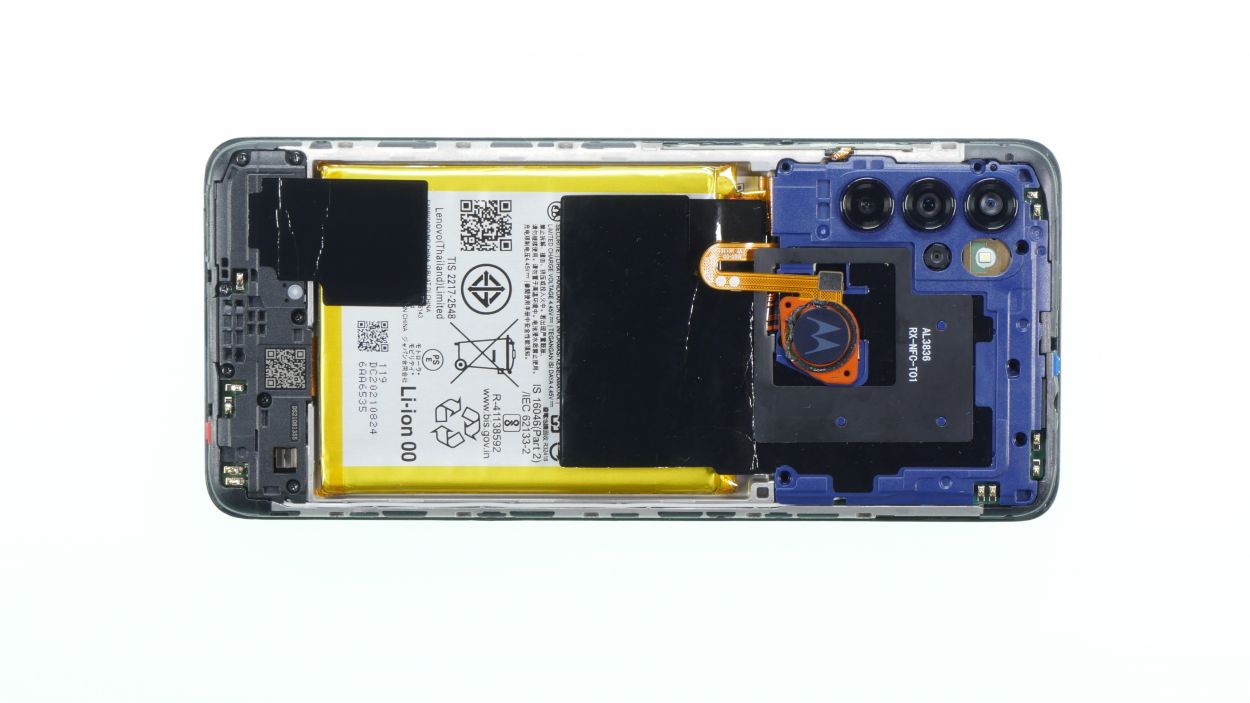
– First up, tackle that battery connector. It’s your starting point!
– Once that’s sorted, feel free to disconnect the Fingerprint sensor and set it aside for now.
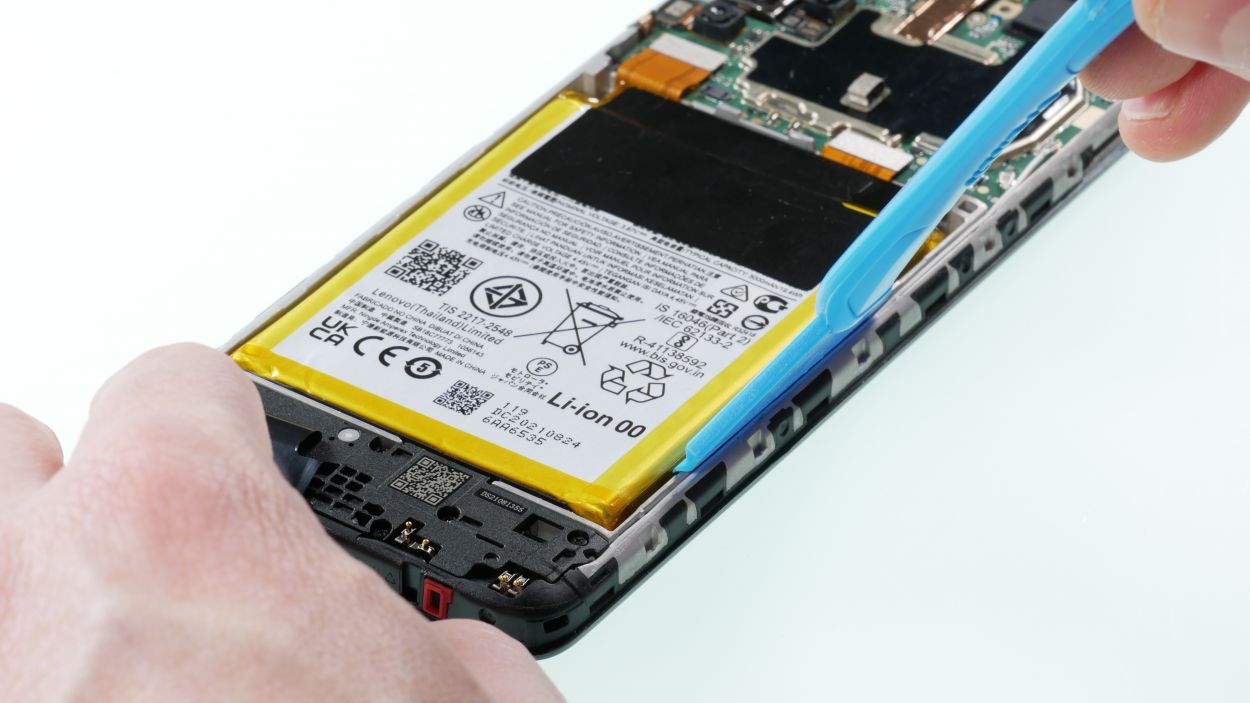
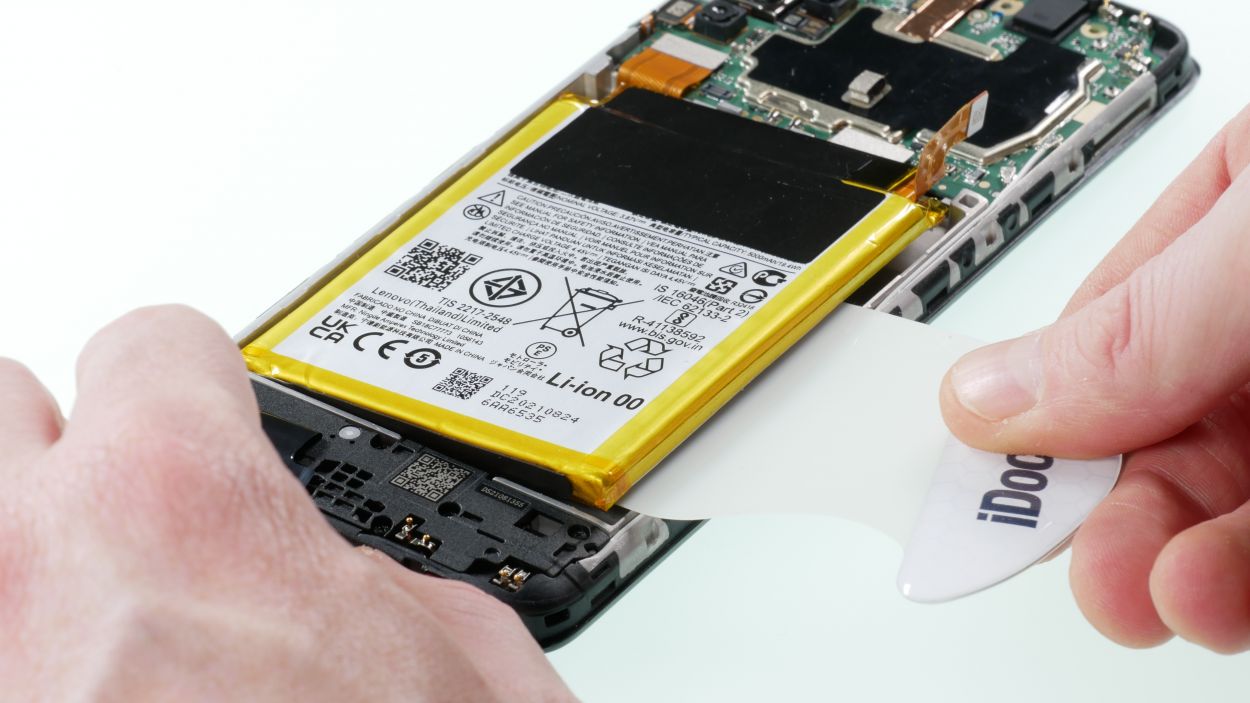
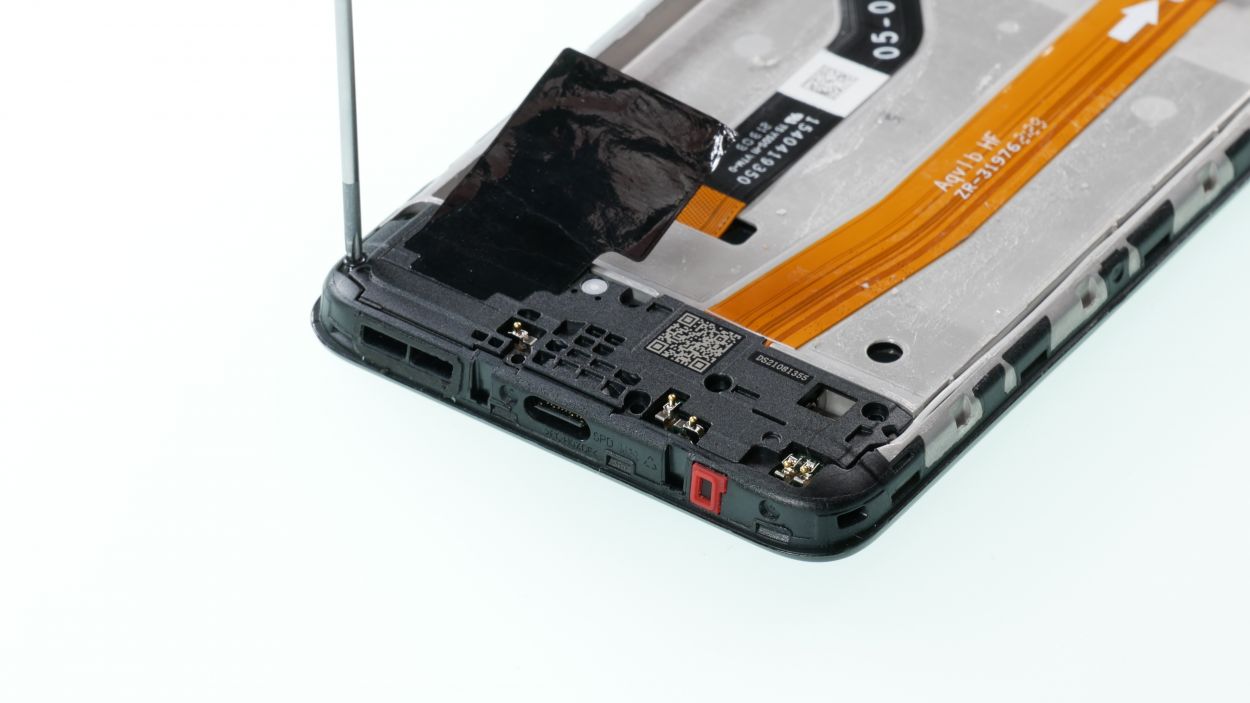
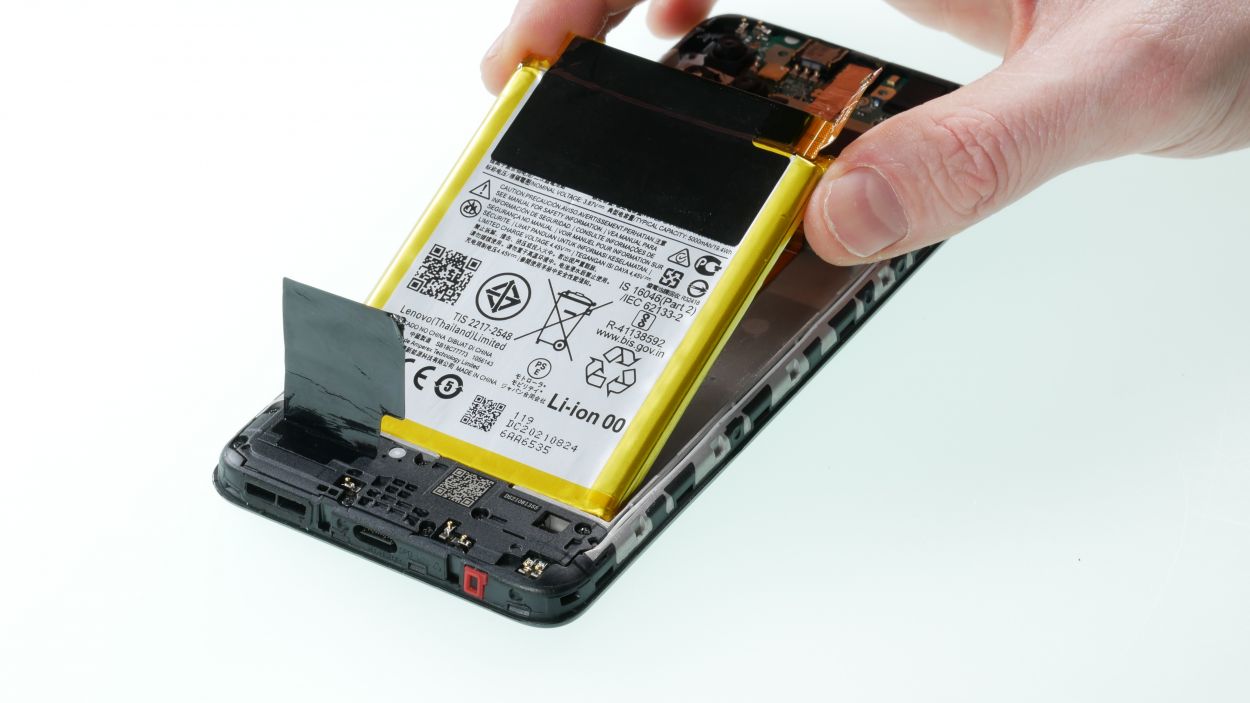
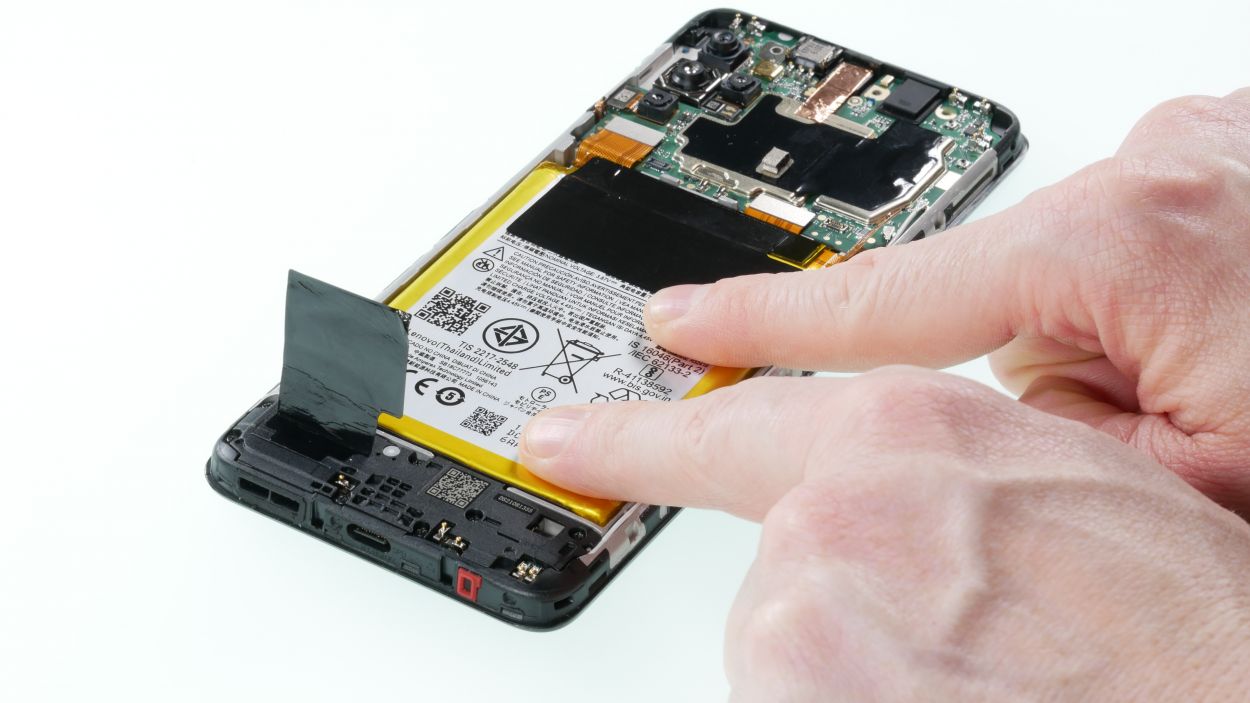
Step 6
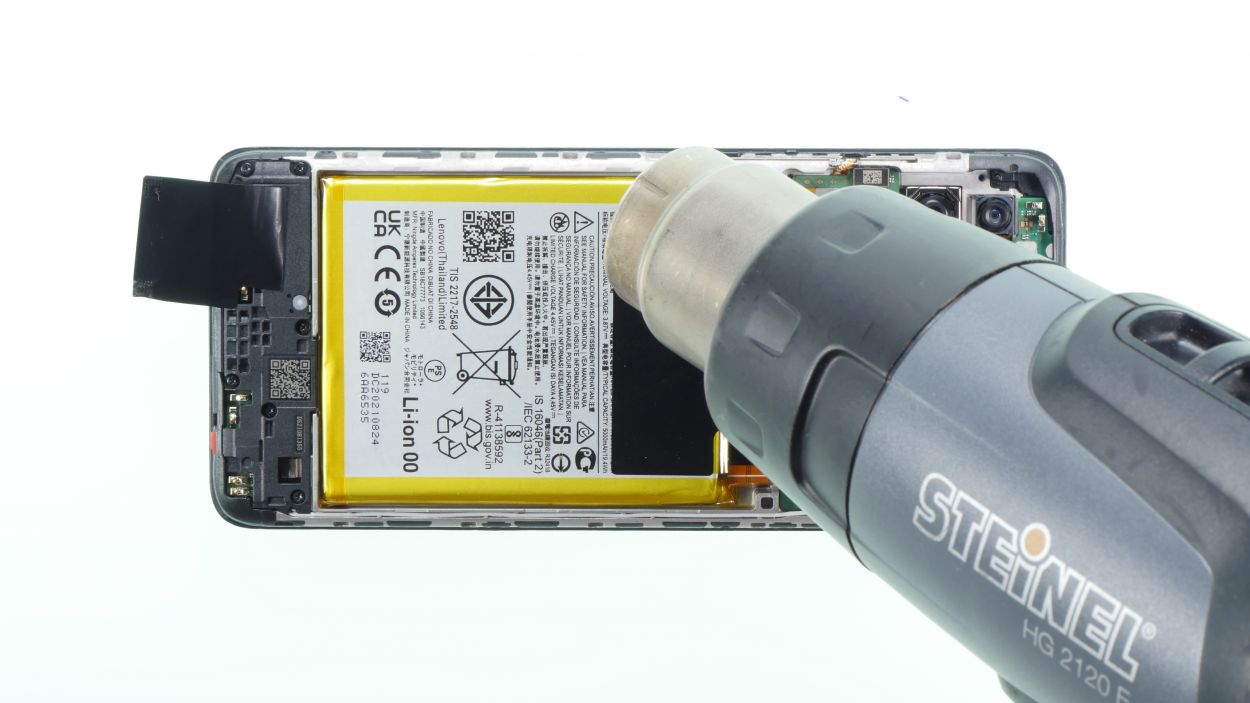
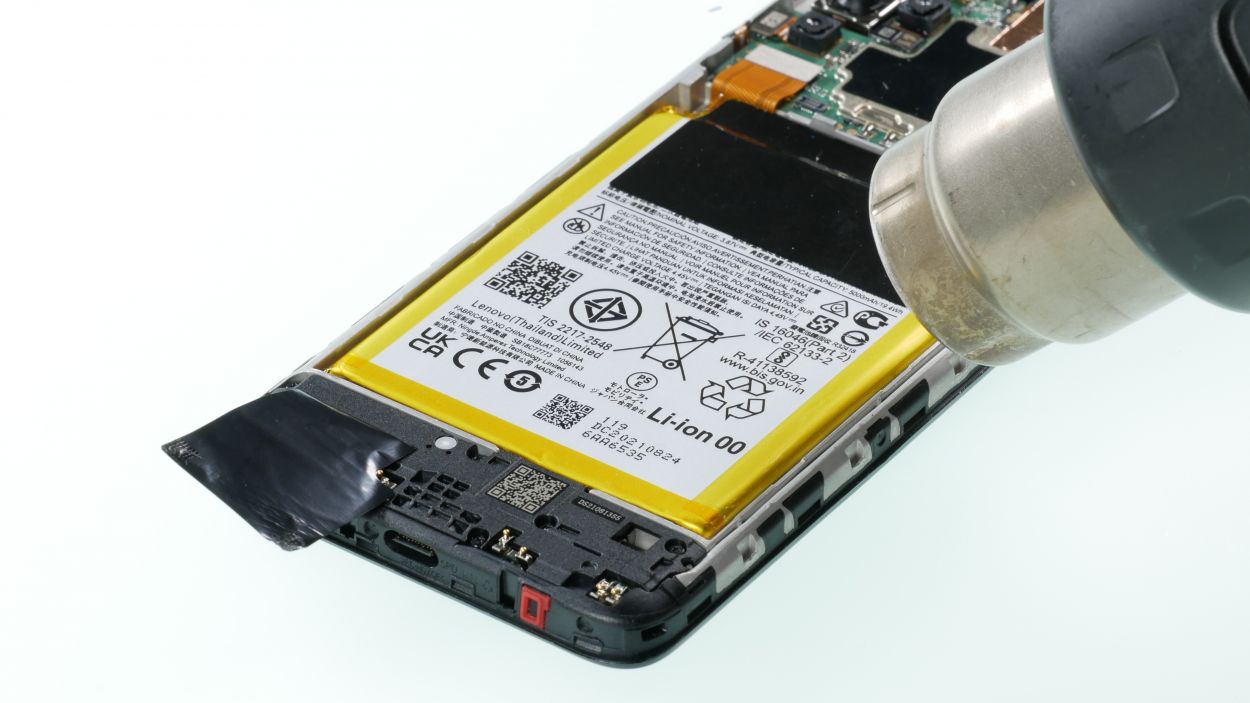
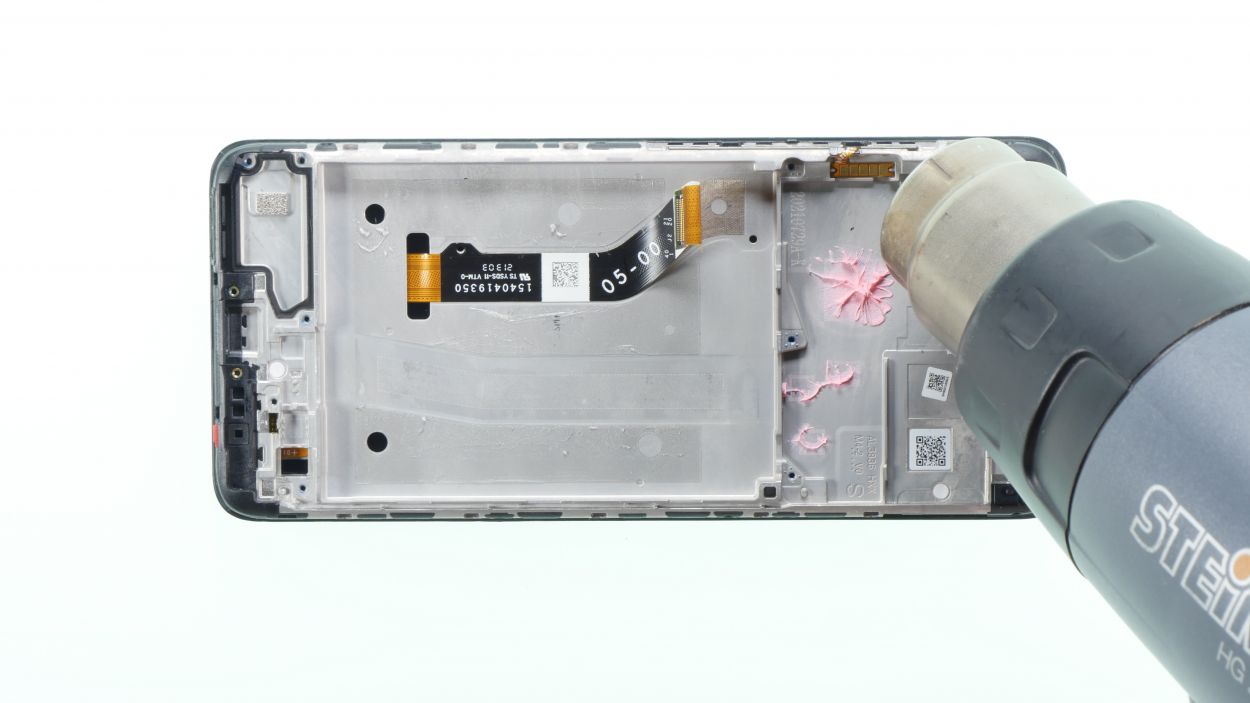
Keep an eye on that battery temperature – we want it to stay cool and collected!
– Start by gently peeling off the black film from the battery and set it aside. If it’s being a bit stubborn, a little warmth from a hot air device can help loosen it up.
– Next, grab that hot air device and give the battery a gentle heat from the side. This will make things a bit easier.
– Now, using your trusty battery spudger, carefully pry the battery out from the side. You’ve got this!
Tools Used
- battery? Then the iPlastix with its large blade will help you. The practical assistant is made of flexible, especially sturdy plastic and lies comfortably in the hand. Thanks to its design, you can even get into smaller gaps, for example to lift the screen or to prevent it from sticking together again.” rel=”noopener”>iPlastix Opening Tool
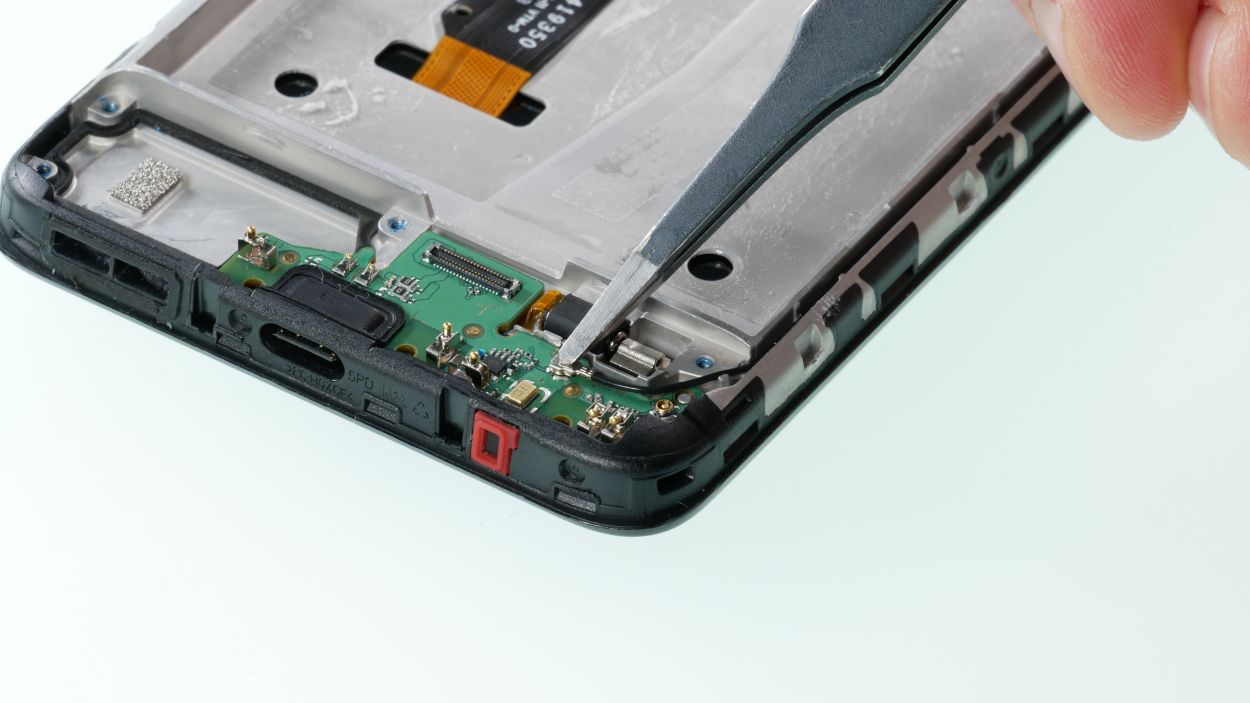
Step 7

7 × 3,7 mm Phillips
– First things first, grab your trusty Phillips screwdriver and remove those seven screws that are calling out for attention. Once they’re out, set them aside with care.
– Now, it’s time to gently lift out the speaker using a handy tool like a Spudger. Once you’ve freed it, give it a cozy spot to rest while you continue with your repair journey.
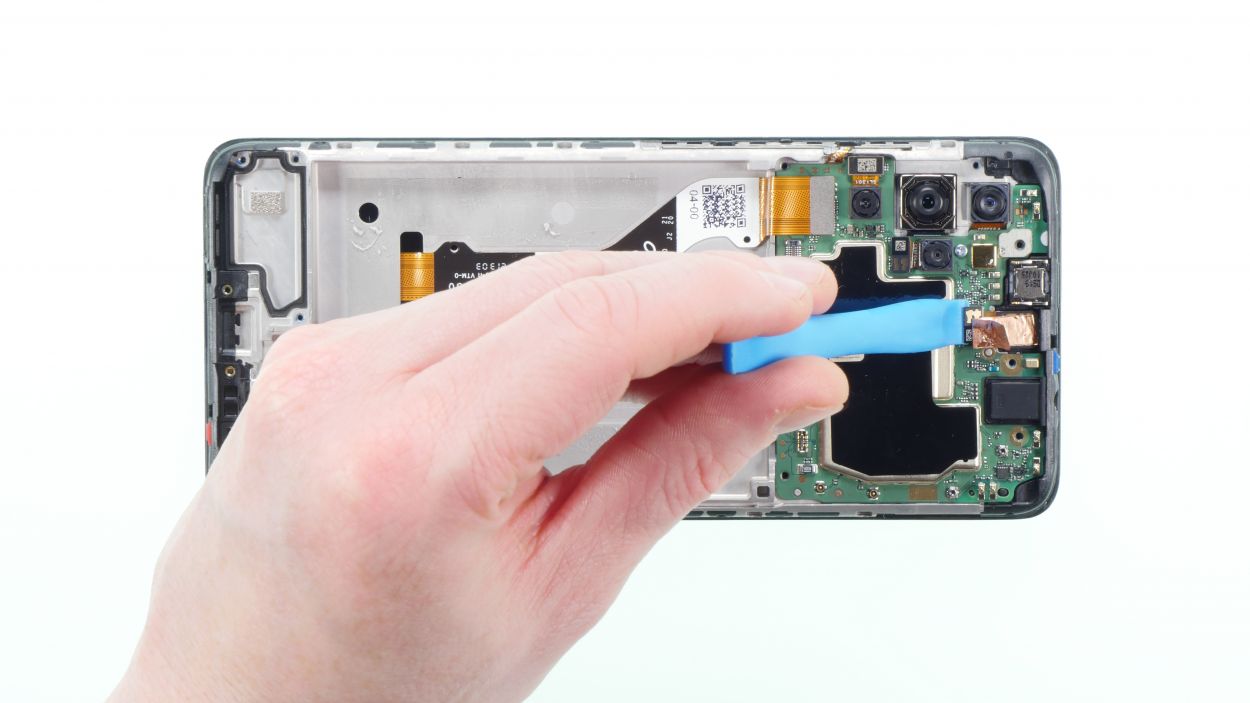
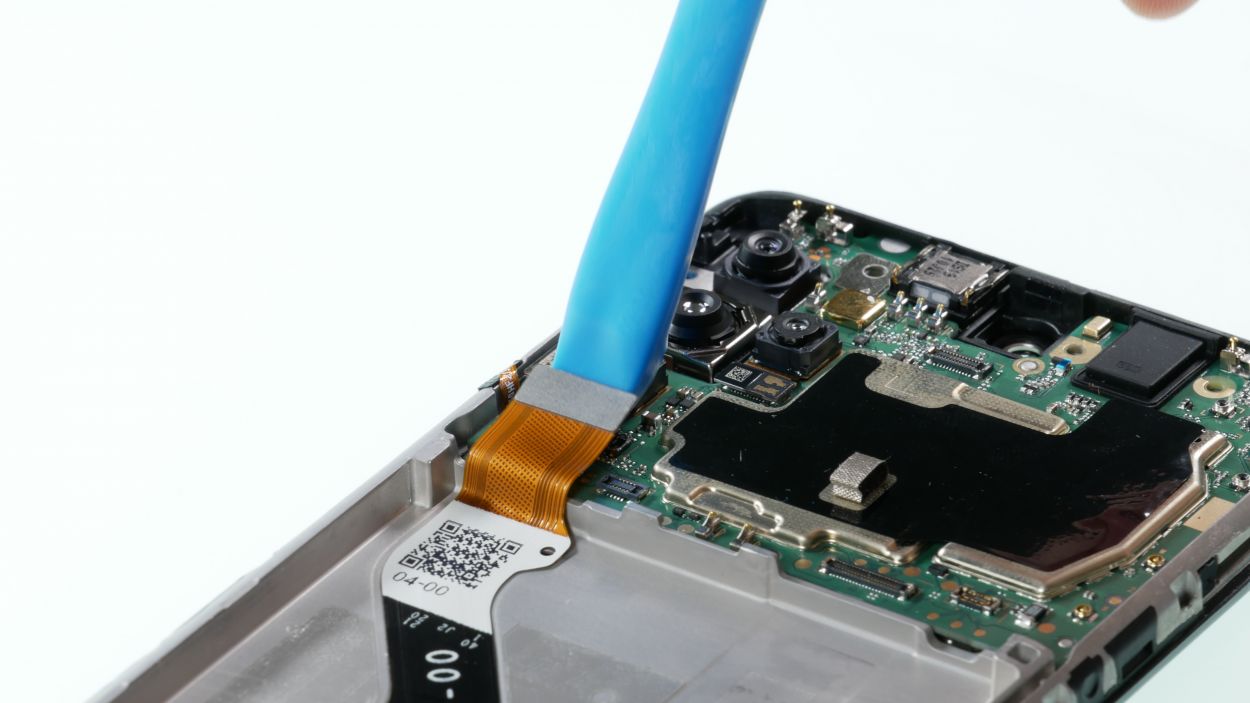
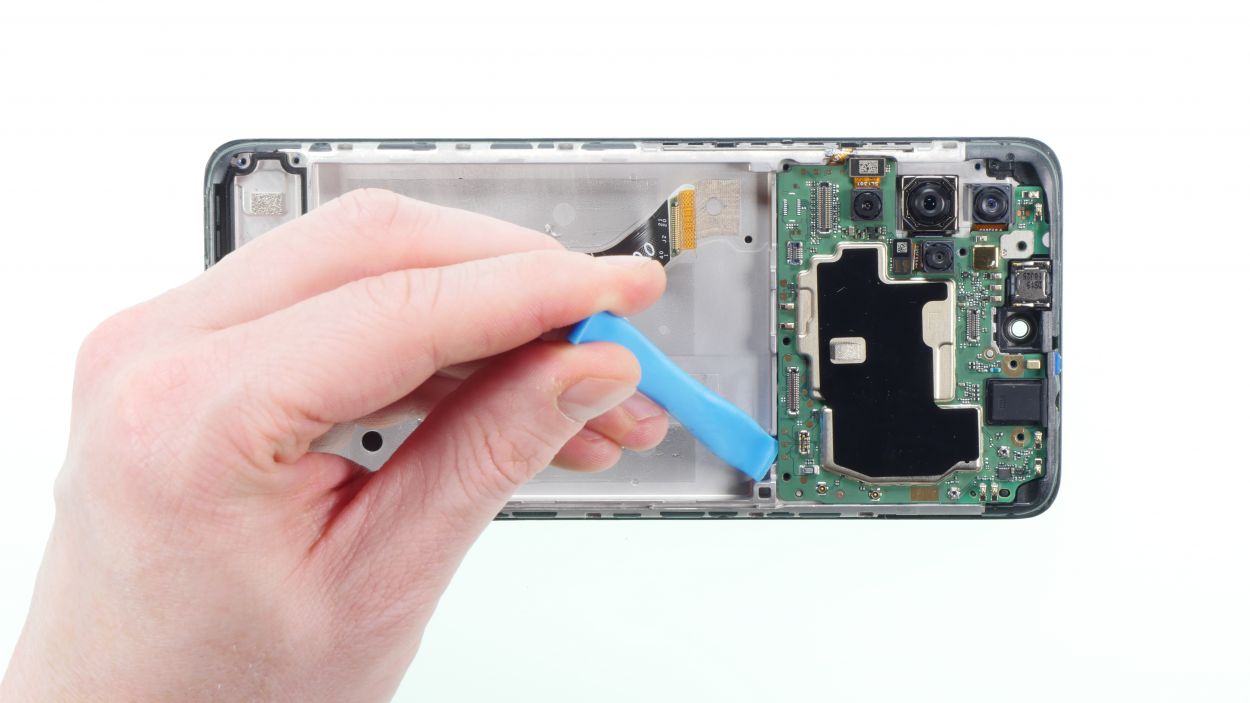
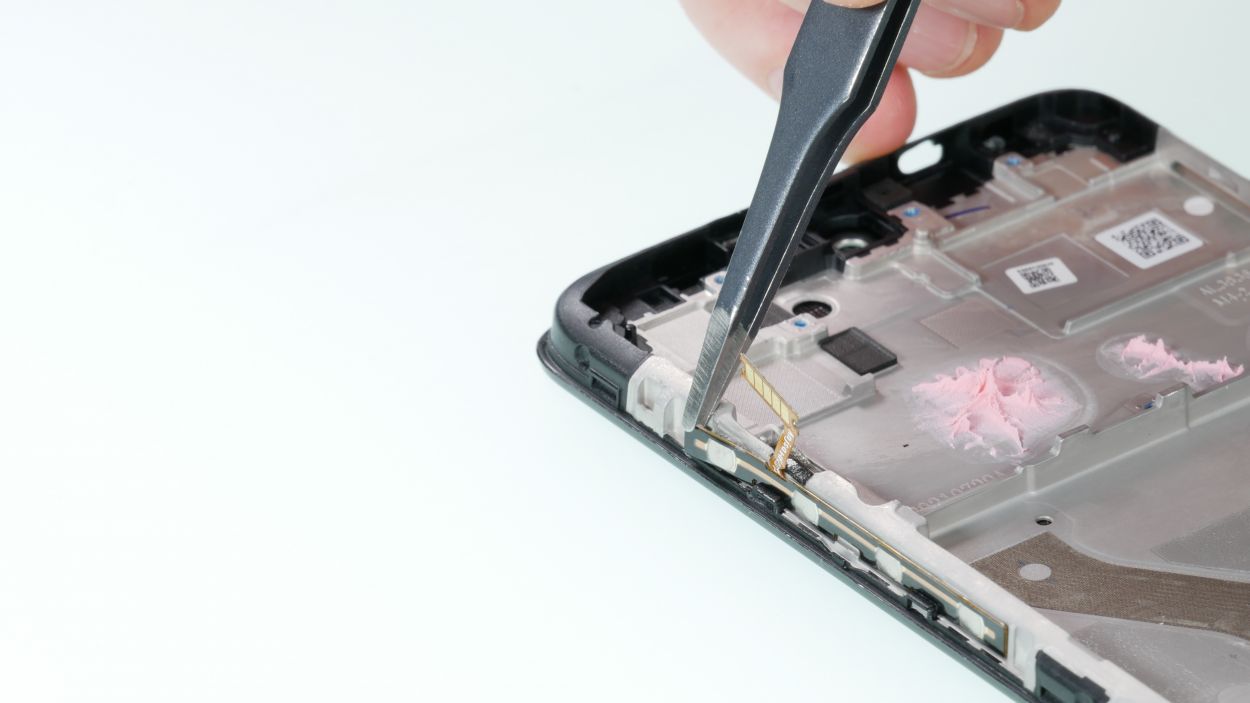
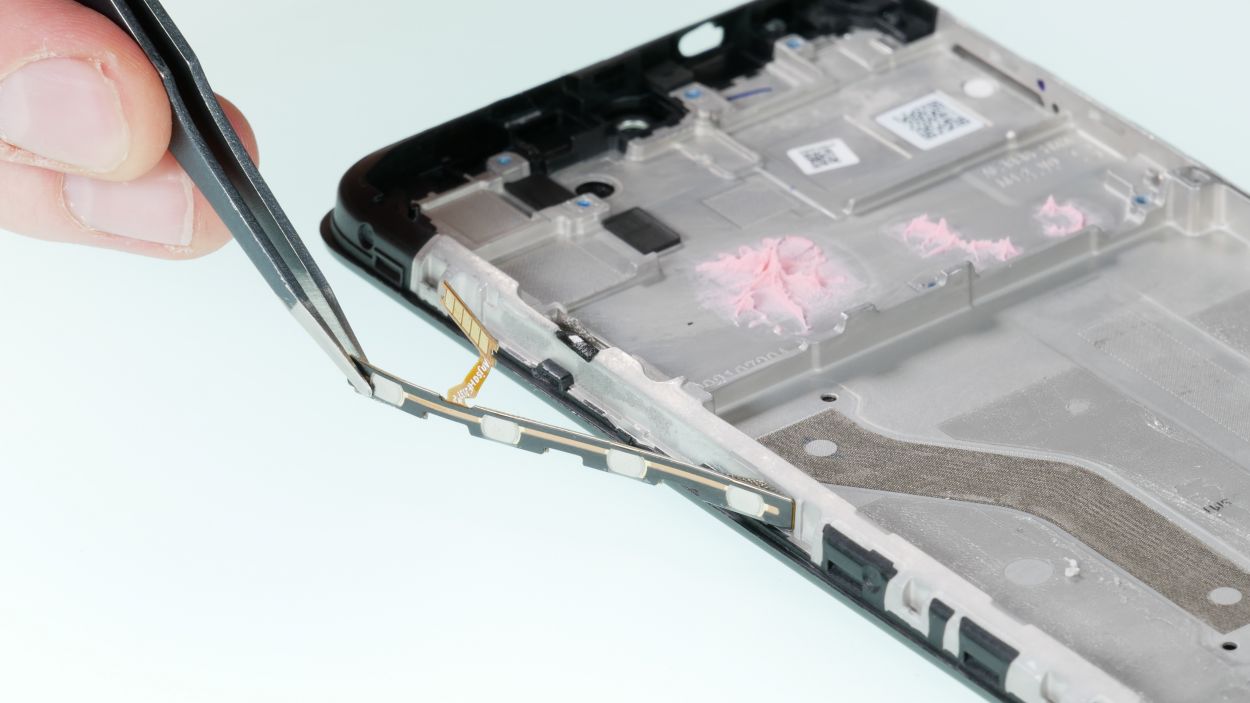
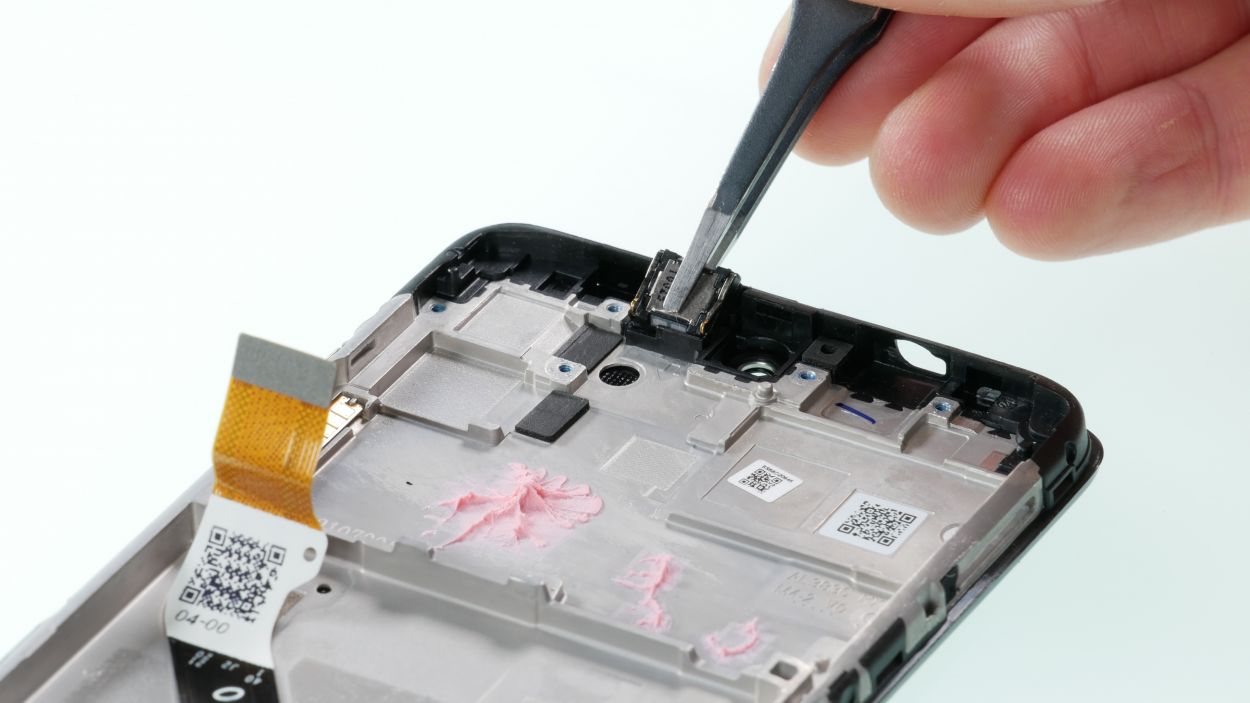
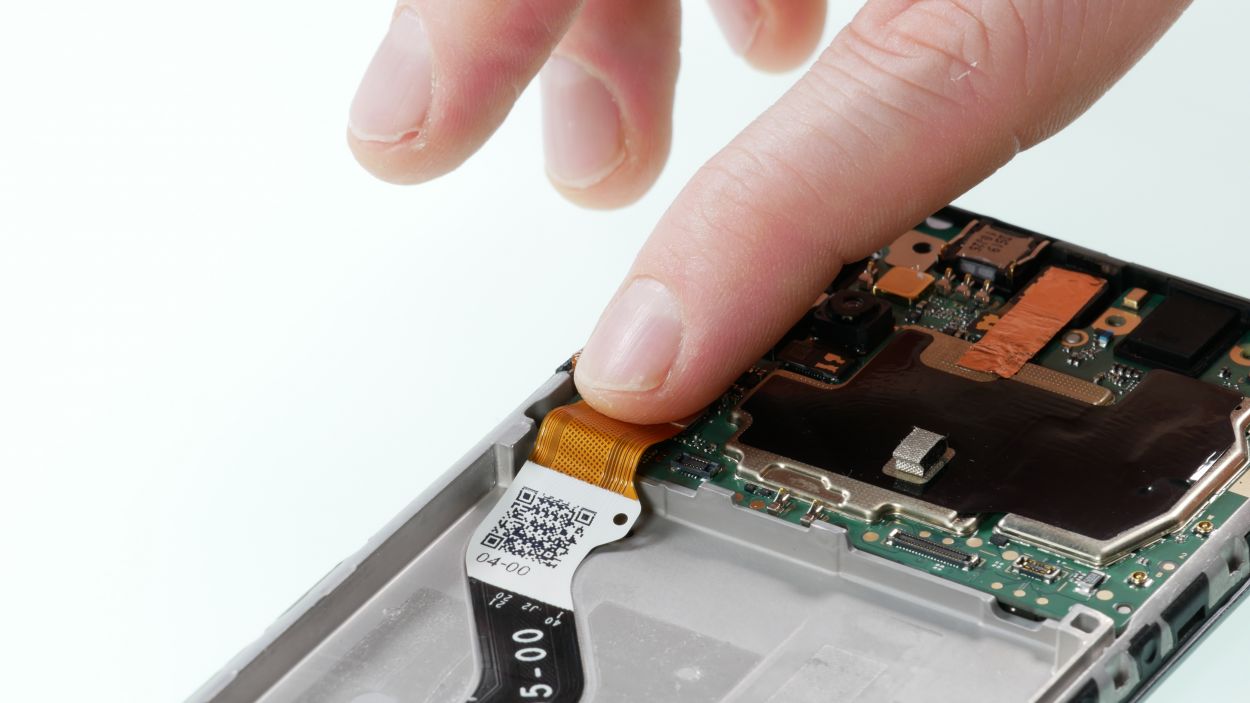
Step 8


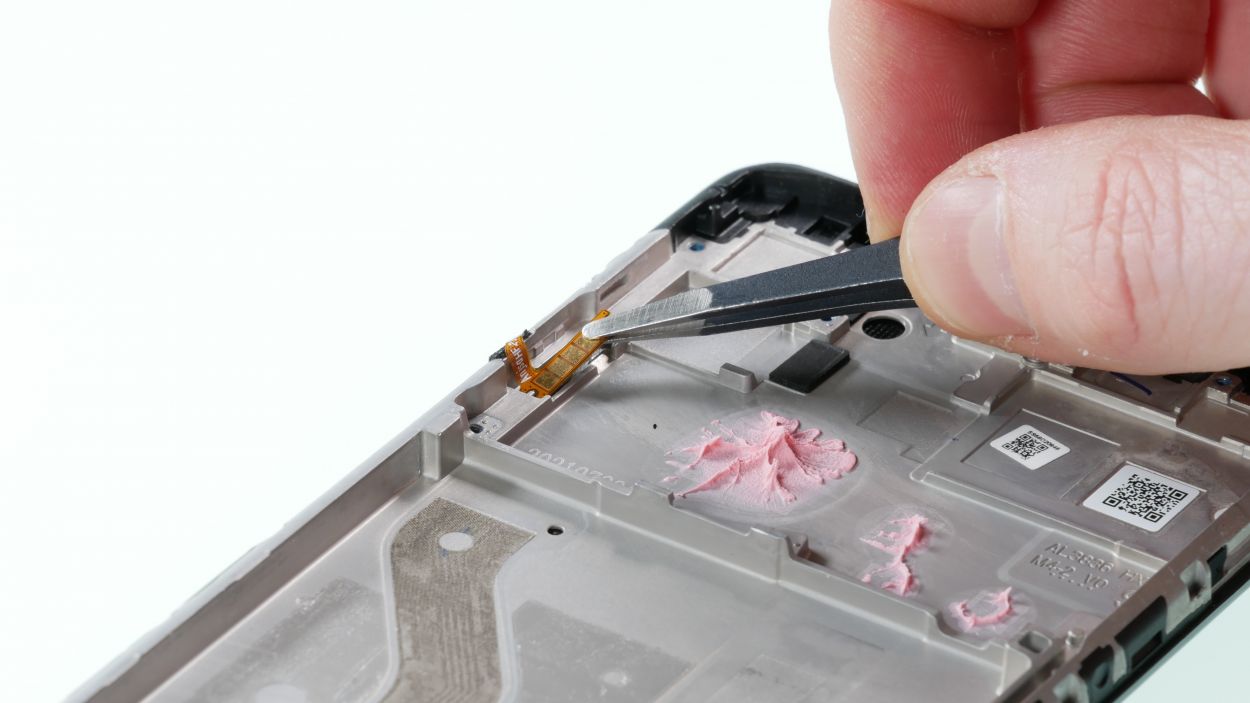
– Gently pry apart the two connectors of the connecting cable using a non-metallic tool like a spudger. You got this!
– Once you’ve done that, give the cable a light warm-up with a hot air gun and carefully remove it. Easy peasy!
Step 9

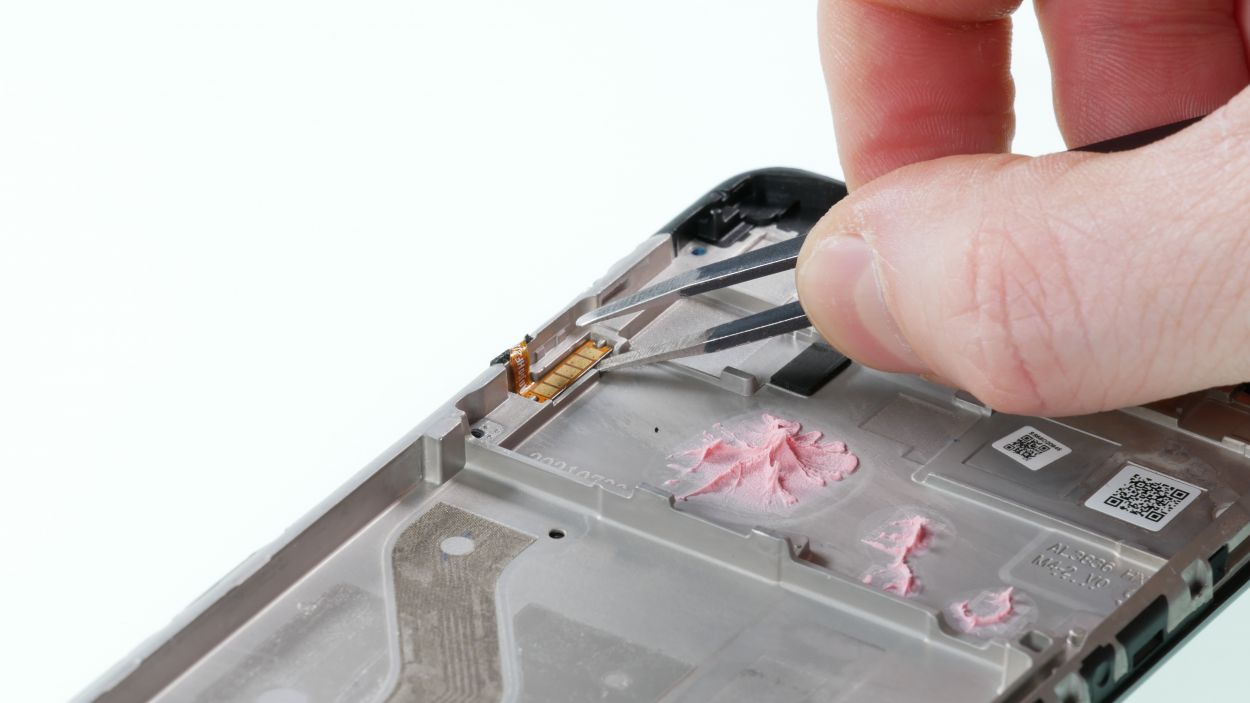
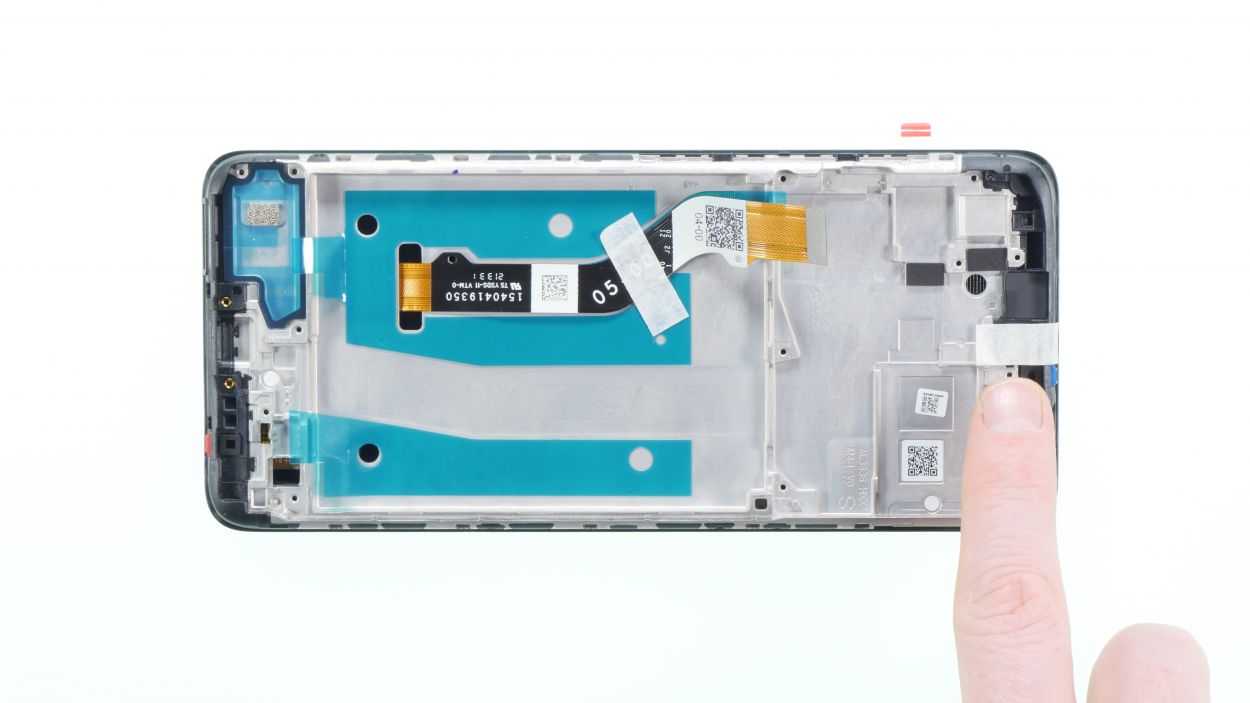
Antenna Connector
– Gently unclip the four connectors of the antenna cable using your trusty ESD tweezers, and then carefully pull those cables out of their guiding spot. You’ve got this!
Tools Used
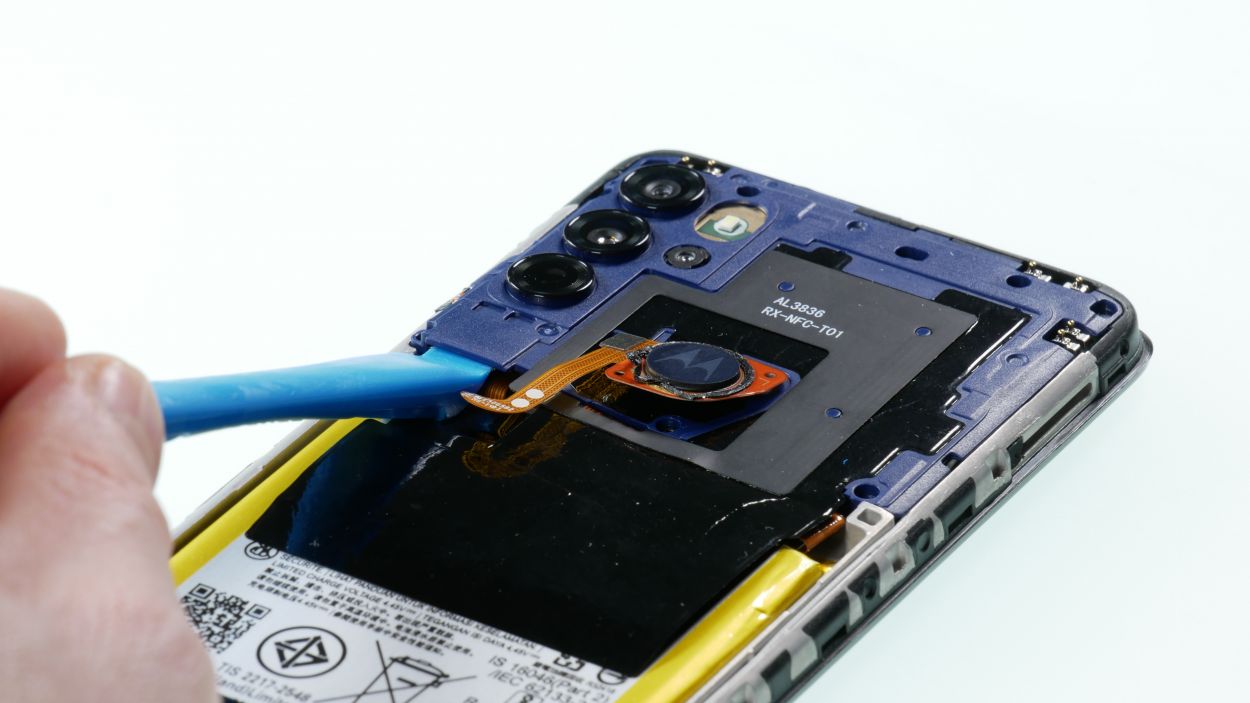
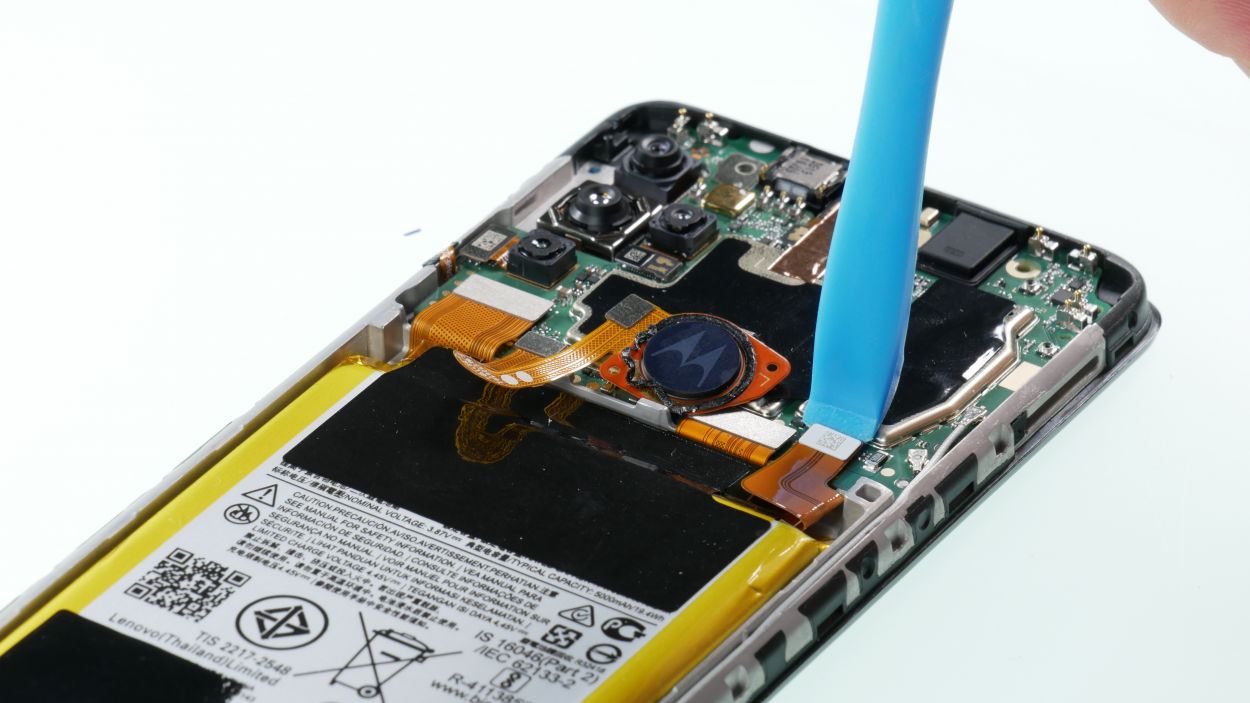
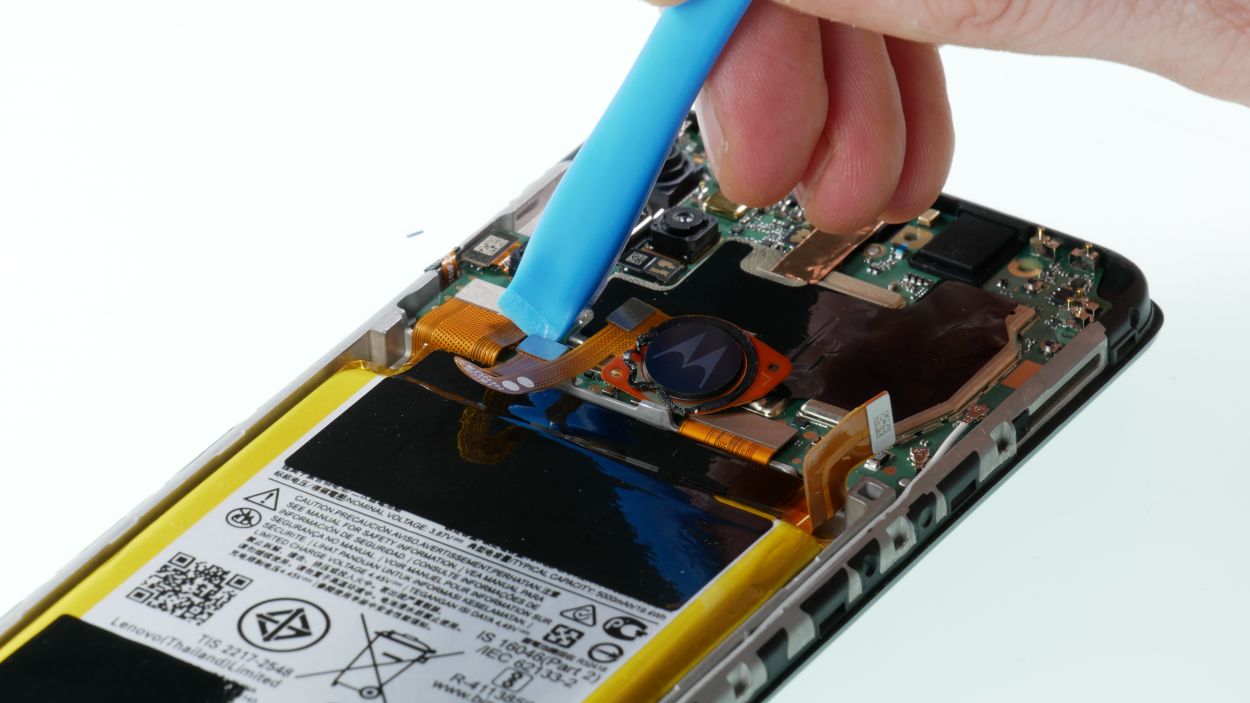
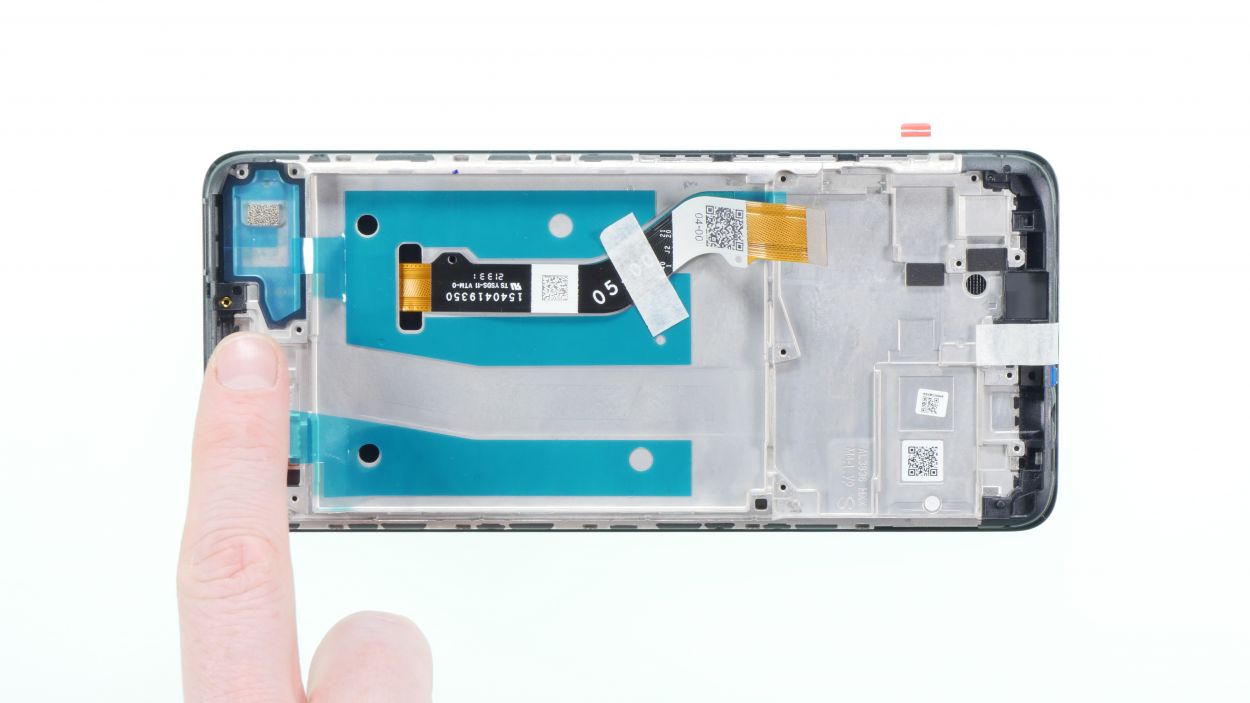
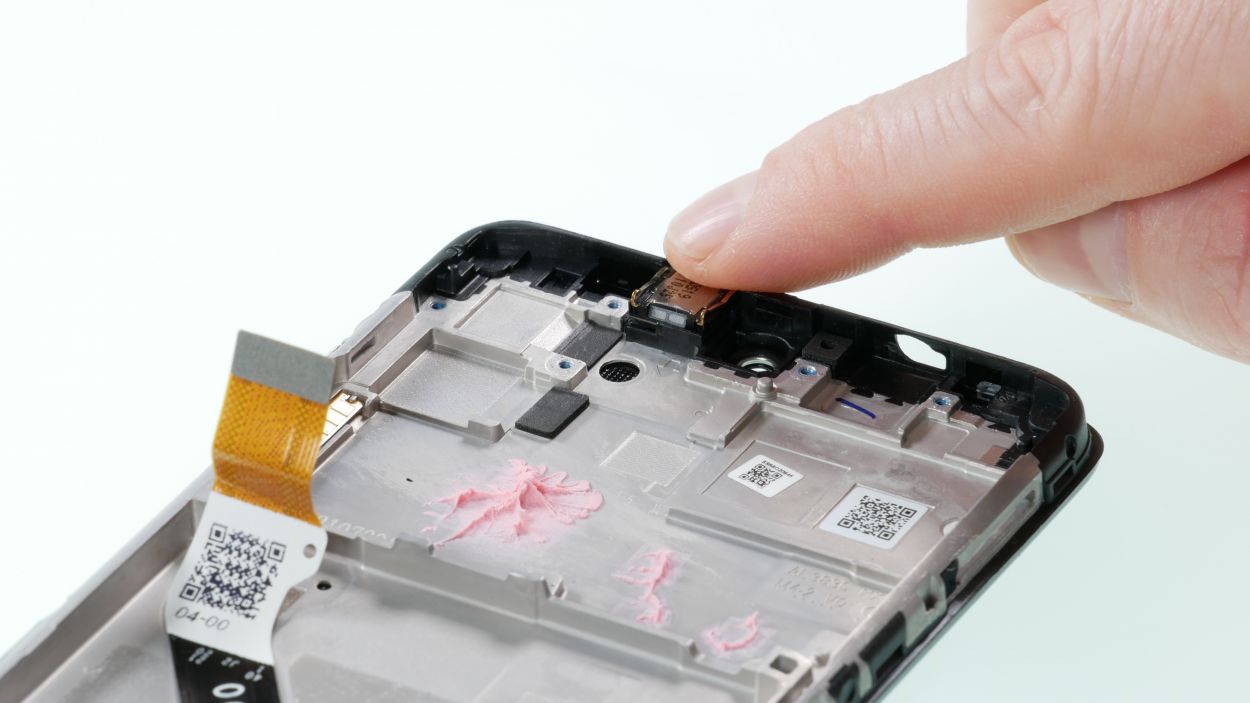
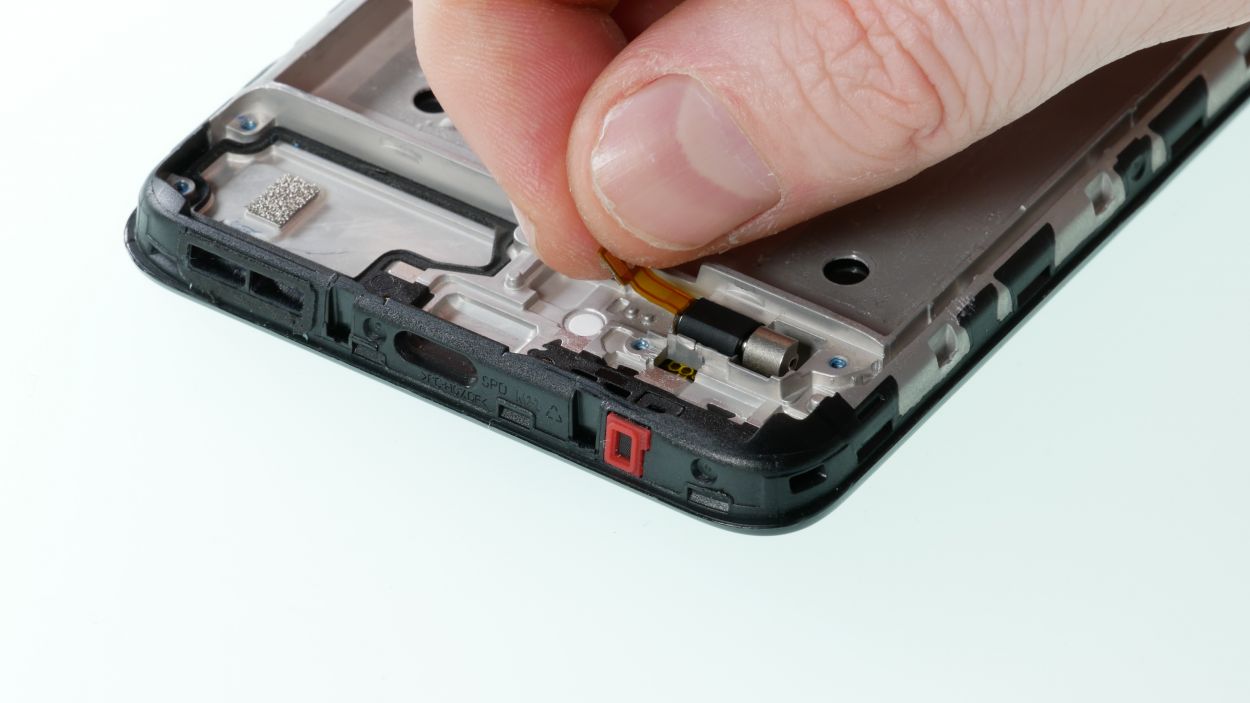
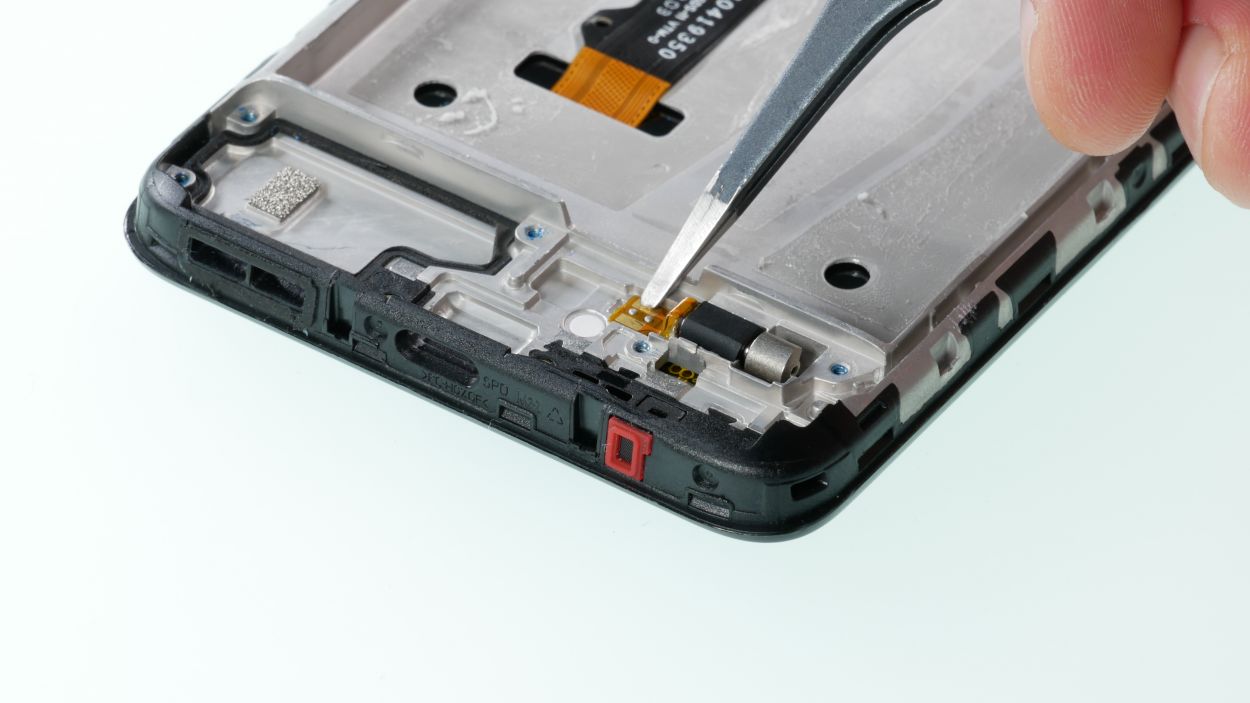
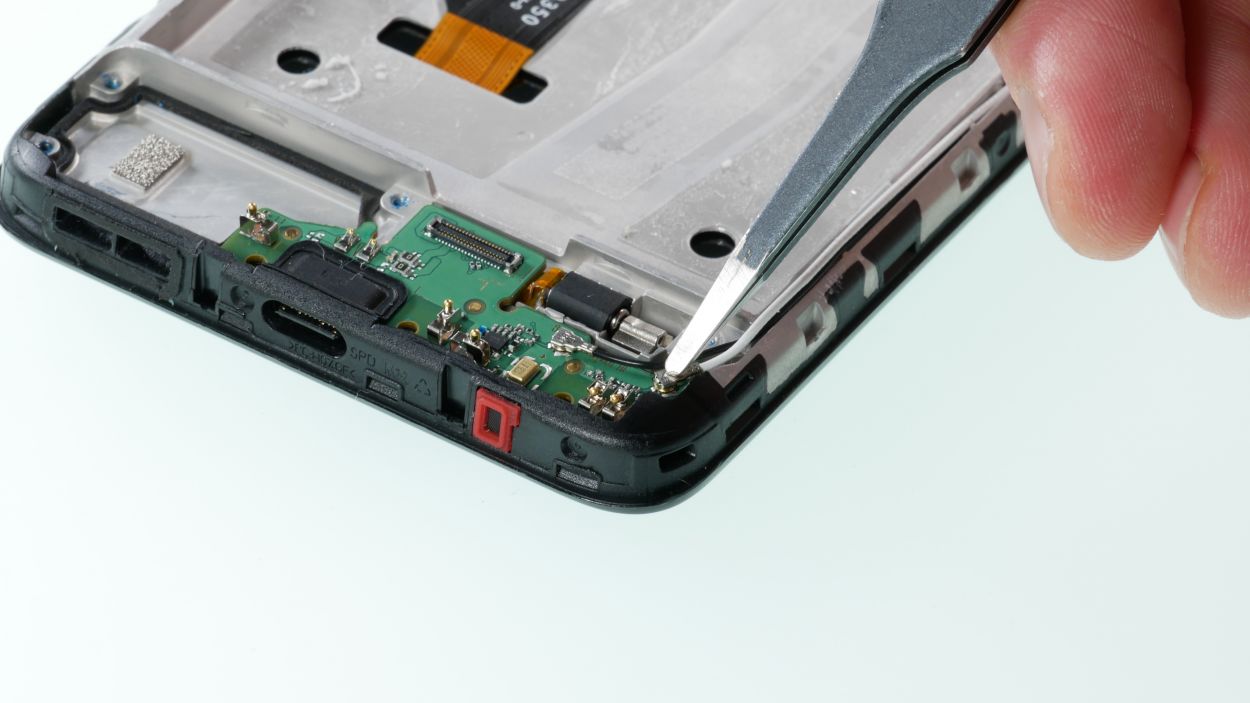
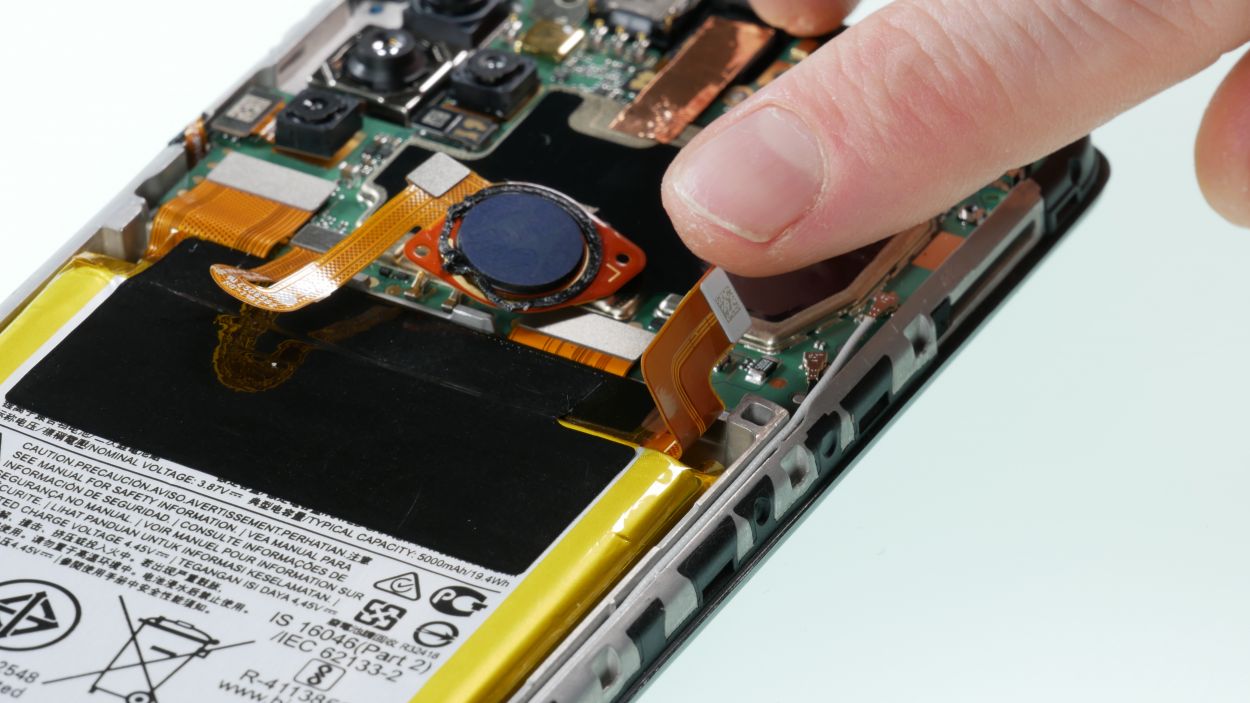
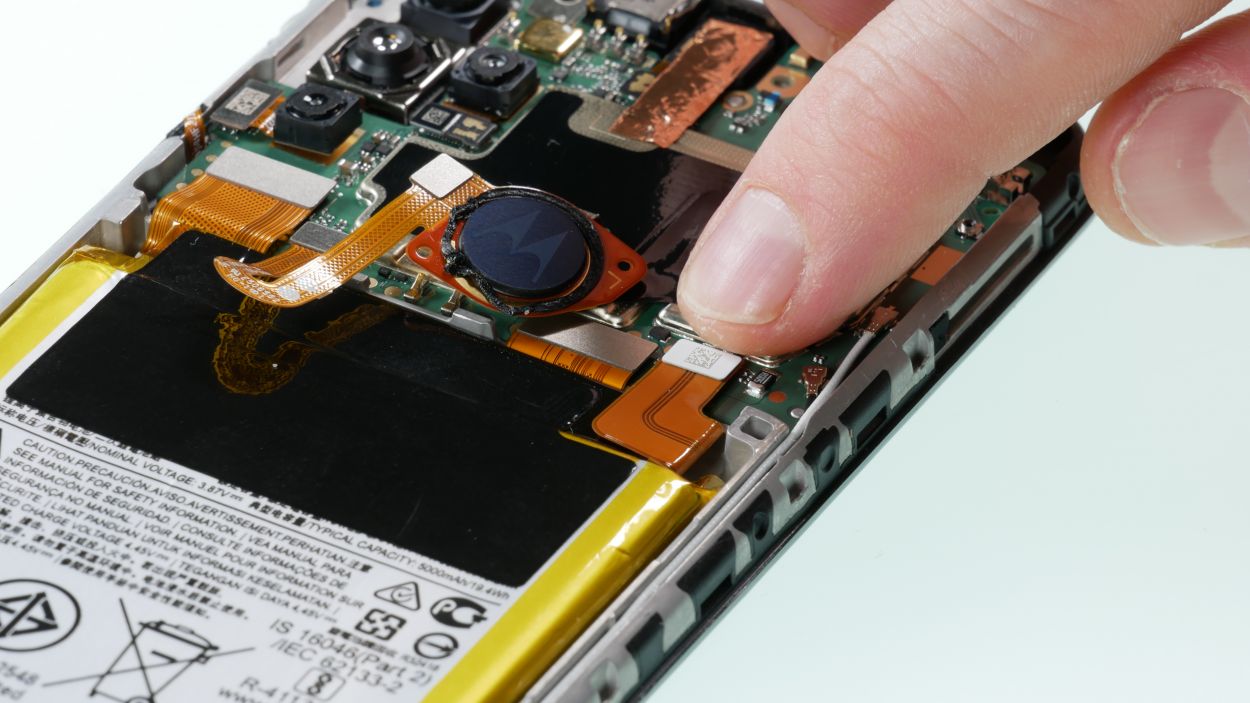
Step 11
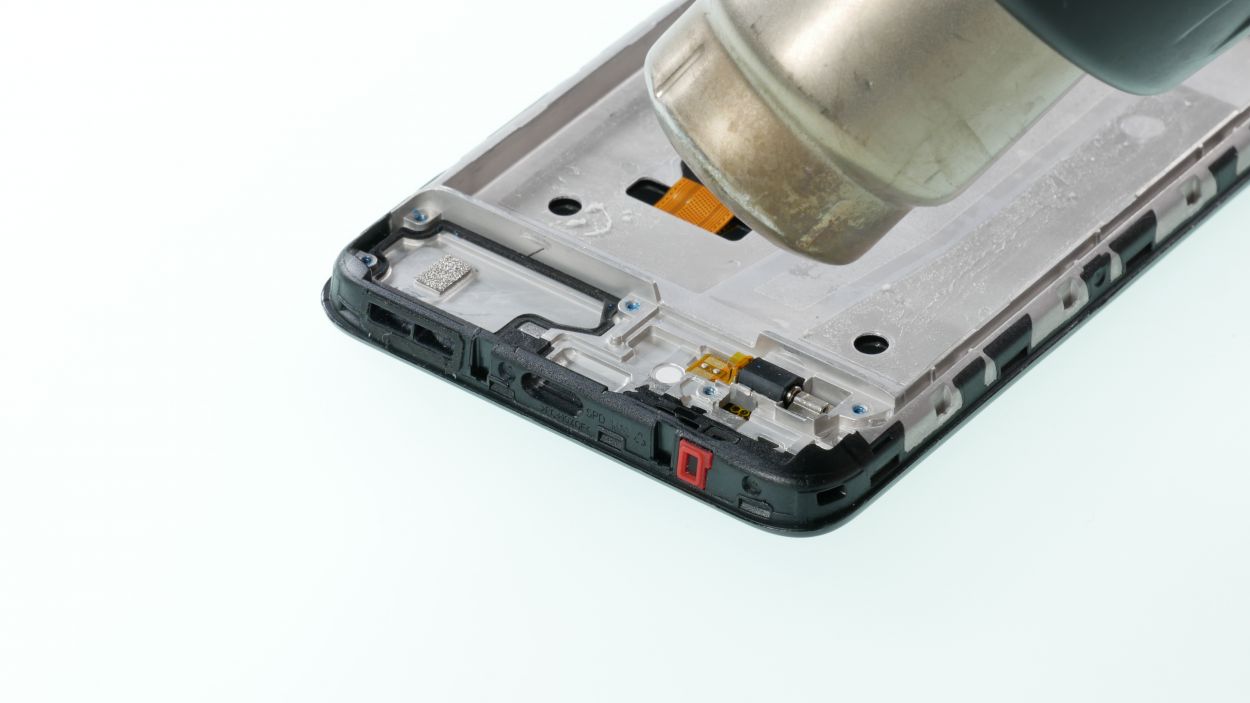

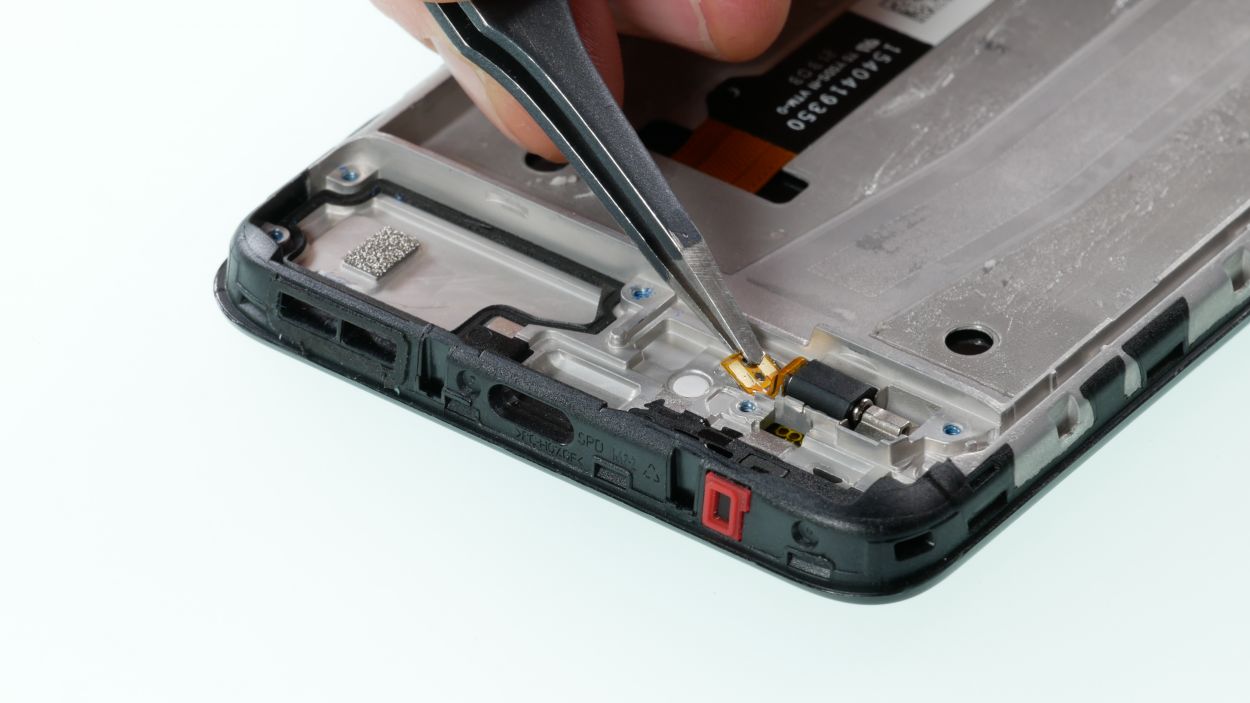
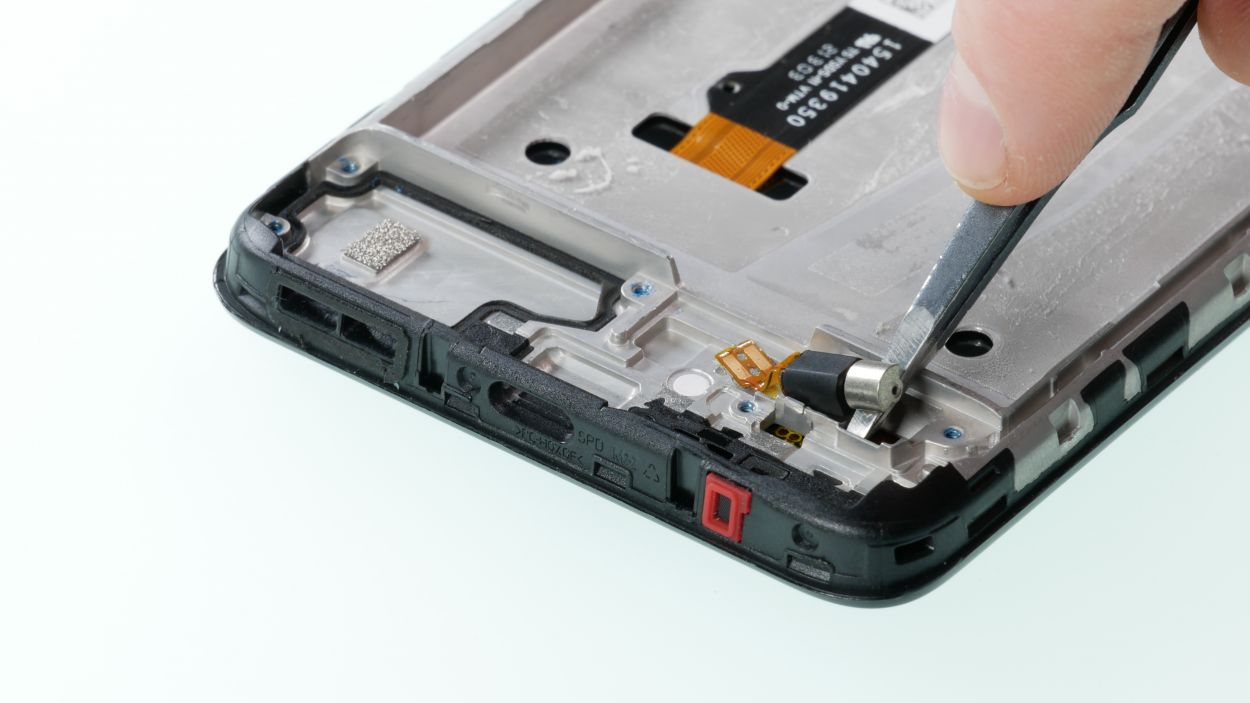
– The vibration motor is a bit stuck thanks to some glue. Give it a warm-up with a little hot air to help it loosen up.
– Once it’s feeling a bit more relaxed, you can gently pry the vibration motor lever out using tweezers at the designated notch.
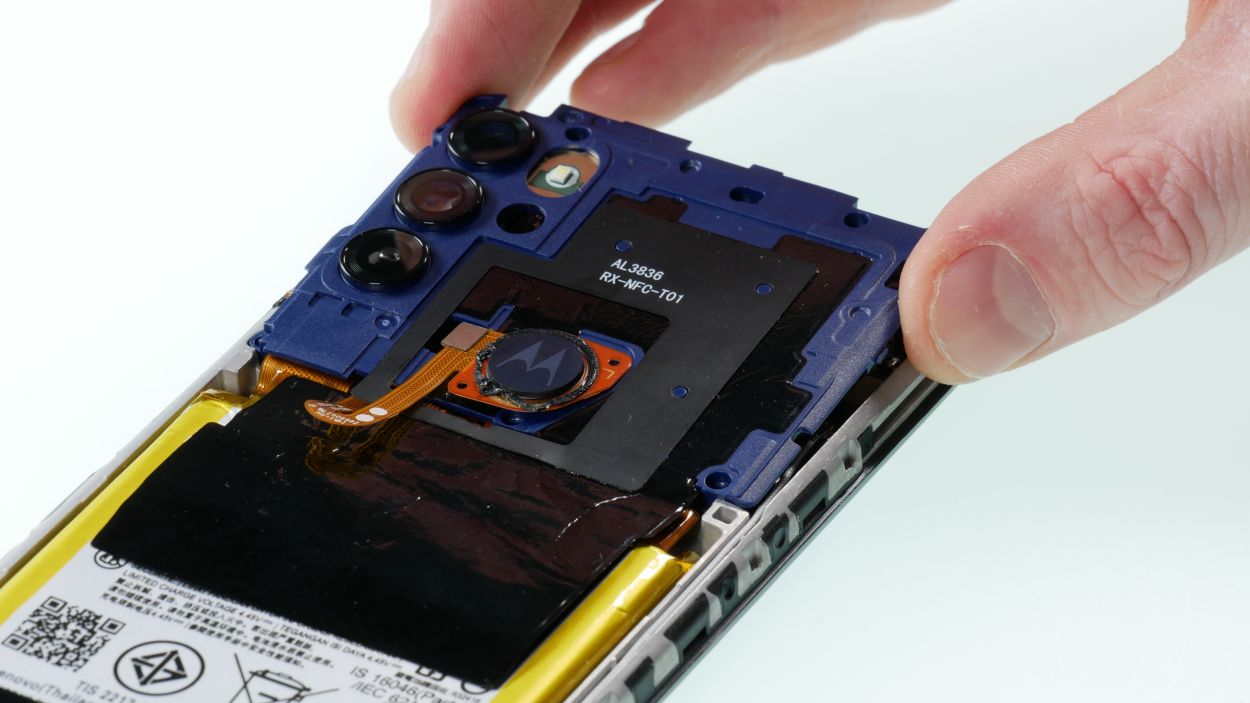
Step 12
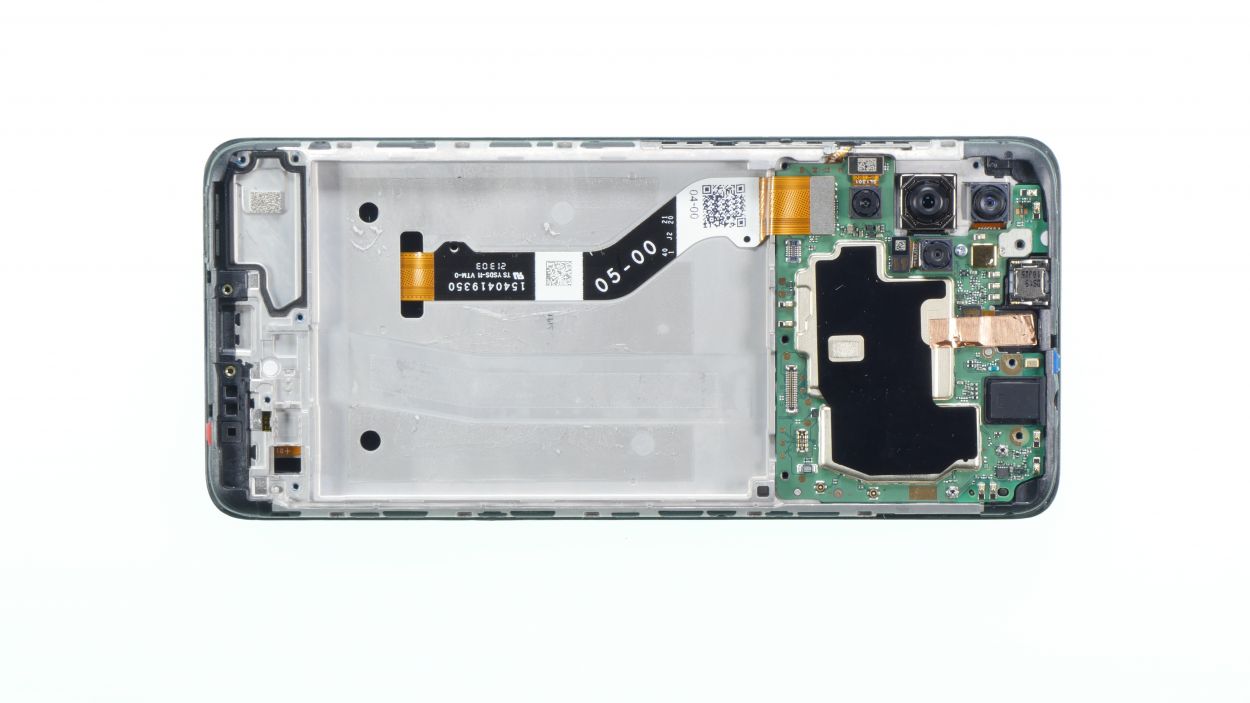

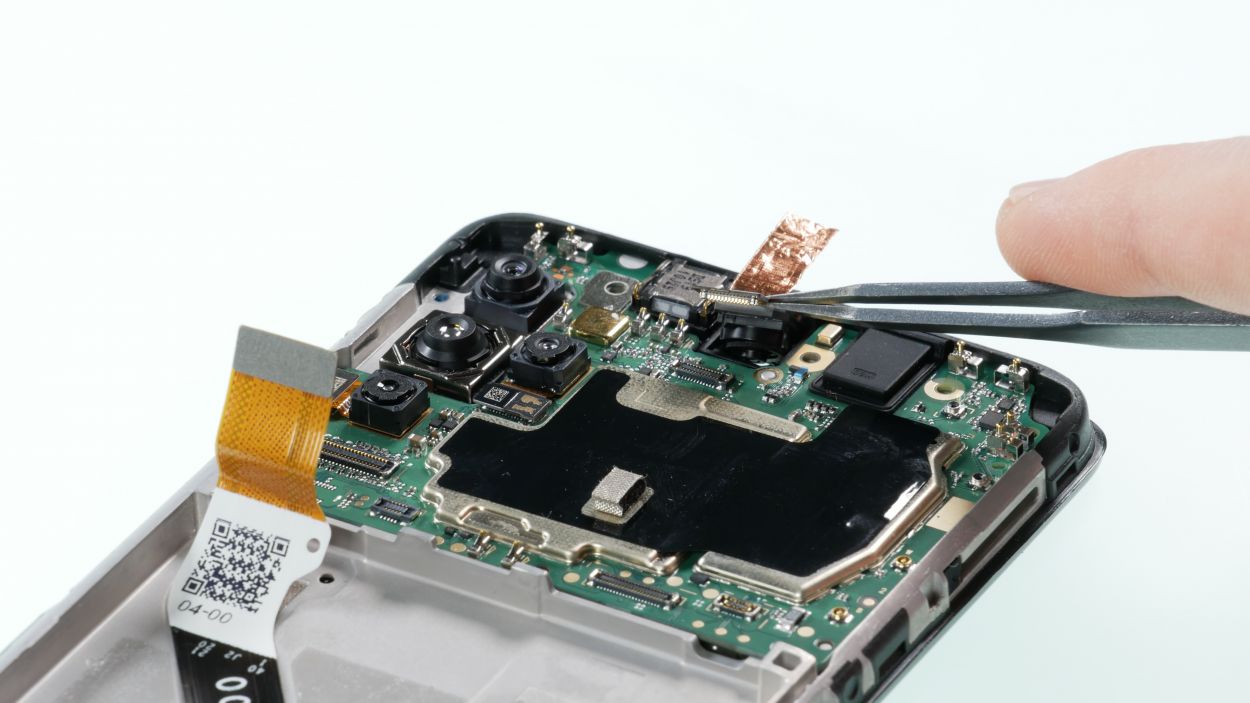
Front Camera Connector
– Gently peel away the heat protection foil from the front camera using a pair of tweezers. It’s like unwrapping a little gift!
– Next, loosen the connector and carefully remove the front camera. You’re doing great!
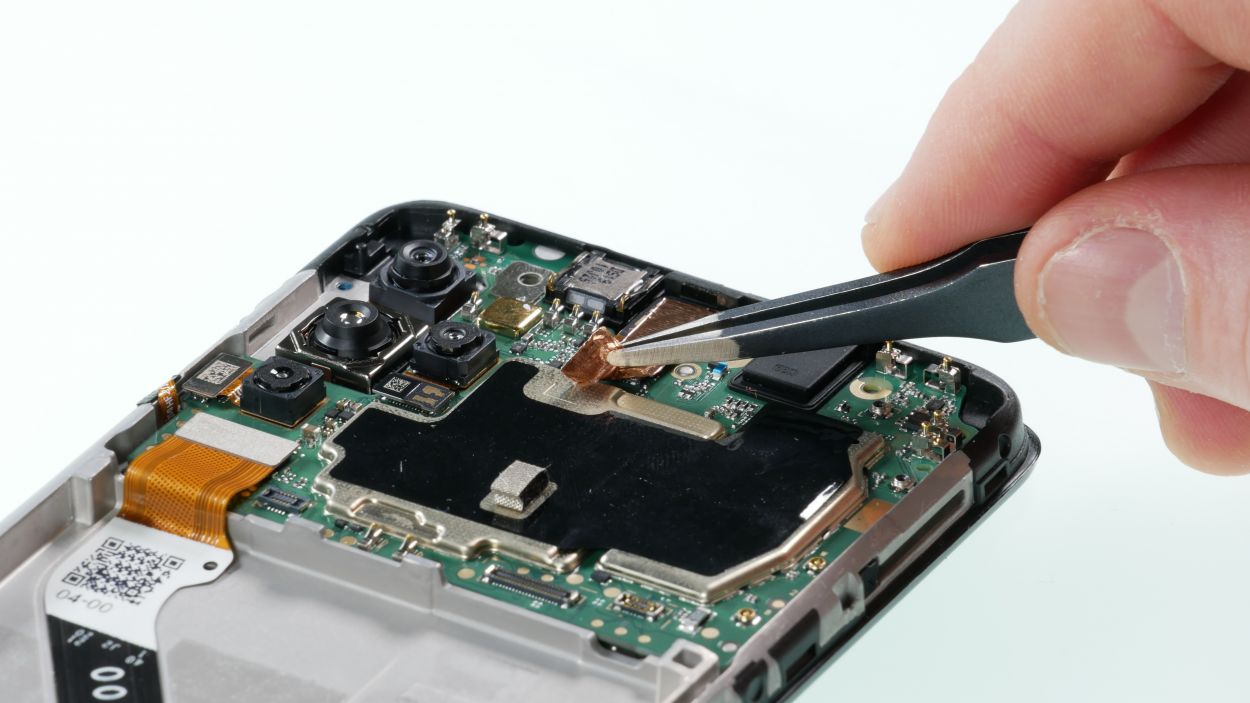
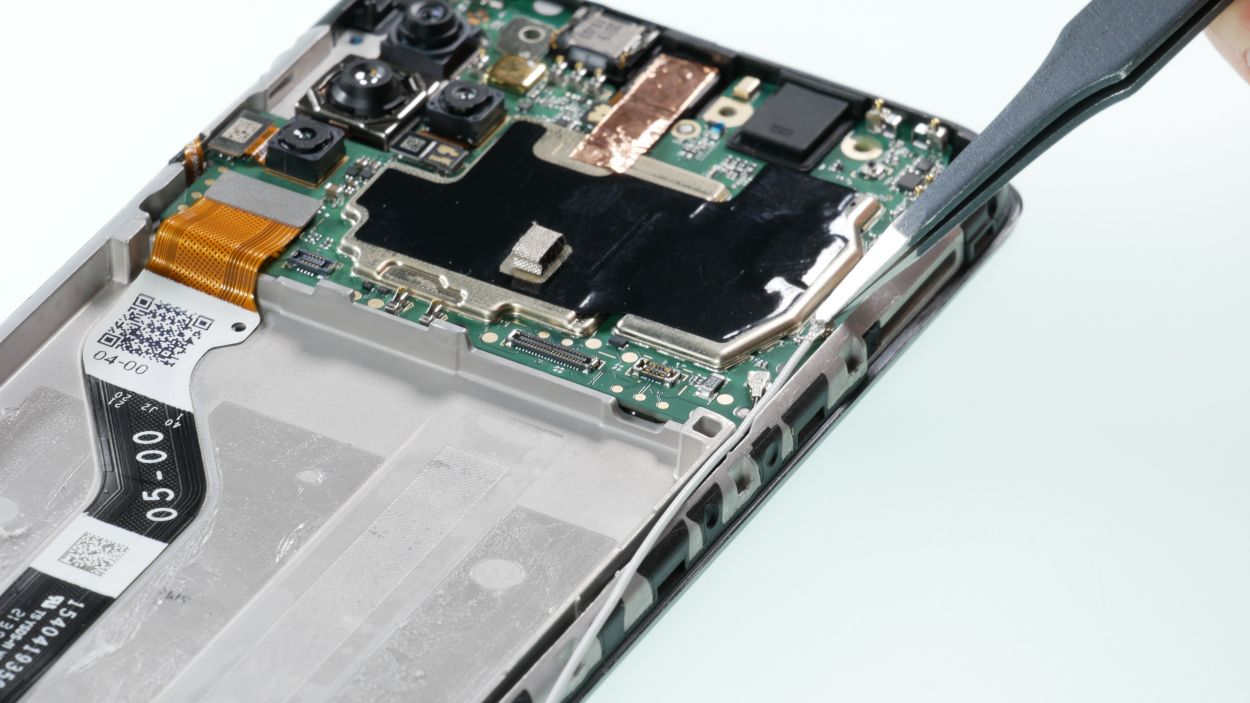
Step 14

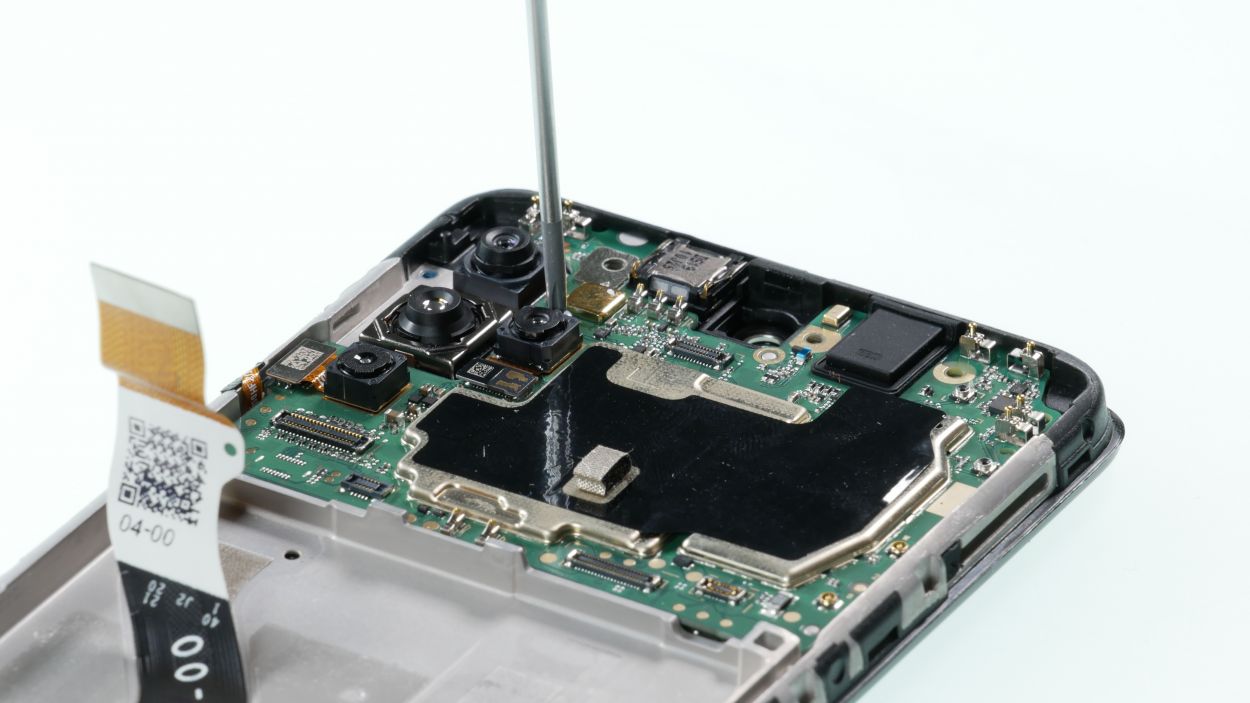
1 × 2,6 mm Phillips
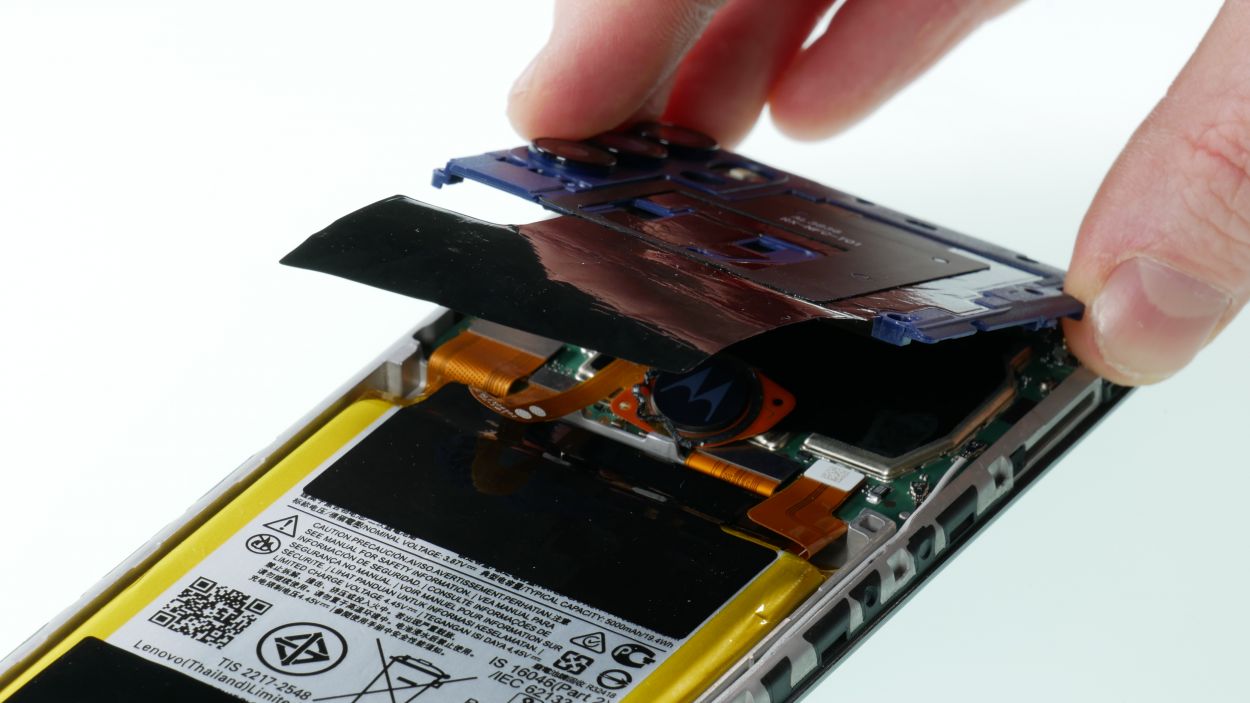
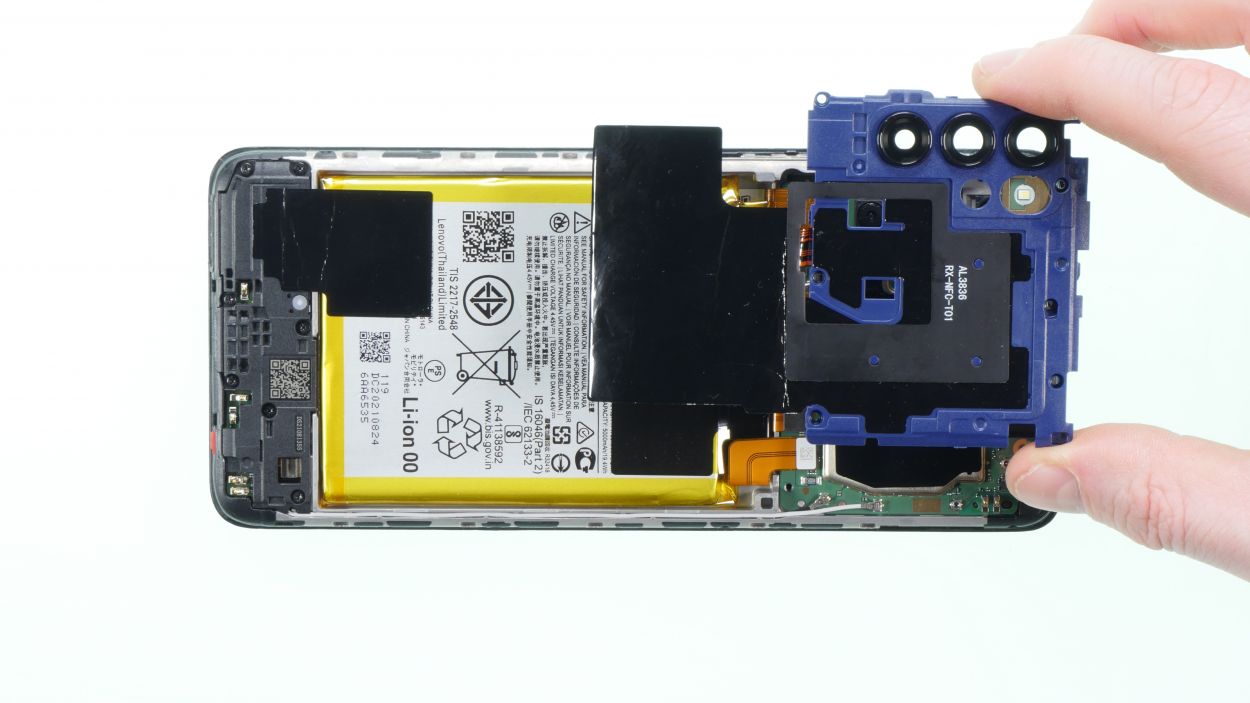
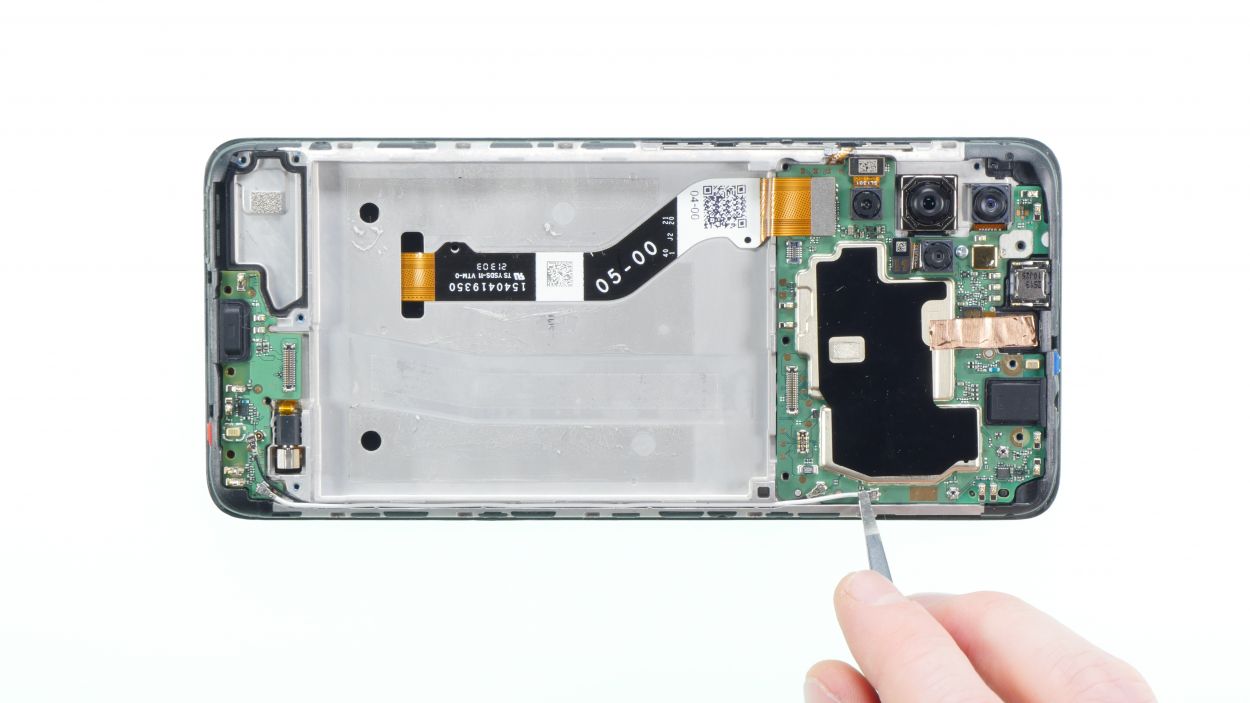
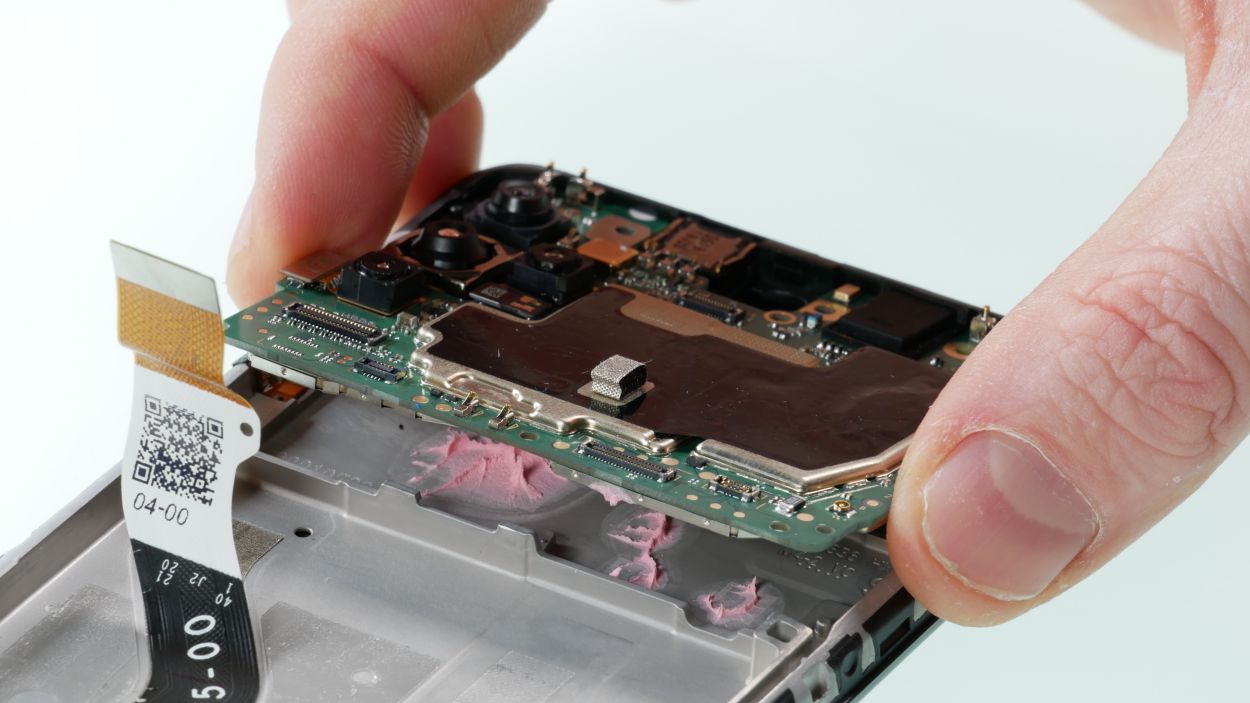
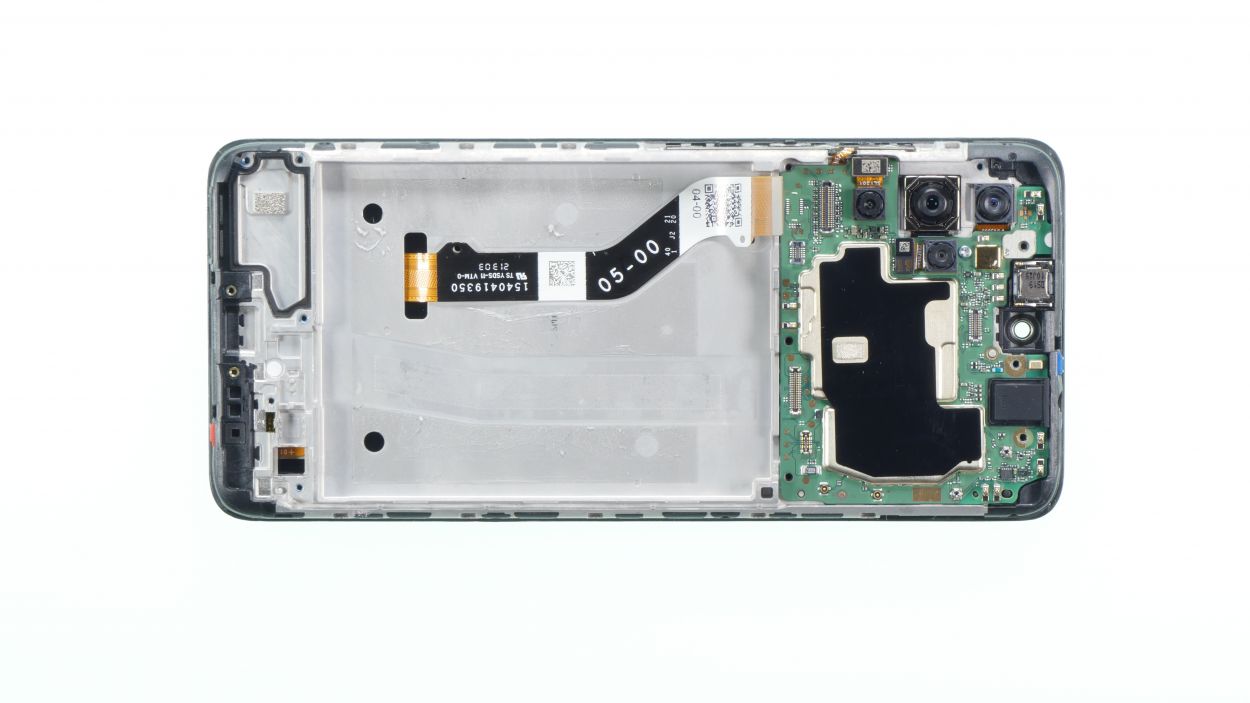
– First up, we’ve got a single screw holding down the mainboard. Grab your trusty screwdriver and give it a twist to remove it.
– Next, gently coax the mainboard loose with your Spudger. Take your time; it’s all about finesse!
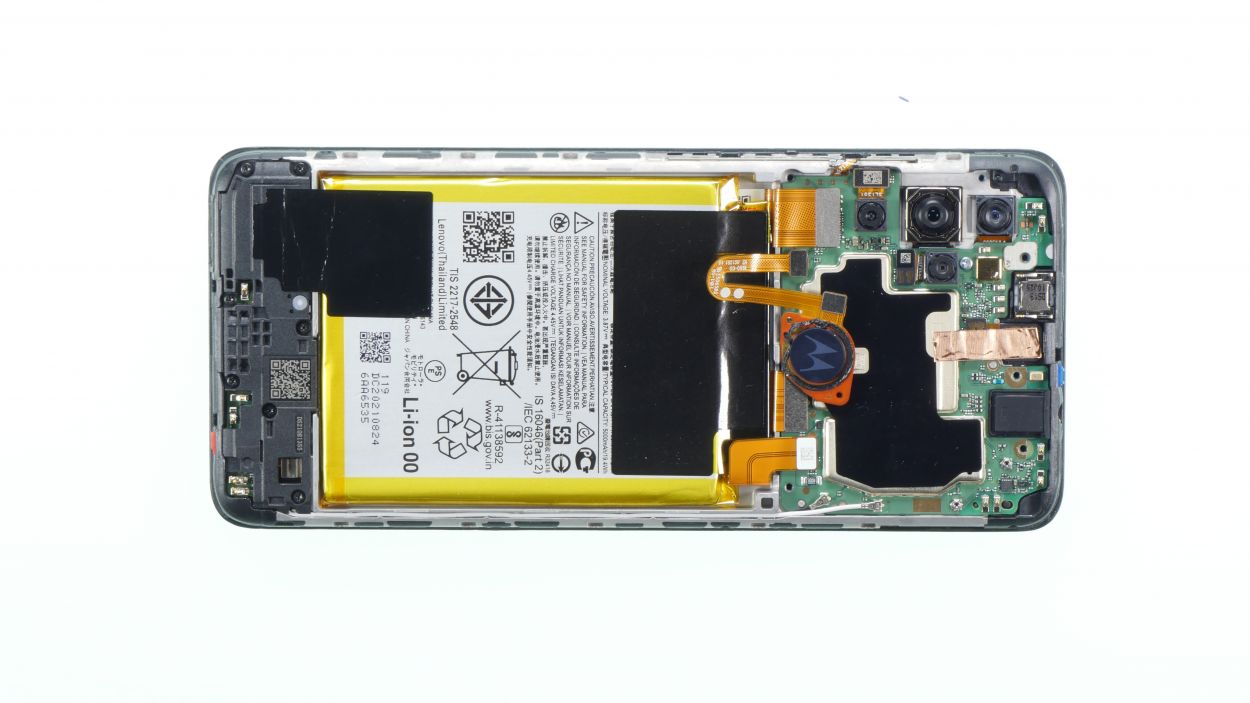
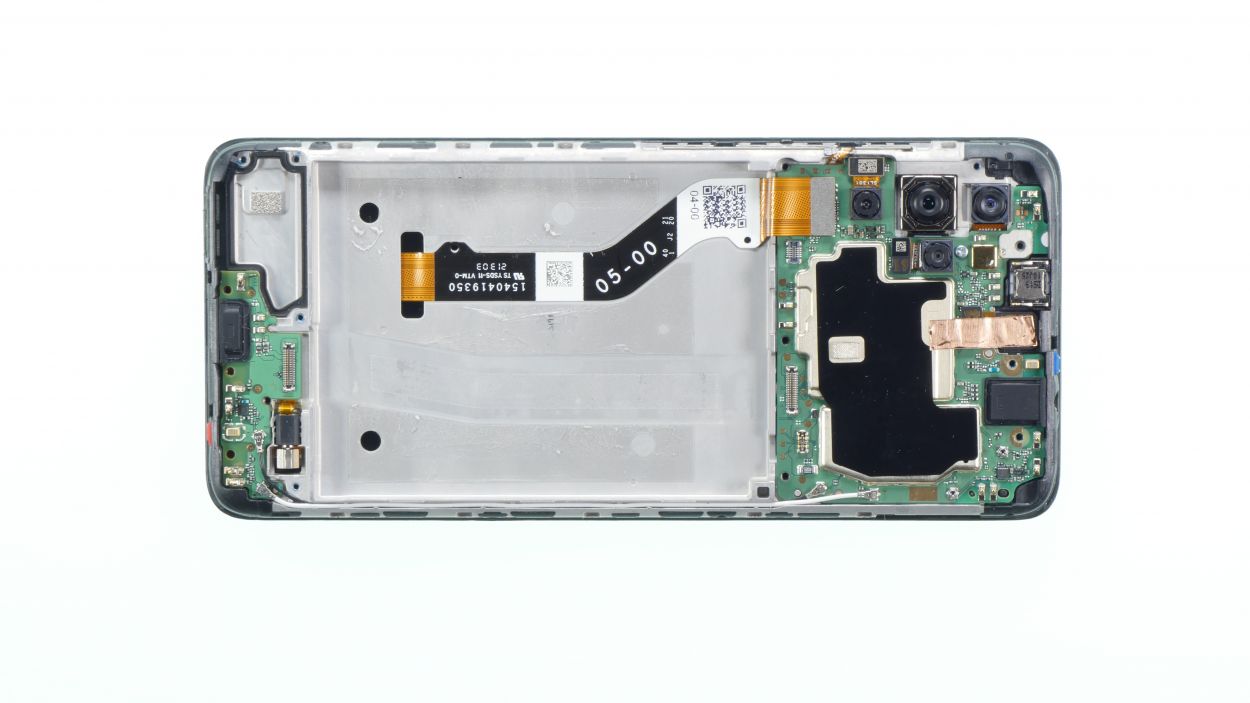
– Once that’s done, feel free to lift out the mainboard and set it aside. You’re doing great!
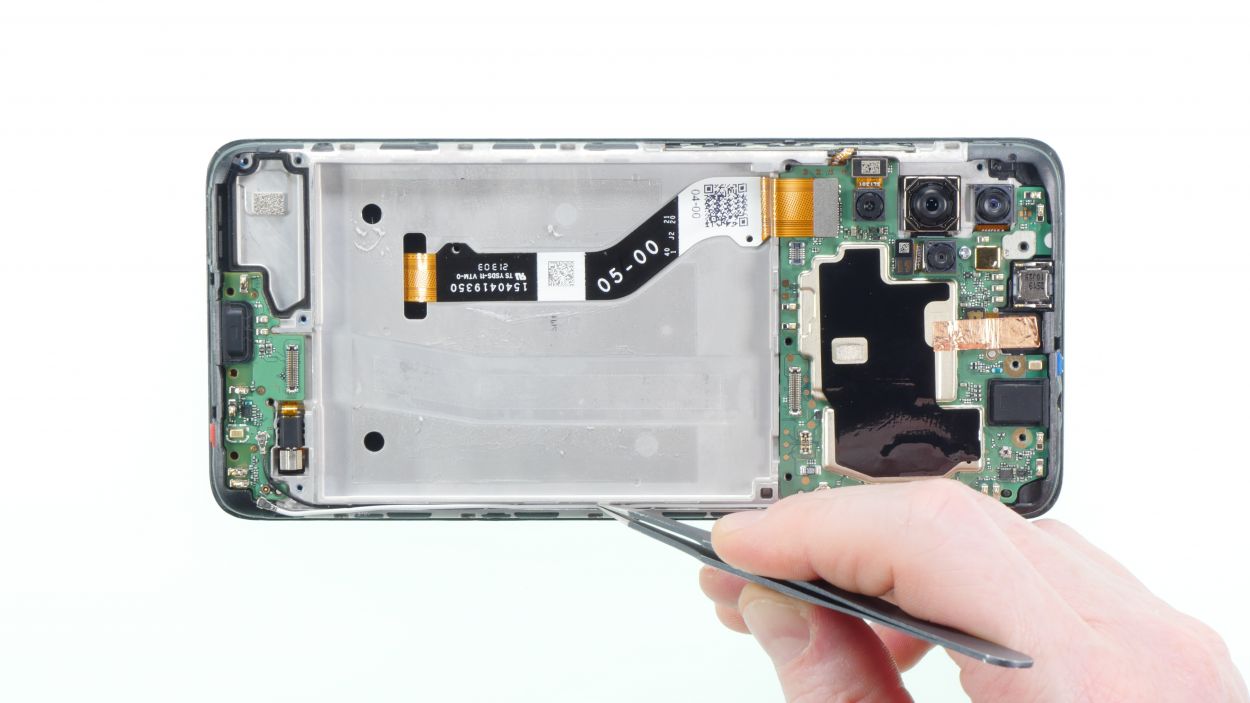
Step 15
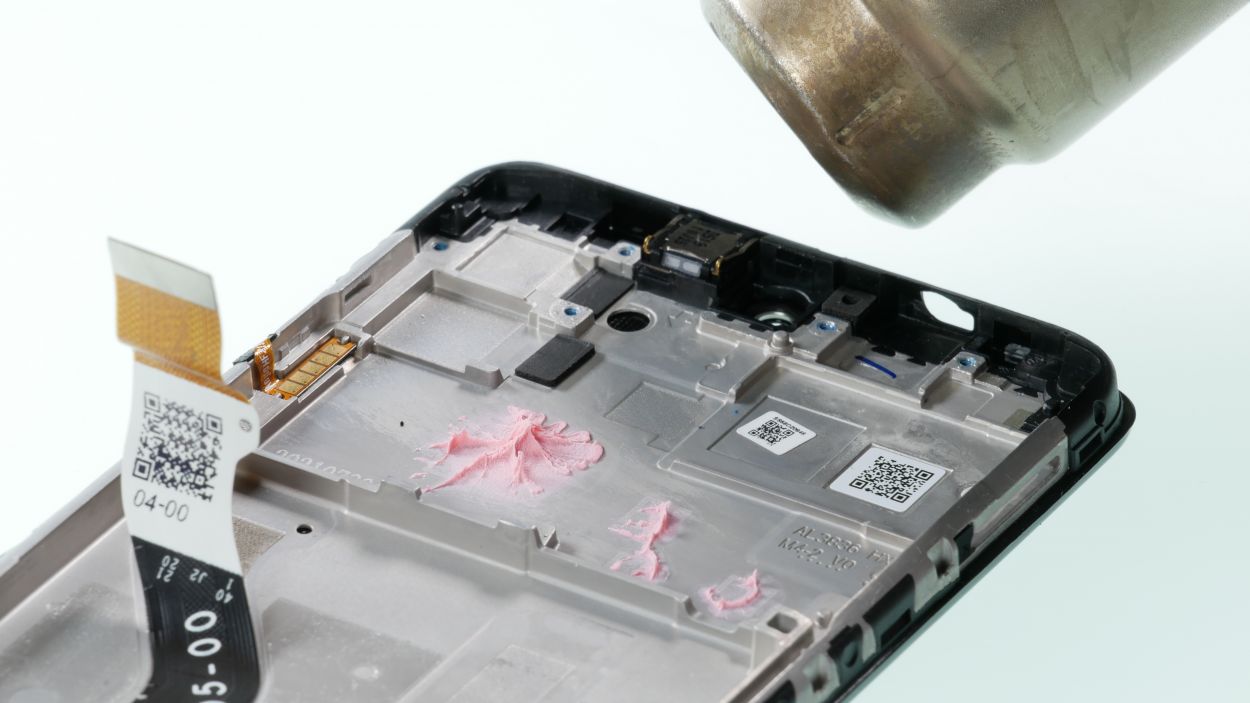
– First, give that earcup a cozy warm-up with your hot air tool. It’s like a spa day for your gadget!
– Once it’s feeling nice and toasty, gently grab your tweezers and pull it off. You’ve got this!
Step 16
– Warm up the volume and standby cable gently, then grab those tweezers and carefully pull it out. You’ve got this!
Step 17
– Oops! Looks like we jumped the gun a bit. First things first, let’s take a moment to inspect that shiny new display for any signs of damage.
– Once you’ve given it the all-clear, go ahead and peel off those protective films from the inside. They’re just there to keep it safe until it’s time to shine!
Tools Used
Step 18
– Reconnect the volume and standby cable to the new display in its proper spot. Give it a gentle press with your hand to secure it in place.


Step 21
Front Camera Connector
Screen Connector
– First up, pop that front camera back in and make sure it’s snugly connected to the connector.
– Next, let’s get that heat shield into position—it’s time to shield the heat like a pro!
– Finally, connect the display connector to wrap things up nicely.
Step 22
– Now reinsert the vibration motor. Make sure it is positioned correctly and then carefully press it in place.
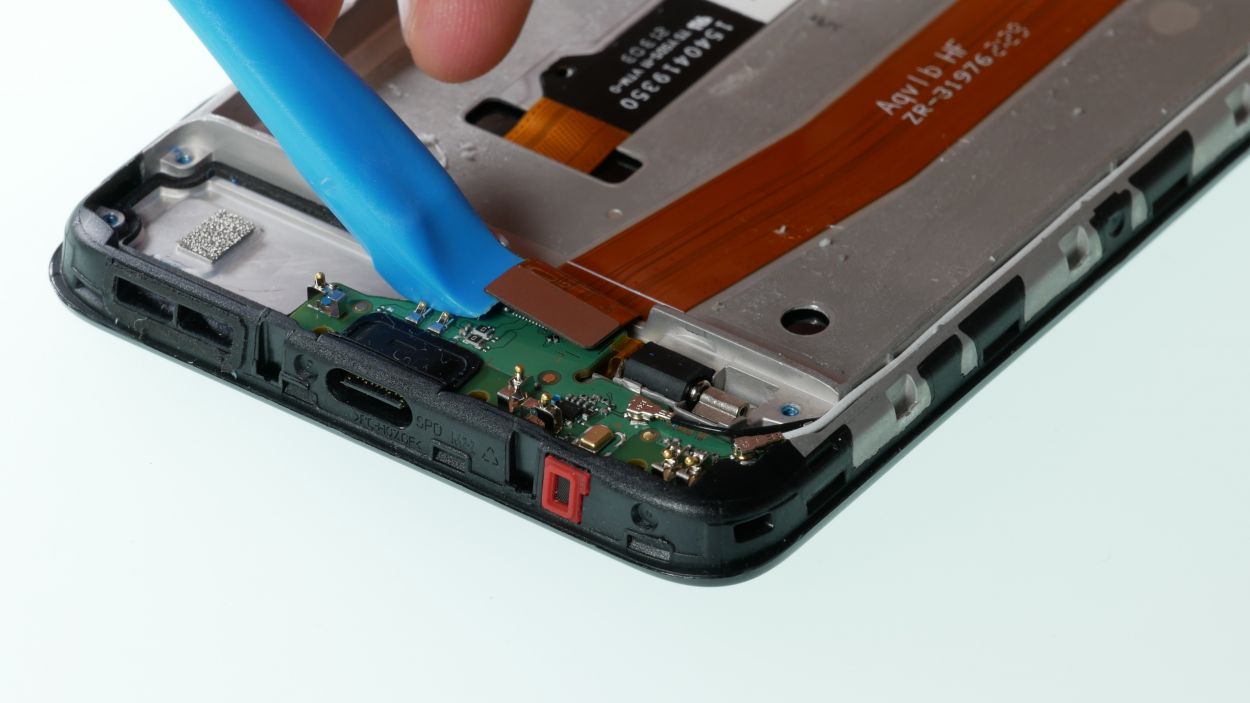
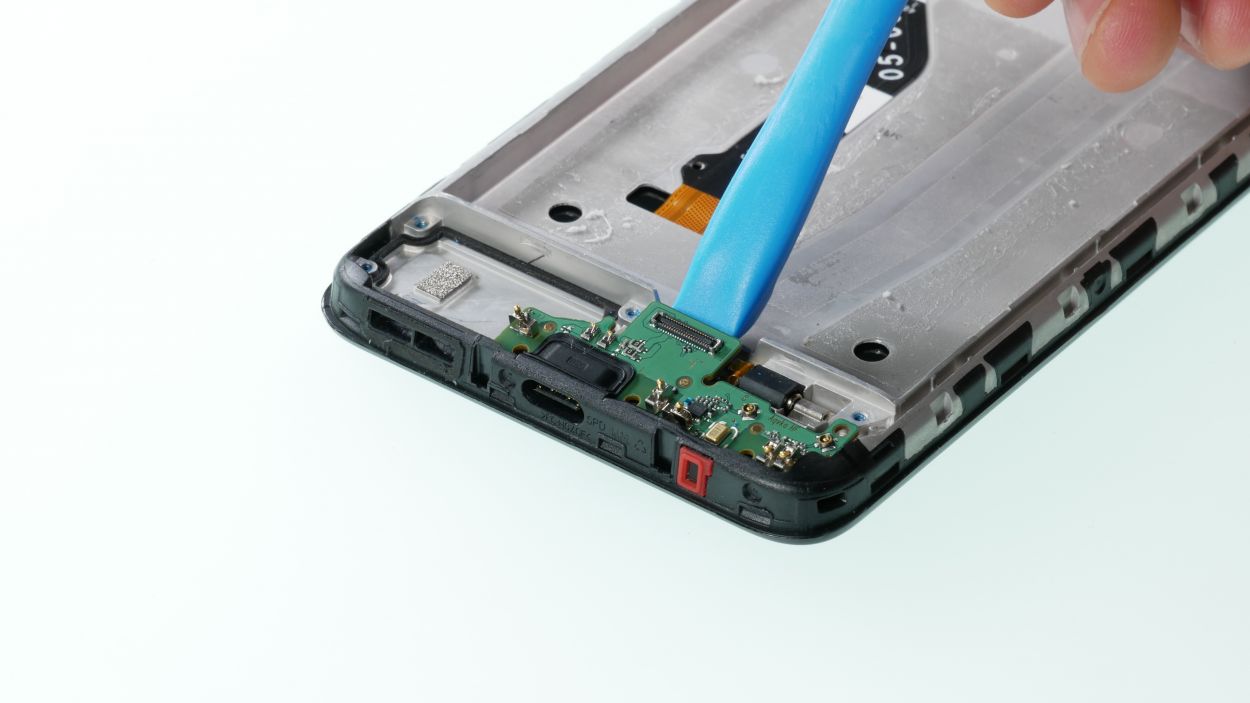
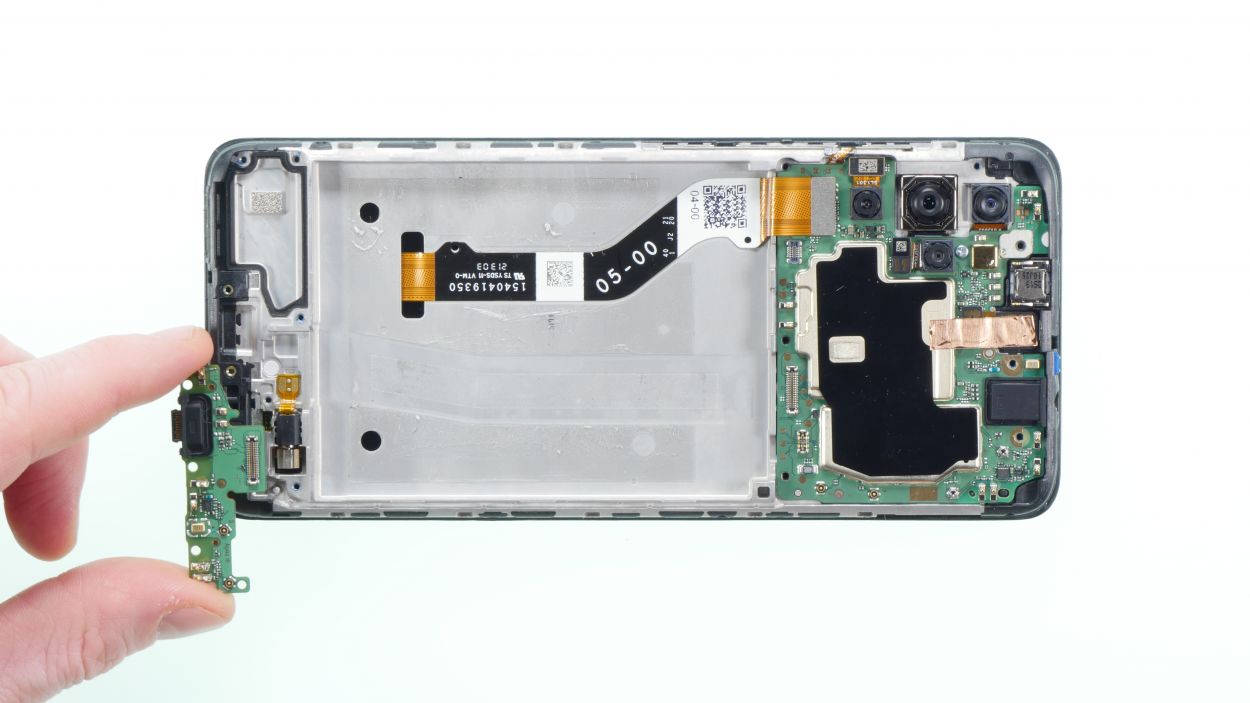
Step 23

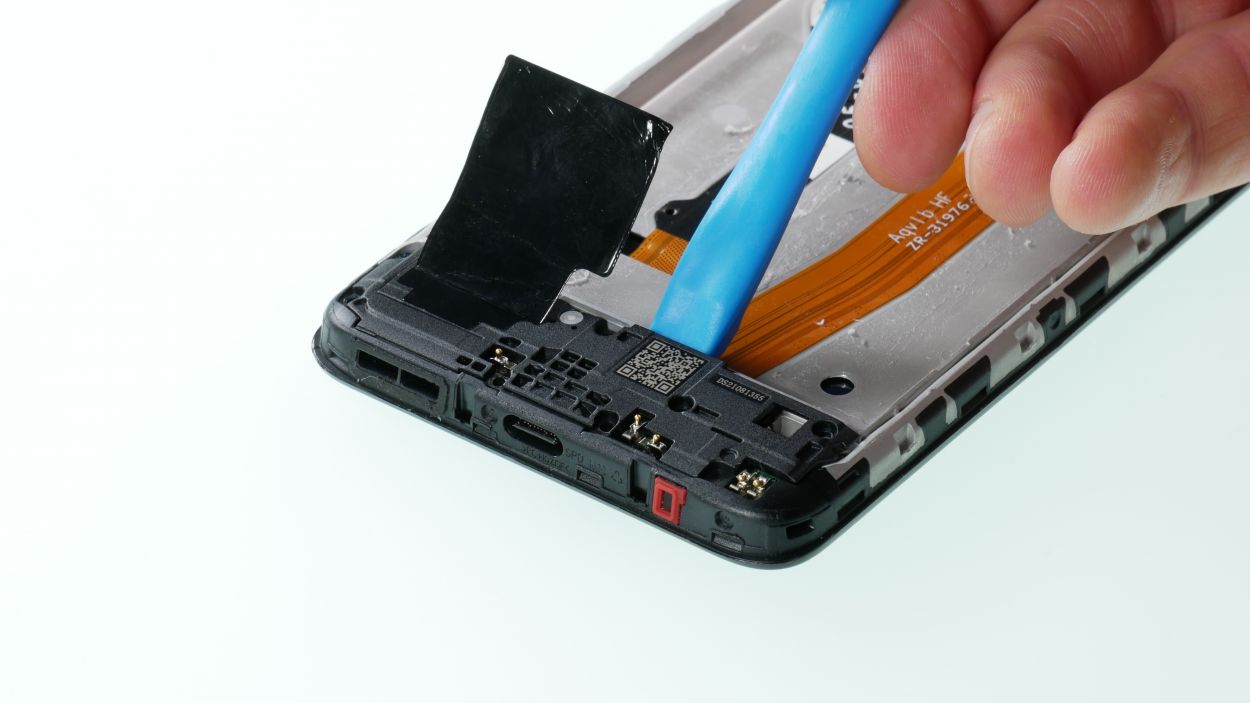
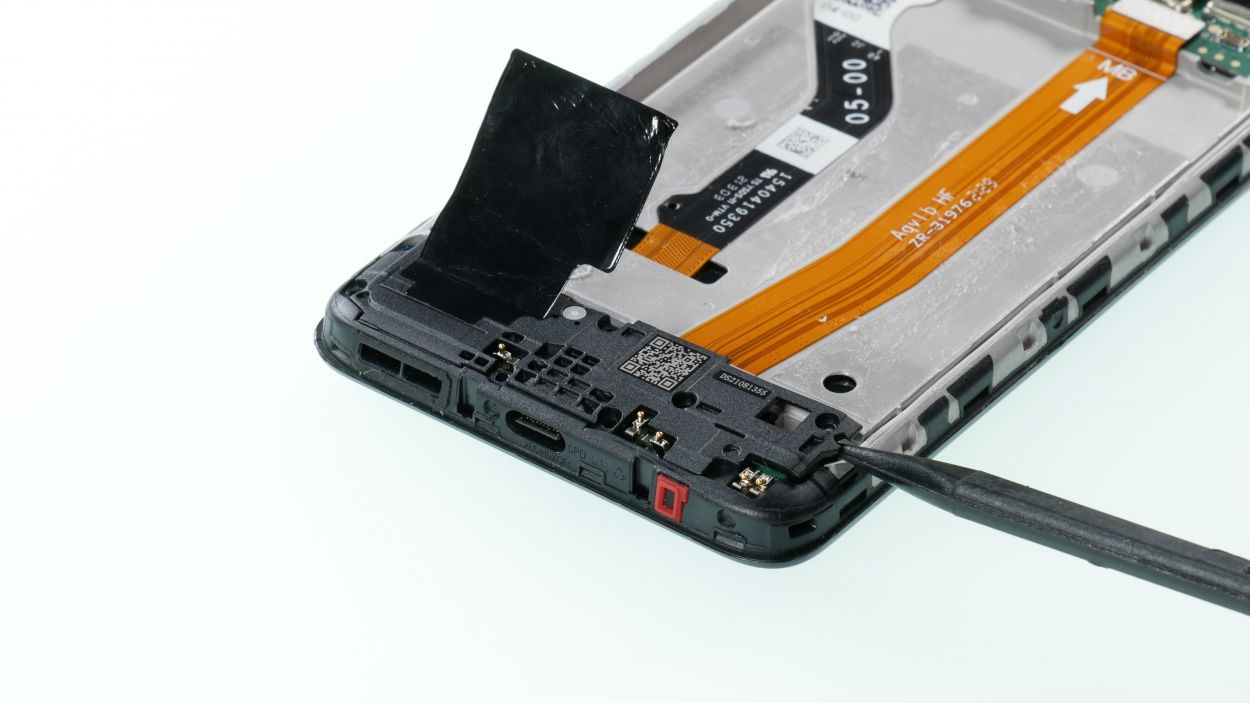
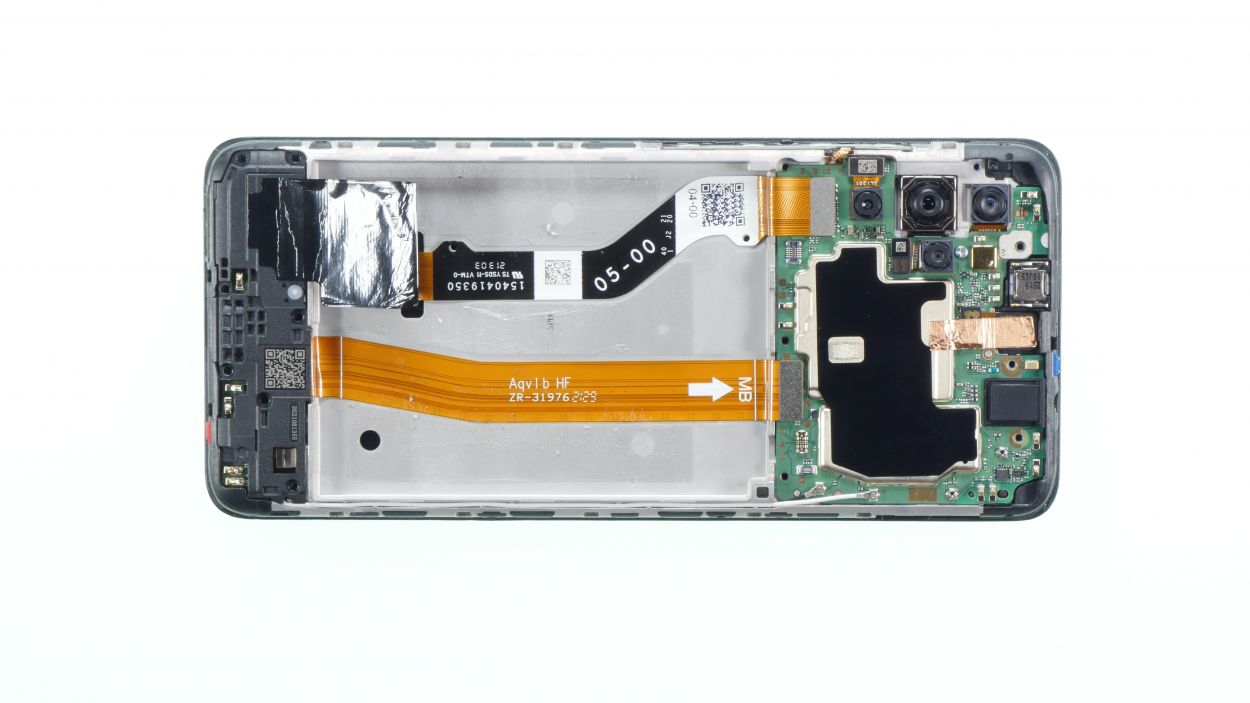
– Pop that USB board back in its cozy spot!
Step 24


Antenna Connector
– First, pop that black cable back into its cozy little guide and connect those two matching connectors.
– Next up, do the same dance with the white antenna cable!
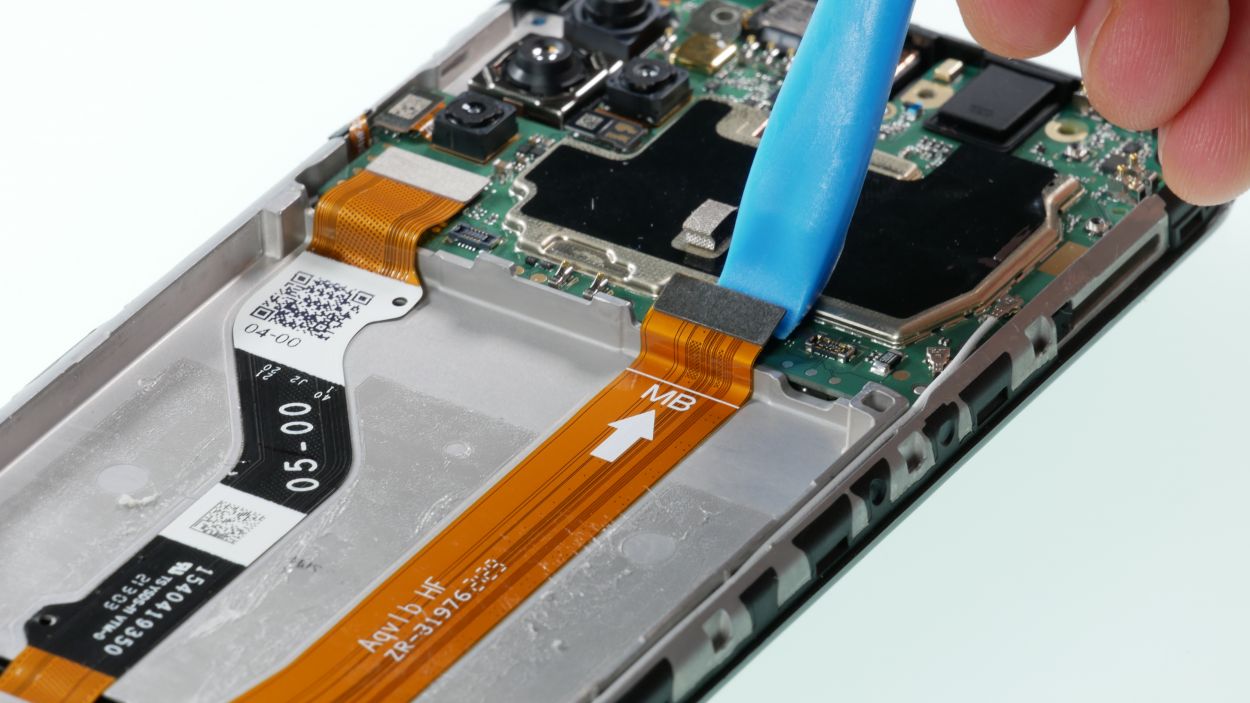
Step 25


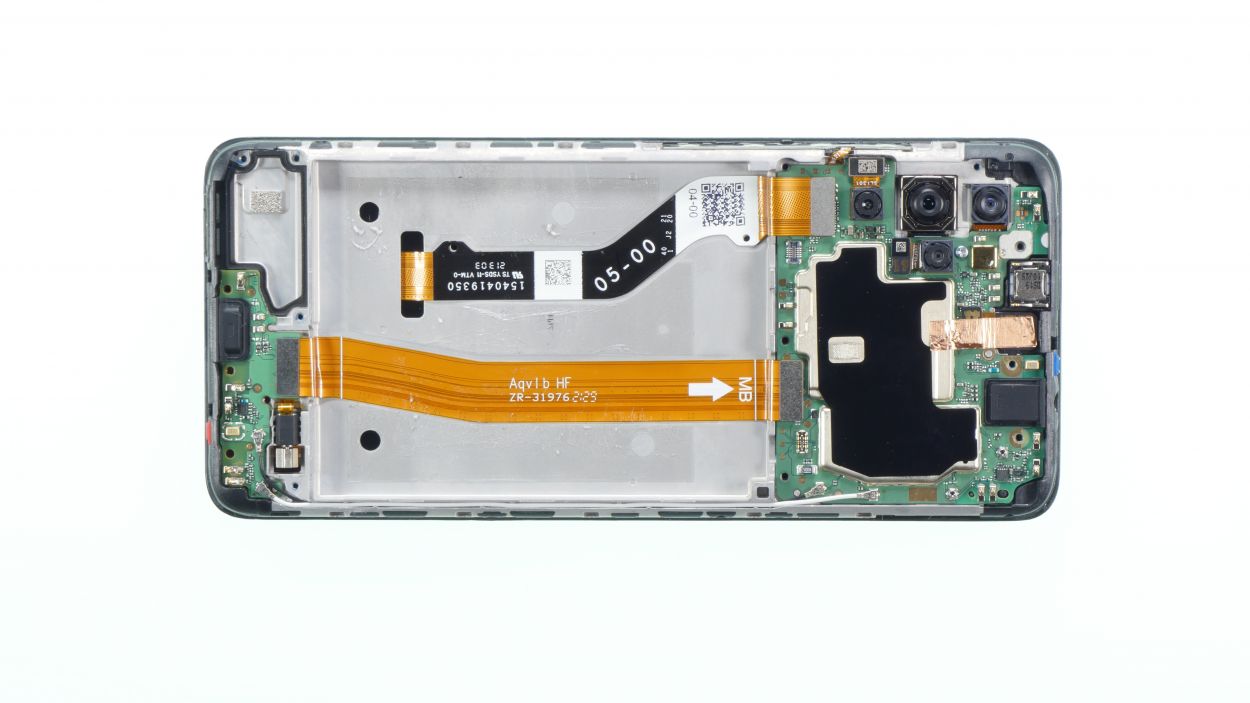
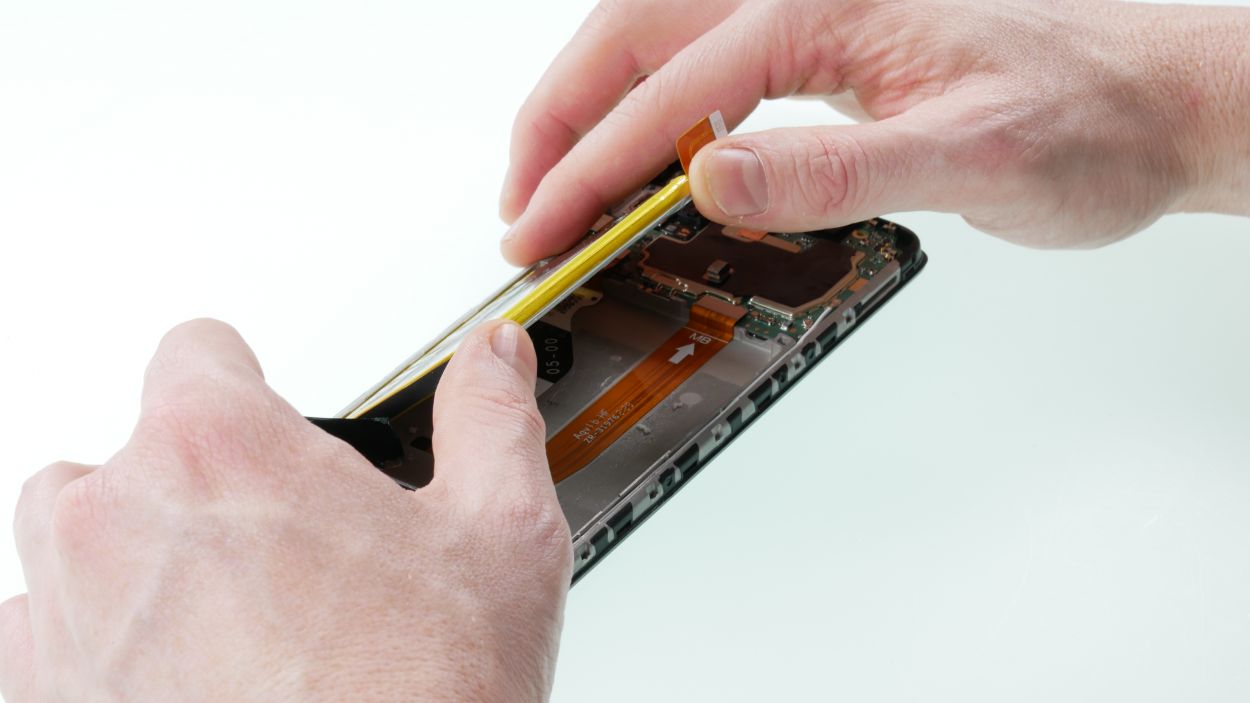
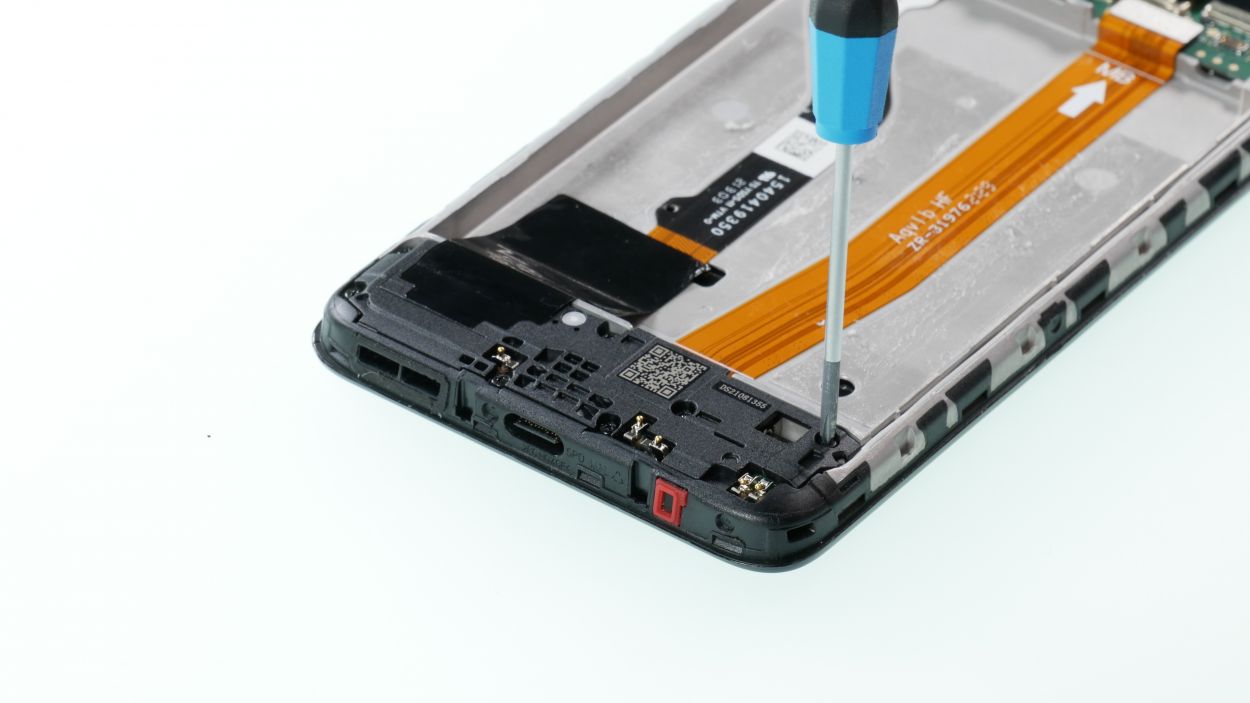
Make sure the cable is laid out nice and flat, like a pancake on a Sunday morning. No twists or turns, just smooth sailing!
– Plug that connection cable back into the two connectors, making sure the arrow pointing to ‘MB’ is aimed at the mainboard. You’re doing great!
– Next up, give that ribbon cable a nice, firm press onto the display. It’s all about making that solid connection!
Step 26
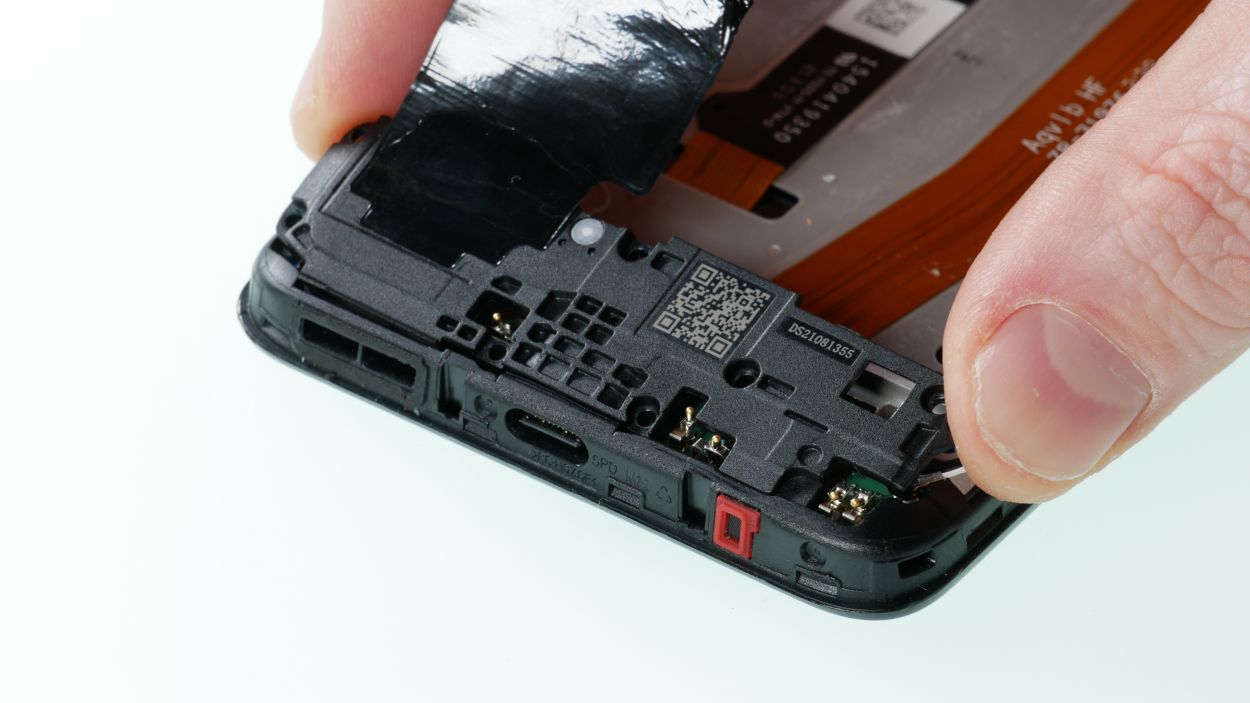

7 × 3,7 mm Phillips
– Pop that speaker in and give it a good press until you hear that satisfying click! It’s like a high-five for your device.
– Now, grab your trusty Phillips screwdriver and secure those seven screws. You’re almost there!
Step 28

Battery Connector
Fingerprint Sensor Connector
– First up, let’s get that fingerprint sensor back in action! Just make sure the connector clicks snugly into place.
– Next, it’s time to connect the battery connector. You’re doing great!
Step 29
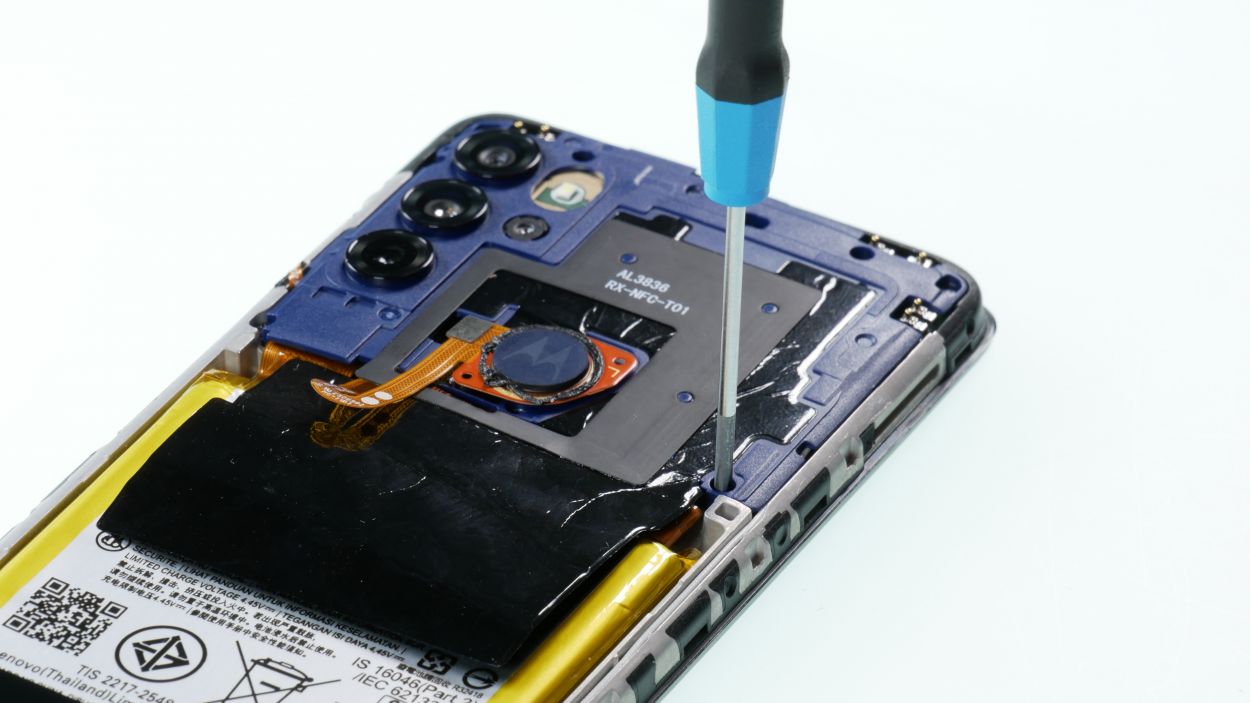
7 × 3,7 mm Phillips
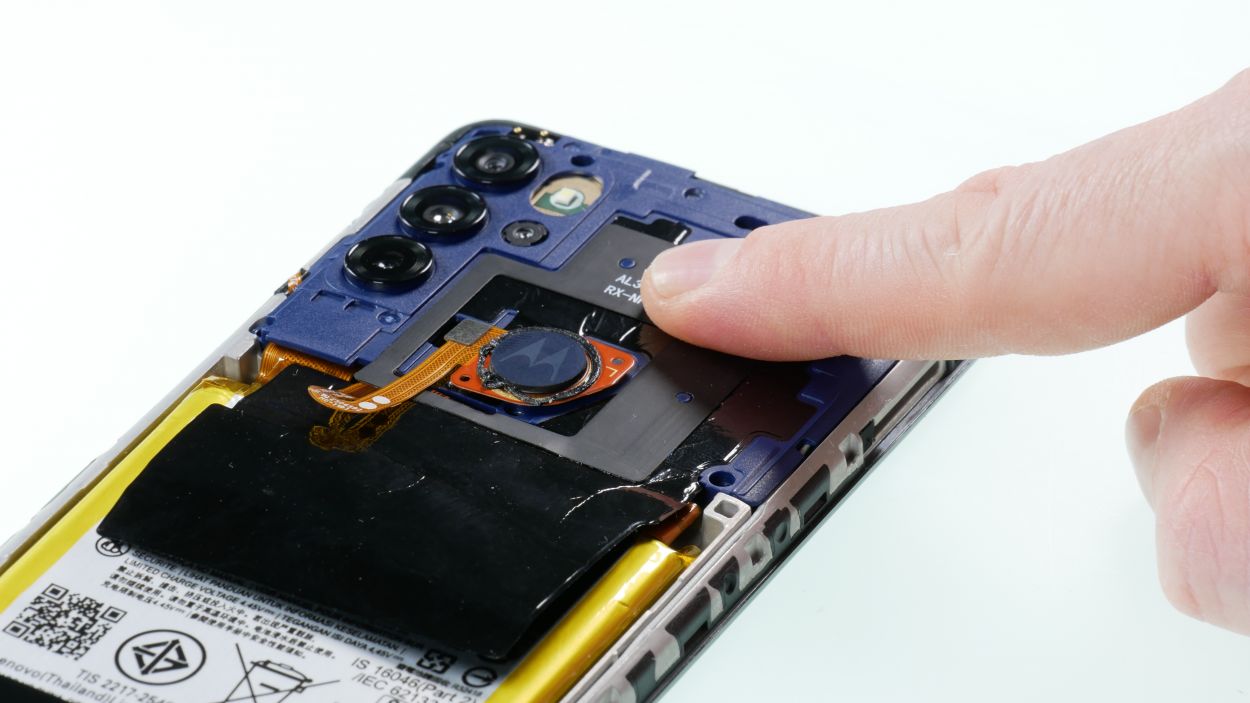
– Gently lay the board cover onto the mainboard, making sure the fingerprint sensor is in its rightful spot—right on top of the cover! It’s like a cozy little home for it.
– Once everything looks good and snug, grab those screws and fasten the cover down. You’ve got this!
Step 30
– Be sure to test all the functions before sealing the deal on your device. It’s like giving it a final check-up to make sure everything’s running smoothly!
Step 31

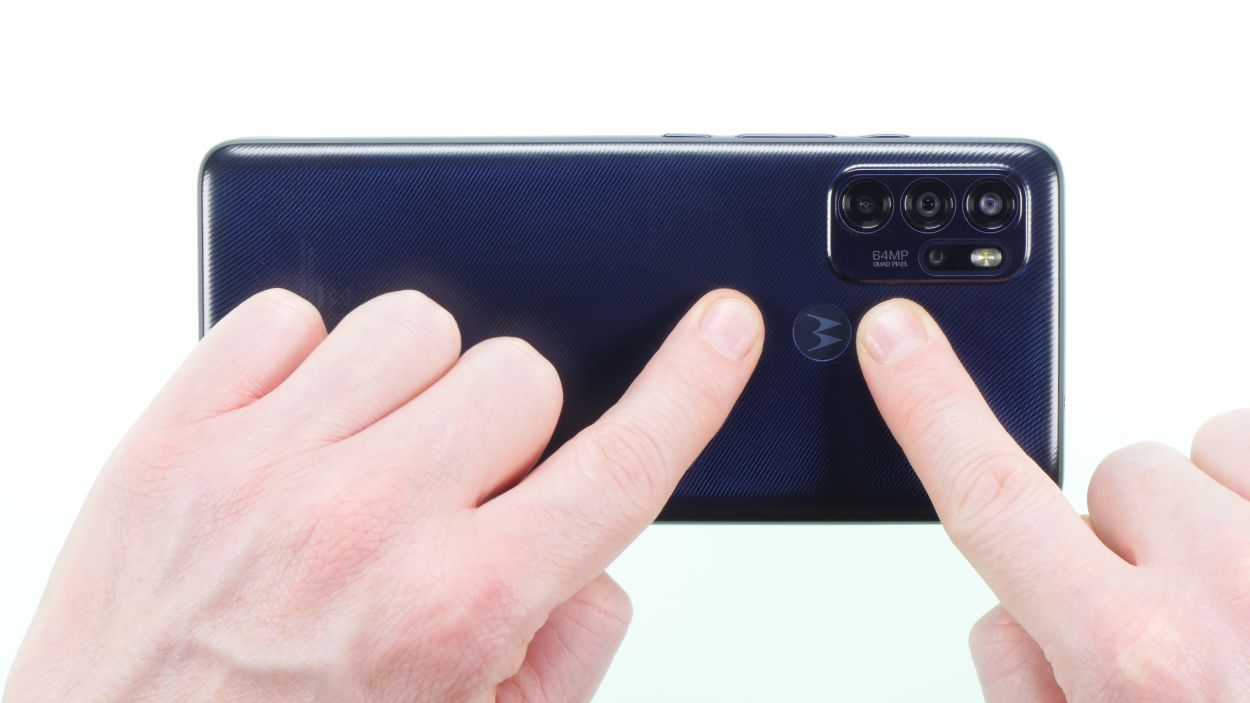
– Once everything is functioning smoothly, it’s time to pop that back cover on! Just make sure the fingerprint sensor sits perfectly in the middle of its cozy little spot on the back cover.
– Next up, give that back cover a good press all around until you hear that satisfying click. It’s like a little high-five for your device!
– And don’t forget to give a gentle press around the fingerprint sensor area again, just to ensure it’s snug as a bug!
Step 32
– And now, the moment of truth! Just pop that sim card and SD card holder back in place, and you’re all set!