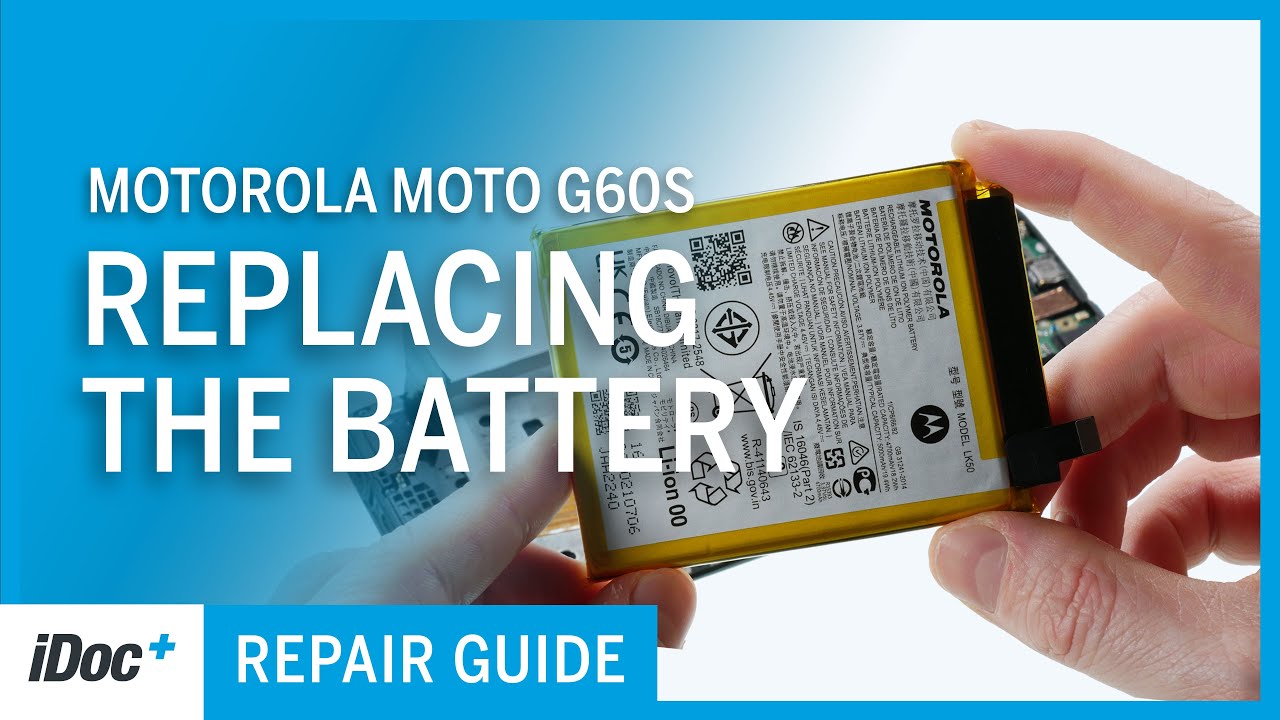
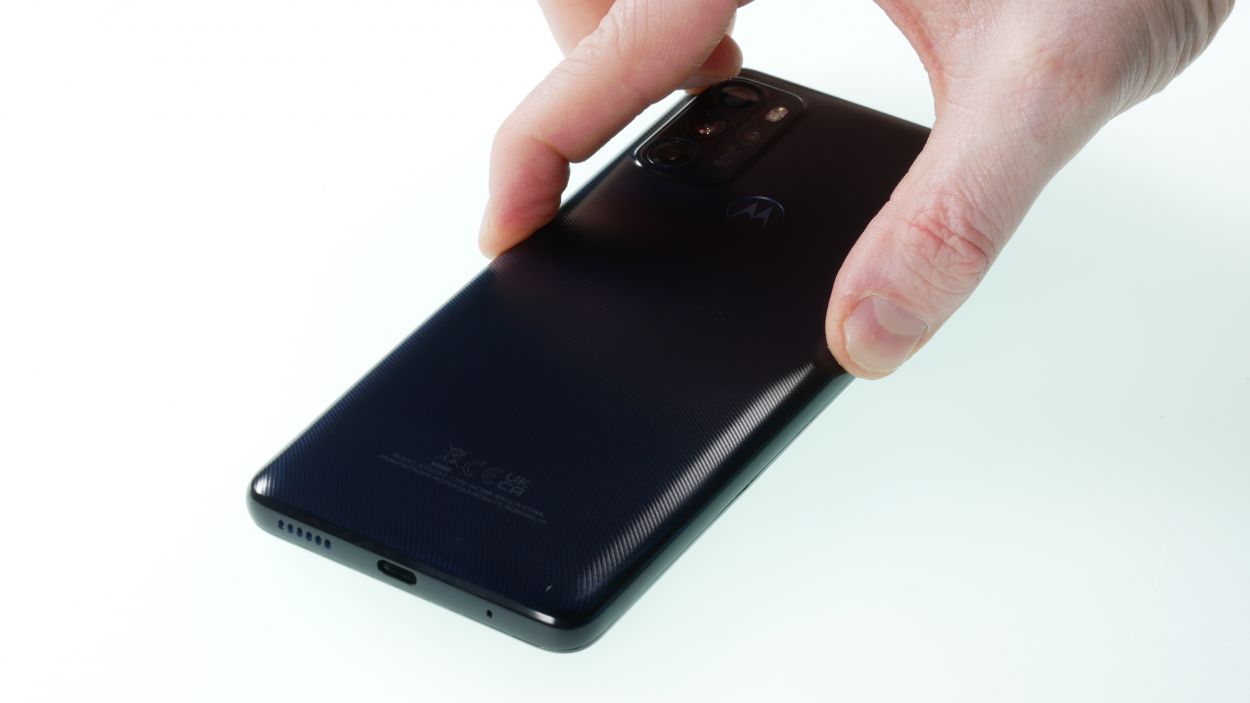
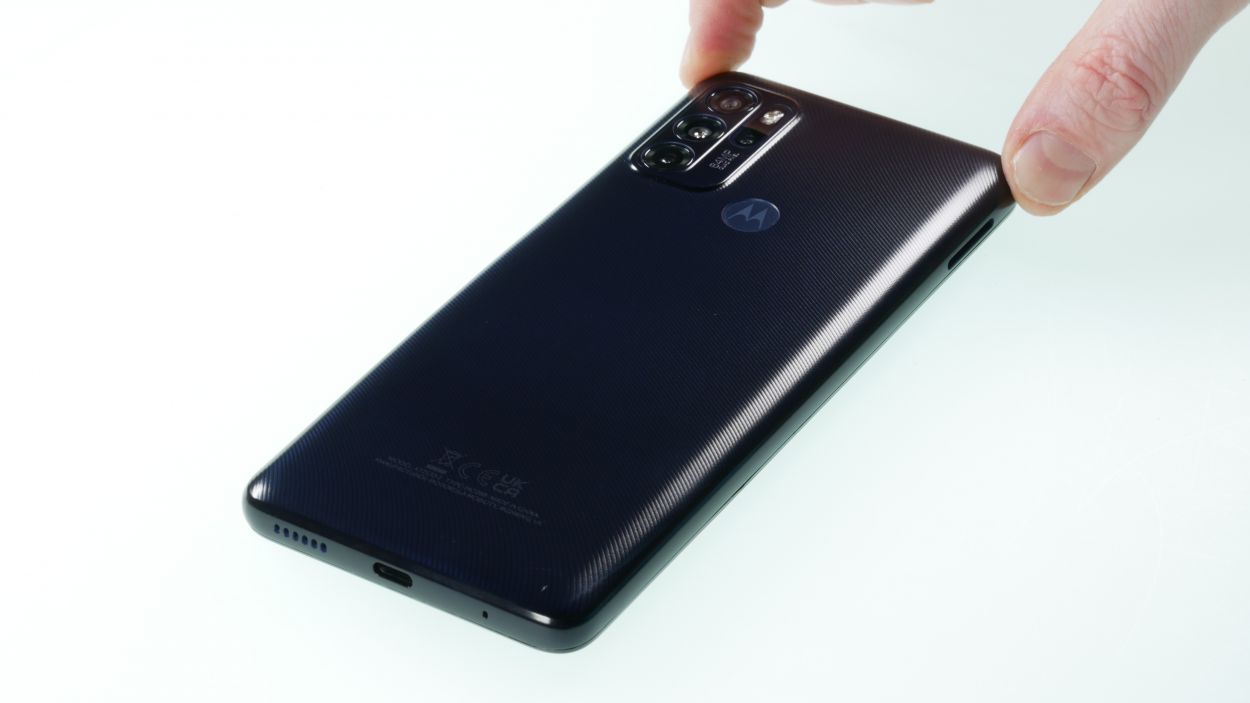
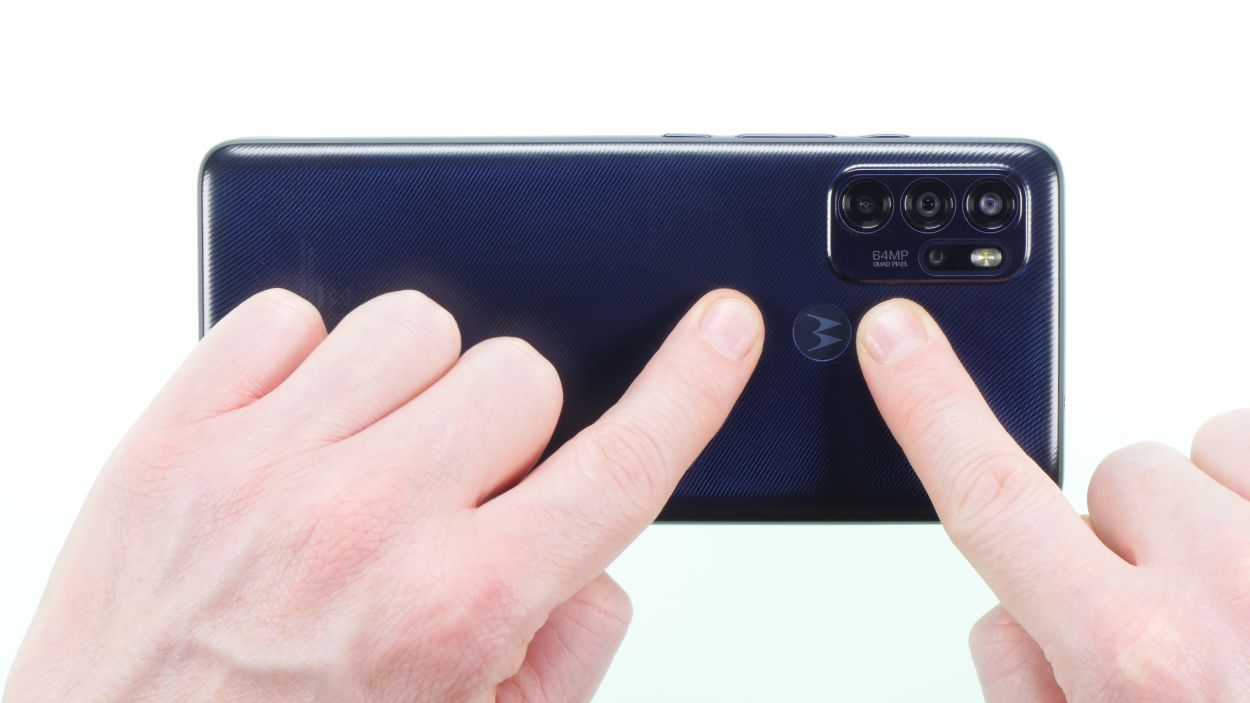
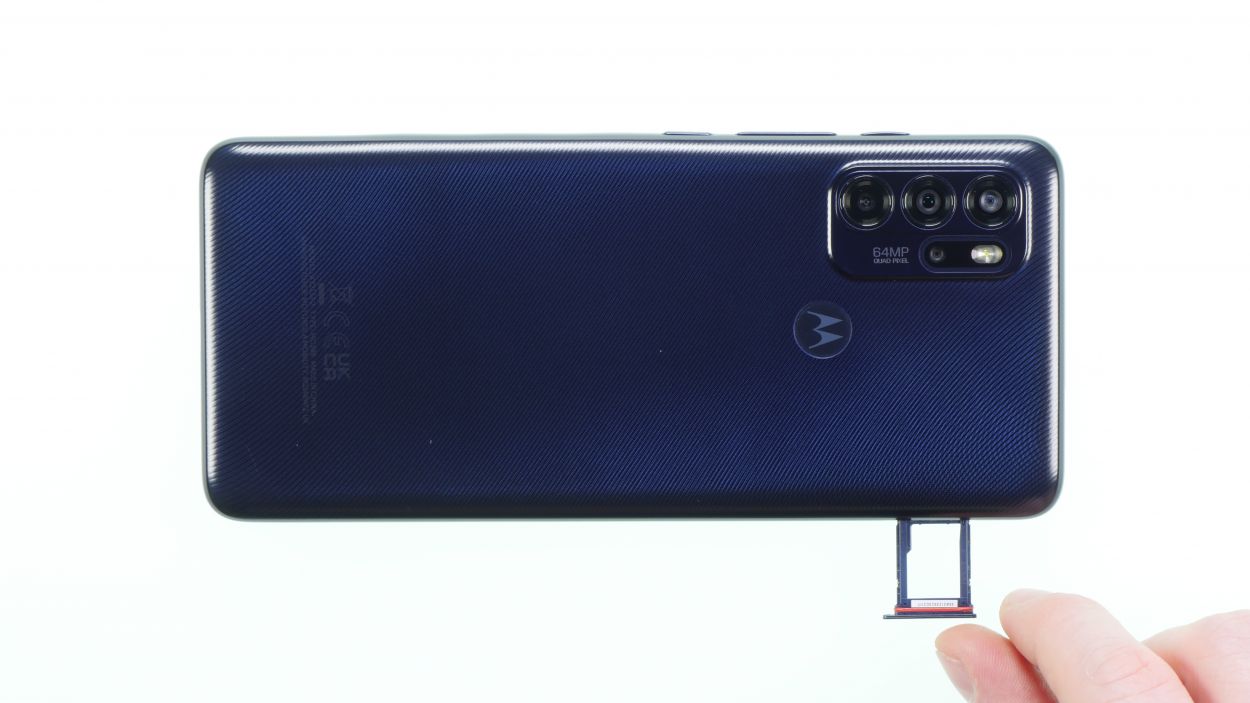
DIY Guide to Replace Battery in Moto G60s
Duration: 45 min.
Steps: 13 Steps
Repairing this device is a bit of a challenge, but don’t worry! The toughest part is tackling that stubborn, super-glued battery. Just take your time and stay focused, and the rest of the repair will go smoothly. Before diving in, give your device a good once-over and test all its features. If our guide helps you out, we’d love to hear your thoughts in a positive review! Good luck with your repair adventure!
Step 1
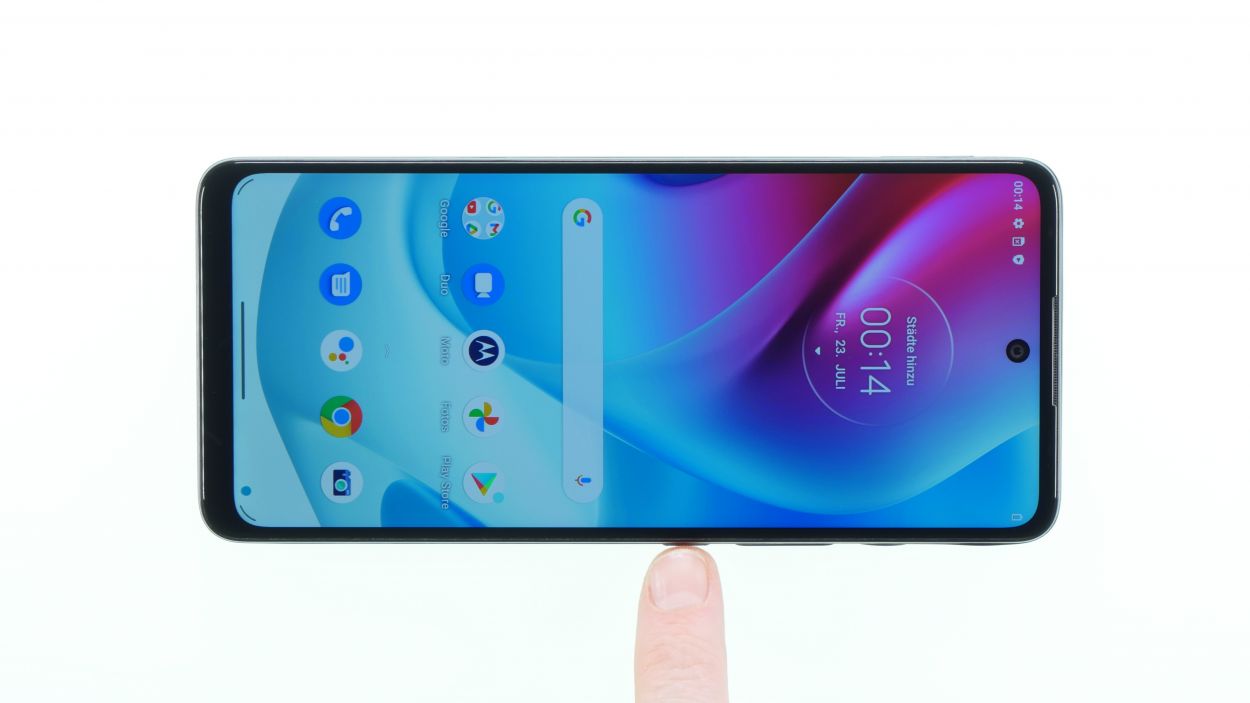
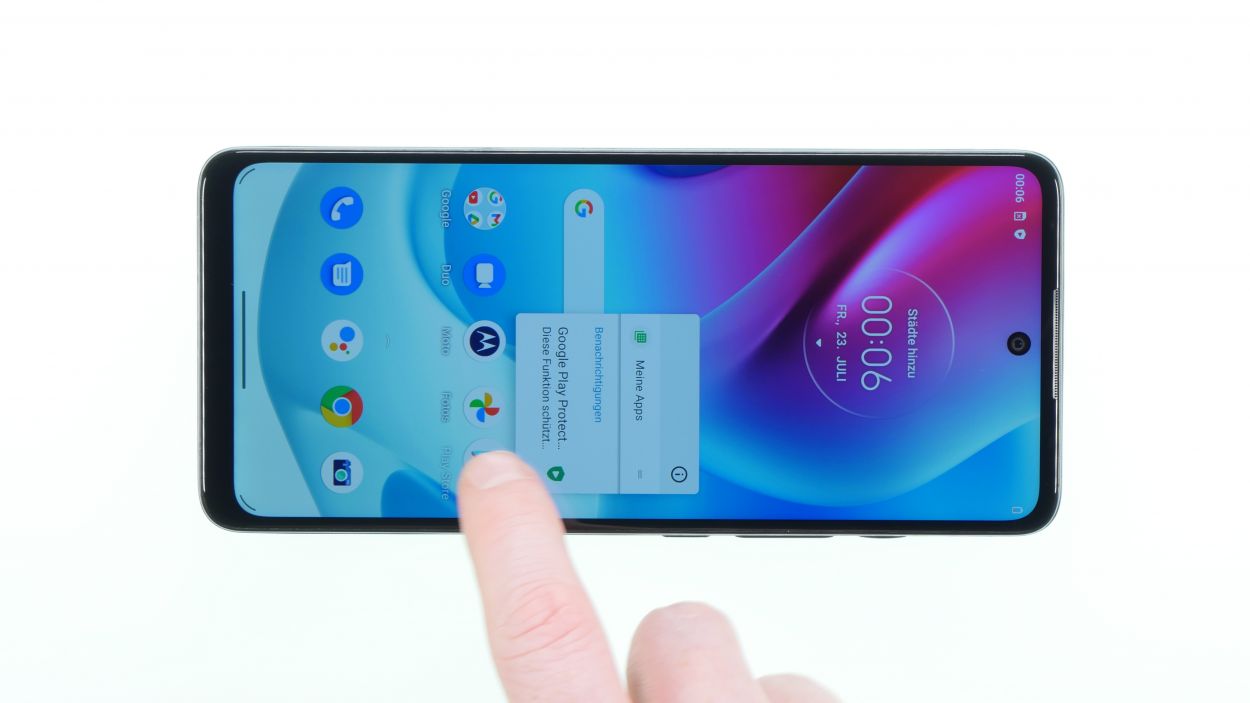
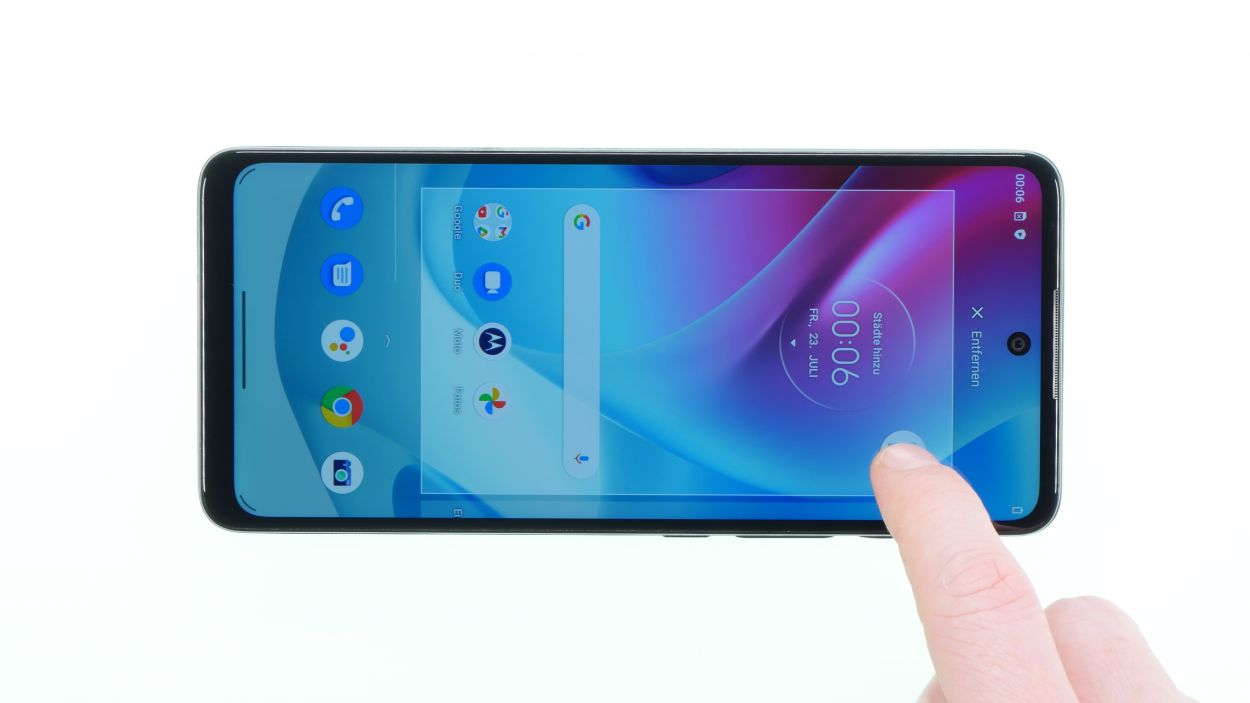
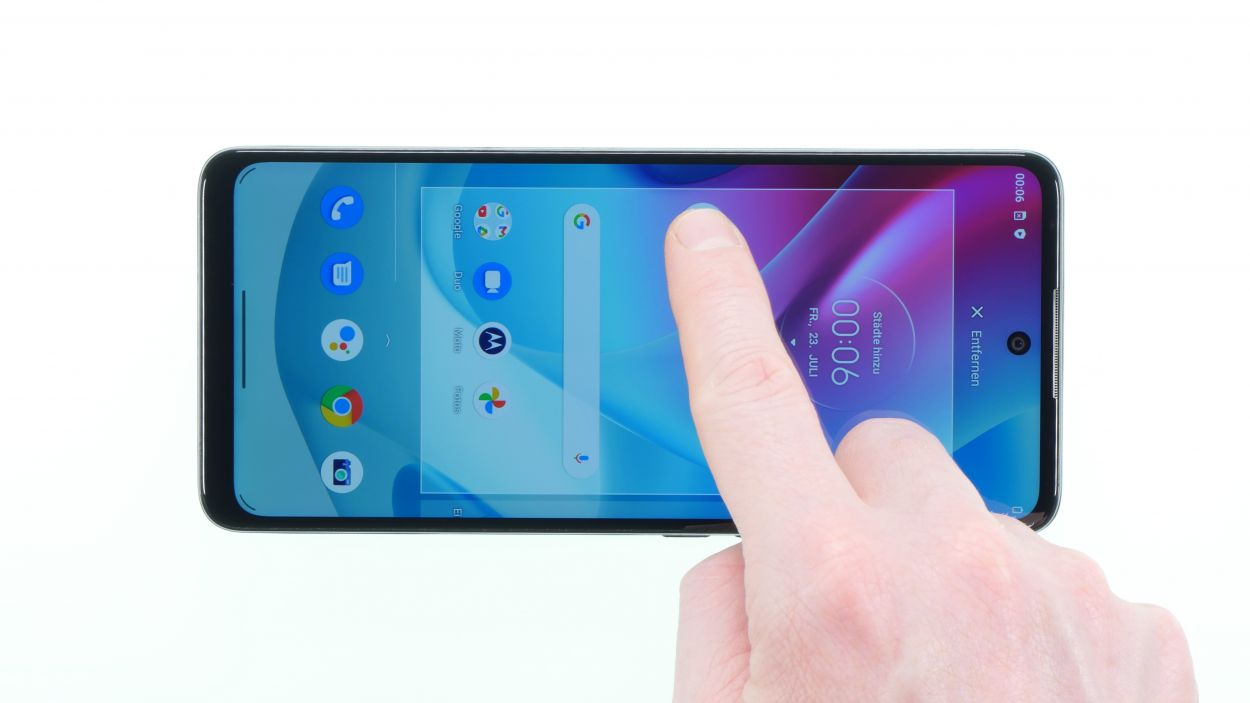
Before diving into the repair adventure, it’s a great idea to give your device a little check-up! Make sure all its functions are working like a charm.
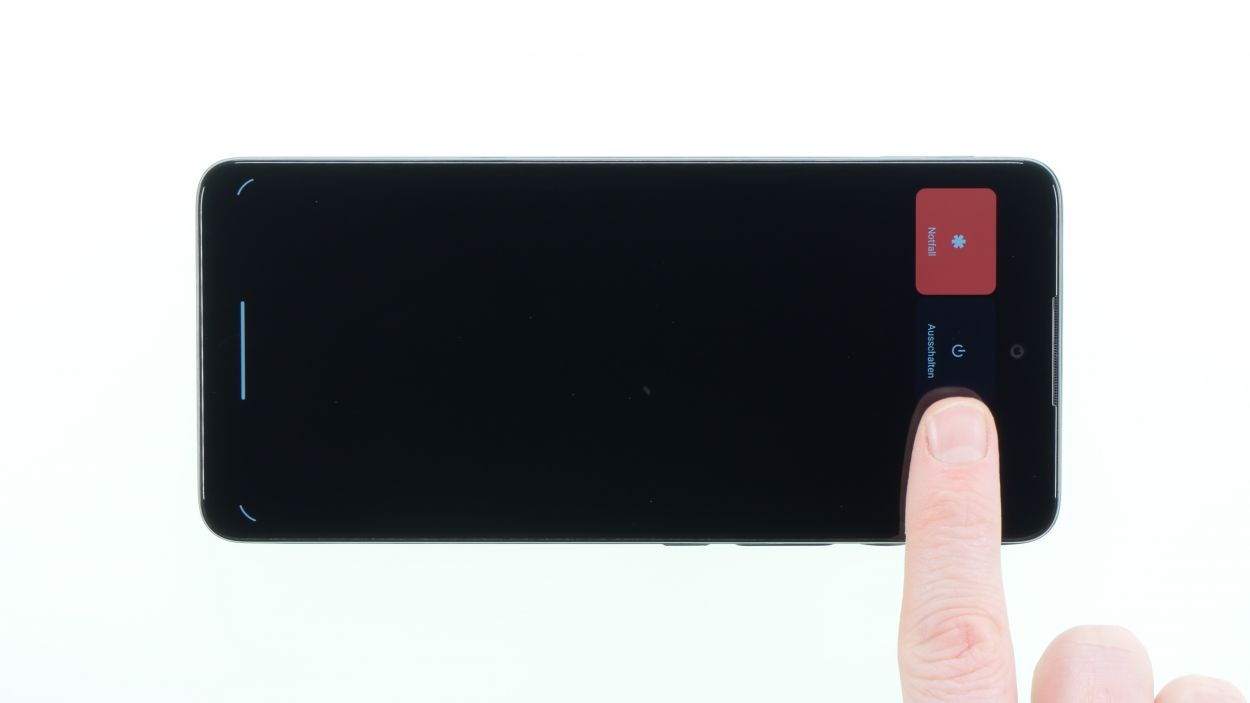
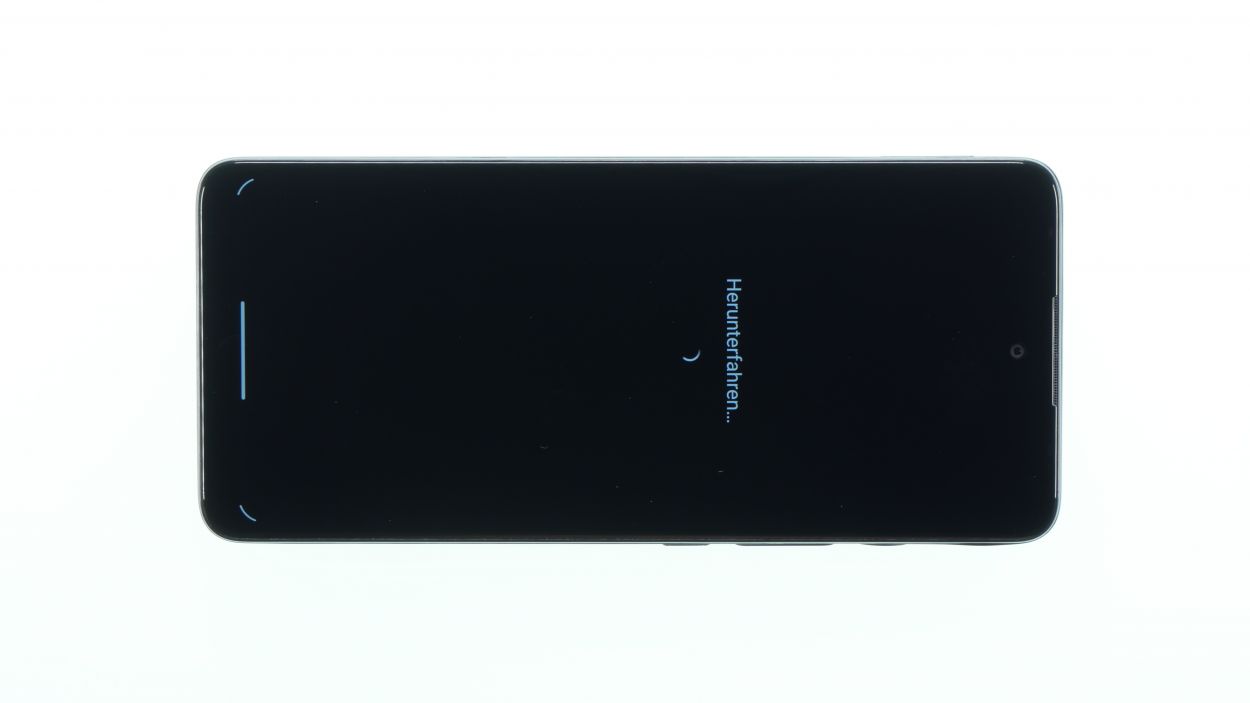
– Before diving into the repair adventure, make sure to power down your device! Just press and hold the Standby switch until you see that lovely turn-off icon pop up, and give it a confirmatory tap.
Step 2
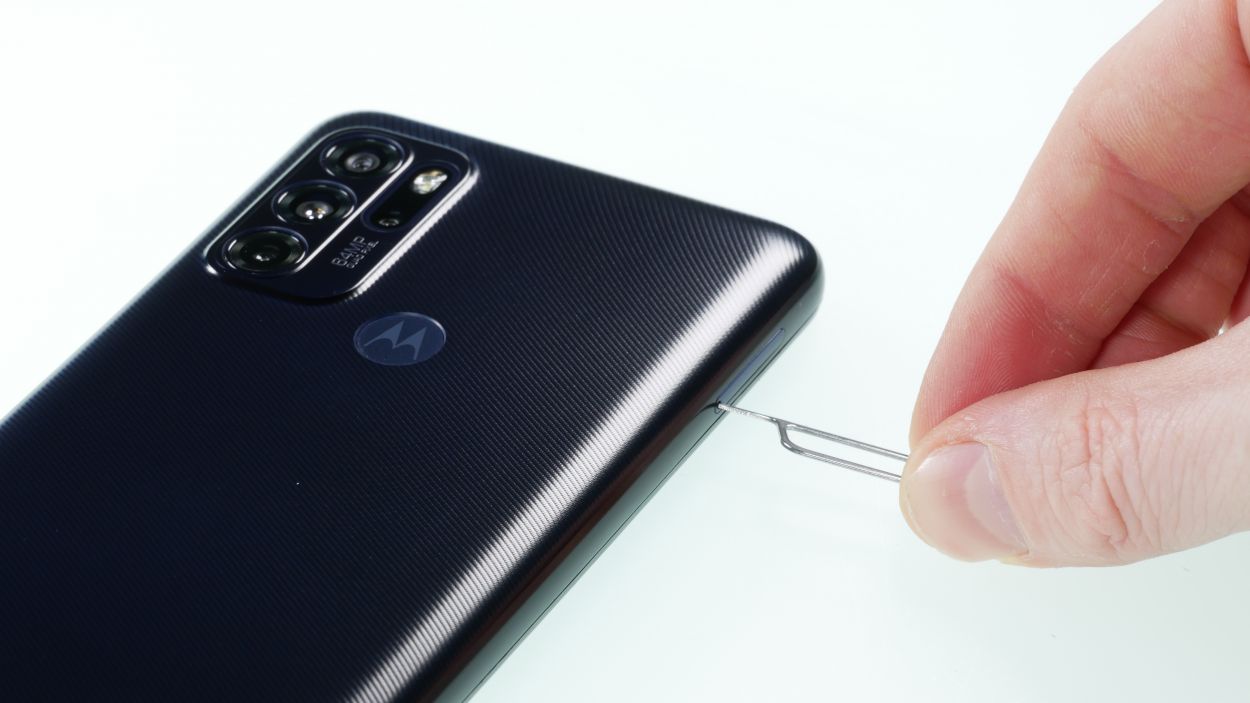
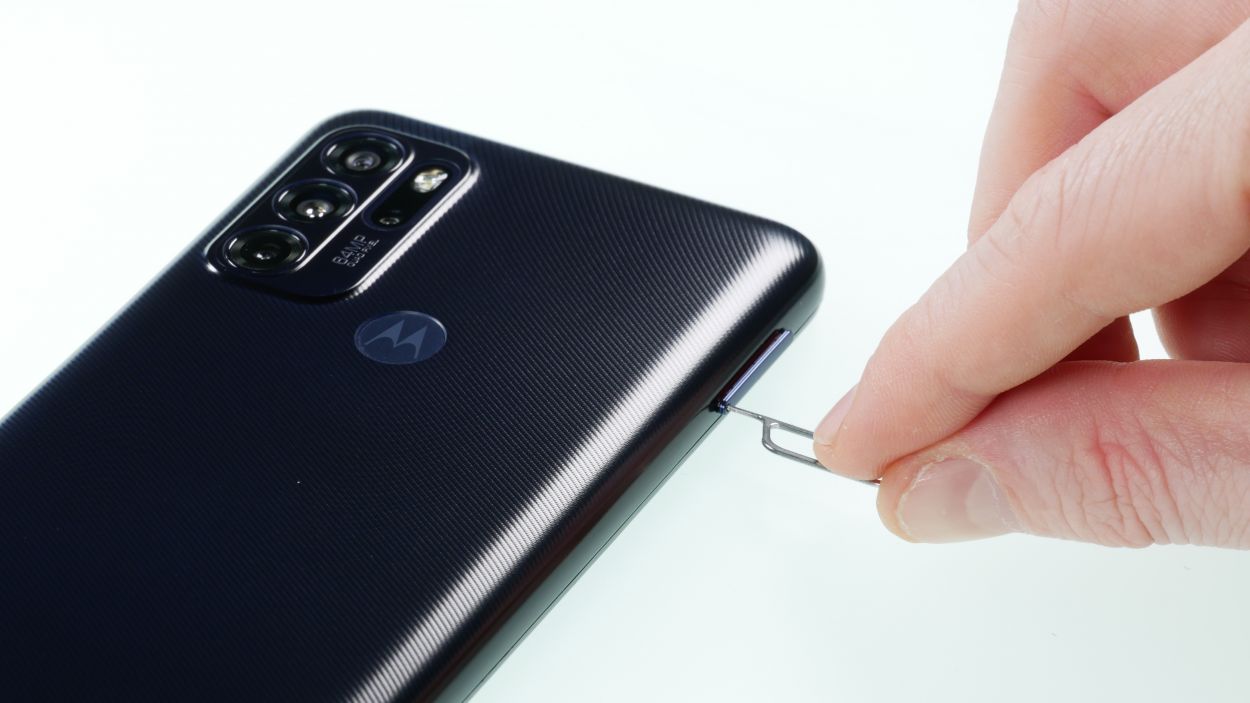
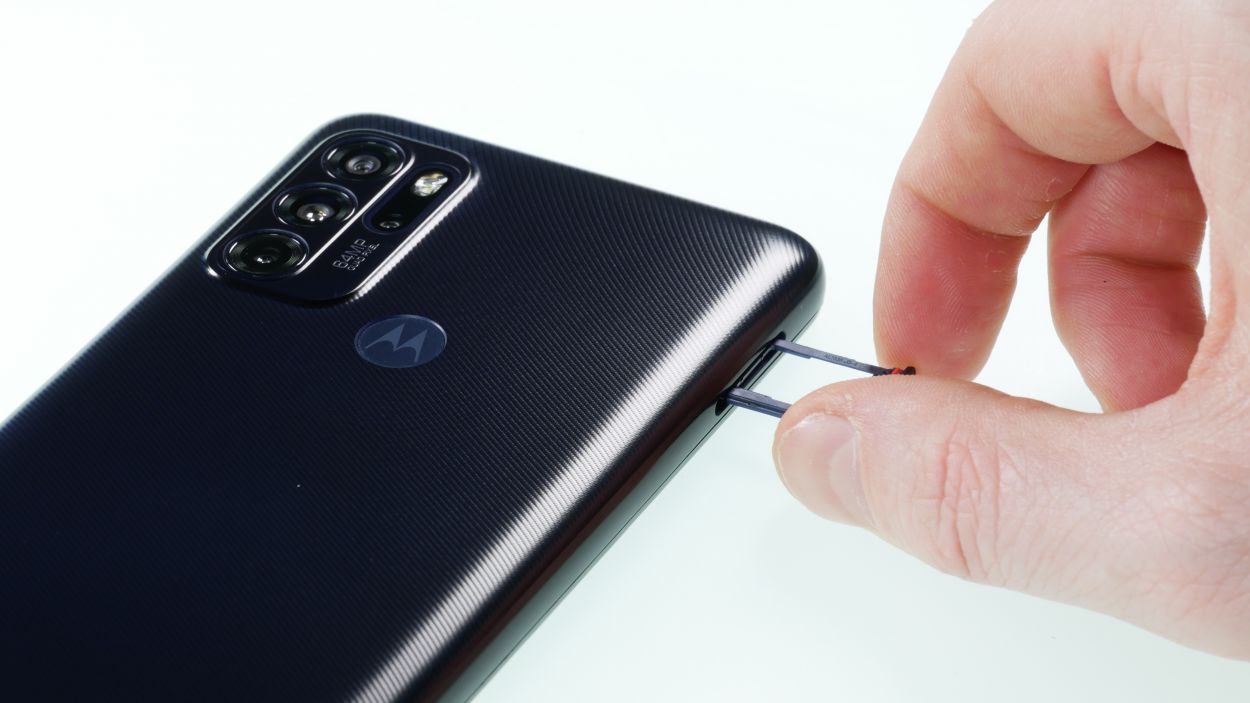
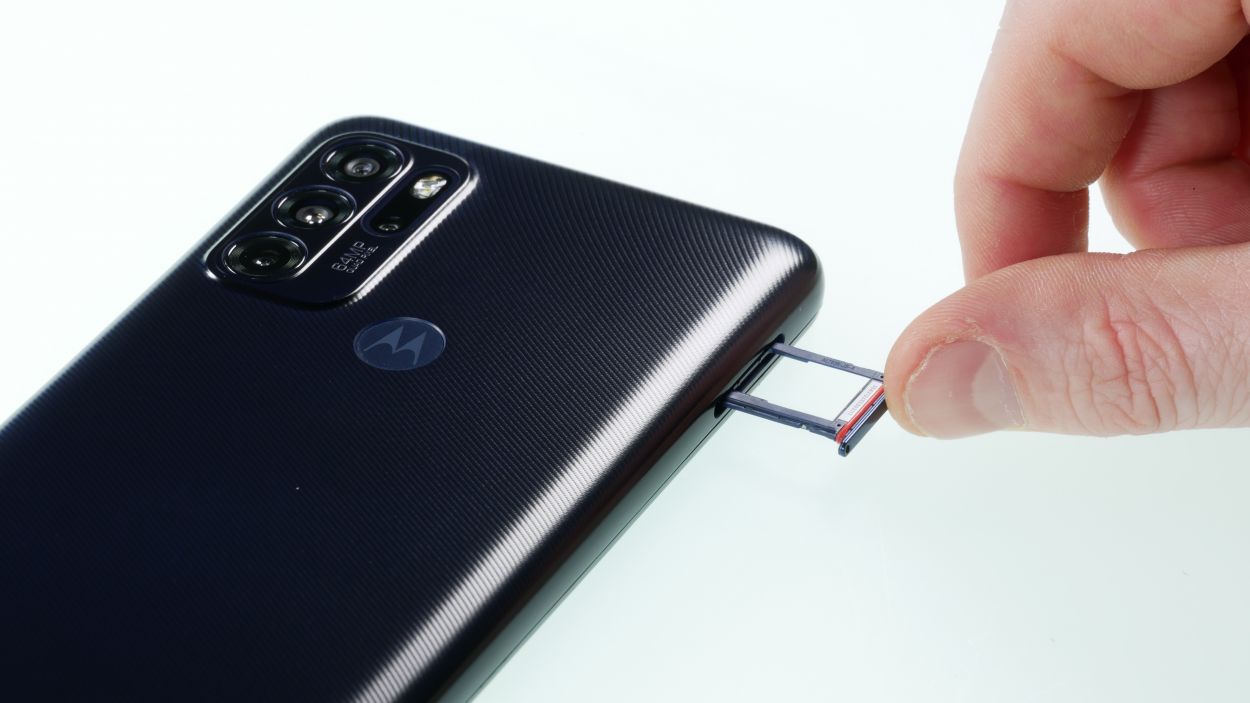
– Remove the sim and SD card holder with the supplied tool or a
Tool or a bent paper clip and then put it aside.
Step 3
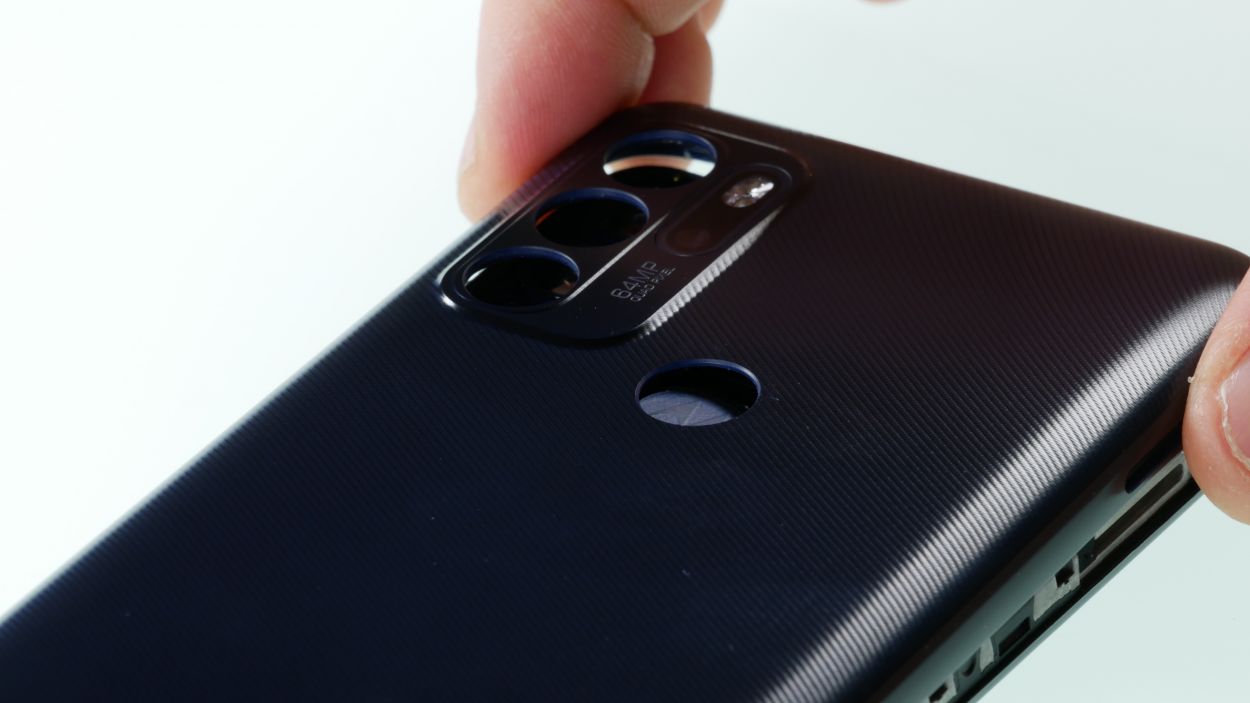
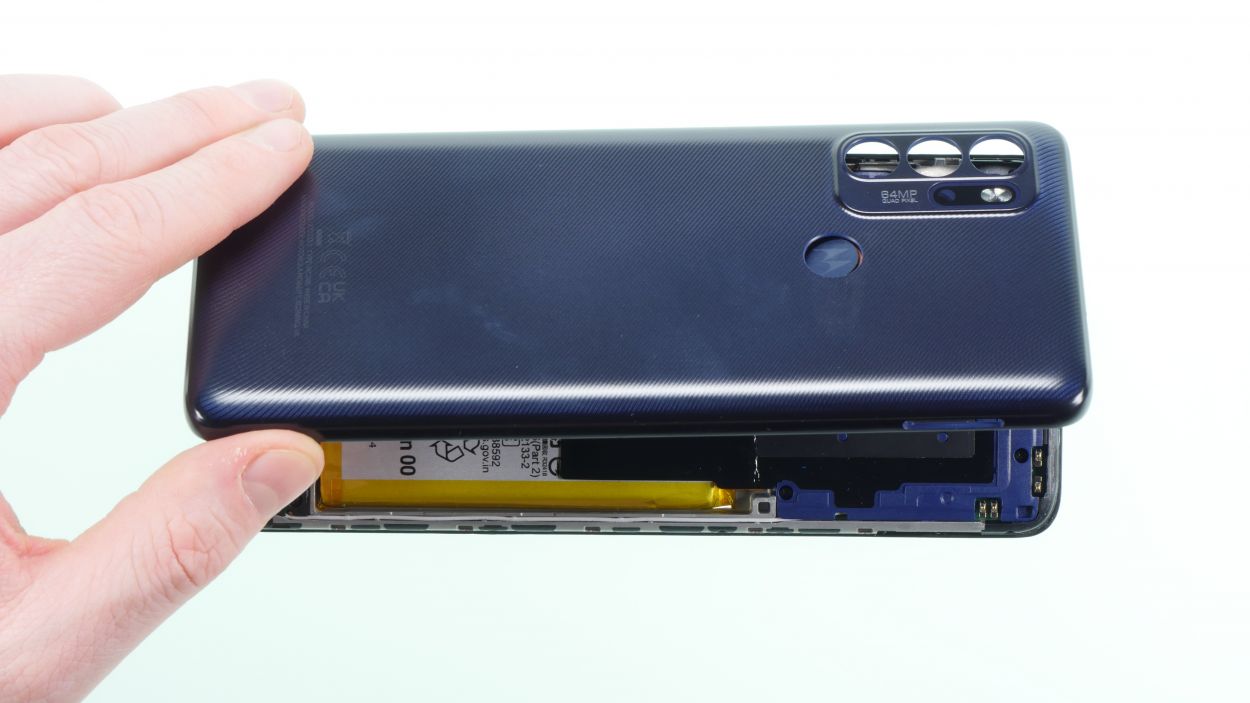
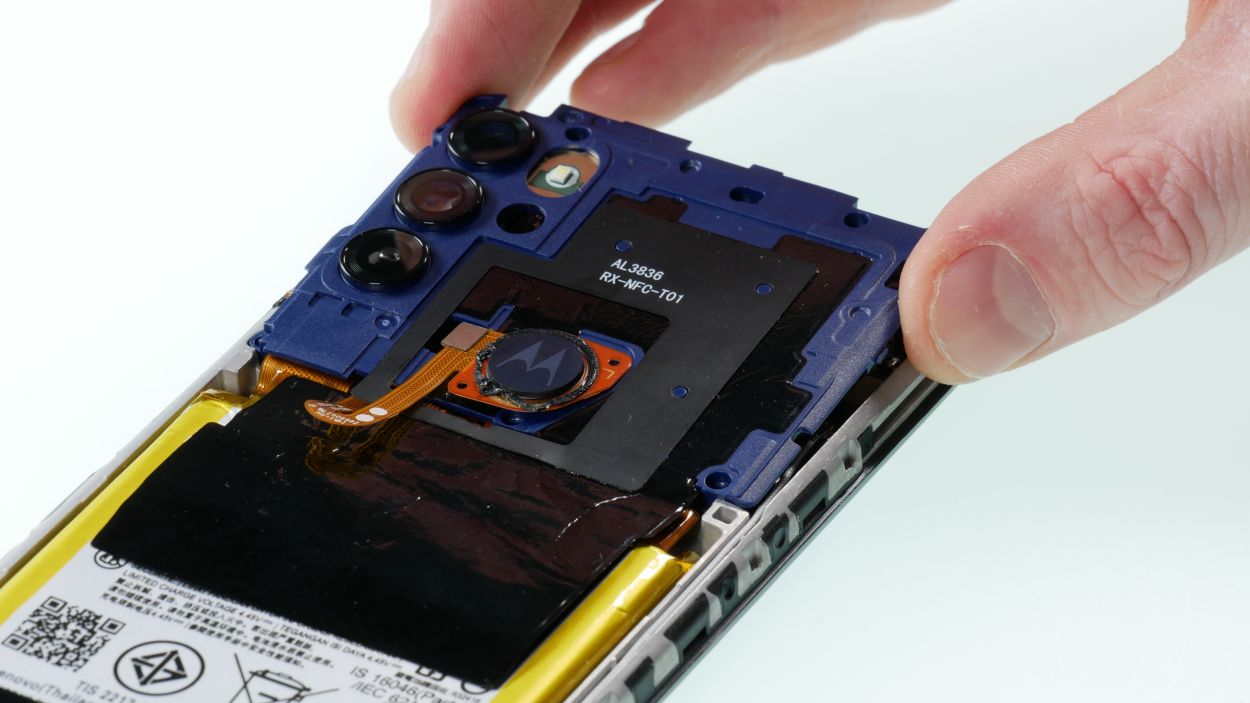
To get started with your Motorola, gently pry open the back cover, which is cleverly glued and hooked in place. You’ve got this!
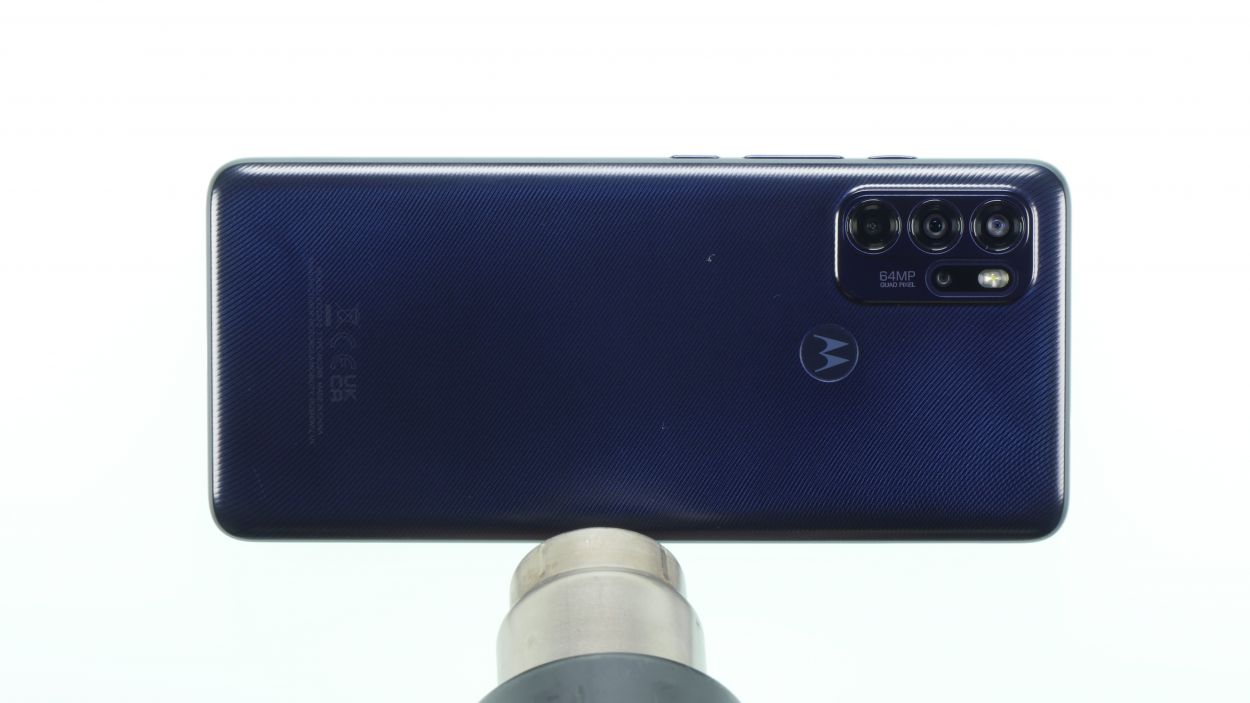
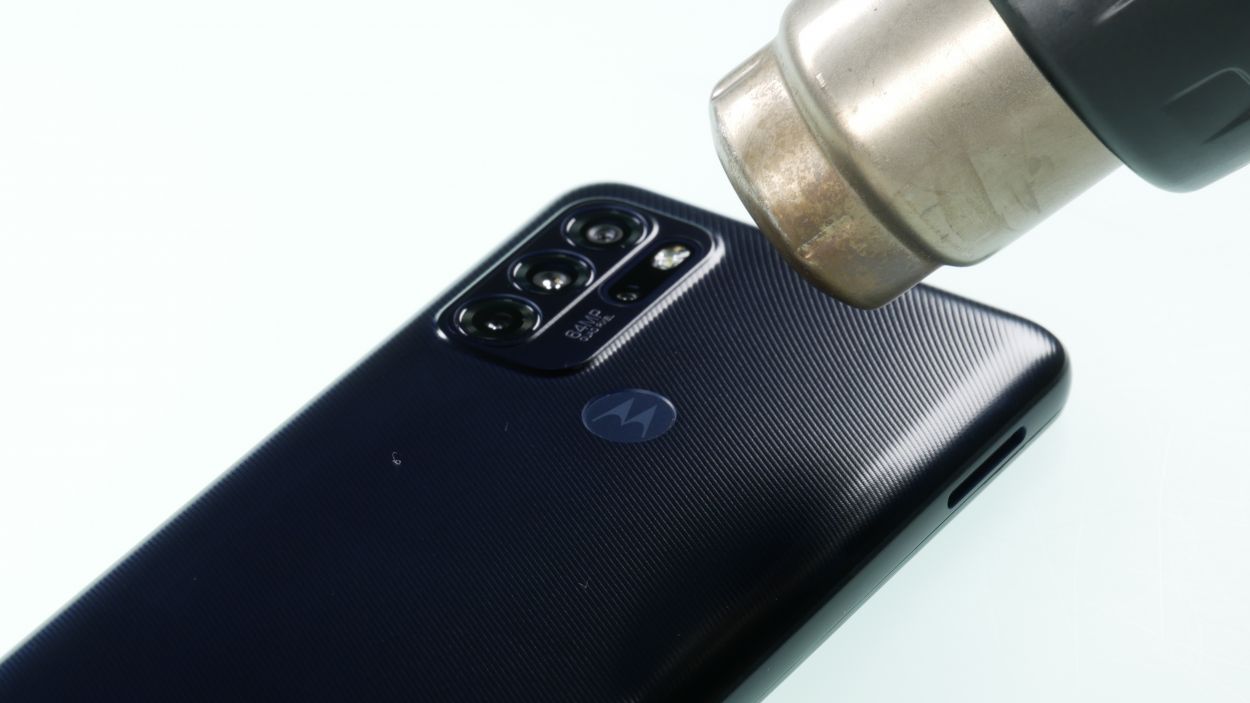
– Start by warming up the edge of the back cover and the fingerprint sensor using a heat gun or a regular hair dryer. A little heat goes a long way!
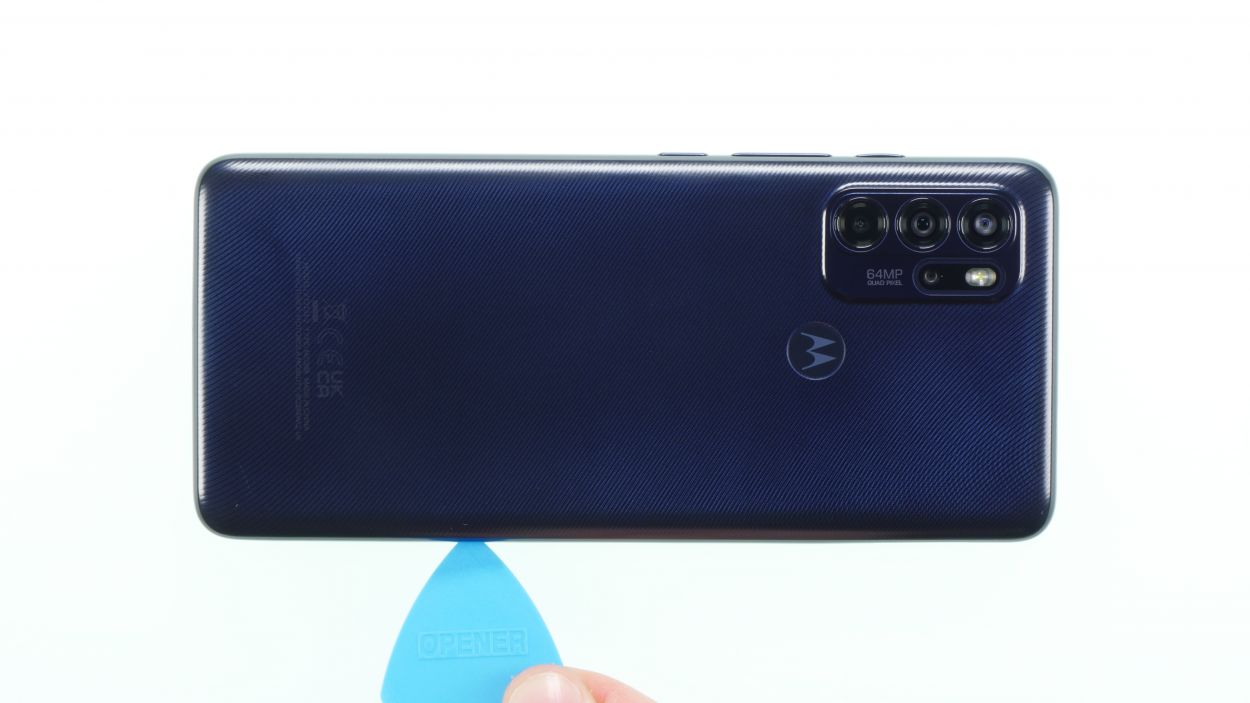
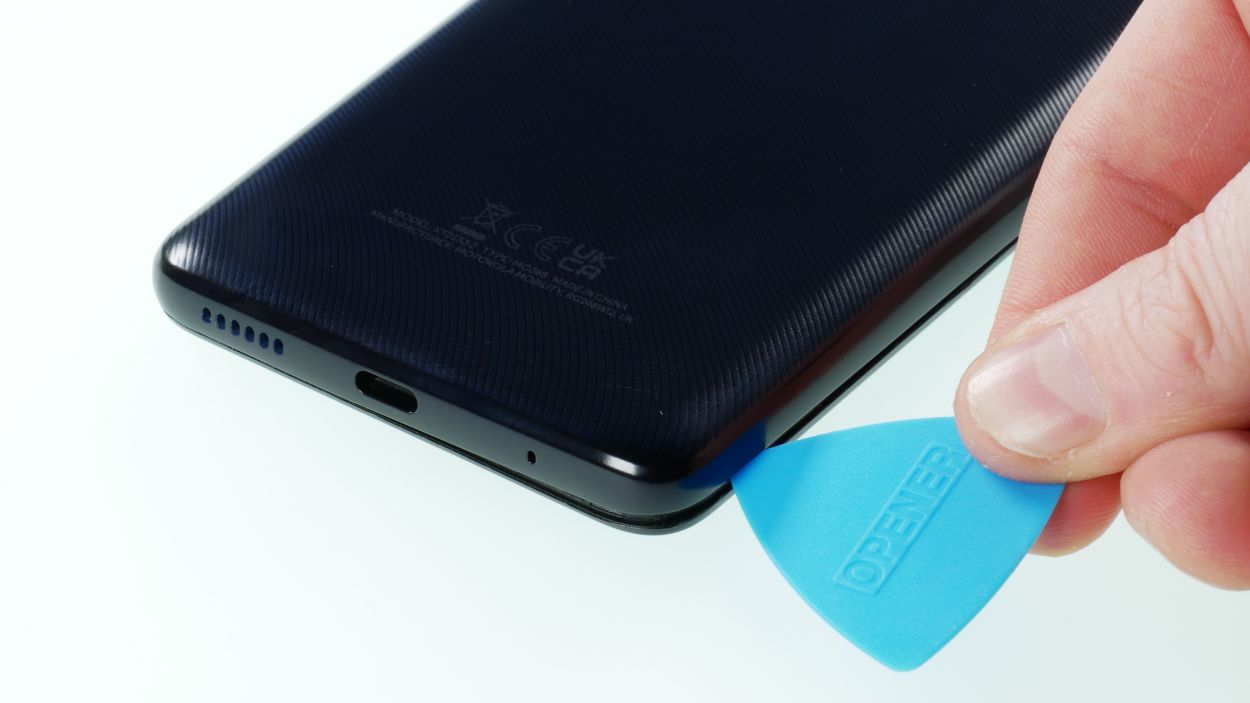
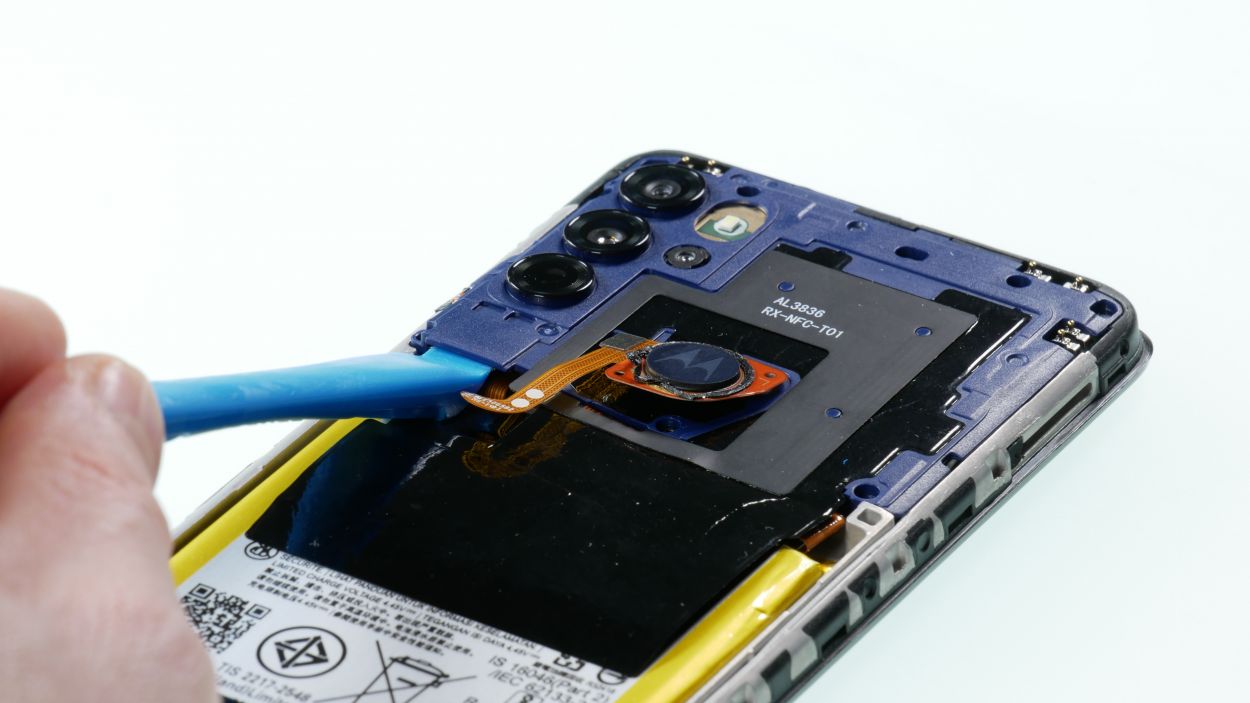
– Next, grab a plectrum and gently slide it between the display frame and back cover. Move it around the device like you’re giving it a little hug. This should help pop the back cover off.
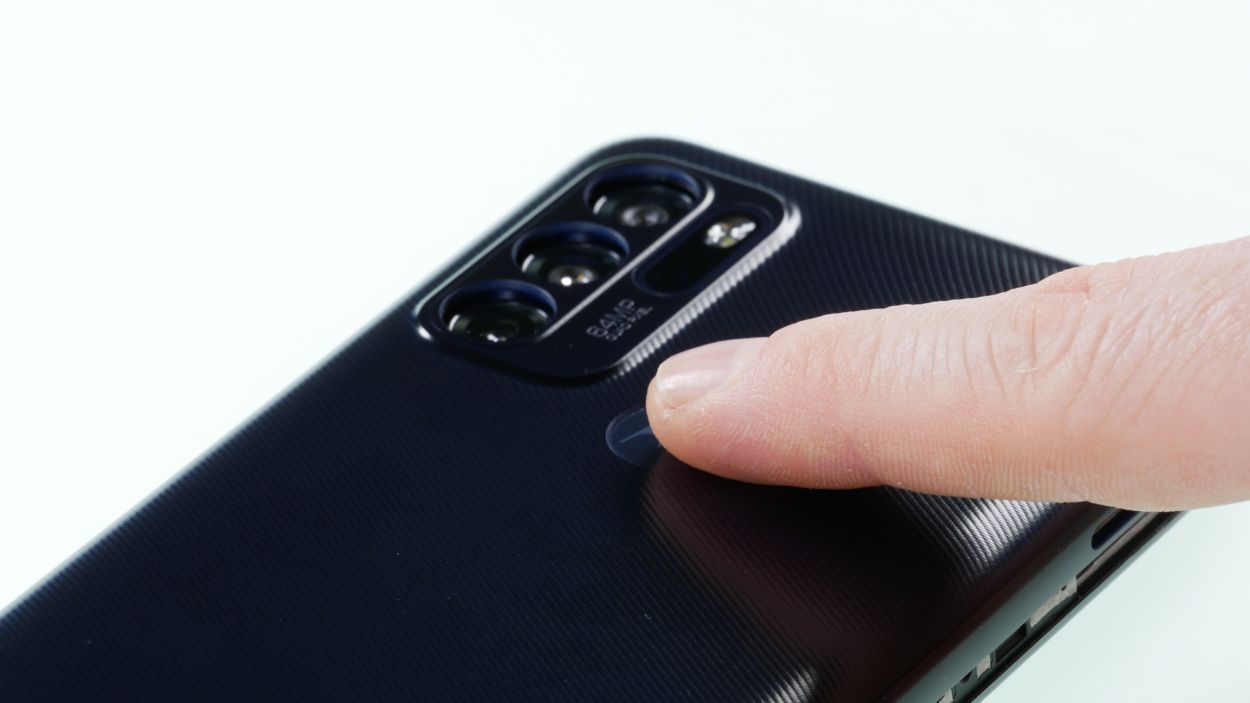
– Now, it’s time to remove the fingerprint sensor from the back cover. If it’s being stubborn, don’t hesitate to give it another gentle warm-up!
Step 4
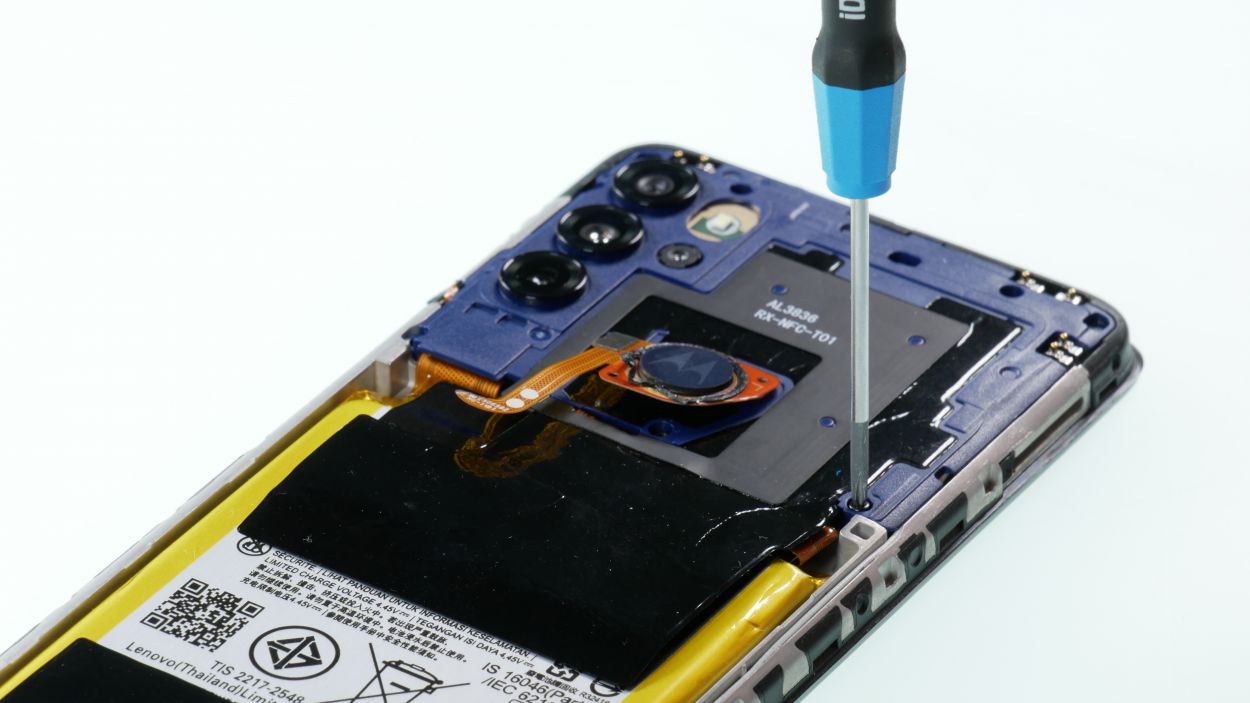
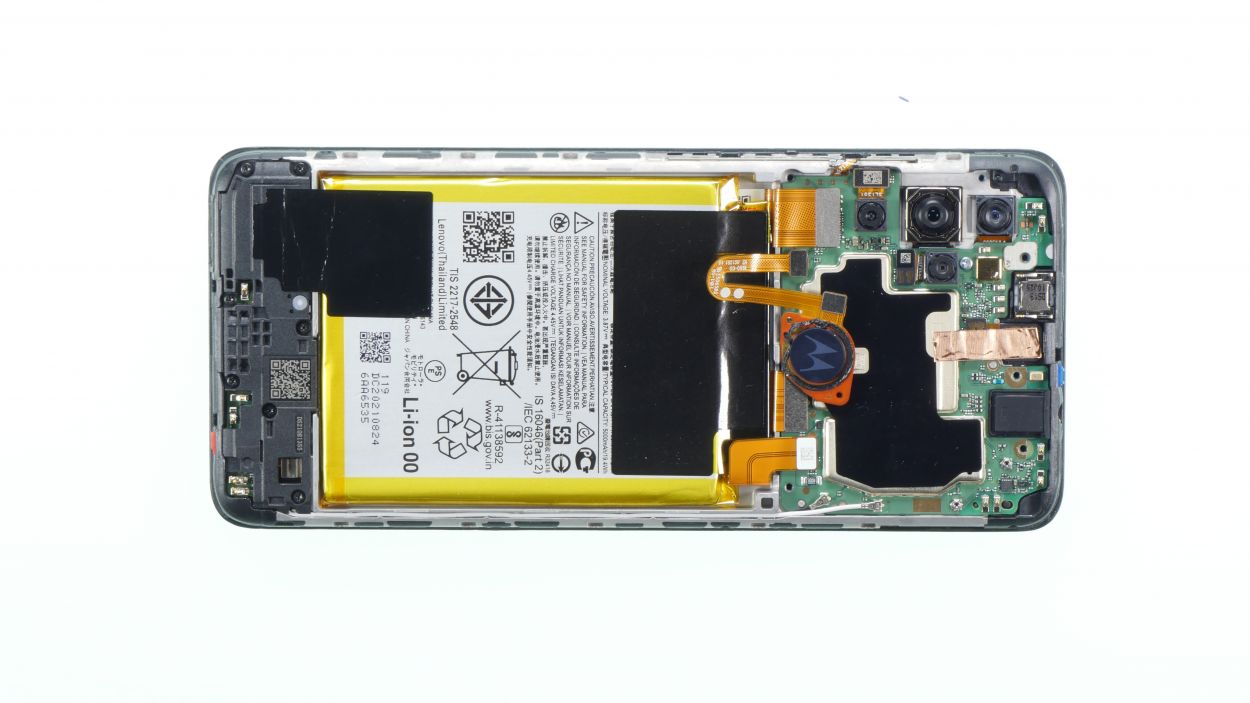
7 × 3,7 mm Phillips
To keep those pesky screws from disappearing on you, we suggest grabbing a magnetic mat. It’s a simple way to keep everything in one place while you tackle your repair!
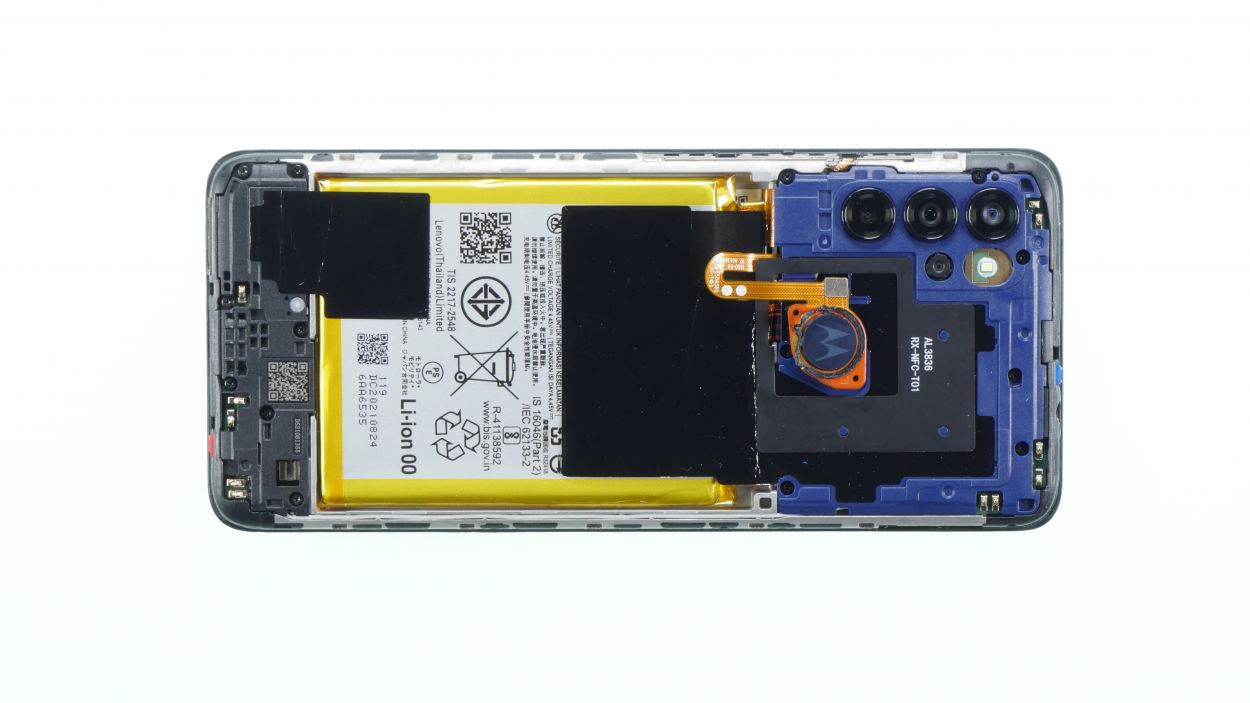
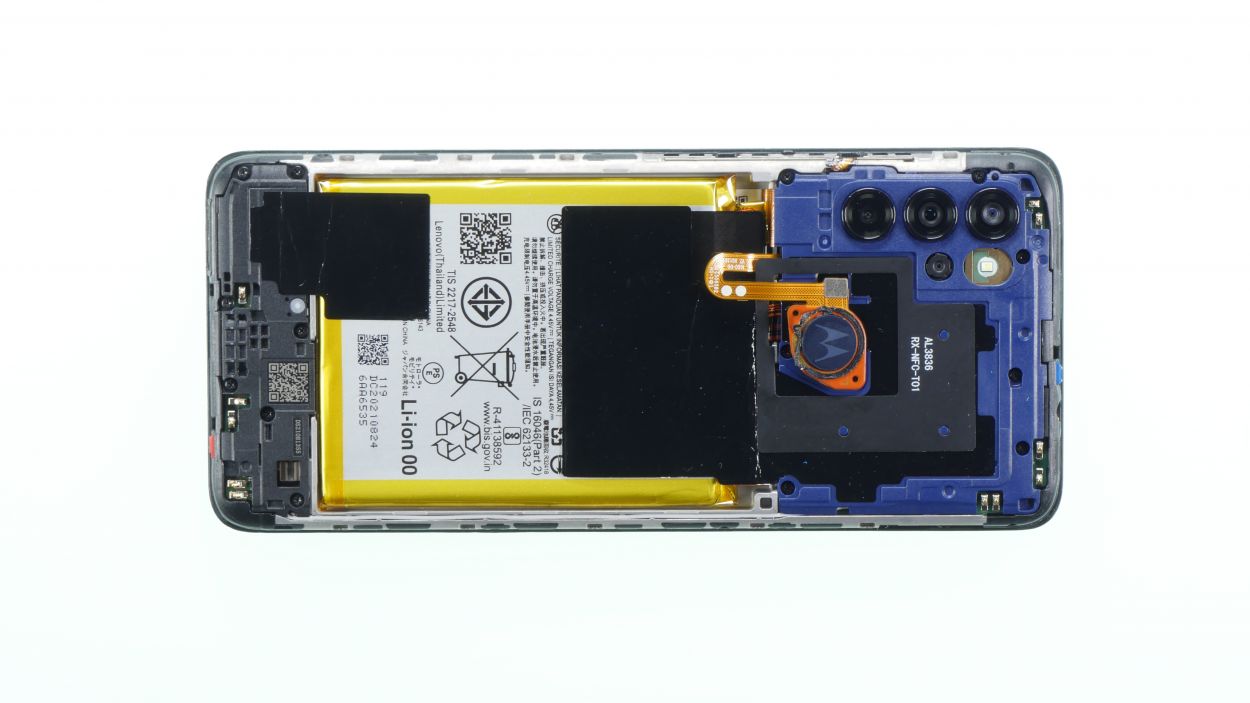
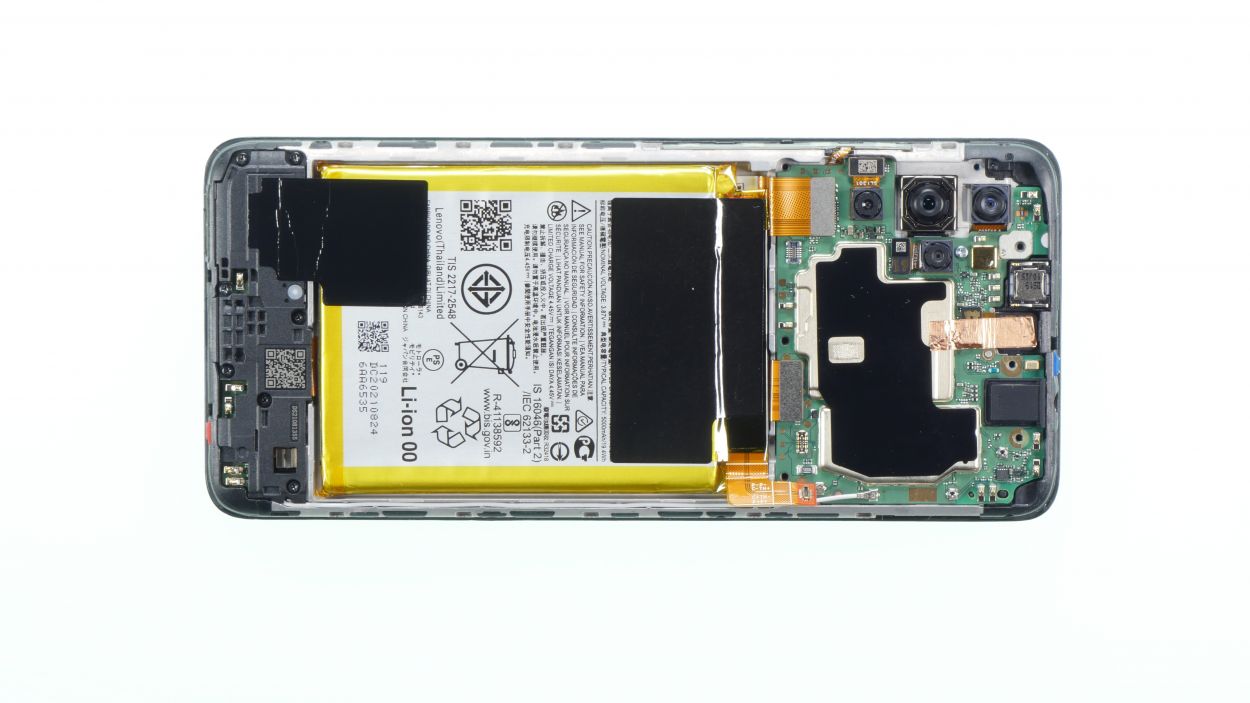
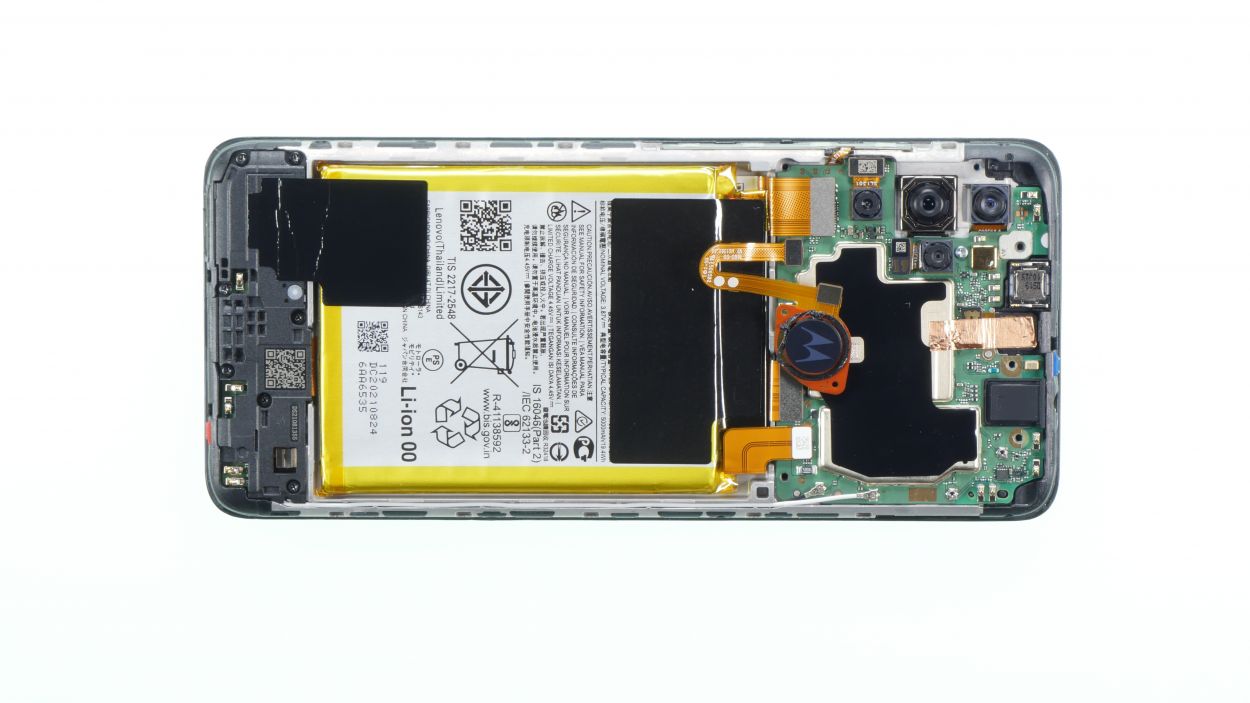
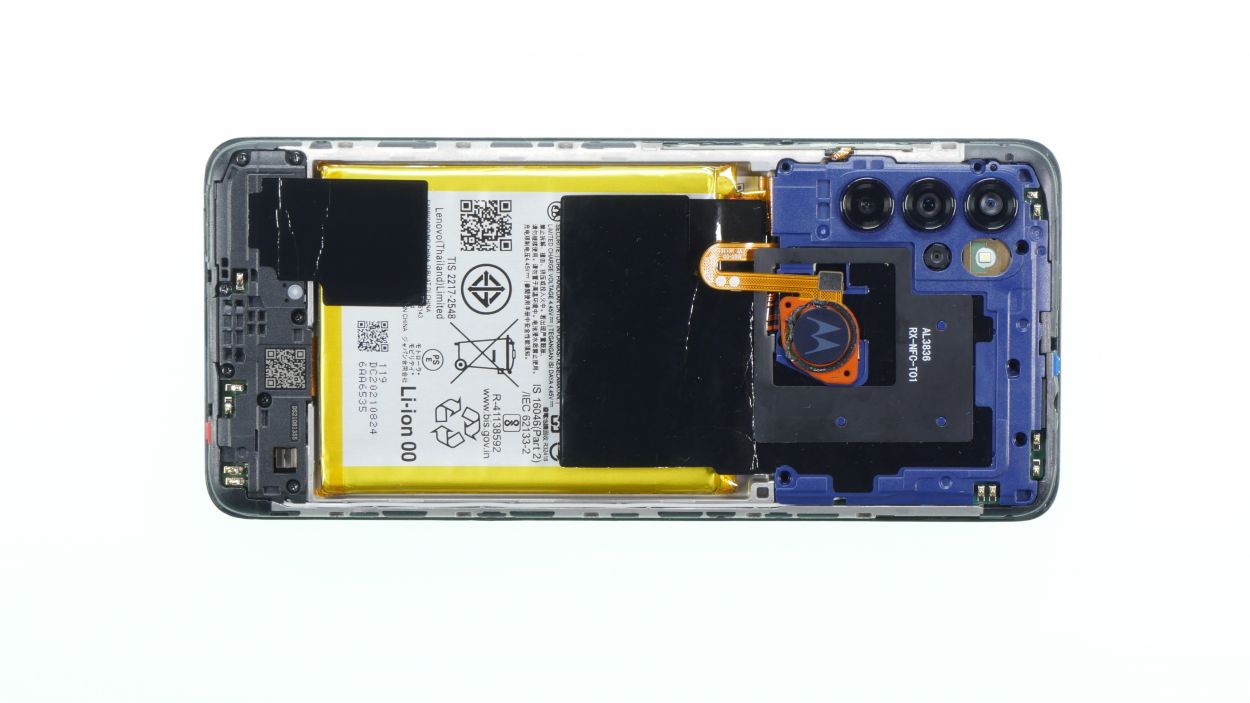
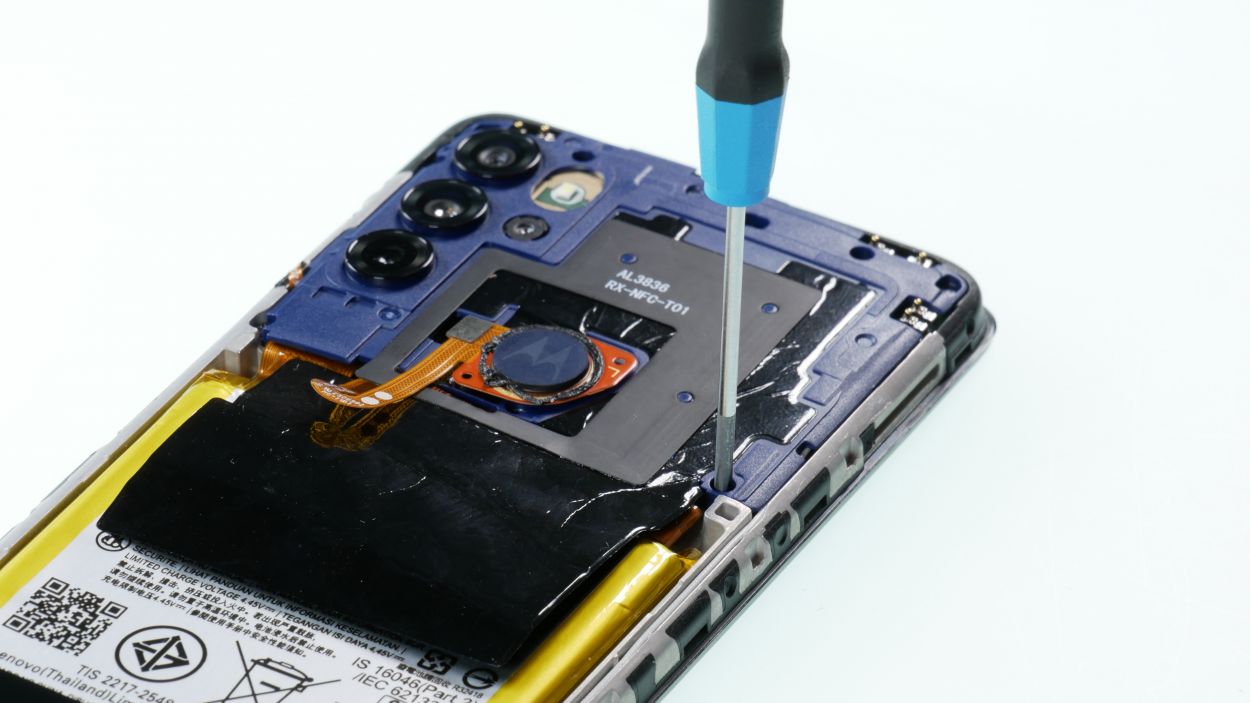
– Alright, let’s get this party started! Grab your trusty Phillips screwdriver and remove those seven screws. Once they’re out, set them aside like a pro.
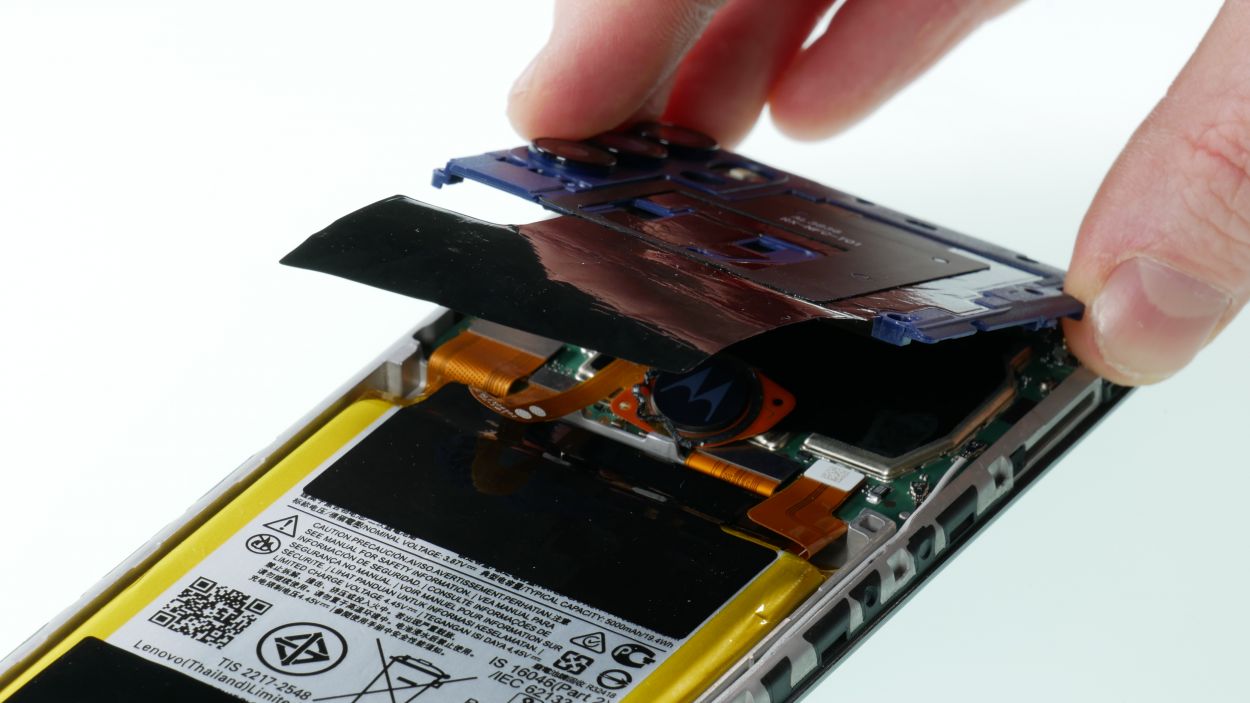
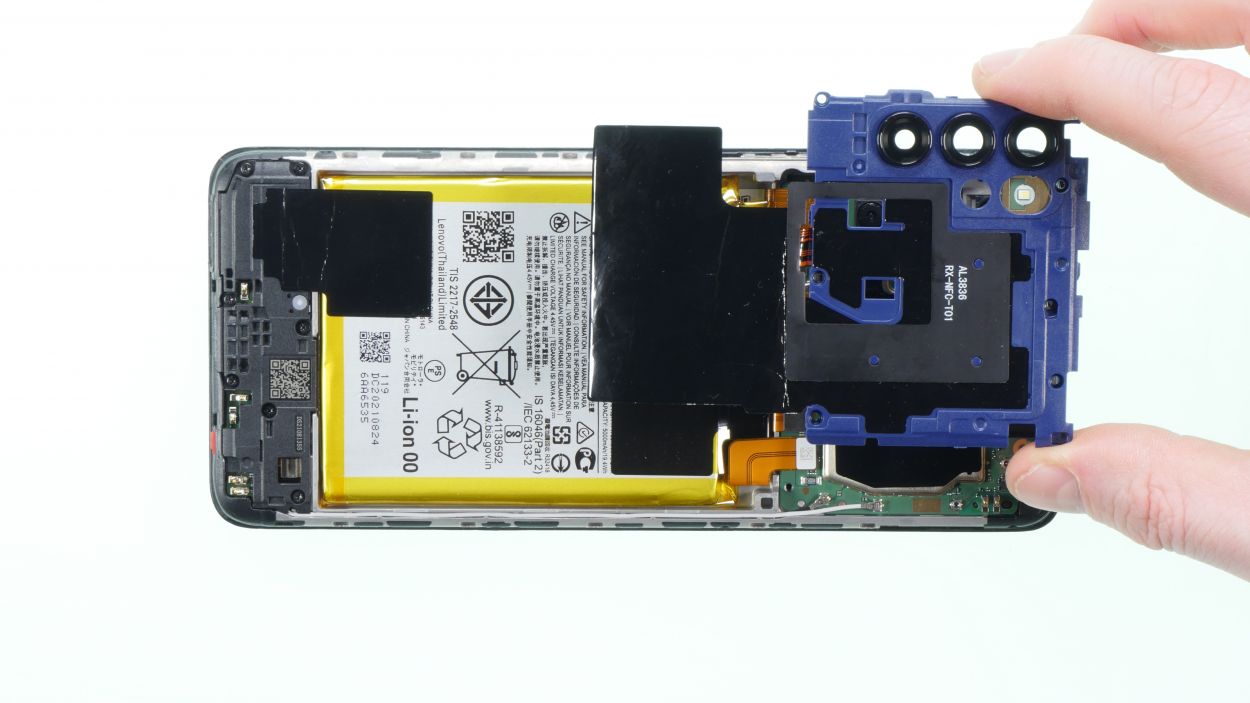
– Next up, take your spudger and gently work your magic to pry off the cover. Just lever it off carefully, and then lift it out with ease.
Tools Used
Step 5
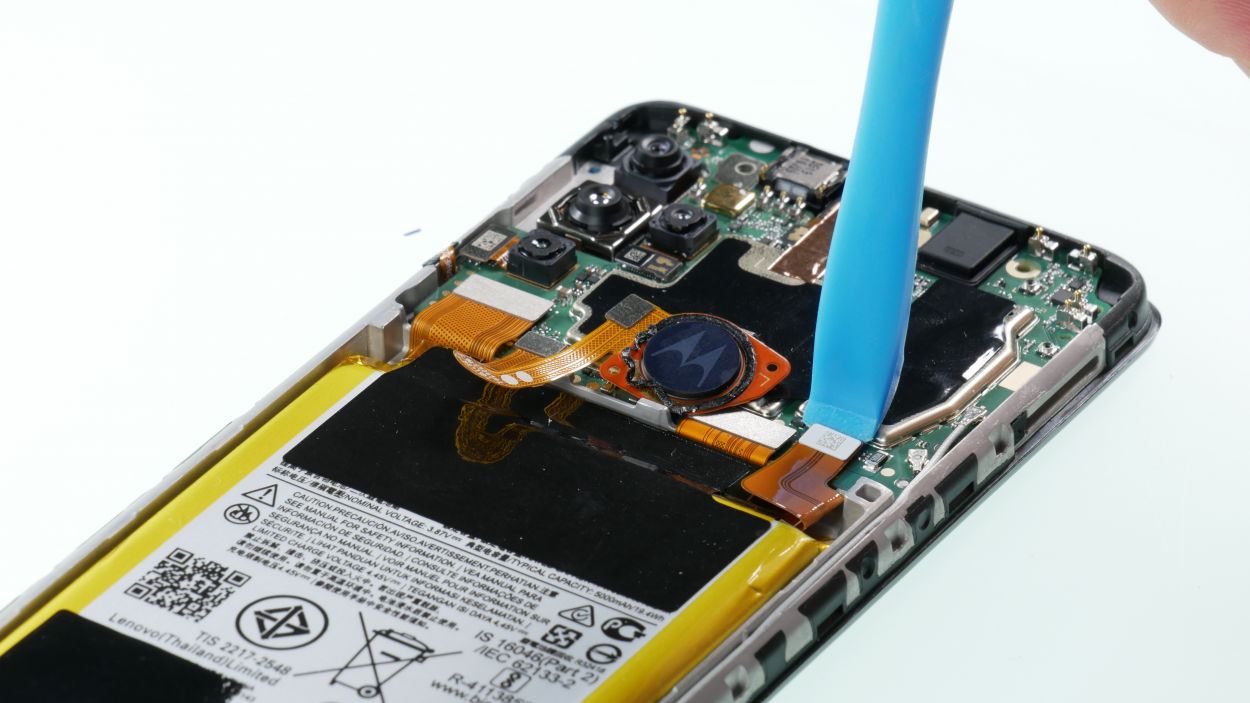
Battery Connector
Fingerprint Sensor Connector
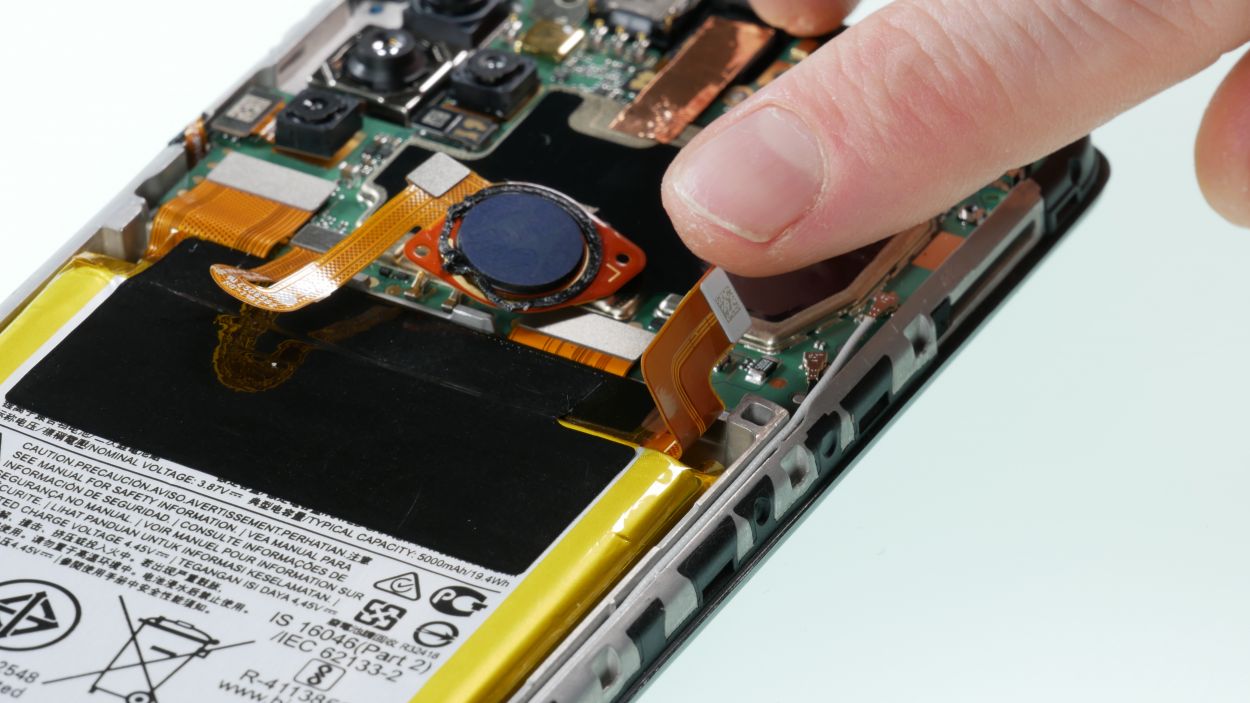
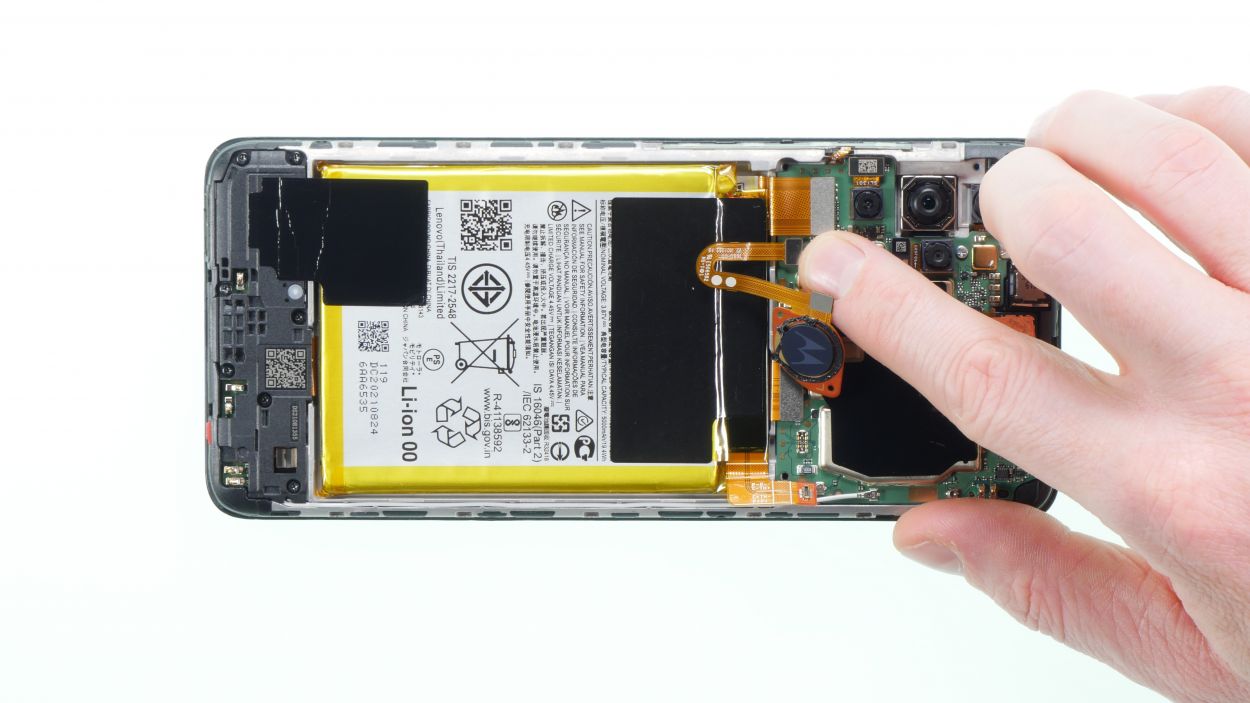
– First things first, tackle that battery connector like a pro! You’ve got this.
– Once that’s sorted, carefully disconnect the fingerprint sensor and set it aside for now. Easy peasy!
Step 6
Keep an eye on that battery temperature! We want it to stay cool and collected.
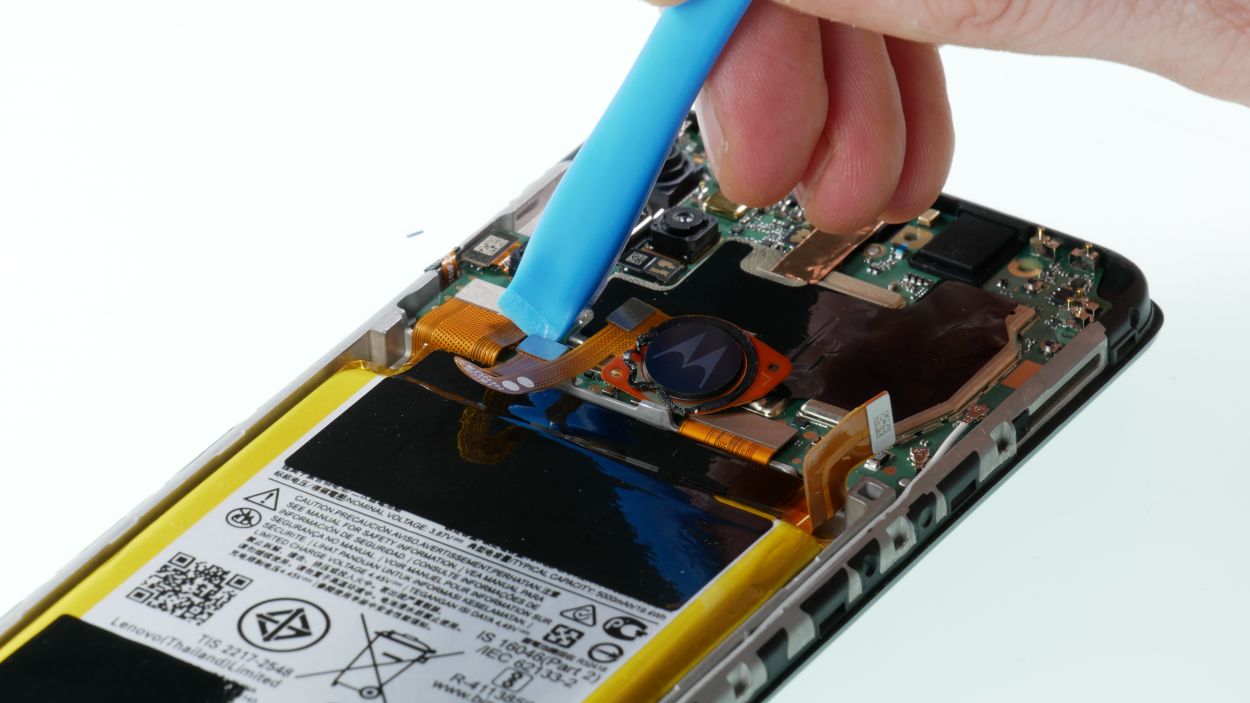
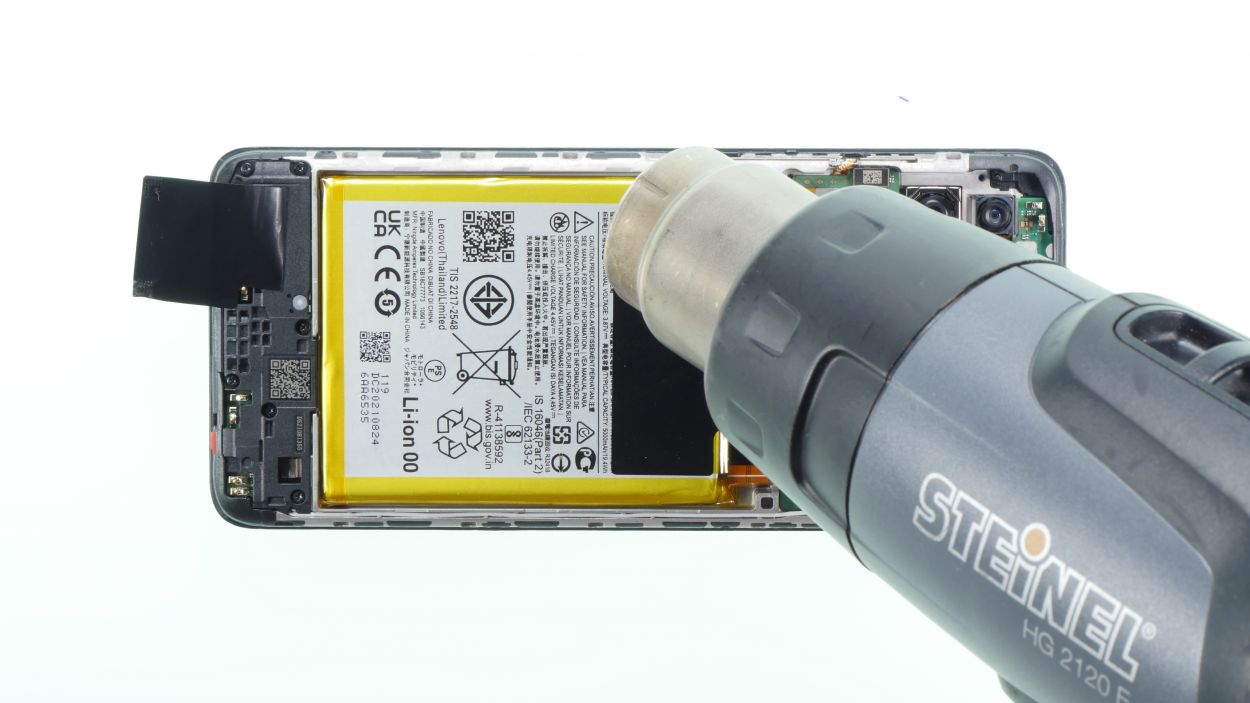
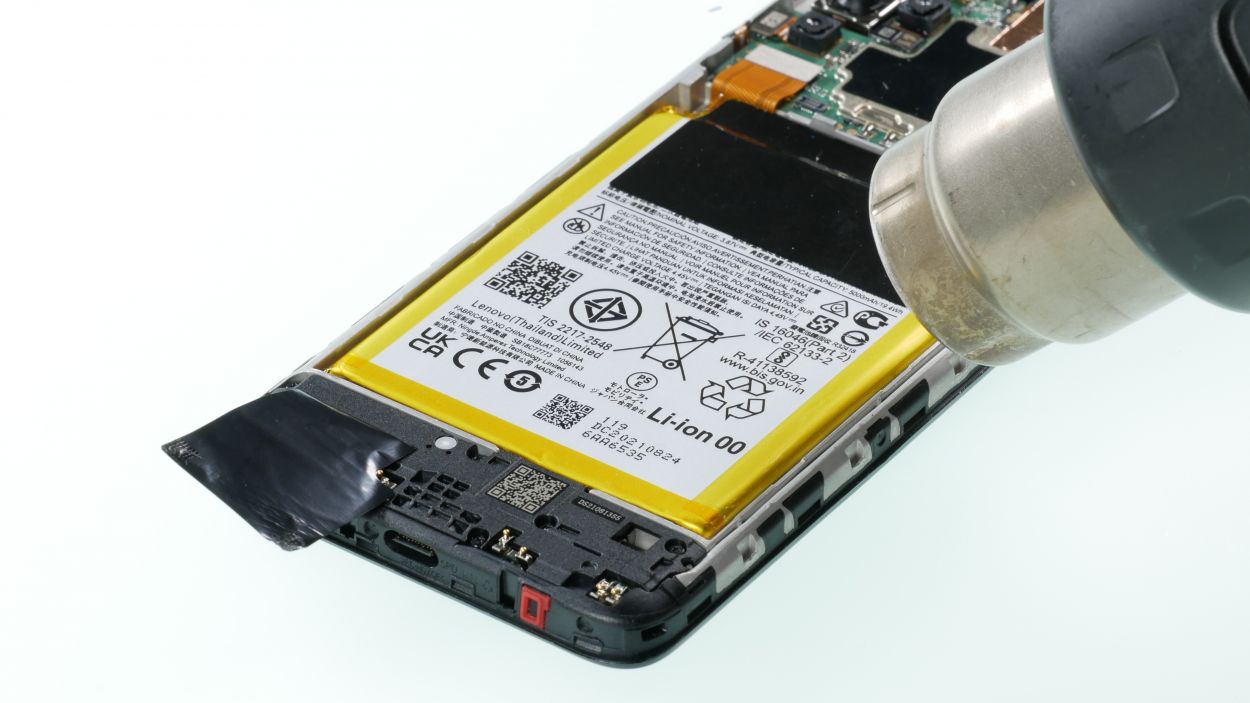
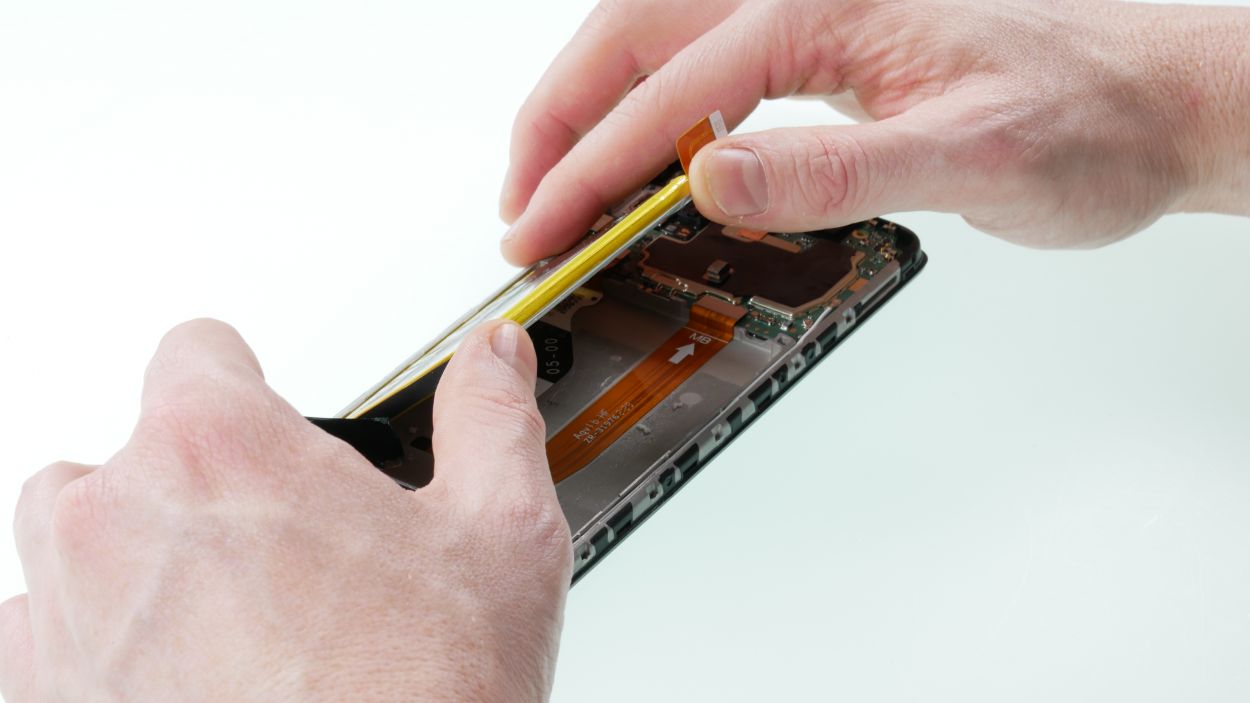
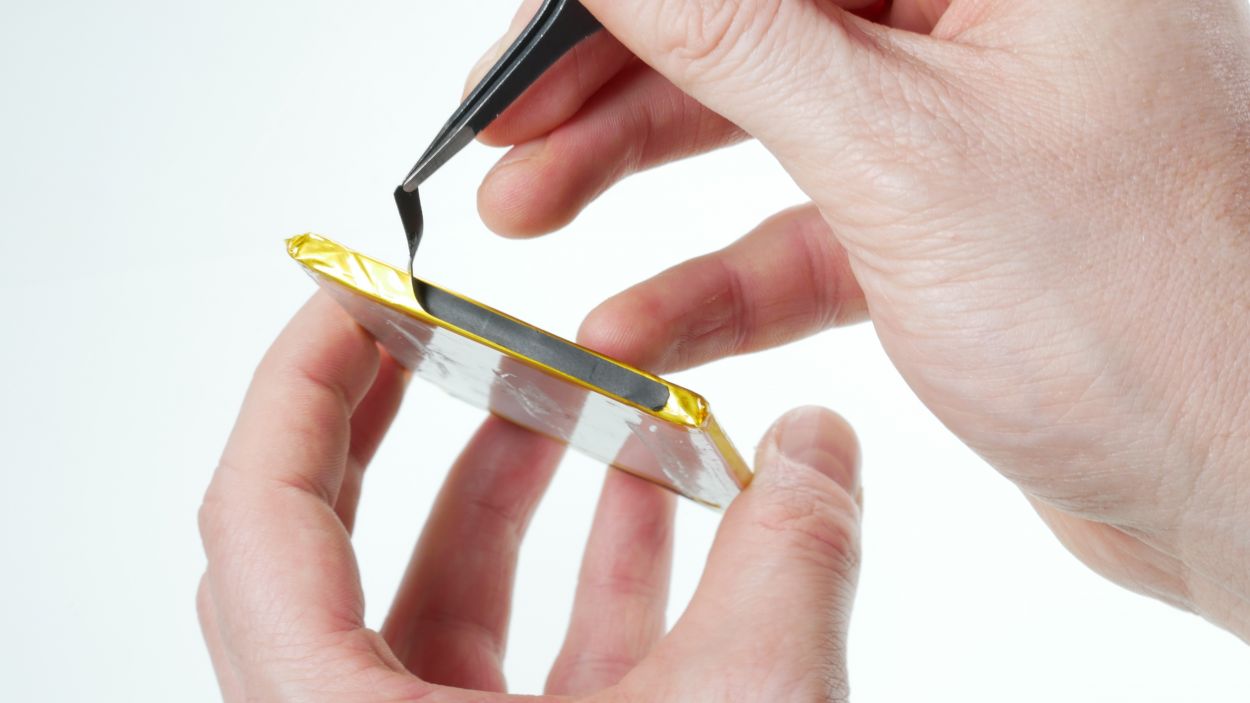
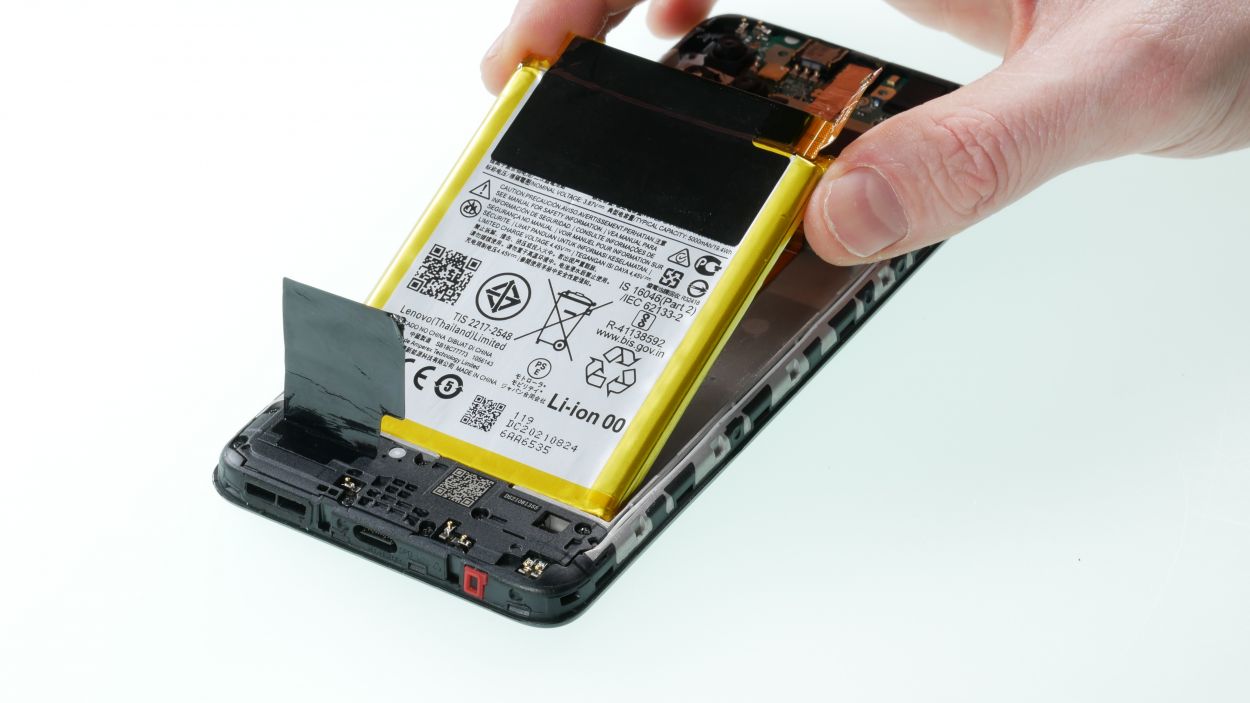
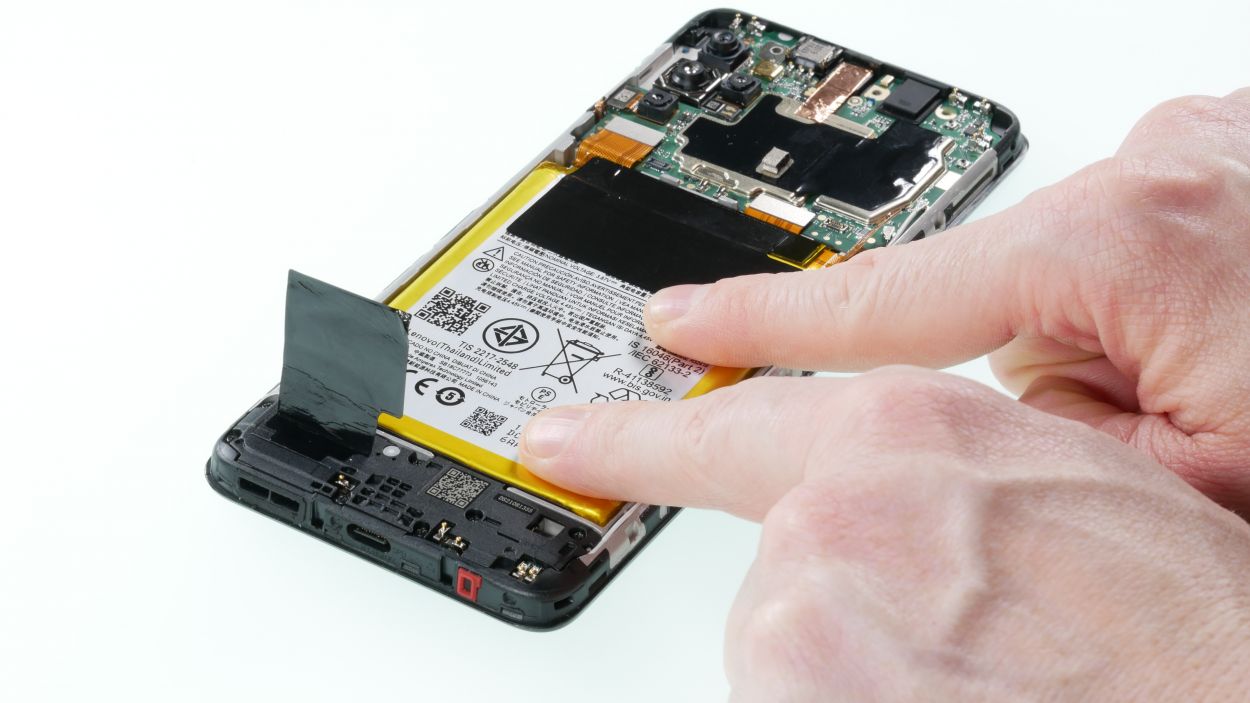
– First things first, peel off that black film from the battery and set it aside. If it’s being stubborn, a little warm air can help it along.
– Next up, grab your hot air device and give the battery a gentle heat from the side.
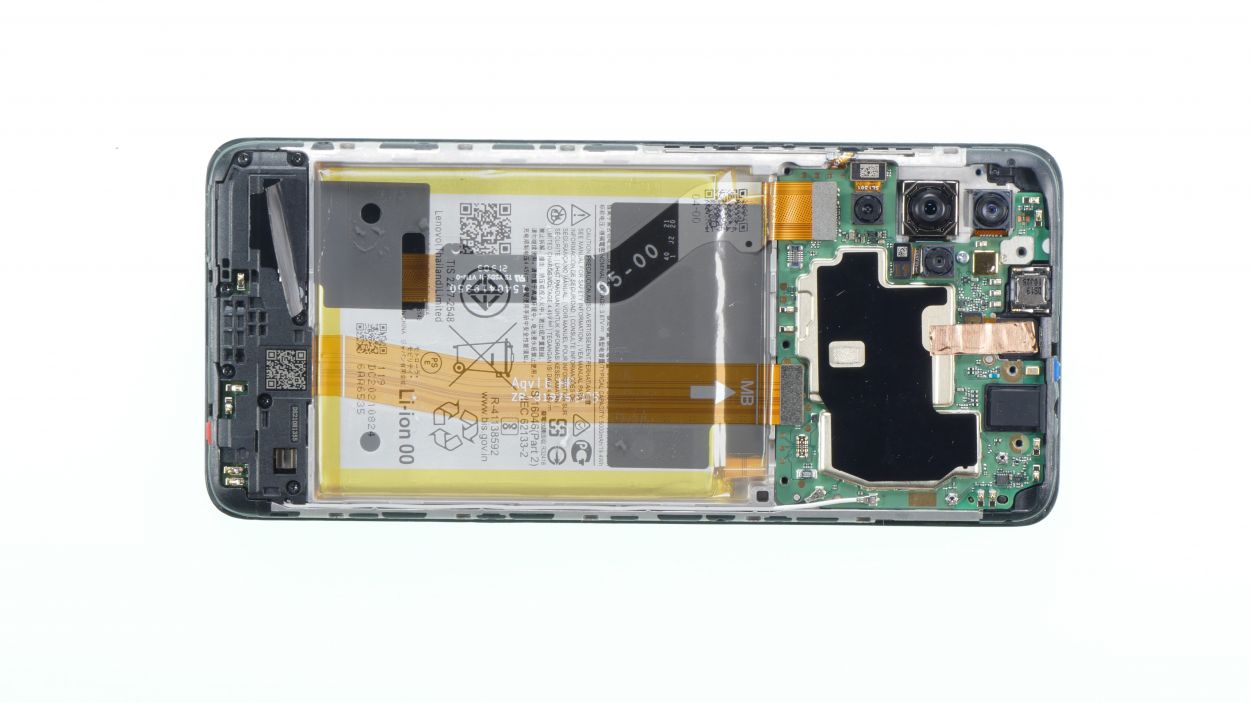
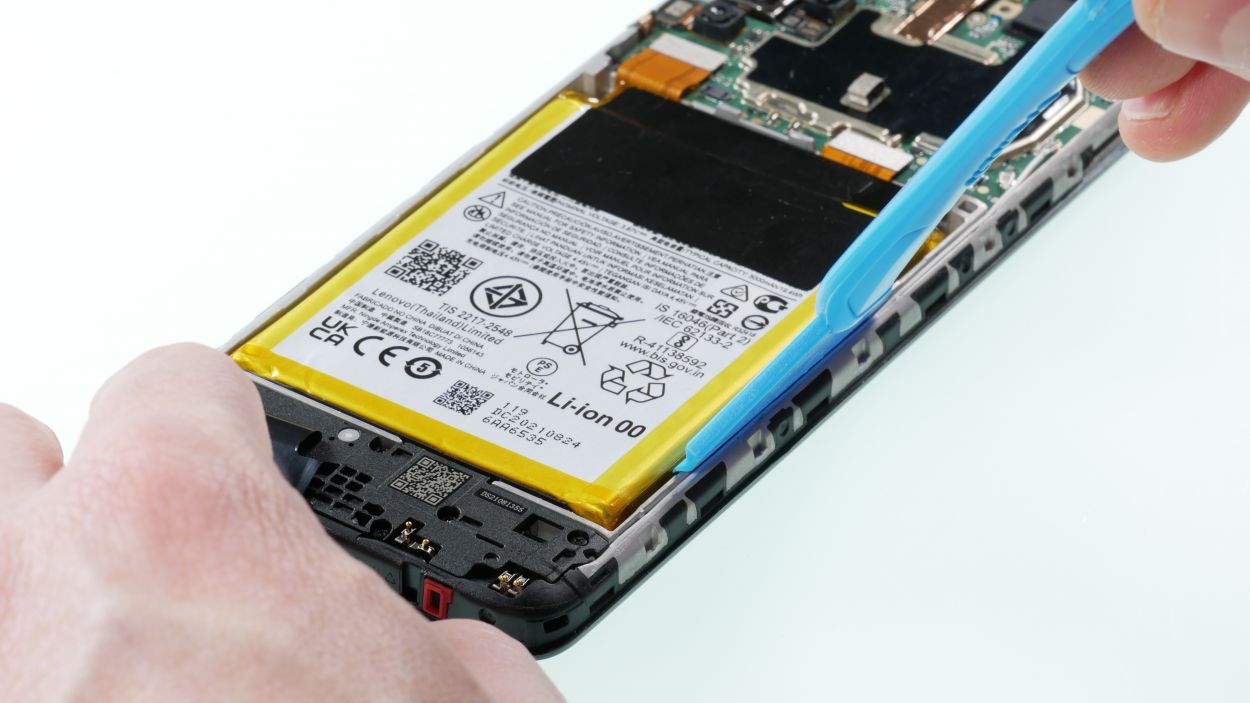
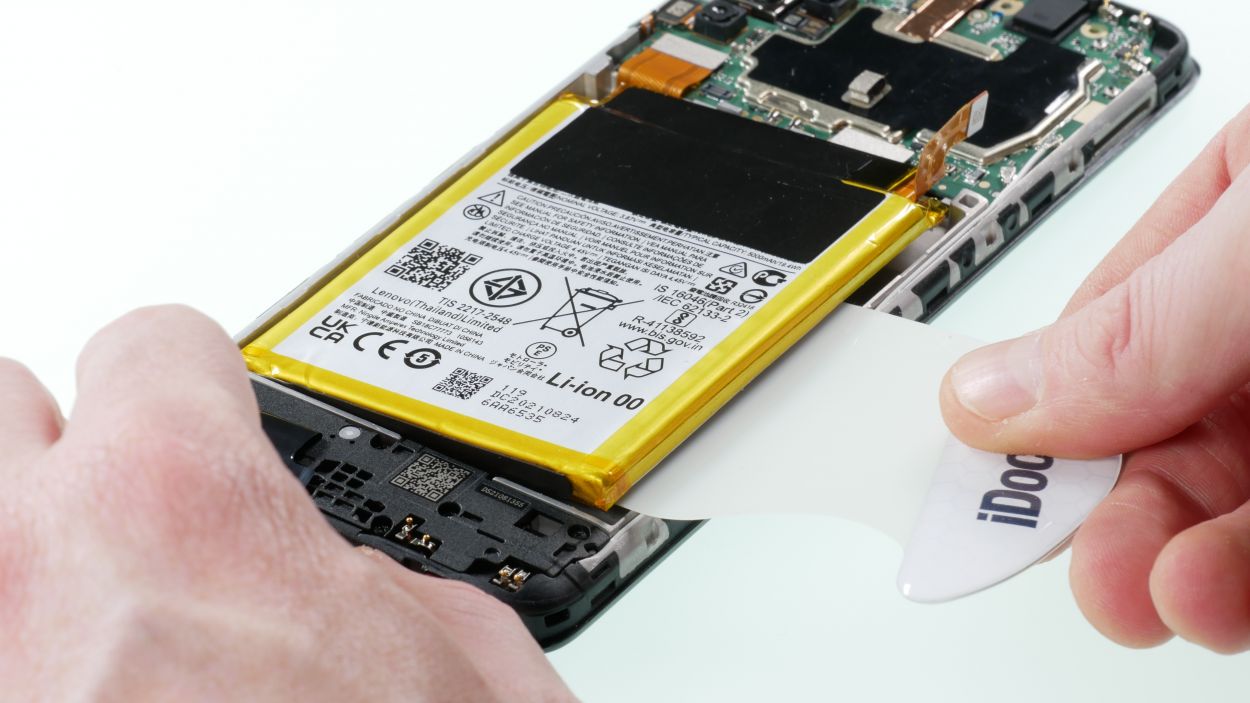
– Now, it’s time to carefully pry the battery out using your trusty battery spudger from the side.
Tools Used
- battery? Then the iPlastix with its large blade will help you. The practical assistant is made of flexible, especially sturdy plastic and lies comfortably in the hand. Thanks to its design, you can even get into smaller gaps, for example to lift the screen or to prevent it from sticking together again.” rel=”noopener”>iPlastix Opening Tool
Step 9
Battery Connector
Fingerprint Sensor Connector
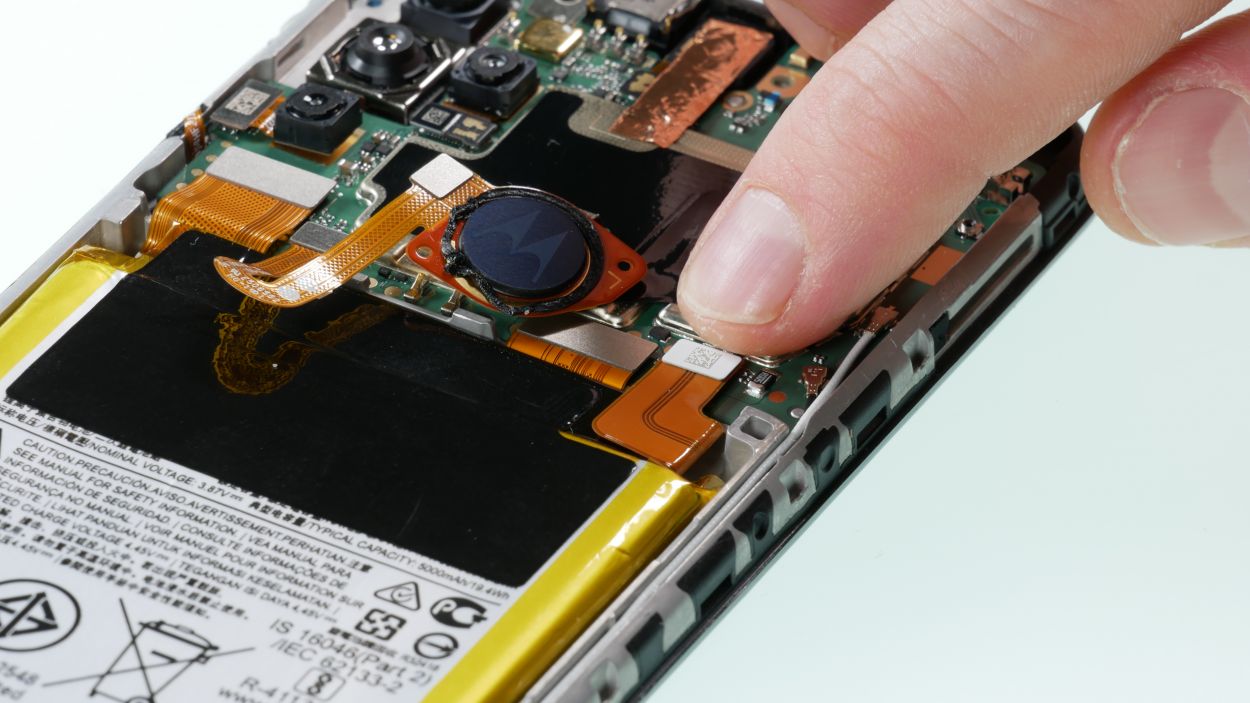
– First up, let’s get that fingerprint sensor reconnected! Just make sure you hear that satisfying click when the connector snaps into place.
– Next, it’s time to connect the battery connector. You’re doing great!
Step 10
7 × 3,7 mm Phillips
– Time to dress up that mainboard! Gently place the board cover on it, making sure the fingerprint sensor is in its rightful spot—right on top of the cover, just like a cherry on a sundae!
– If everything looks snug and happy, grab those screws and give the cover a secure hug. It’s all about keeping things together!
Step 11
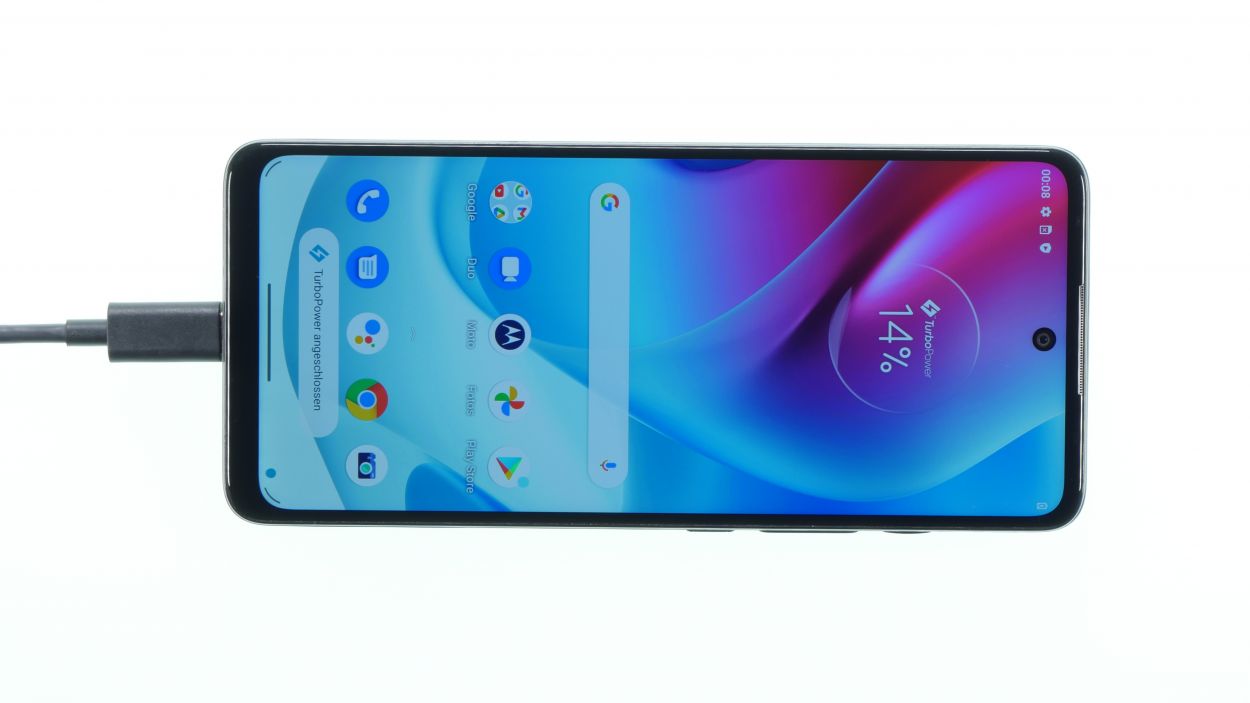
– Alright champ, before you button things up, give everything a quick test drive! Make sure all systems are go.
Step 12
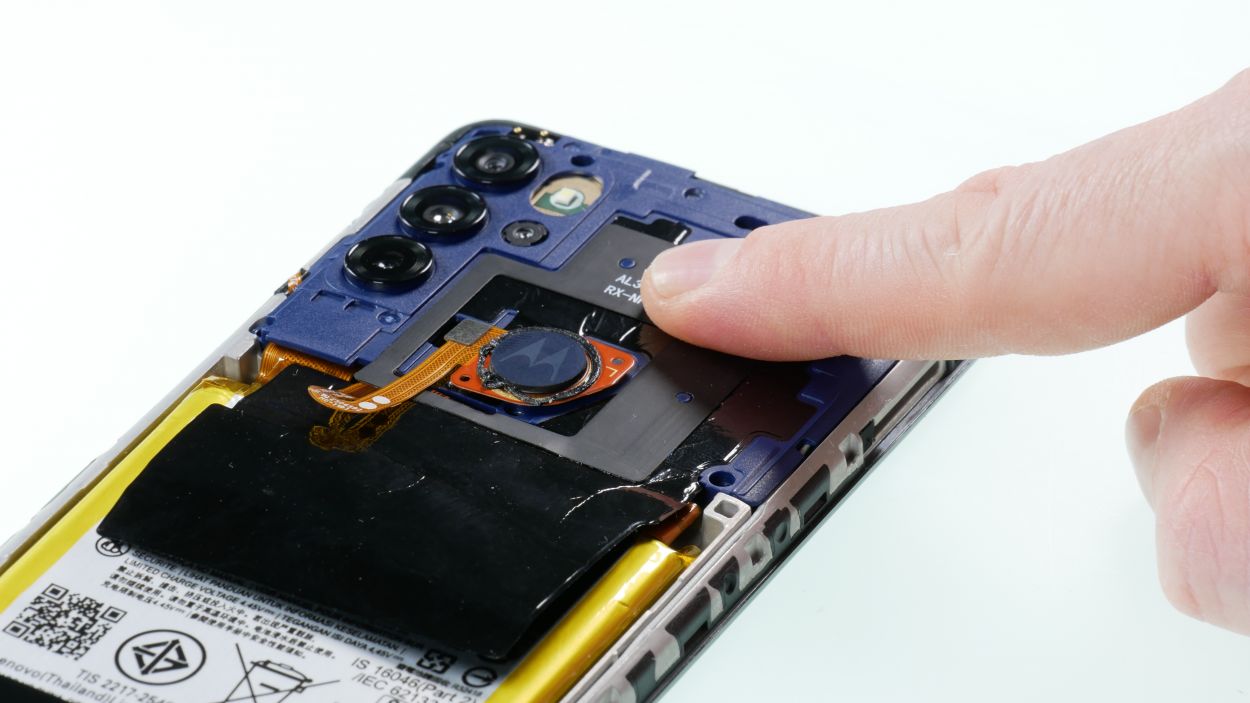
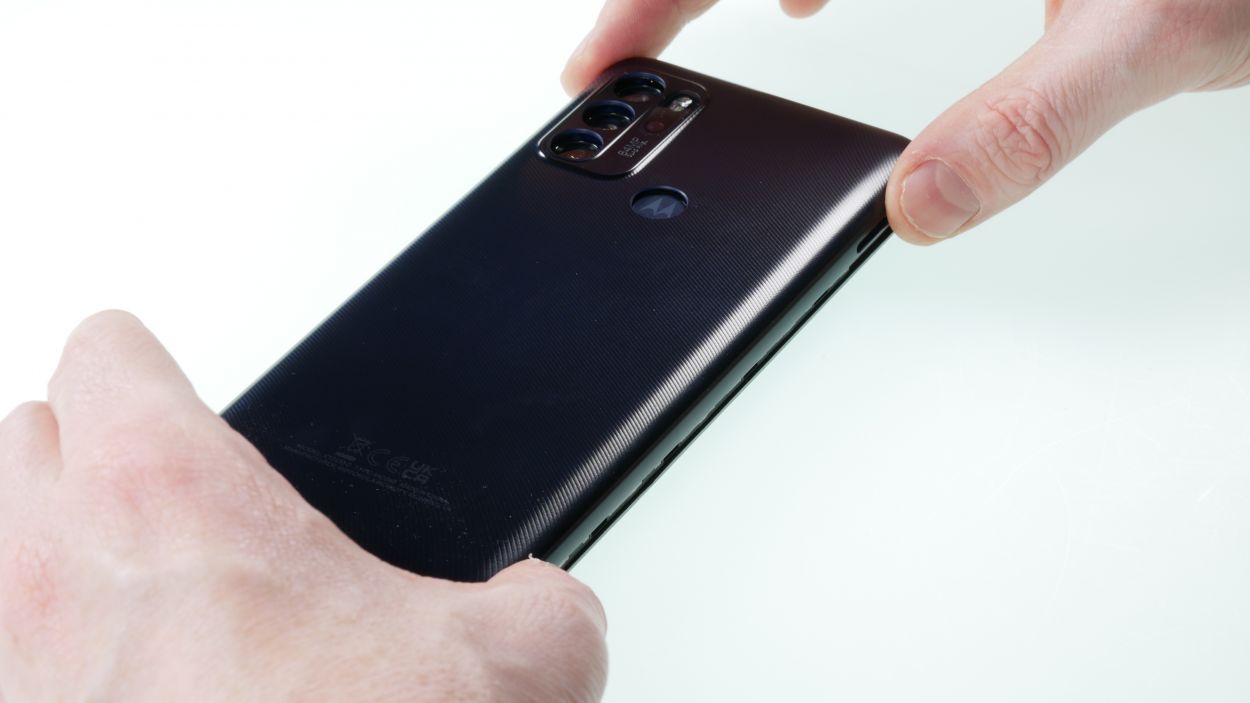
– Alright, you’re almost done! Put the back cover back on, making sure that fingerprint sensor is snug in its cozy little recess.
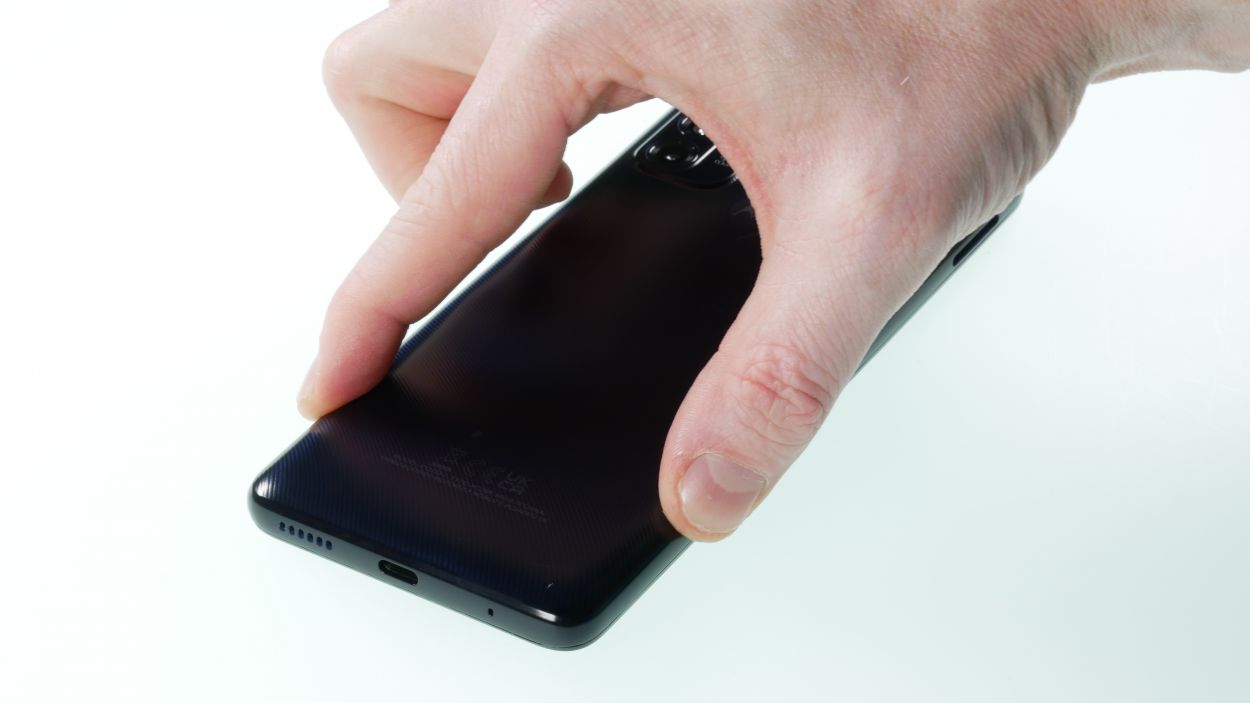
– Now, press that back cover down firmly all around until it clicks into place – you got this!
– Give the back cover a little extra love around the fingerprint sensor, just to make sure it’s secure.
Step 13
– And just like that, all you have to do now is pop the sim card and SD card holder back in. Easy peasy!
