How to Replace Vibration Motor in Galaxy Note Edge
Duration: 60 min.
Steps: 16 Steps
In this guide, we’re here to help you swap out that pesky vibration motor on your Samsung Galaxy Note Edge. If your phone’s been feeling a bit too quiet or just gives a weak buzz, it’s time to roll up your sleeves and tackle this repair yourself. And remember, if you need help, you can always schedule a repair.
Step 1

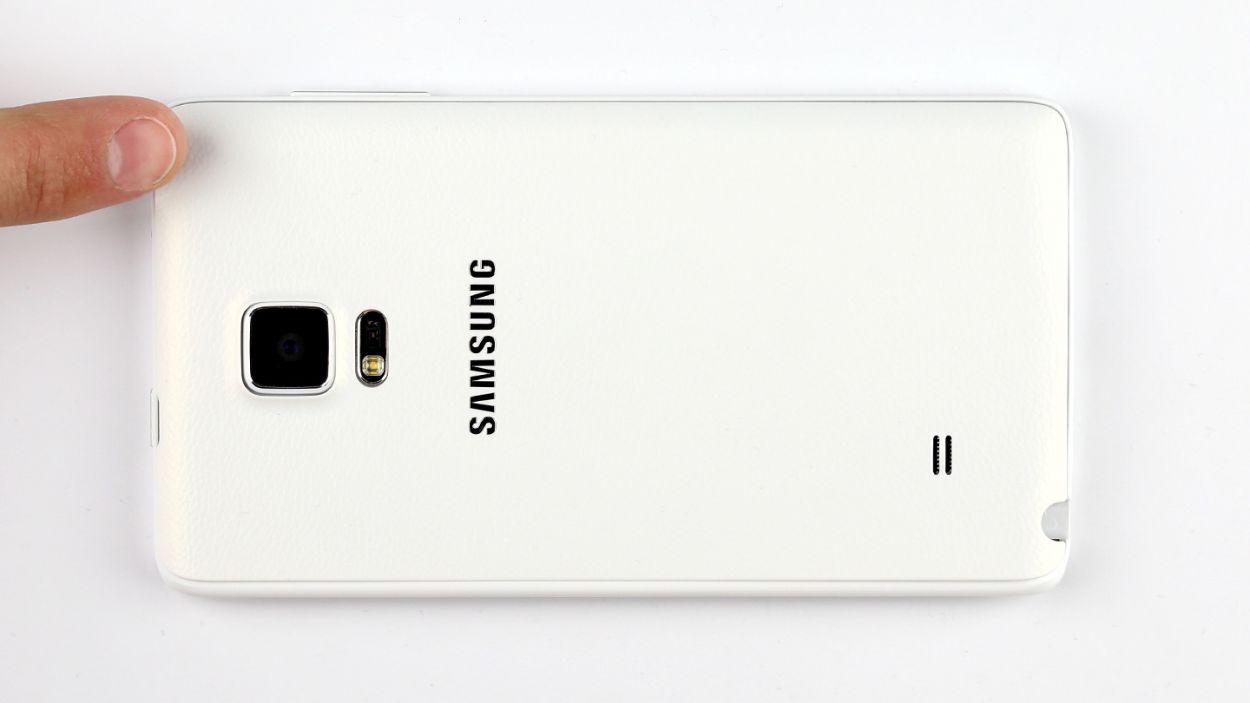
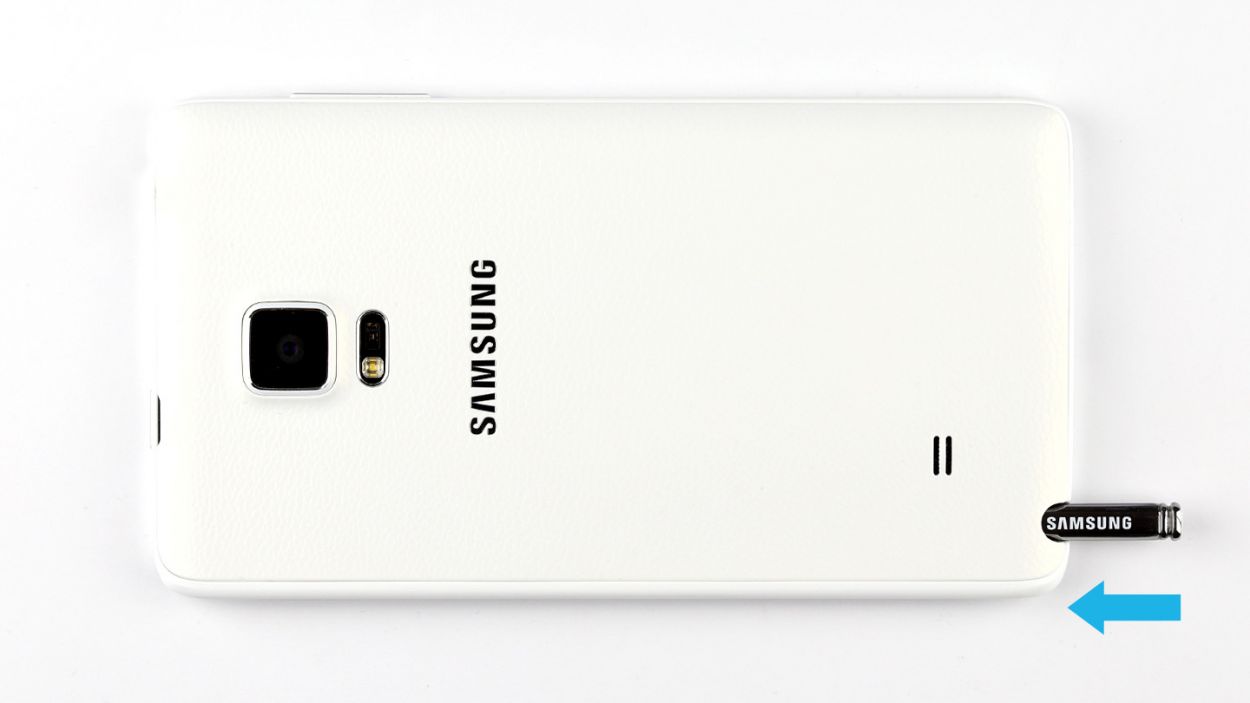
– Use your finger to pull the stylus out of your Galaxy Note Edge.
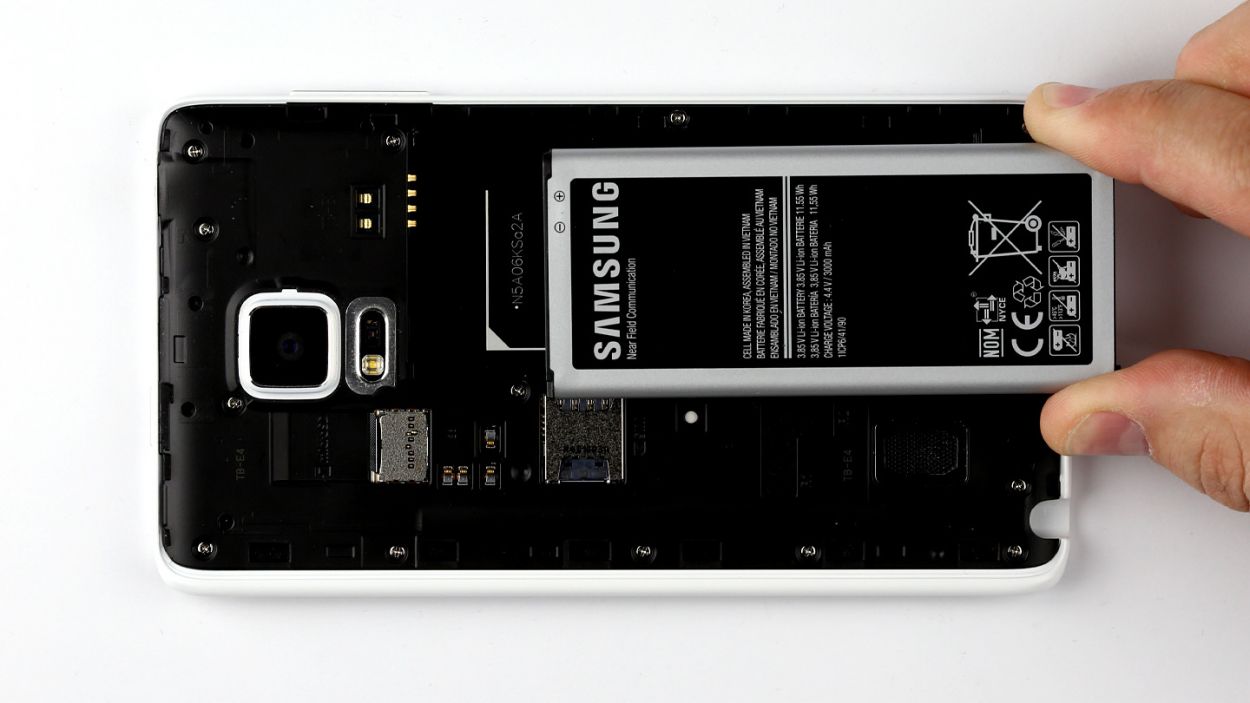
Step 2
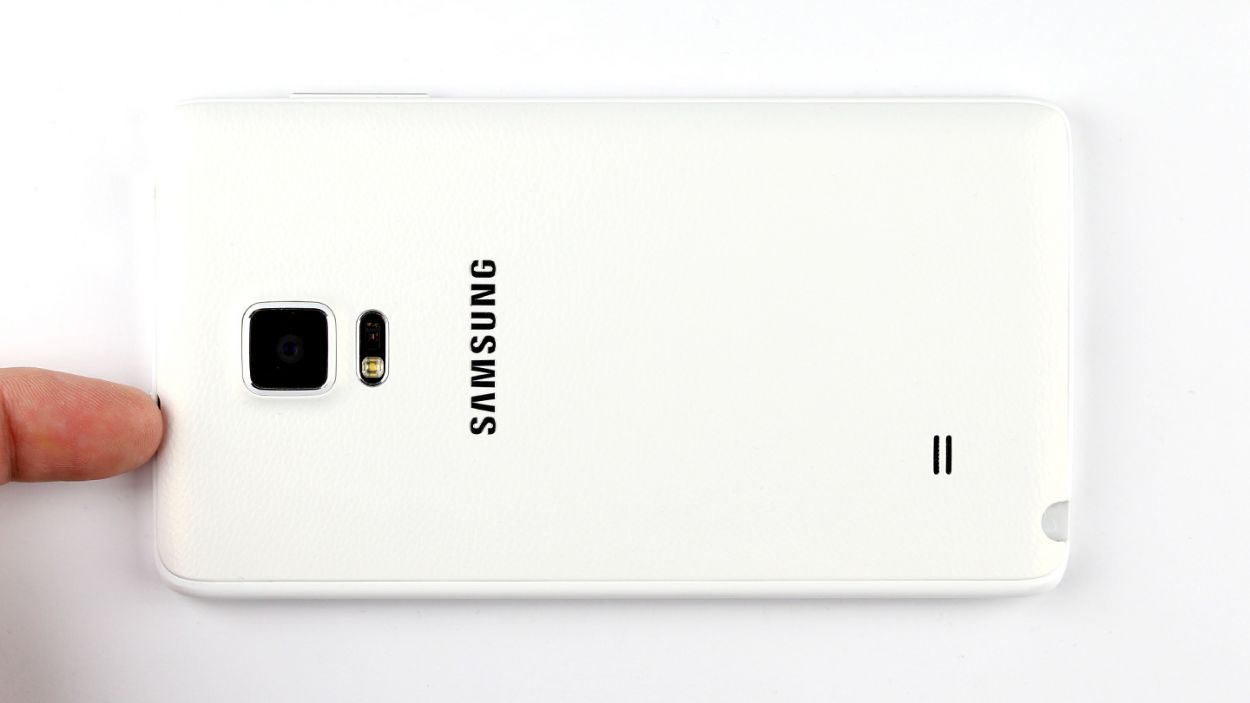
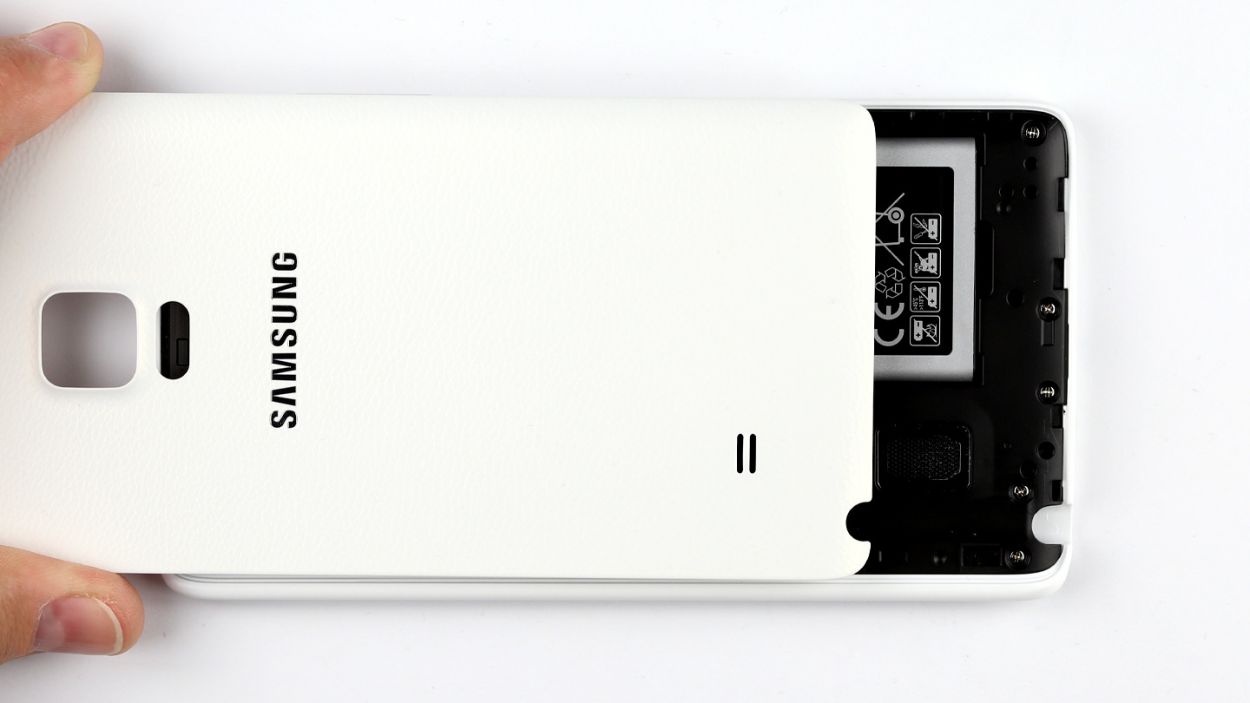
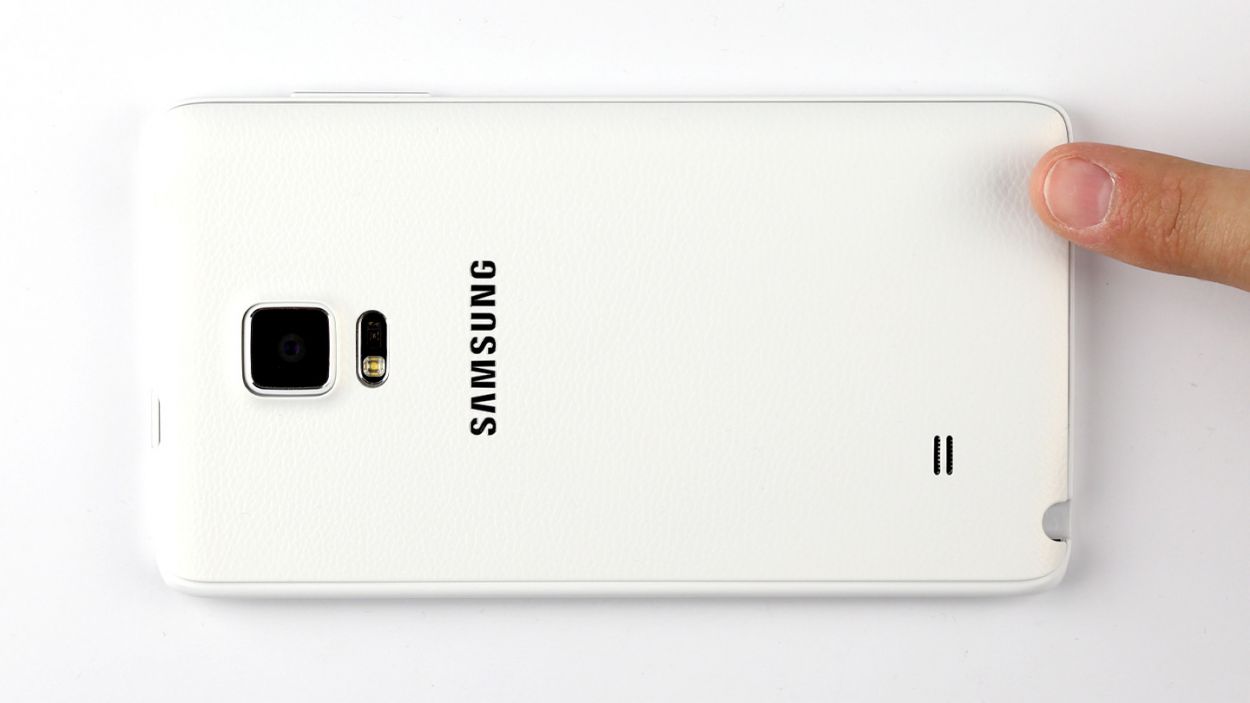
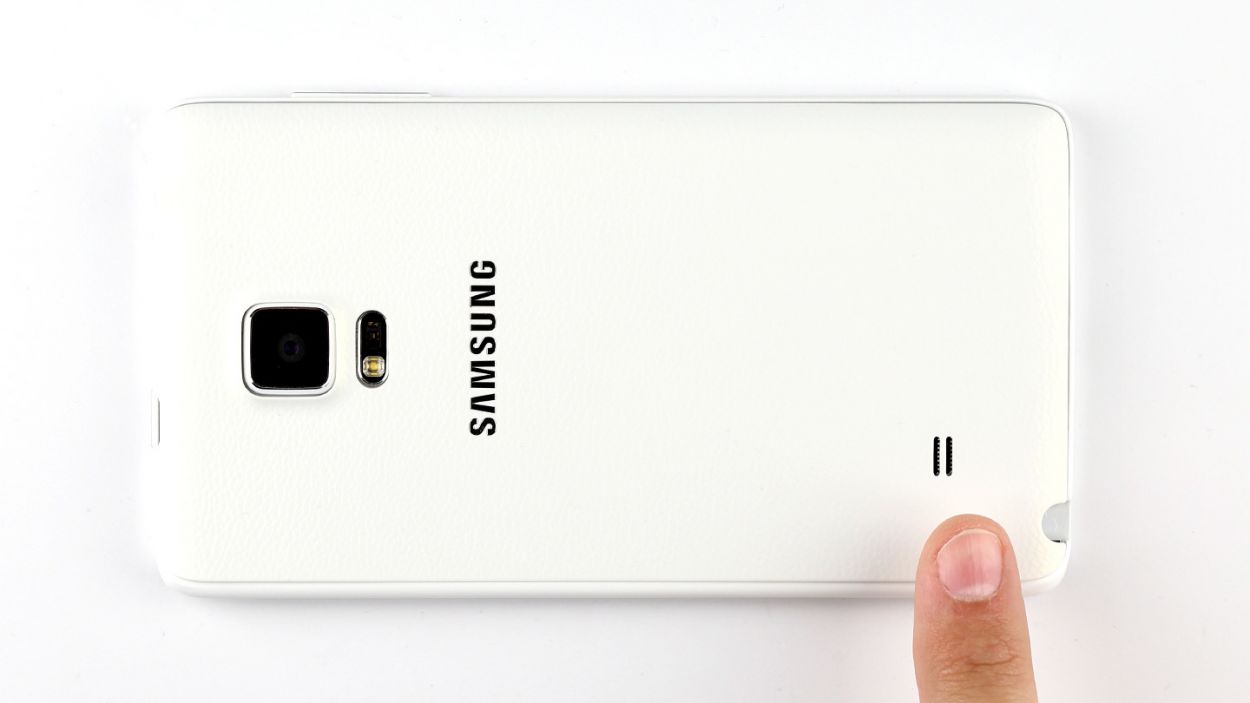
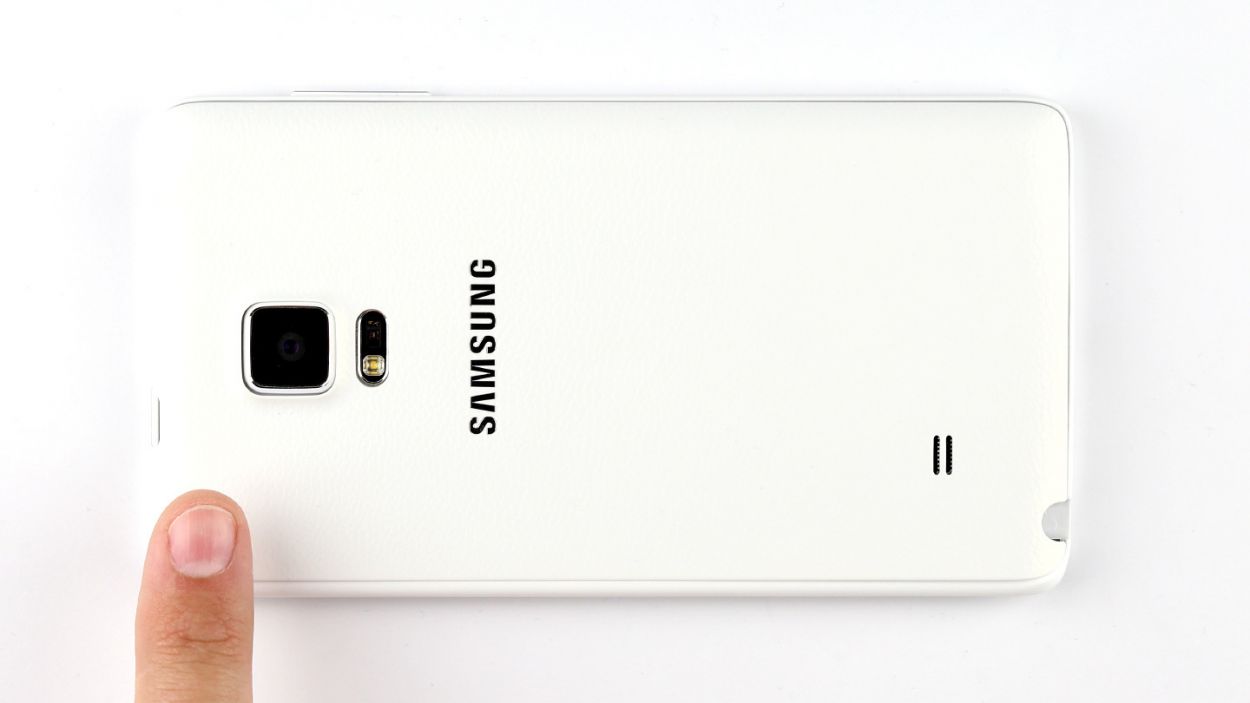
– First things first, let’s get that back cover off your device! Find the little indentation at the top of your Galaxy Note Edge – it’s the perfect spot to dig in with your fingernail. Remember, the back cover is secured at several points, so don’t be shy! Use your fingers in a few places and gently pull it away.
– Now, go ahead and remove the back cover completely.
Step 4

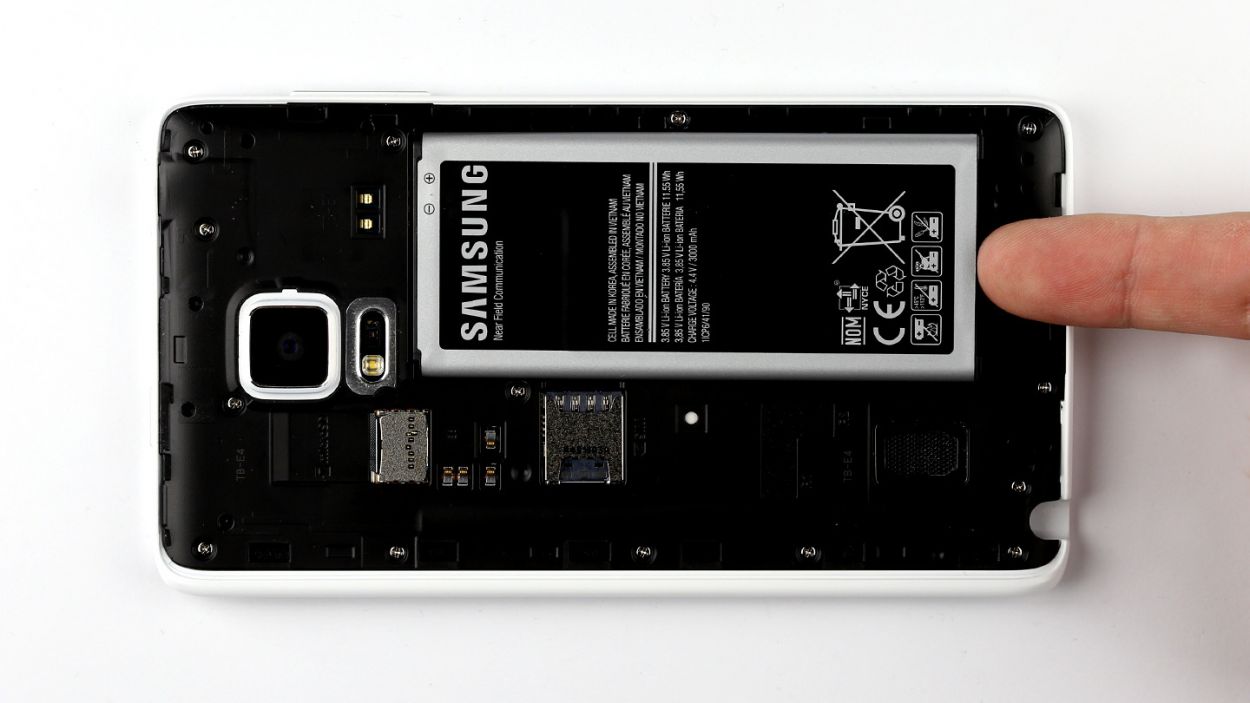
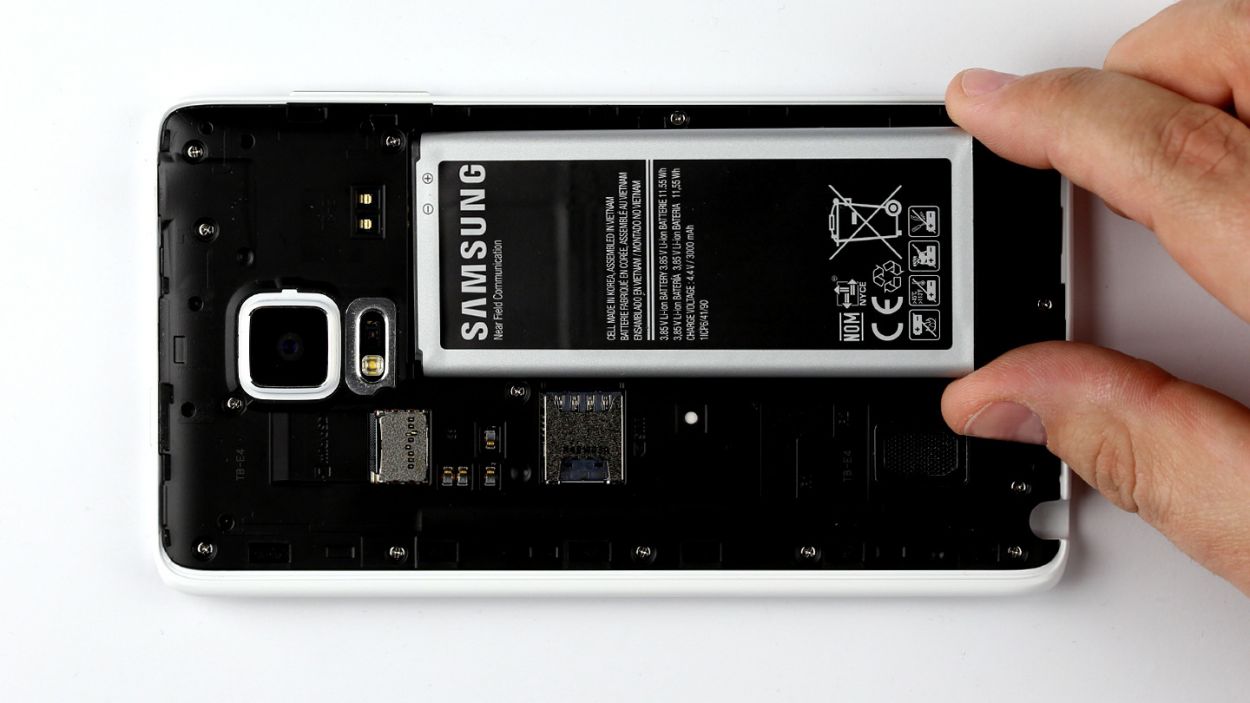
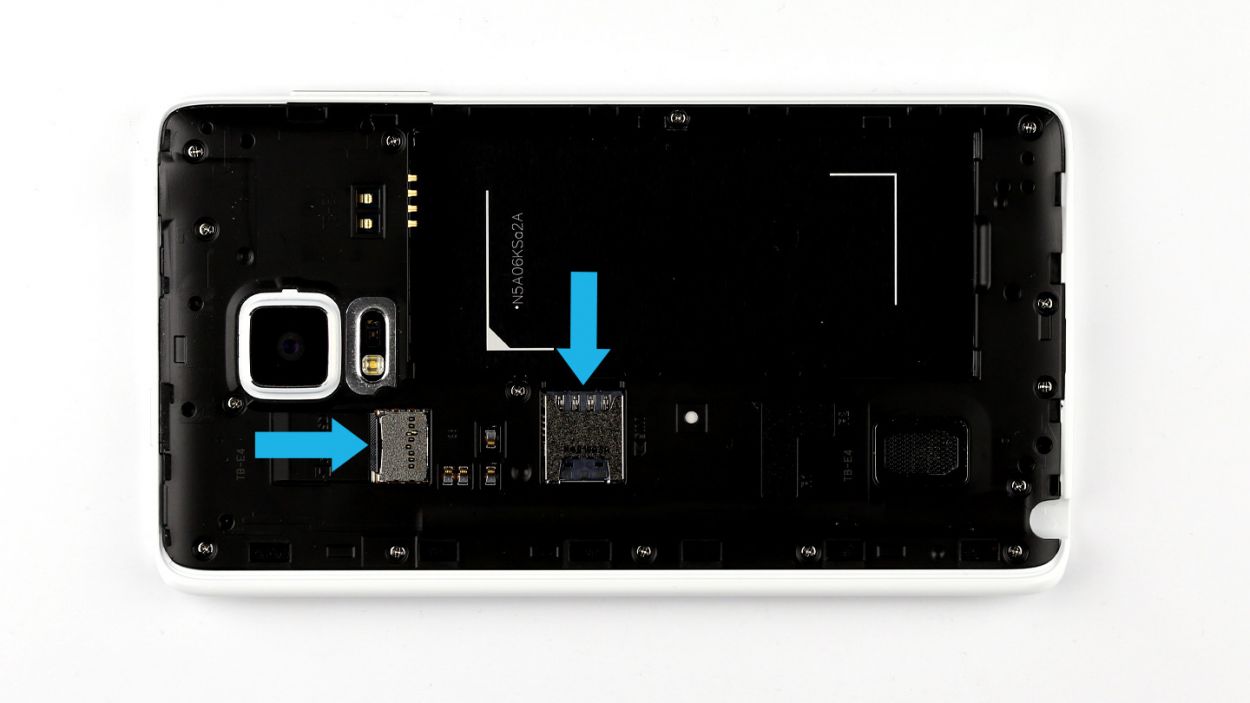
– Give that SIM card a little nudge with your finger and pop it right out of its cozy slot!
– Now, let’s not forget about the microSD card—gently pull it out from its little home in the slot.
Step 5
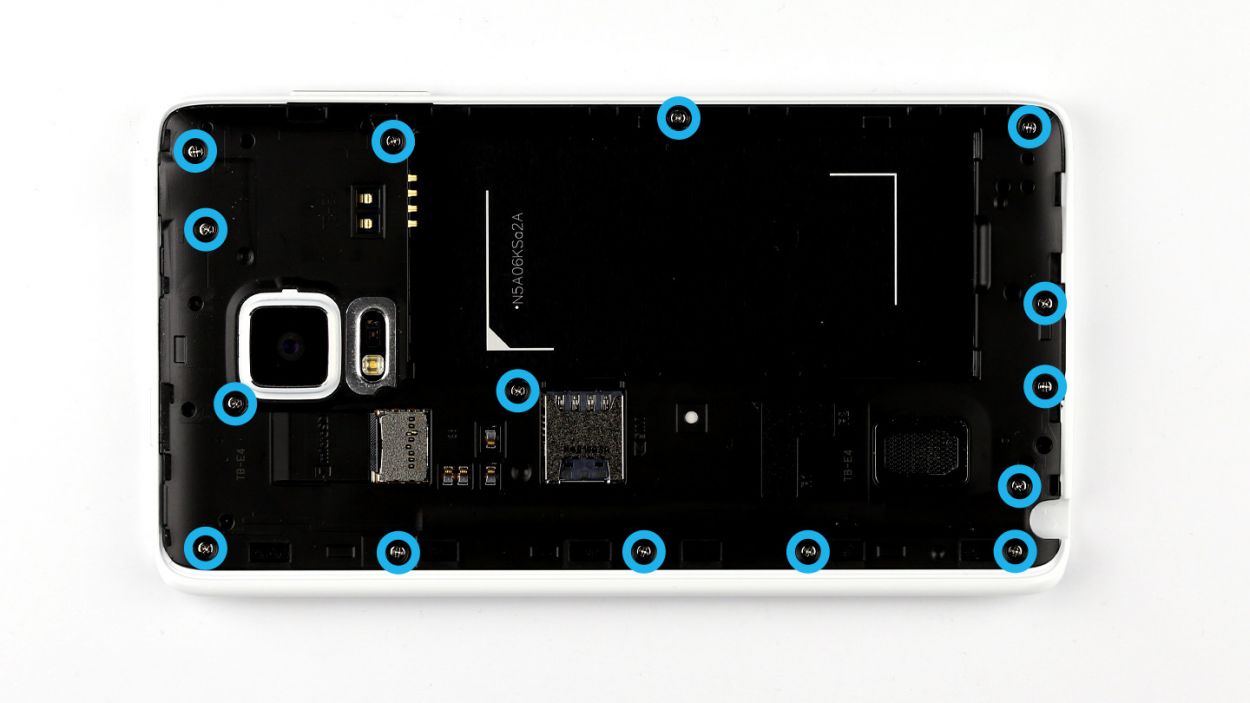


– Time to get your screwdriver ready! Start by loosening those fifteen screws that are keeping the chassis in its cozy spot. You’ll need a 15 x 4.0 mm Phillips screw for this adventure.
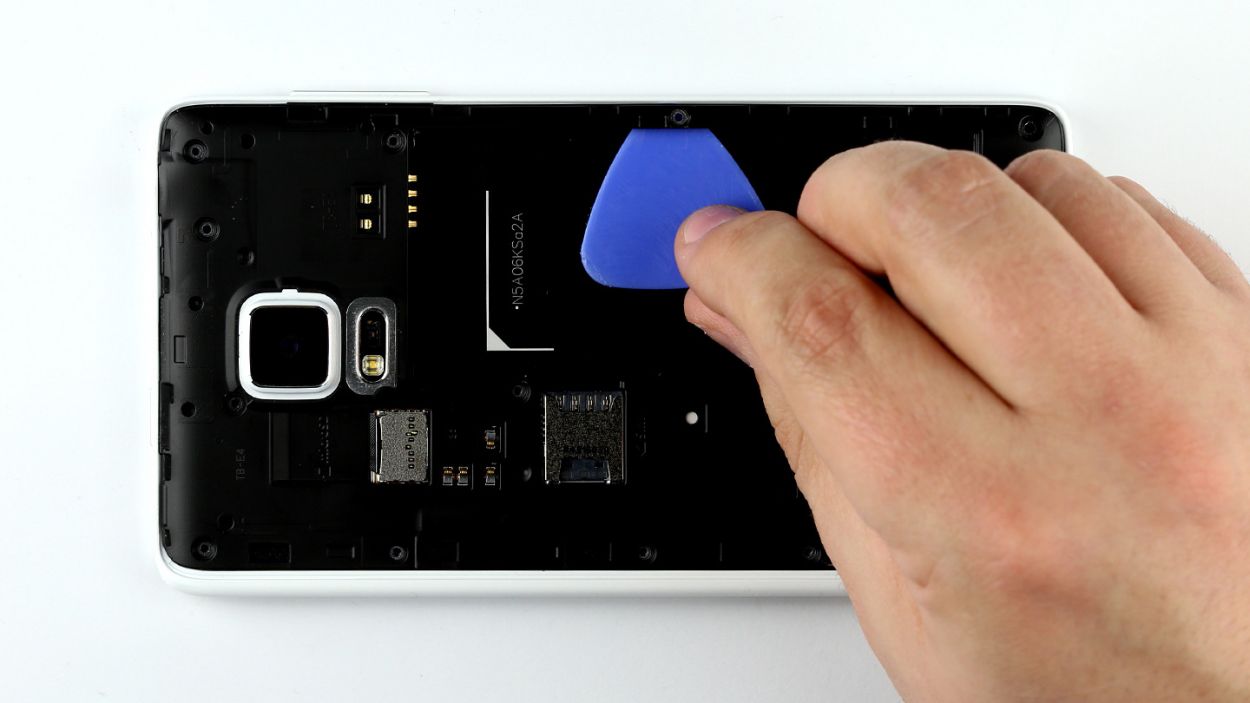
– Now, let’s unhook the chassis from the display frame! Grab your trusty pick and gently slide it between the chassis and the frame. Focus on the area around the battery recess to begin unhooking.
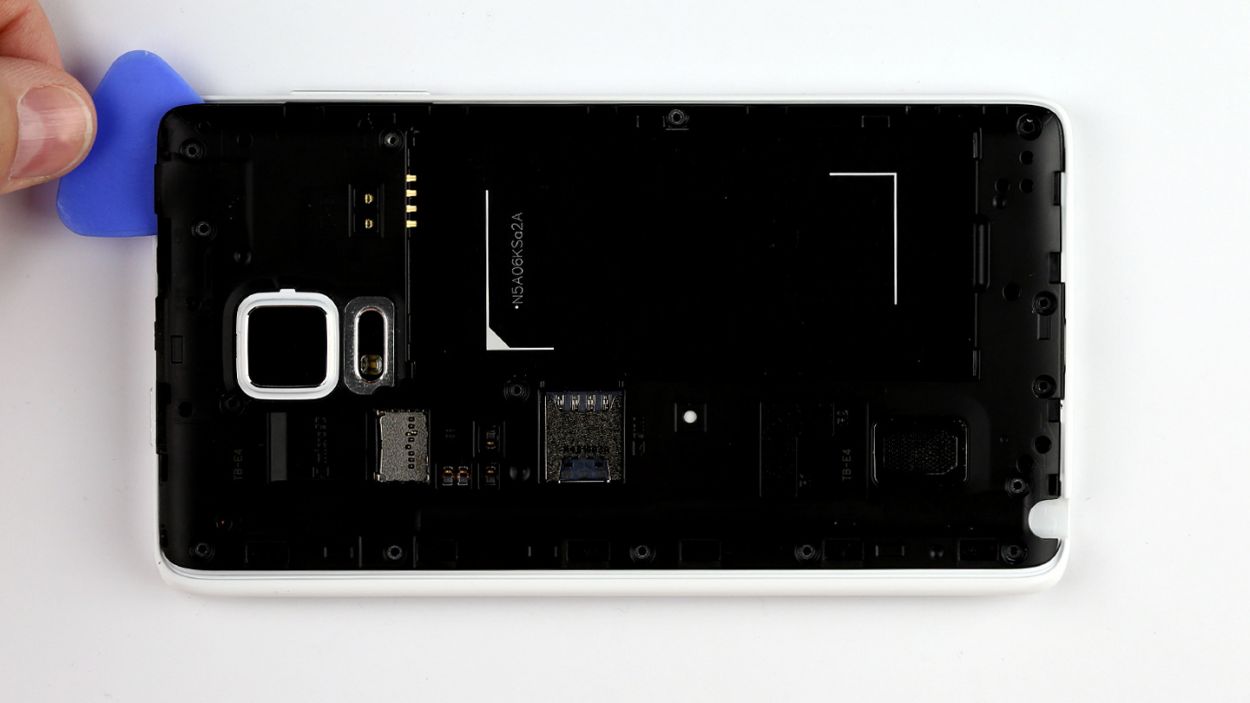
– Keep that pick moving all around your device, ensuring the frame is completely disconnected from the chassis. You got this!
– Finally, lift that chassis off with a satisfied smile. You’re doing great!
Step 6
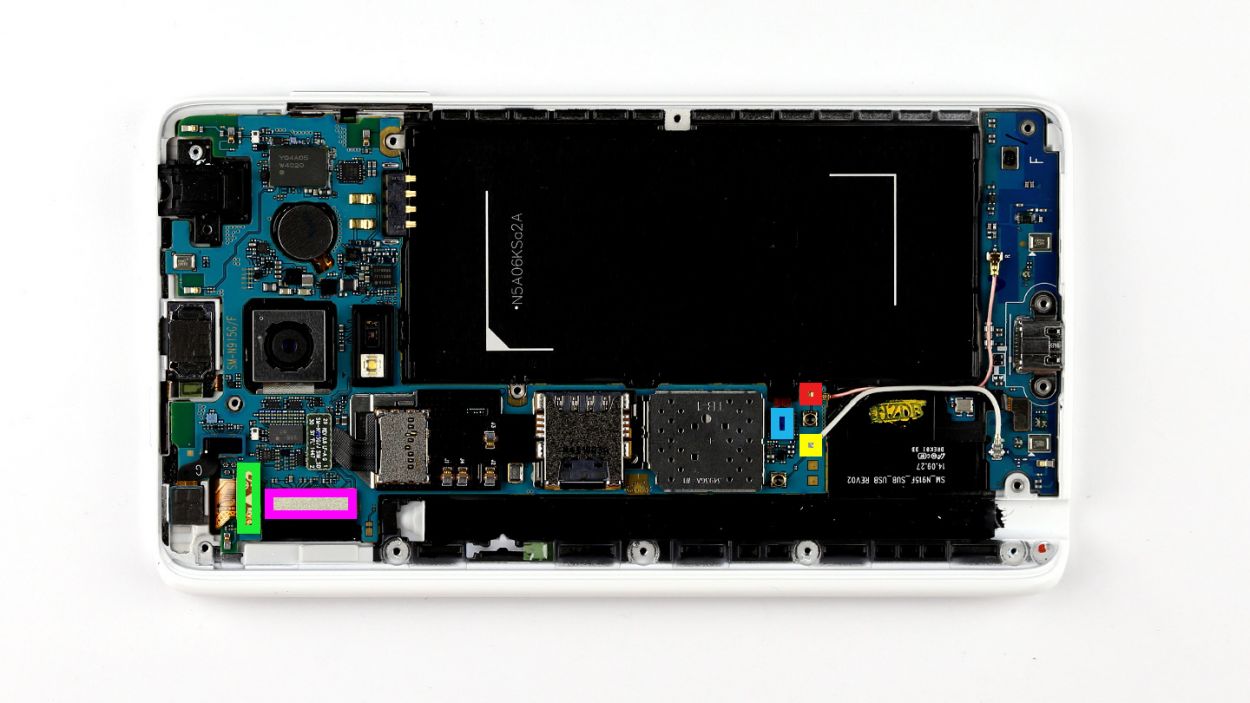
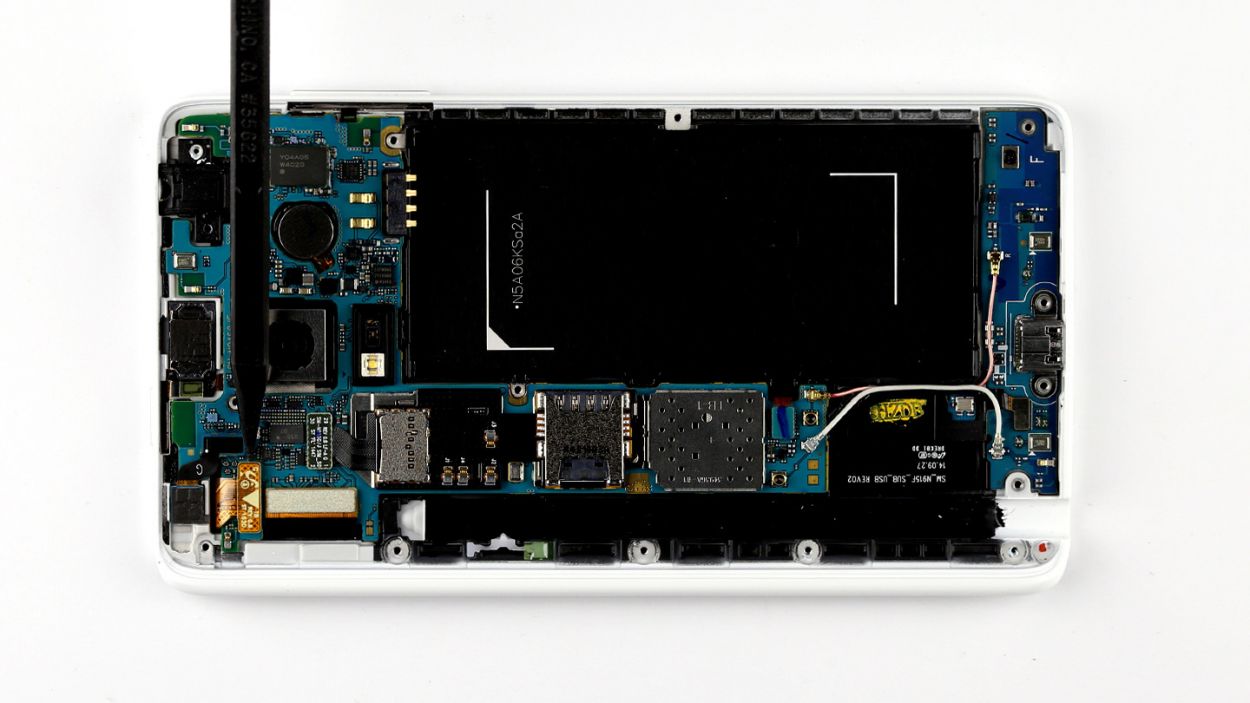
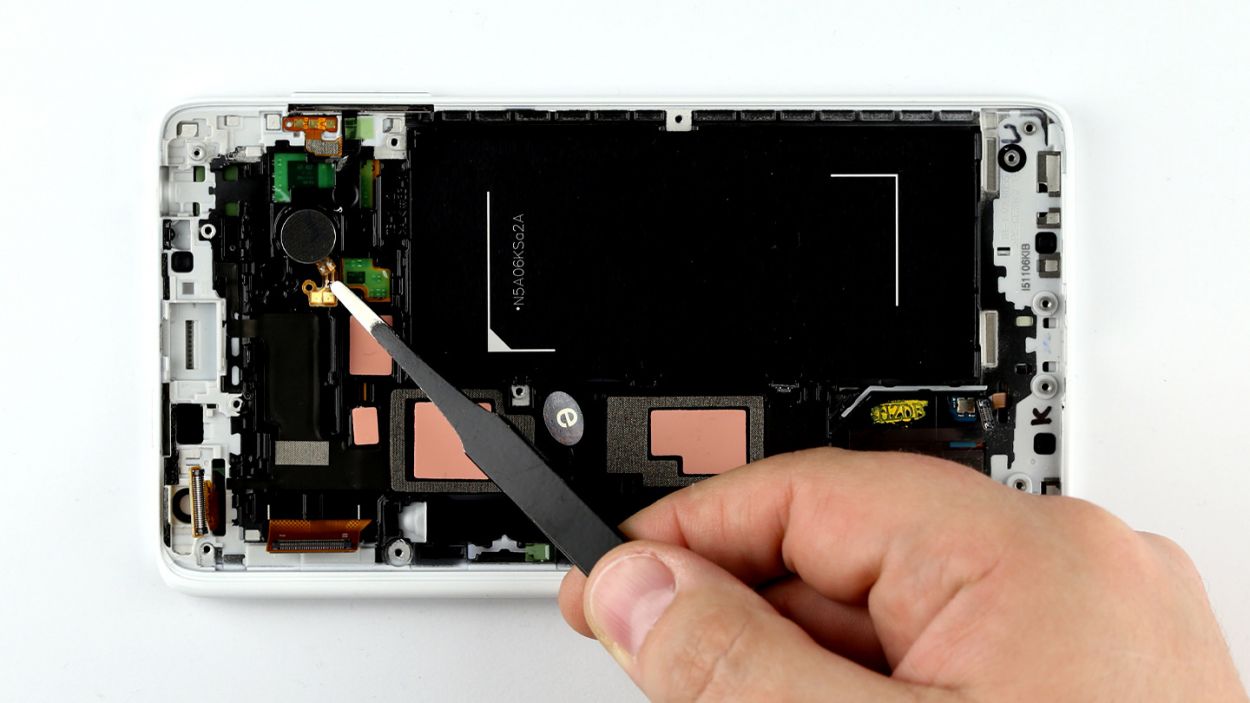
– First things first, let’s give your device a break. Disconnect everything from the logic board in the order listed below: Touchscreen, LCD, Home button/fingerprint sensor, Wi-Fi antenna cable, Bluetooth antenna cable. Easy peasy!
– Now, grab your trusty spudger! Use its pointed tip to gently disconnect the plug contacts. Just slide it underneath the connector and give it a gentle nudge to pop it off the logic board. You’ve got this!
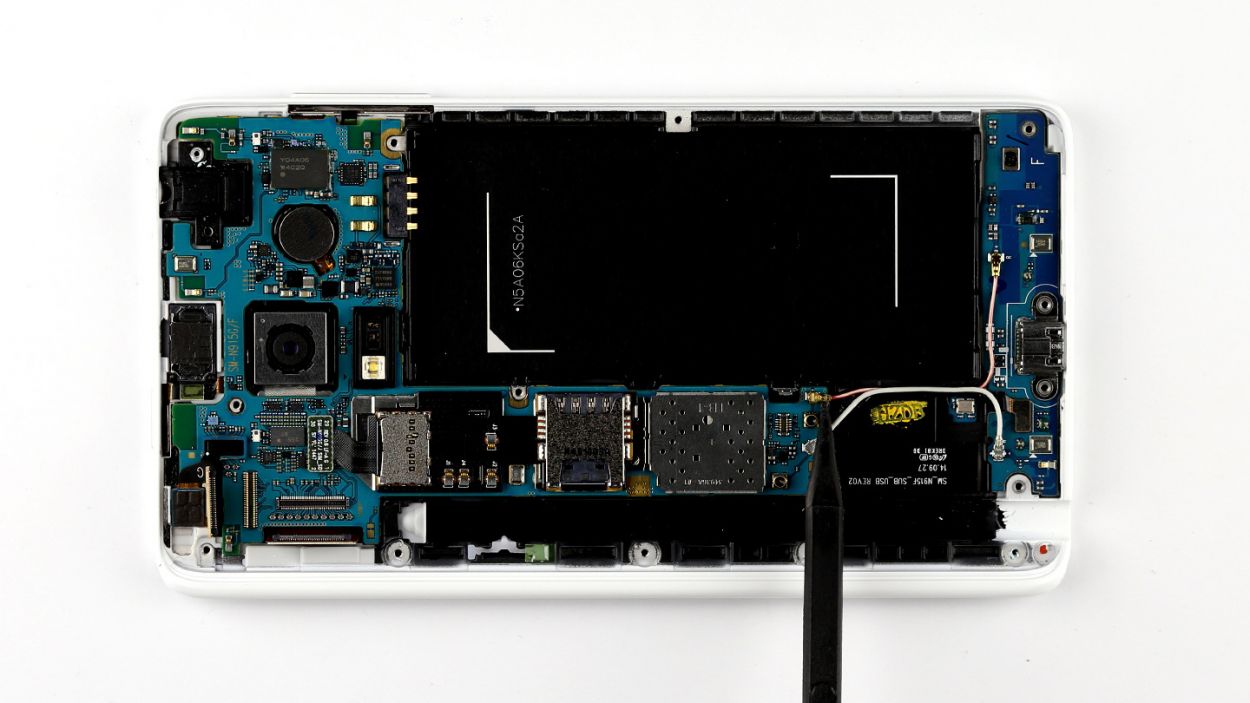
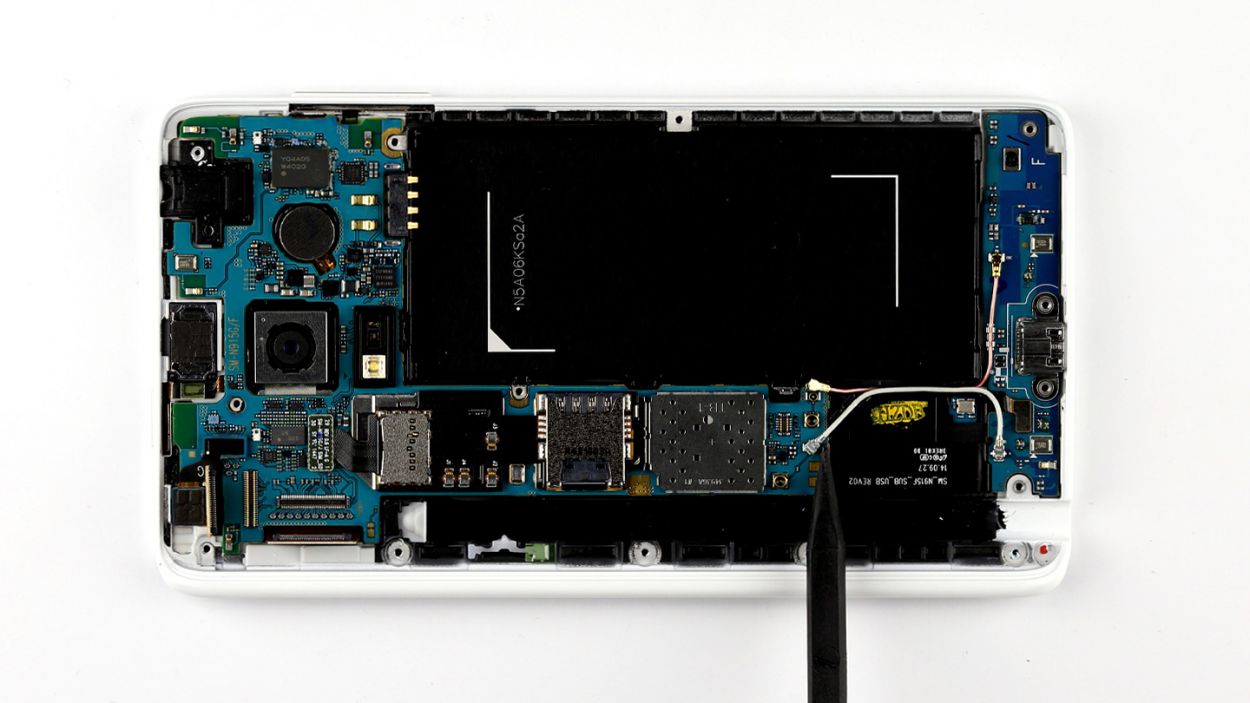
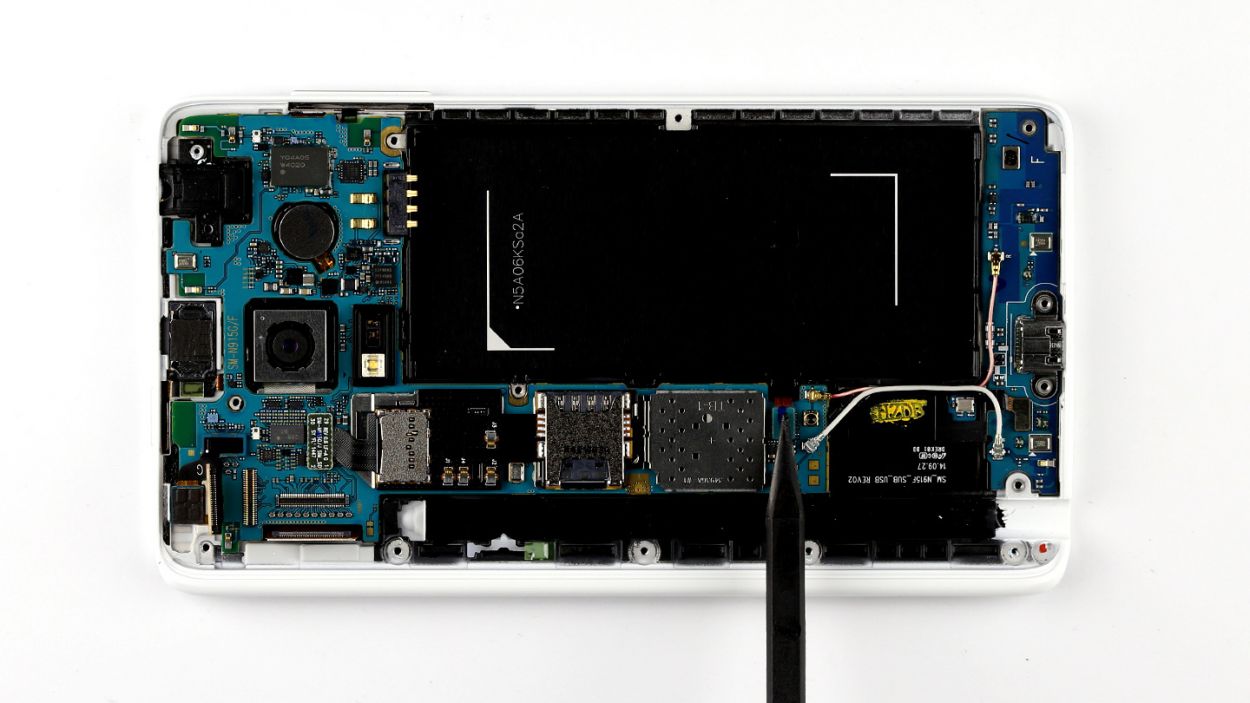
Step 7


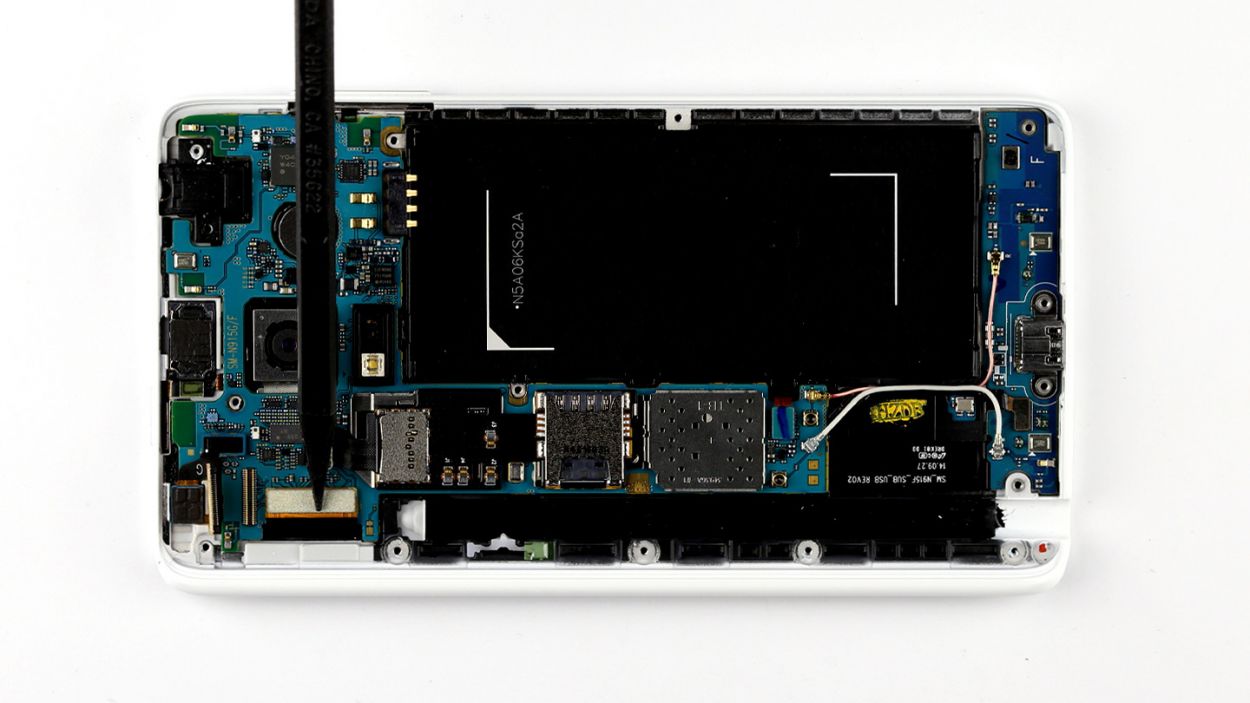
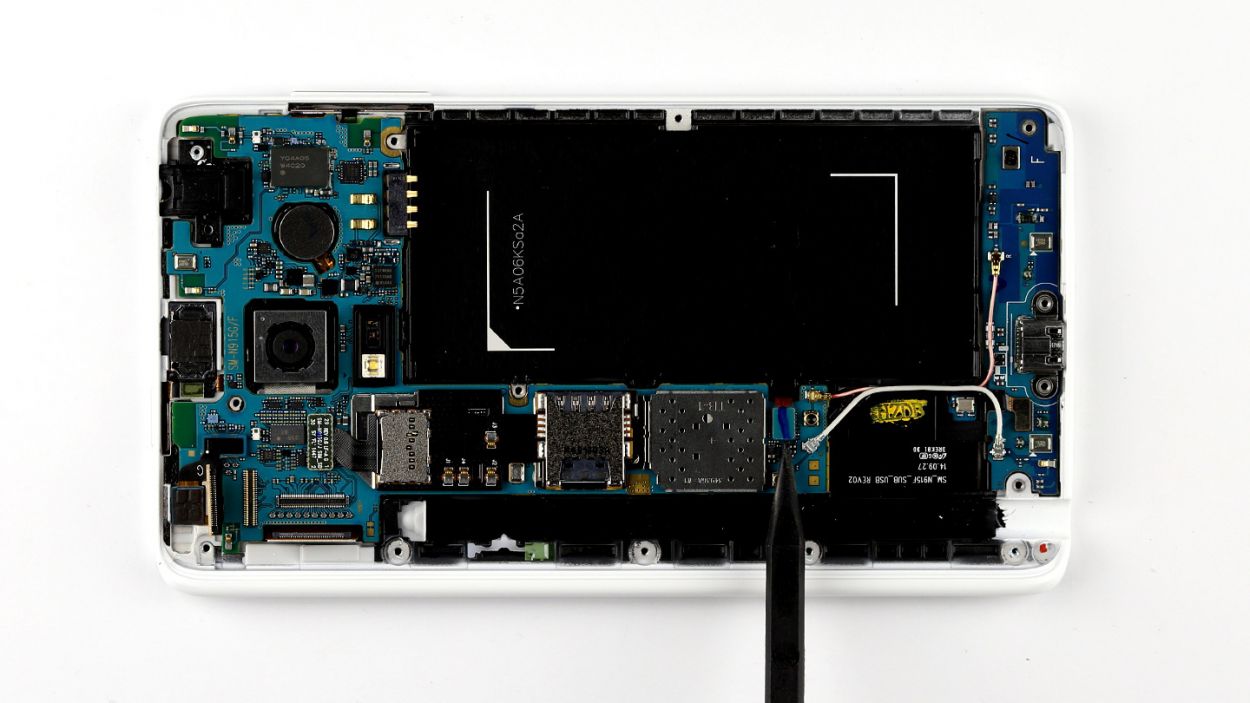
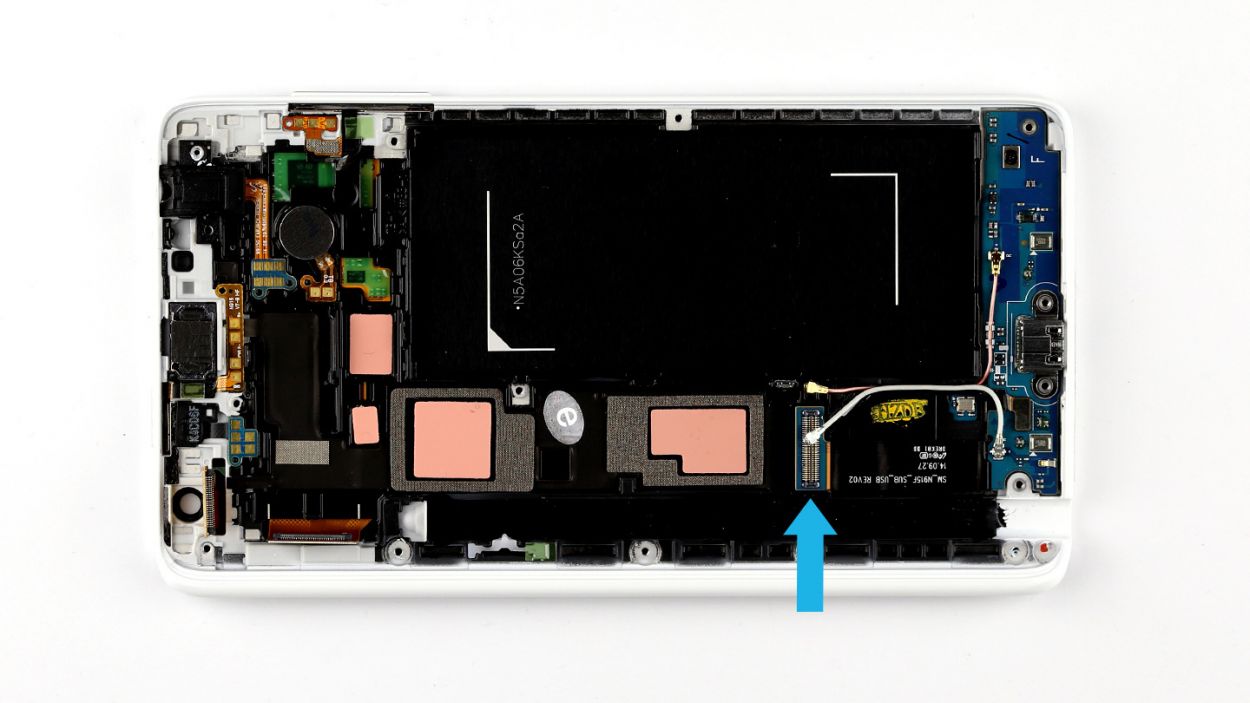
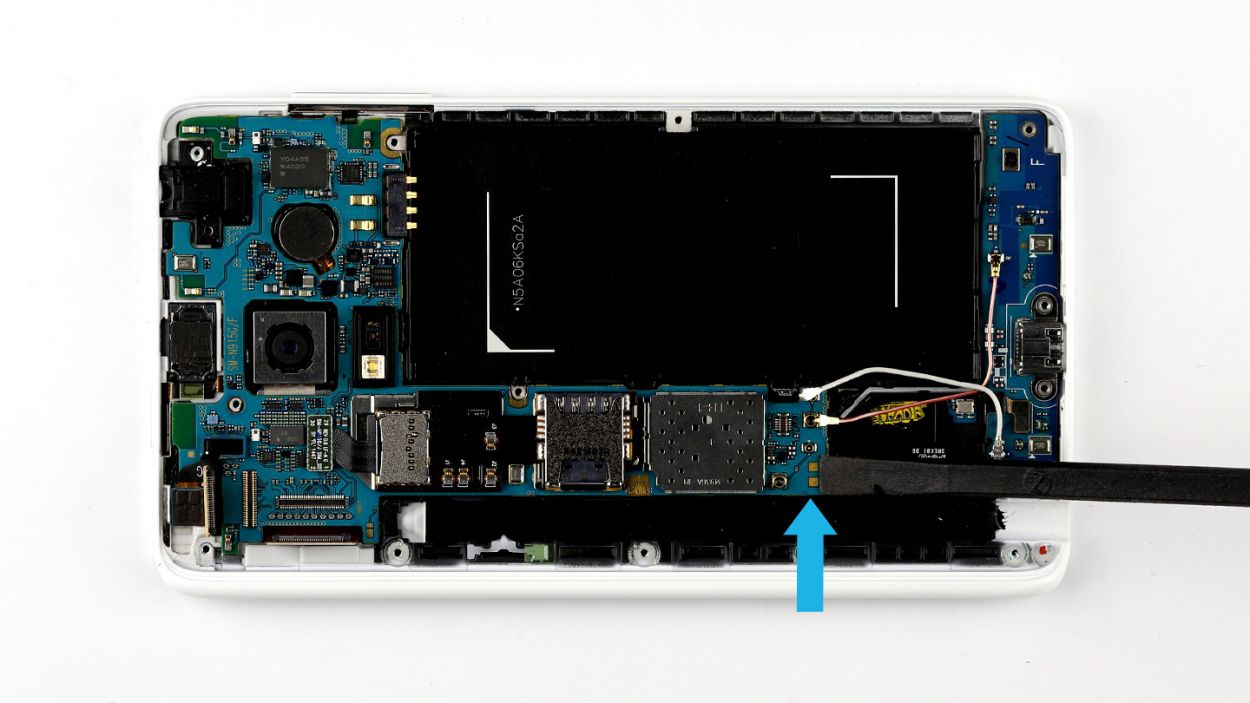
– Alright, let’s get that logic board ready for a little adventure! First up, the bottom of the logic board is snugly connected to the sub-board via a connector (look for that blue arrow). Before we can lift off the logic board, we need to disconnect this little buddy. Grab your trusty spudger and gently slide the flat end between the logic board and the enclosure. Just a heads-up, make sure you’re on the sub-board’s flexible flat cable. Be gentle, though! We don’t want to hurt that delicate cable.
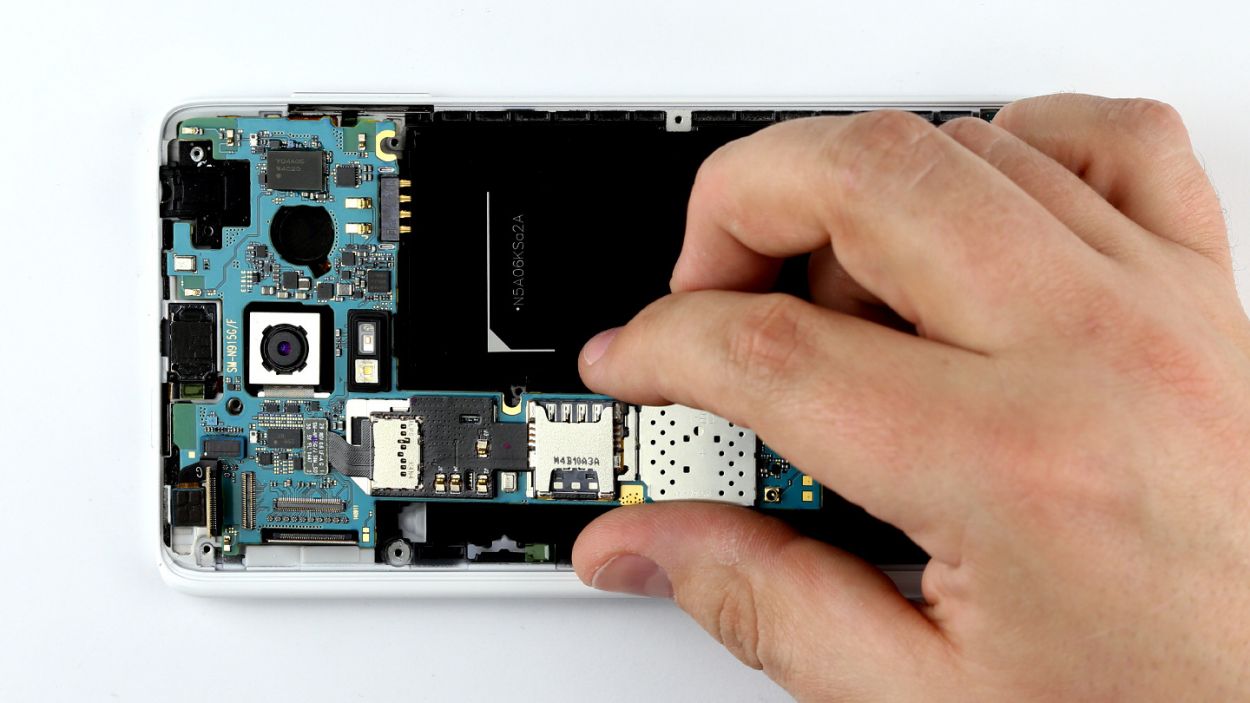
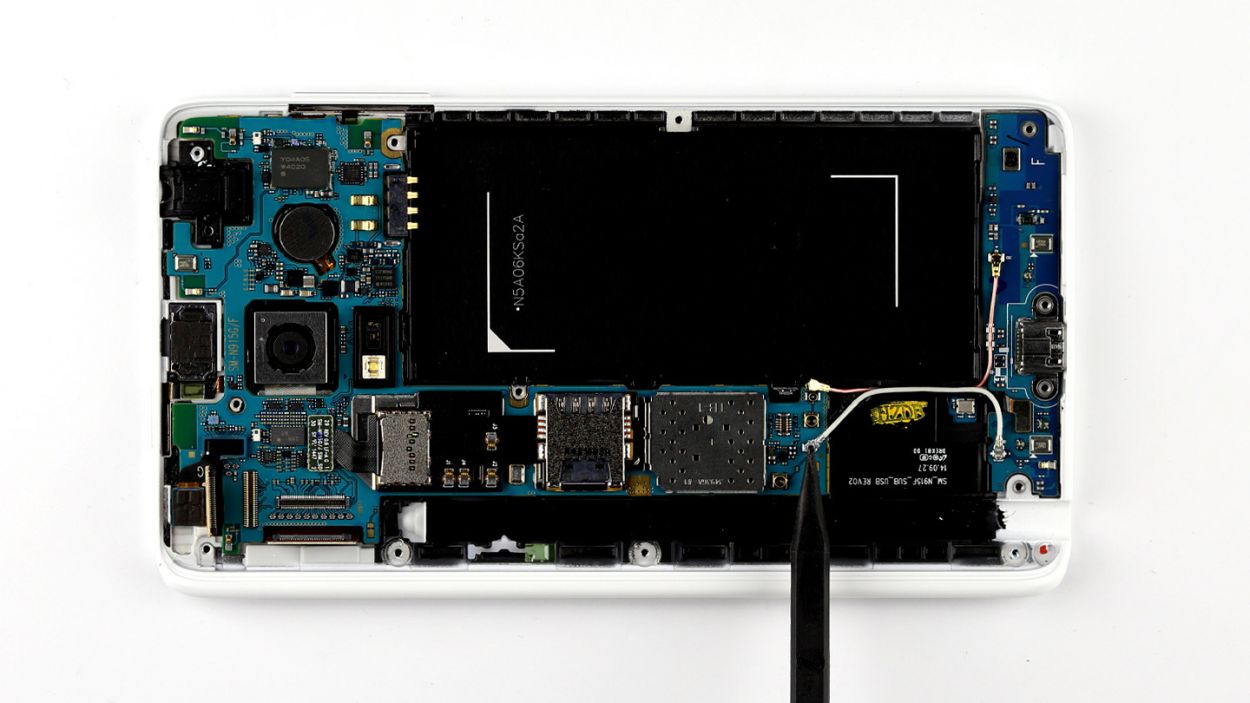
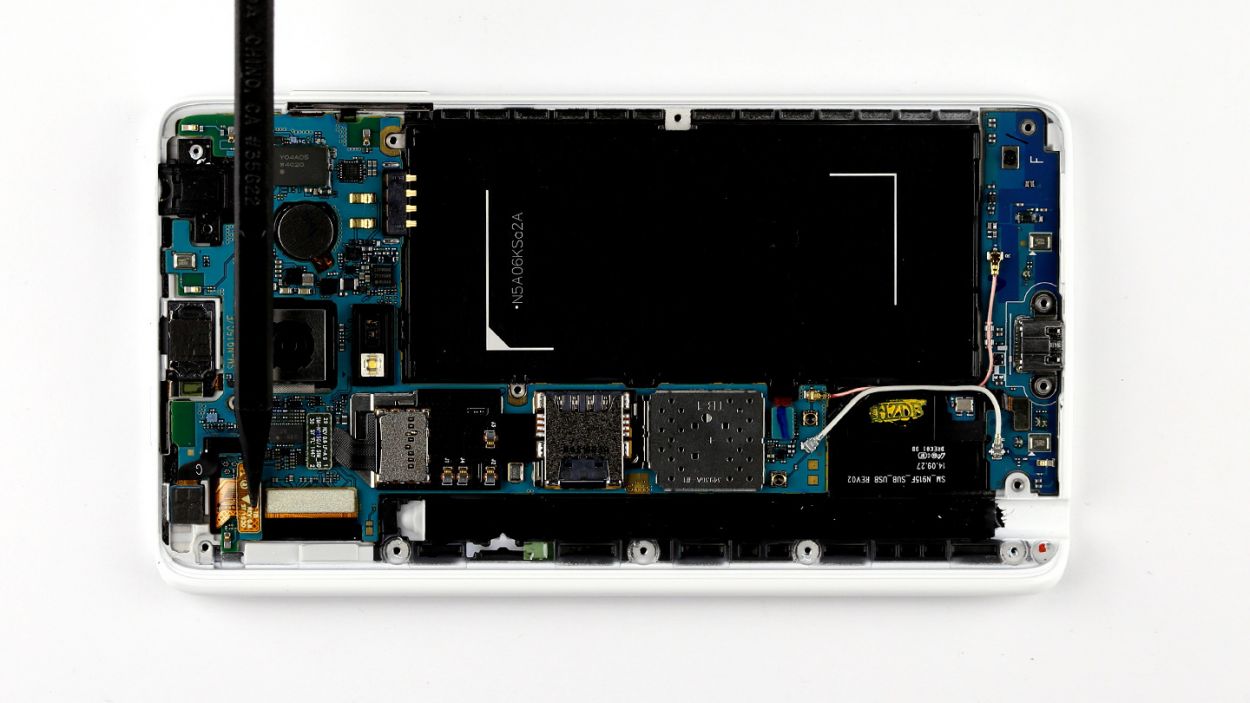
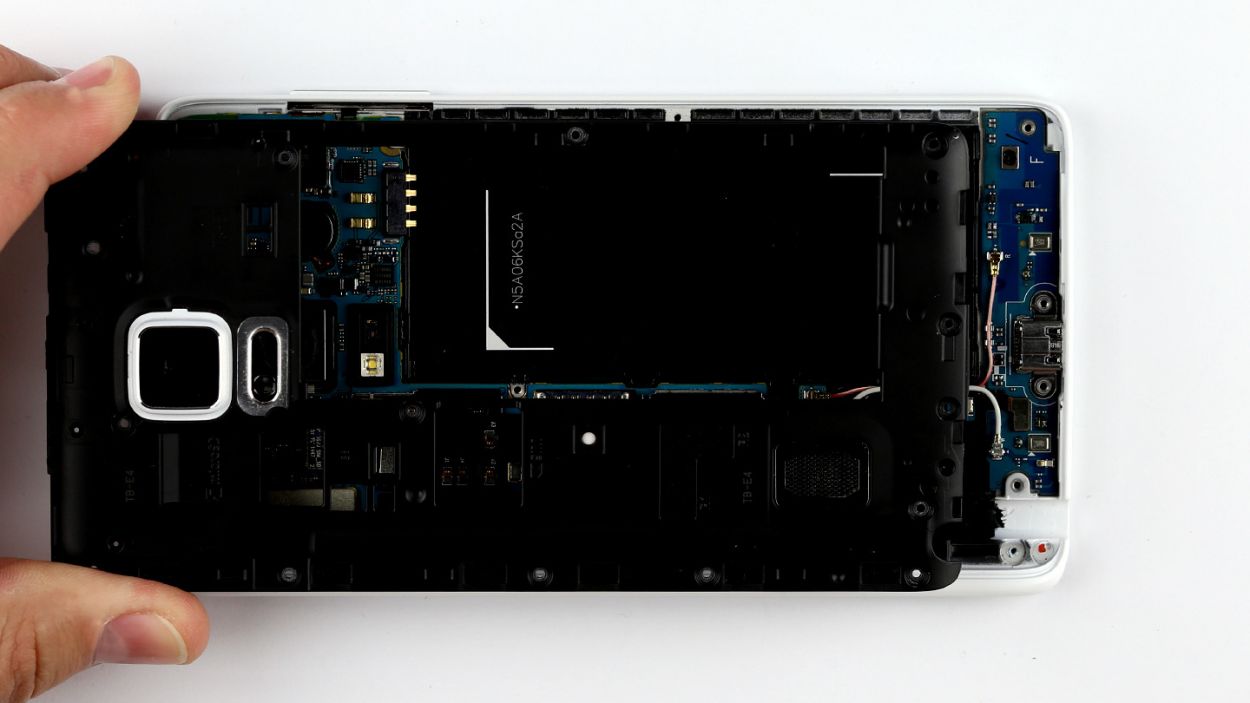
– Now, it’s time to give the logic board a little lift! Use your fingers to gently pull it out of the enclosure. Tilt it up slightly at the thin end to make it easier to lift. You’ve got this!
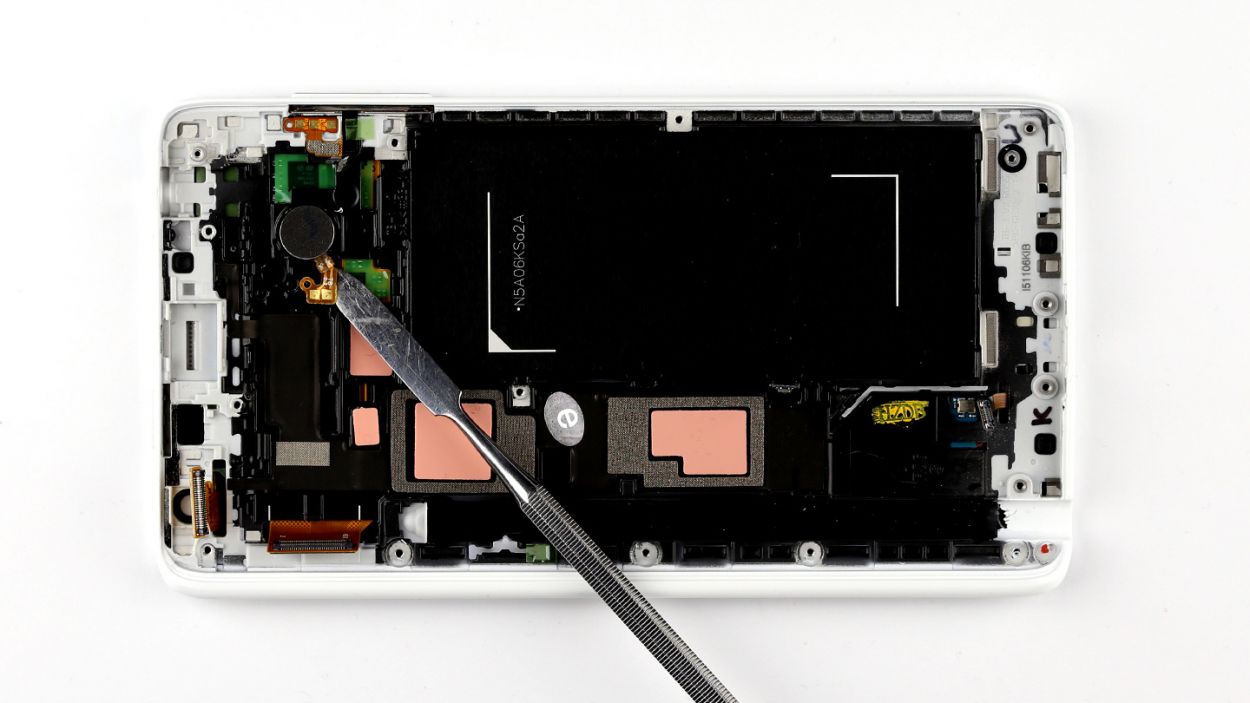
Step 9

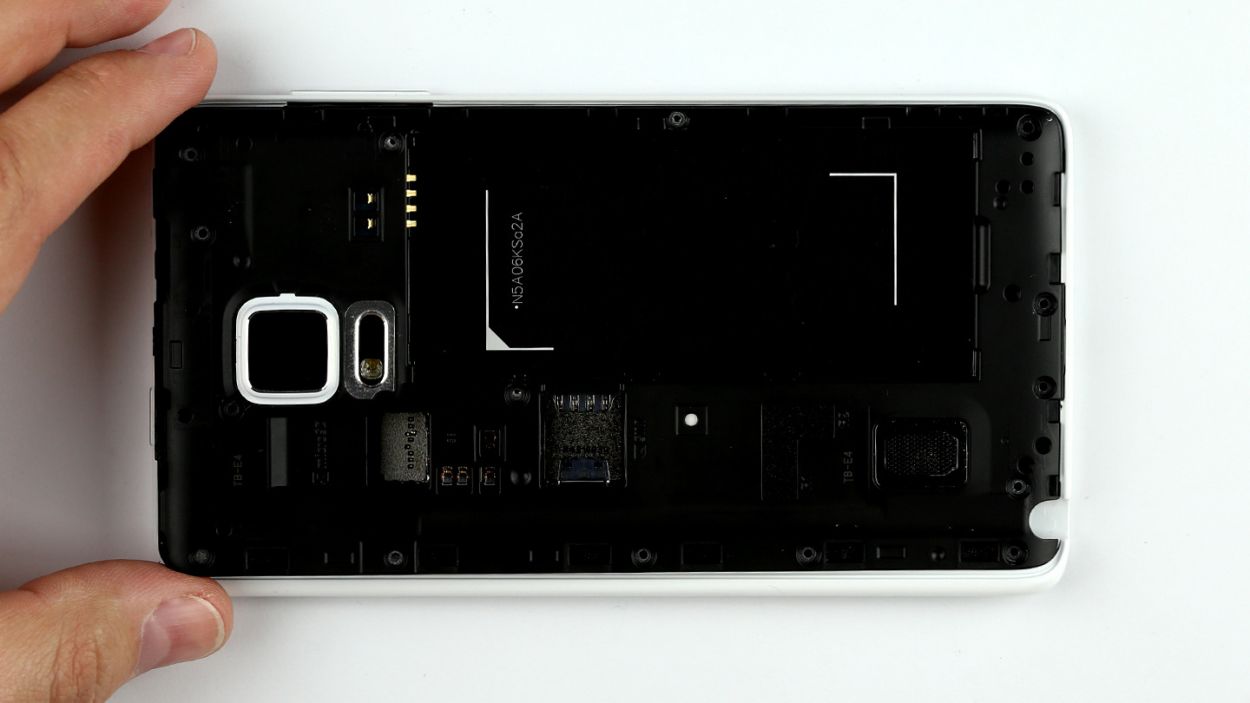
– Put the vibrator motor in the original position in the display frame. Make sure the motor’s contacts are in the right position. There’s an eyelet next to the two gold contacts that you have to pull over a plastic pin. Press the motor and its contacts onto the enclosure a little so the glue will stick.
Step 10


– As you dive into installing the logic board, remember to connect the sub-board and logic board together. Look for the connector (marked with a blue arrow) located at the bottom of the logic board.
– Gently tilt the logic board and position it at the top end of the display frame. Then, fold it down and listen for that satisfying click as the sub-board’s connector fits snugly into place.
Step 11


– Let’s get those connectors hooked up to the logic board in the order below: Bluetooth antenna cable, Wi-Fi antenna cable, Home button/fingerprint sensor, LCD, Touchscreen. Easy peasy!
– Carefully place each connector over its matching spot on the logic board and give it a gentle press to connect them. You’re doing great!
Step 12

– Gently place the chassis back onto the display frame, just like it was before! Use your fingers to give the entire surface a nice press down until you hear that satisfying click as it locks into the enclosure.
– Now, grab those fifteen screws and let’s secure the chassis to the display frame! You’ll be using 15 x 4.0 mm Phillips screws for this step.
Step 13
– Slide that microSD card into its cozy little slot, making sure it’s snug and properly aligned.
– Gently press the SIM card into its designated slot using your finger, ensuring it’s lined up just right.


Step 15

– Time to get that back cover back on your Galaxy Note Edge! Just line it up perfectly and make sure it’s sitting just right.
– Now, give it a good press all around the back cover to ensure every clip snaps into place. Your device will thank you for it!
Step 16
– Gently slide the stylus back into your device’s cozy little home at the bottom of the enclosure until you hear that satisfying click! It’s like tucking it in for a good night’s sleep.


