DIY Guide to Replace Sub-Board in Galaxy Note Edge
Duration: 45 min.
Steps: 16 Steps
Ready to give your Galaxy Note Edge a fresh new lease on life? Don’t toss it just yet – try our easy-peasy step-by-step fix! Is your phone being super sluggish, or not charging at all? No sweat! This clear, concise tutorial shows you exactly how to remove that finicky sub-board. If you’re feeling stuck, you can always check out our expert repair services schedule a repair before trying it yourself. Let’s get started!
Step 1

– Give your Galaxy Note Edge a little love and gently pull the stylus out with your finger. You’ve got this!
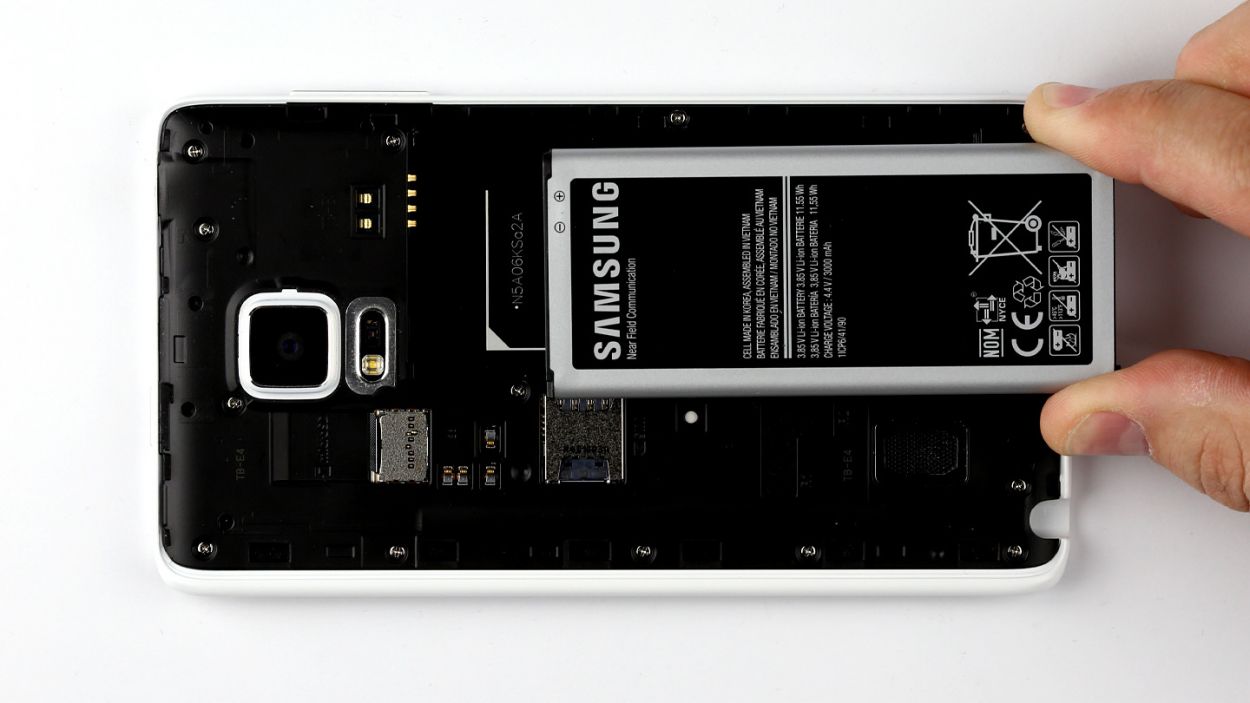
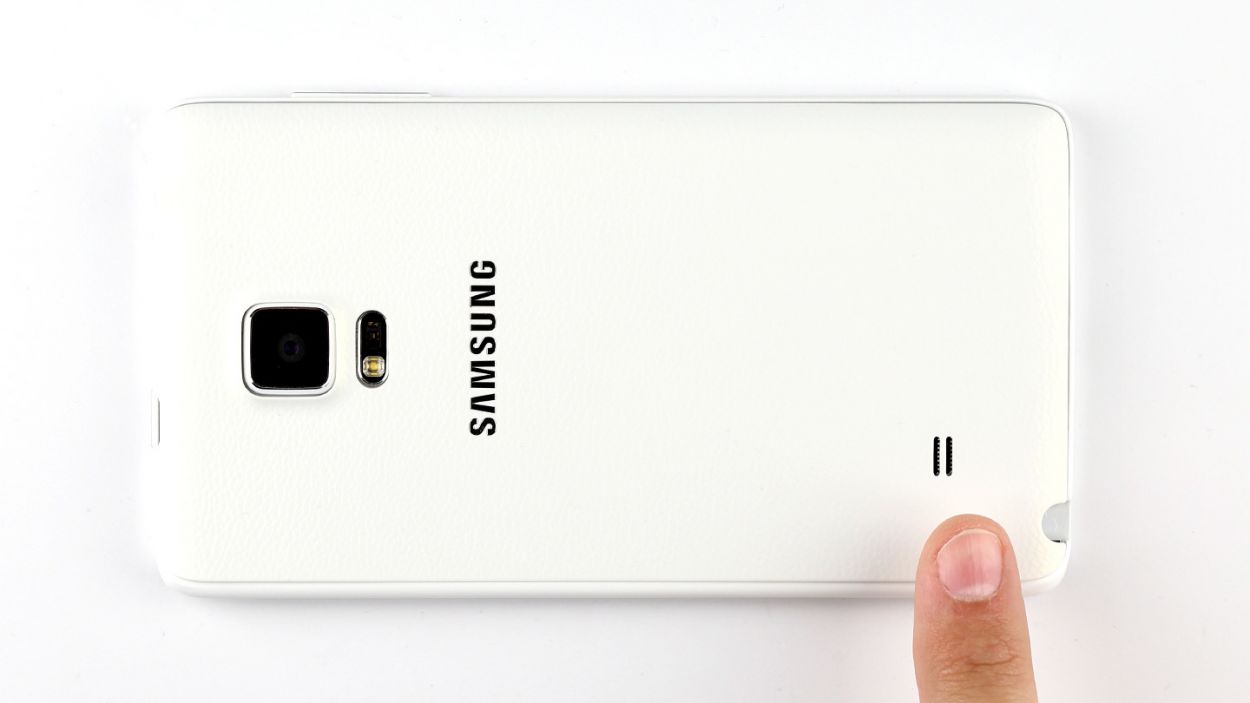
Step 2
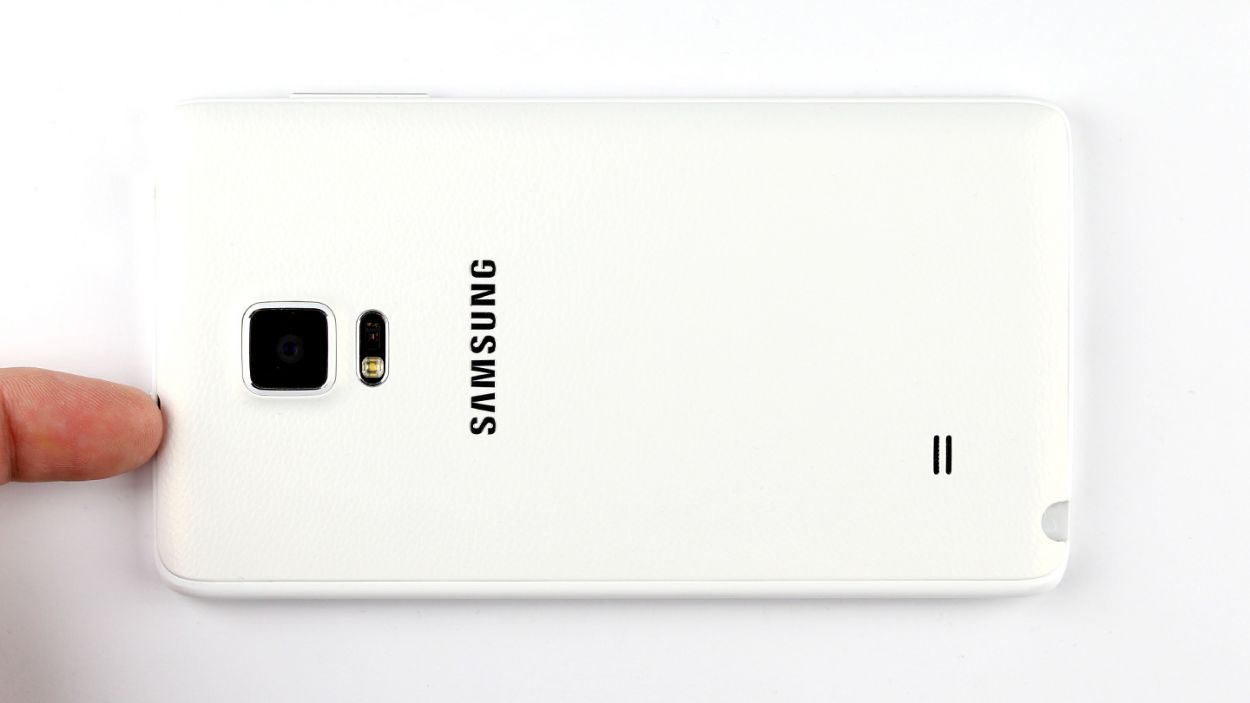
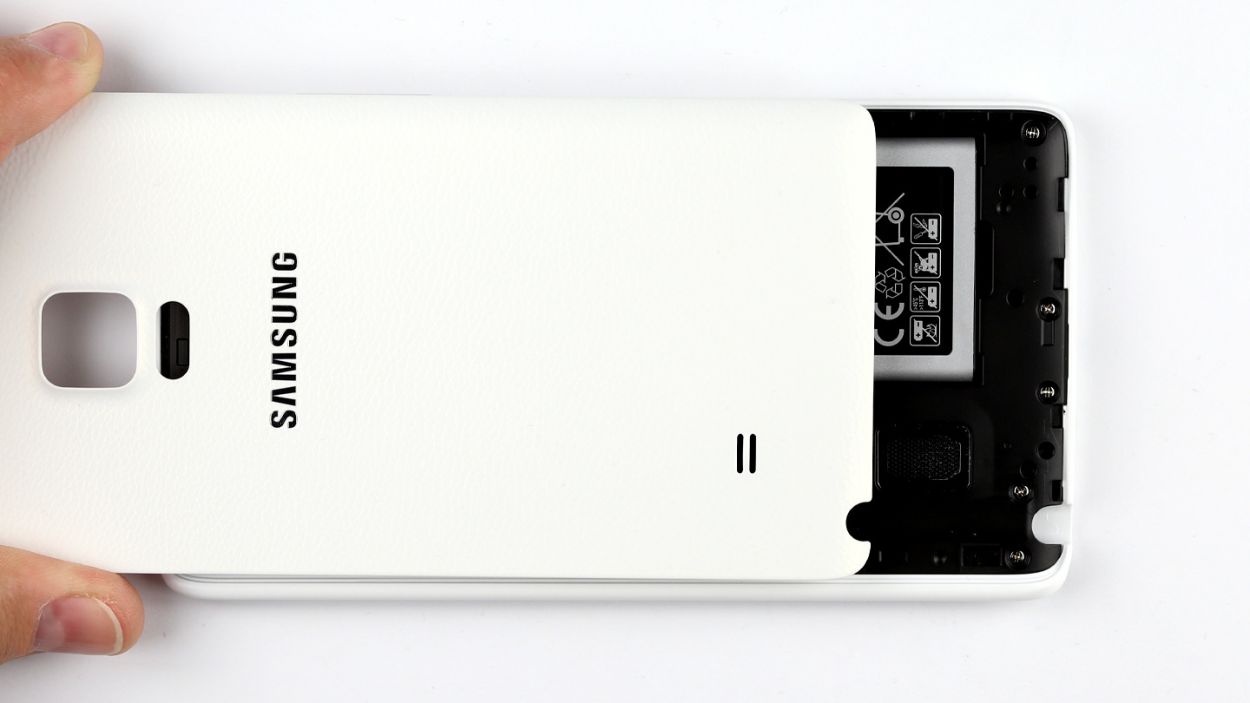
– Start by gently prying off the back cover of your device. Look for that little groove at the top of your Galaxy Note Edge where you can slip your fingernail in. Remember, the back cover is held on at several spots, so you’ll want to use your fingers in a few places and pull with care.
– Now, go ahead and remove the back cover.
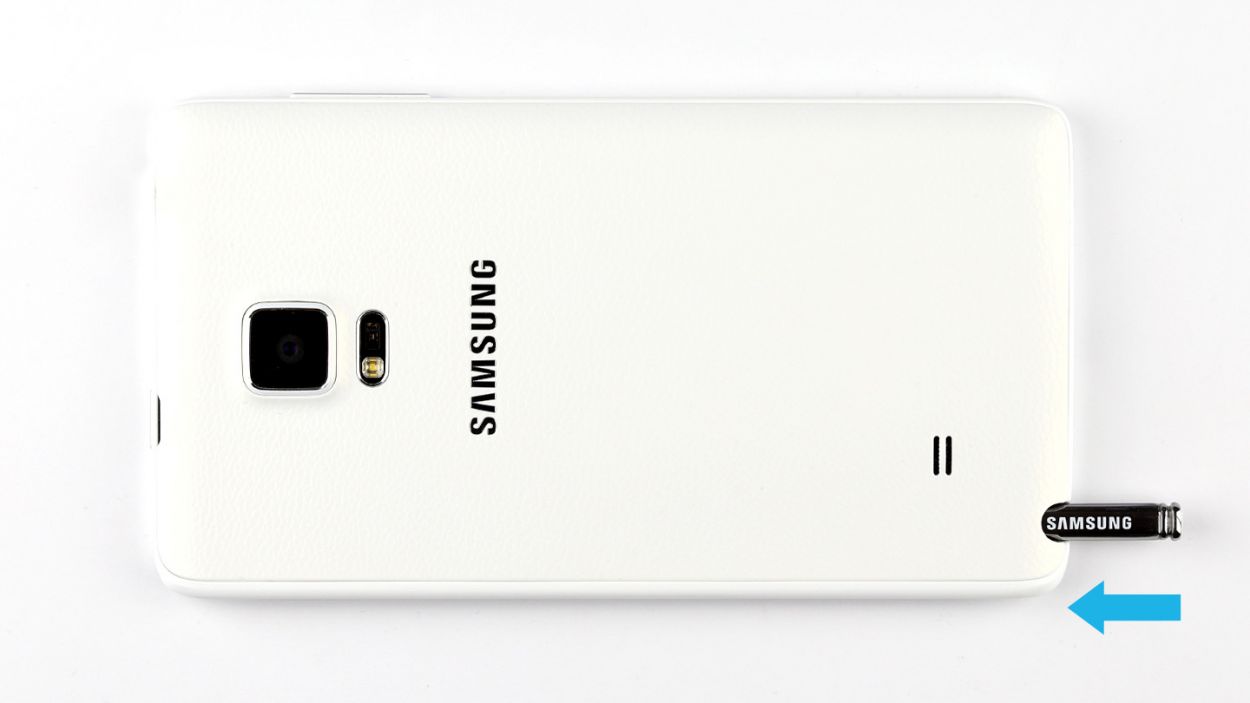
Step 4

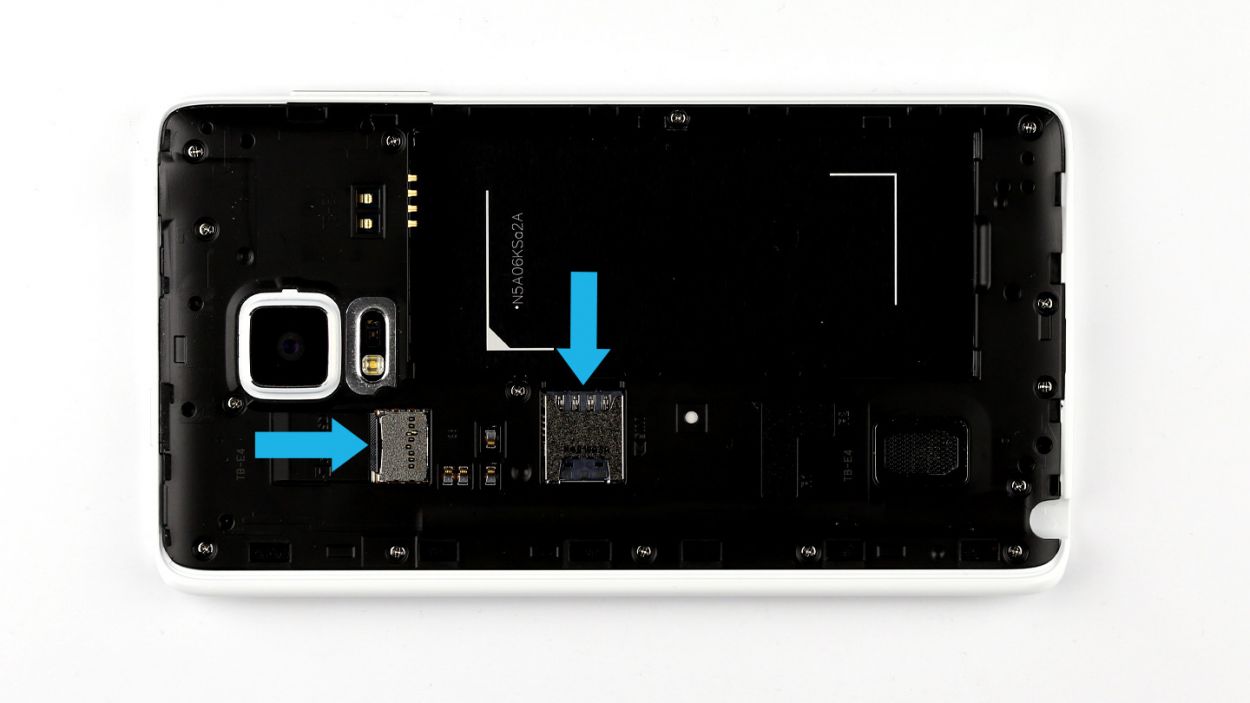
– Get ready to give that SIM card a little nudge and pop it out from its cozy slot using your finger!
– Now, let’s give the microSD card some love by carefully taking it out from its snug little home.
Step 5
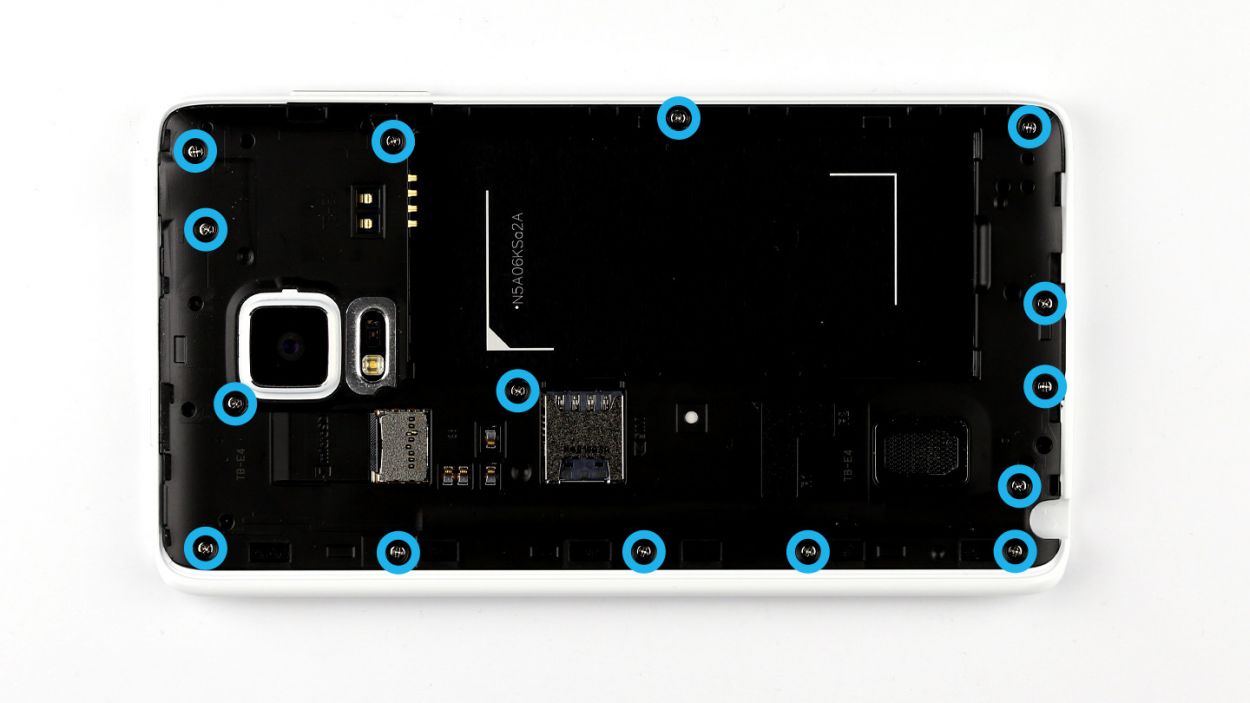
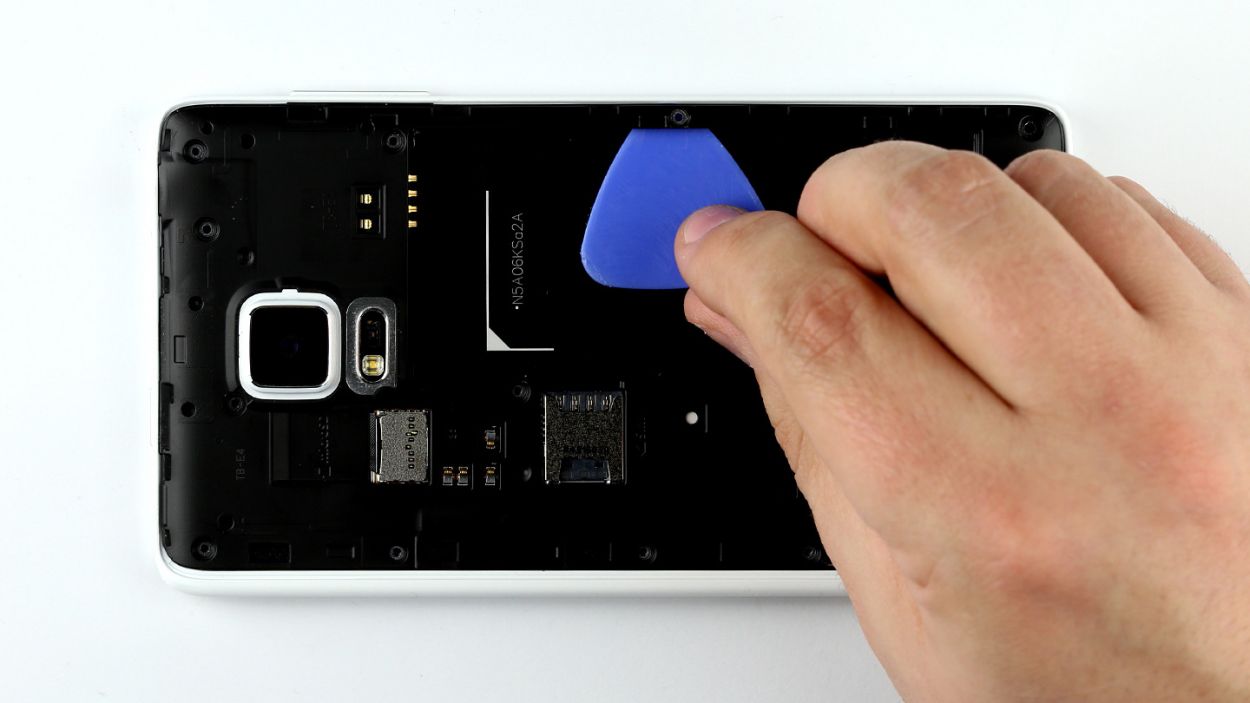


– Time to tackle those fifteen screws keeping the chassis snug! Grab your trusty Phillips screwdriver and remove them all. (15 x 4.0 mm Phillips screw)
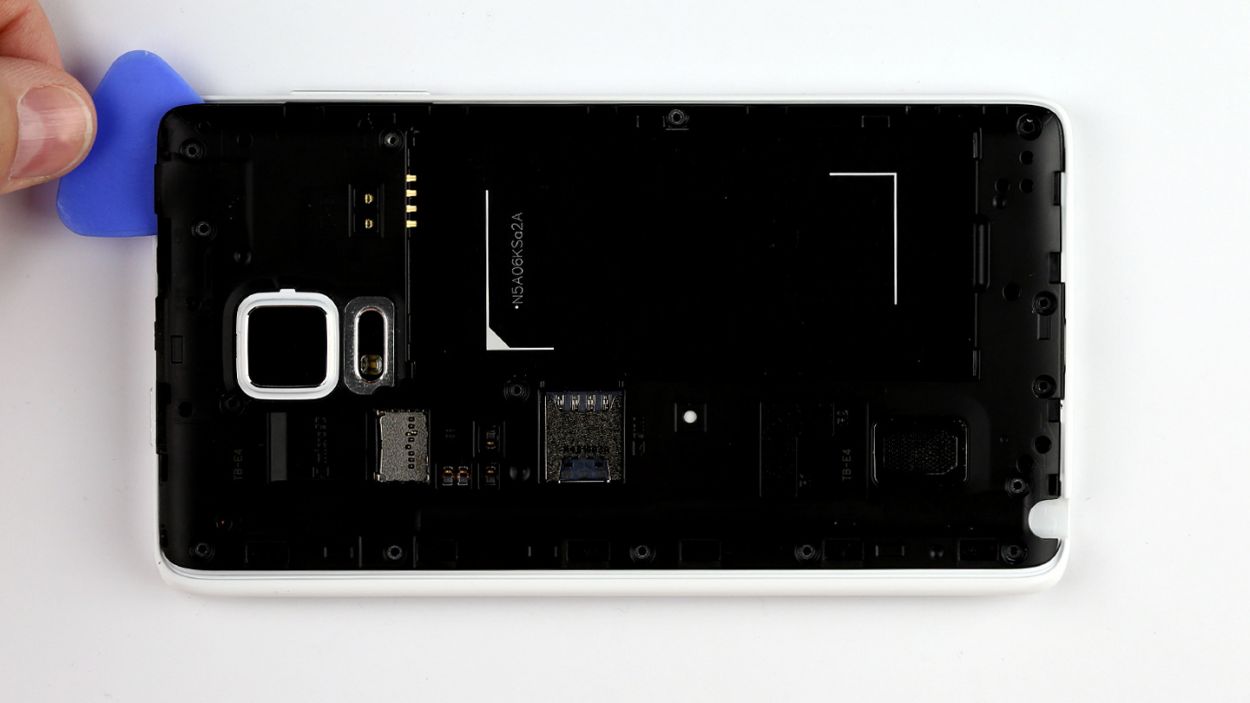
– The chassis is cozy with the display frame. To set them free, slide your pick between the two and gently unhook the chassis. Start at the battery recess for an easy entry.
– Now, glide that pick all around the device, ensuring the frame is fully disconnected from the chassis. You’ve got this!
– With the hooks undone, lift that chassis away and give yourself a pat on the back for a job well done!
Step 6
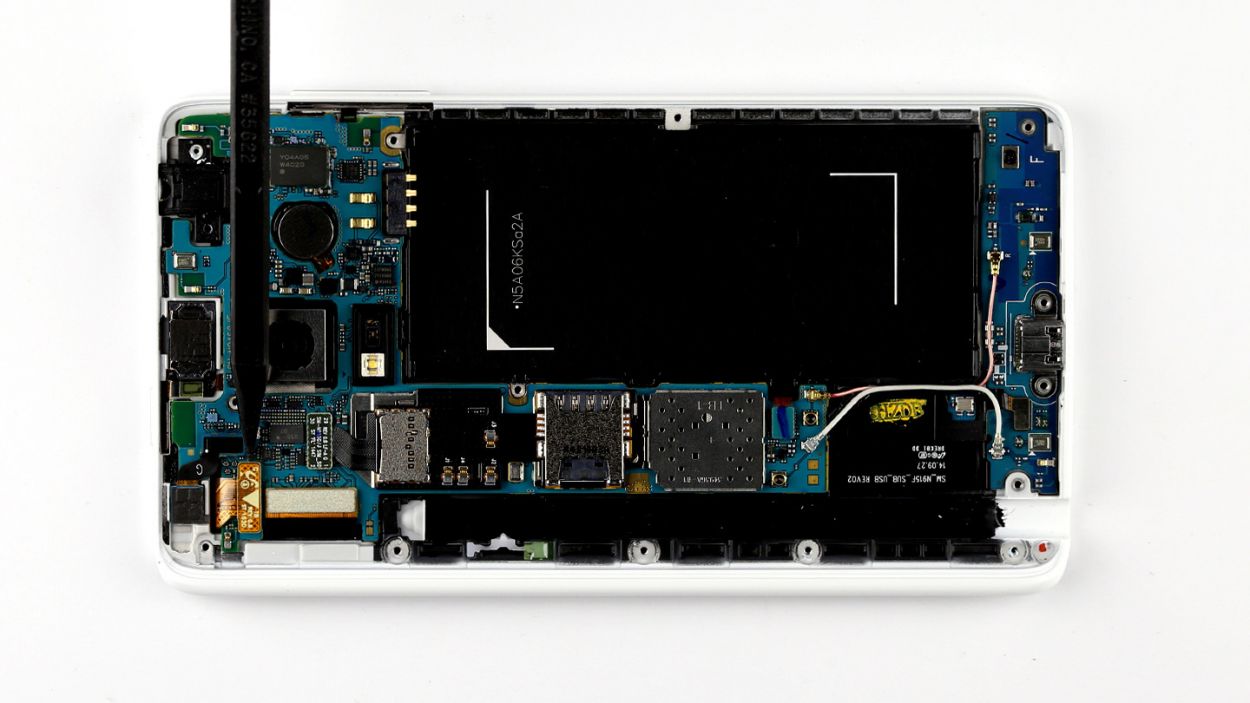
– Let’s get this repair party started! First up, make sure to disconnect all the connections to the logic board in the sequence below: Touchscreen, LCD, Home button/fingerprint sensor, Wi-Fi antenna cable, and Bluetooth antenna cable. Keep it smooth and steady!
– Next, grab your trusty spudger and using its pointed tip, gently disconnect the plug contacts. Slide the spudger under the connector and apply a little pressure to lift it off the logic board. You’re doing great!
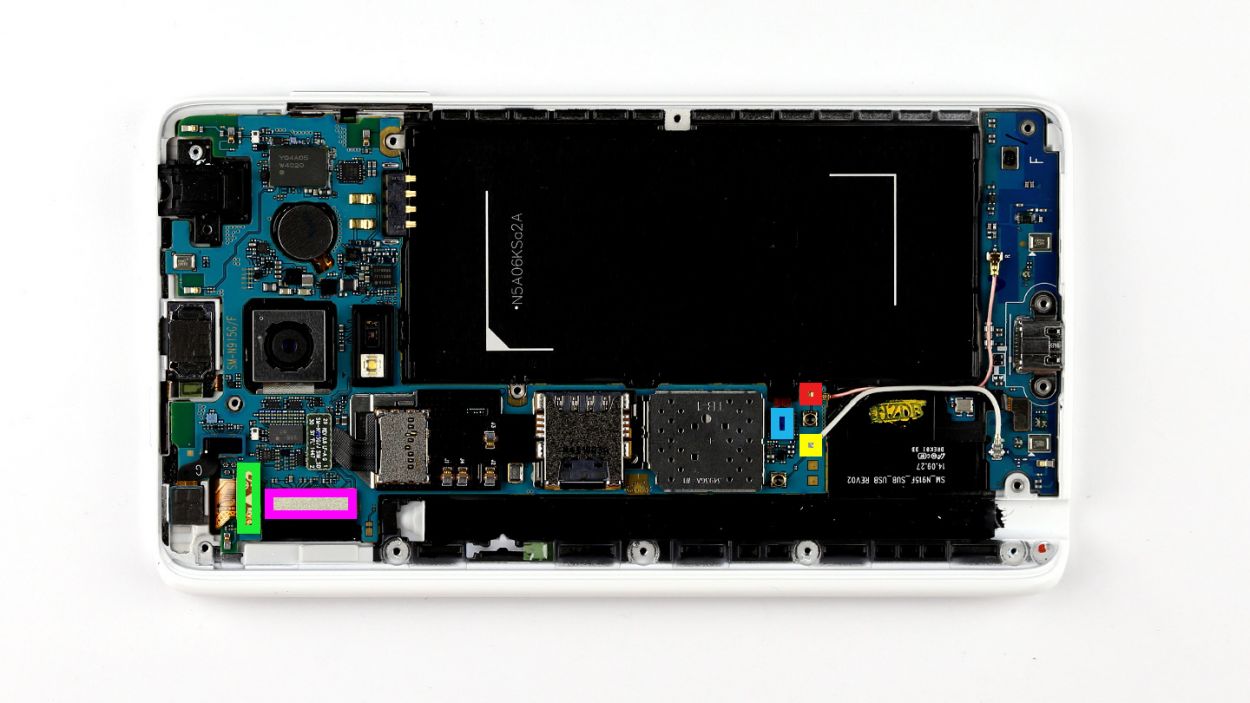
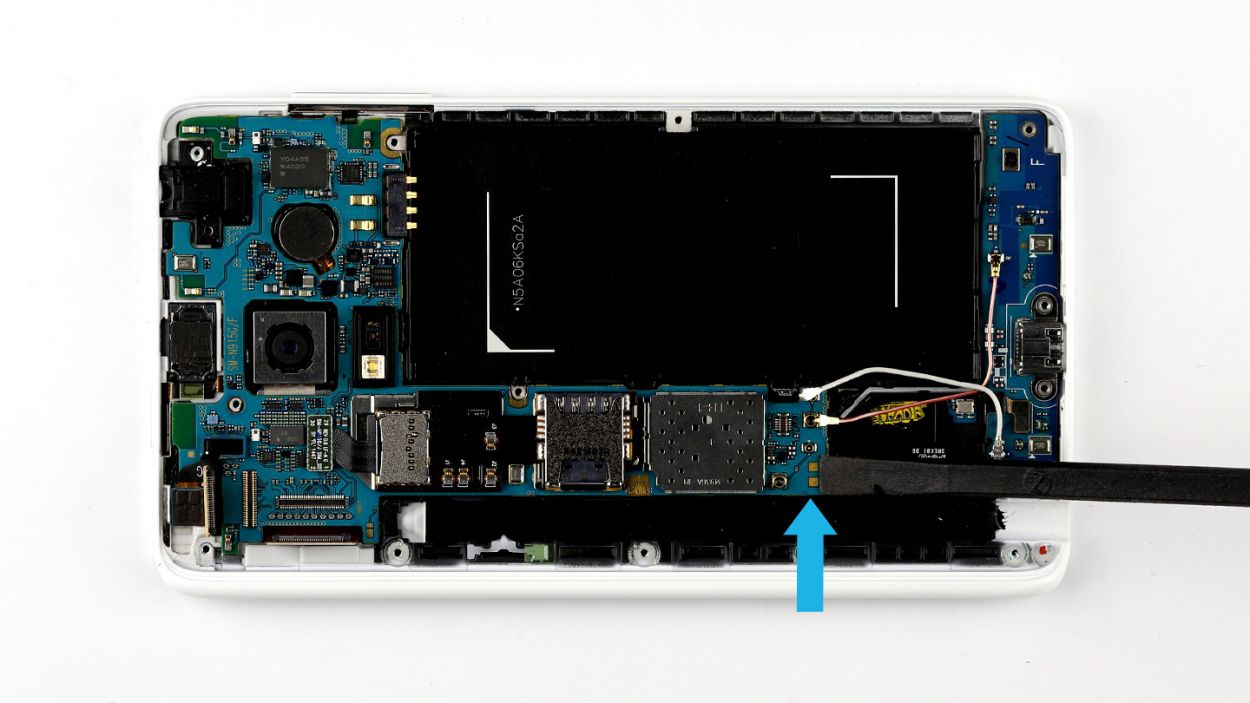
Step 7


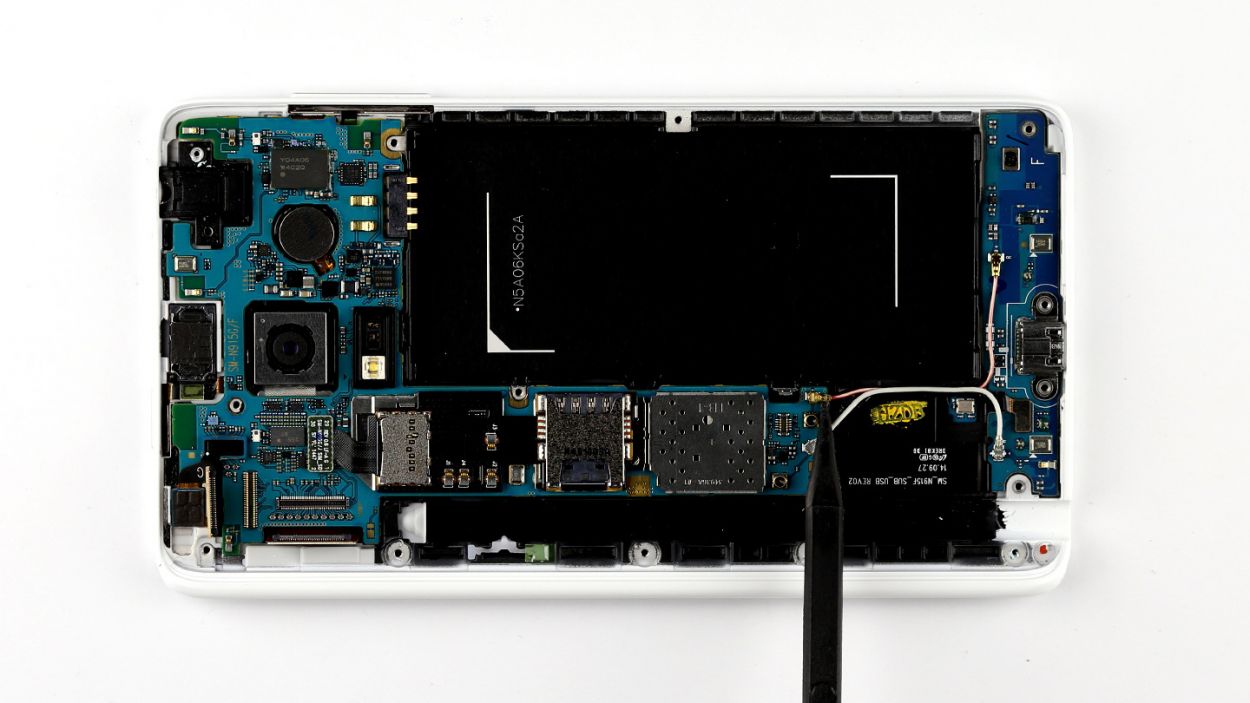
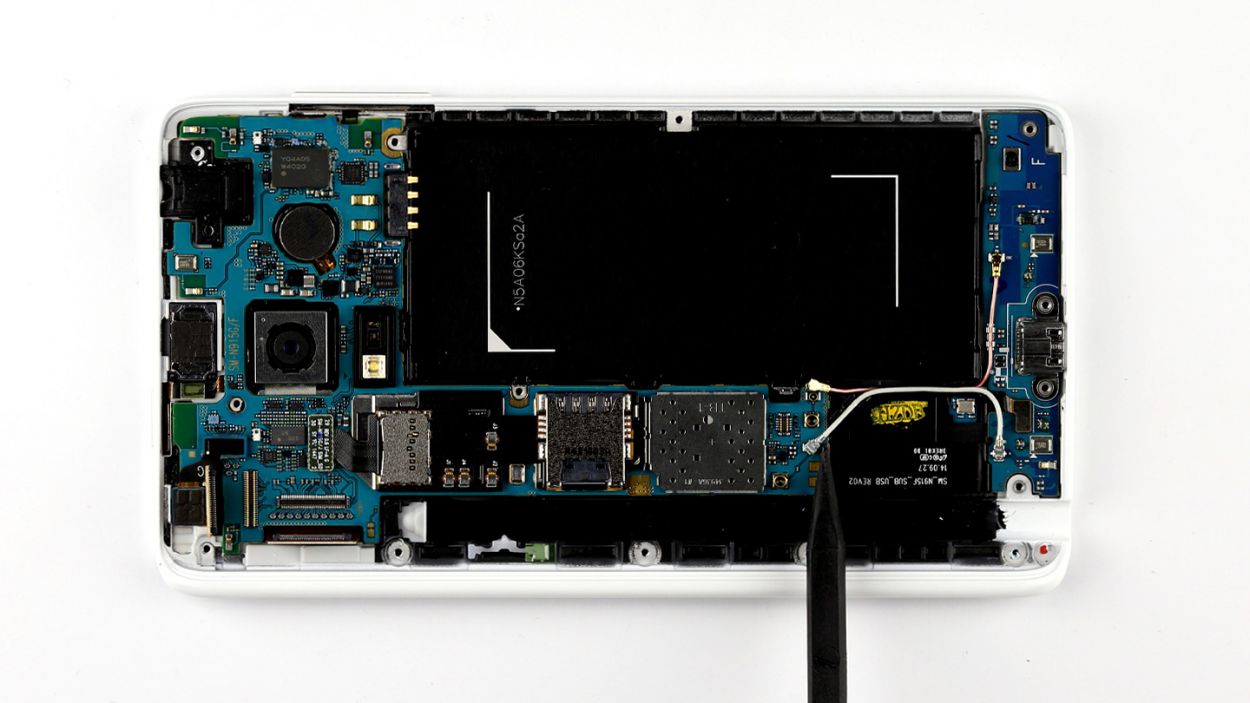
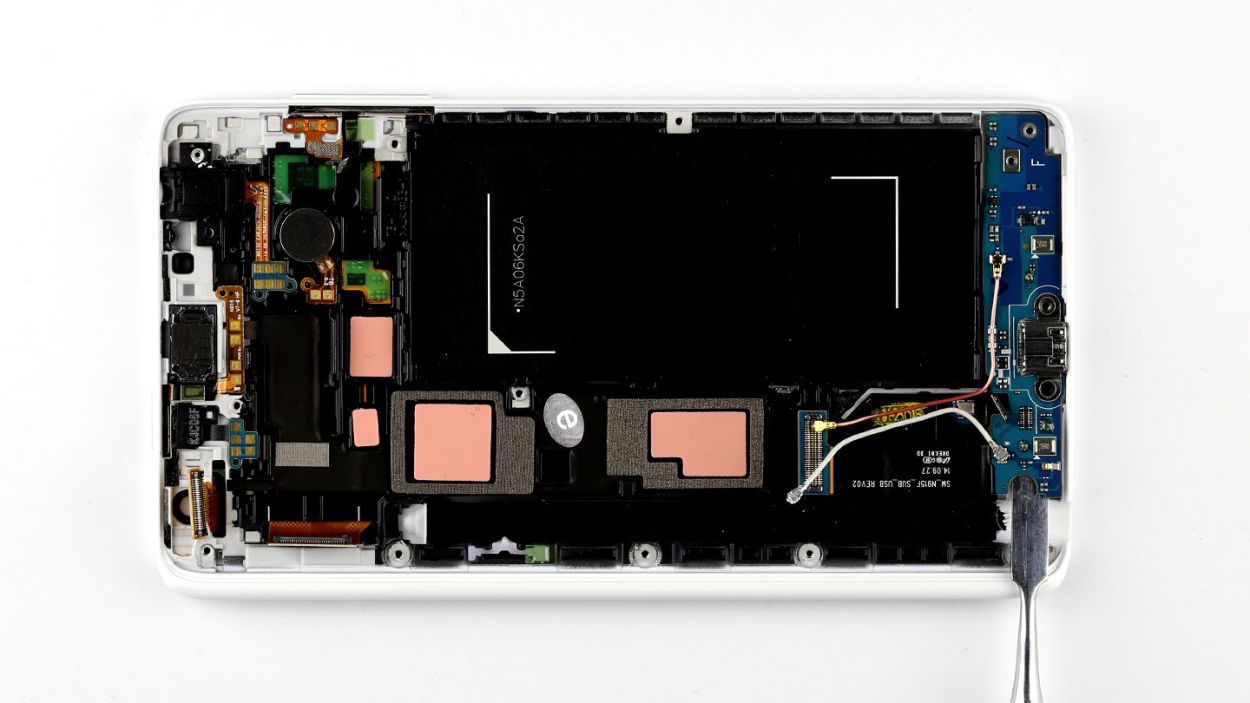
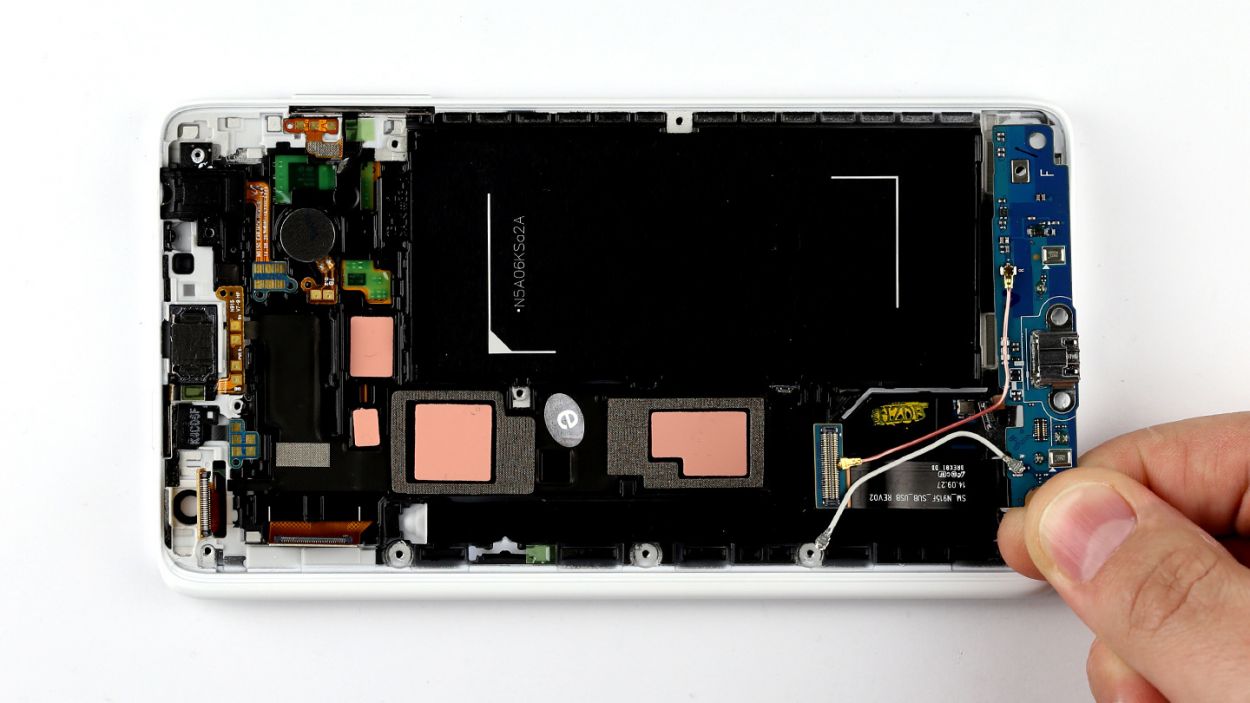
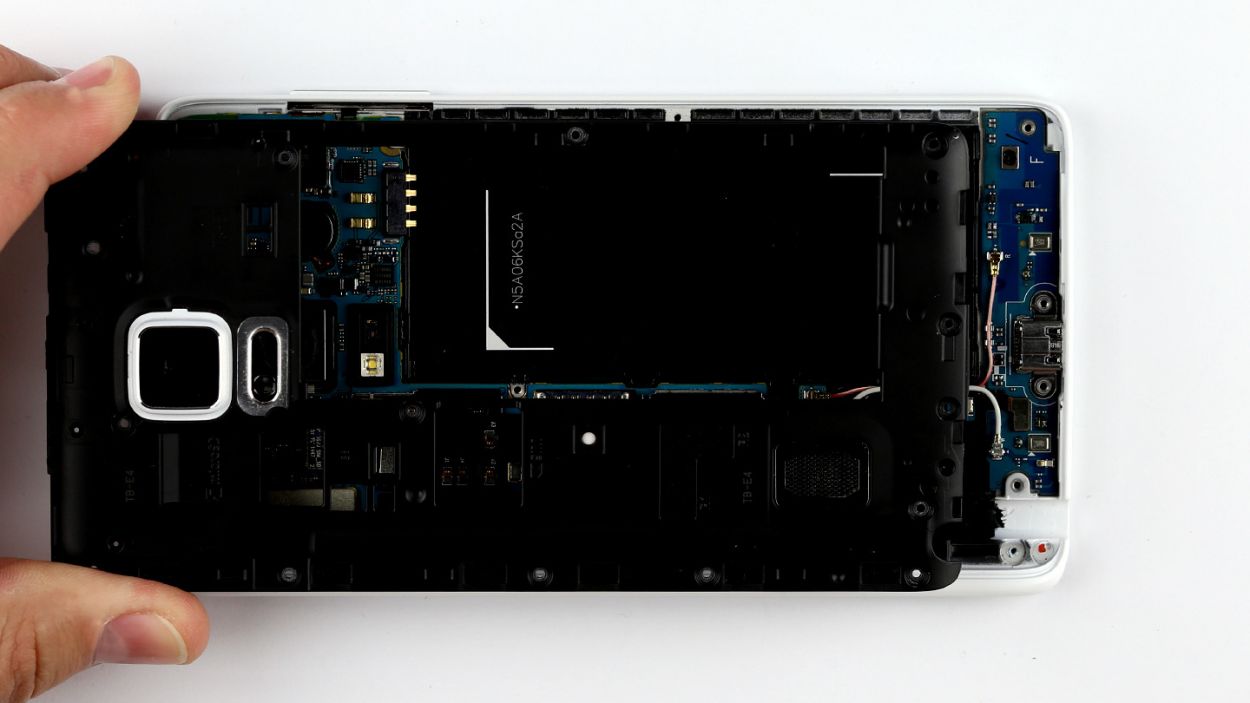
– Alright, let’s get that logic board out! First things first, you’ll notice that the bottom of the logic board is snugly connected to the sub-board with a connector (look for that blue arrow!). Before you go yanking it out, you need to disconnect that little buddy. Grab your trusty spudger and gently slide the flat end between the logic board and the enclosure. Make sure to target the sub-board’s flexible flat cable. Just a friendly reminder: don’t press too hard, or you might end up giving that cable a bad day.
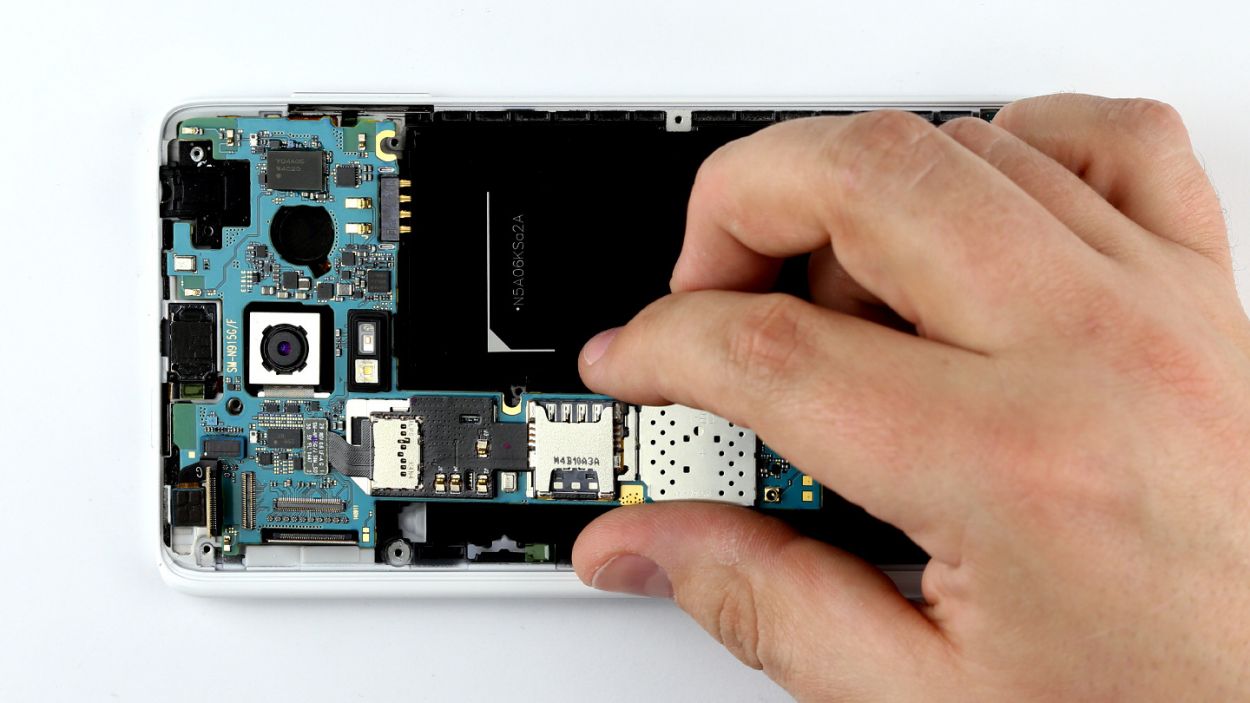
– Now that you’ve got that connection sorted, it’s time to lift the logic board out of the enclosure. Use your fingers to gently pull it out, tilting it up a bit at the thin end to make it easier. You’ve got this!
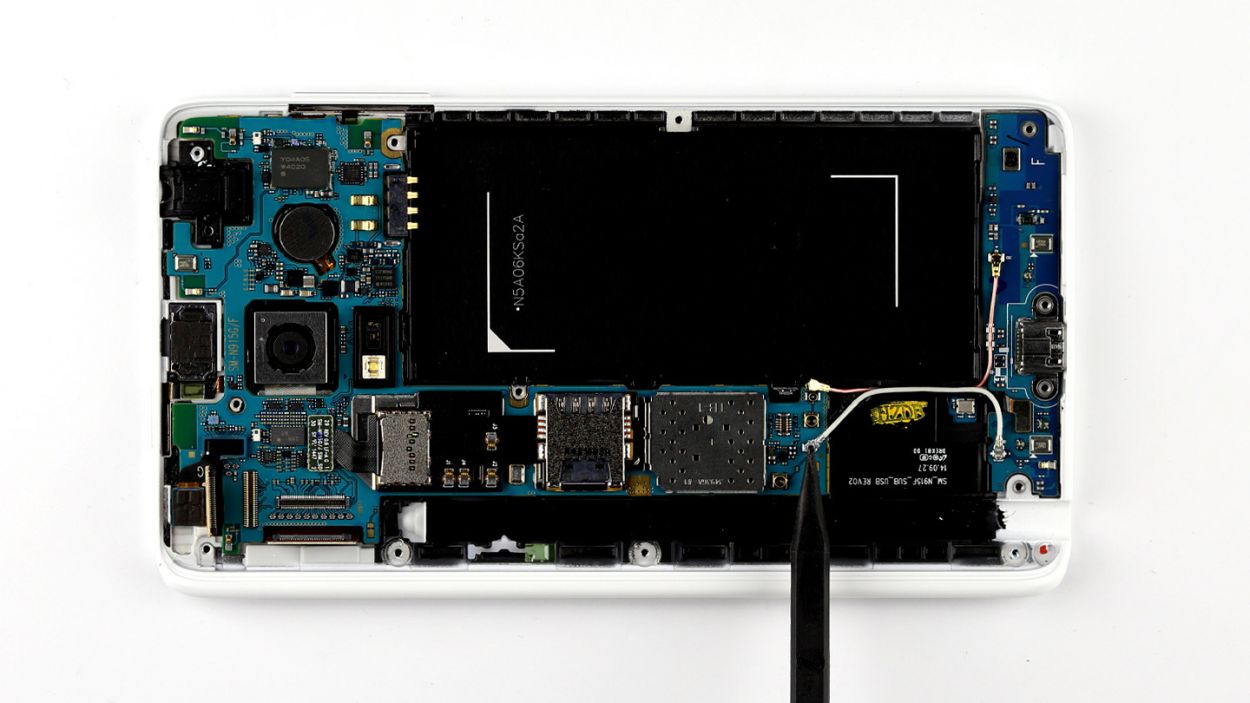
Step 8
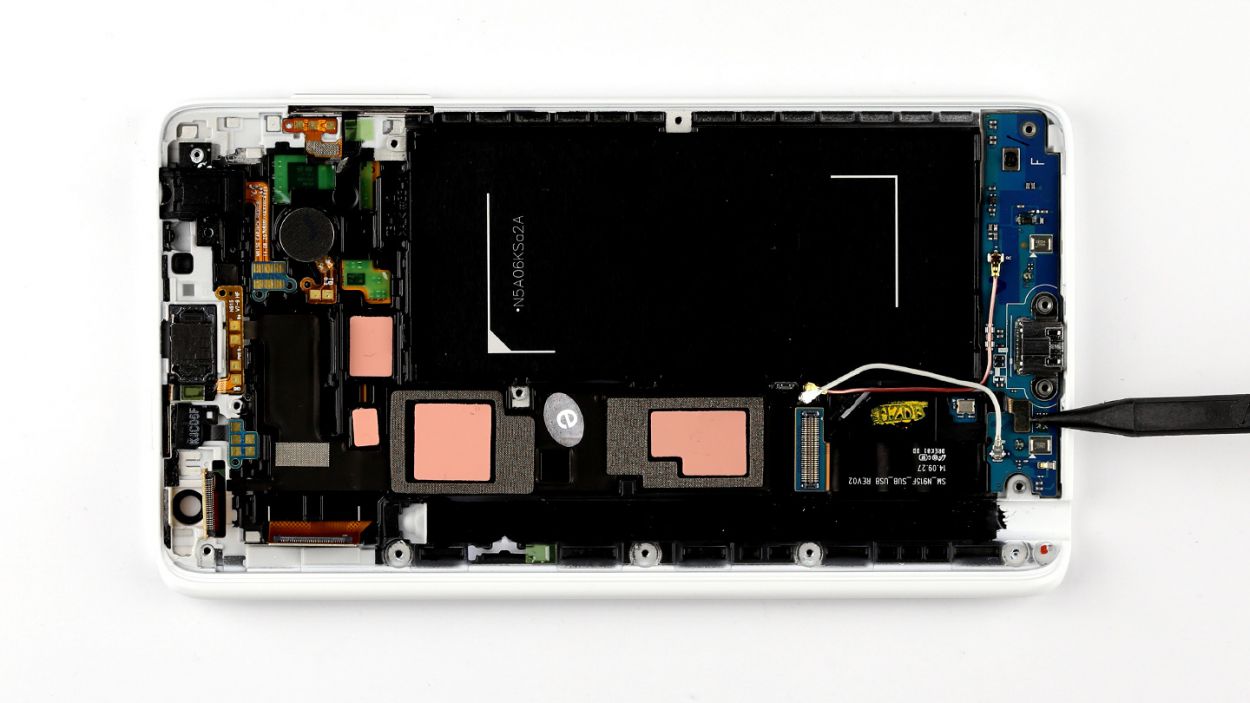

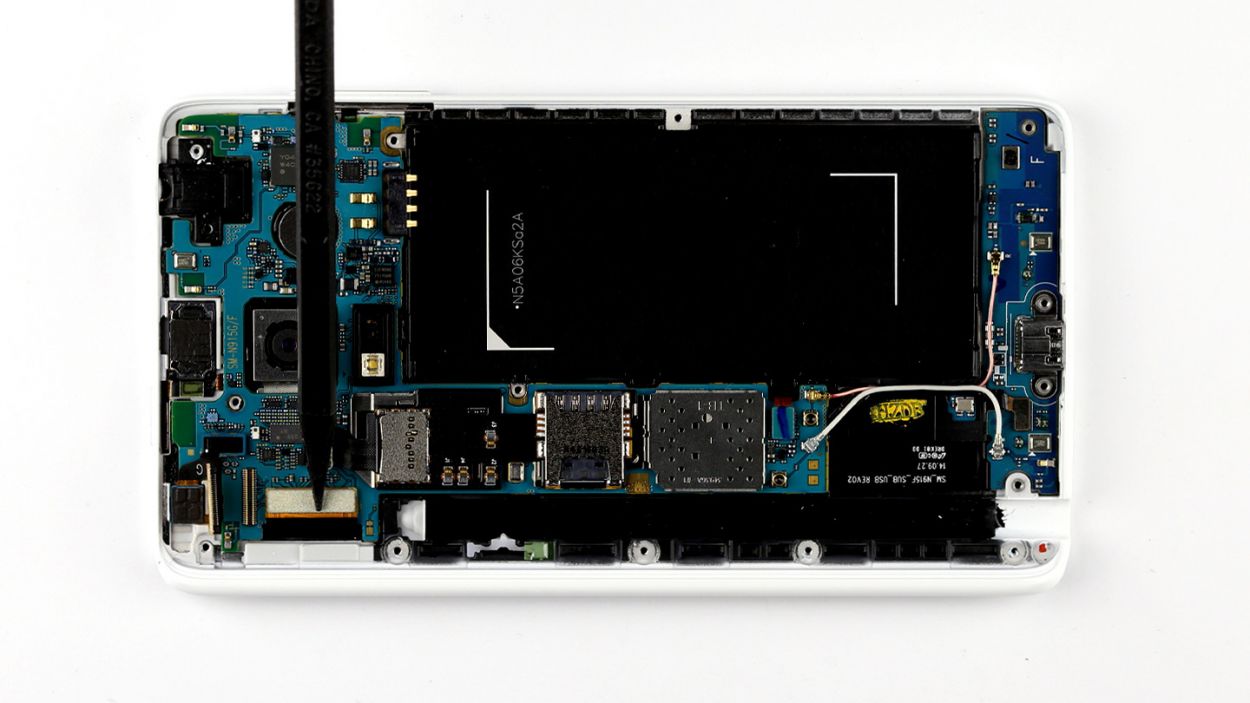
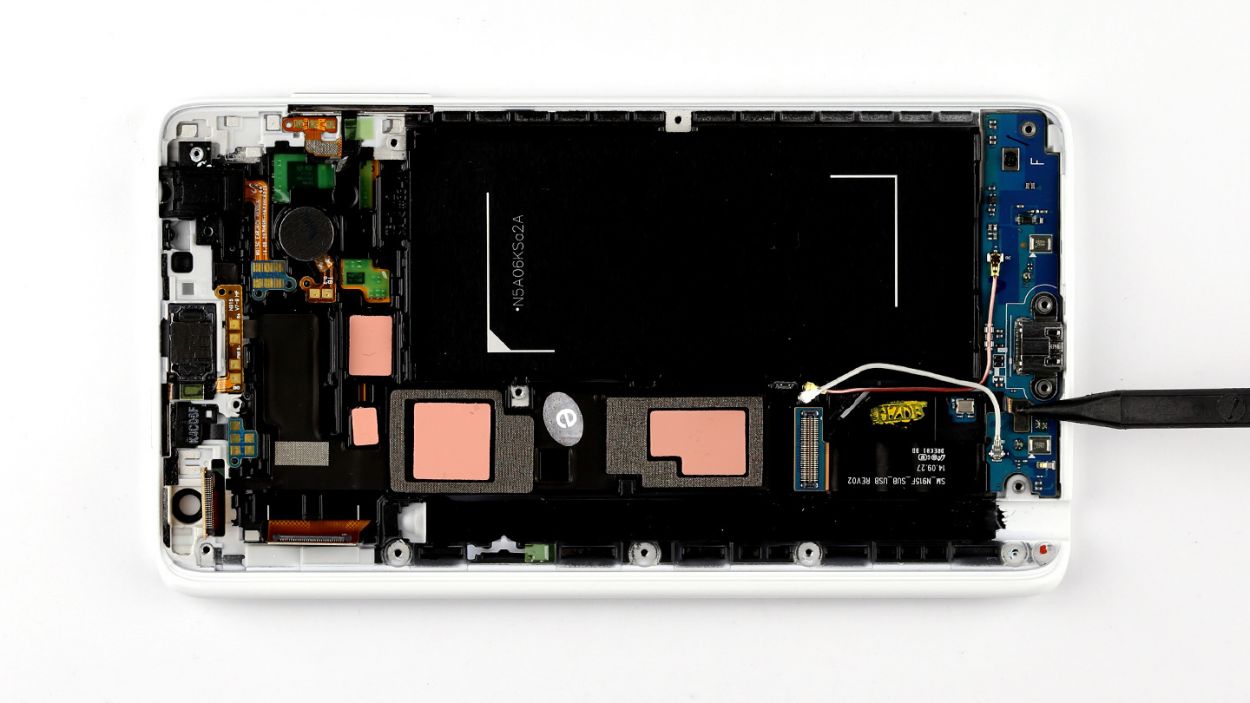
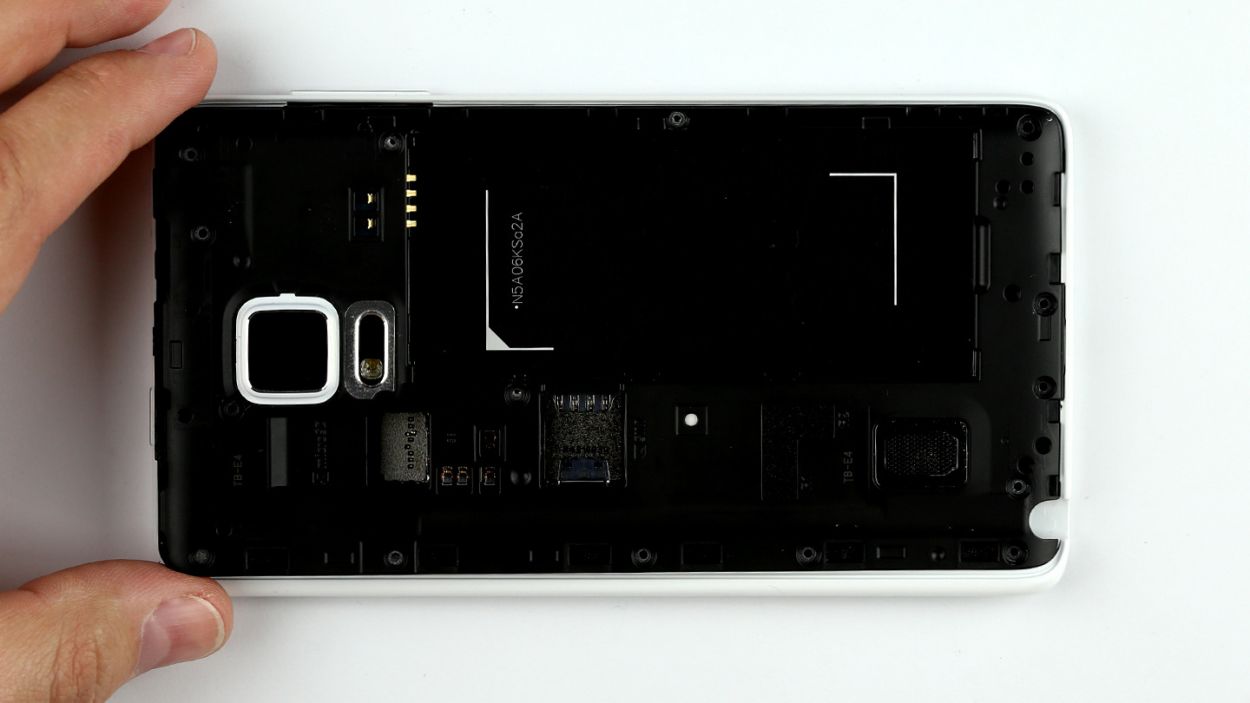
– First up, let’s give those sensor buttons a little TLC! Use your trusty spudger to gently disconnect the connector from the sub-board. Easy peasy!
– Now, the sub-board is hanging out with the display frame, and it’s a bit too cozy. Slide a steel laboratory spatula between them to carefully separate the two. If that glue is being stubborn, a little hot air can work wonders!
– Finally, it’s time to free the sub-board from its enclosure. Just use your fingers to lift it out—you’re doing great!
Step 9
– With a gentle touch, place the sub-board back into its cozy spot in the enclosure. Give it a little press to ensure the glue bonds nicely with the display frame.
– Next, connect the sensor button’s connector to the sub-board. Just line it up and press down until you hear a satisfying click, letting you know it’s snug as a bug.
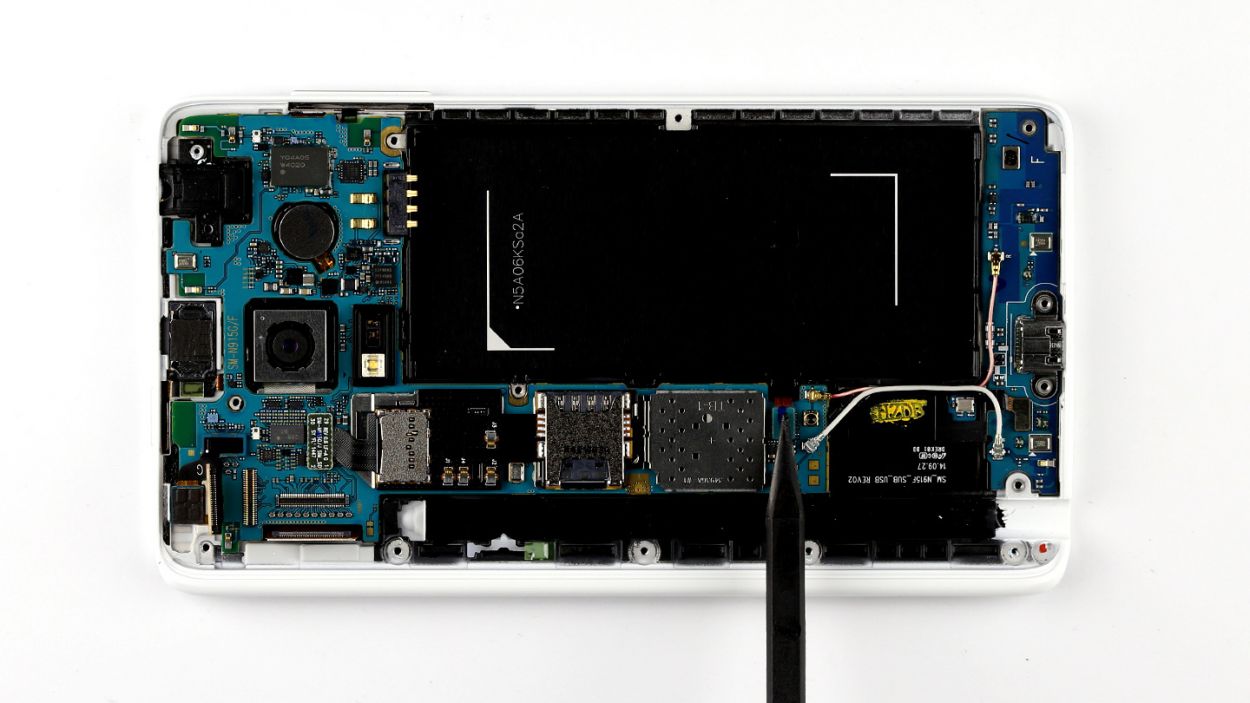
Step 10

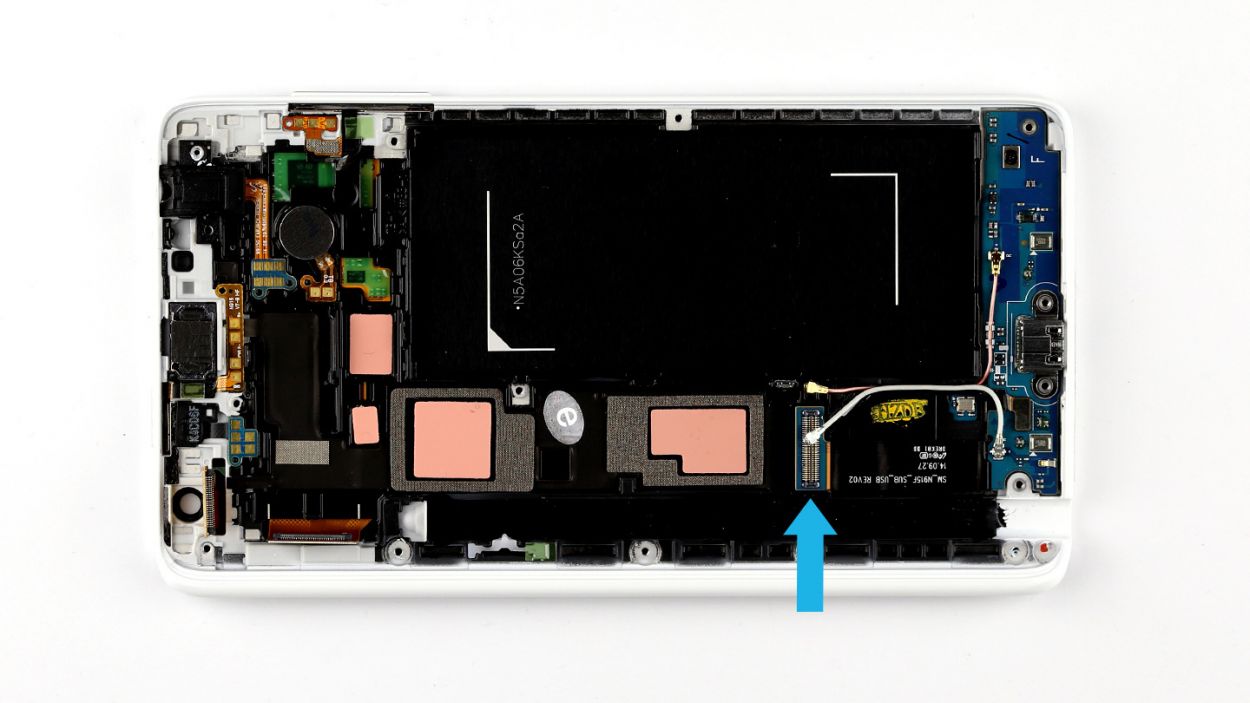

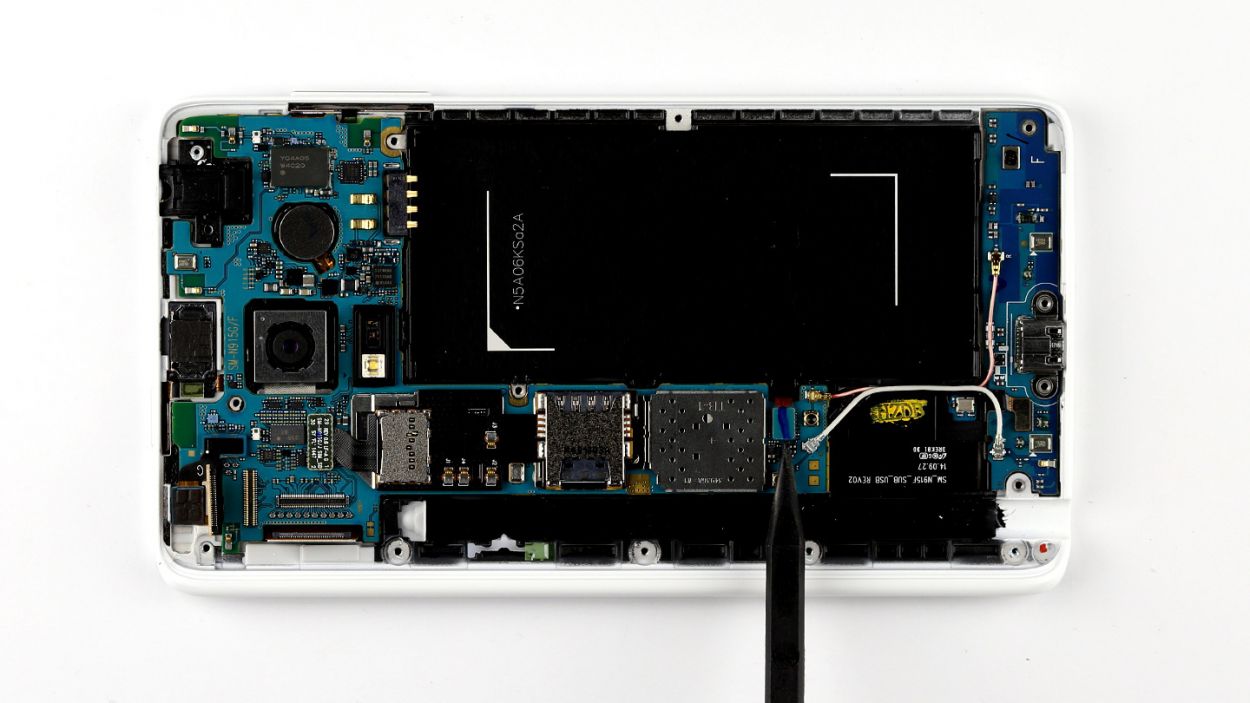
– As you get ready to install the logic board, remember to connect the sub-board to the logic board. Look for the connector (marked with a blue arrow) located at the bottom of the logic board – it’s like a little handshake waiting to happen!
– Now, give the logic board a slight tilt and position it at the upper end of the display frame. Gently fold it down and listen for that satisfying click as the sub-board’s connector snaps into place. It’s music to a repair enthusiast’s ears!
Step 11


– Let’s get those connectors connected to the logic board in the right order: Bluetooth antenna cable, Wi-Fi antenna cable, home button/fingerprint sensor, LCD, and touchscreen. Follow the list below and you’ll be golden!
– Carefully align each connector with its designated spot on the logic board, and give it a gentle press to snap them together. You’ve got this!
Step 12

– Gently place the chassis back where it belongs on the display frame. With a little love from your fingers, press down on the entire surface of the chassis until you hear that satisfying click as it secures itself onto the enclosure.
– Now, grab those fifteen screws and let’s get this chassis attached to the display frame! Use the 15 x 4.0 mm Phillips screws to lock everything in place.
Step 13
– Slide that microSD card into its cozy little slot, making sure it’s snug and perfectly aligned.
– With a gentle nudge from your finger, pop the SIM card into its designated spot, ensuring it’s lined up just right.


Step 15

– Time to give your Galaxy Note Edge a little love! Start by gently placing the back cover onto the back of your device, ensuring it’s lined up just right.
– Now, press down all around the back cover to make sure it clicks snugly into place. You want to hear those clips snap in, letting you know everything is secure and ready to go!
Step 16
– Gently slide the stylus back into your device by pushing it into the slot at the bottom of the case until you hear that satisfying click!