DIY Guide to Replacing the Chassis on Galaxy Note Edge
Duration: 30 min.
Steps: 10 Steps
In this guide, we’ll walk you through the process of removing the chassis from your Galaxy Note Edge—it’s a task you can totally tackle on your own! If your chassis is looking a little worse for wear, it’s time to give it a new life.
Step 1

– Gently nudge the stylus out of your Galaxy Note Edge with your finger. It’s like giving it a little high-five to get it moving!
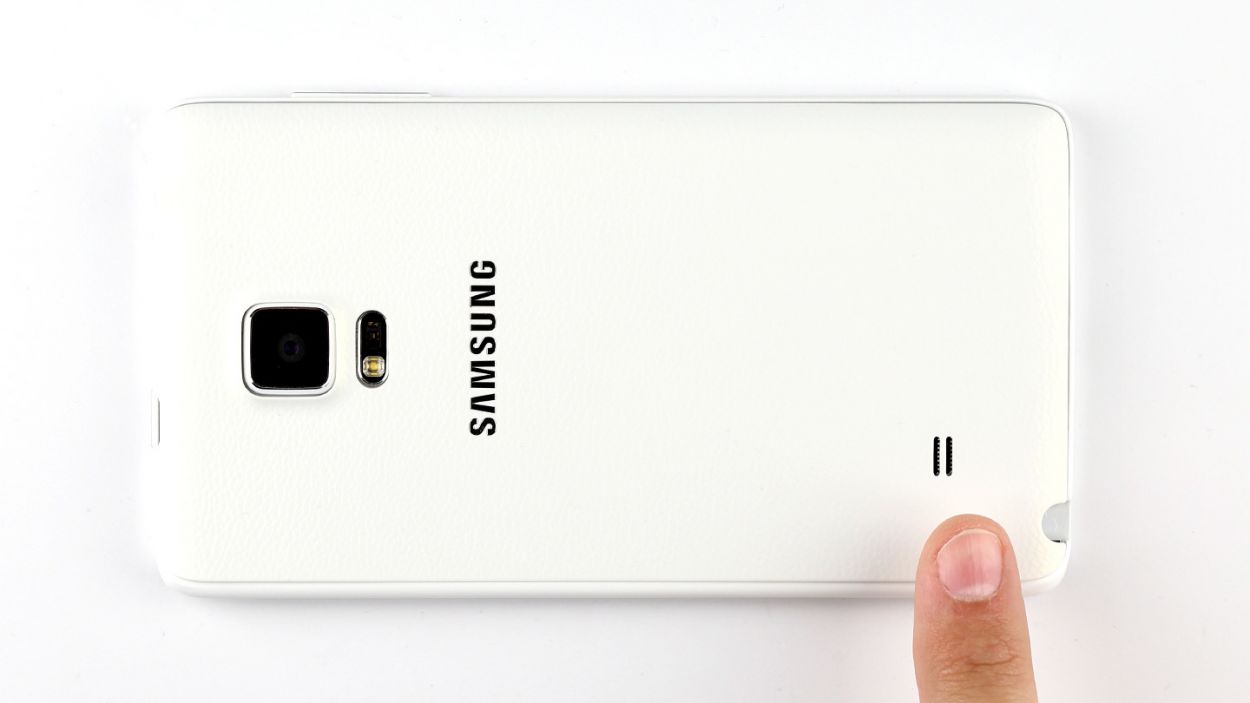
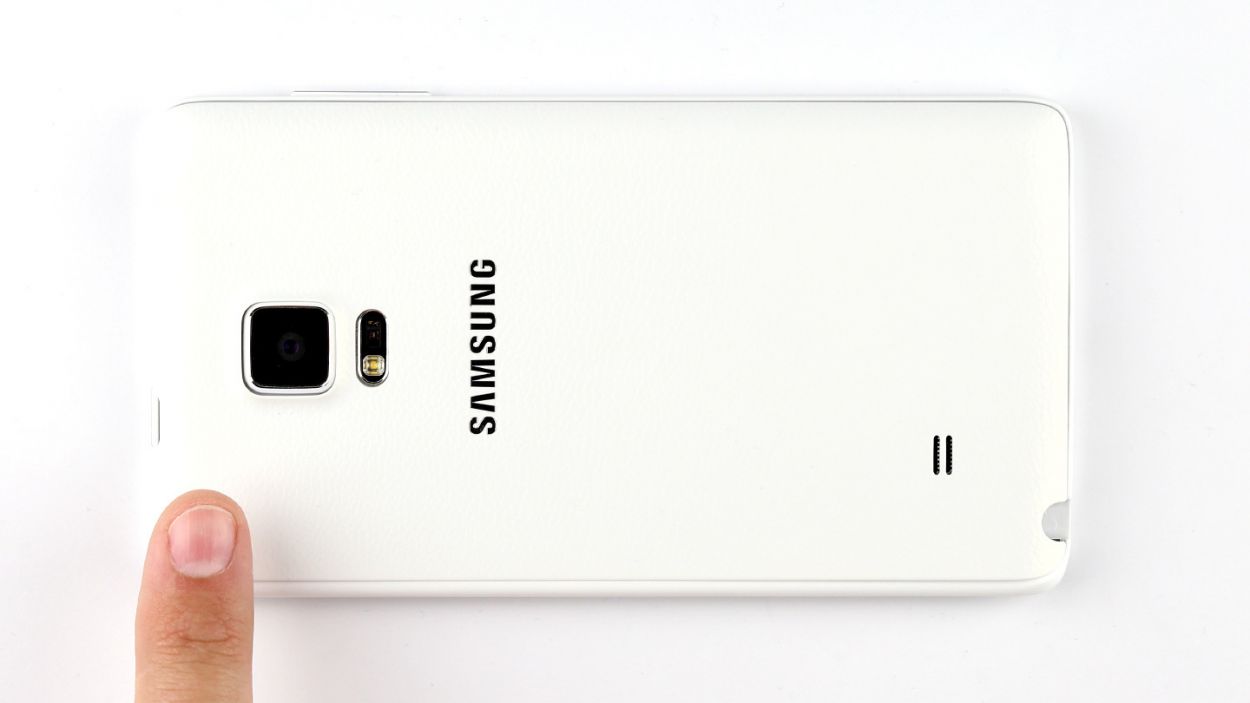
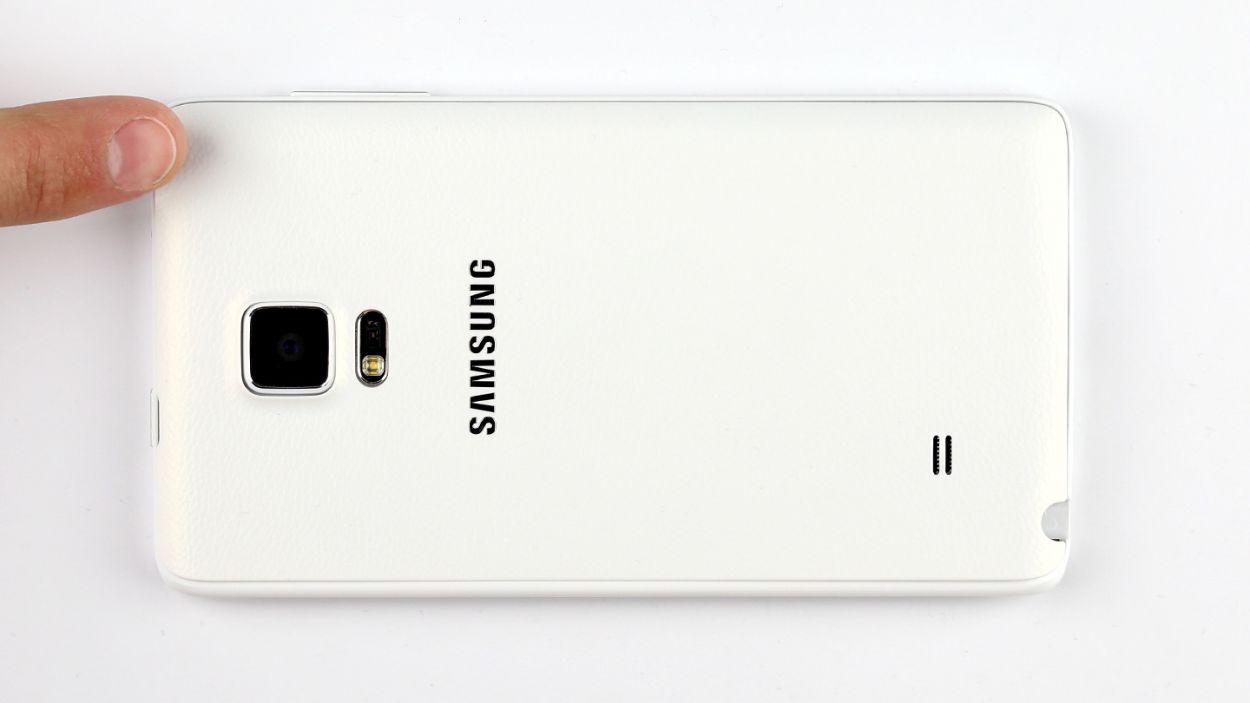
Step 2
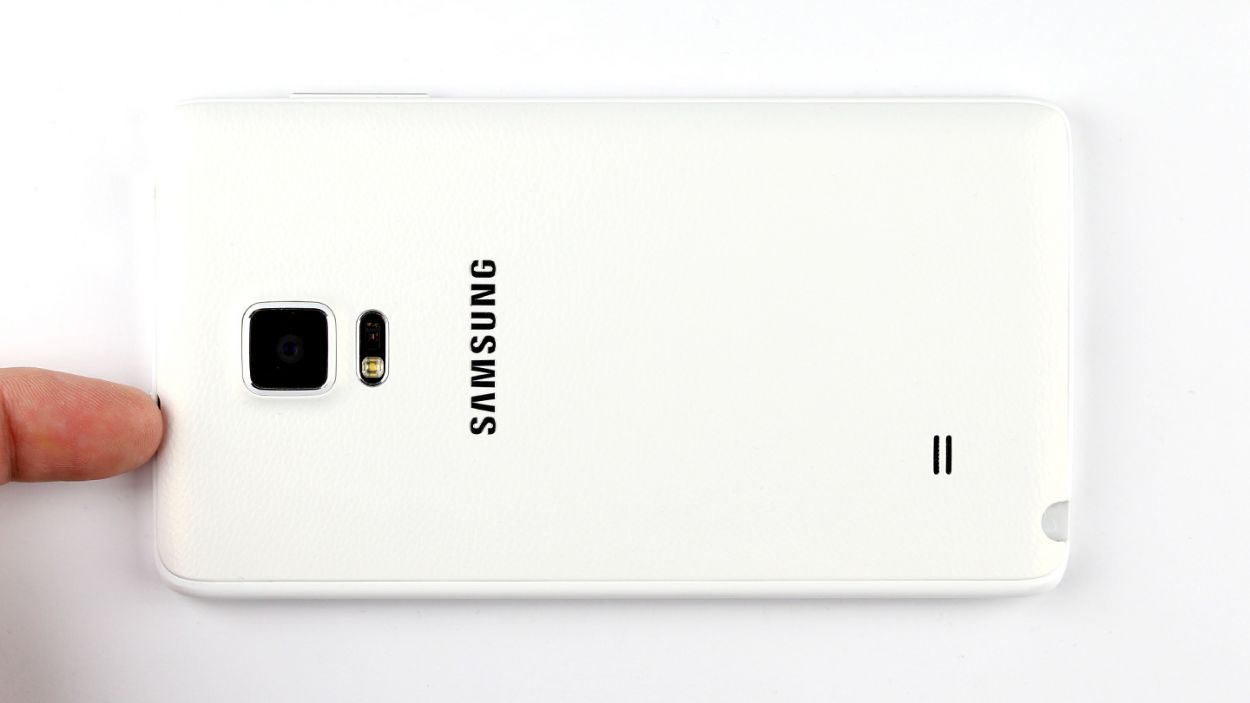
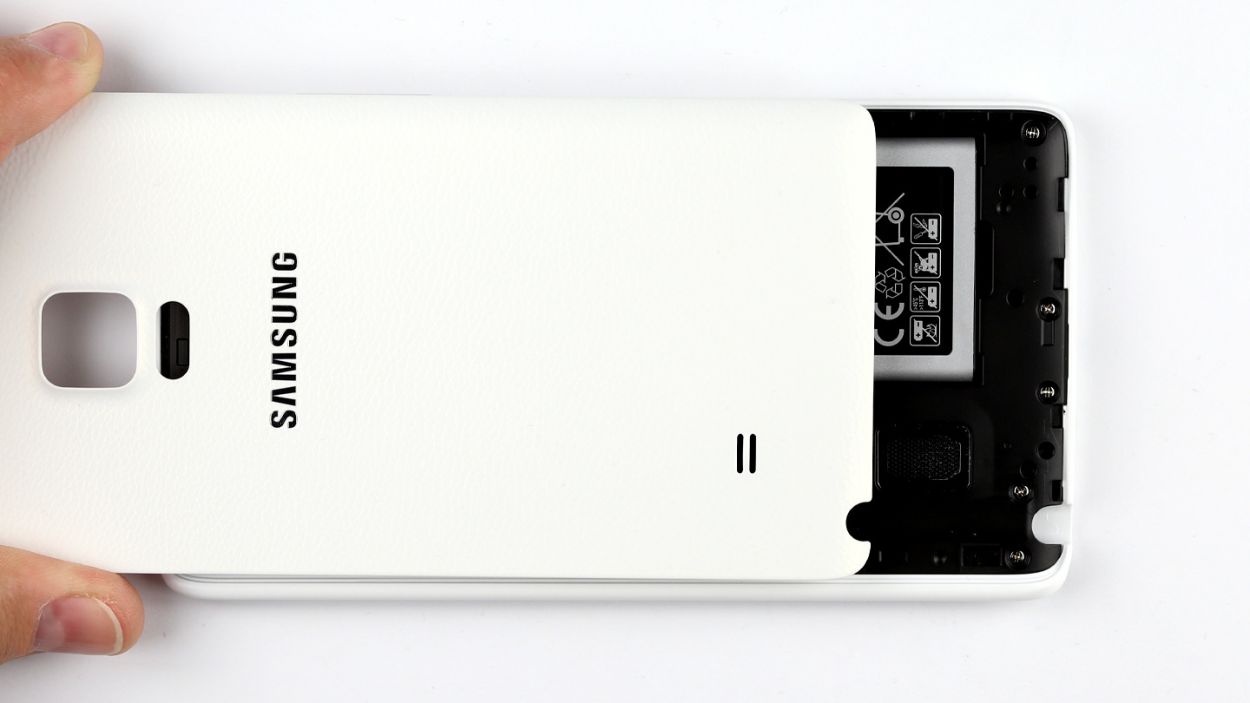
– First things first, let’s get that back cover off your device! You’ll find a little groove at the top of your Galaxy Note Edge where you can sneak in your fingernail. It’s a bit of a puzzle, as the back cover is secured at several spots, so use your fingers in a few places and gently pull it away. You’ve got this!
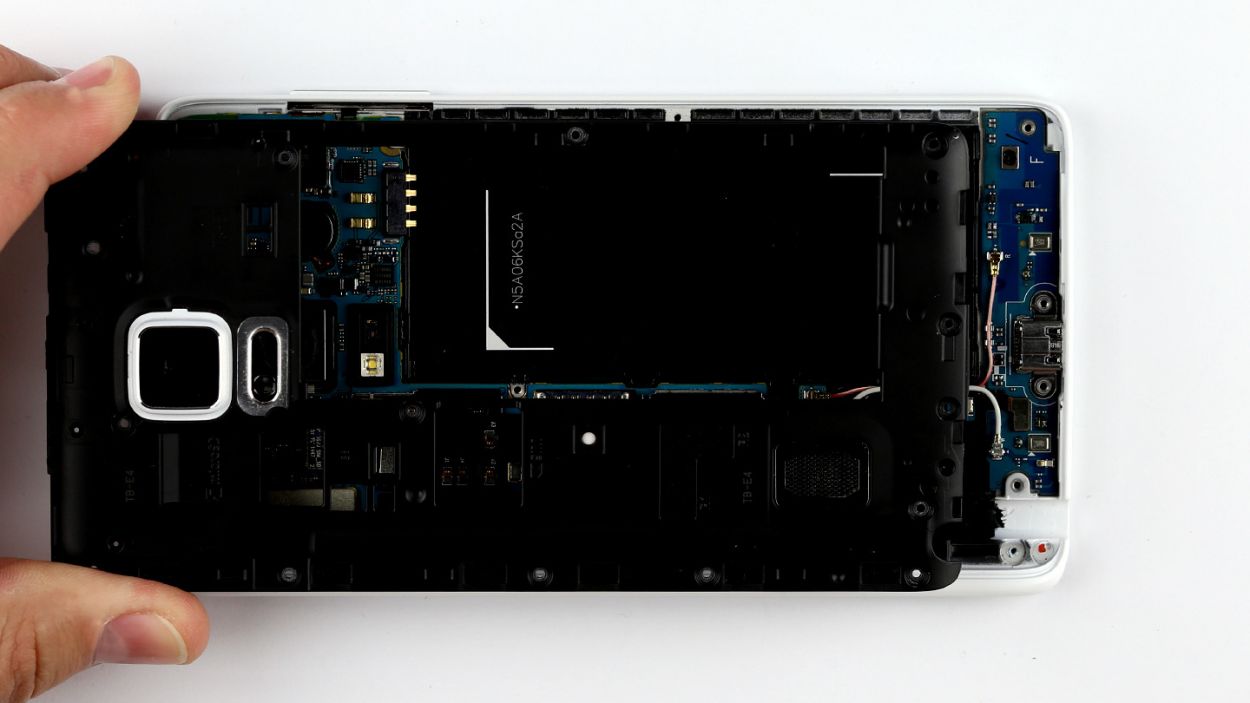
– Now, go ahead and remove the back cover completely.
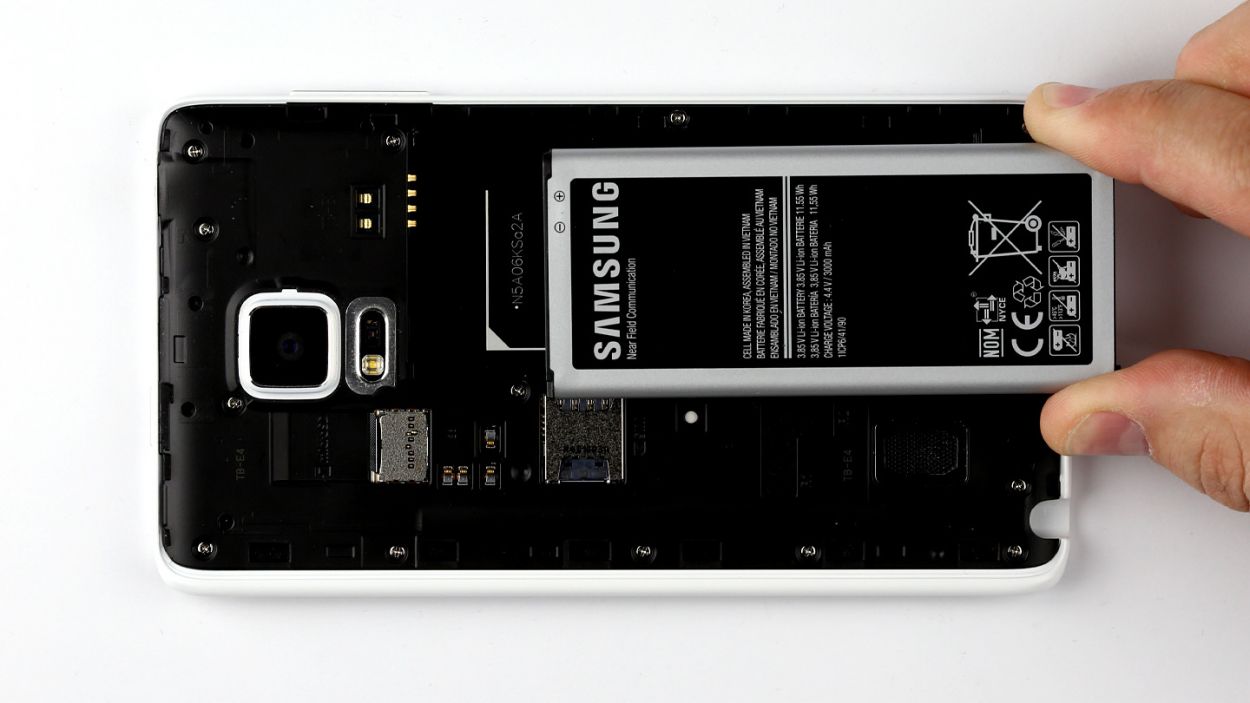
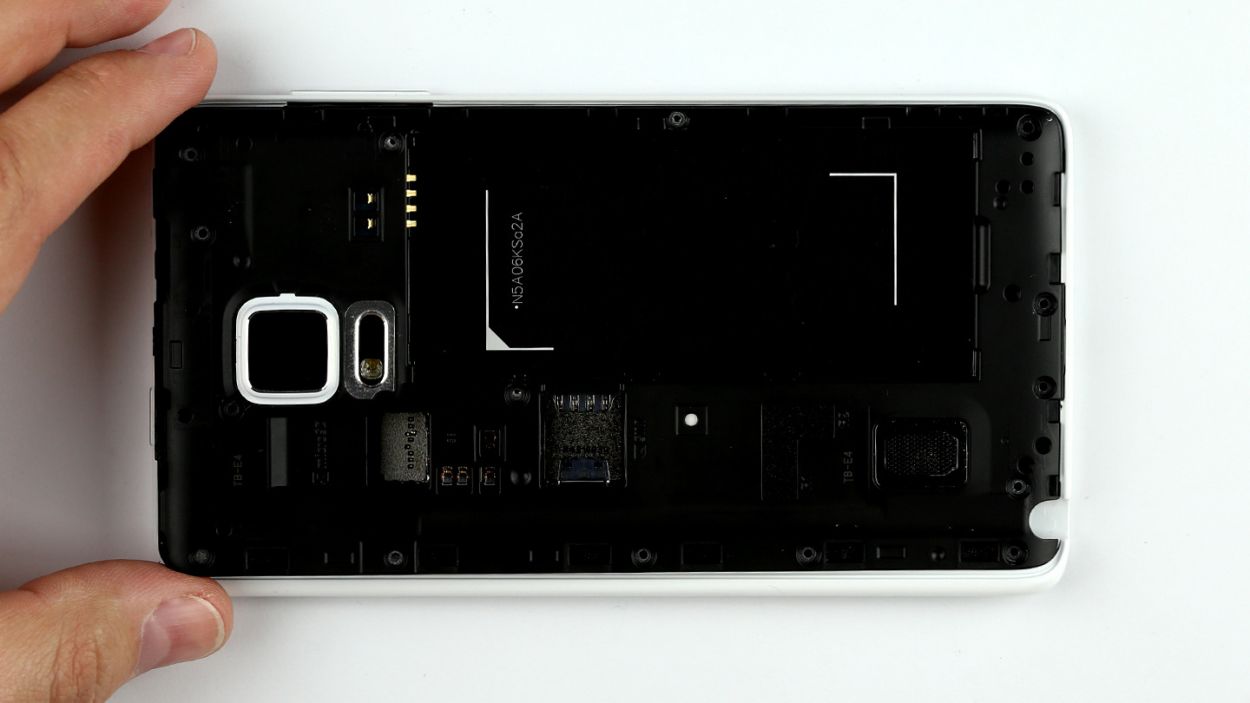
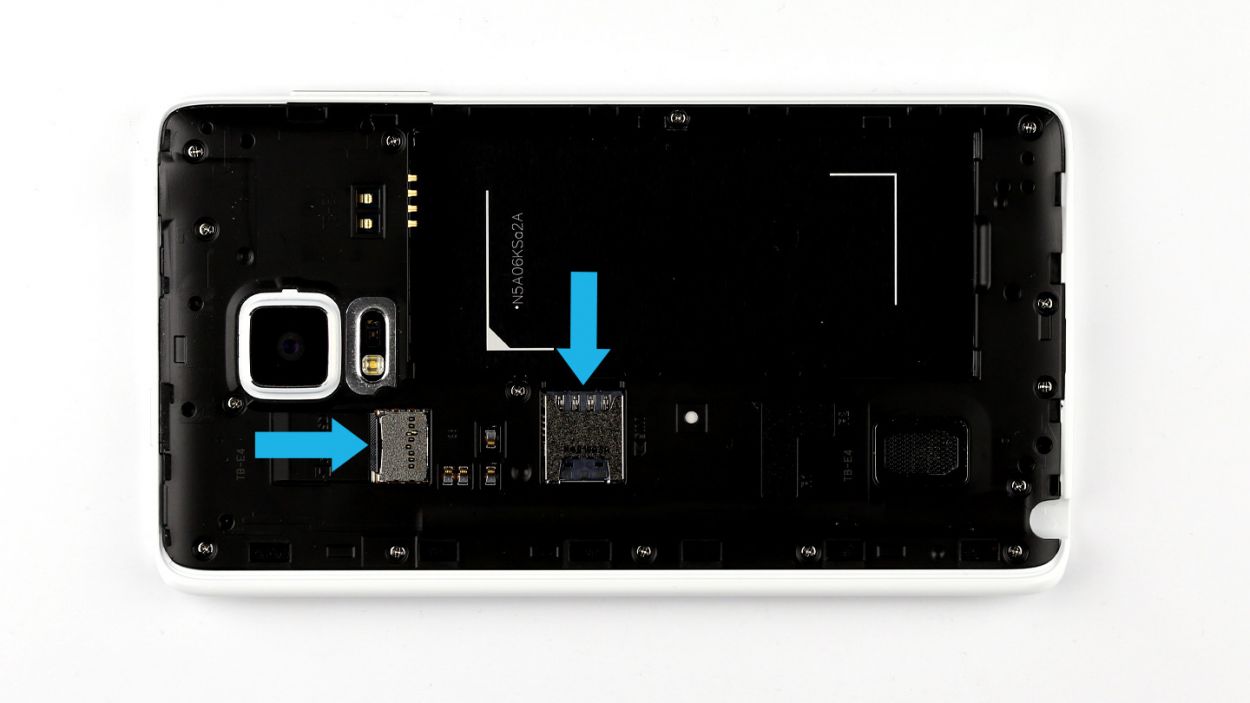
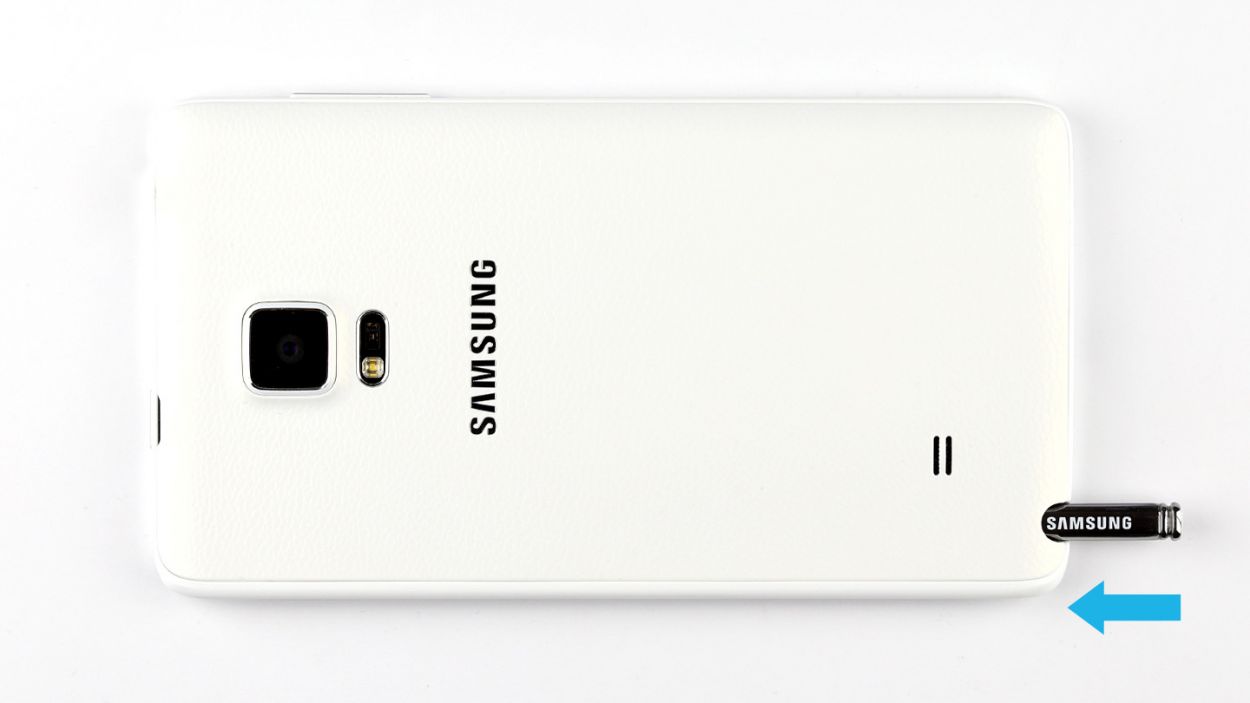
Step 4

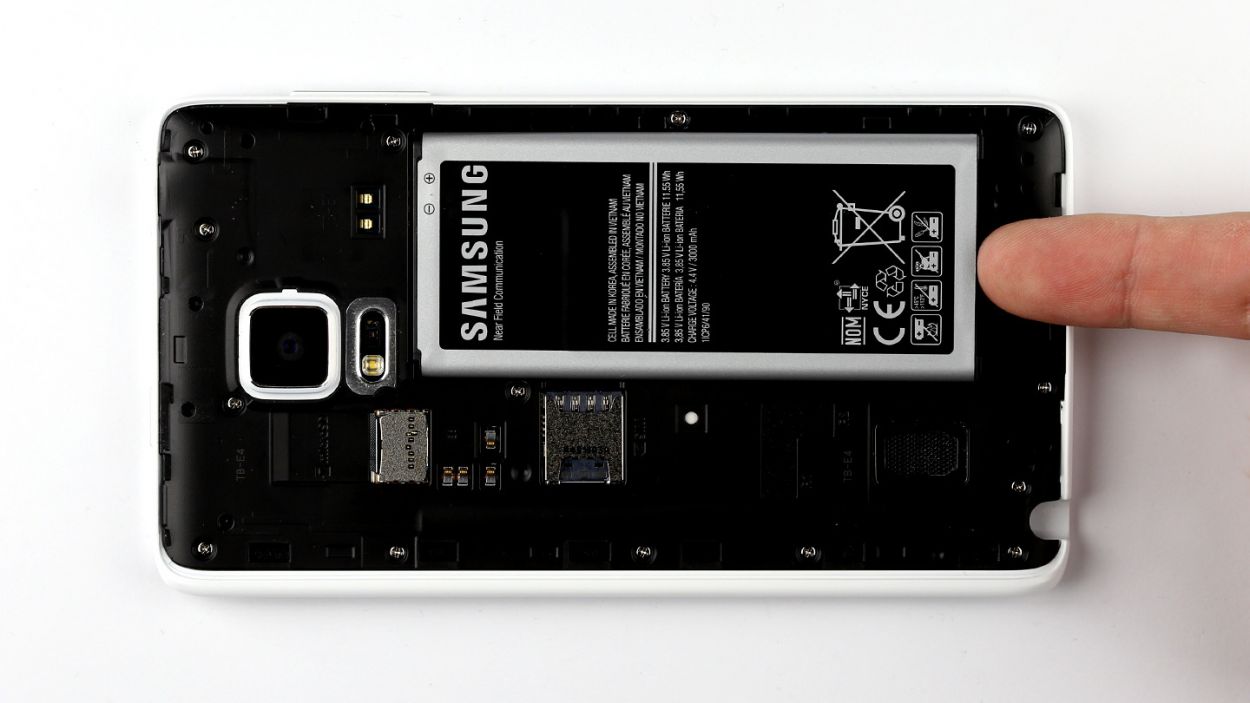
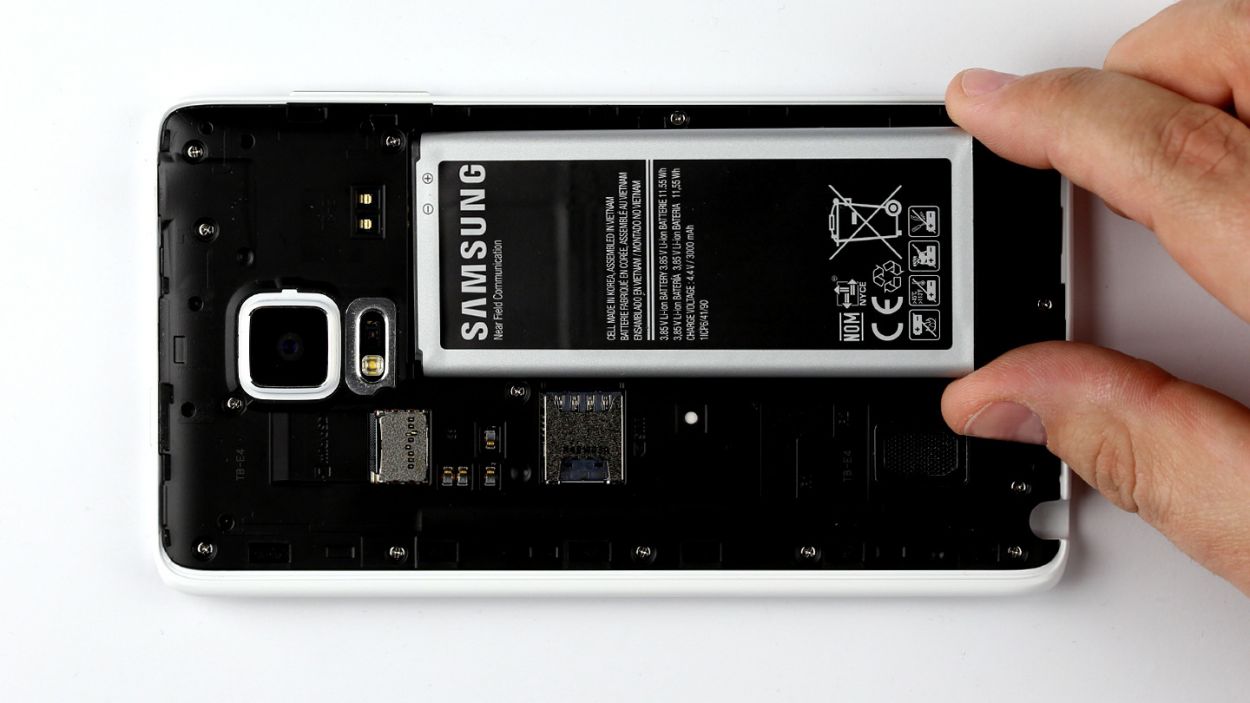
– Give that SIM card a gentle nudge with your finger to pop it right out of the slot!
– Slide out the microSD card from its cozy little home in the slot.
Step 5
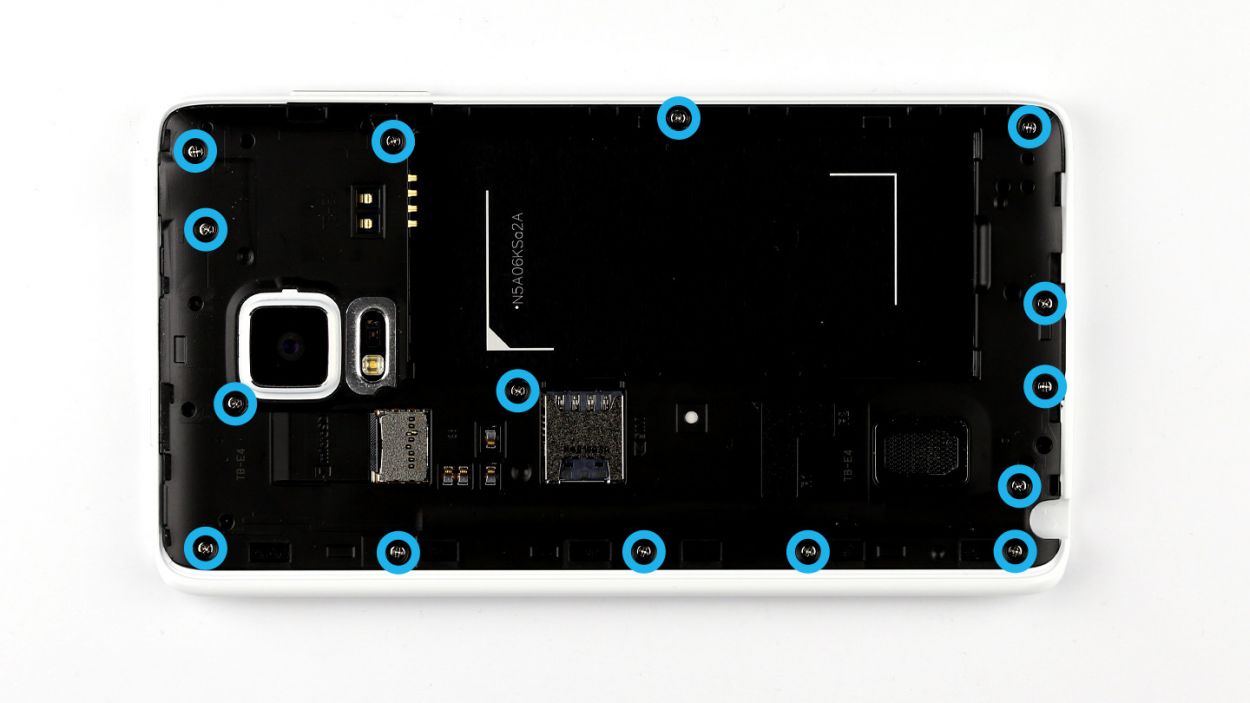


– Time to get your screwdriver ready! Carefully unscrew the fifteen screws that are keeping the chassis snug and secure. We’re talking about 15 x 4.0 mm Phillips screws here.
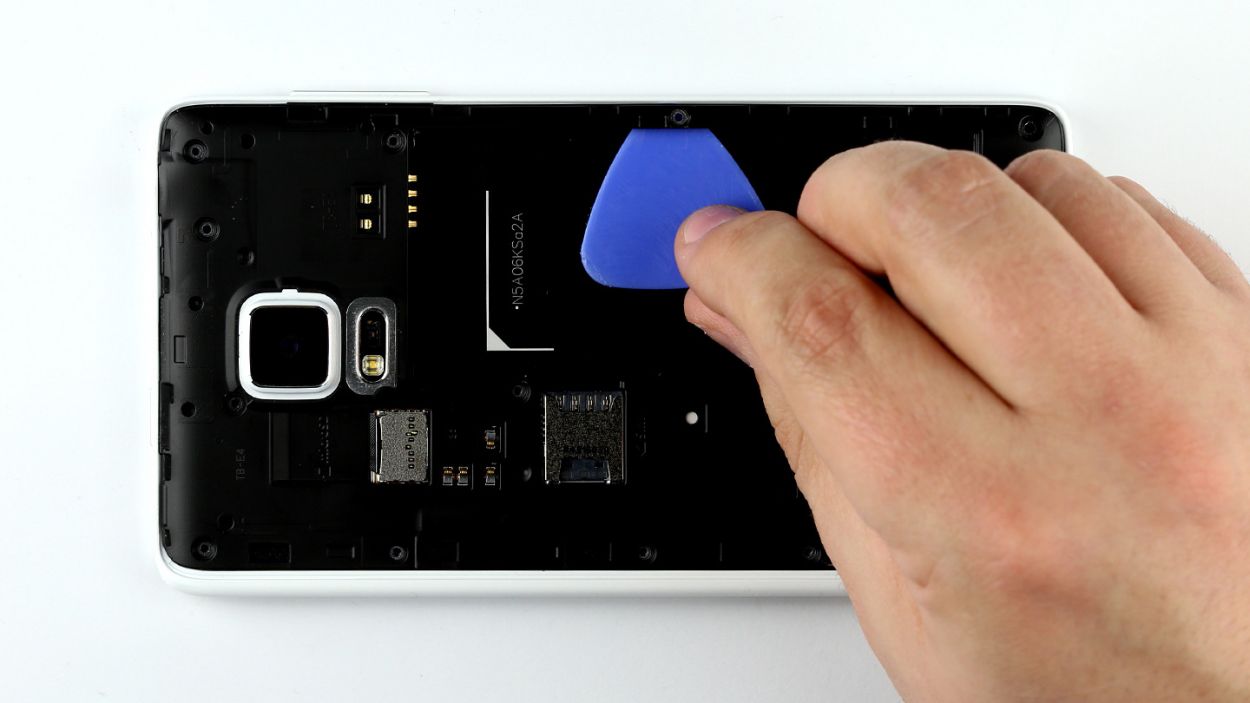
– Next up, the chassis is cozy with the display frame. Let’s break that bond! Slide your pick between the chassis and the display frame, and gently unhook those pesky hooks. Start at the battery recess for a smoother ride.
– Now, keep that pick moving around the device like you’re dancing! Make sure to fully disconnect the frame from the chassis all the way around.
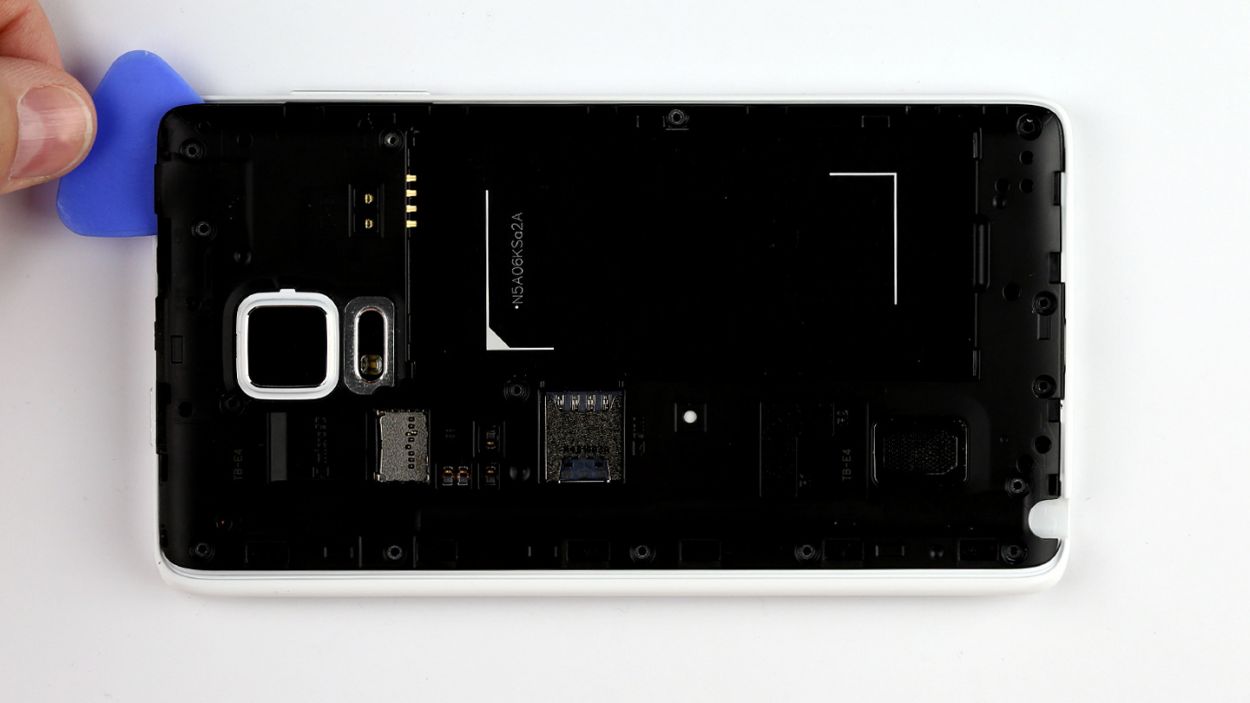
– Finally, lift the chassis with a sense of accomplishment and remove it. You’ve got this!
Step 6

– Gently place the chassis back where it belongs on the display frame. Give it a little press all over with your fingers until you hear that satisfying click as it locks into the enclosure.
– Now, grab those fifteen screws and secure the chassis to the display frame. Remember, it’s 15 x 4.0 mm Phillips screws we’re talking about here!
Step 7
– Slide that microSD card into the microSD slot, making sure it’s snug and perfectly aligned!
– Gently press the SIM card into the SIM card slot with your finger, ensuring it’s sitting right where it belongs!


Step 9

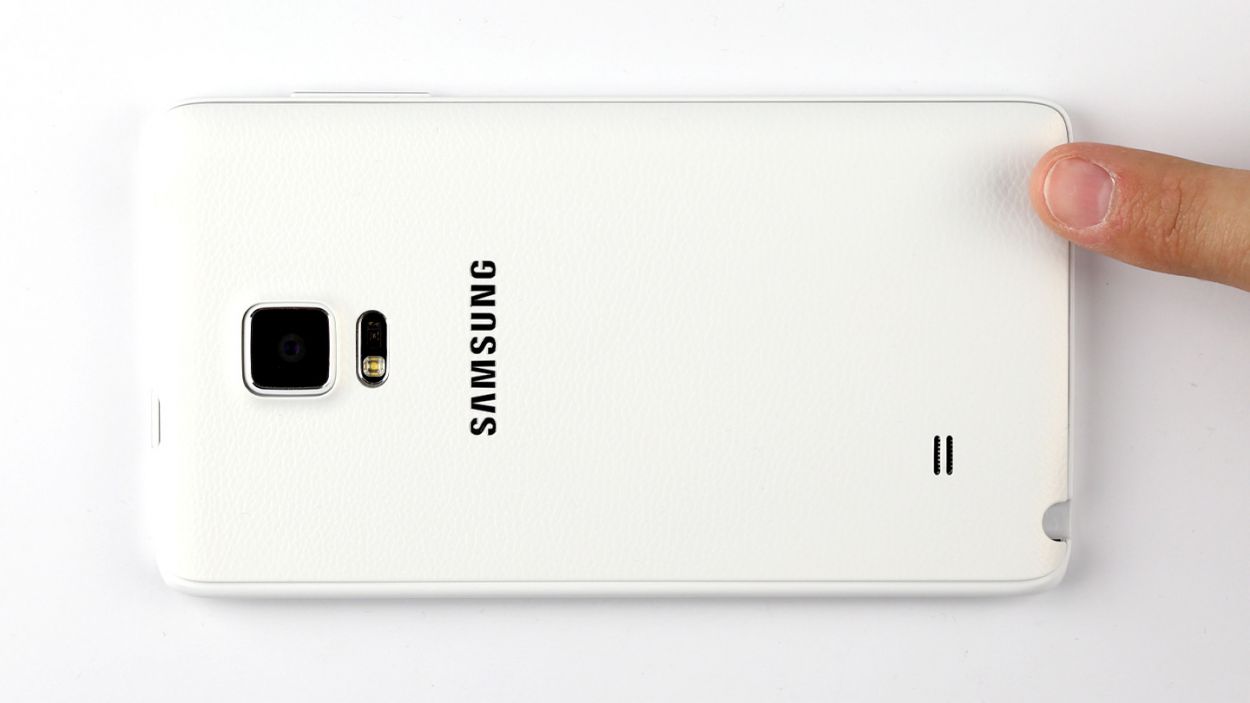
– Alright, let’s get that back cover snug on your Galaxy Note Edge! Ensure it’s lined up just right.
– Now, give that back cover a good press all around your smartphone. You want to hear those clips snapping into place, sealing the deal!
Step 10
– Gently slide the stylus back into its cozy little home at the bottom of your device until you hear that satisfying click. It’s like tucking in a little friend!