DIY Guide to Replace Battery in Galaxy Note 9
Duration: 60 min.
Steps: 13 Steps
Get ready to tackle your Galaxy Note 9 battery replacement with this fun and easy step-by-step guide! While it’s a bit of a challenge since you’ll be opening up that sleek glass back cover, don’t sweat it! Just make sure to set aside enough time to get the job done right. Before you dive in, don’t forget to back up your data, clear off a nice workspace, and take your time. If you hit a snag along the way, feel free to reach out through our live chat or drop a comment on the step you’re on. Happy repairing!
Step 1
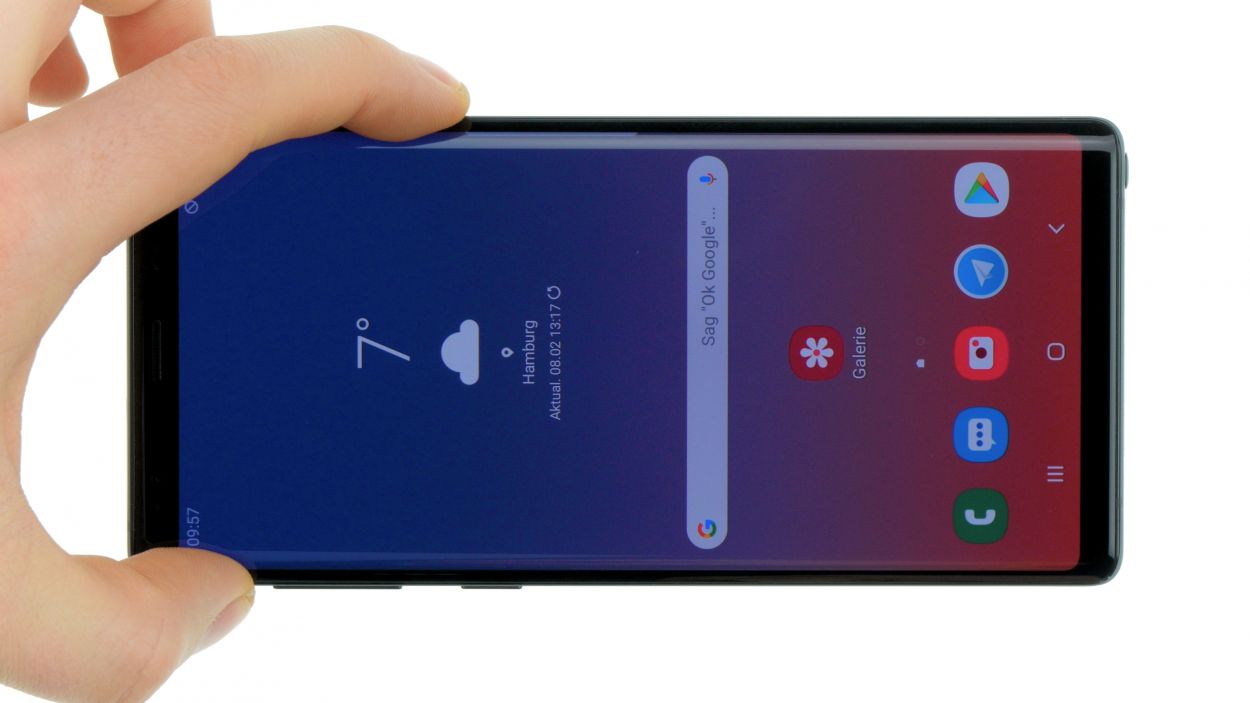
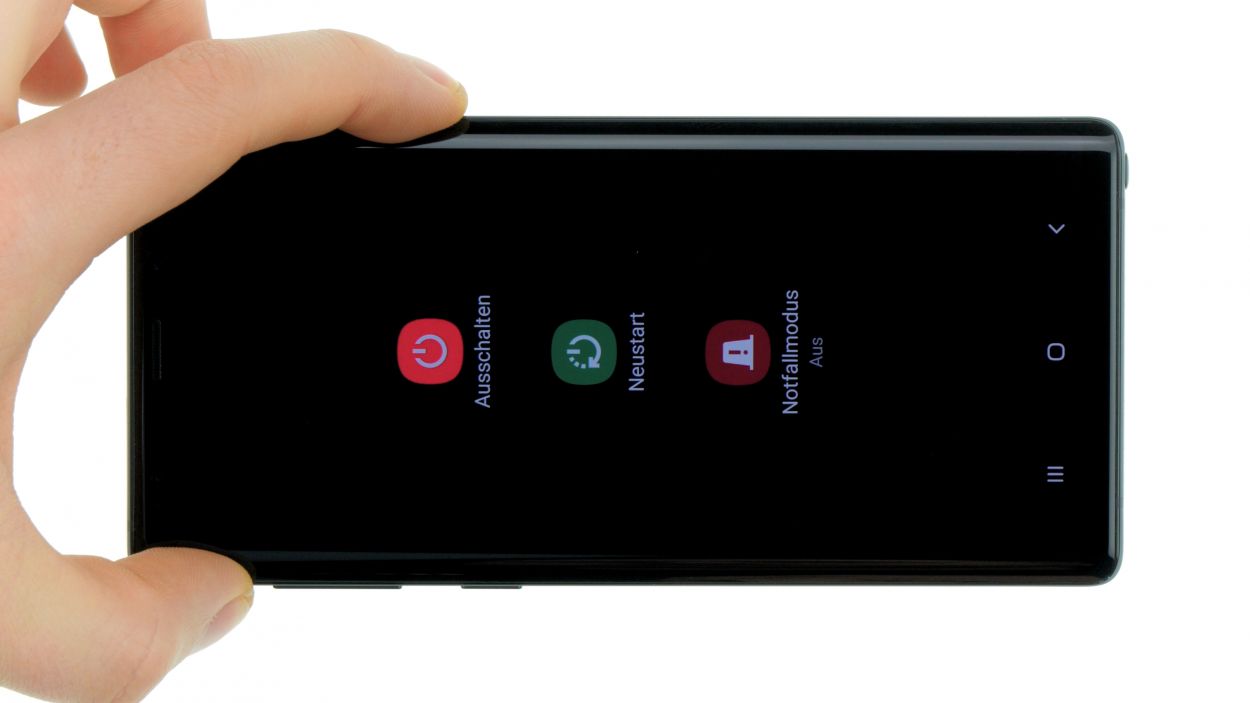
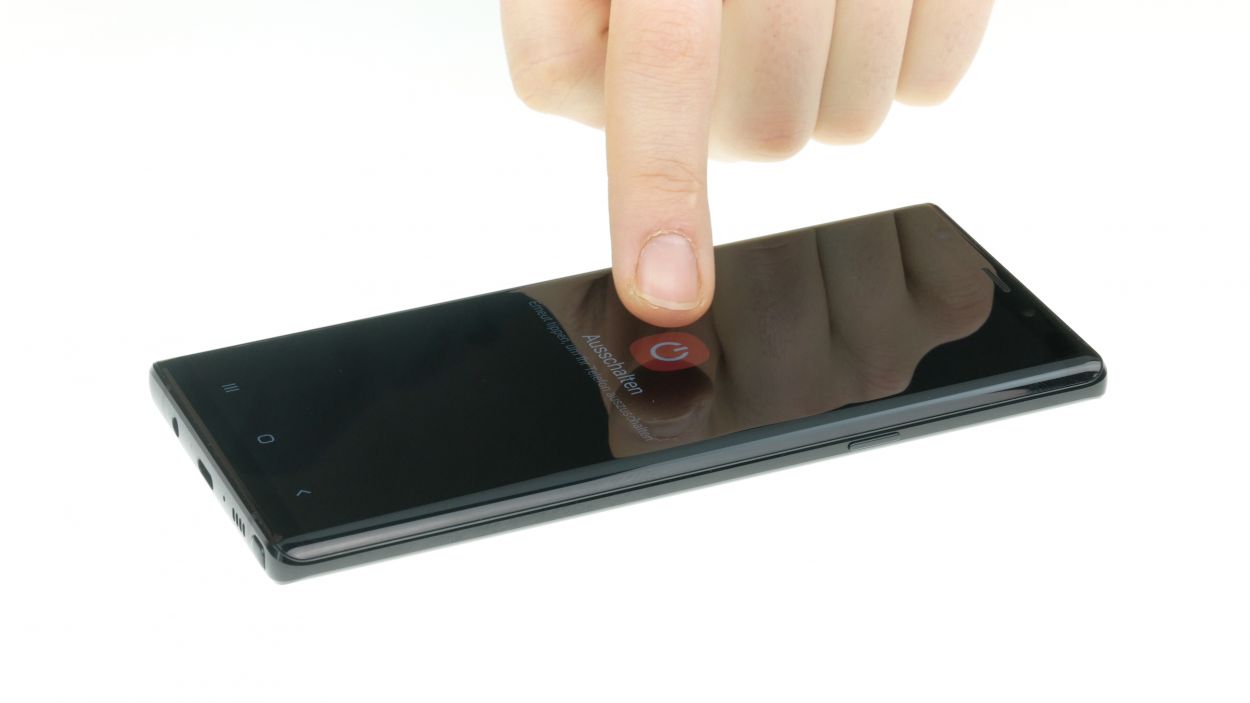
– Let’s power down that device! Press and hold the power button until you see the ‘Power off’ option pop up on your screen.
– Give it a gentle tap with your finger to confirm you want to turn off your Galaxy Note 9, then sit back and watch as the screen goes blank. You’re doing great!
Step 2
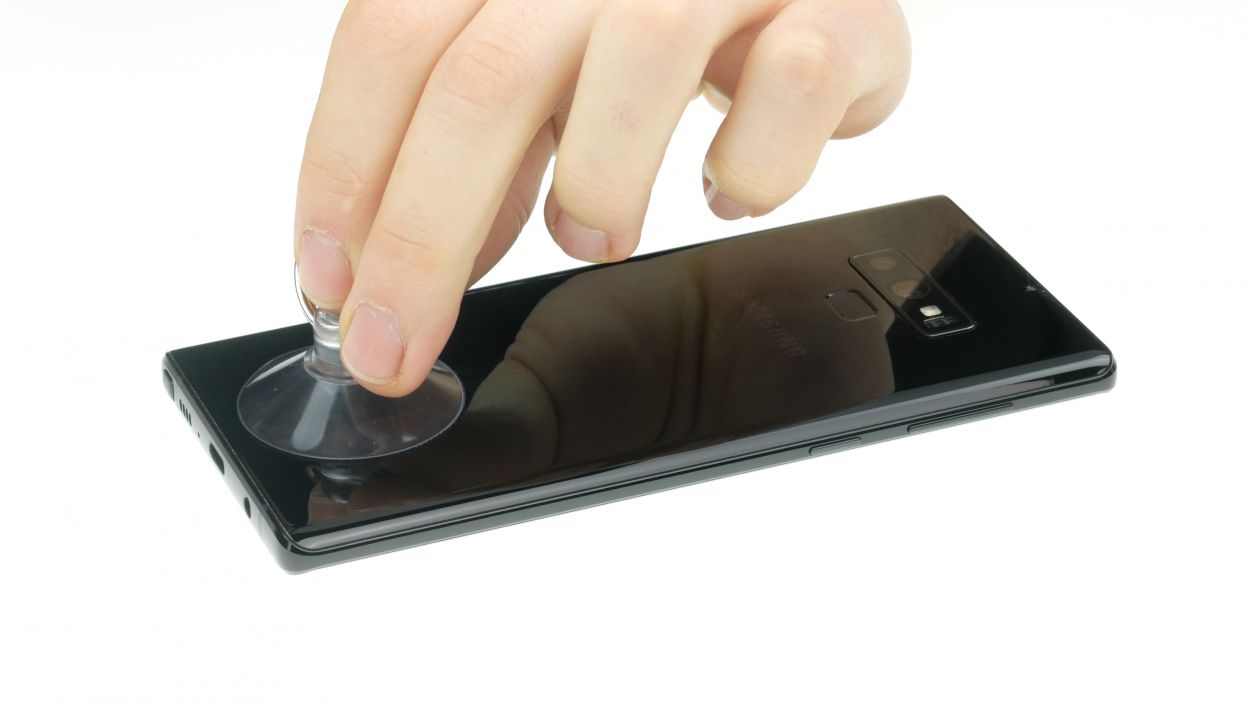
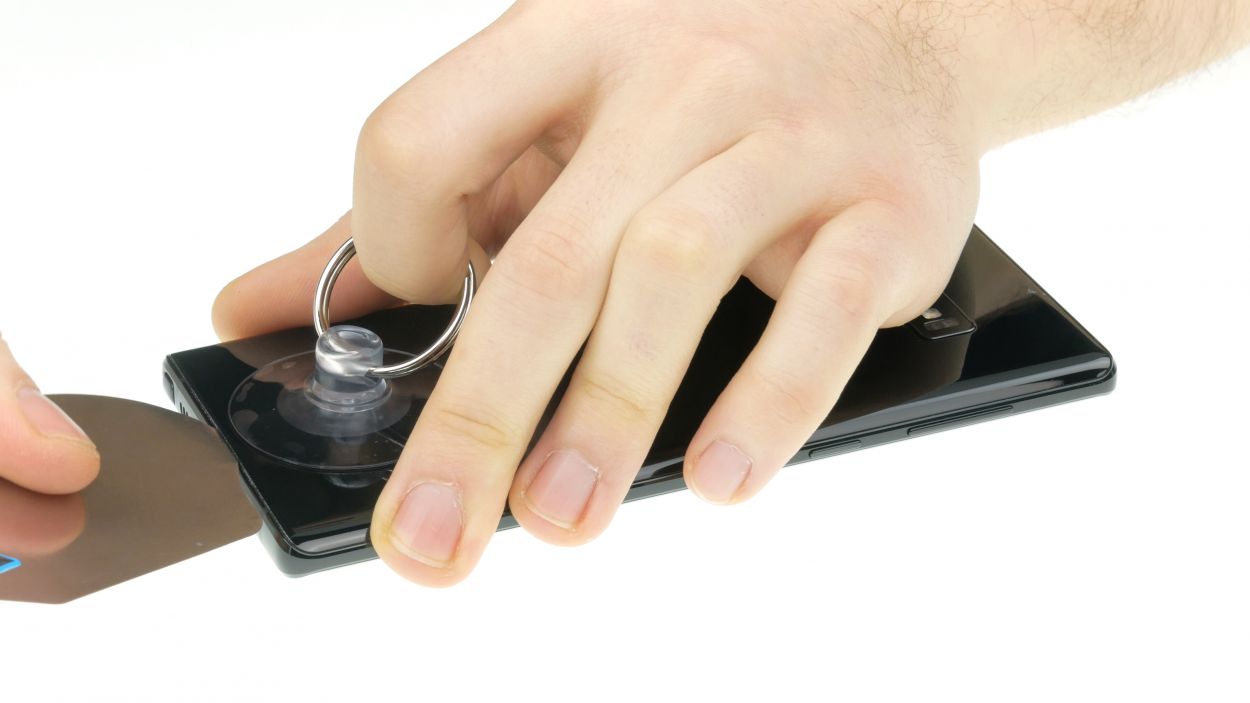
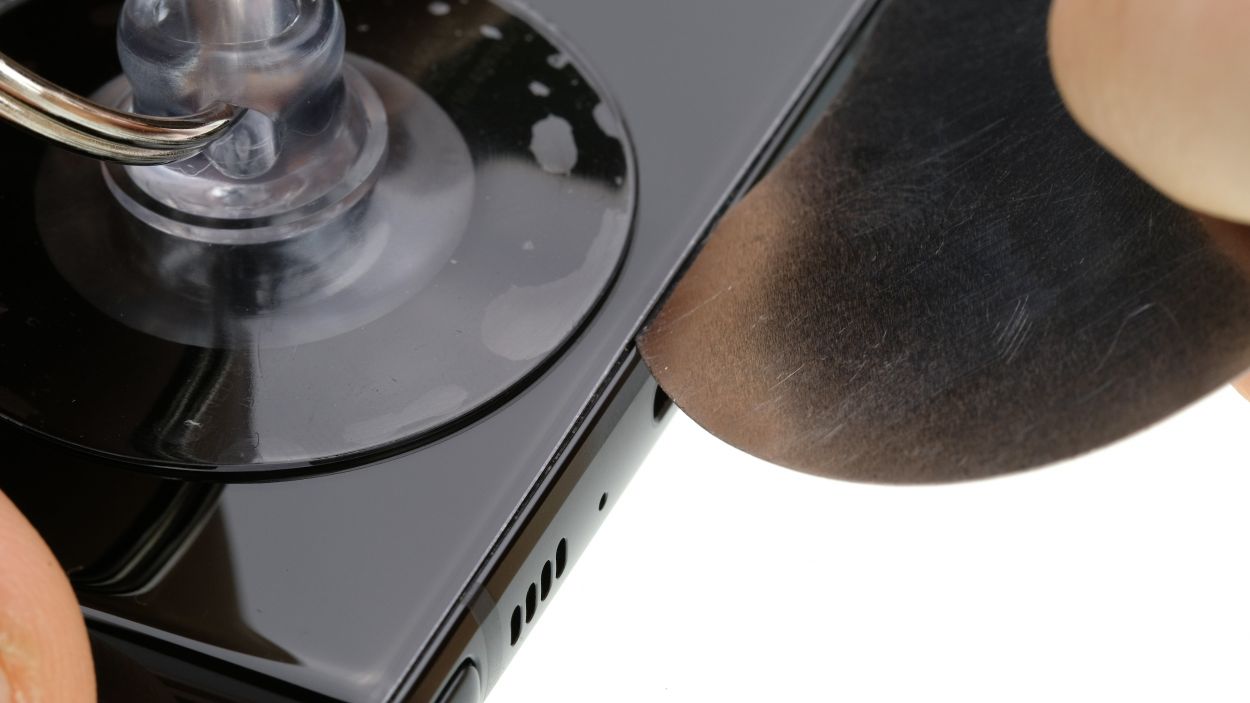
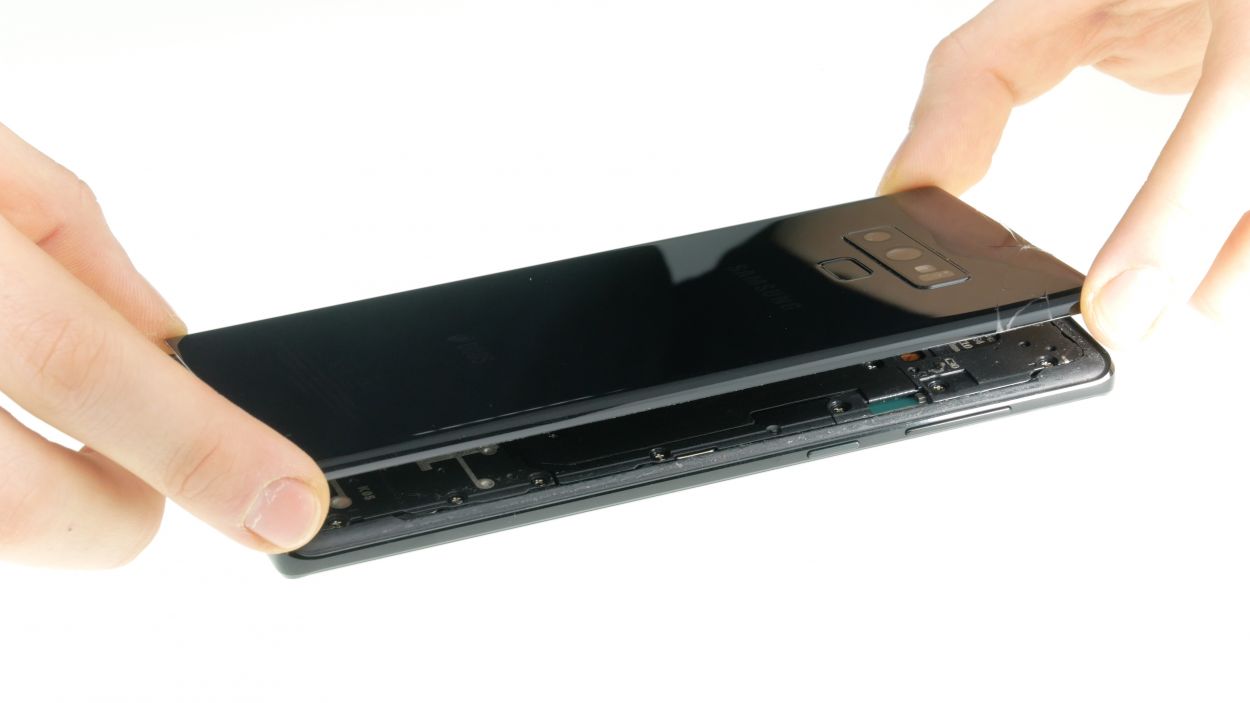
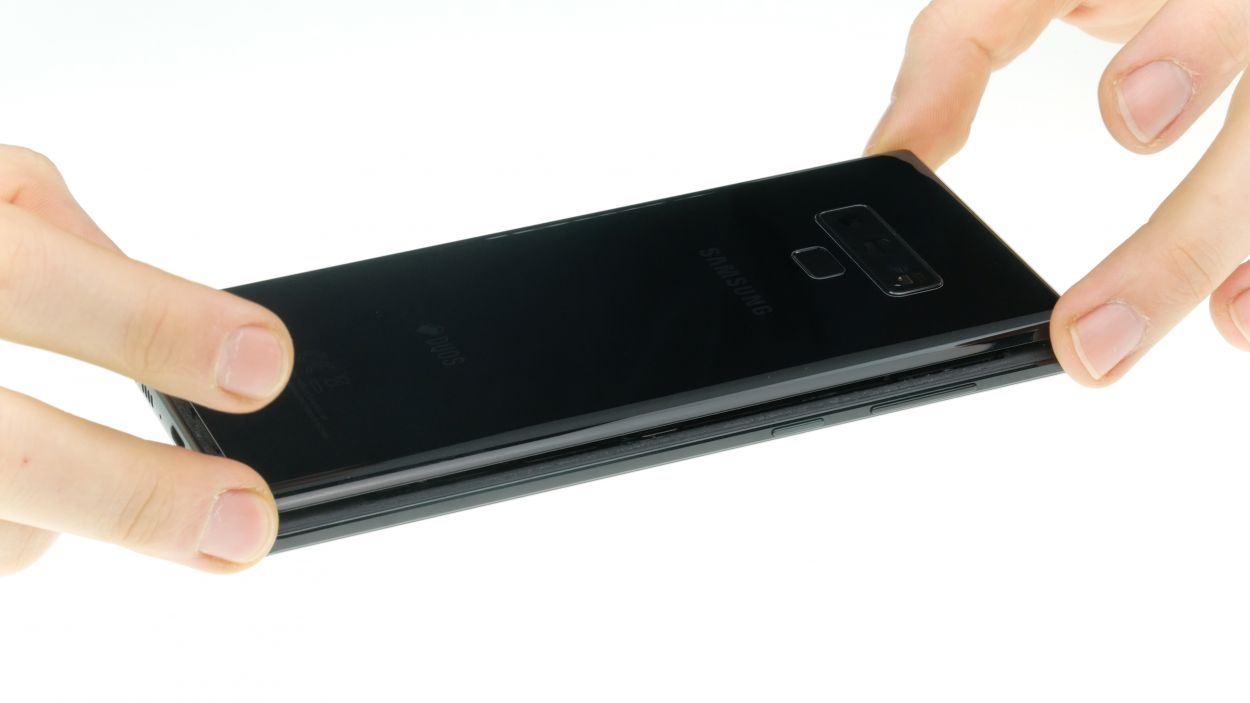
– The back cover is really stuck to the chassis, so let’s give it some love! Warm up your device evenly with a hot air source to soften that stubborn glue. A cozy temperature of 60 – 80°C should do the trick. Just remember, you want it warm enough to work with, but not so hot that you can’t touch it comfortably.
– To get that back cover off, grab a flat and flexible tool like the iPlastix or iFlex. You’ll also want a few picks handy to help unstick the cover all the way around. You’ve got this!
Hey there! Just a friendly reminder to take it easy when dealing with the back cover – it’s a bit fragile and can crack if you’re not careful. If things aren’t budging, don’t hesitate to warm it up a few times and give it another go. Removing that back cover can take a bit of time, so grab a snack, chill out, and work slowly to avoid any mishaps. You’ve got this!
The iPlastix is crafted from plastic, ensuring it won’t leave any scratches on your device. However, it’s a bit on the soft side and can be a little tricky to insert. Just take your time, and you’ll get the hang of it!
Tools Used
- heat gun to heat parts that are glued on so they’re easier to remove.
In most cases, you can also use a hairdryer.” rel=”noopener”>Heat gun - screen and the frame. The practical iFlex is made of stainless steel and sits comfortably in the hand. This makes it the perfect assistant for every smartphone repair.” rel=”noopener”>iFlex Opening Tool
- iPlastix Opening Tool
- VAKUPLASTIC Suction Cup
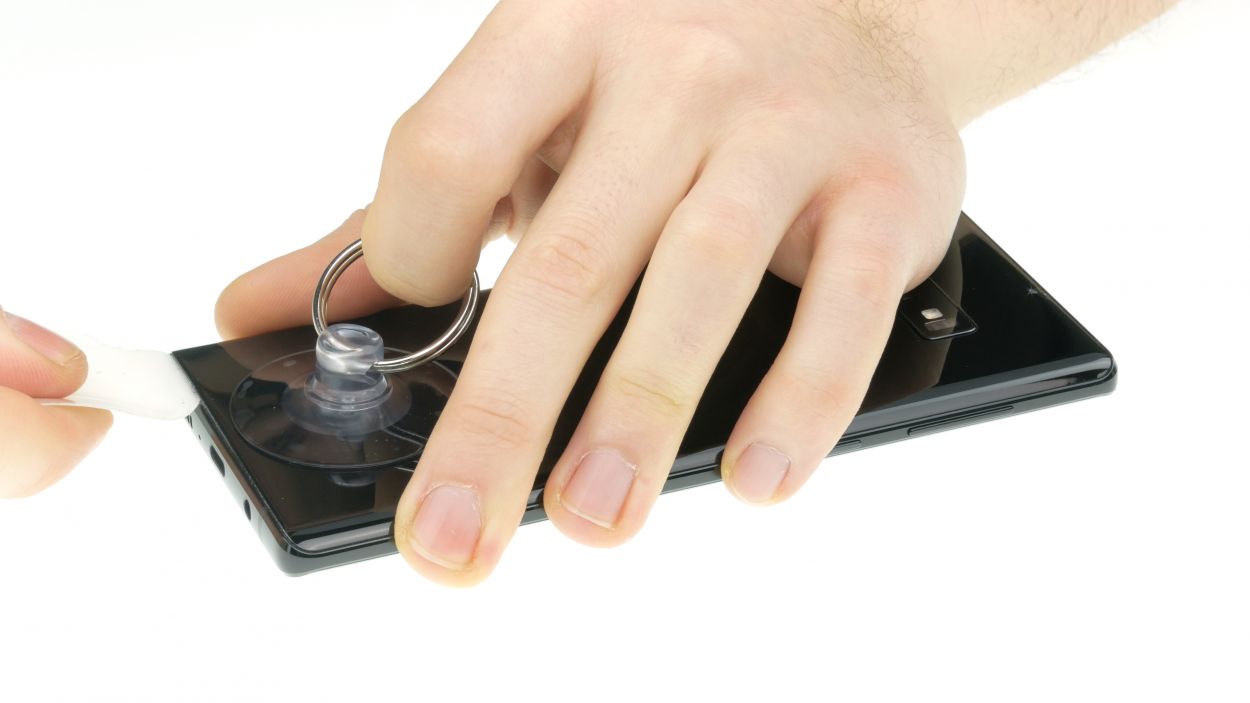
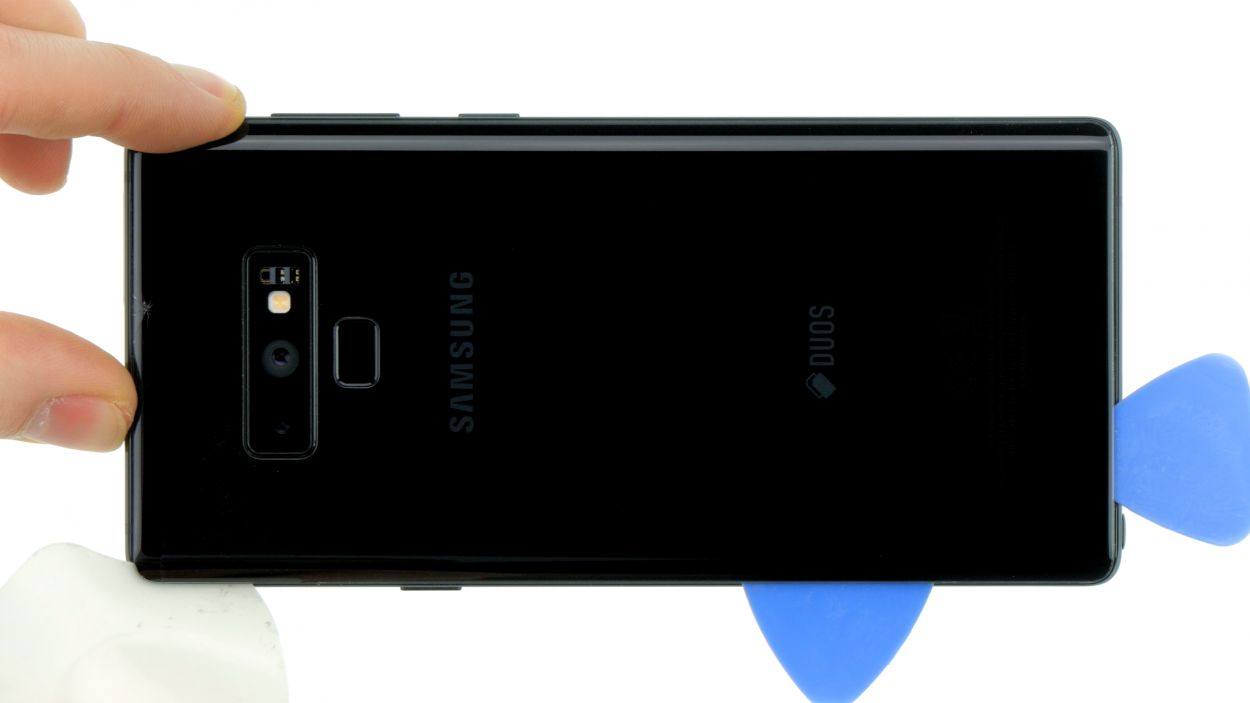
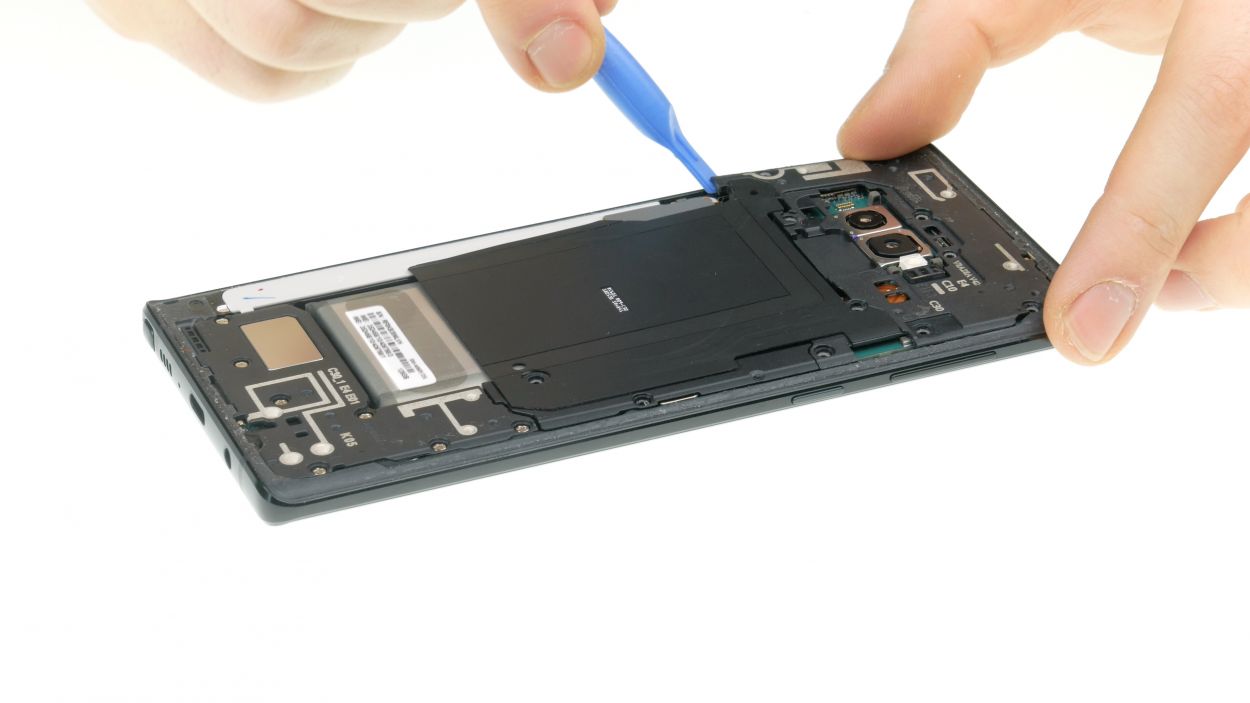
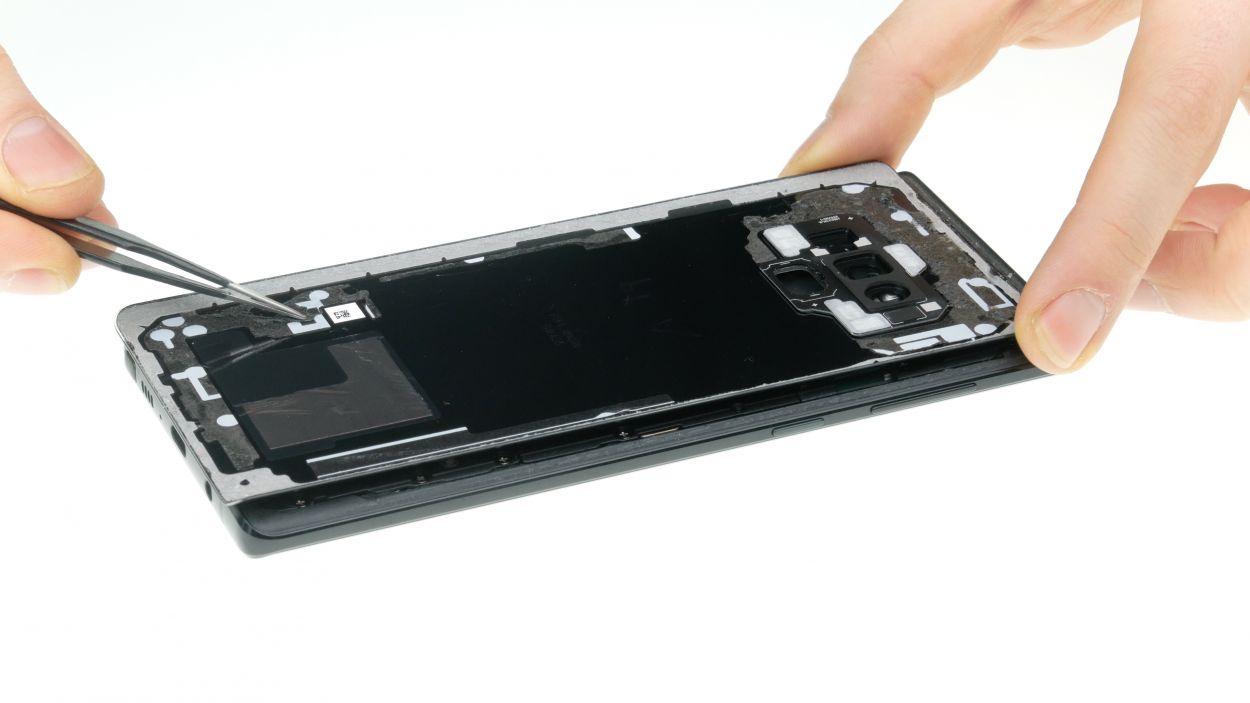
Step 3
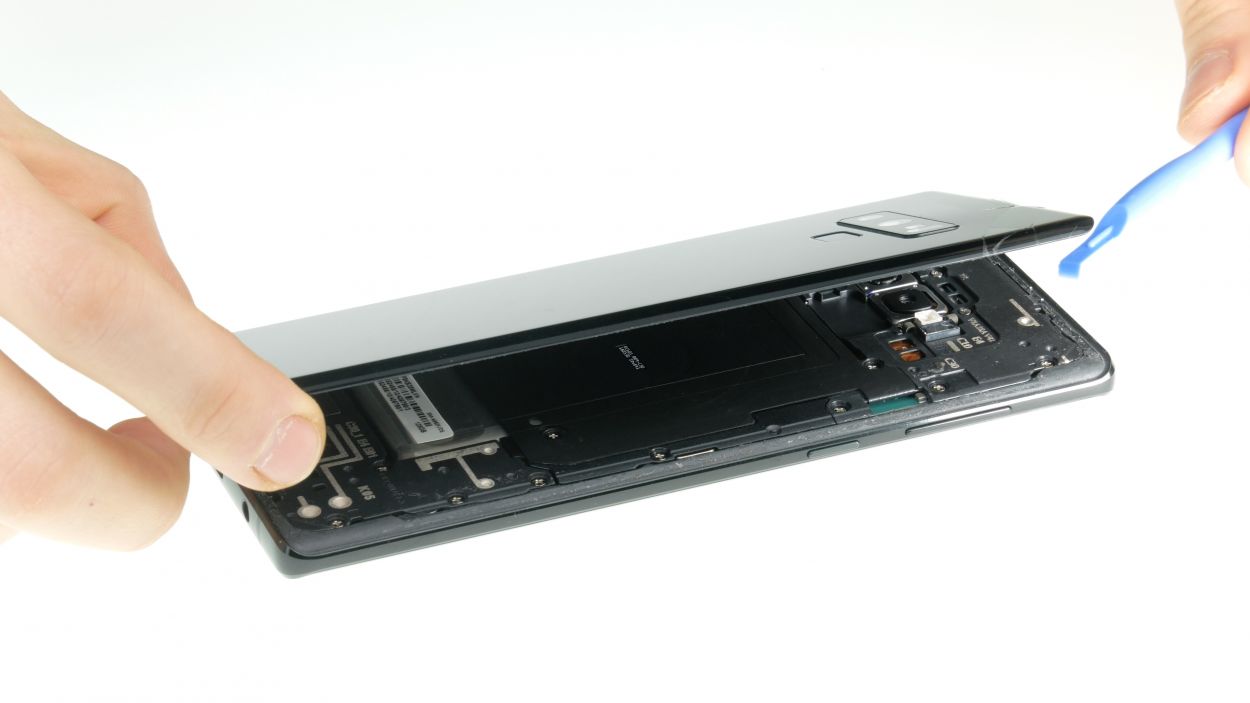
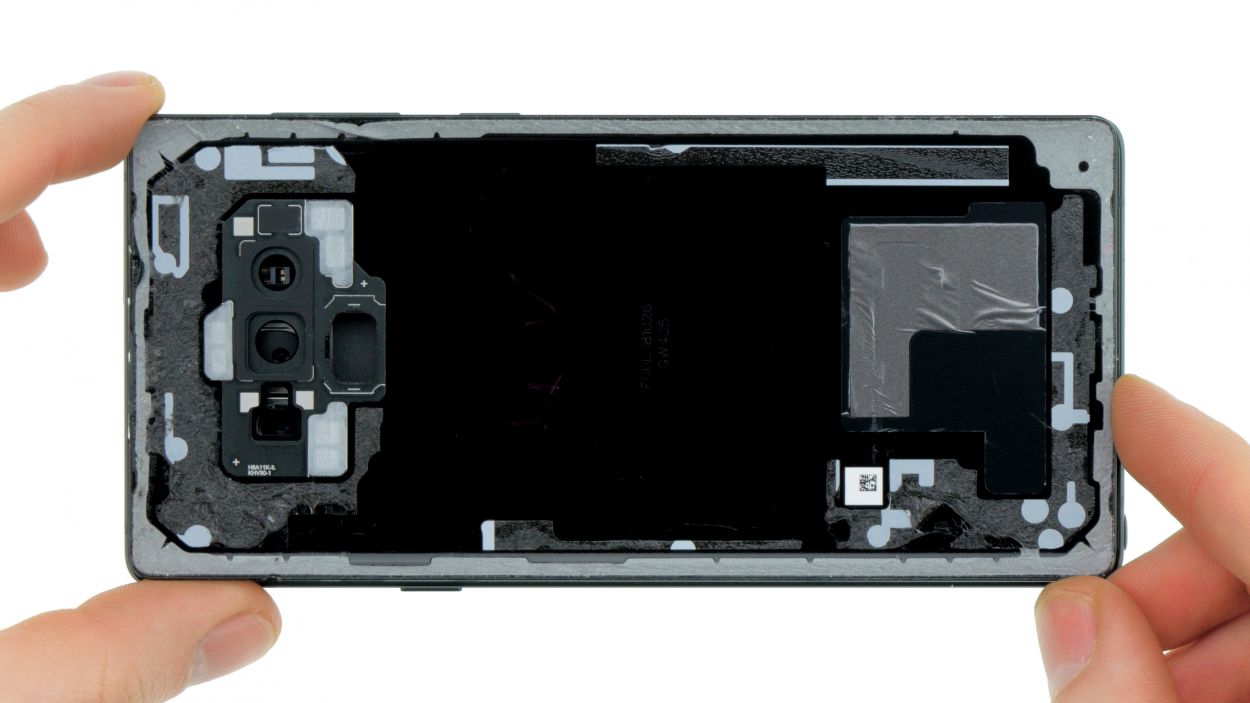
– Once you’ve popped off the back cover, gently lift it up and use your trusty spudger to disconnect the fingerprint sensor.
– Now, go ahead and fully remove the back cover and place it somewhere safe for later.
Tools Used
Step 4
11 × 4,0 mm Phillips
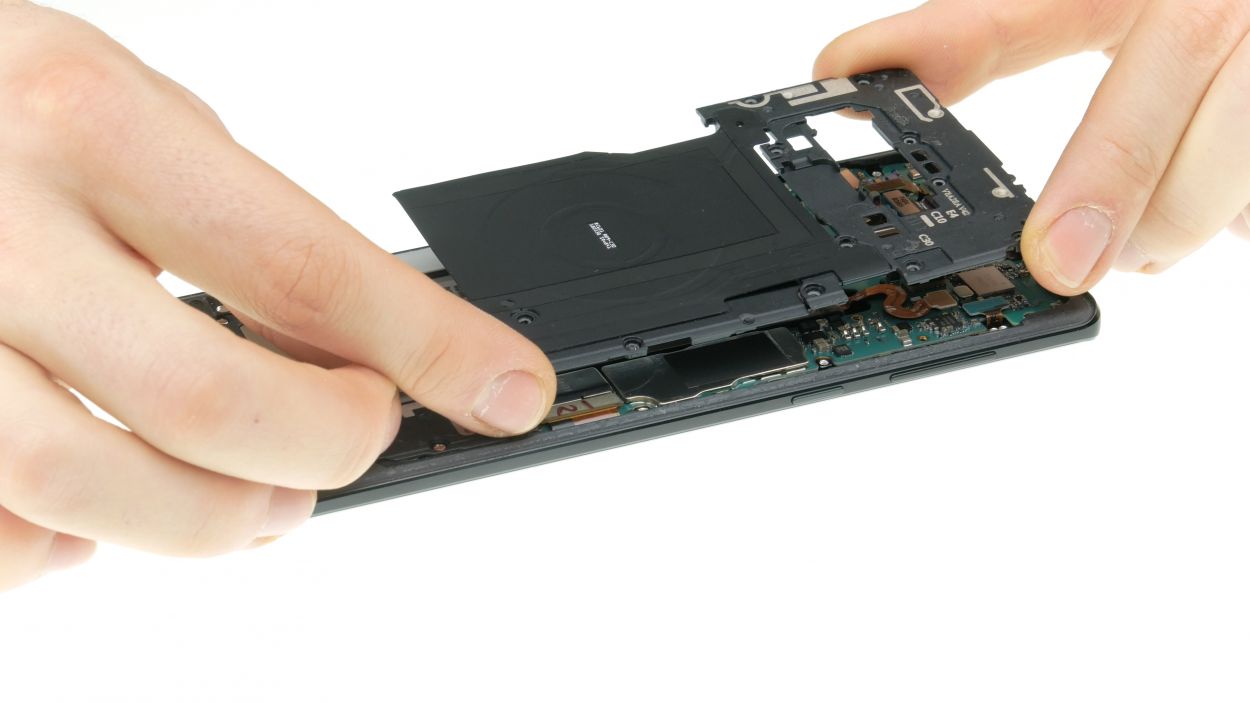
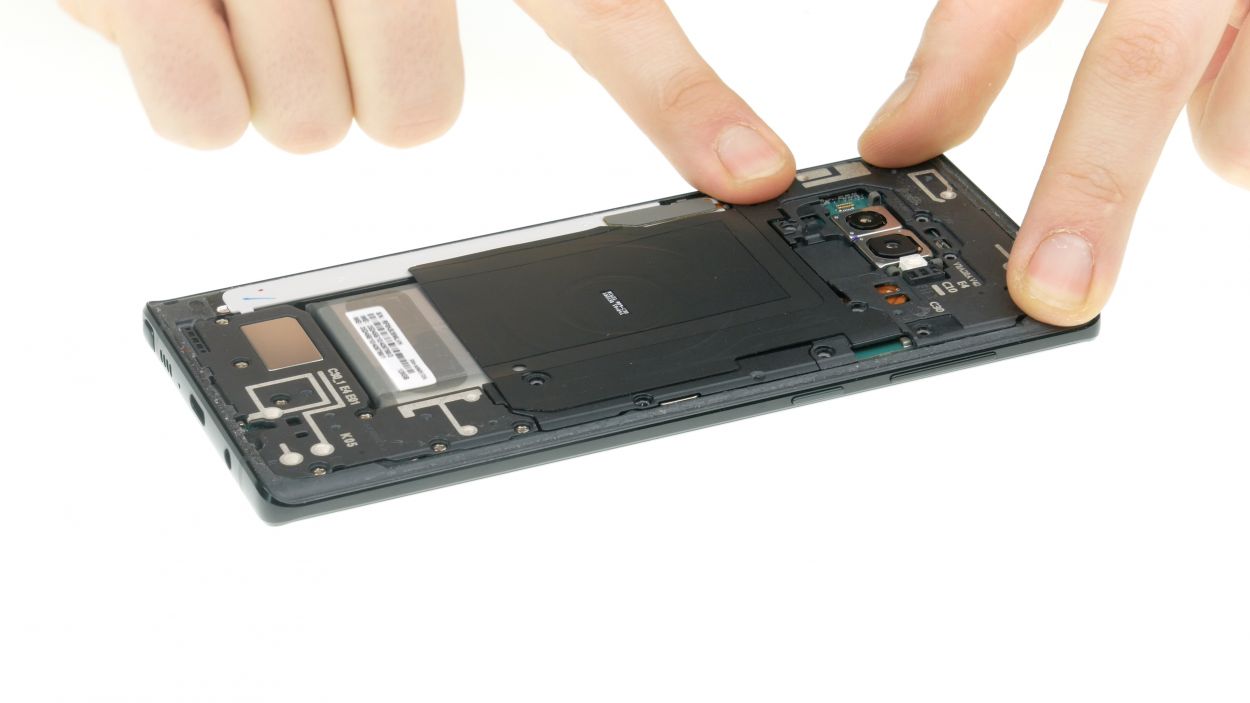
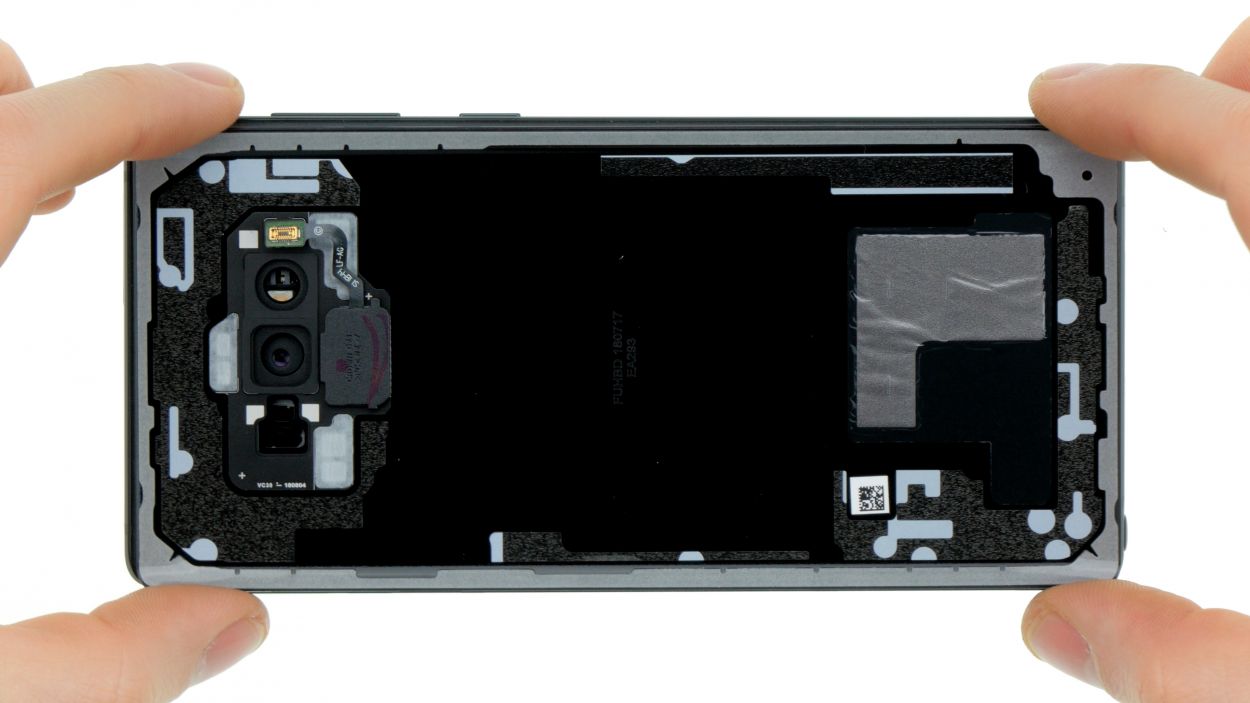
– Let’s kick things off by unscrewing those screws that hold the upper cover snugly to the display.
– Next up, we’ve got a cover that’s a bit shy and latched onto the case. The lower part of the antenna is just a tad glued down. Grab a flat tool and gently slide it under the latches to set them free.
– Now, it’s time to say goodbye to the antenna. Remove it with care!
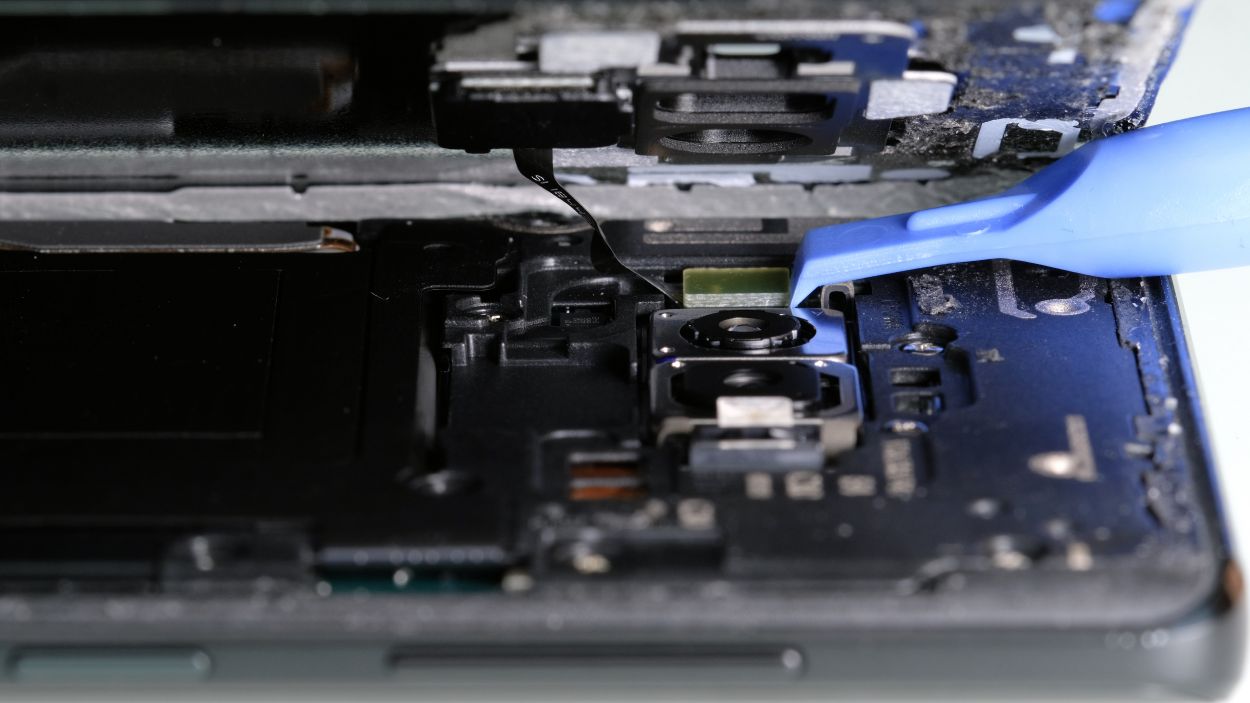
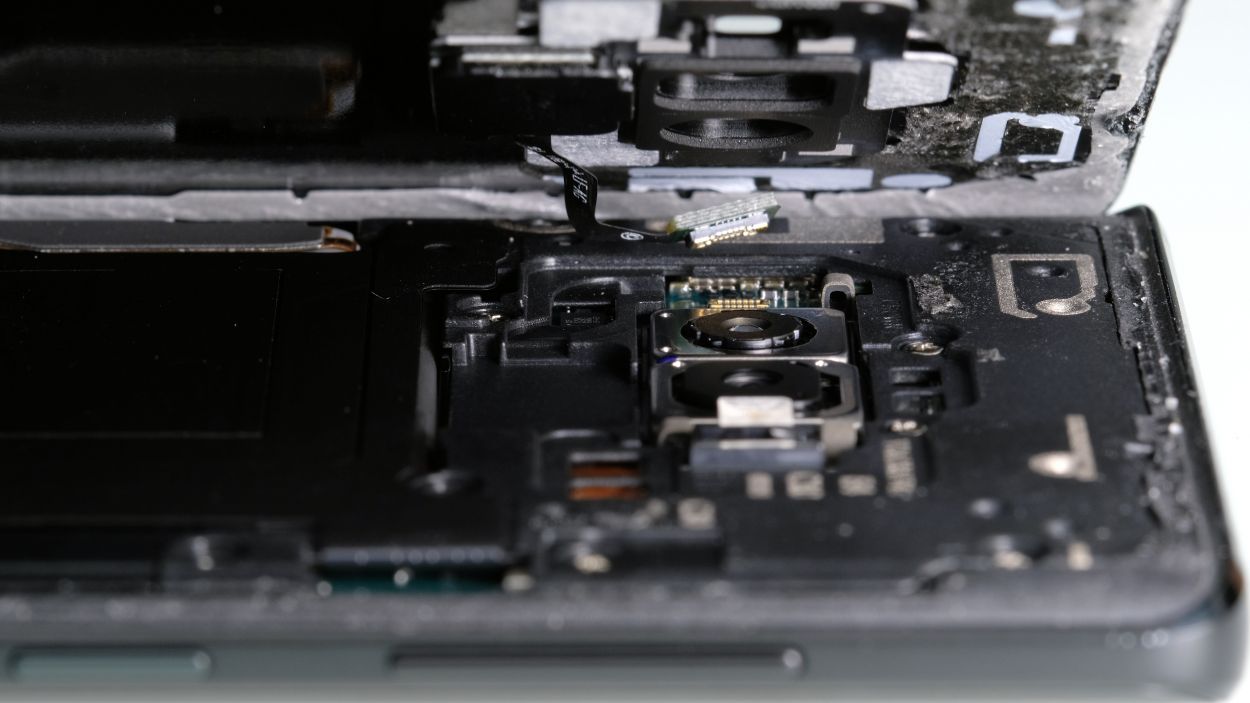
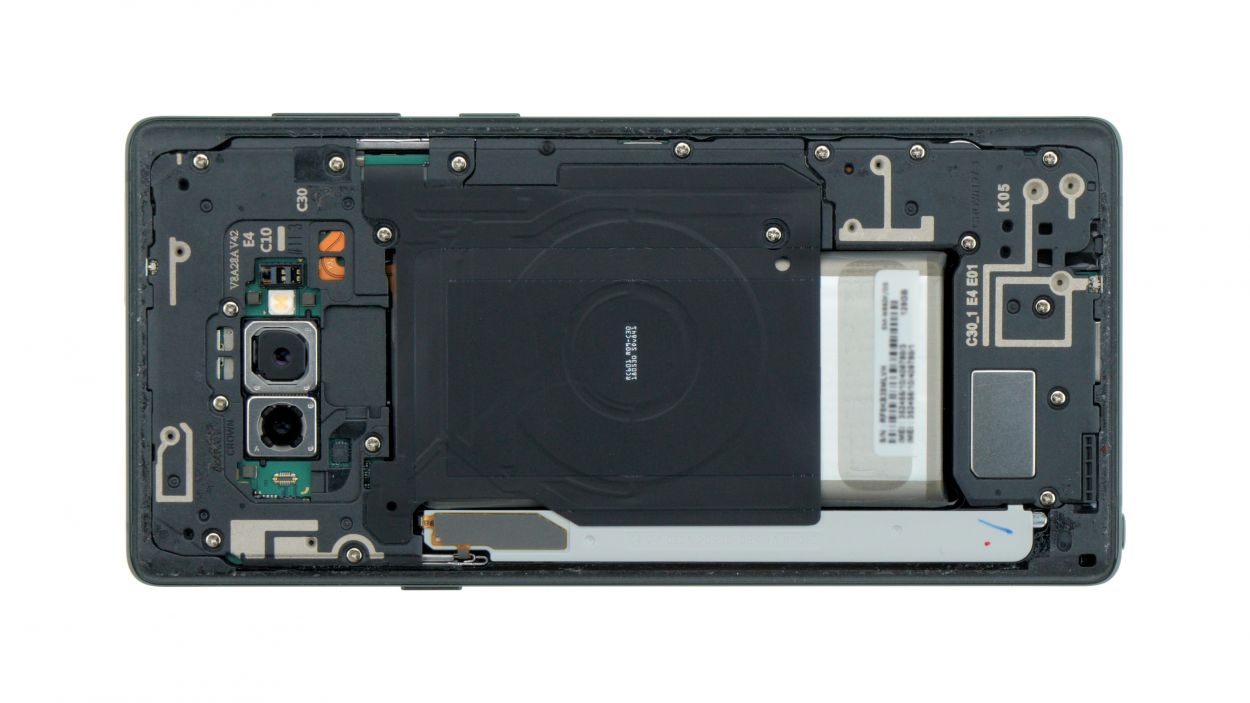
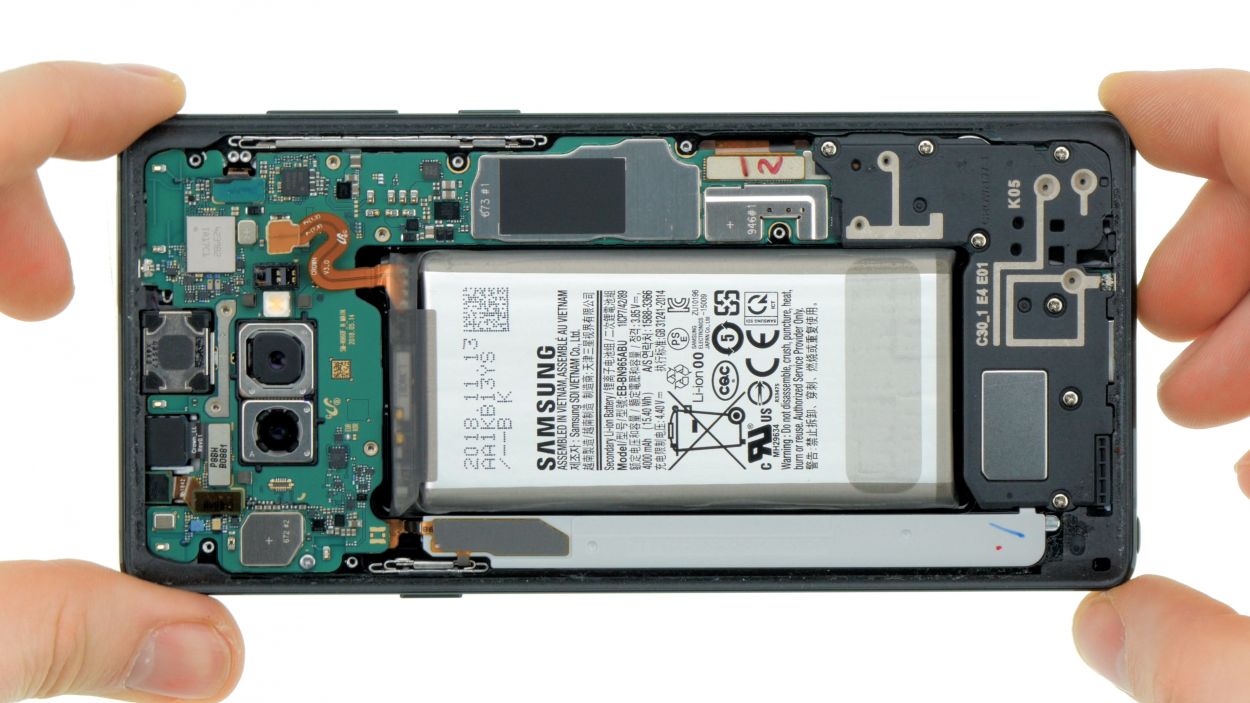
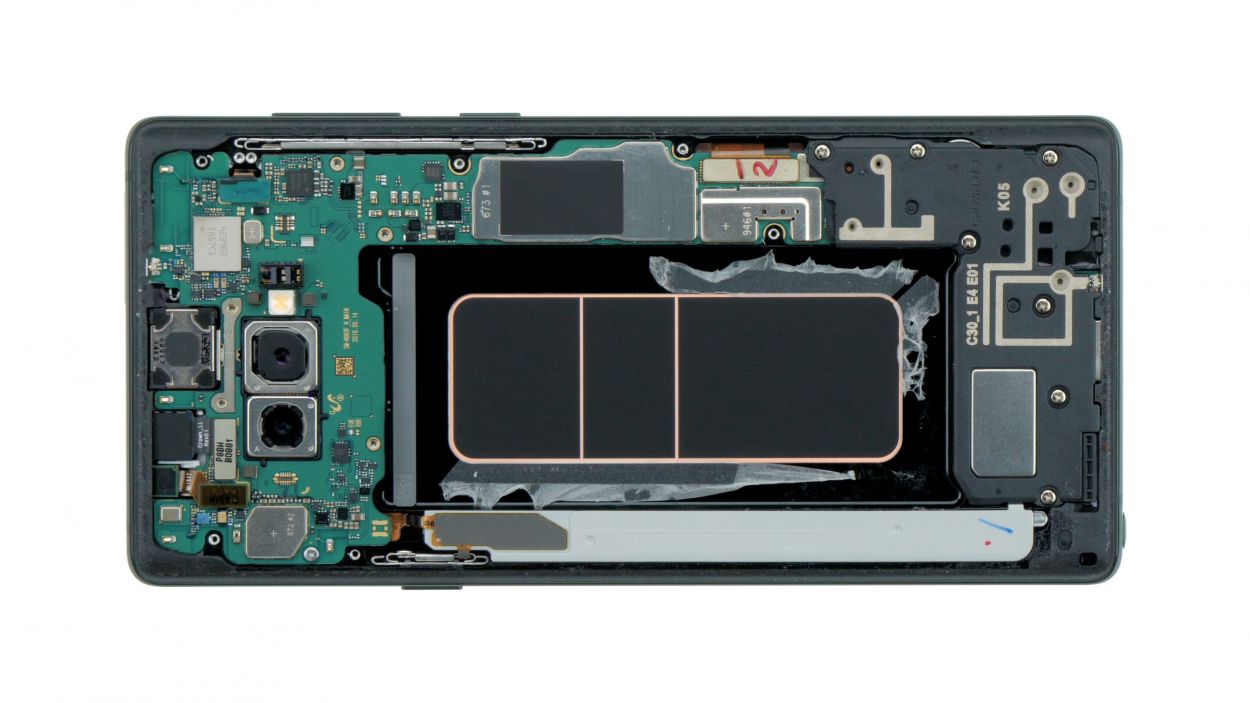
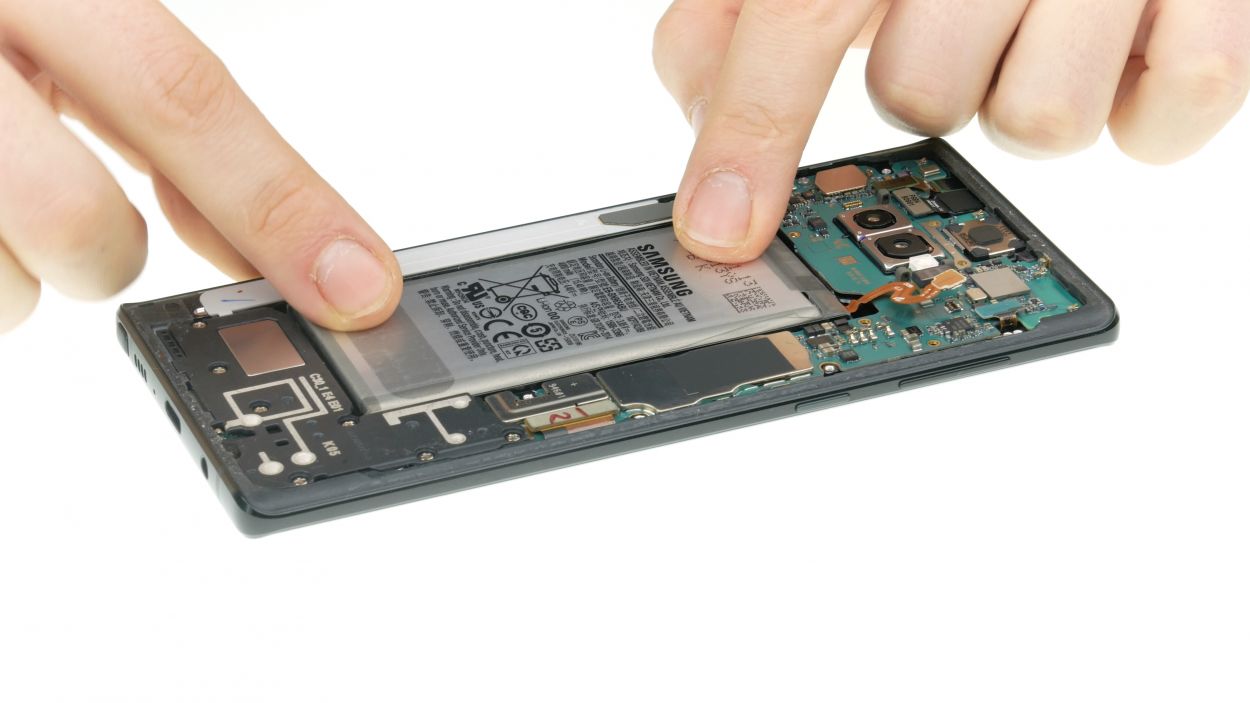
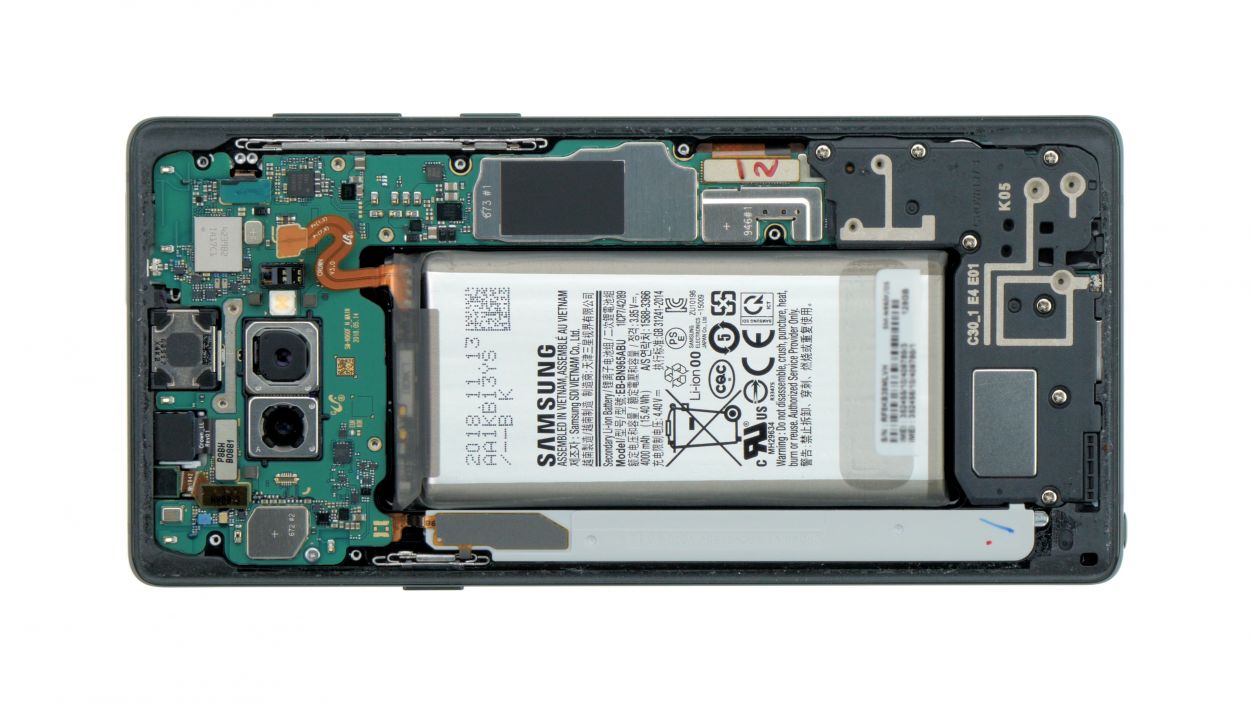
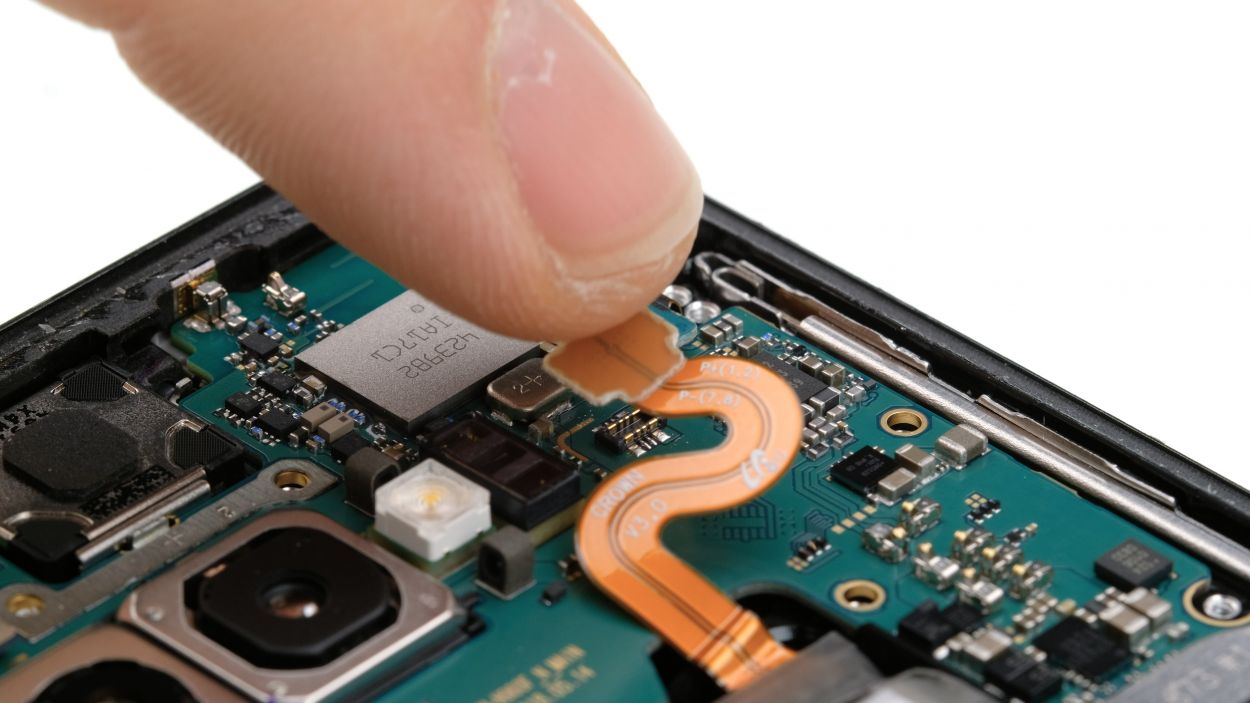
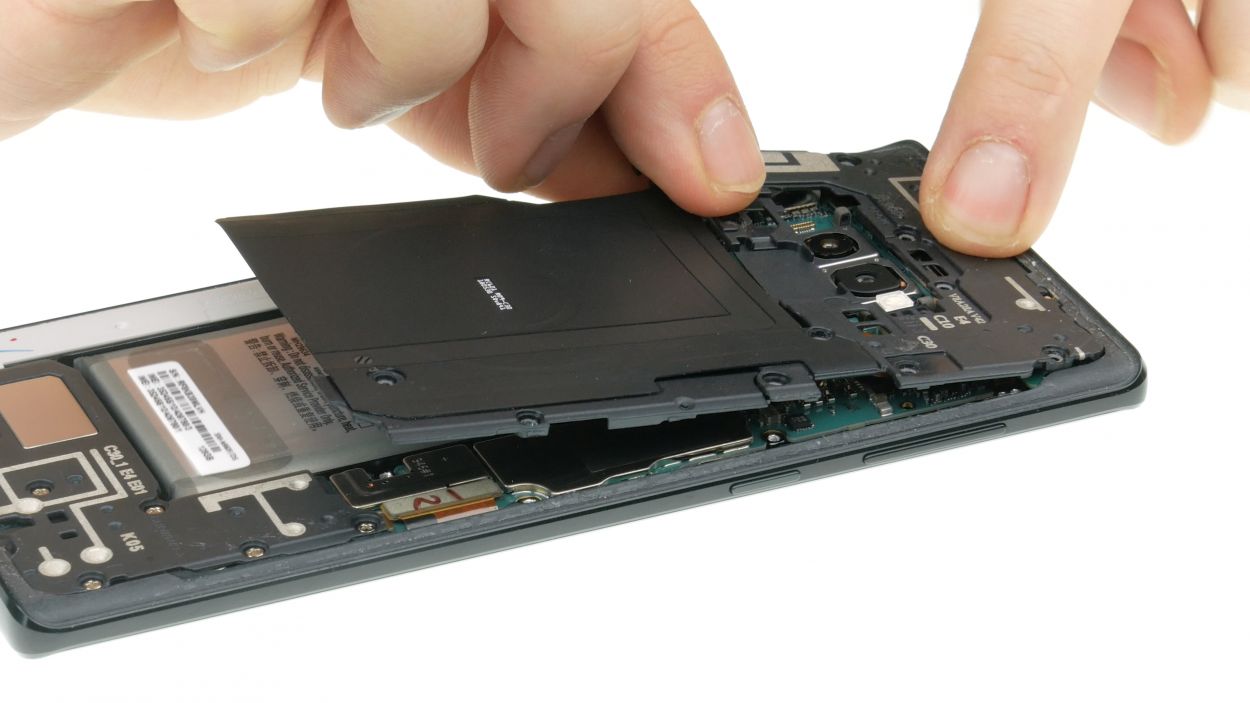
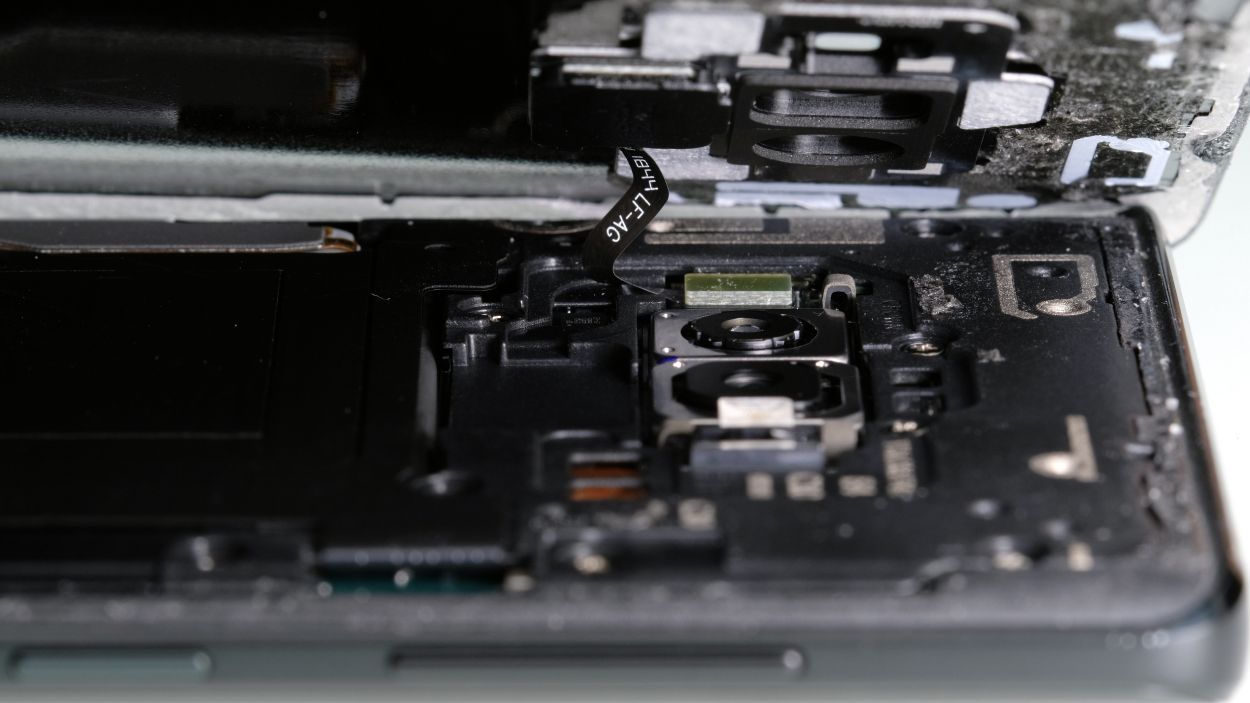
Step 5
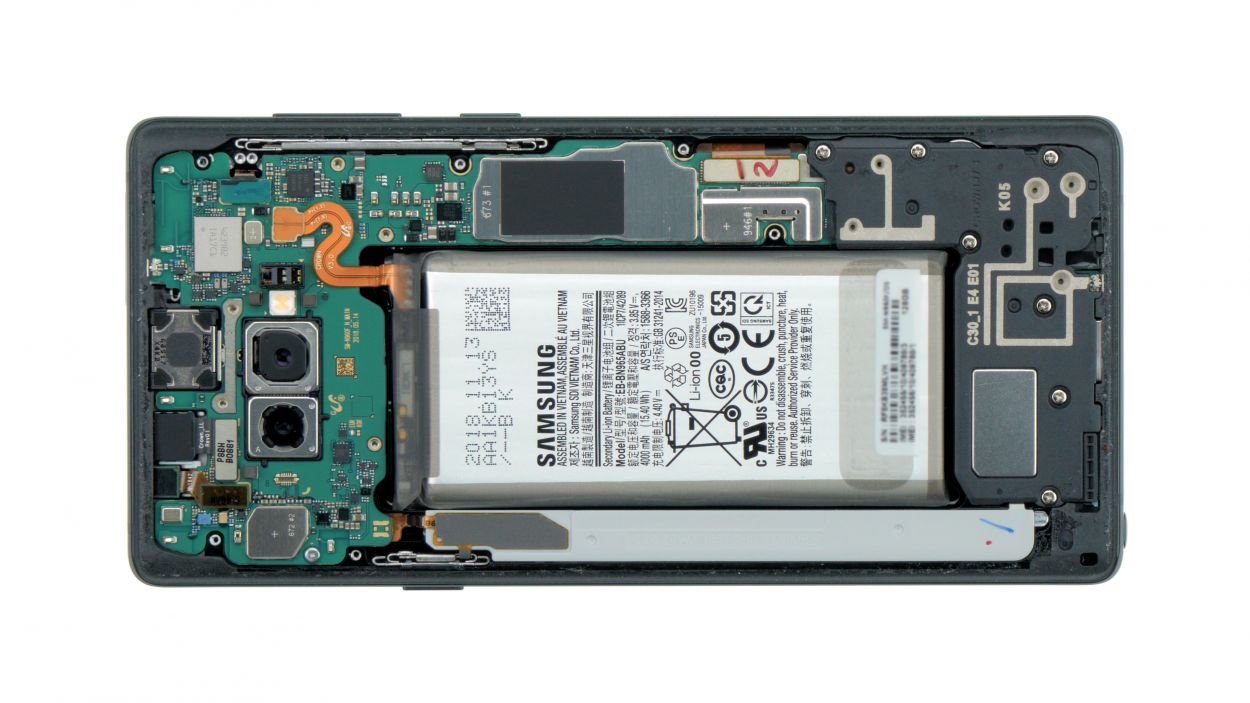
Battery connector
When you’re prying things open, make sure to start from a side without any tiny components on the motherboard. This way, you can dodge any accidental mishaps with capacitors or ICs. Keep it smooth and safe!
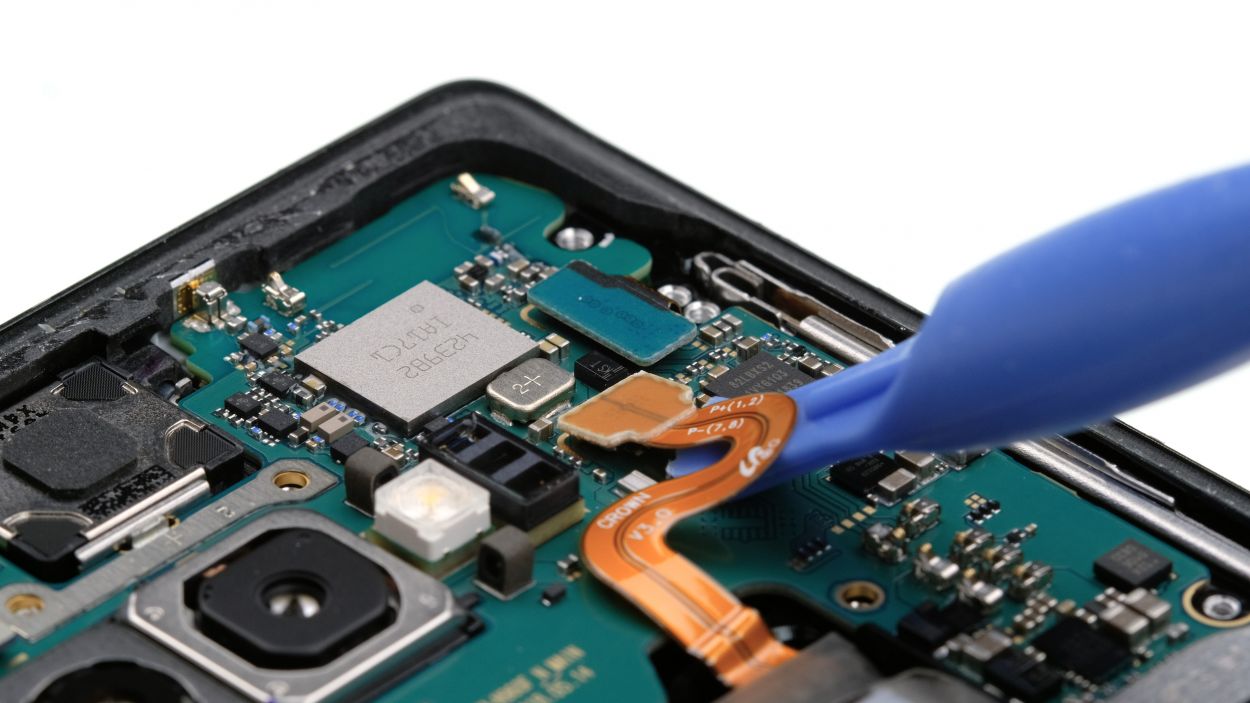
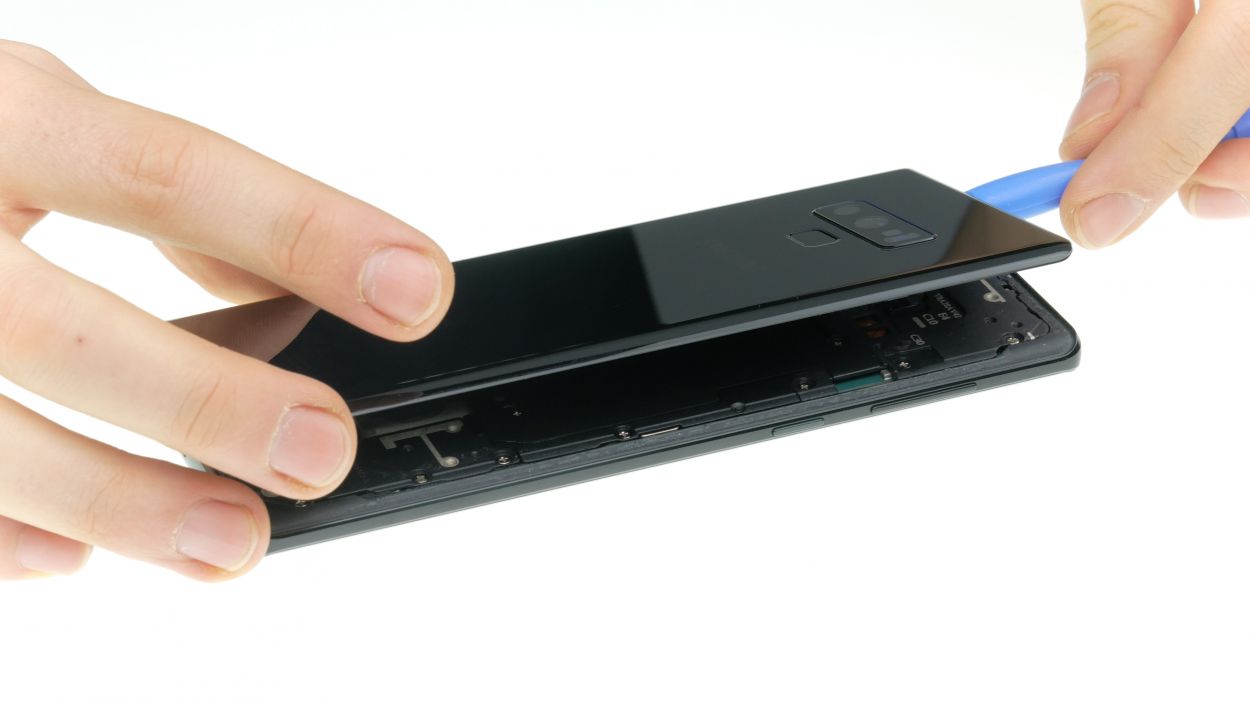
– With a gentle touch, grab your spudger and carefully detach the battery connection from the motherboard. You got this!
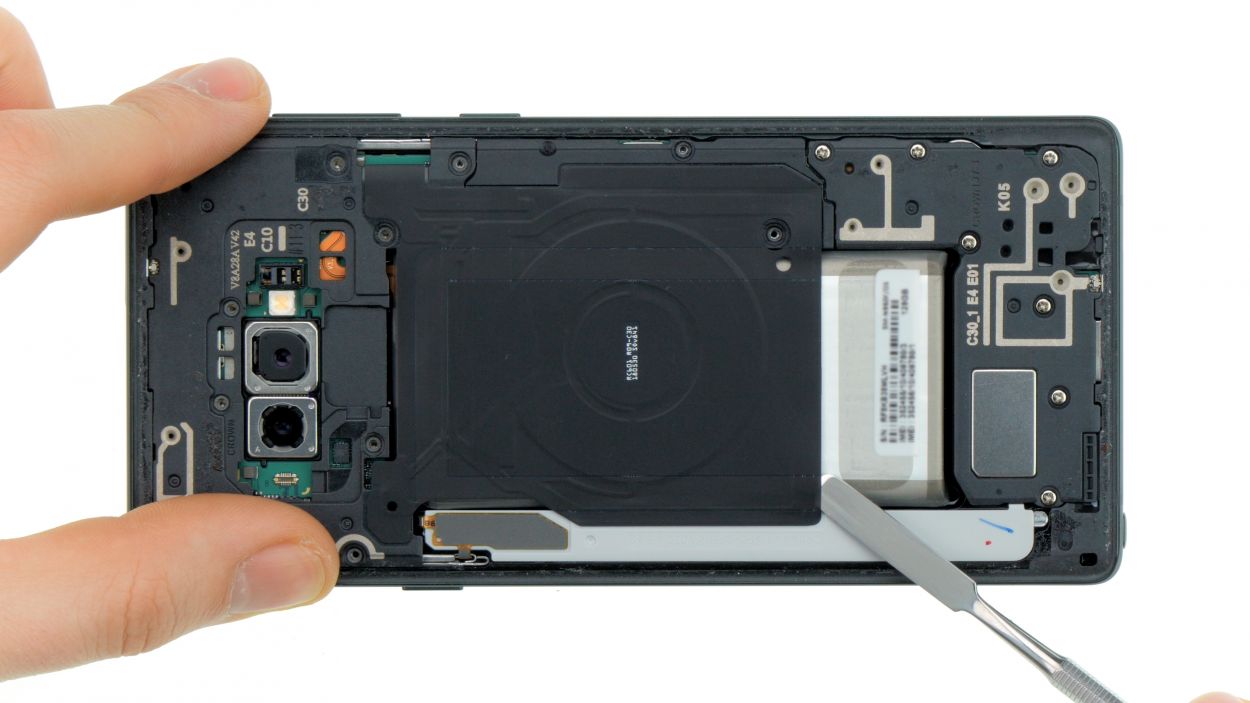
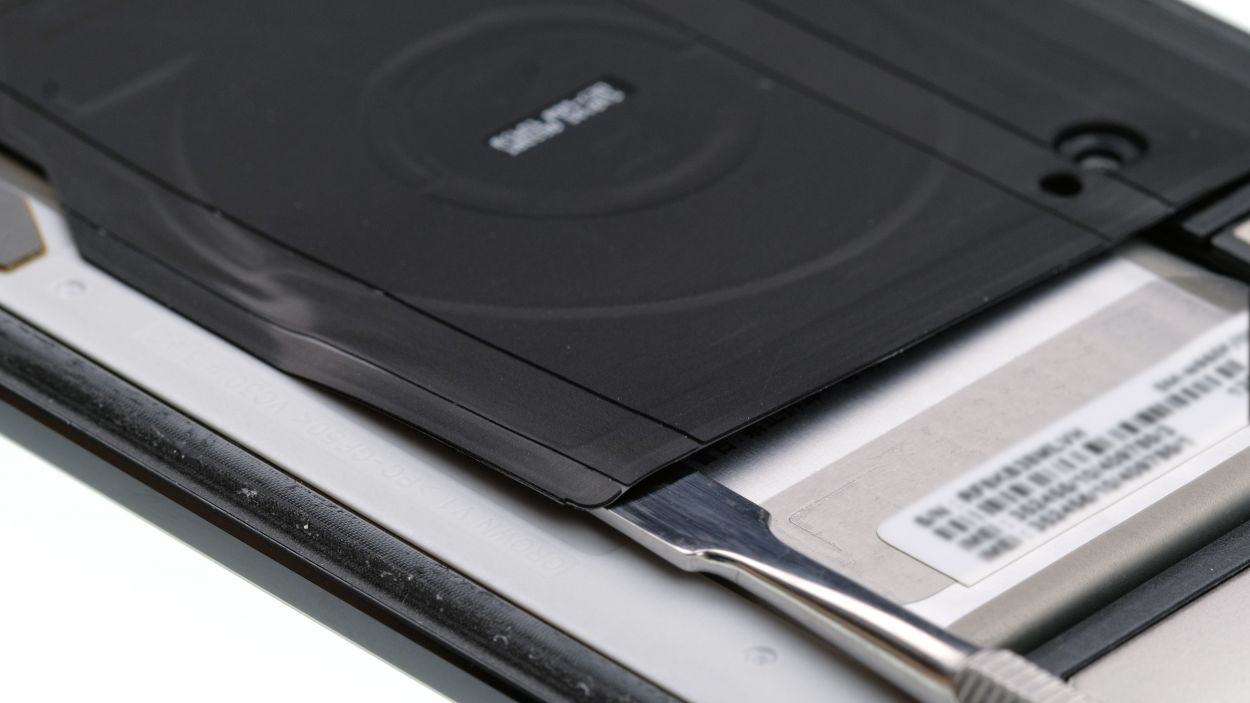
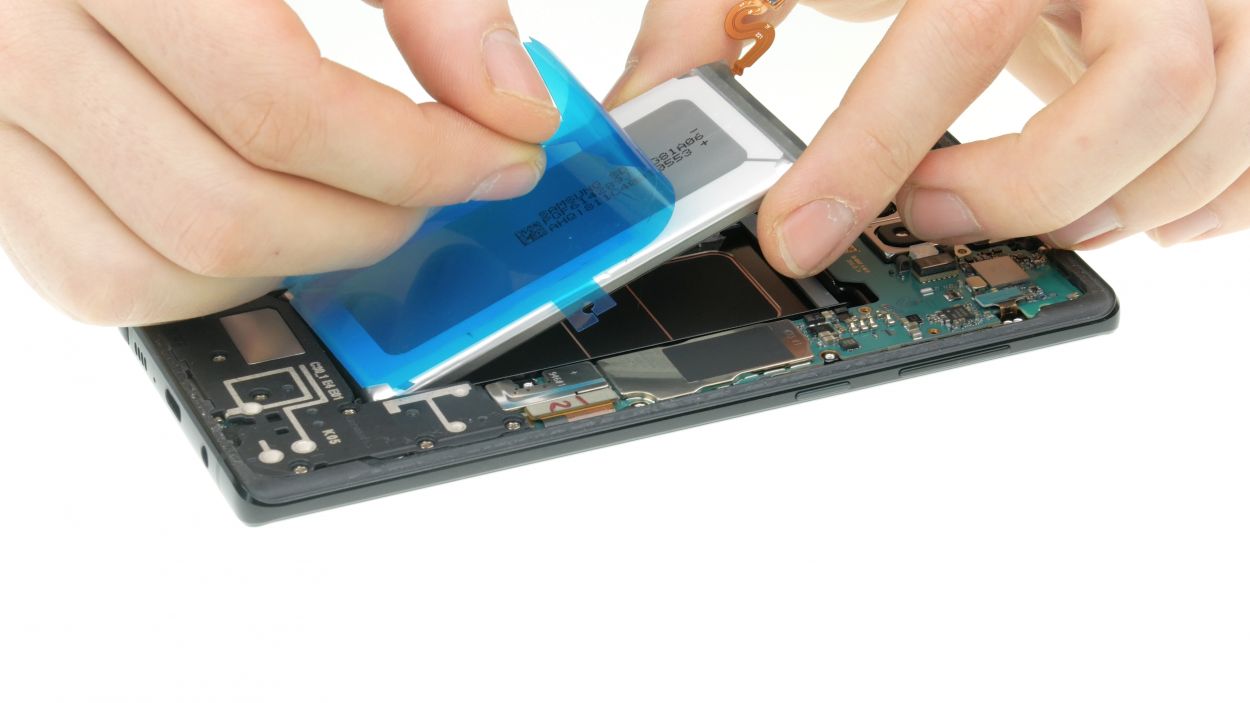
Step 6
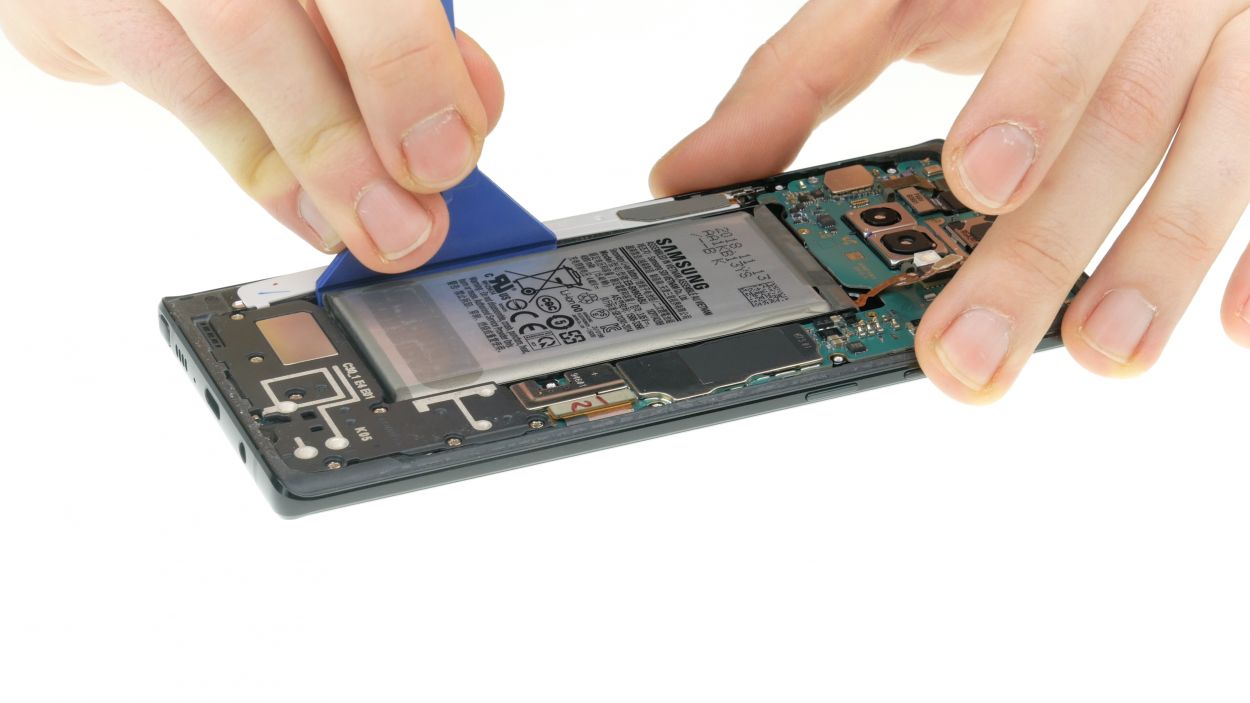


Avoid heating the battery directly and steer clear of bending it. Let’s keep things safe and sound!
Check out the video by hitting the play button in the top right corner of the first image to watch how to release that battery with ease!
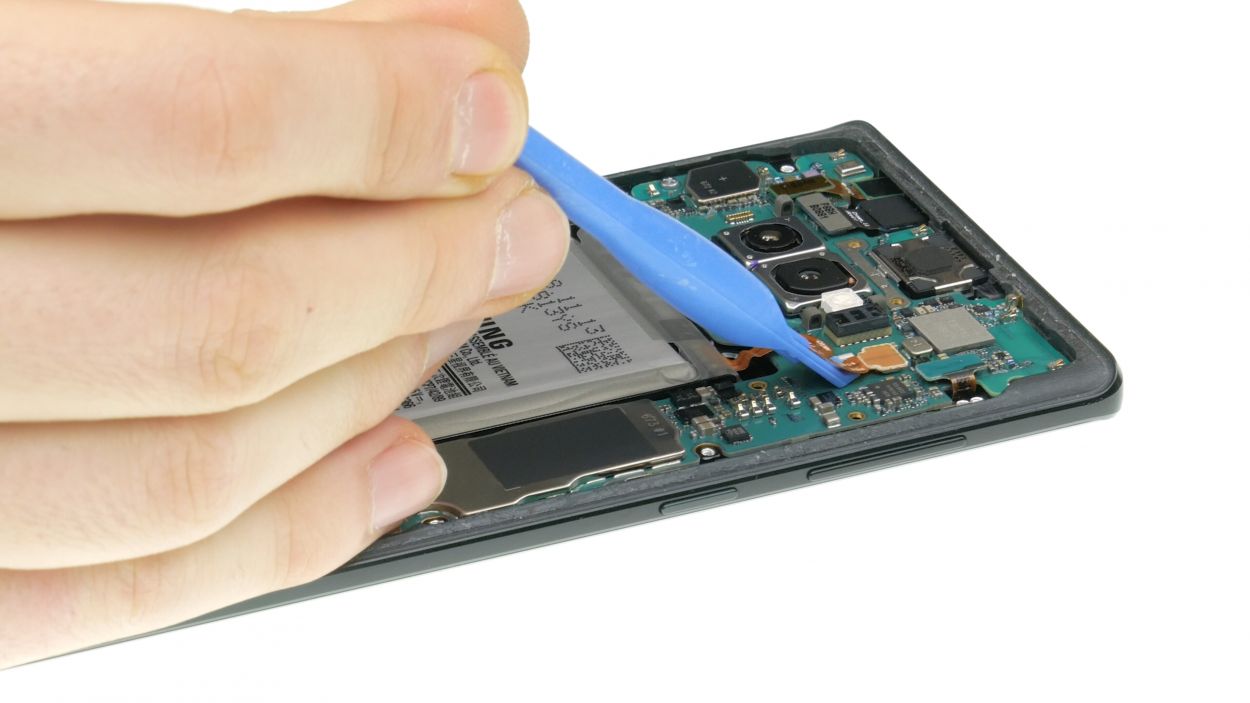
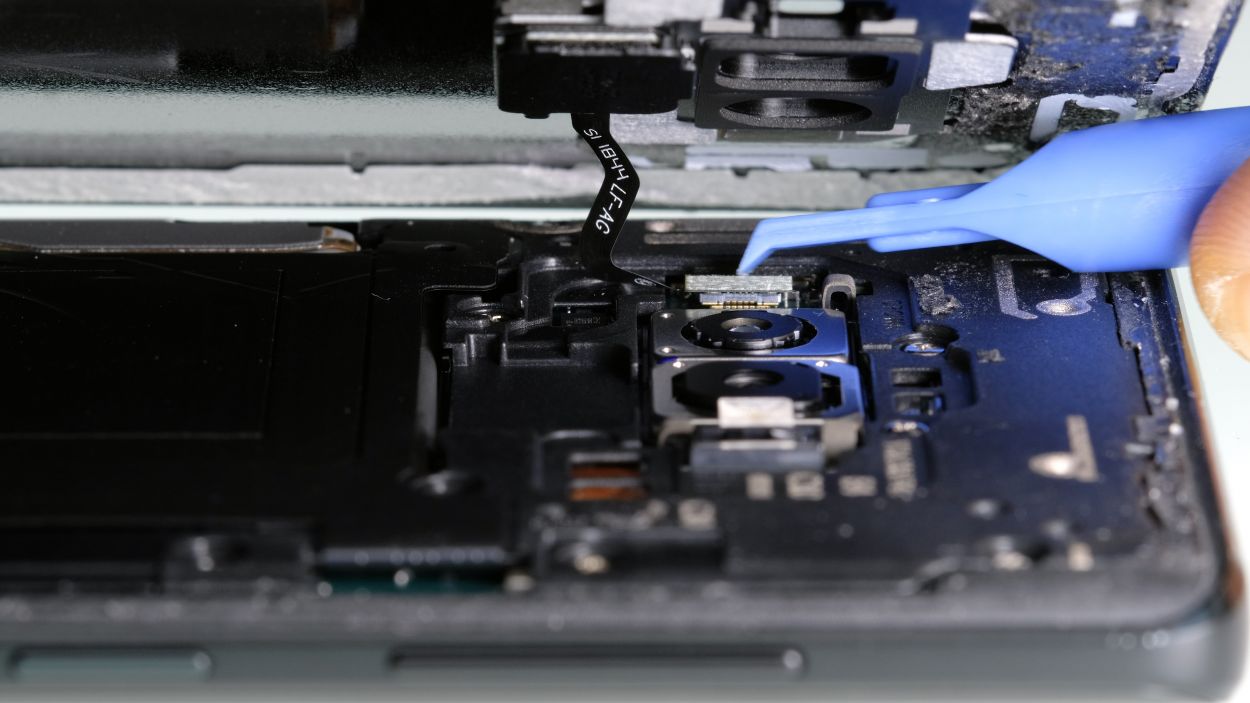
– Start by gently applying some hot air from the display side to warm things up a bit.
– Next, grab a flat tool like the iFlex and run it all around the battery to loosen it up.
– If the iPlastix isn’t quite cutting it, feel free to switch to a wider battery spudger for extra leverage.
– Carefully slide a flat tool under the battery to gradually work the adhesive loose. Just be cautious not to push too deep, or you might risk damaging the display underneath.
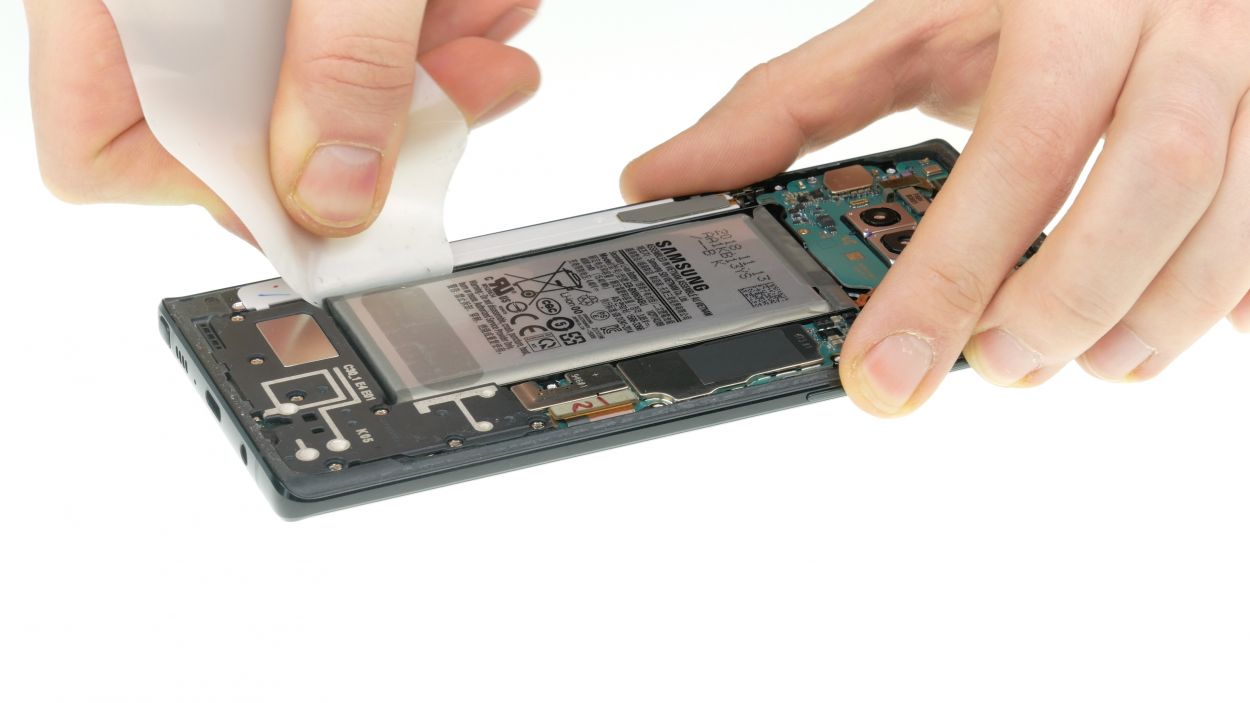
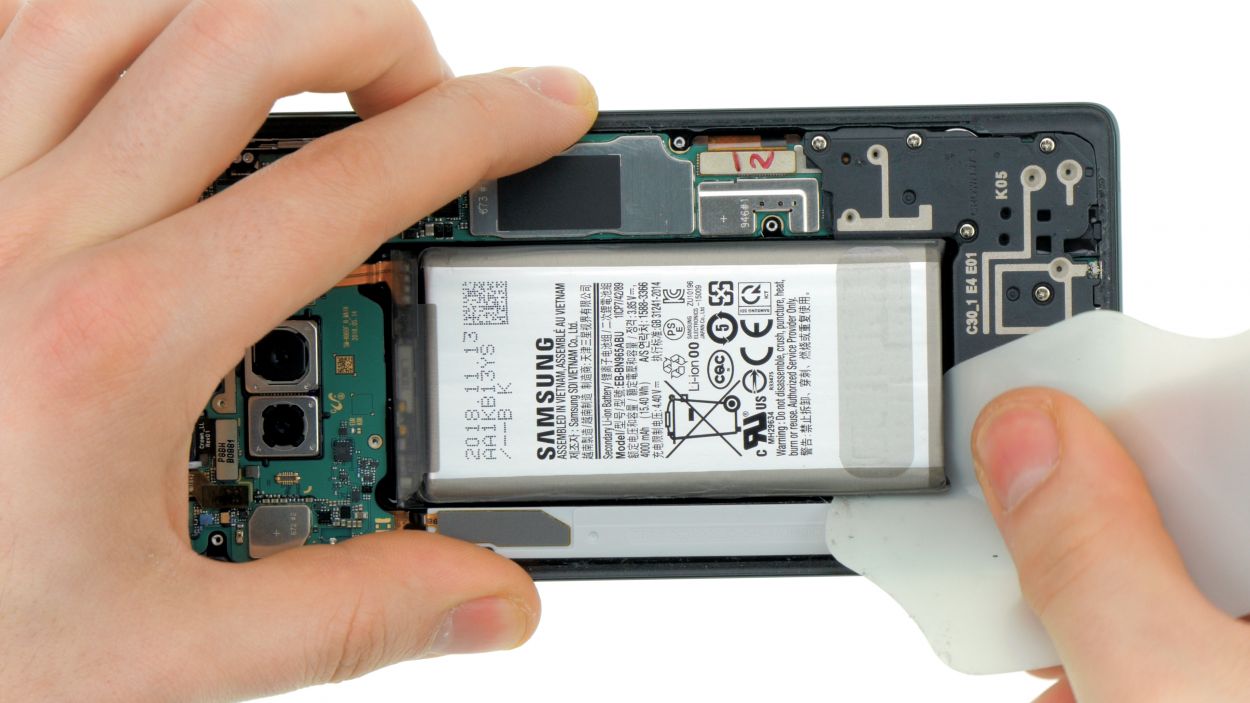
– Finally, lift the battery out and remove it from the device with a sense of accomplishment!
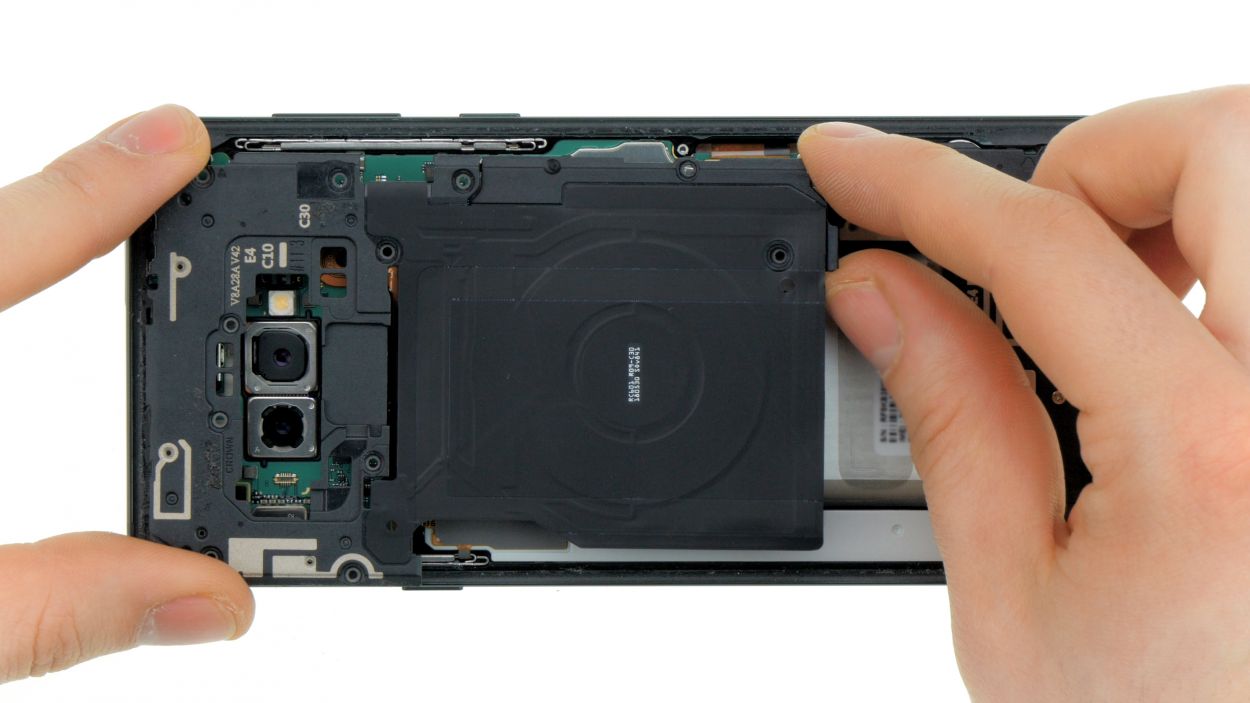
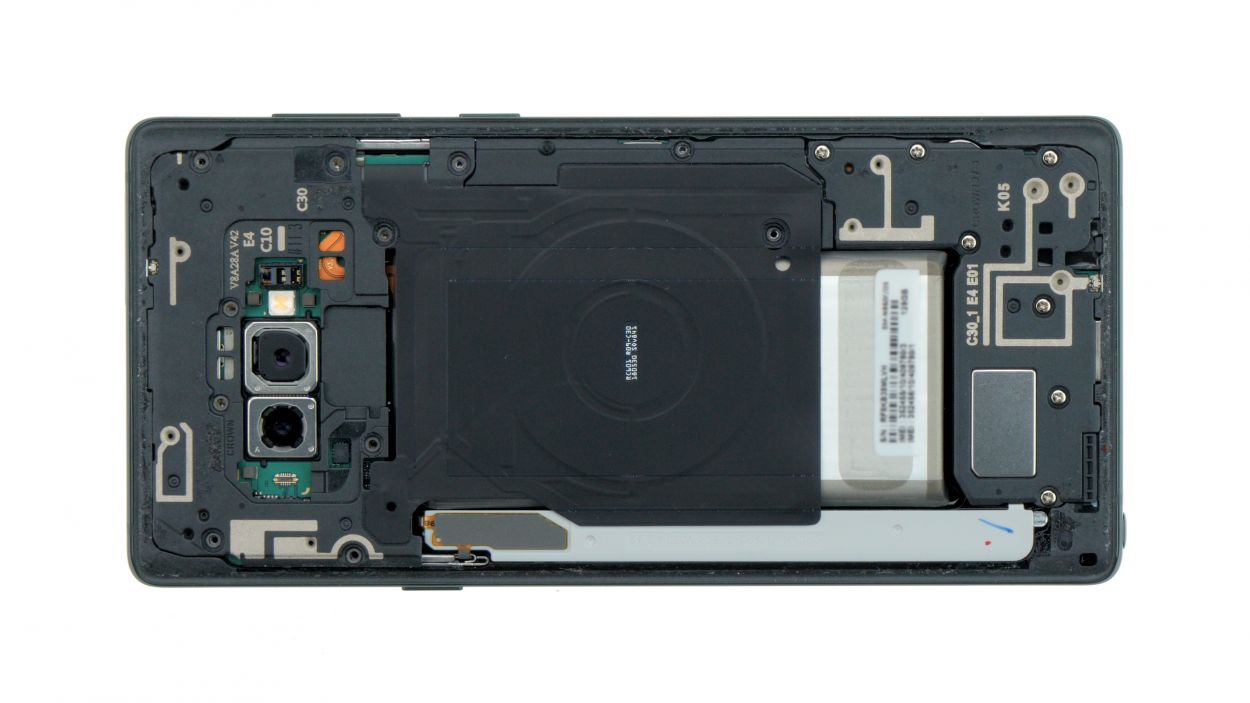
Step 8

Time to get that battery sitting pretty! Remove any excess adhesive so it lies flat in your phone. If you need help, you can always schedule a repair
Step 9
Battery connector
– Attach the battery to the motherboard. Firmly press the connector onto the motherboard’s connection until you hear that satisfying click, letting you know it’s snug and secure.
Step 10
11 × 4,0 mm Phillips
– Carefully place the cover with the antenna back into the enclosure, making sure to hook it onto the top first.
– Now, give that cover a gentle press with your fingers until you hear it click snugly into place all around.
– Finally, grab your Phillips screwdriver and fasten those screws securely.
Step 11
– Before you pop that back cover on, take a moment to check the adhesive. It should be sitting pretty and even along the edge so the cover can fit snugly. If you spot any excess glue, just tidy it up a bit.
Step 12
Fingerprint connector
– First things first, before you pop that back cover on, make sure to connect the fingerprint sensor. It’s a little step that makes a big difference!
– Grab a plastic tool to help you reach that connector. You’ve got this!
Step 13

Got chilly fingers? Maybe you can heat up your device with hot air? That might help the glue stick better! You can even squeeze it with something heavy like books while it cools so it stays in place.
– Gently place the back cover right where it belongs, just like a puzzle piece fitting in perfectly.
– Give the back cover a little love by pressing down all around it so that the glue can do its magic.
