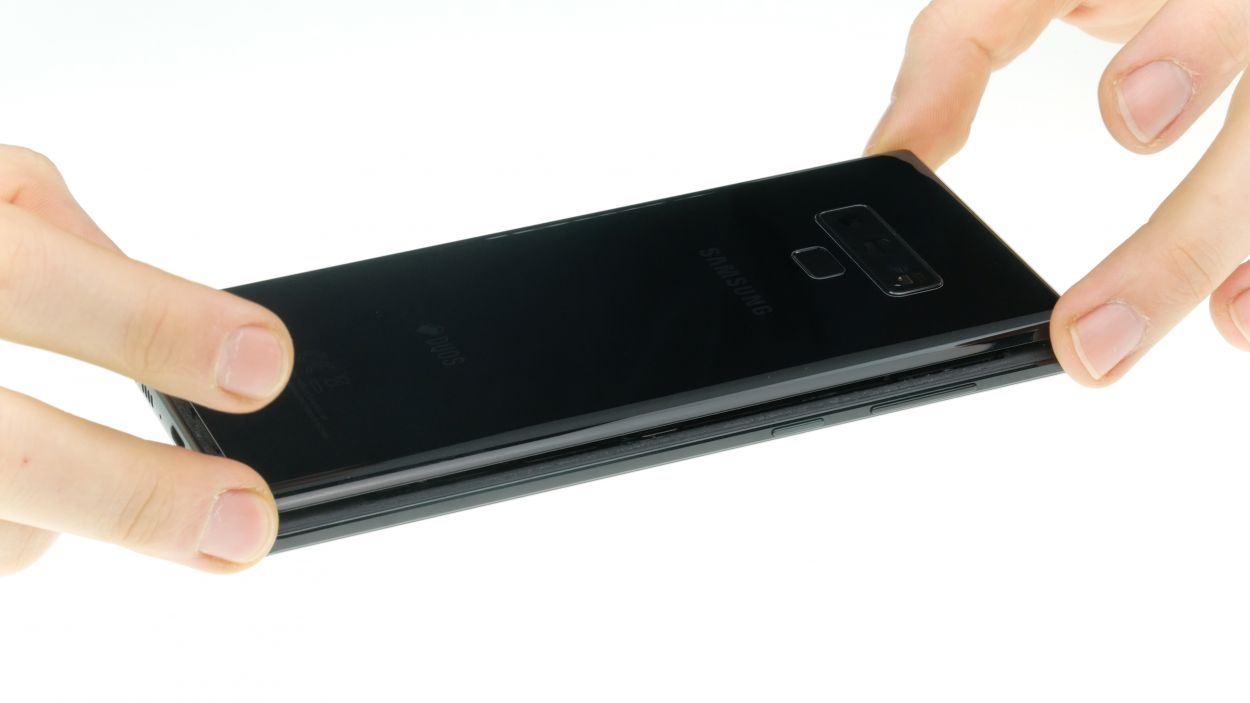
DIY Guide to Replace Galaxy Note 9 Back Cover
Duration: 30 min.
Steps: 8 Steps
Get ready to tackle this repair with our easy-to-follow guide! Replacing the back cover can be a bit tricky, so make sure to set aside some time for this task. Don’t forget to back up your device, work on a clean surface, and take your time. If you hit a snag, feel free to reach out through our live chat or drop a comment on the step you’re on. You’ve got this!
Step 1
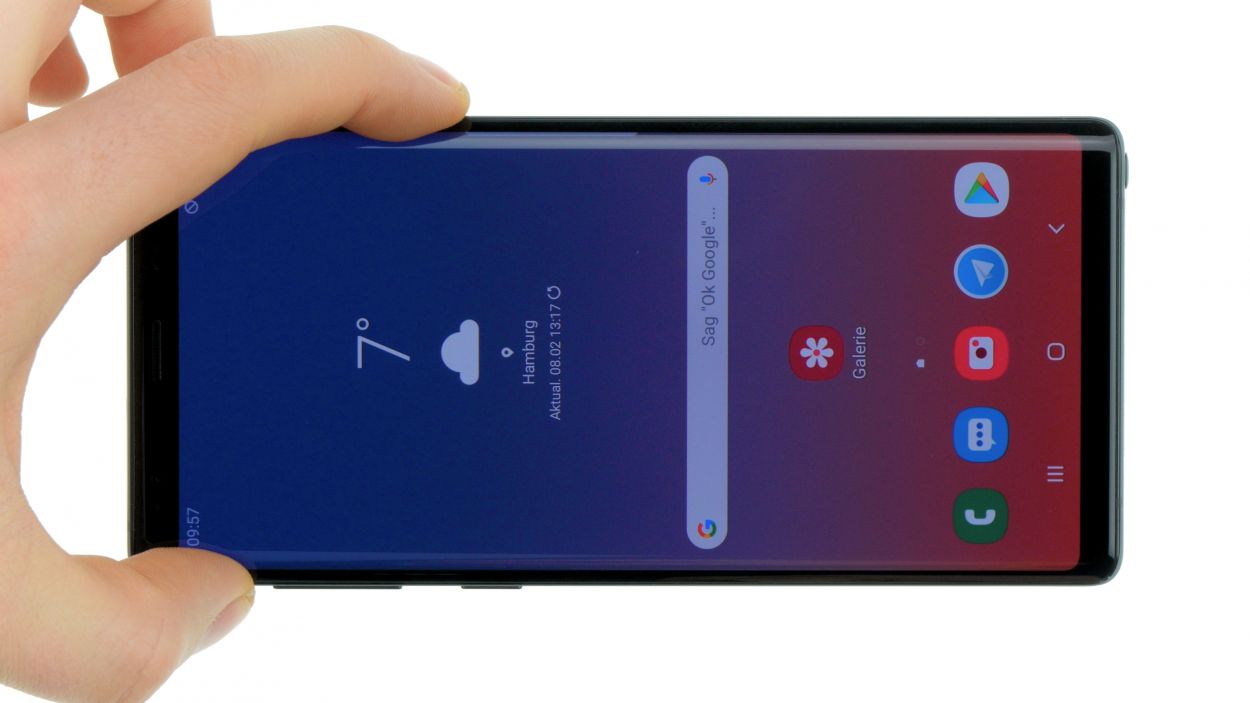
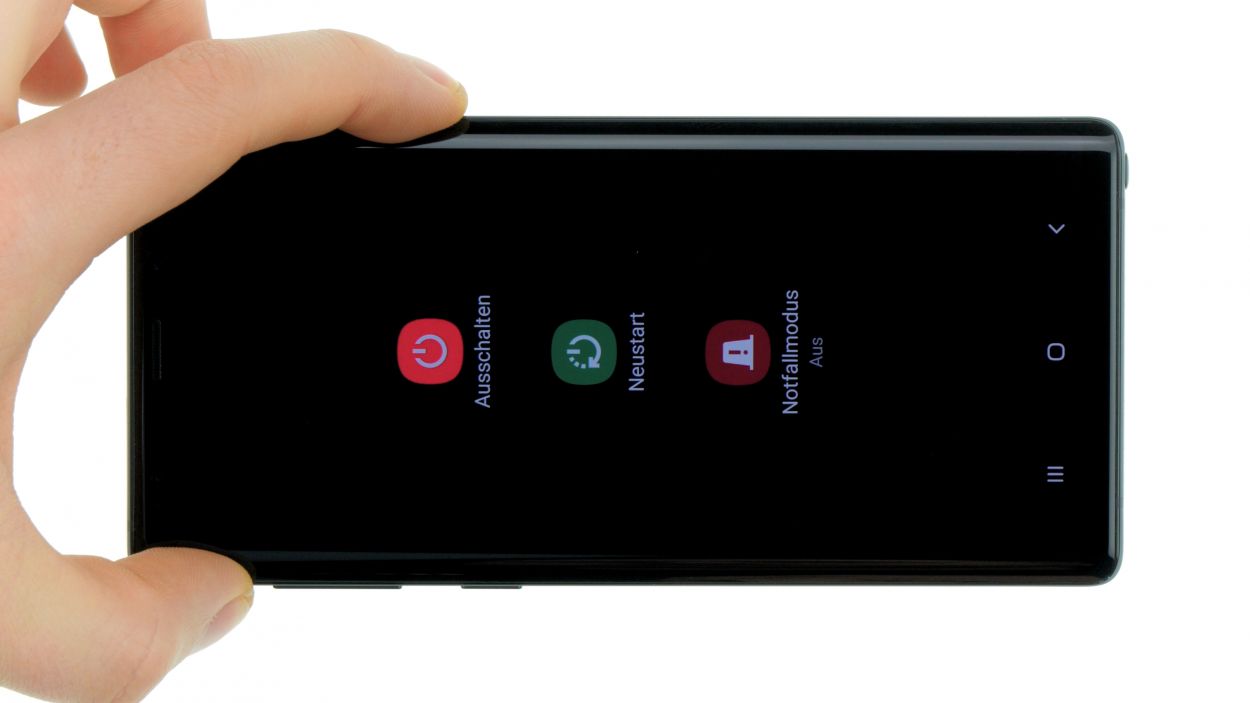
– Let’s get this party started by powering down your device! Just press and hold that power button until you see the ‘Power off’ option pop up.
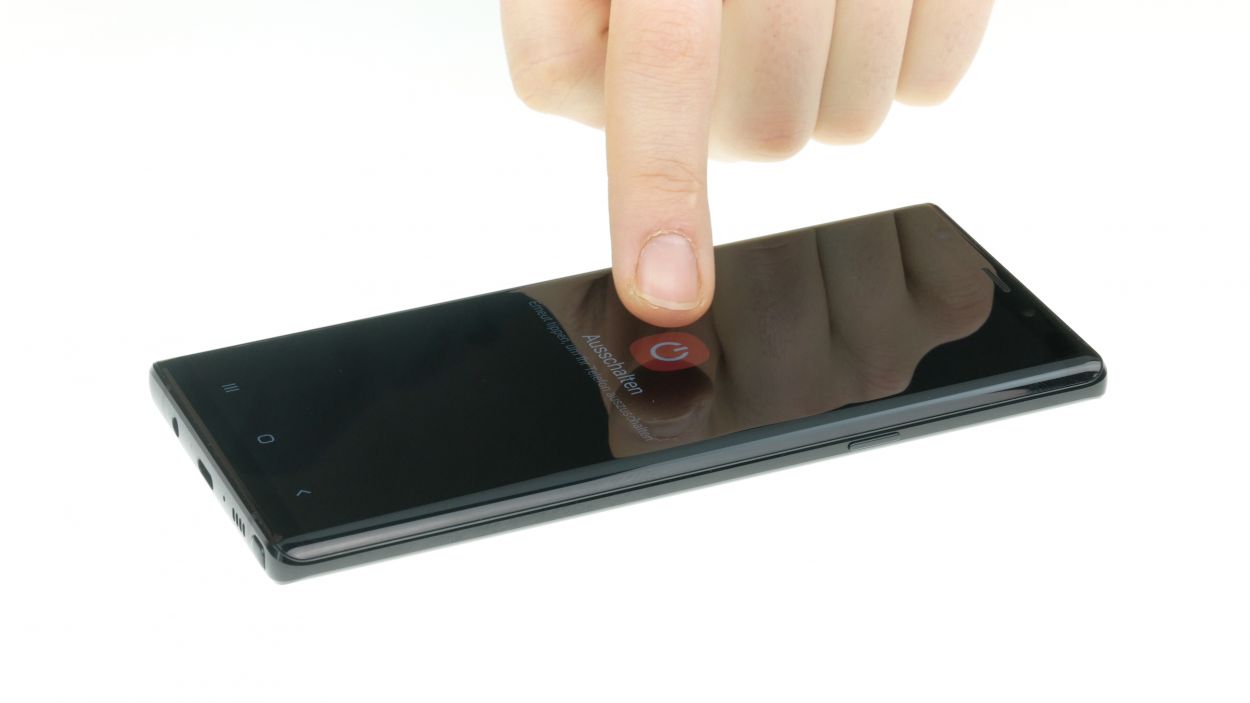
– Now, give it a little tap with your finger to confirm you want to shut down your Galaxy Note 9, and hang tight until the screen goes dark. You’re doing great!
Step 2
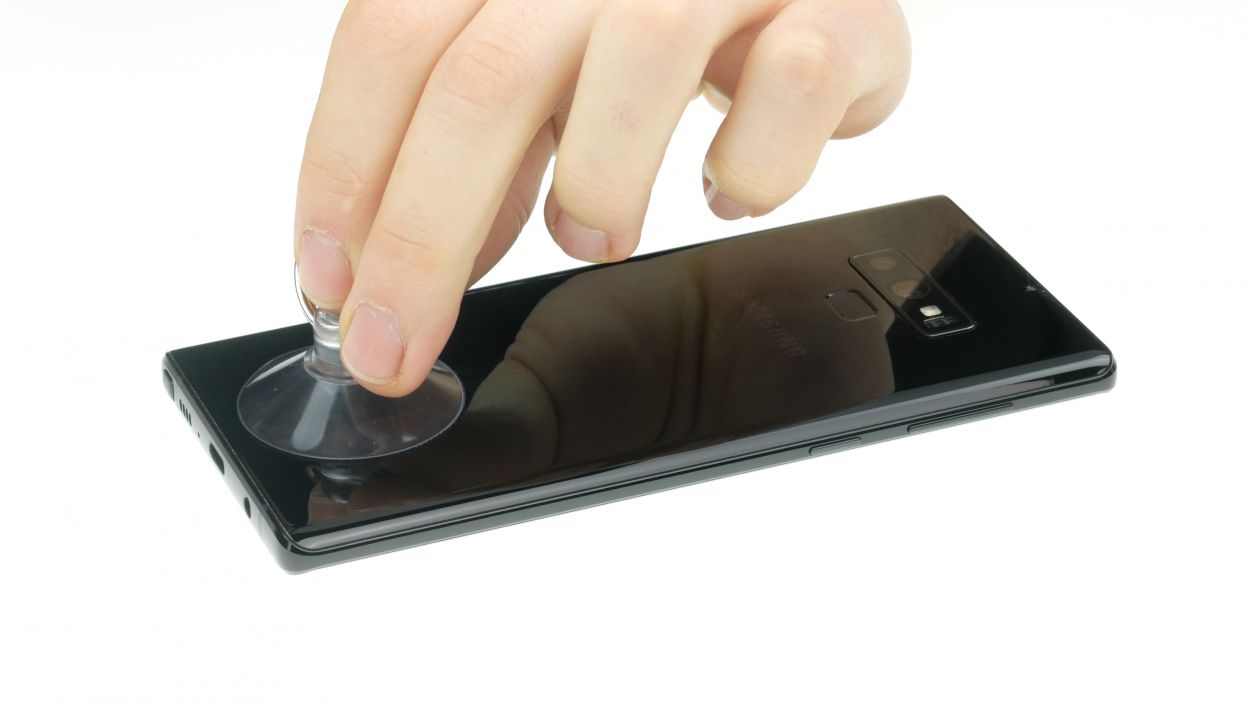
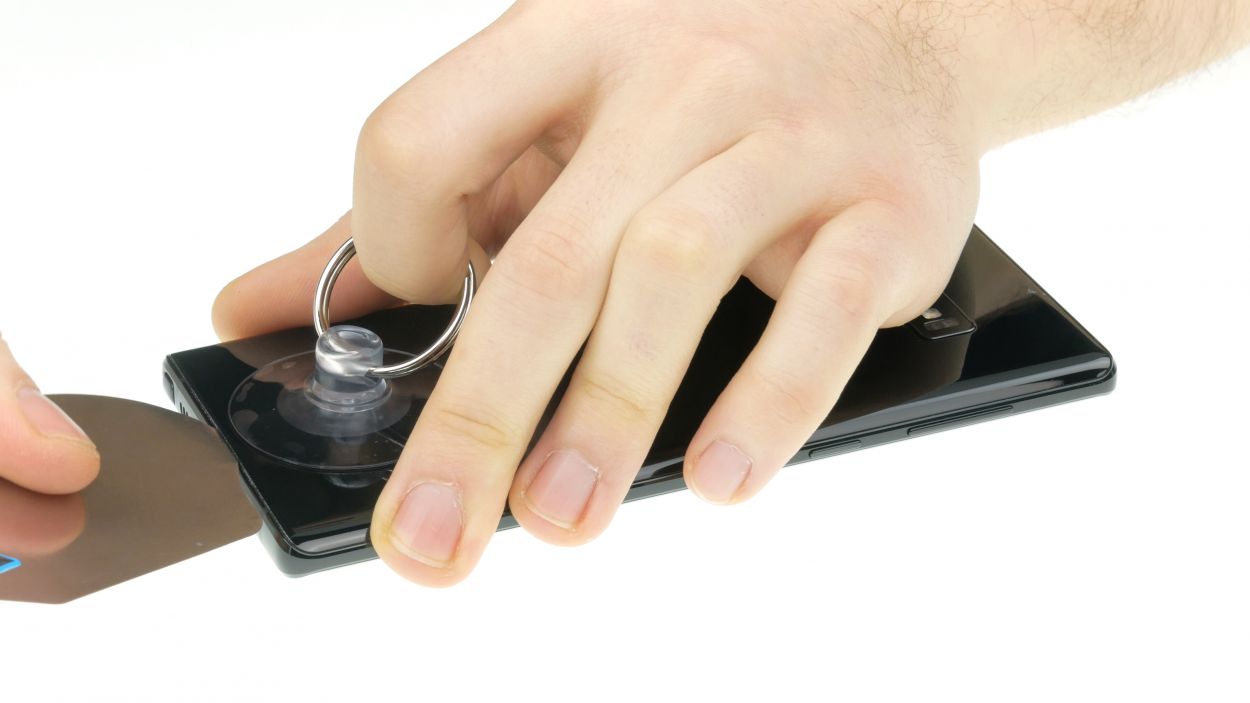
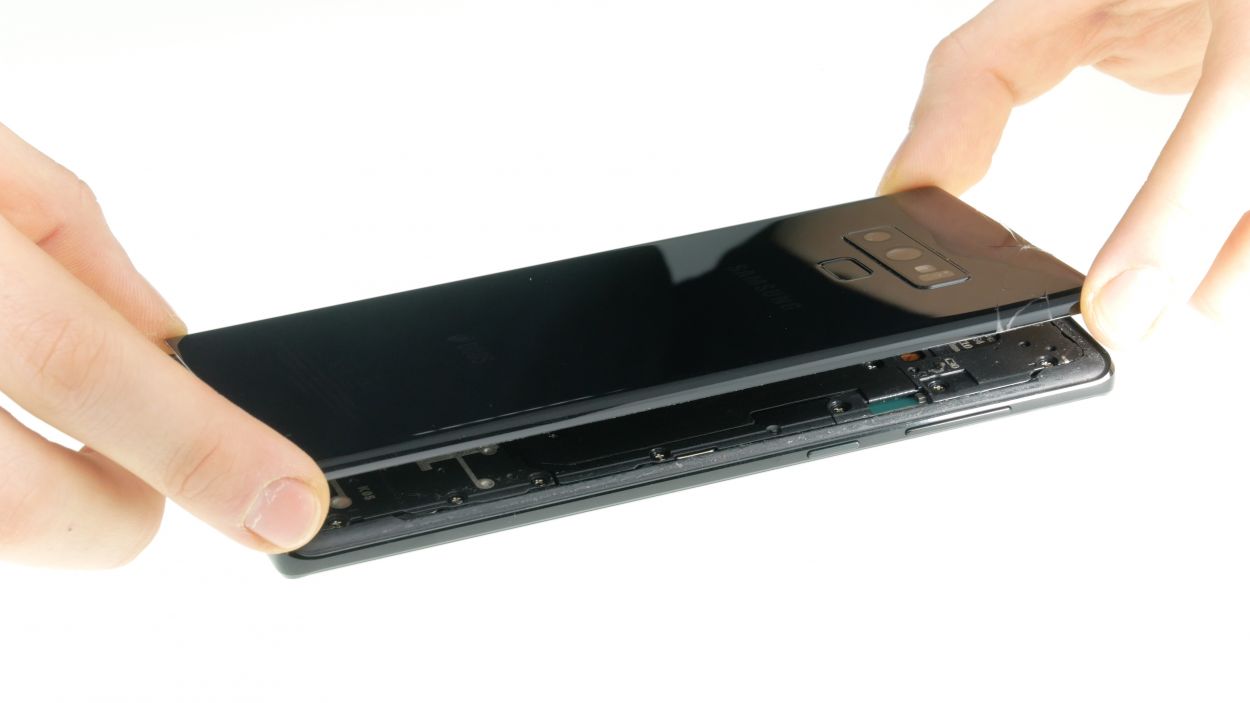
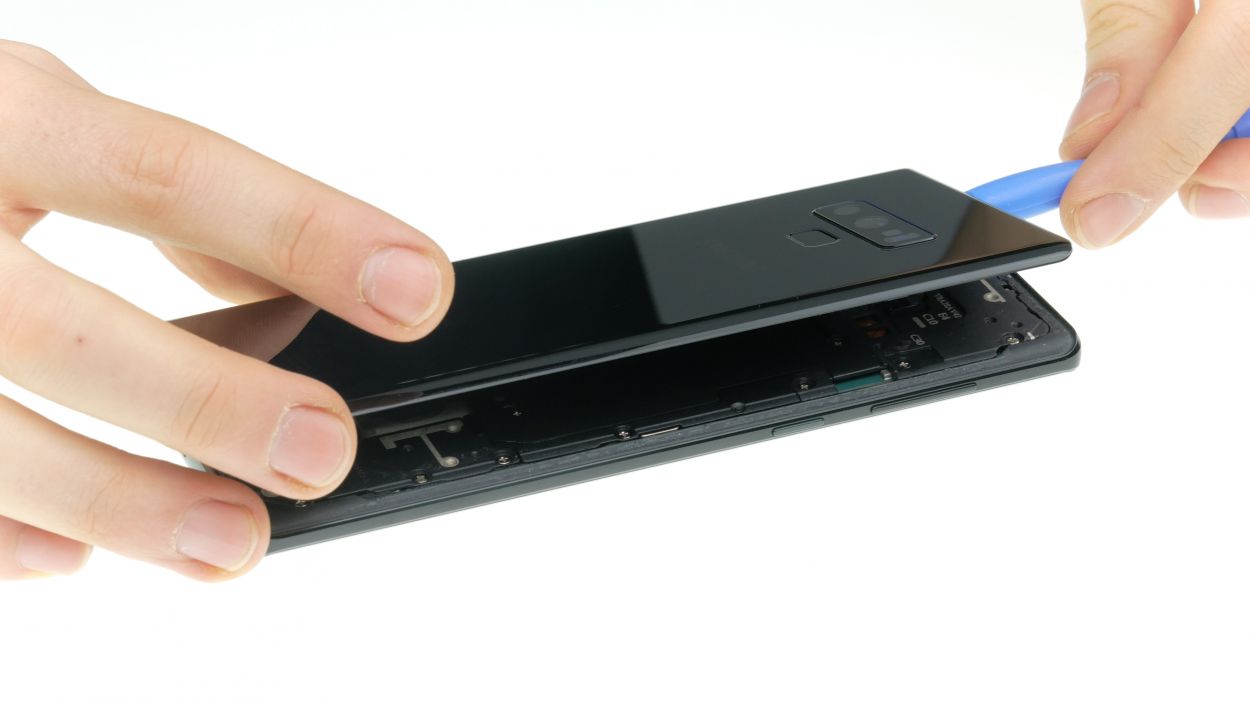
– The back cover is really sticking to the chassis, so let’s give it some warmth! Gently heat the device evenly with a hot air tool to make that glue a little more cooperative. Aim for a cozy temperature between 60 – 80°C—just hot enough to get the job done, but cool enough that you can still touch your device without feeling like you’re on a cooking show!
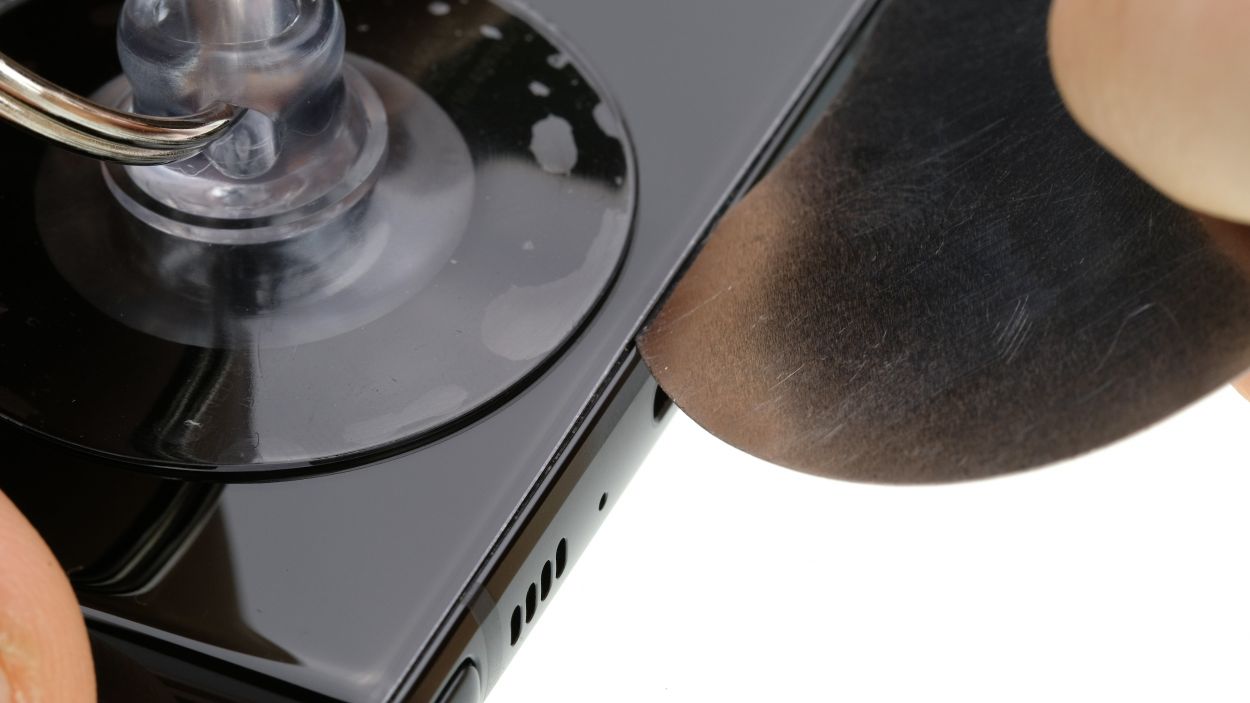
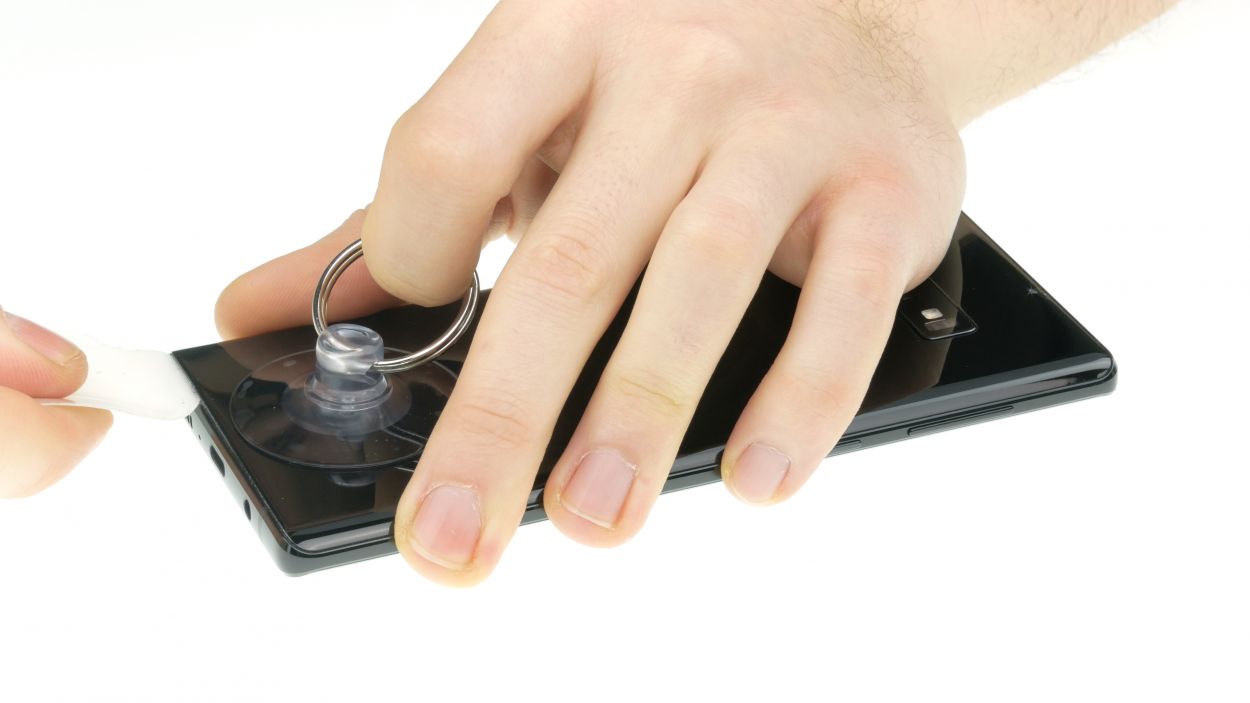
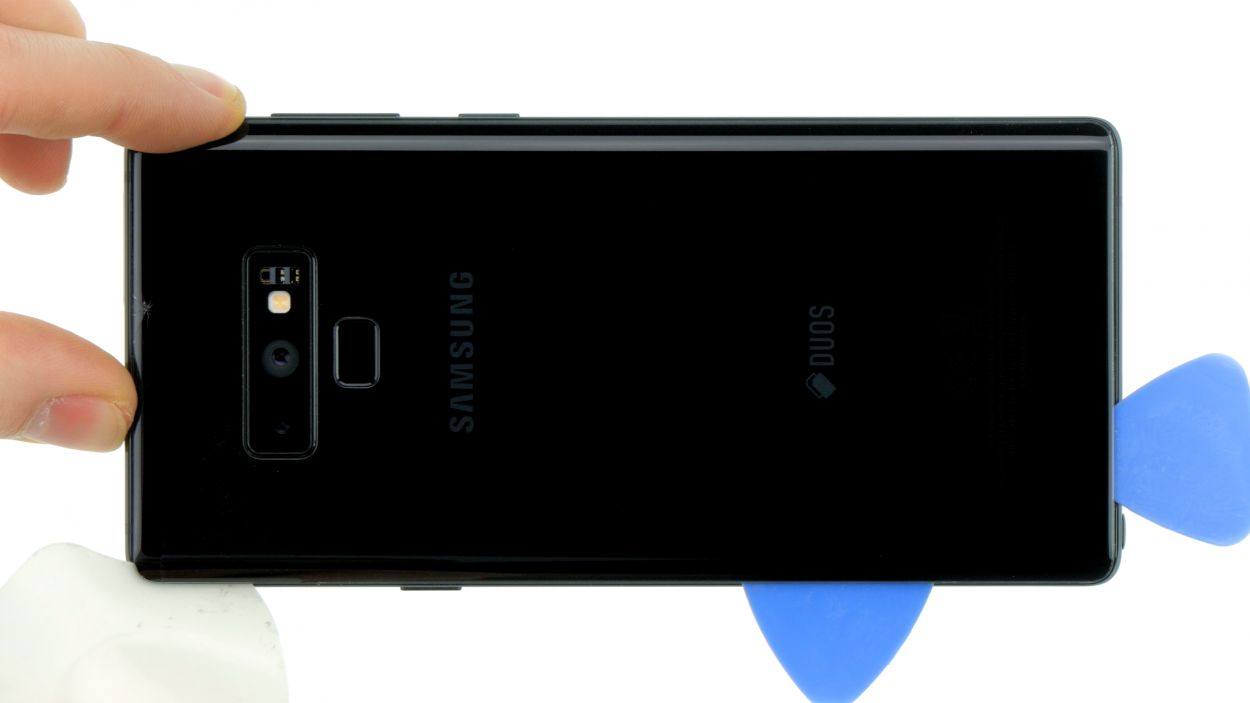
– To help loosen the back cover, grab a flat, flexible tool like the iPlastix or iFlex. You’ll also want to have a few picks handy to gently pry it loose all the way around. It’s like a little dance, so take it slow and steady!
Hey there! Just a friendly reminder to handle the back cover with care – it’s as fragile as a butterfly! If it gives you some trouble, feel free to warm it up a bit more and give it another go. Taking about half an hour for this step is totally normal, so take your time and work smart. A little patience goes a long way in keeping everything intact!
The iPlastix is crafted from plastic, meaning it won’t leave any scratches on your device. However, it’s a bit on the soft side and can be a little tricky to insert. Just take your time and you’ll be just fine!
Tools Used
- heat gun to heat parts that are glued on so they’re easier to remove.
In most cases, you can also use a hairdryer.” rel=”noopener”>Heat gun - screen and the frame. The practical iFlex is made of stainless steel and sits comfortably in the hand. This makes it the perfect assistant for every smartphone repair.” rel=”noopener”>iFlex Opening Tool
- battery? Then the iPlastix with its large blade will help you. The practical assistant is made of flexible, especially sturdy plastic and lies comfortably in the hand. Thanks to its design, you can even get into smaller gaps, for example to lift the screen or to prevent it from sticking together again.” rel=”noopener”>iPlastix Opening Tool
- VAKUPLASTIC Suction Cup
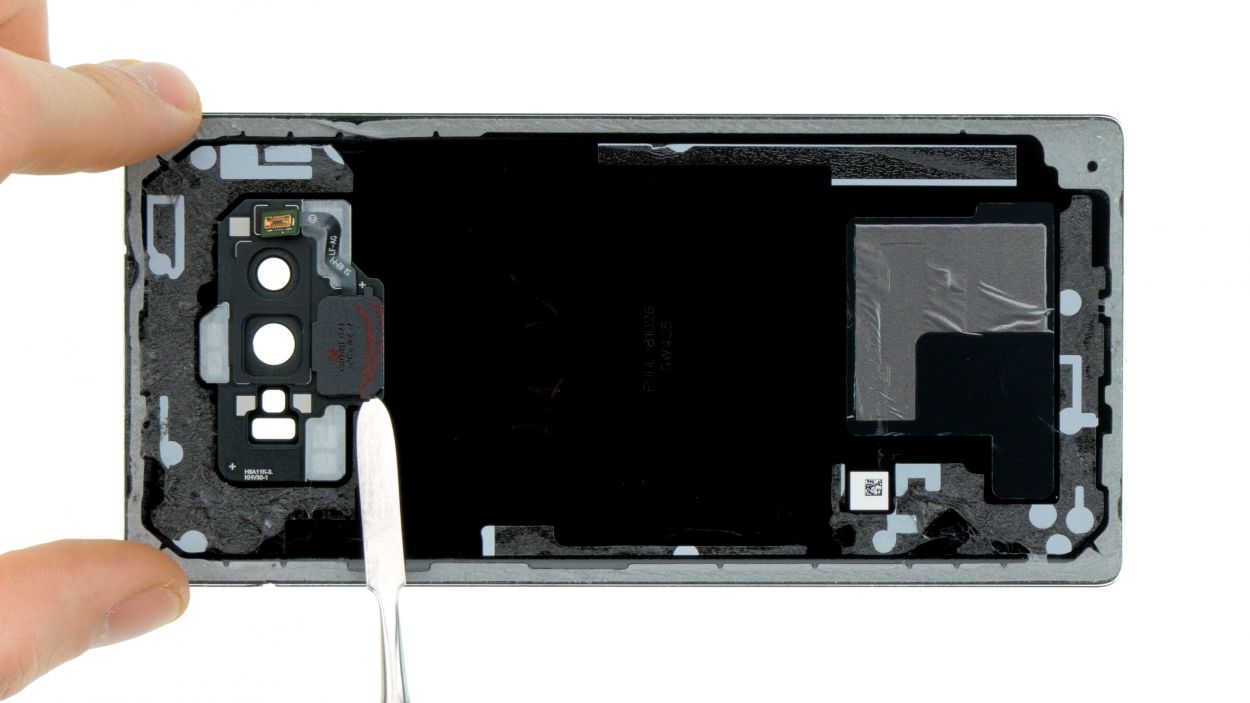
Step 3
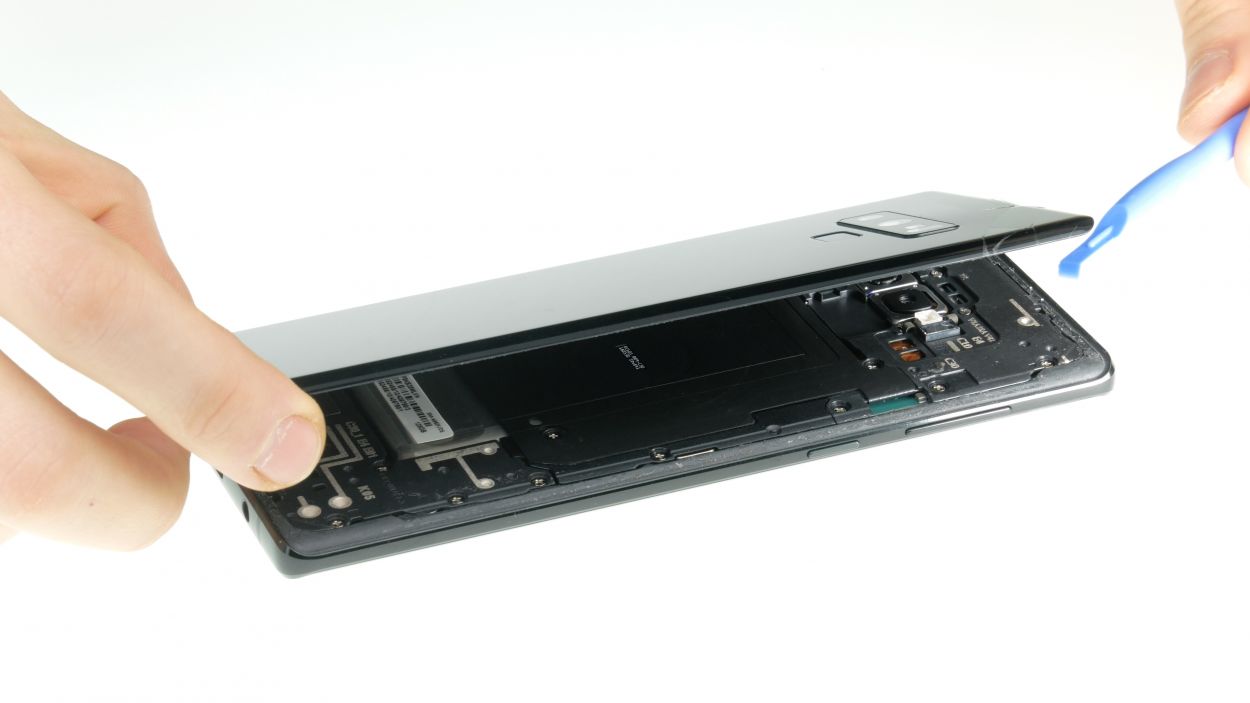
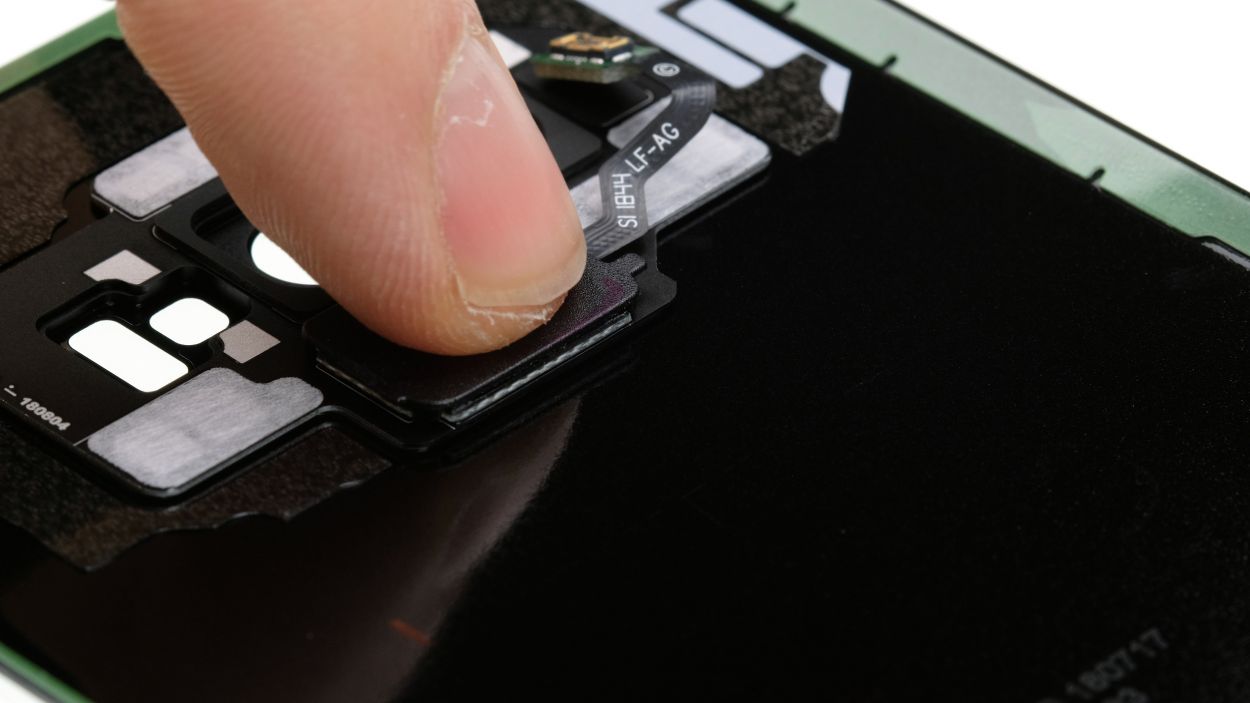
– Once you’ve popped off the back cover, gently lift it up and use your spudger to disconnect that sneaky fingerprint sensor.
– Now, just go ahead and fully remove the back cover and place it to the side, making way for the next steps!
Tools Used
Step 4
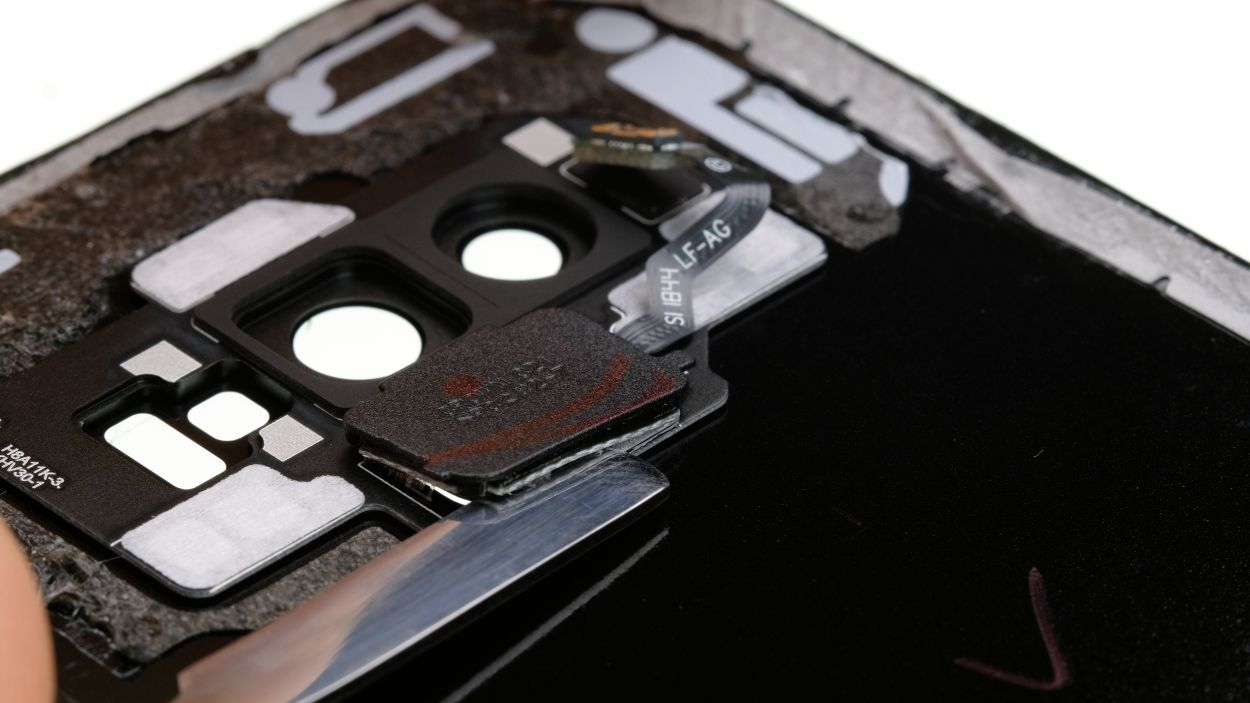

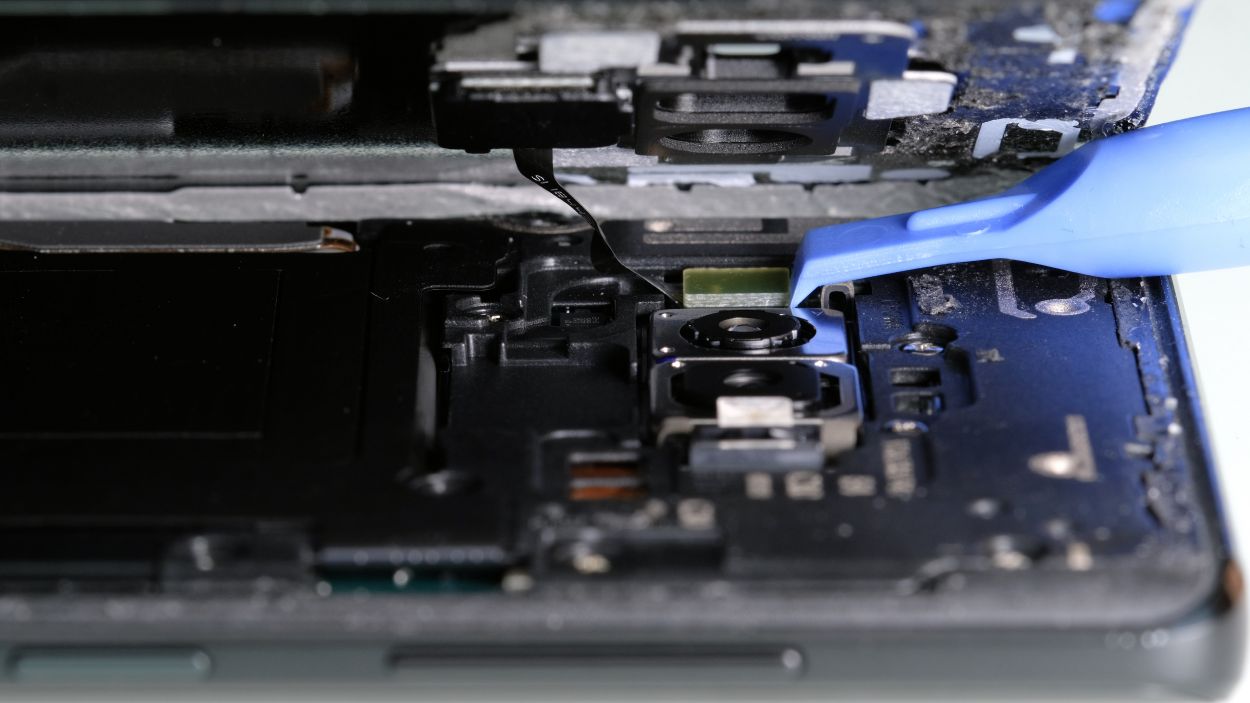
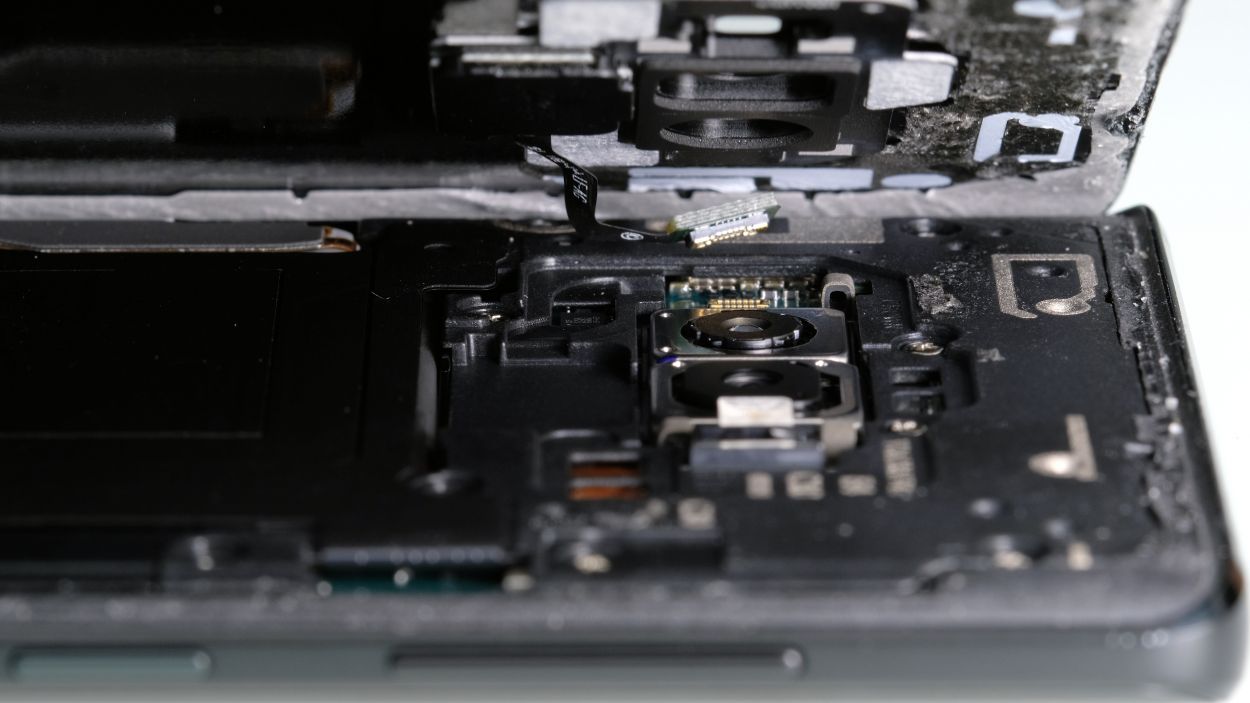
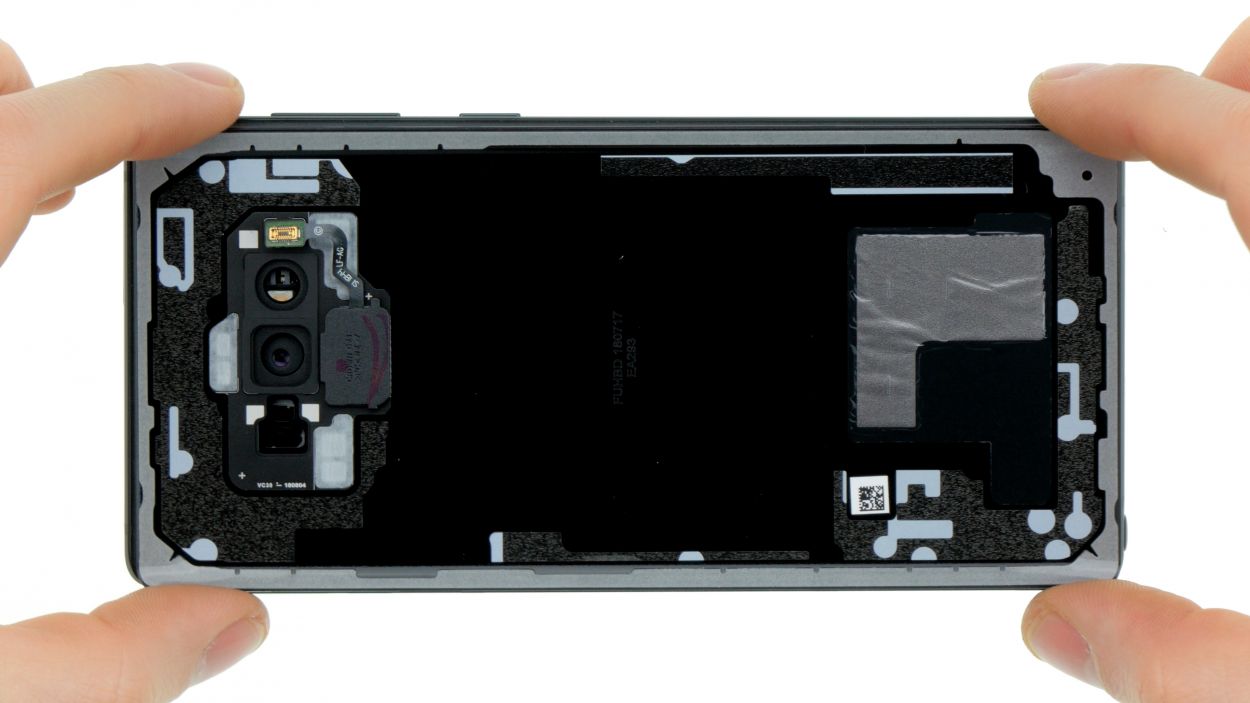
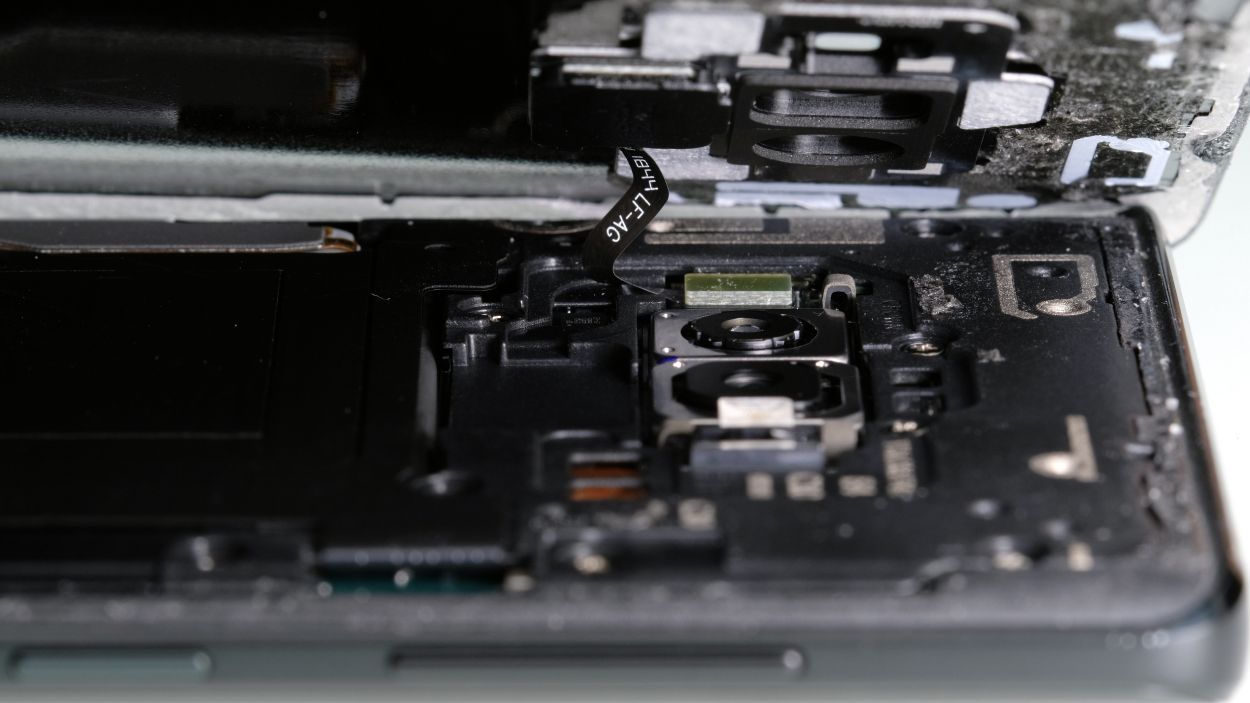
– Gently slide a steel spatula into the spot where the wireless charging coil is glued to the NFC antenna, and give it a little nudge to pop off the contact.
– Next, take your time and carefully pull the entire flex cable away from the cover.
The old cable’s glue is stuck hard? No sweat! Just blast it with a heat gun to loosen the hold. Easy peasy! If all else fails, we’re here to help. If you need help, you can always schedule a repair. Check out our ‘Salvation Repair‘ tutorials for more step-by-step guides.
Step 5
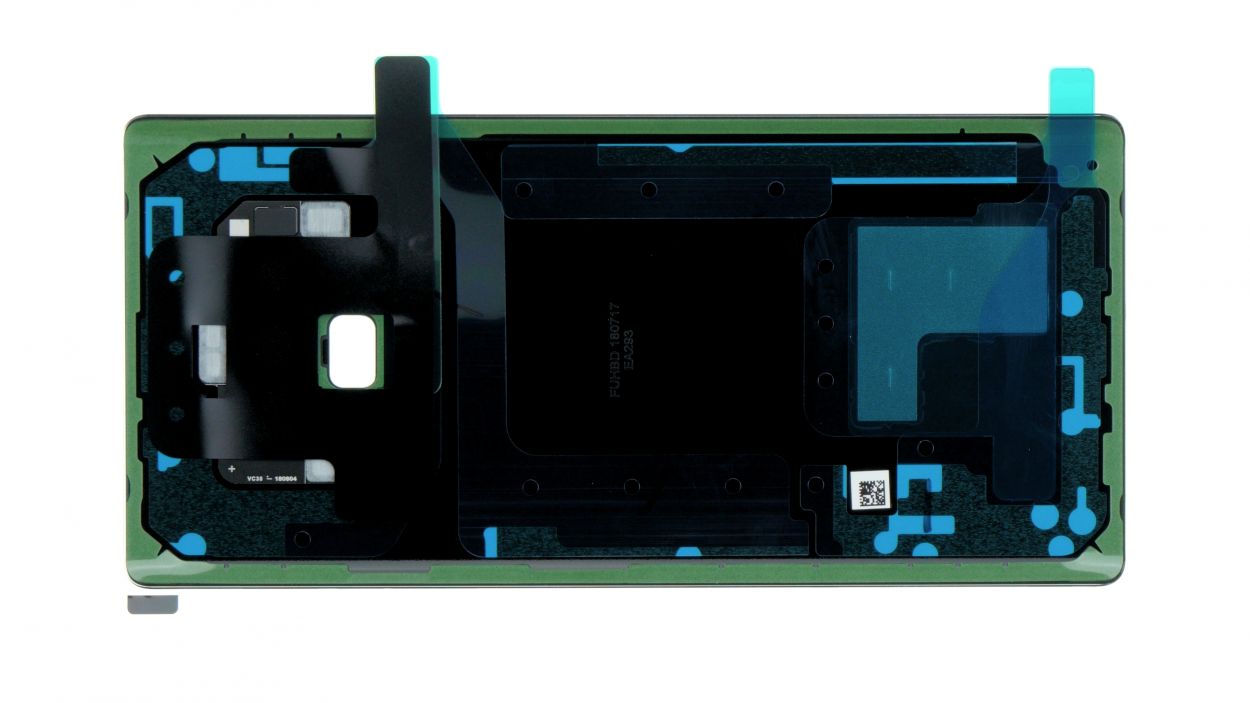
Feel free to keep the green film on the edge for now; just peel it off right before you seal the back cover. You’ve got this!
Step 6
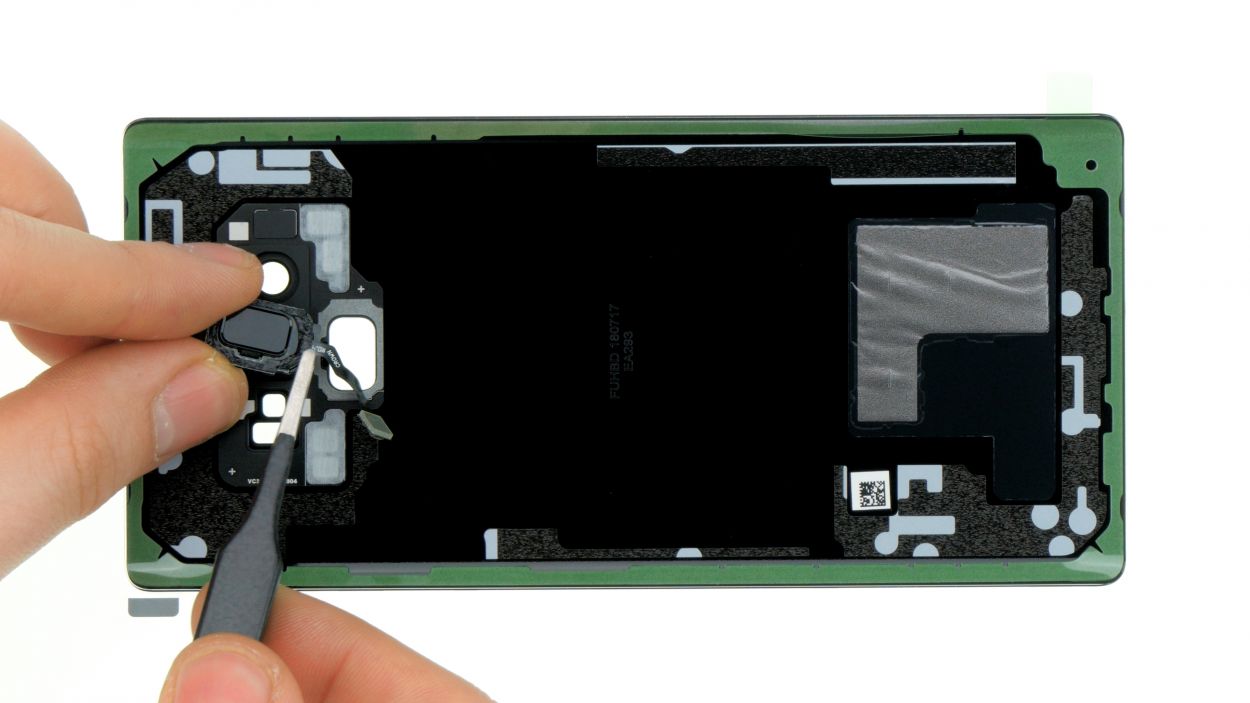

Ready to install that shiny new fingerprint sensor? First things first, peel off the protective film from the adhesive surface. And guess what? You can leave the old adhesive residues right where they are—no need to stress about that!
– Wave goodbye to that old glue on the fingerprint sensor!
– Carefully place the fingerprint sensor back into its cozy spot on the back cover.
– Give the sensor a gentle press to help it stick like a champ!
Step 7
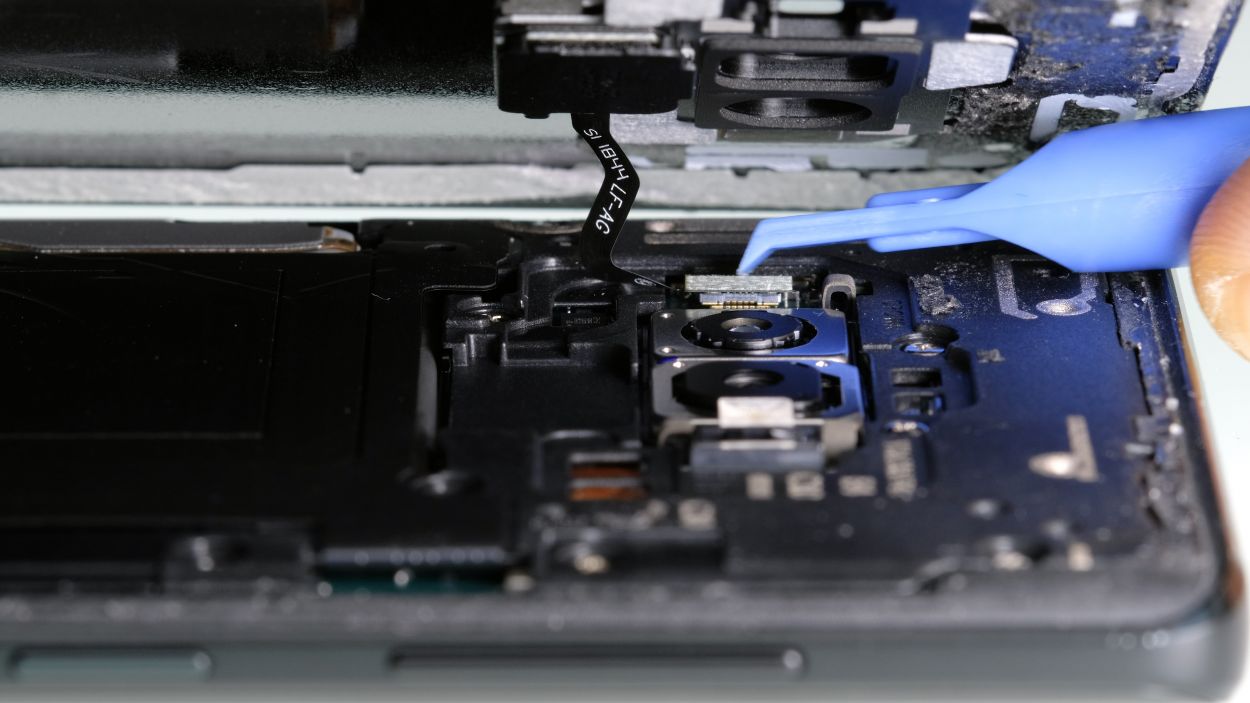
Fingerprint connector
– First things first, make sure to connect that fingerprint sensor before you pop the back cover back on. It’s a small but mighty step!
– Grab a trusty plastic tool to help you gently nudge your way to the connector. You’ve got this!
Step 8

Feeling crafty? Try warming up your device with some hot air, then give it a little love by clamping it down or placing a couple of books on top. This way, the glue will bond like a champ!
– Carefully place the back cover back where it belongs.
– Give the back cover a good press all around so the glue can do its magic.


