DIY Guide to Replace Screen on Galaxy Note 10+
Duration: 90 min.
Steps: 24 Steps
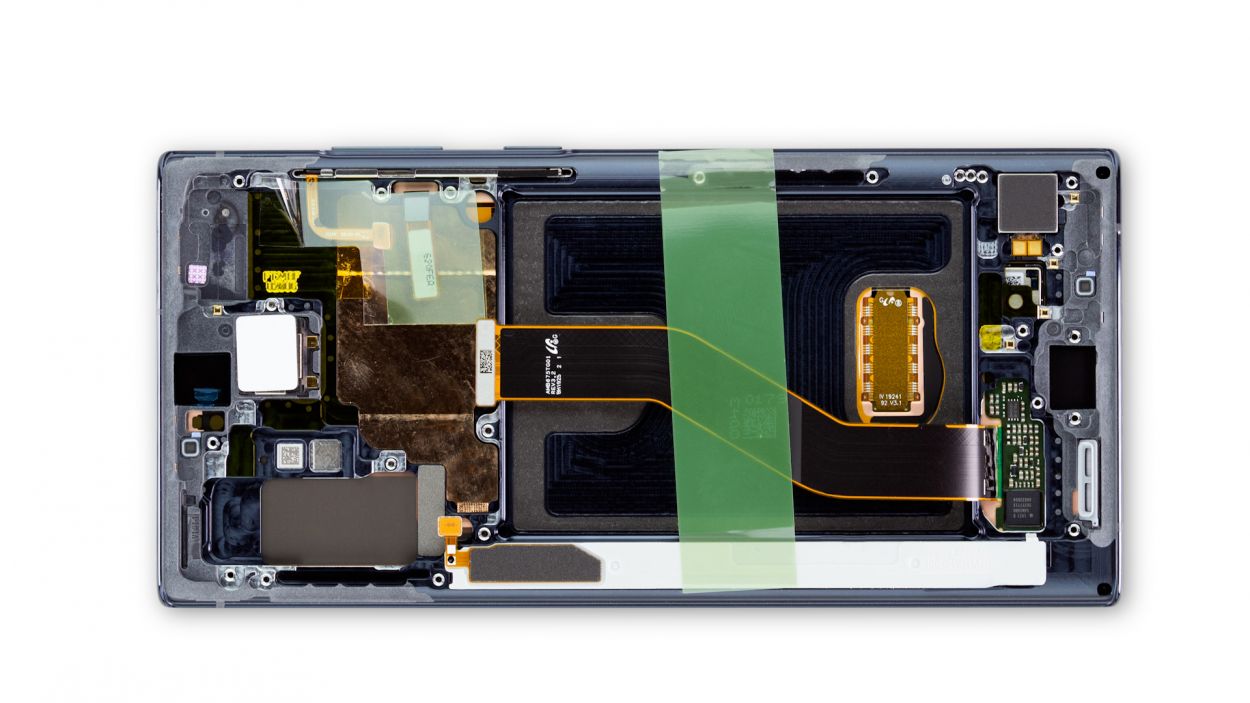
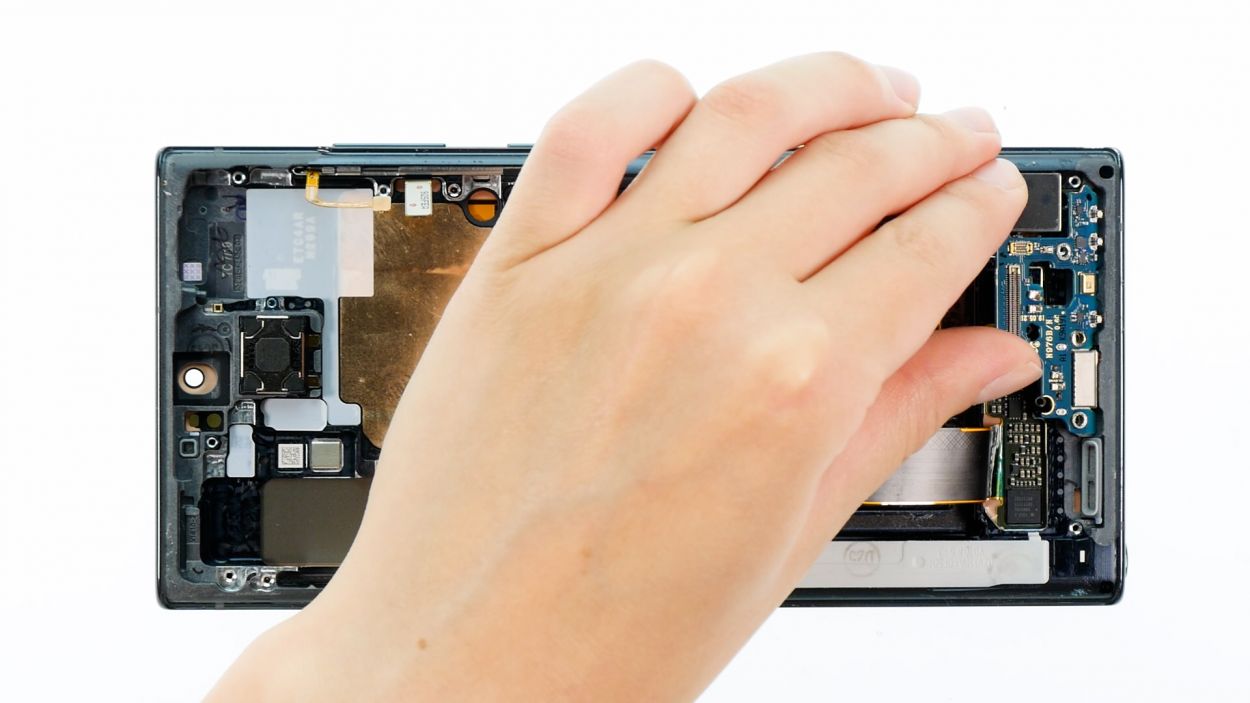
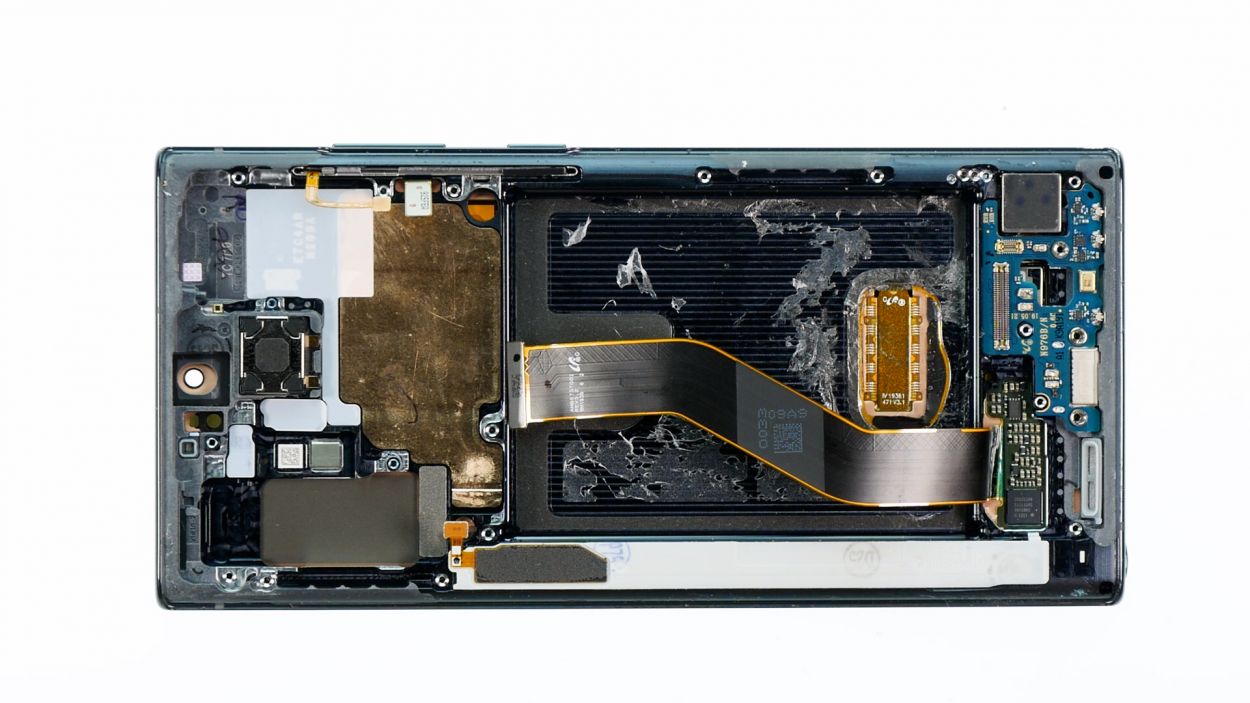
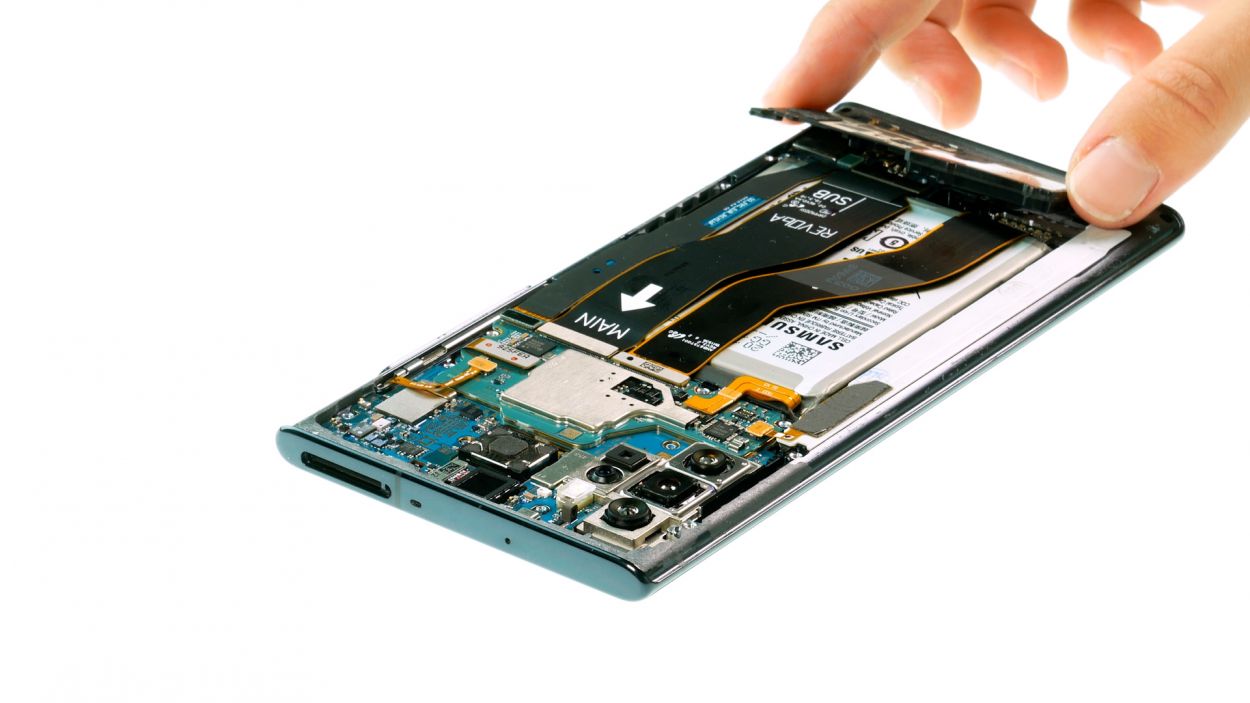
No worries! In this easy-to-follow guide, we’ll walk you through the process of replacing the screen on your Galaxy Note 10+ all by yourself. Replacing the display is the trickiest repair for the Note 10+, as both the back cover and battery are really stuck on there. Plus, all the components are integrated into the display unit, so you’ll need to take everything out. Make sure to set aside enough time for this repair. Good luck with your project! If you need help, you can always schedule a repair. You can find the perfect replacement screen for your Galaxy Note 10+ along with the Samsung tool kit in our online store.
Step 1
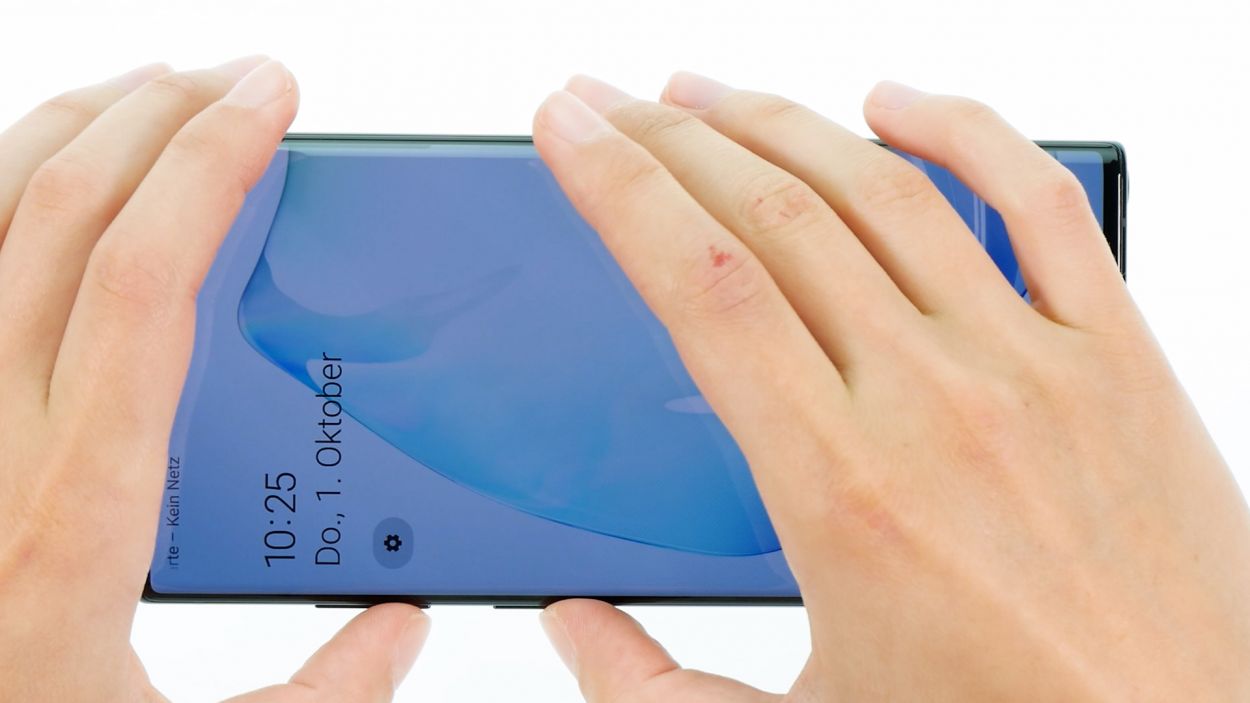
– Alright, let’s get this party started! Begin by pressing and holding both the side button and the volume down button at the same time for a few seconds.
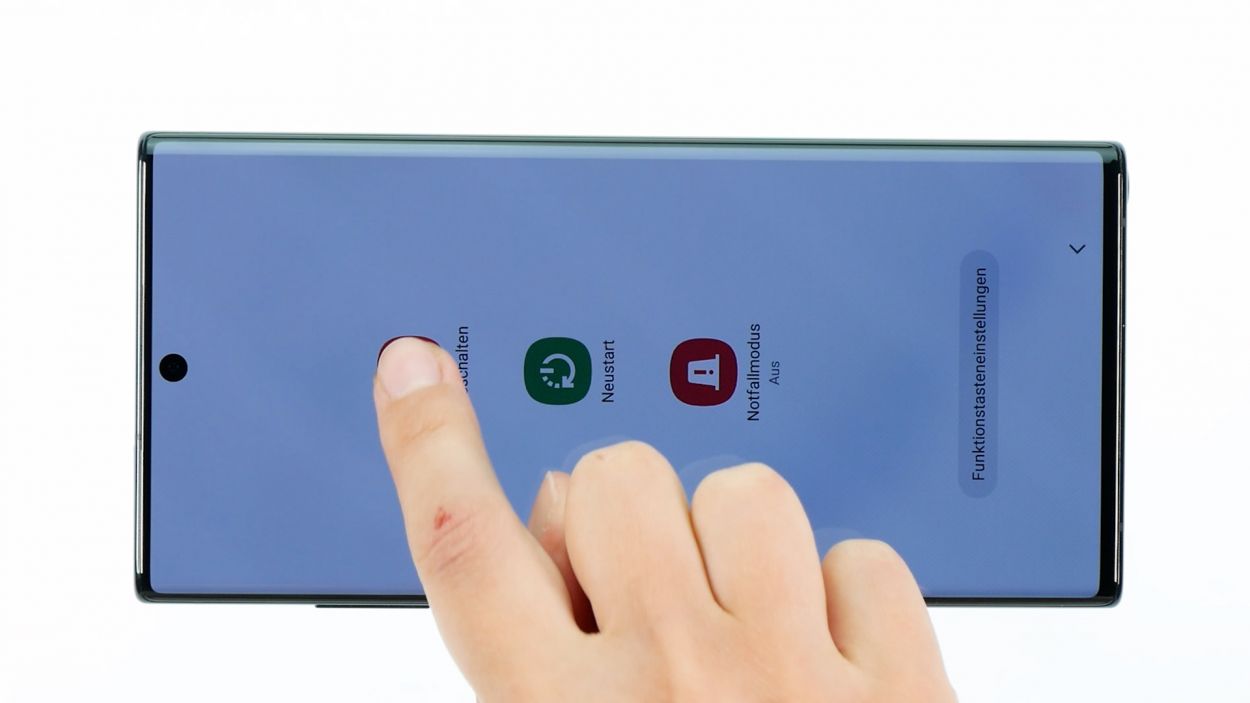
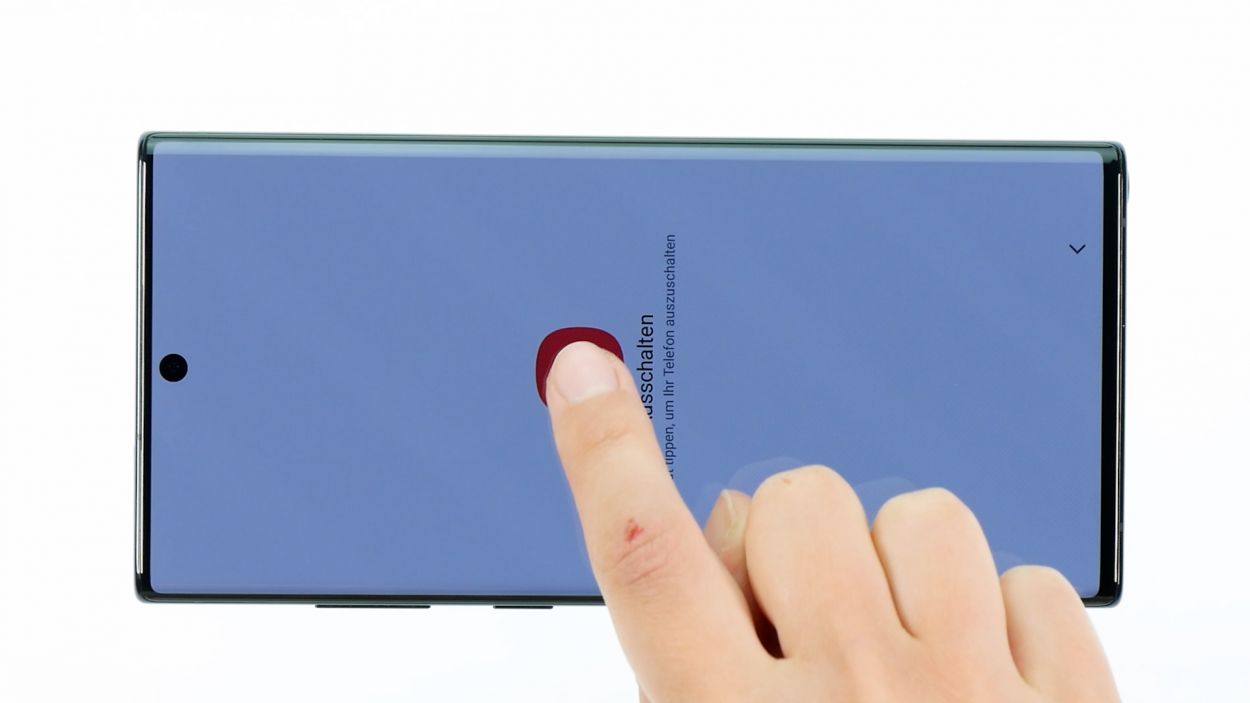
– Next up, tap on ‘Switch off’ from the menu that pops up.
– Boom! Your phone will power down completely in just a few seconds. Easy peasy!
Step 2
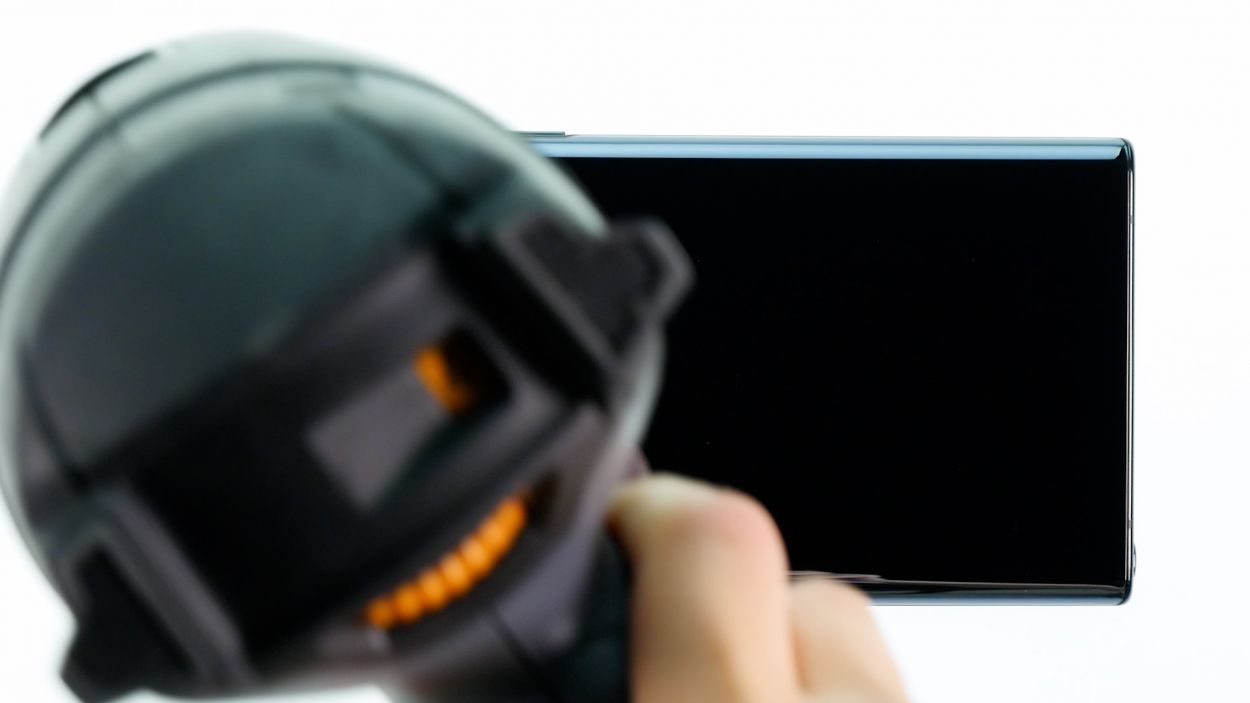
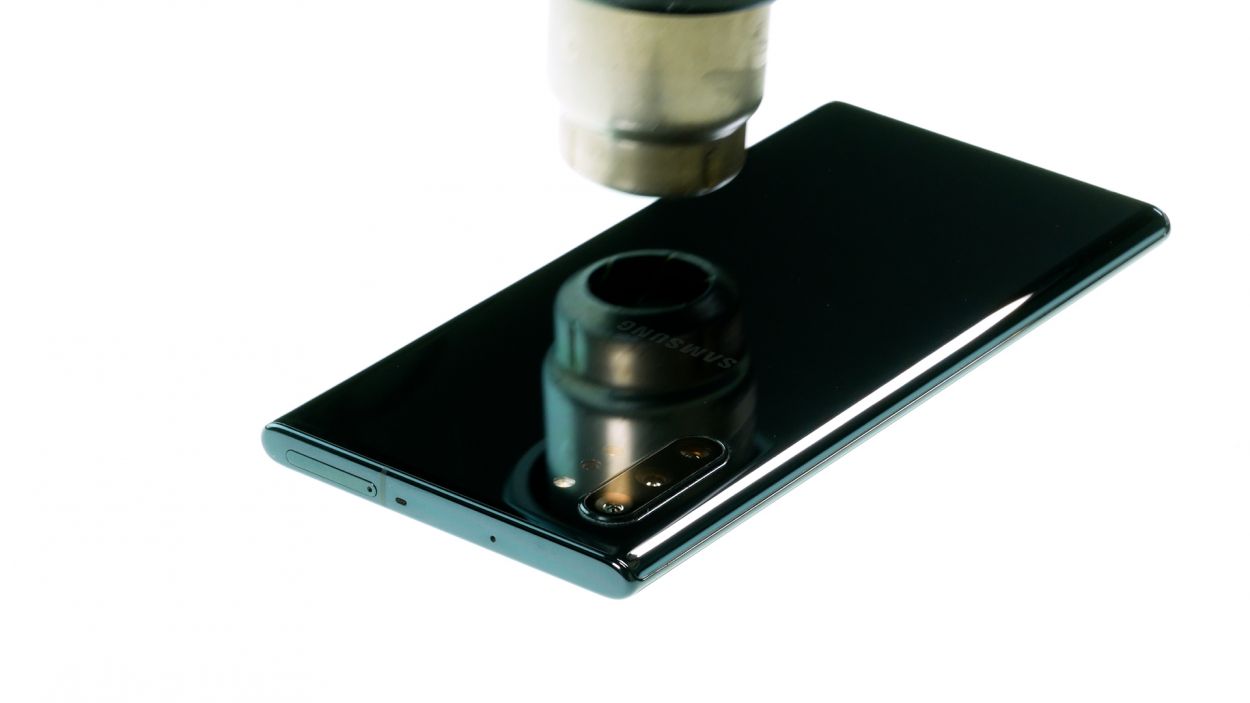
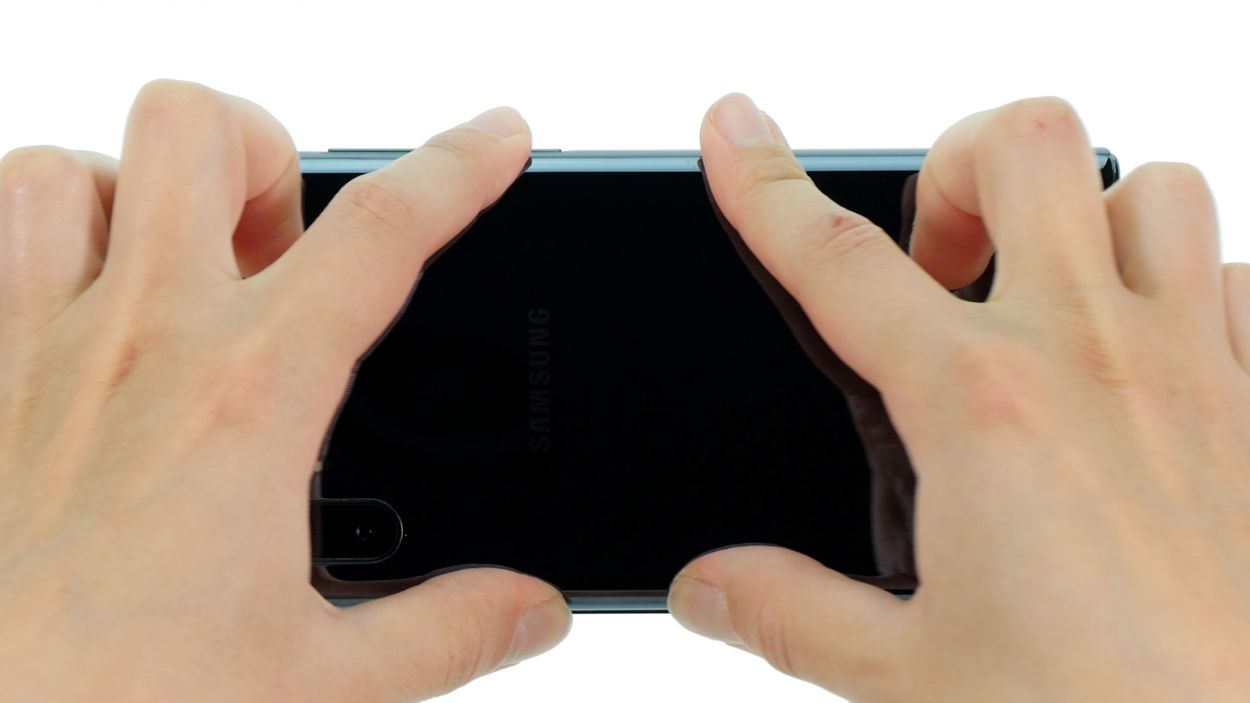
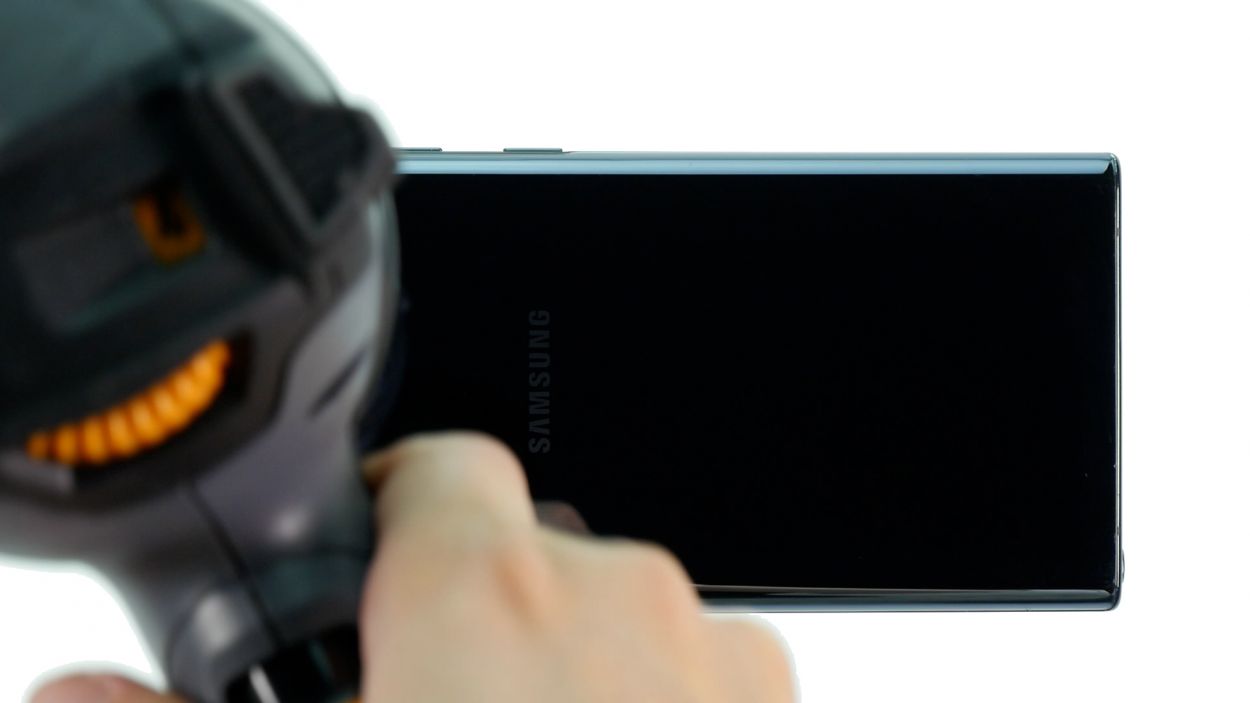
Alright, champ! Here’s the heat tip: Warm up that back cover just enough so you can still touch it without feeling like you’re wrestling a dragon. Think ‘warm toast’, not ‘pizza oven’! If you need a hand, you can always schedule a repair
– Flip your phone upside down and set it gently on a cozy, clean surface.
– Gently sweep the hot air tool back and forth along the edge of the back cover.
Tools Used
- heat gun to heat parts that are glued on so they’re easier to remove.
In most cases, you can also use a hairdryer.” rel=”noopener”>Heat gun
Step 3
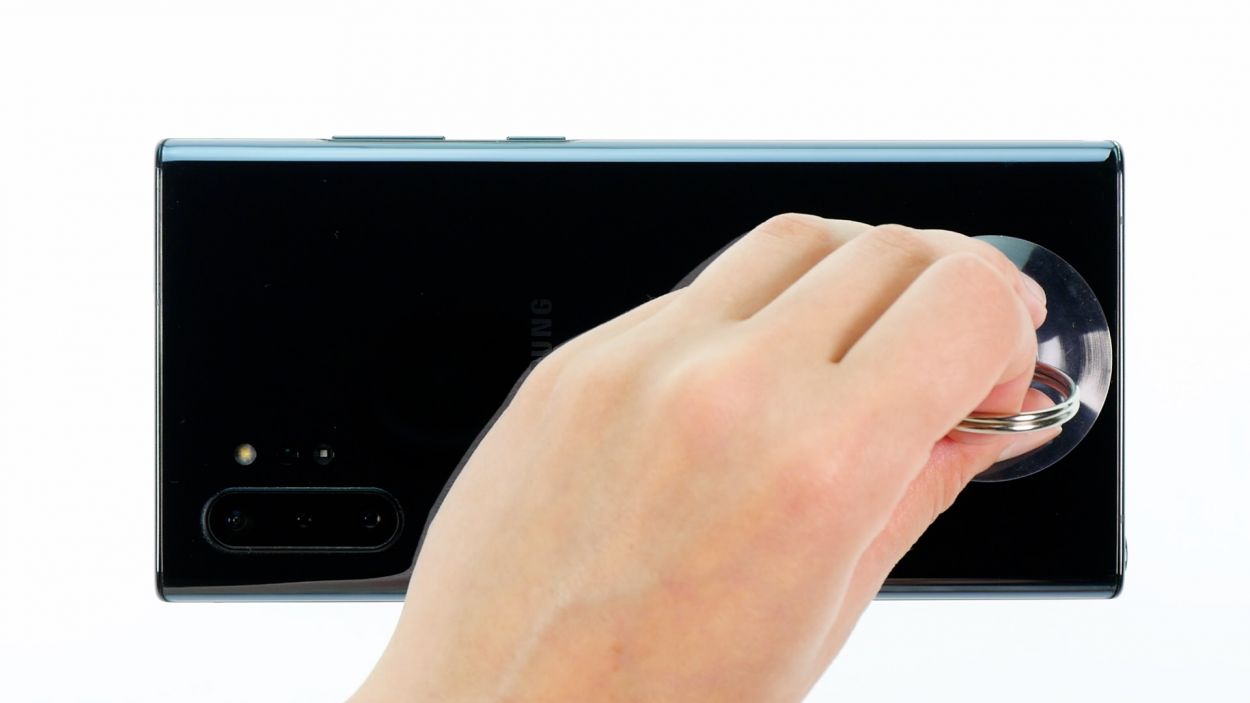
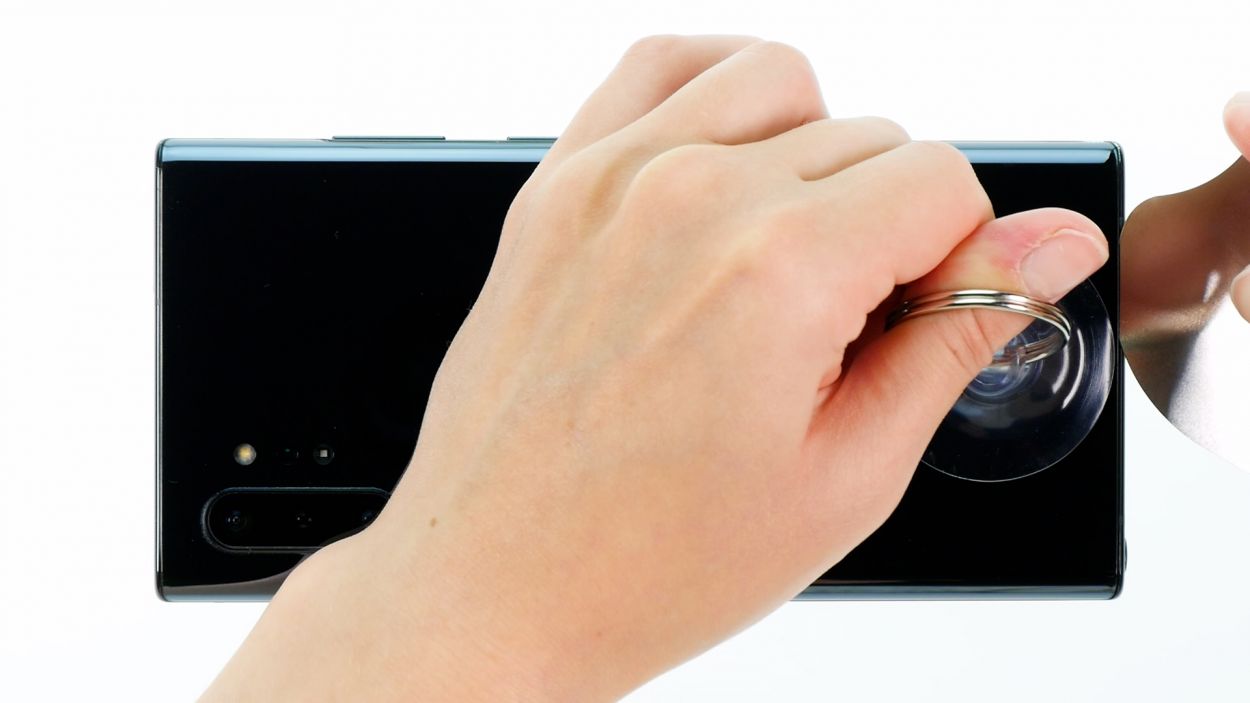
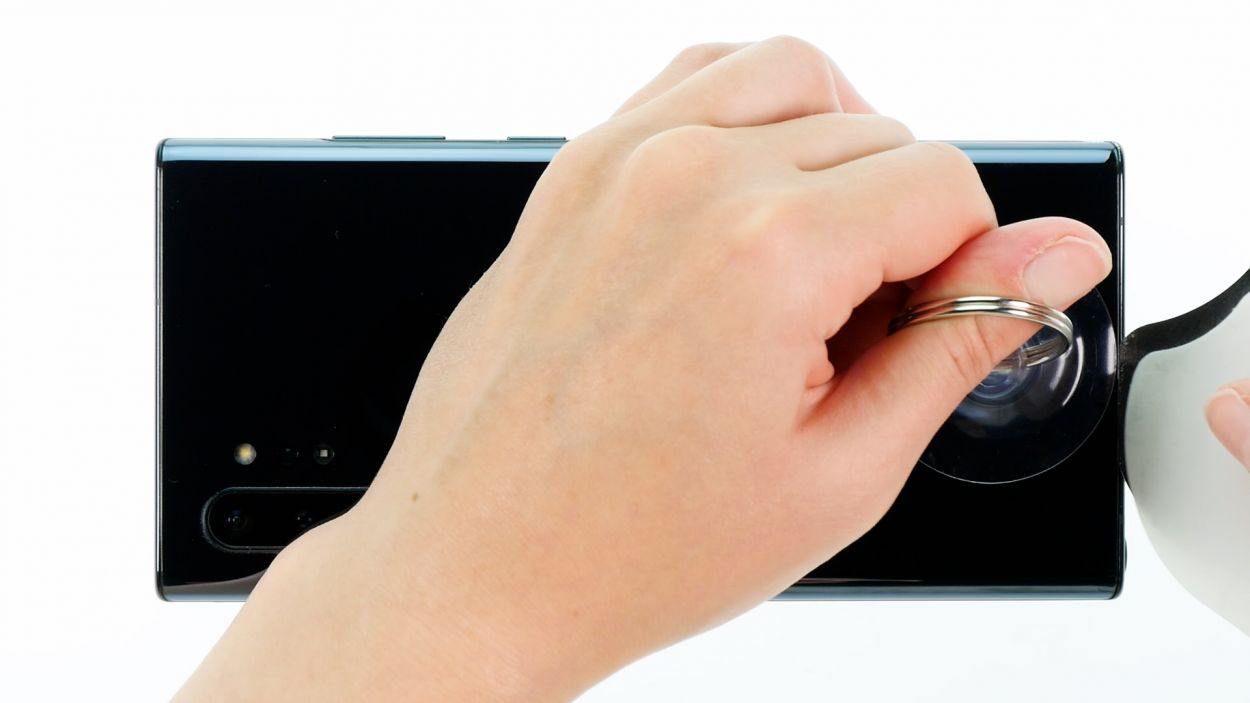
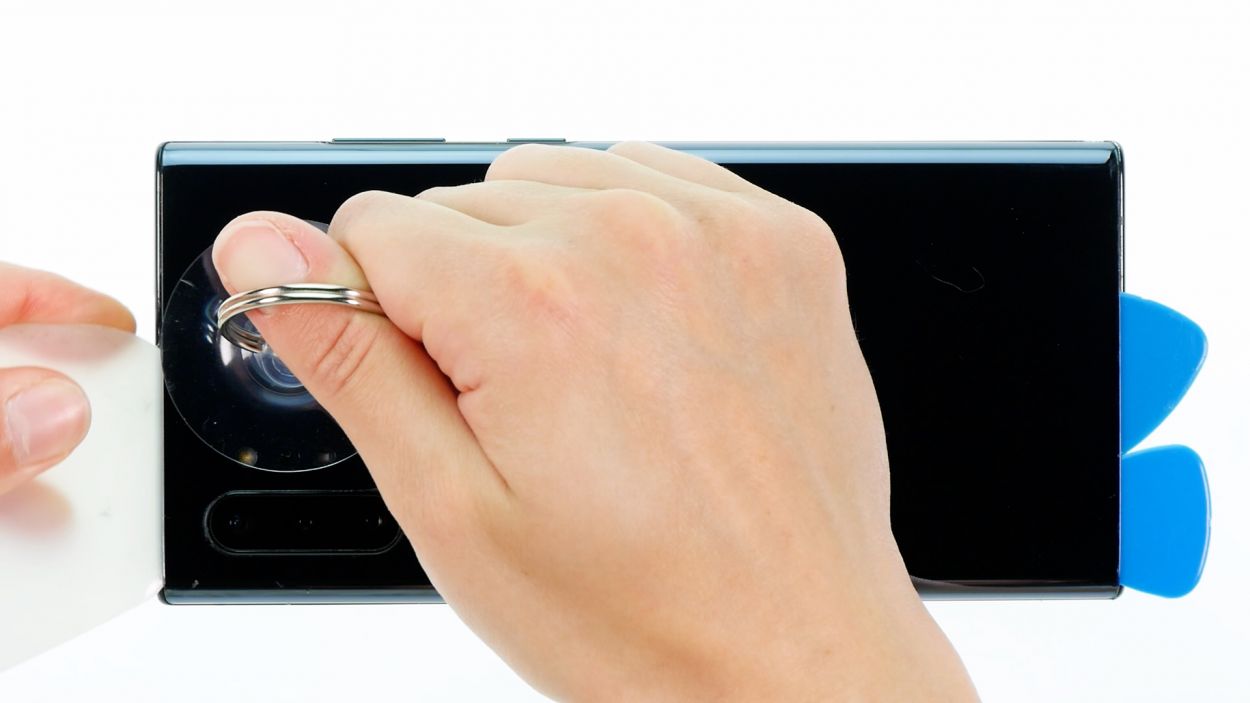
– Grab a suction cup and stick it on the lower section of the back cover. Give it a gentle pull upwards to create a little opening between the back cover and the rear case. You’re doing great!
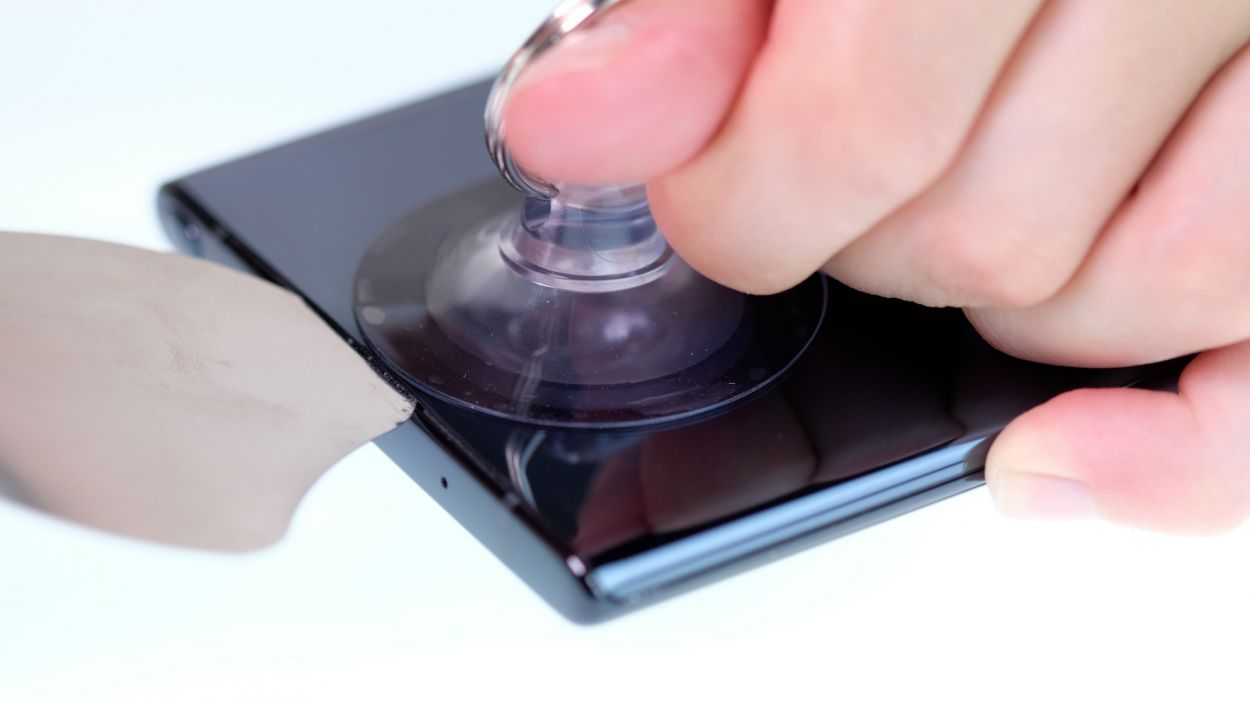
– Now, slide a flat, sturdy tool into that gap to widen it a bit more. The iFlex is a solid choice for this task. Keep it up!
Heads up! Opening up your Galaxy Note 10+ means waving goodbye to that shiny manufacturer’s warranty. So, if you’re feeling unsure, just know that you can always schedule a repair!
The iFlex is crafted from sleek, sturdy metal with some pretty sharp edges. This design makes it a breeze to slip in, but watch out—it can leave a mark! We suggest kicking things off with the iFlex and switching to a plastic tool as soon as you can. Need a hand? Remember, you can always schedule a repair.
Tools Used
Step 4
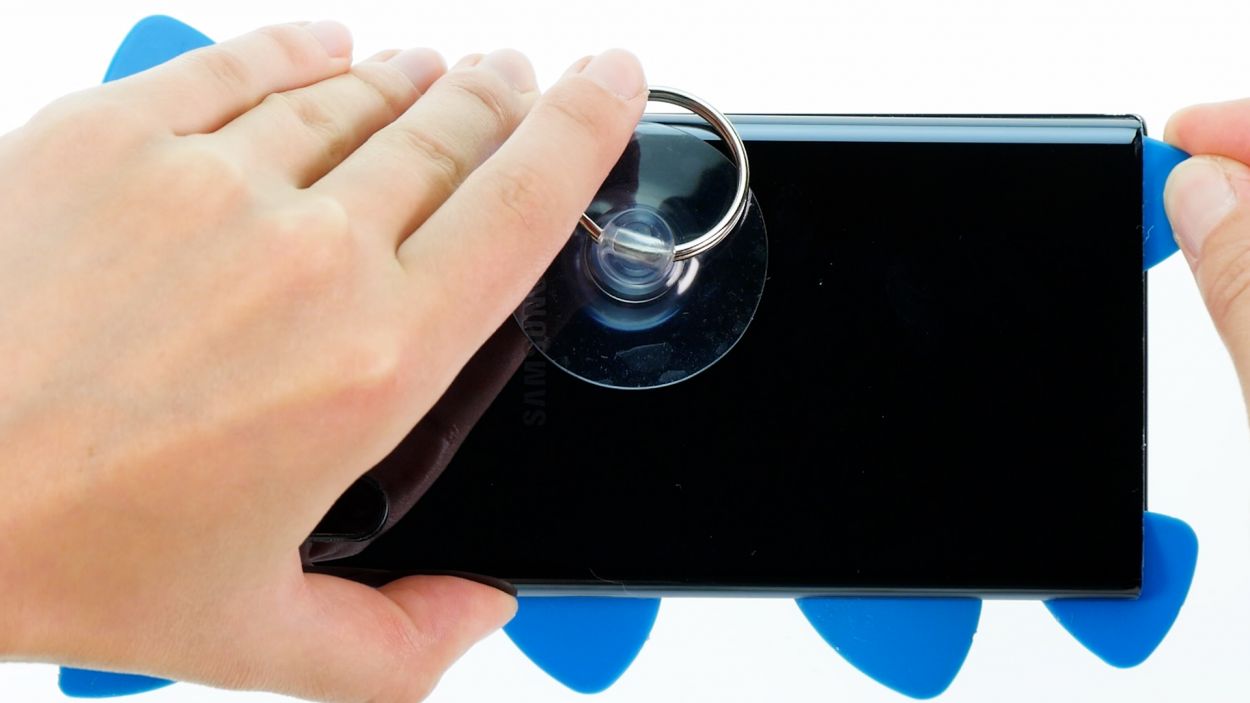
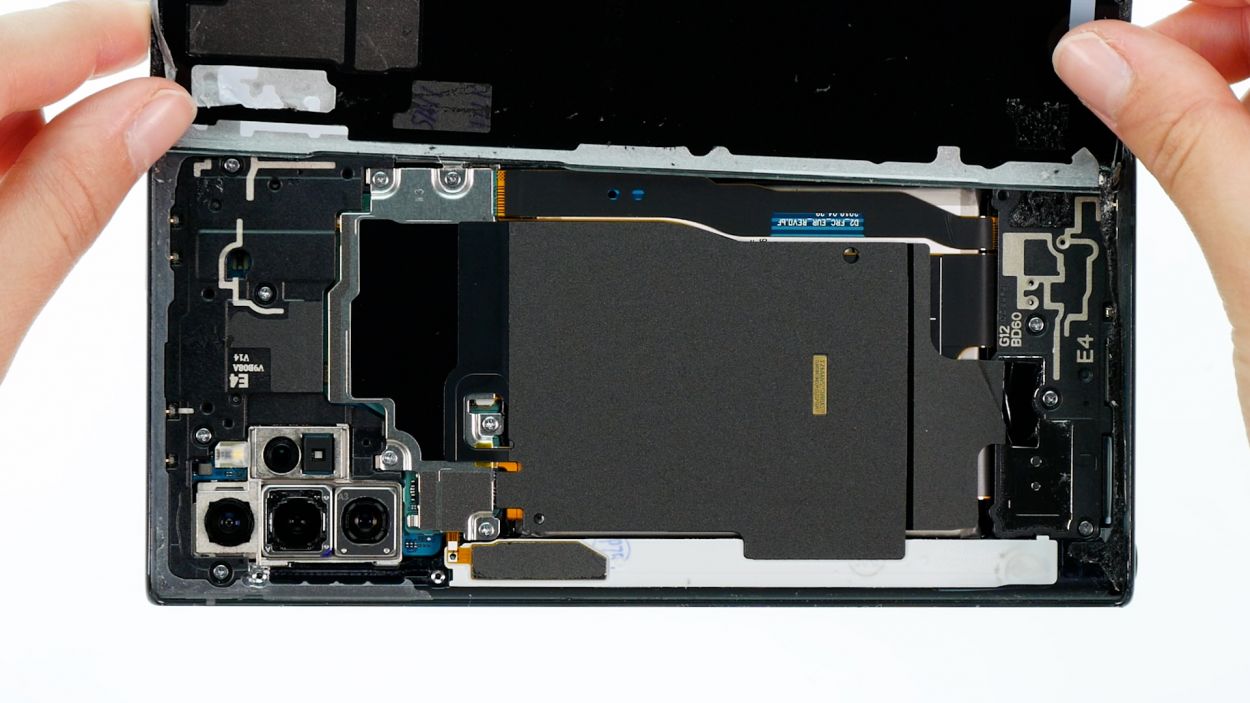
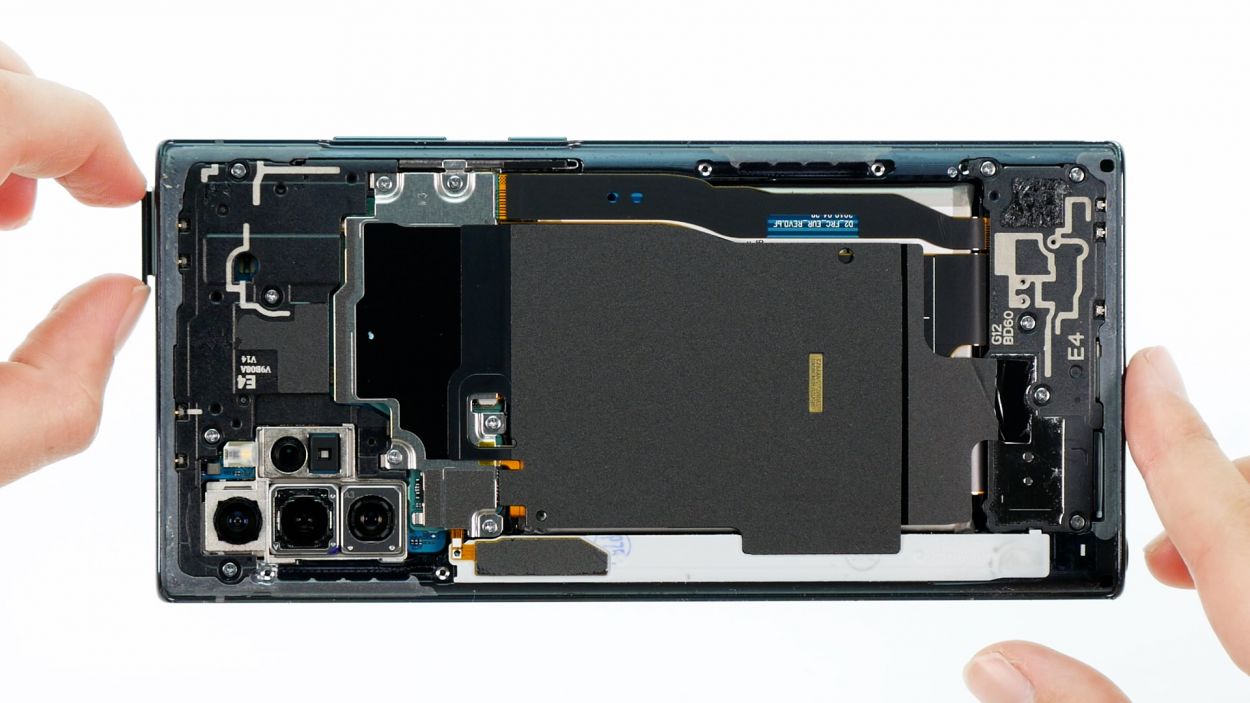
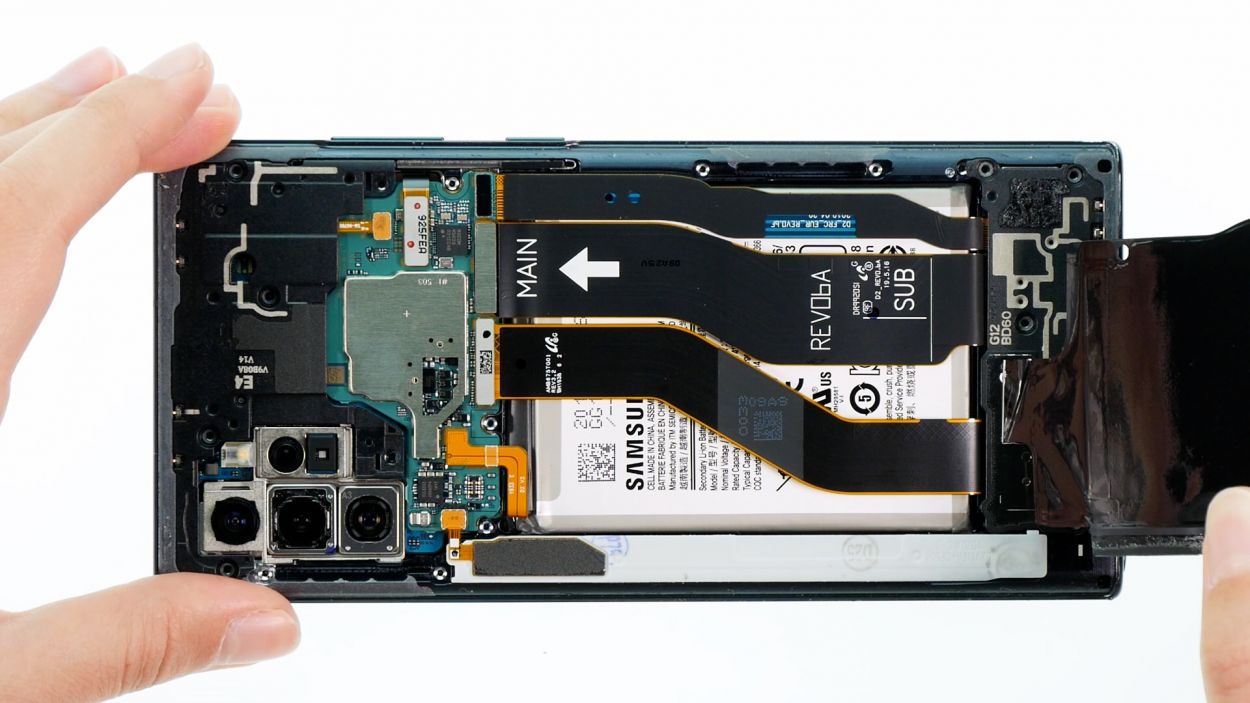
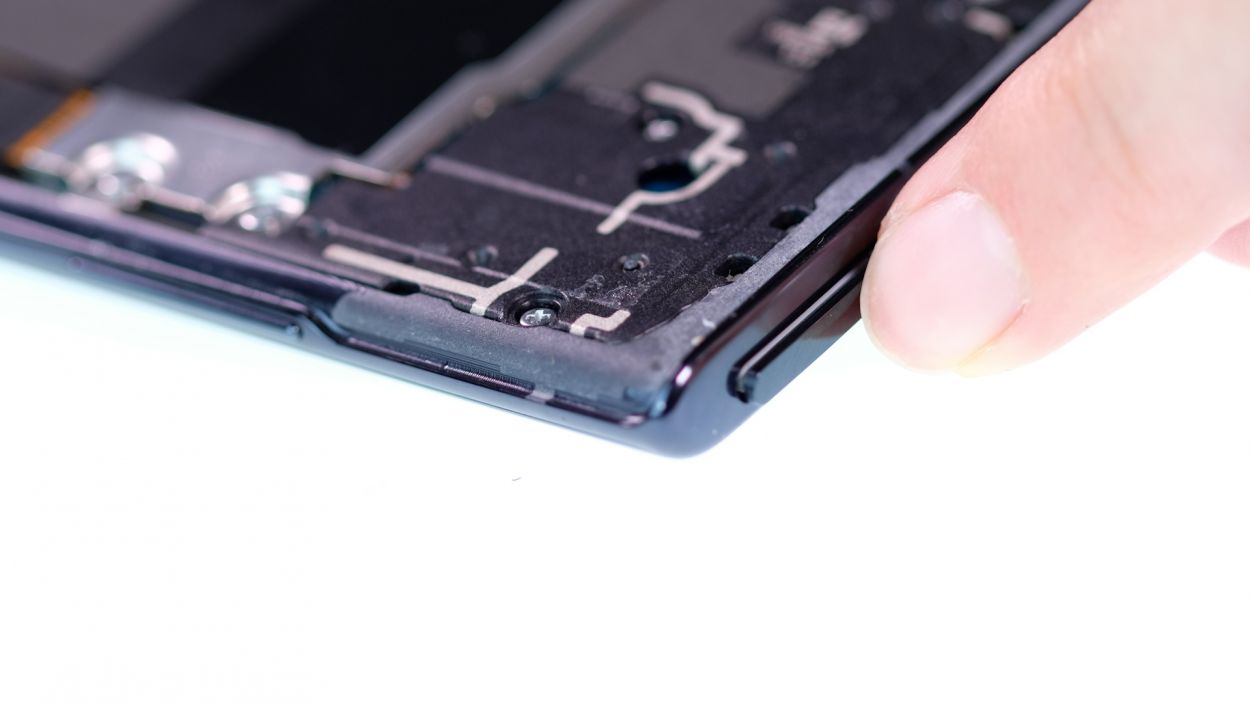
– Gently pry off the back cover from the rear case frame, taking it one piece at a time. A plastic tool, like the iPlastix, works wonders for this task. Just glide it along the edge of the back cover and watch it come off smoothly!
Just a friendly reminder: keep your tool at a safe distance when diving into your device. We want to avoid any accidental bumps with the sensitive components inside!
The iPlastix is crafted from a sleek, bendy plastic that’s easy to handle. Unlike its cousin, the iFlex, it’s designed without any sharp edges, making it a safe and user-friendly choice for your repair needs.
Tools Used
- Flat Picks
- battery? Then the iPlastix with its large blade will help you. The practical assistant is made of flexible, especially sturdy plastic and lies comfortably in the hand. Thanks to its design, you can even get into smaller gaps, for example to lift the screen or to prevent it from sticking together again.” rel=”noopener”>iPlastix Opening Tool
Step 6
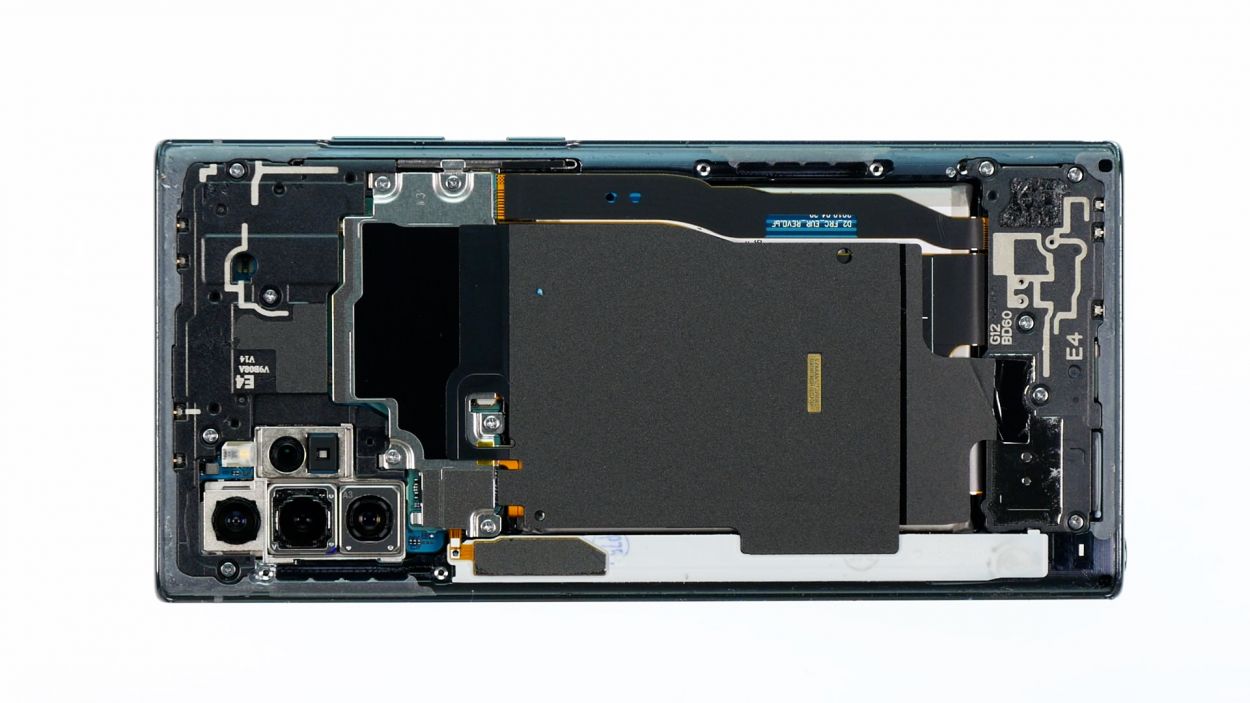
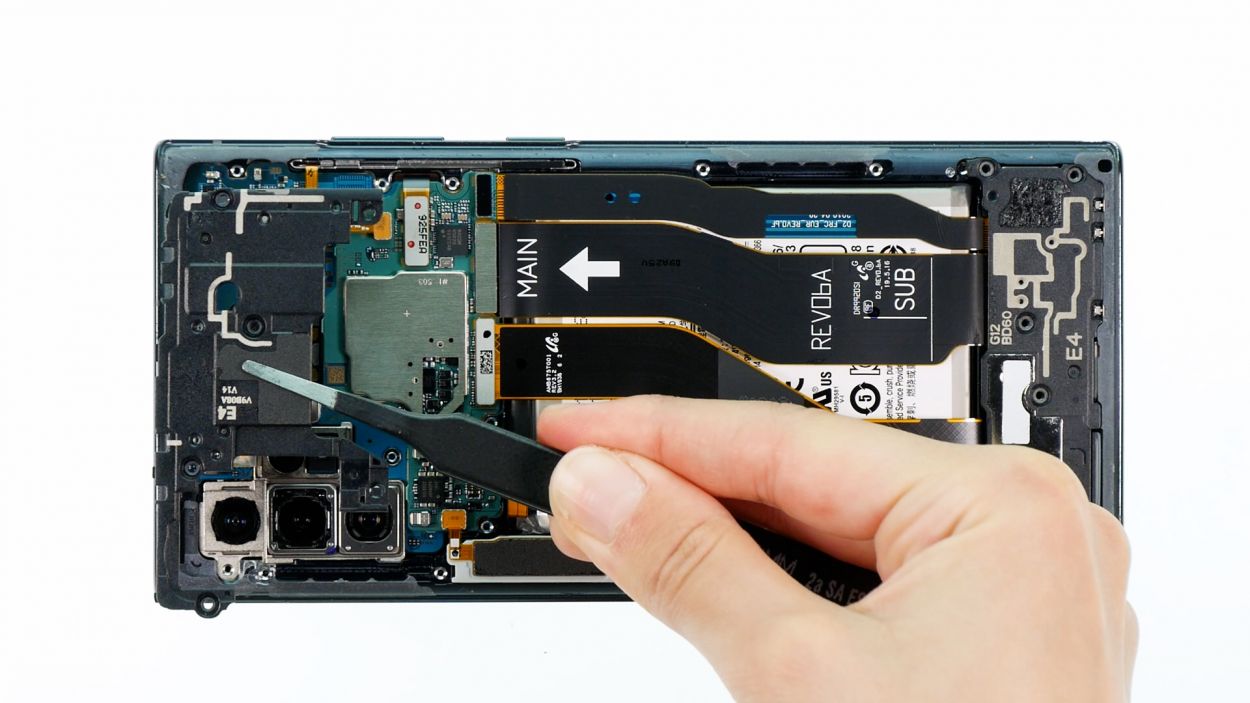
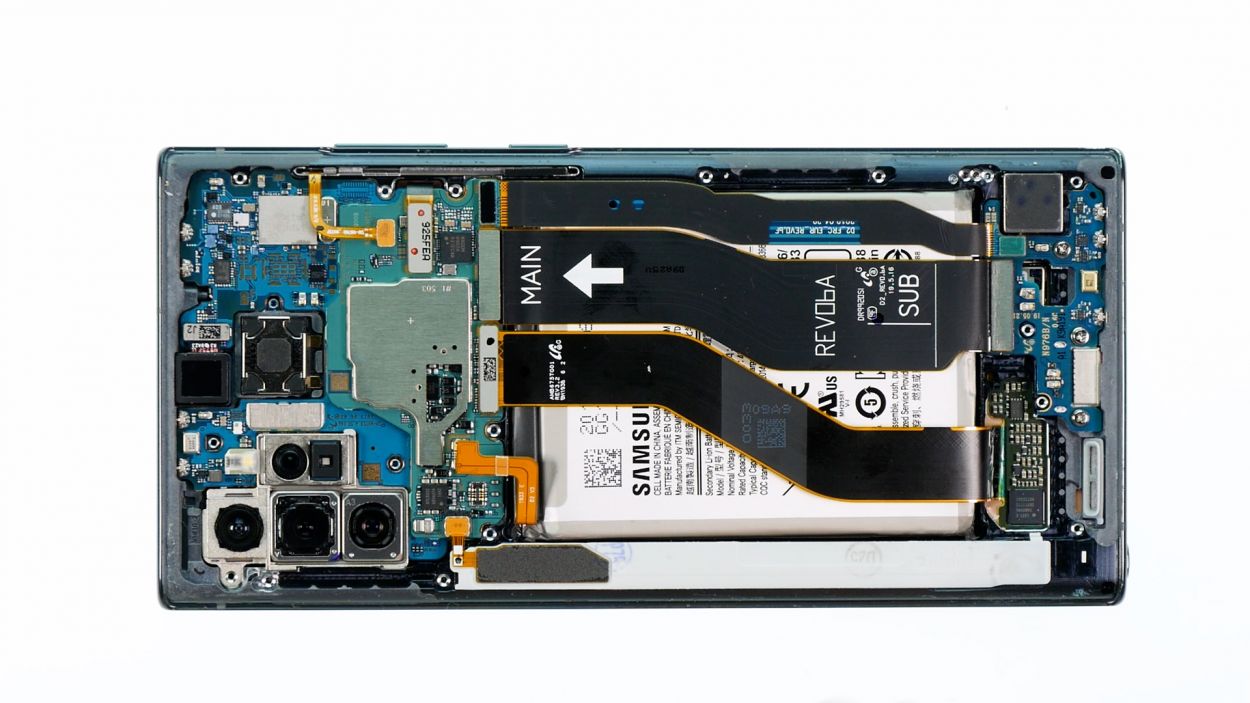
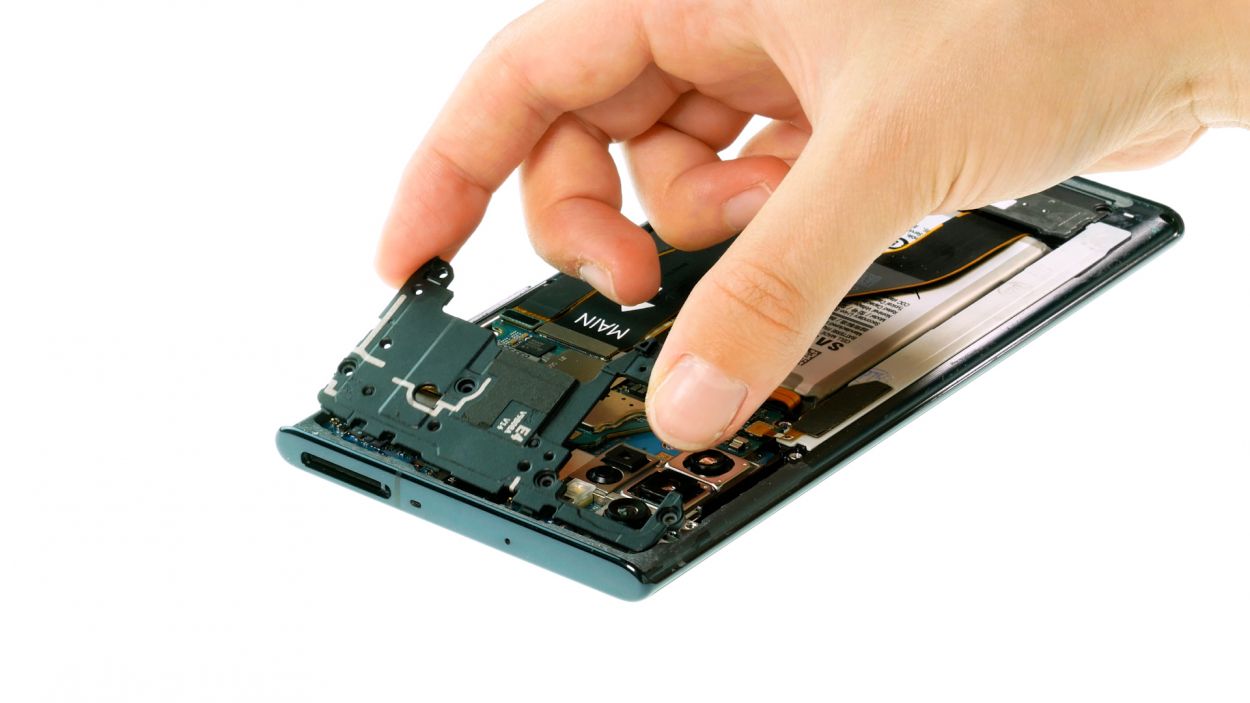
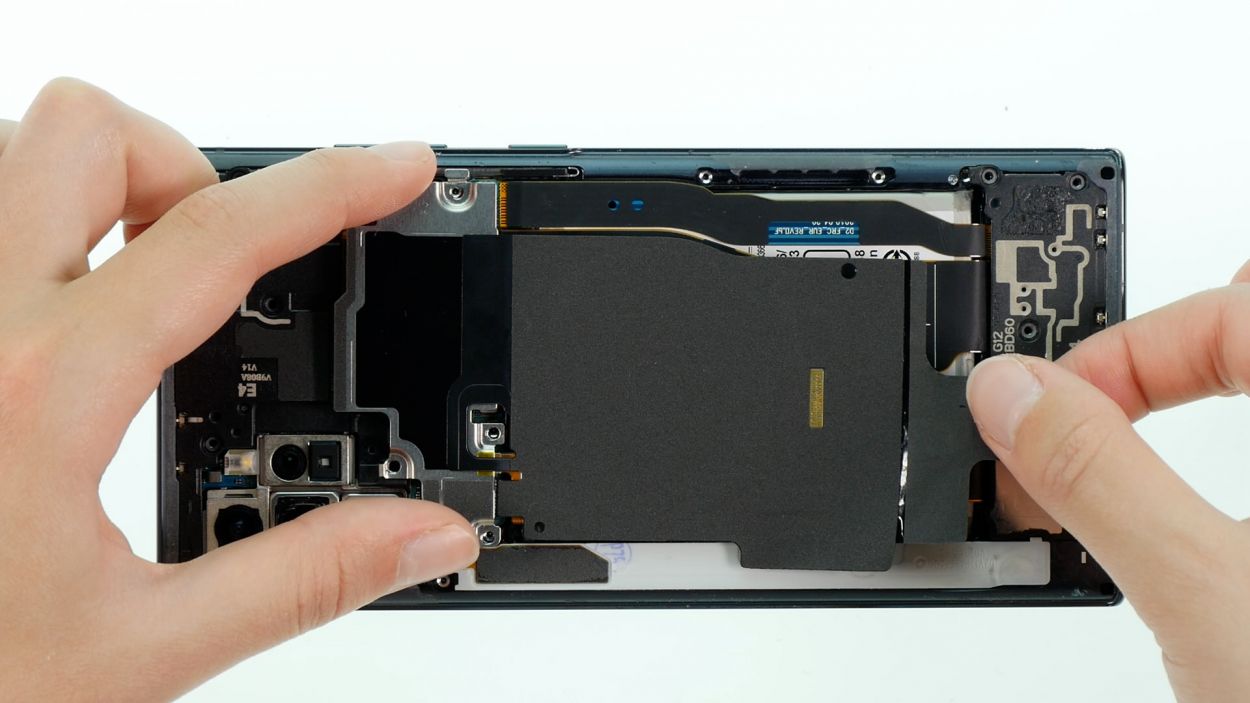
– First, let’s tackle those 14 Phillips screws holding the covers in place. Grab your trusty screwdriver and get ready to unscrew them!
14 × 4.0 mm Phillips
Hey there, champ! To keep the mainboard happy and healthy, sneak up on those tiny parts from the side that’s nice and clear. No accidental bumps allowed!
Got some loose screws and tiny parts running around? No worries! Grab a screw storage box to keep them in check. Our nifty magnetic pad is perfect for this task. Just place the parts on it in the same order they came out – it’s like a little puzzle that helps you remember where everything goes!
Step 7
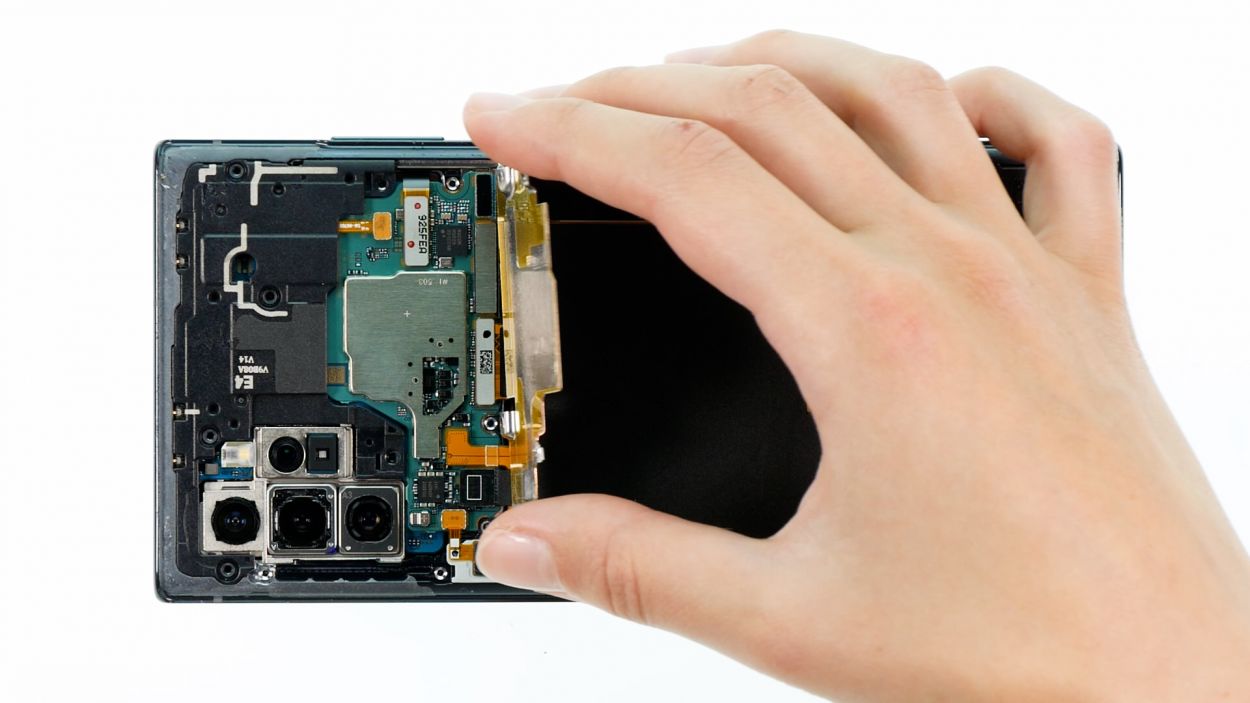
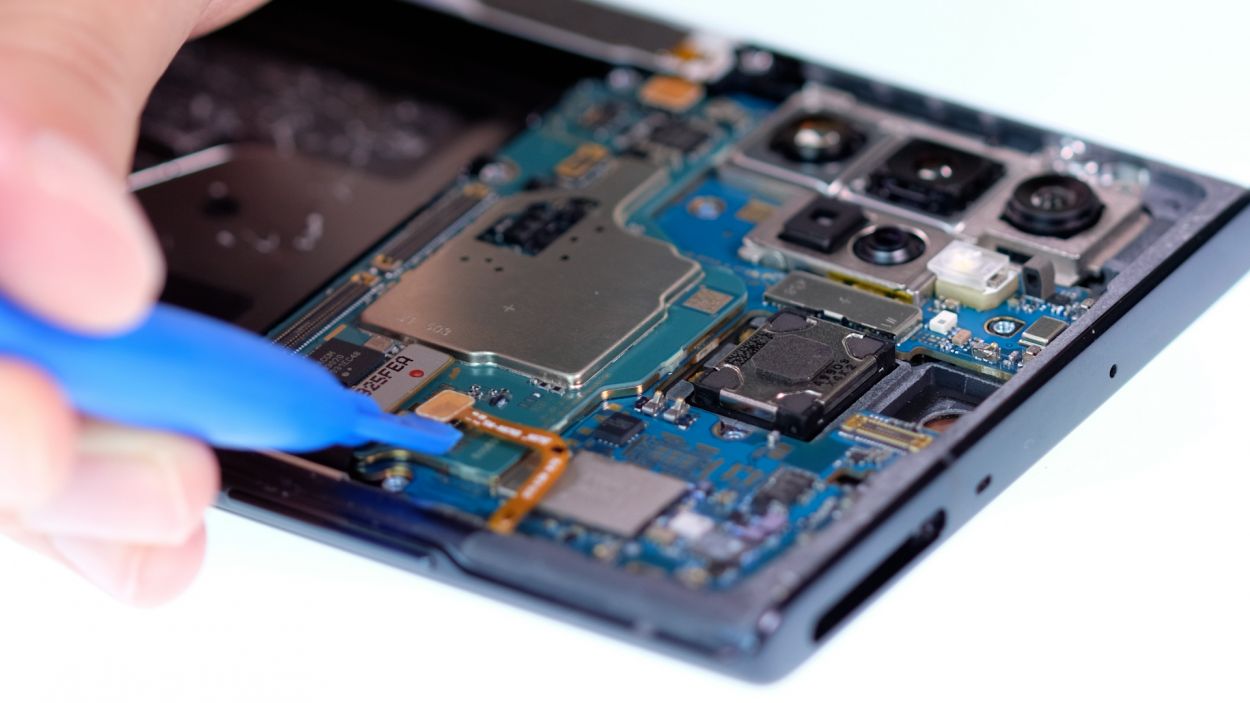
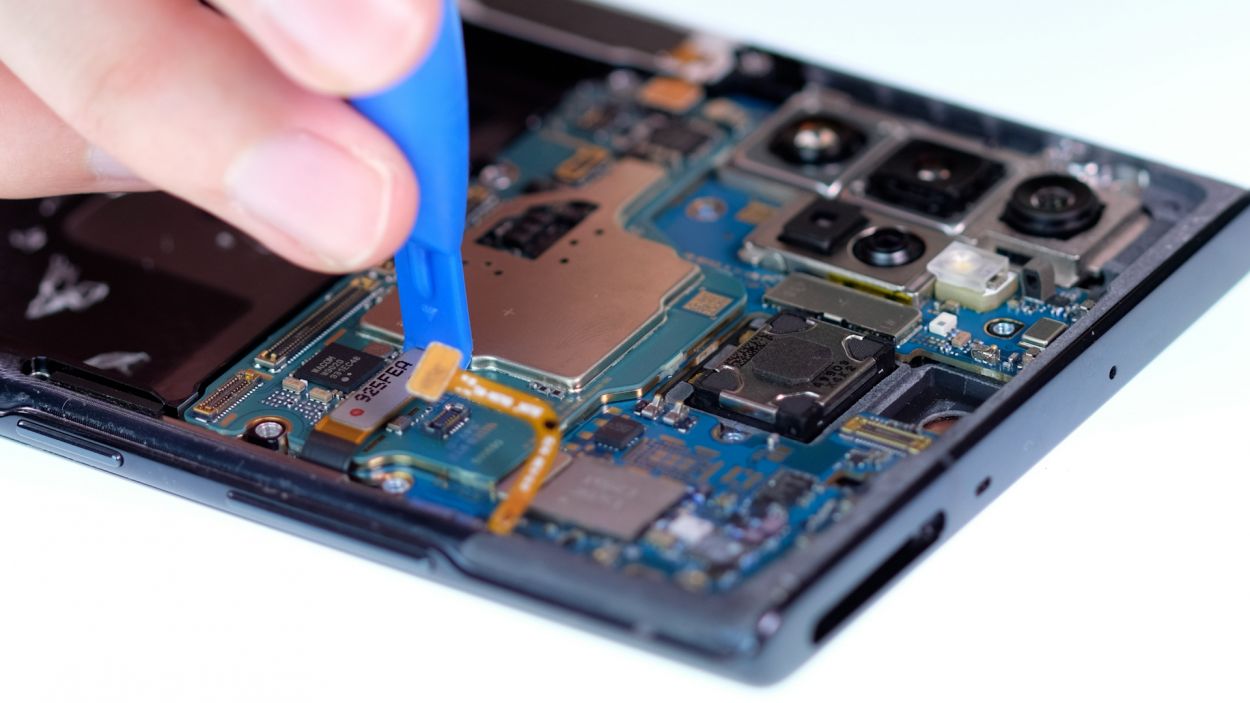
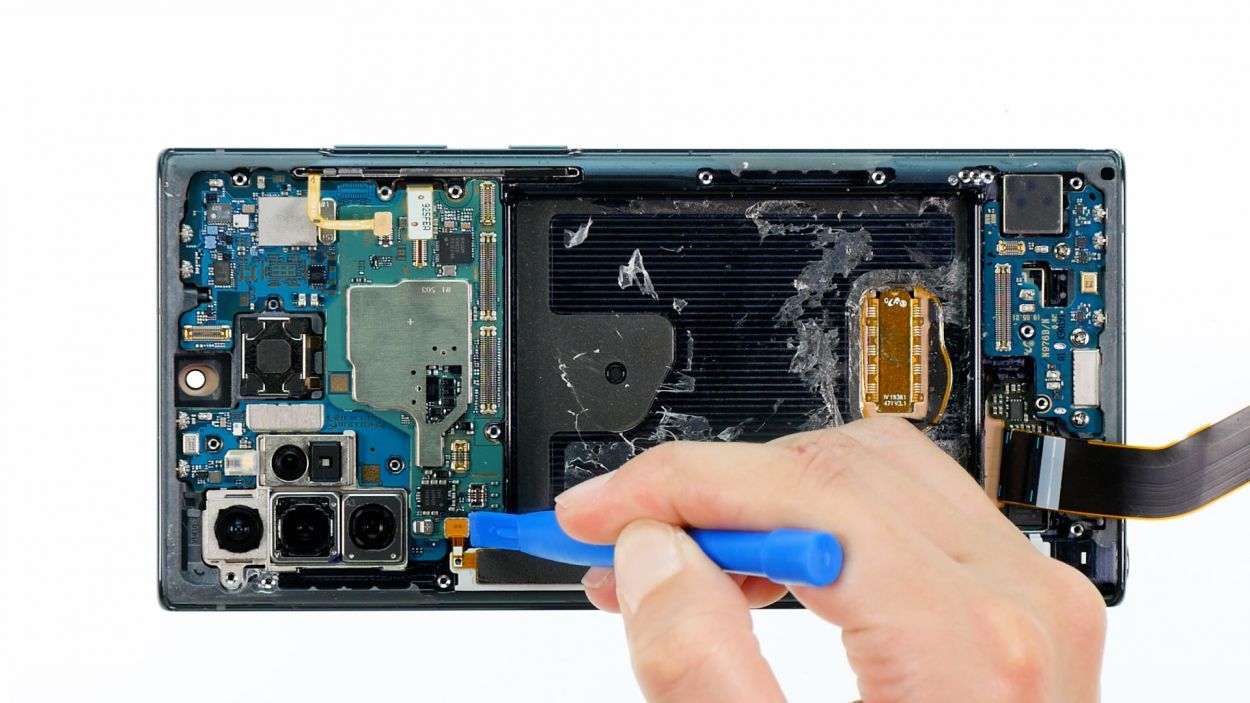
When you’re ready to detach the battery connector, kick things off from the side without the tiny components hanging around. This little move will help keep everything safe and sound!
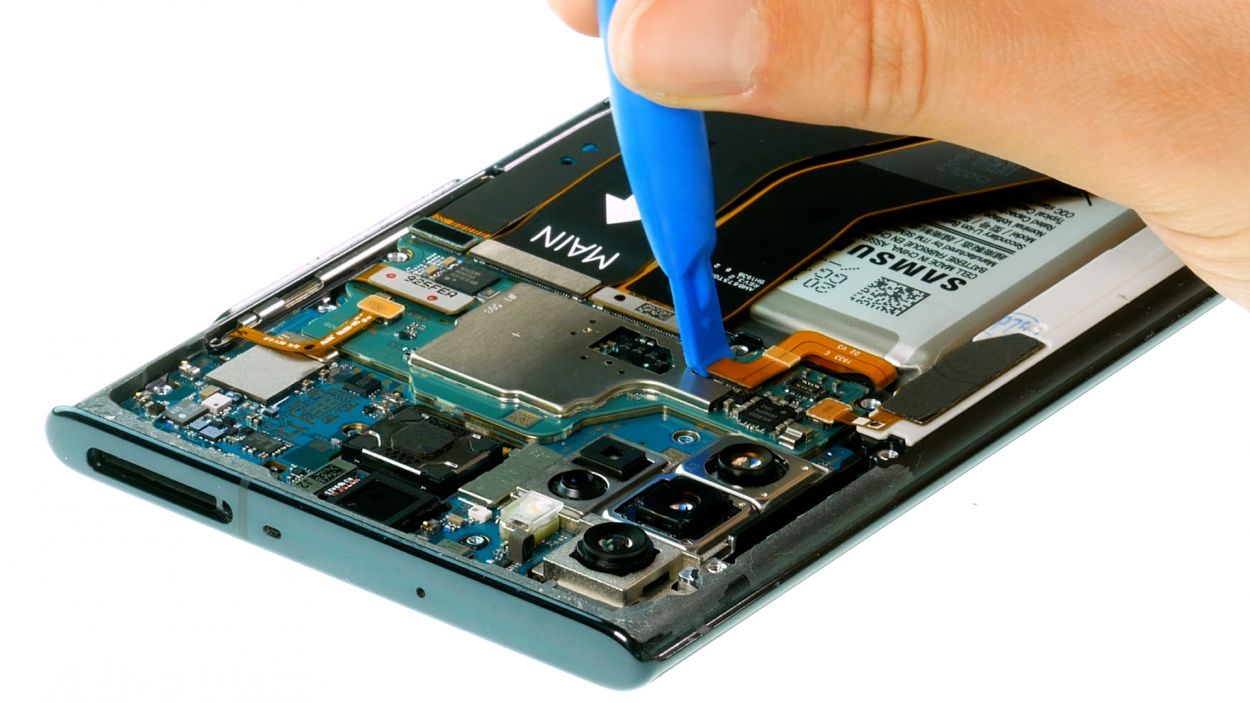
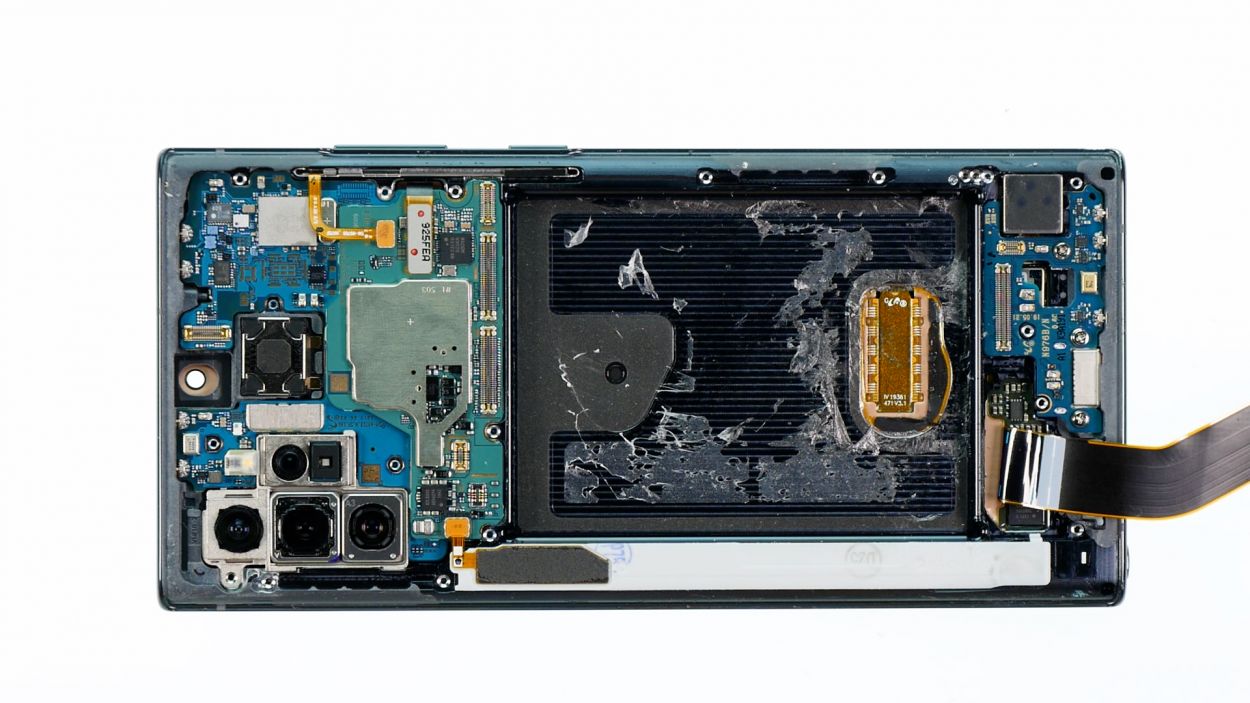
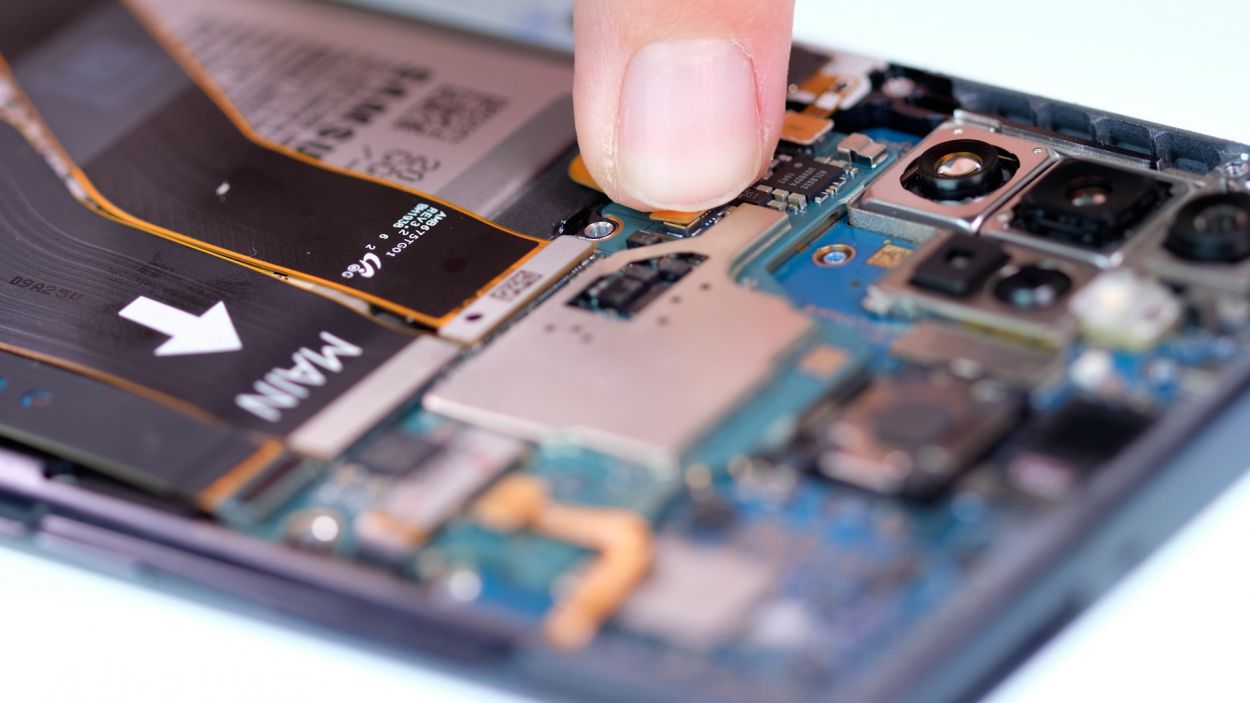
– Use the plastic spudger to slide under the battery connector and carefully lift it off the mainboard.
Tools Used
Step 8
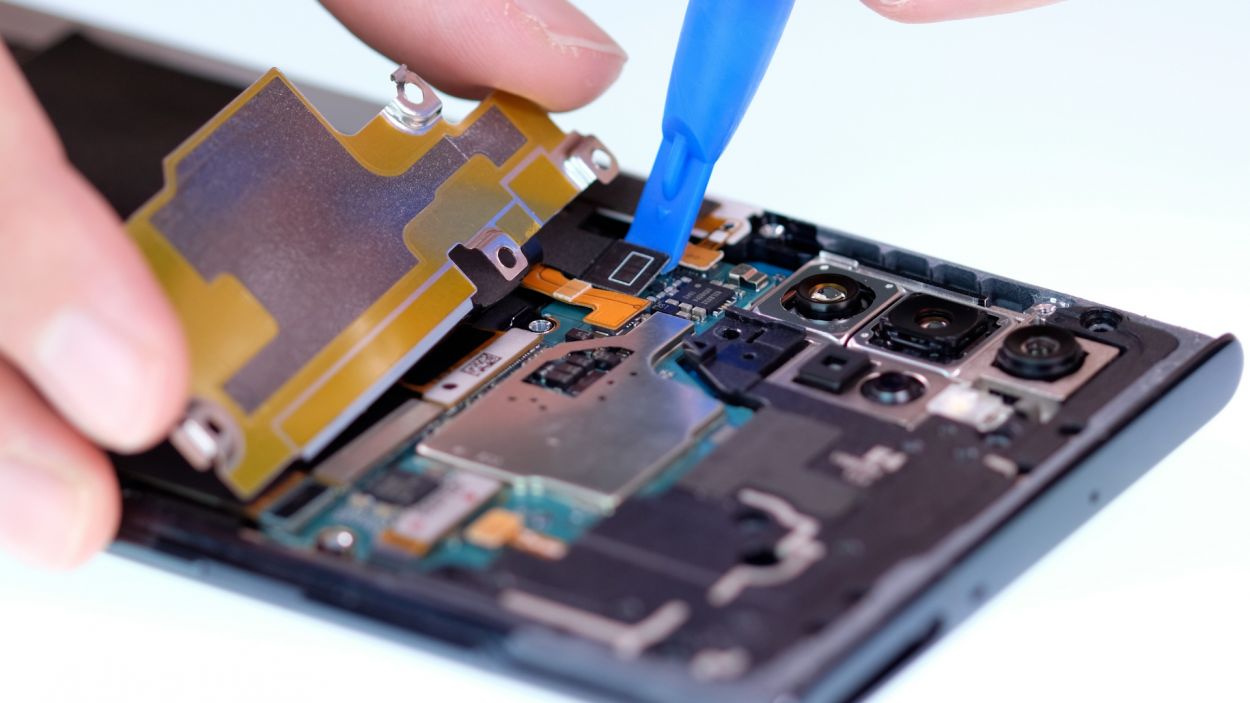
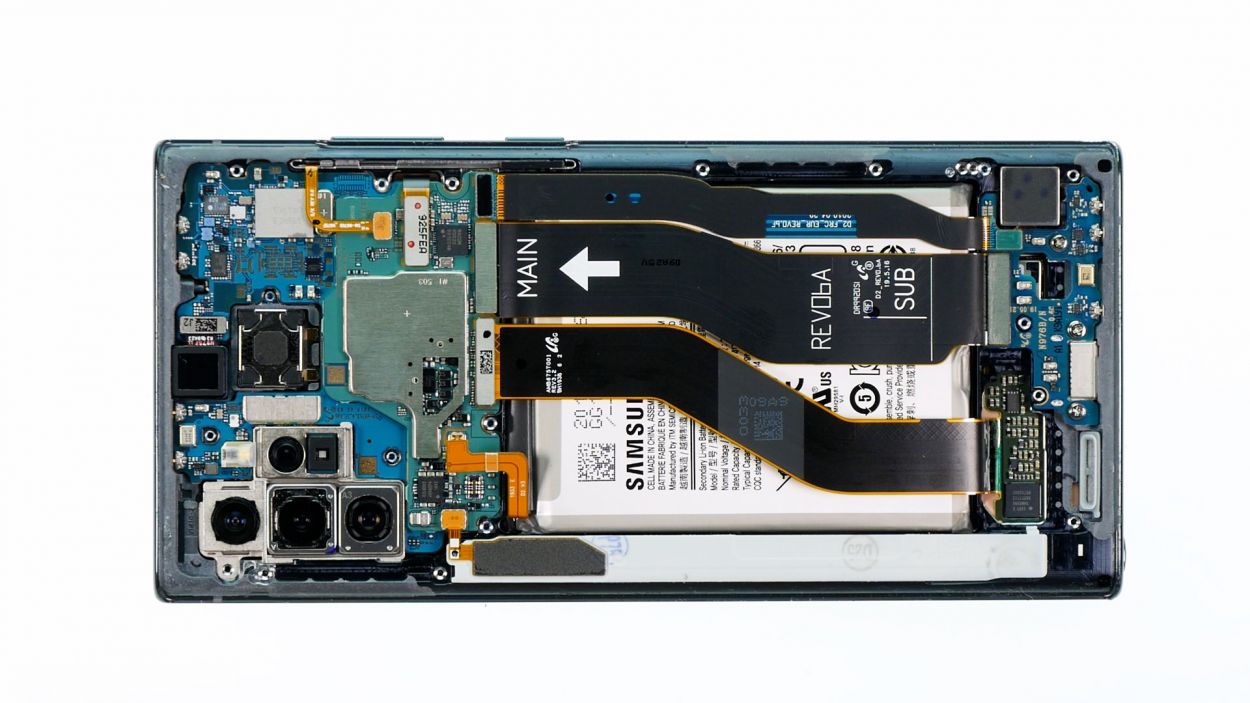
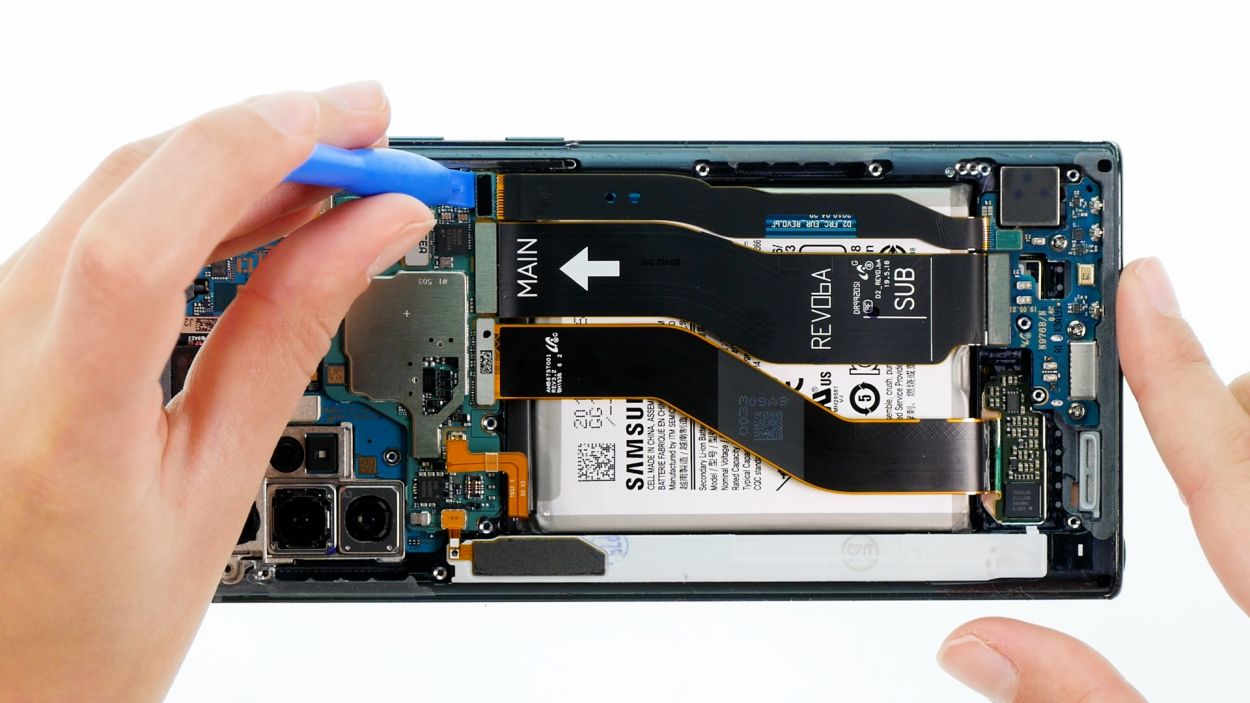
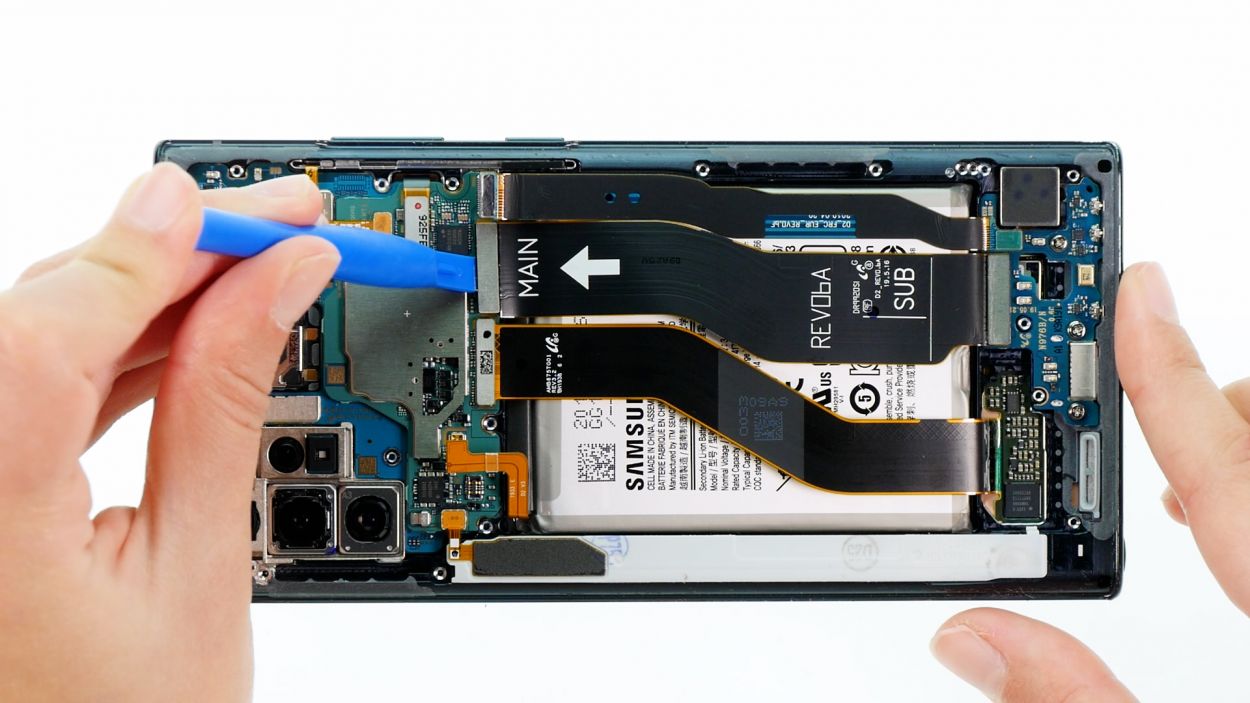
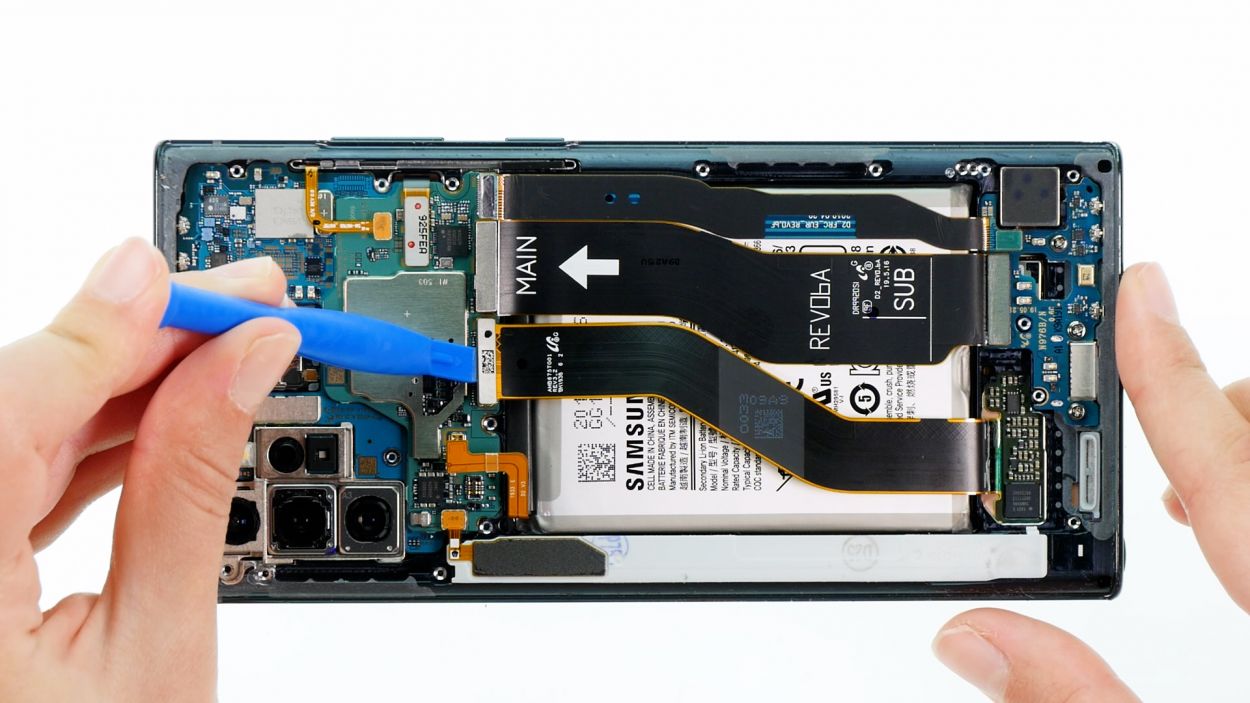
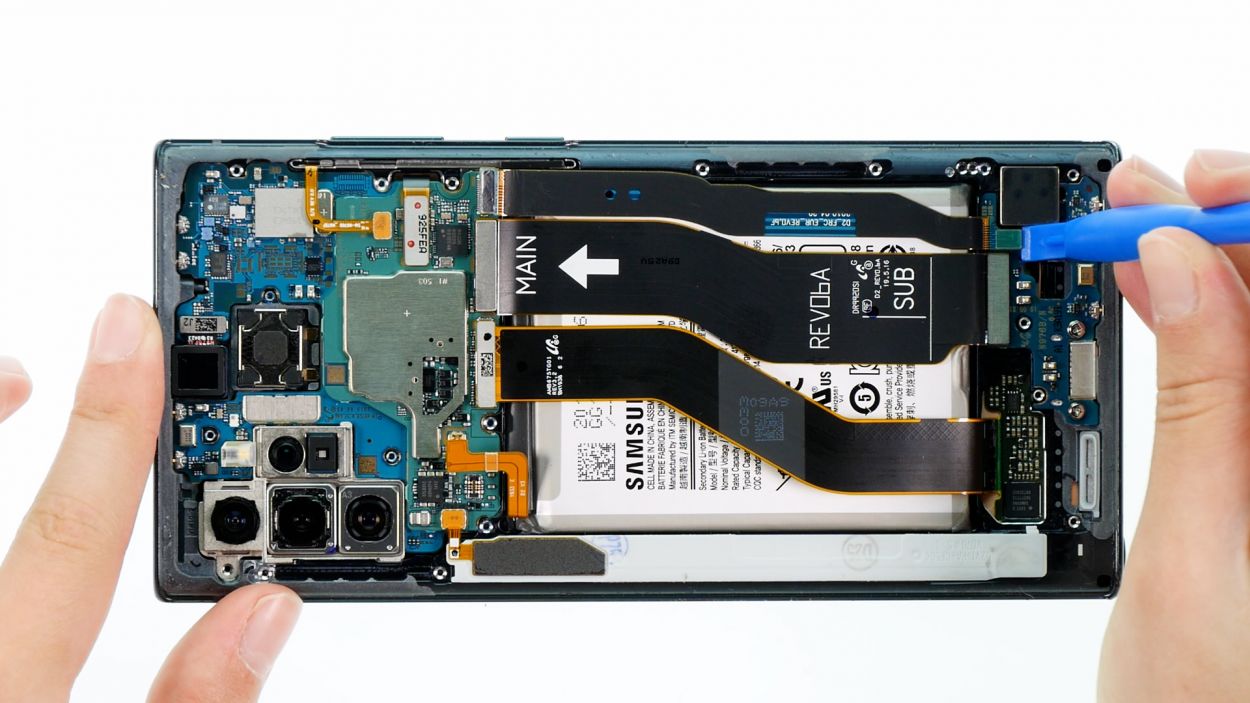
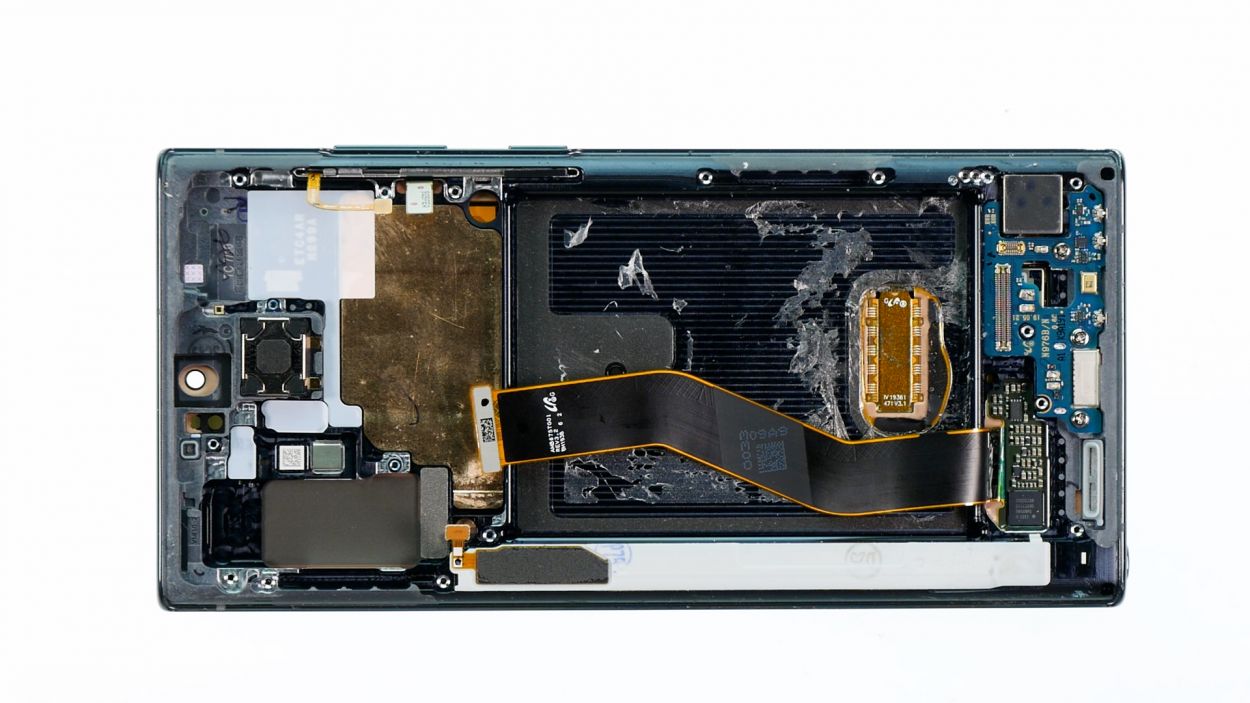
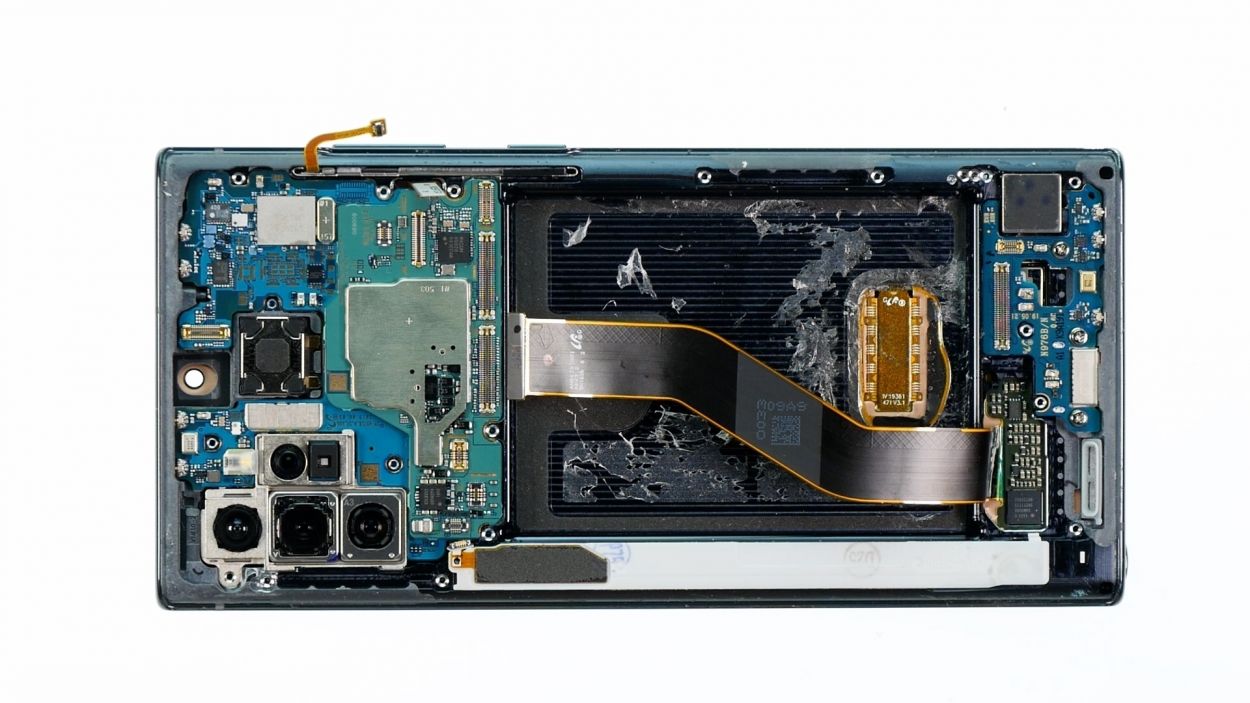
– Gently slide the spudger beneath each flex cable connector, one at a time, and carefully lift them away from the mainboard and USB board. You’ve got this!
When you’re disconnecting those flex cables, remember to gently slide the spudger in from the sides where there aren’t any tiny components hanging out. This little tip helps you steer clear of any accidental damage. Keep it smooth and safe!
Tools Used
Step 9
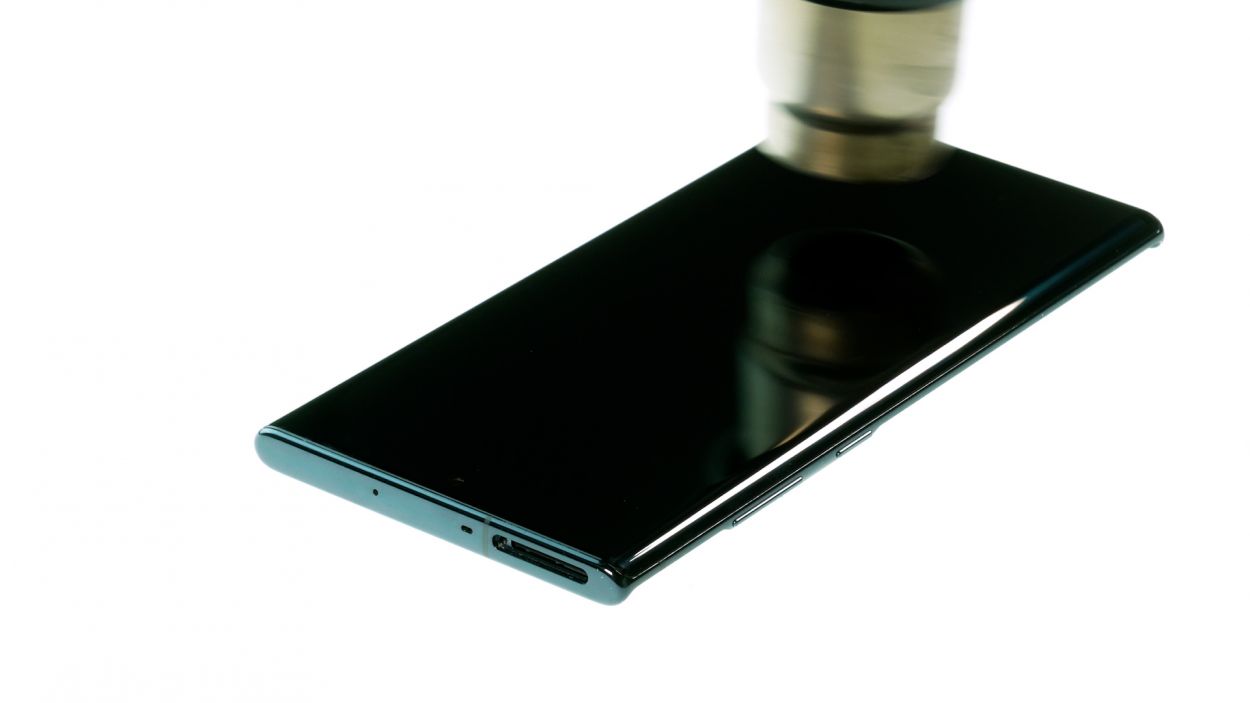
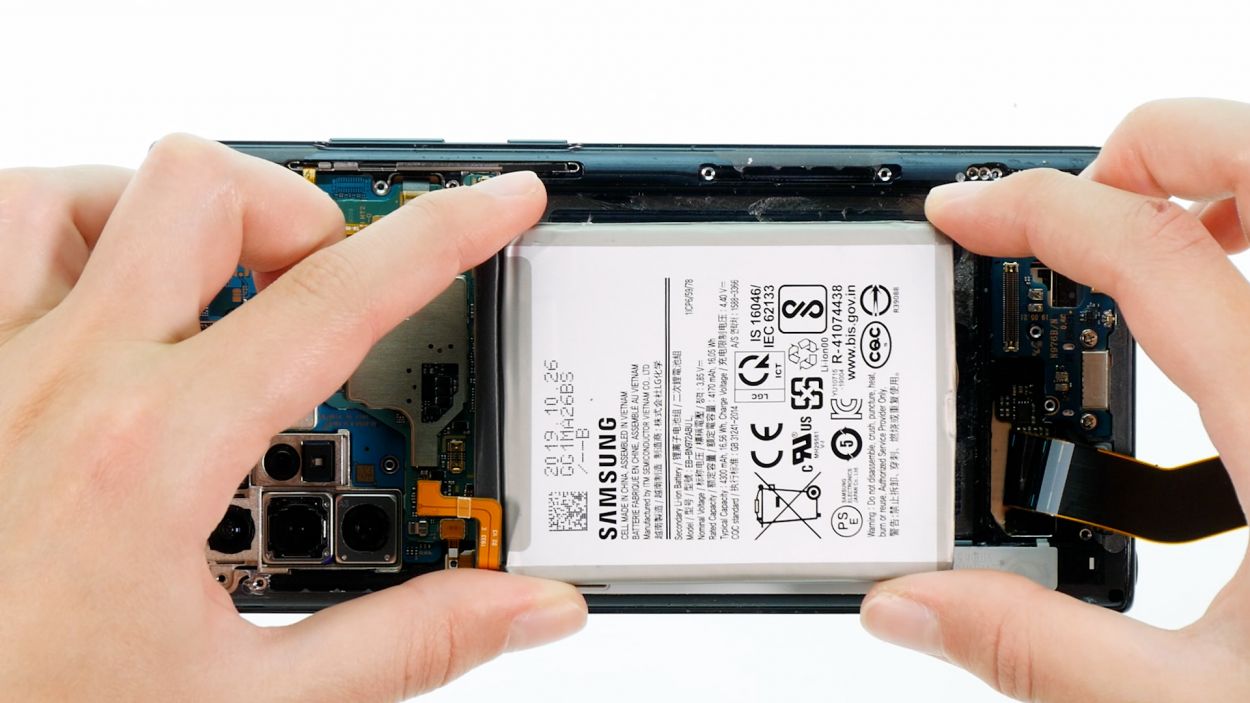
– Flip your phone screen-side up and gently warm the battery area with hot air. Think of it as giving your battery a nice, toasty spa treatment!
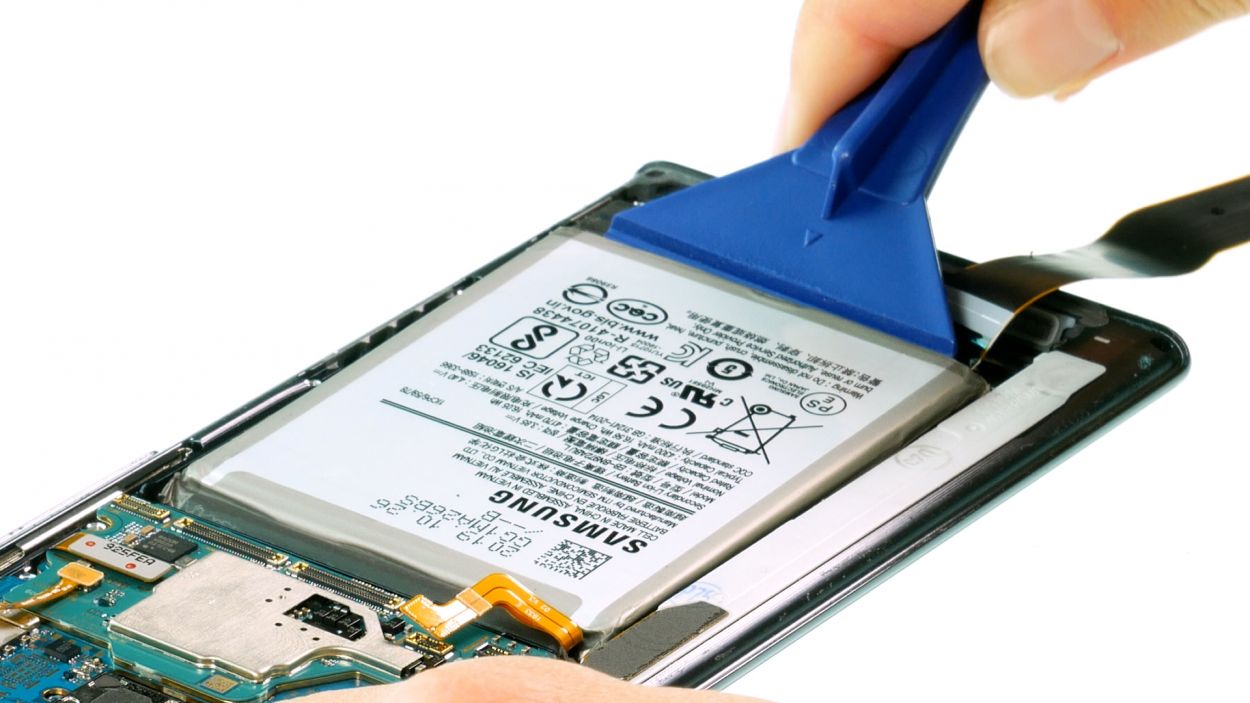
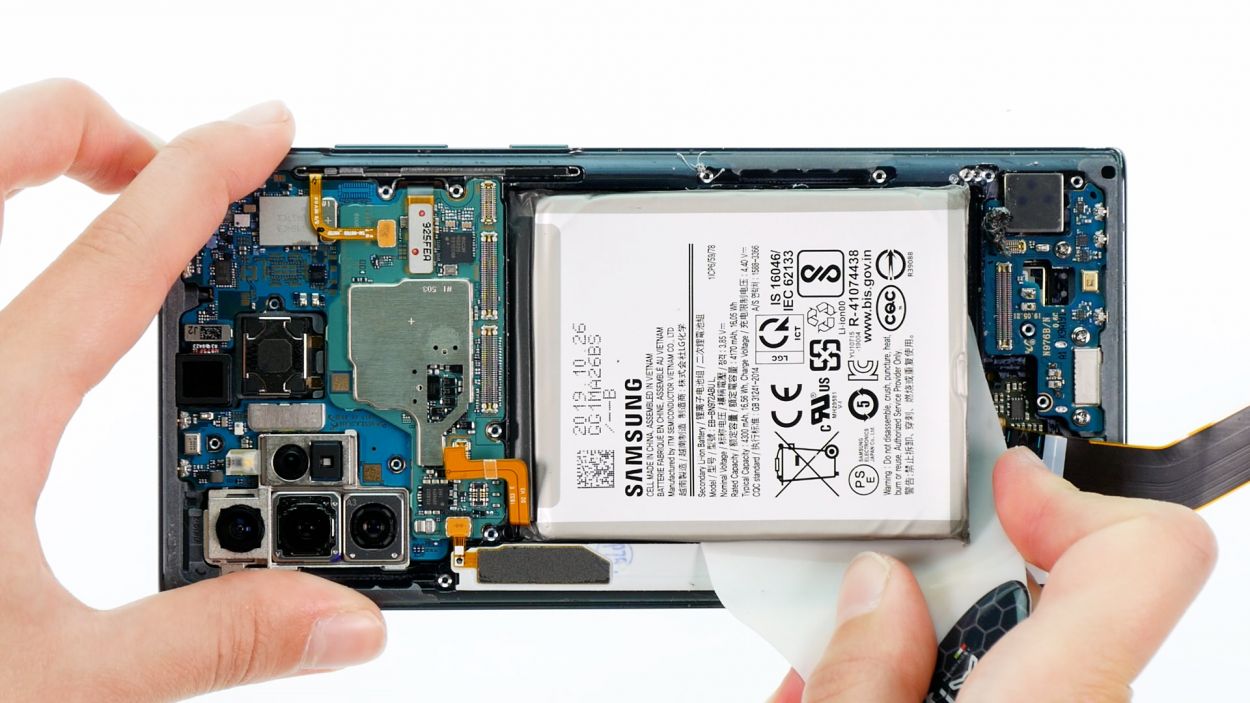
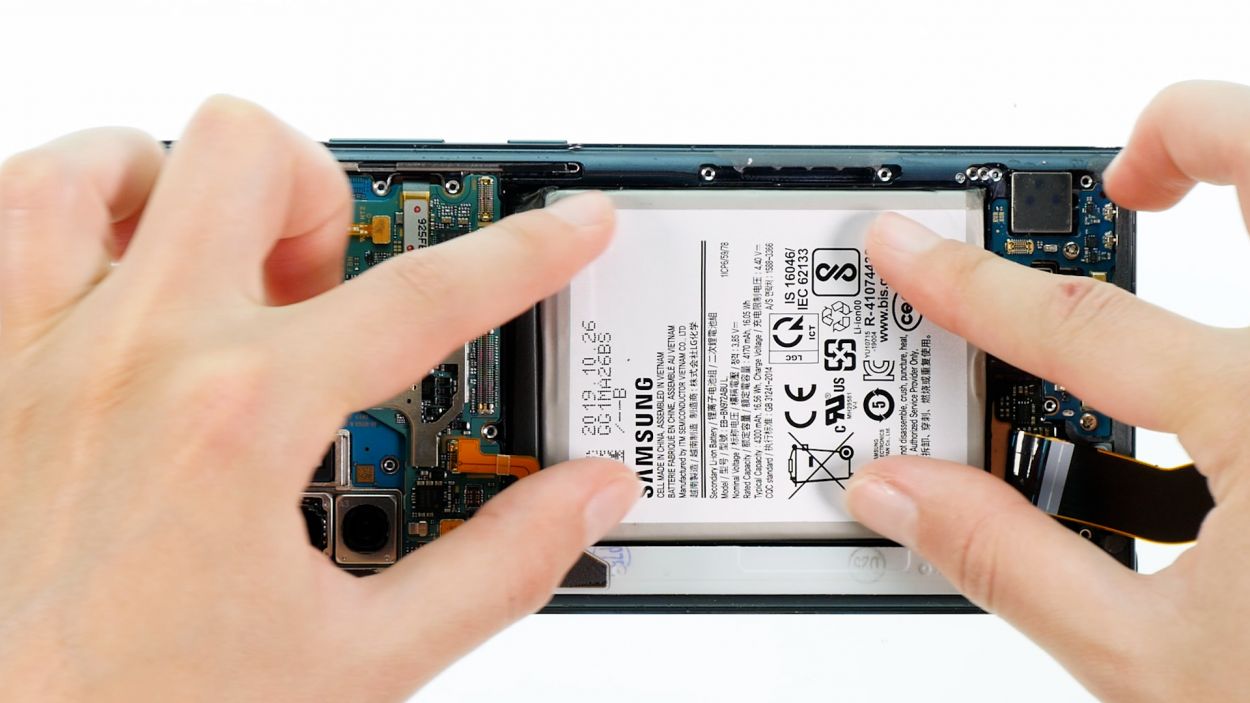
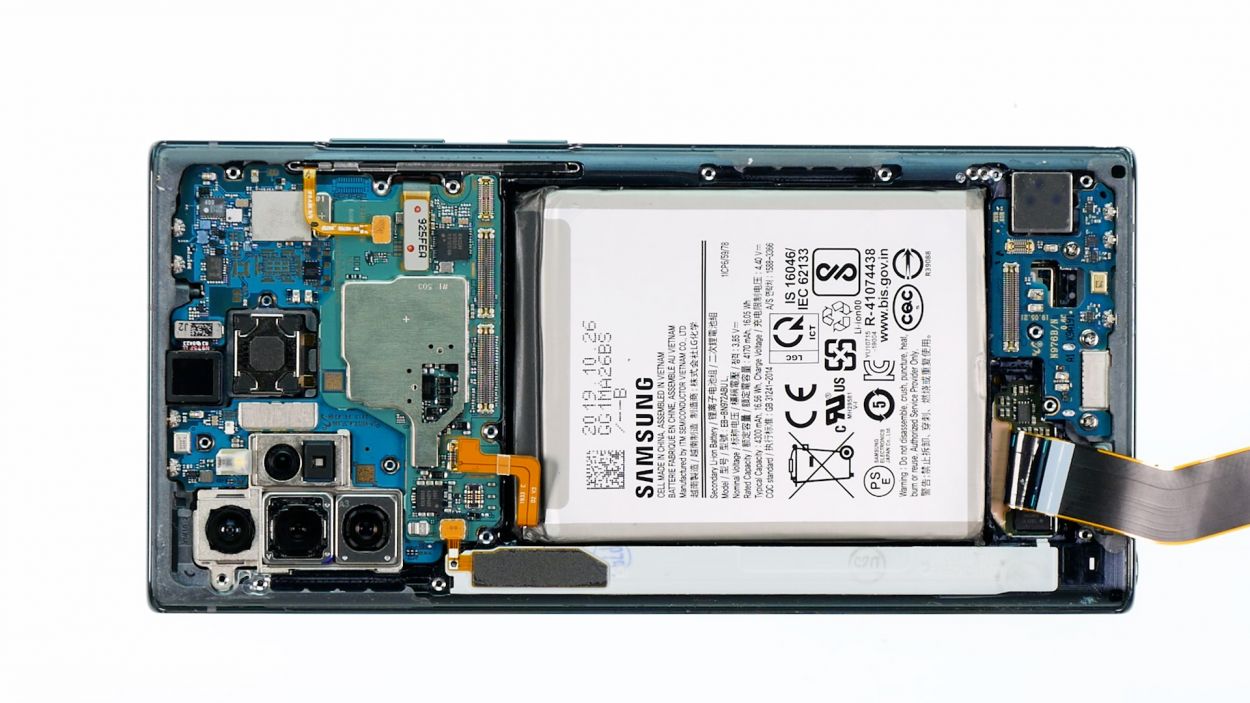
– Now flip it back over and carefully slide a sturdy plastic tool (like our trusty battery spudger!) under one edge of the battery. Gently lift – we’re not trying to win a tug-of-war here!
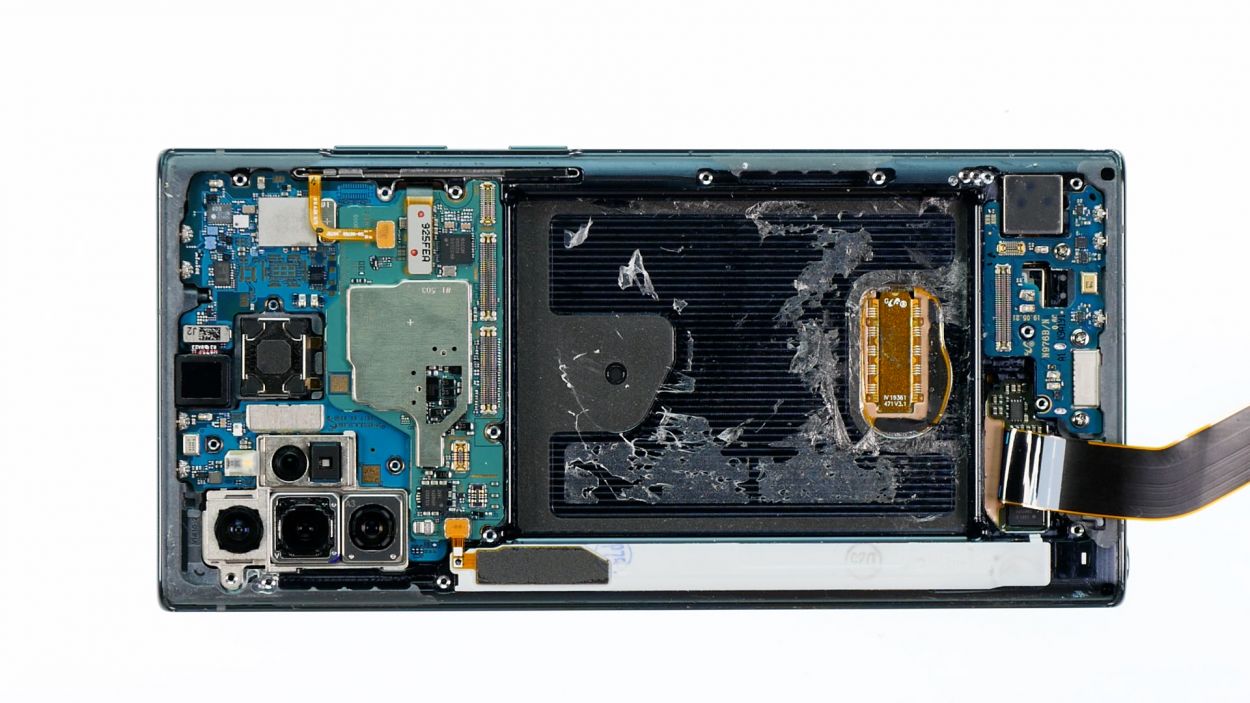
– If the battery’s feeling a little stubborn, use a flat, flexible tool (an iPlastix works great!) to slide it under and completely free the battery. Almost there!
Tools Used
- heat gun to heat parts that are glued on so they’re easier to remove.
In most cases, you can also use a hairdryer.” rel=”noopener”>Heat gun - iFlex Opening Tool
- Battery Spudger
Step 10
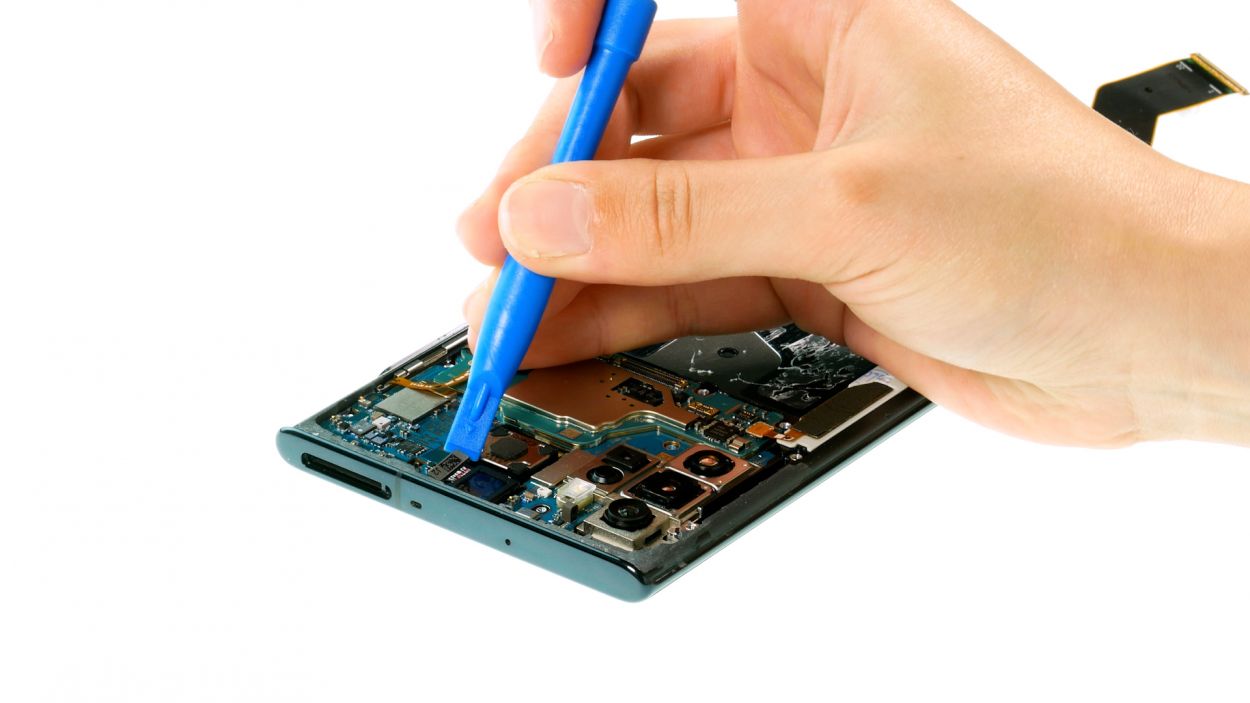
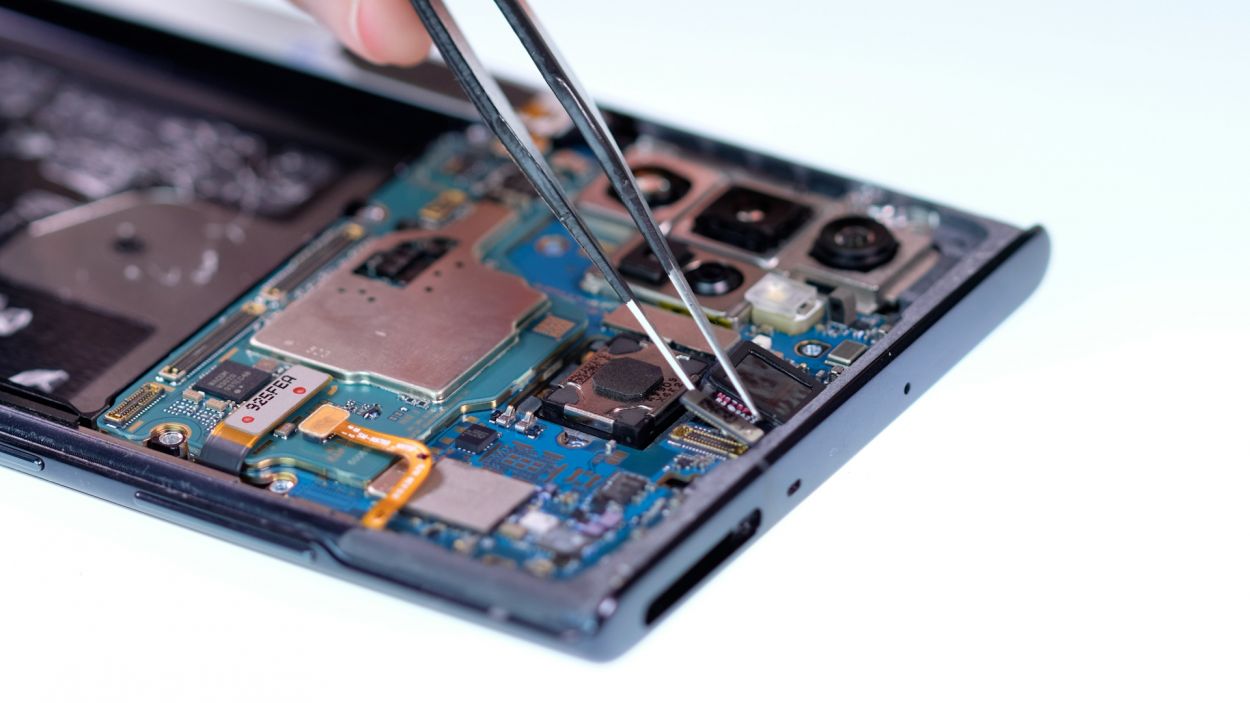
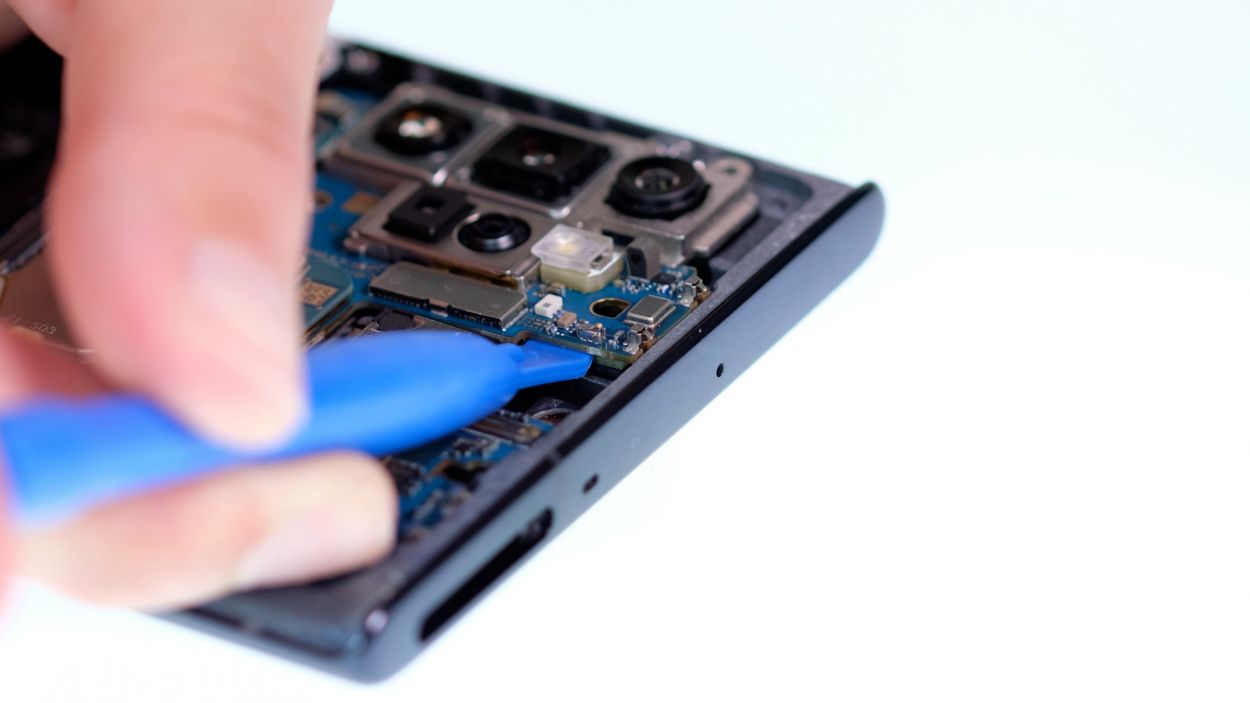
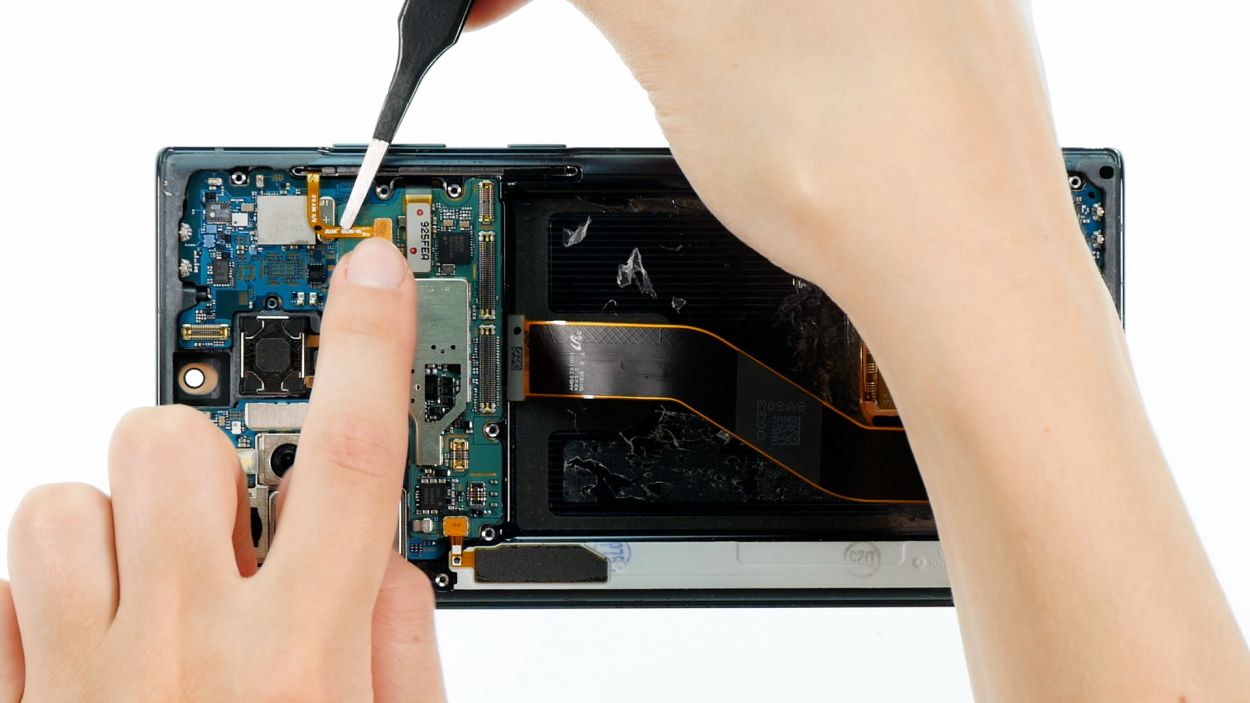
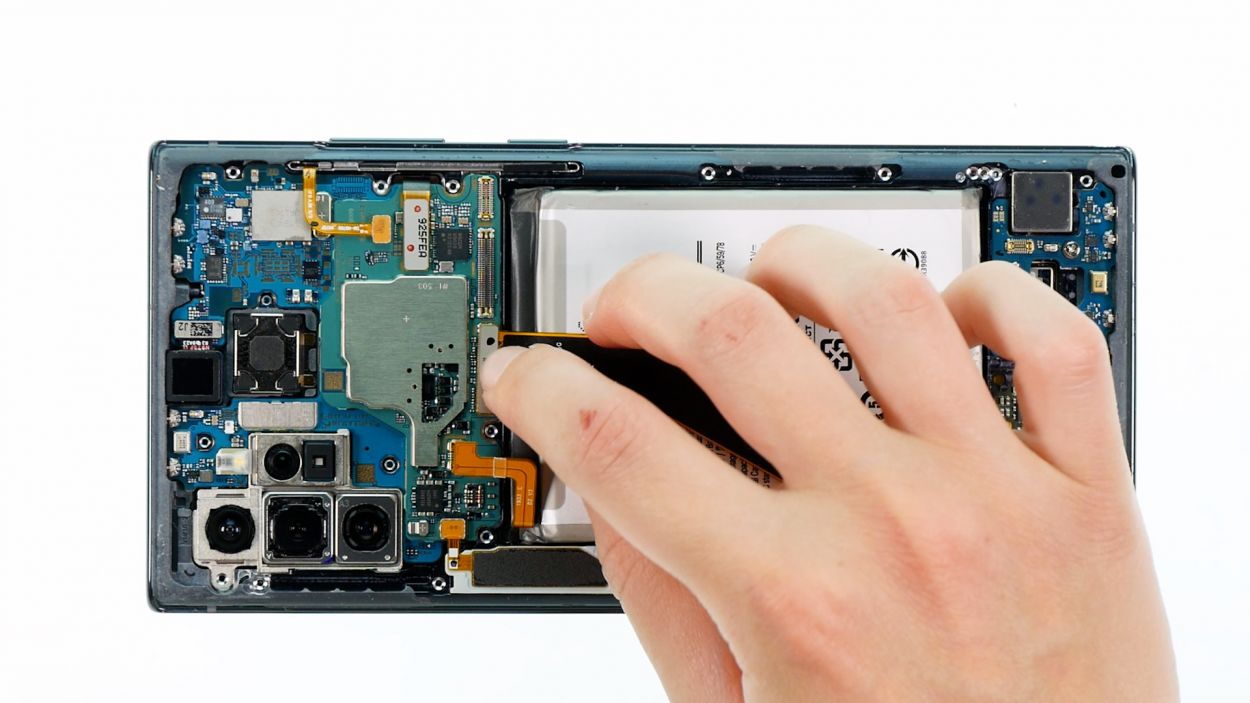
– Gently pry the front camera connector away from the board—think of it as giving it a little nudge.
– Next, use your trusty tweezers or fingers to lift the camera out of its snug little home.
Tools Used
Step 11
When you’re ready to detach those connectors, remember to kick things off from the side that’s free of tiny components on the board. This little tip helps you steer clear of any accidental mishaps. You’ve got this!
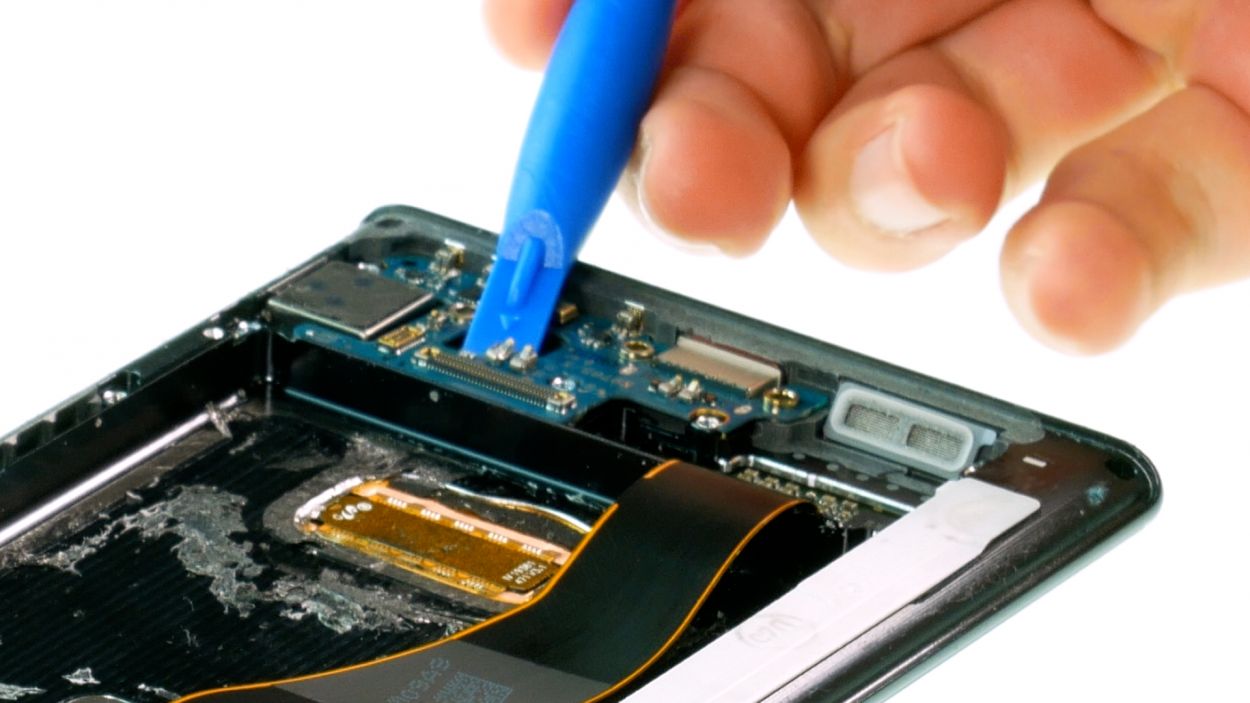
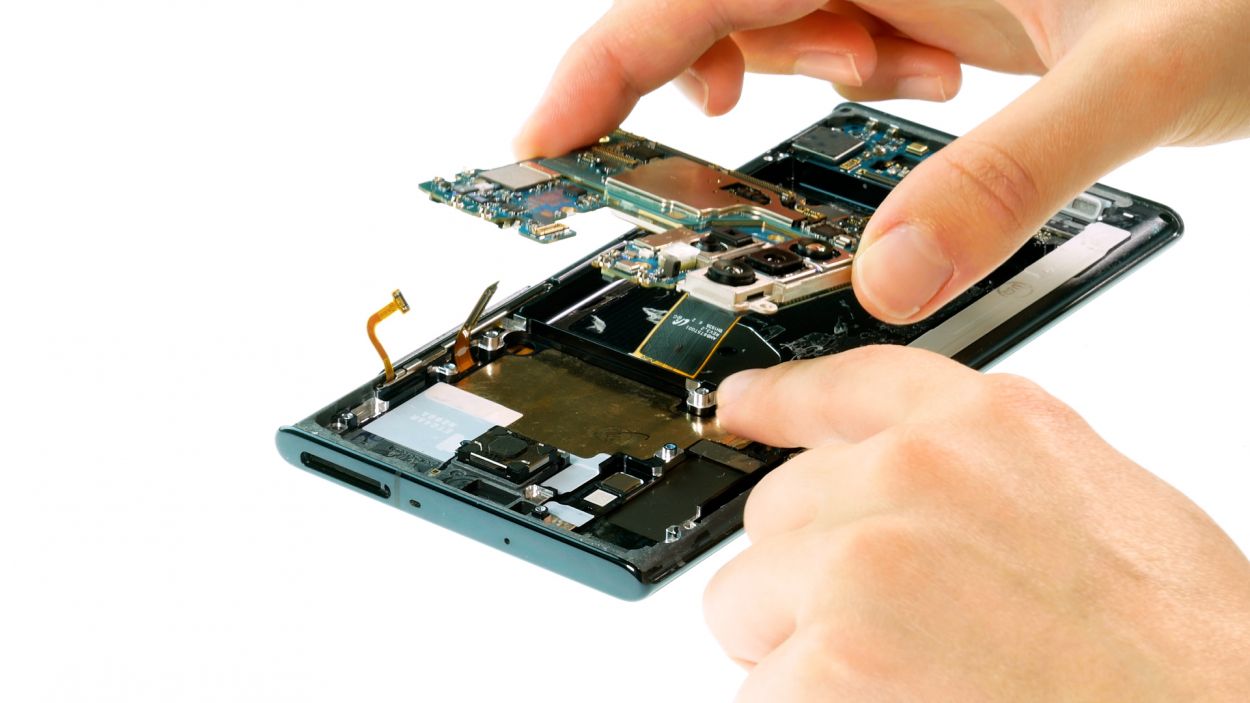
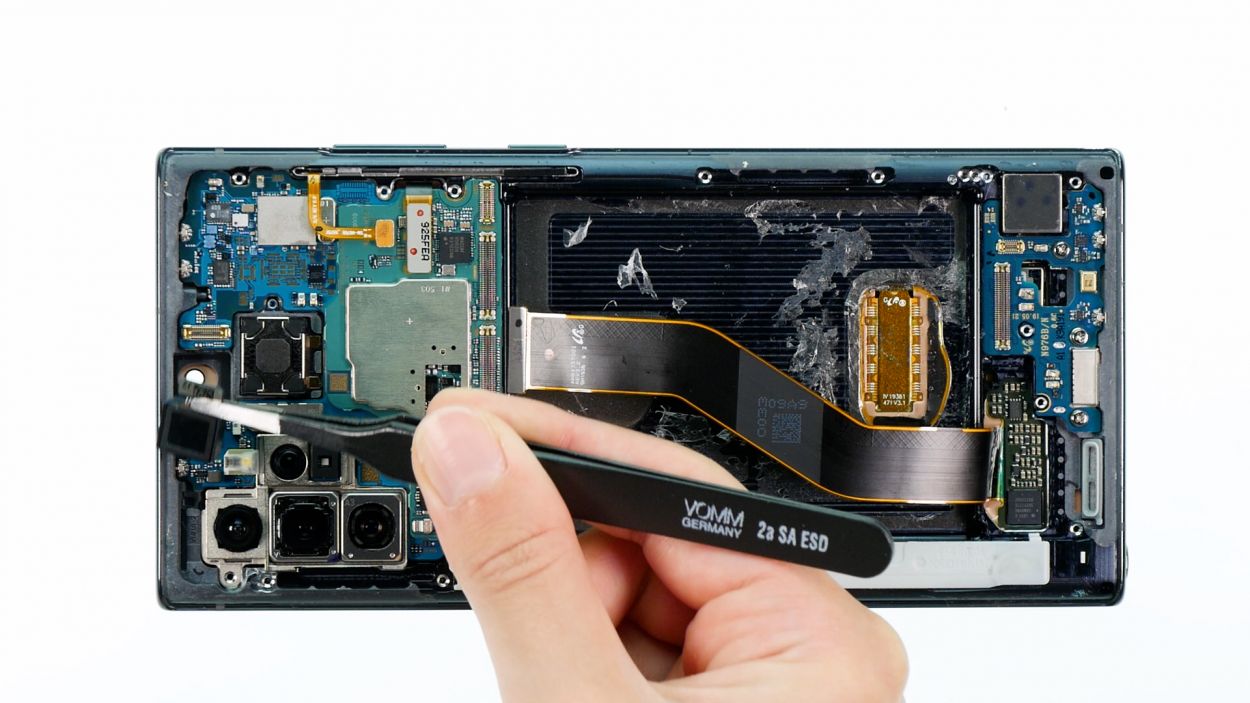
– Gently detach the connectors by lifting them off the board with a spudger. You’ve got this!
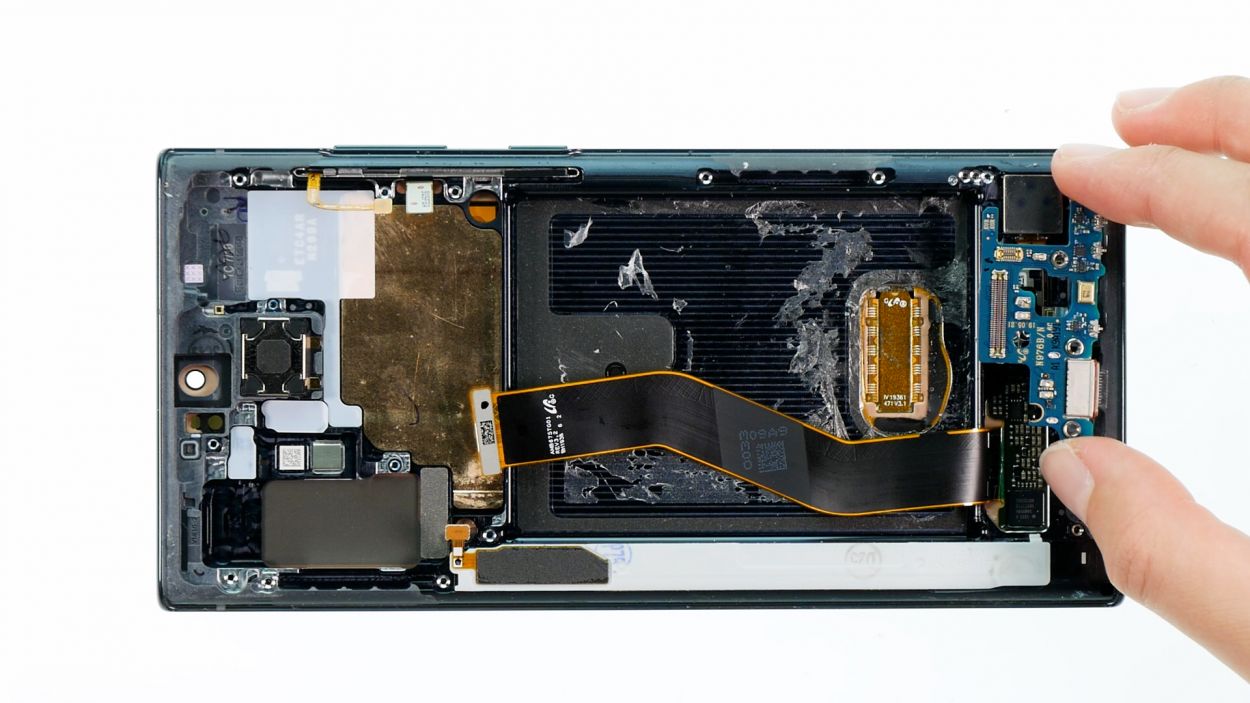
– Next, just use your fingers to lift the board out. Easy peasy!
Tools Used
Step 12
3 × 3.7 mm Phillips
Look for the tiny notch on the edge of the USB board; it’s your trusty guide for getting your tool in the right spot. You’ve got this!
– First, grab your trusty Phillips screwdriver and unscrew those 3 little screws. You’ve got this!
– Next, gently pry the board out of the display unit. Take your time and be careful, we want to keep everything in one piece!
Step 13
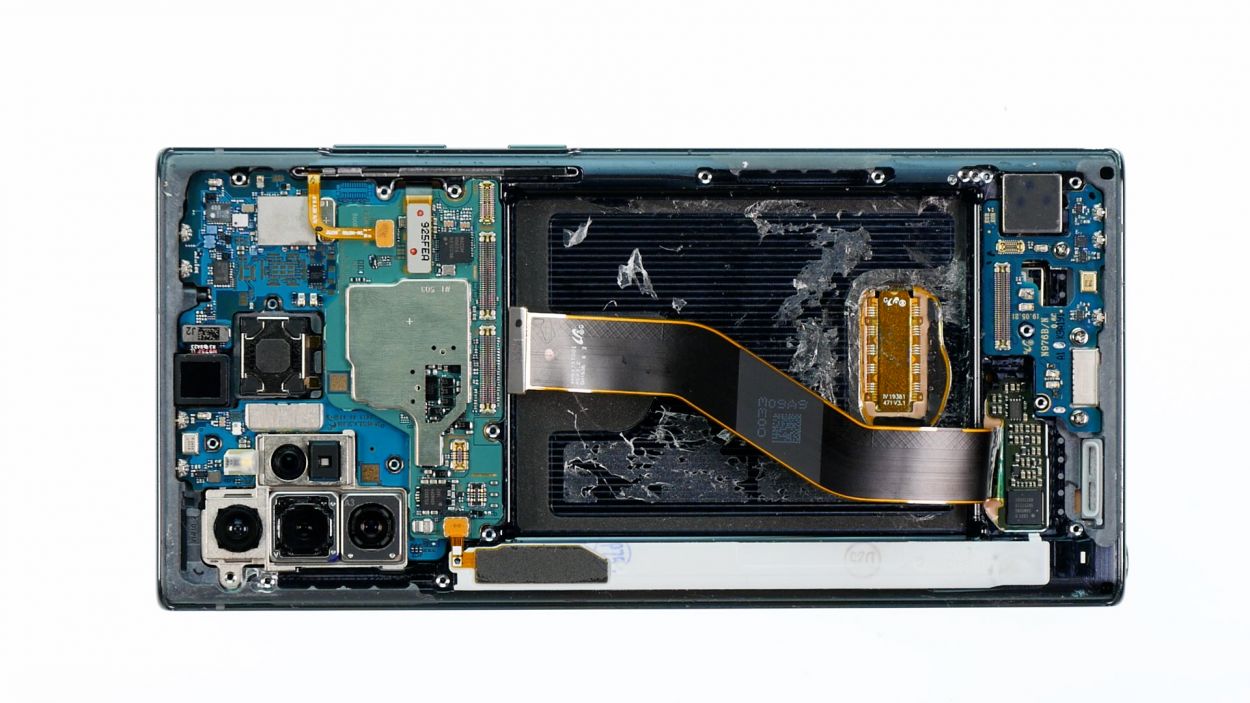
– Start by peeling away all those protective foils and seals from your shiny new screen. It’s like unwrapping a present, but better!
– Next up, hold that replacement screen up to your old one and do a little comparison dance. Check if any tiny components need to be transferred over. You got this!
Tools Used
Step 14
3 × 3.7 mm Phillips
– First up, gently place the USB board back where it belongs and give it a nice little press to secure it.
– Next, grab those three Phillips screws and tighten them up to keep everything snug and secure.
Tools Used
Step 15
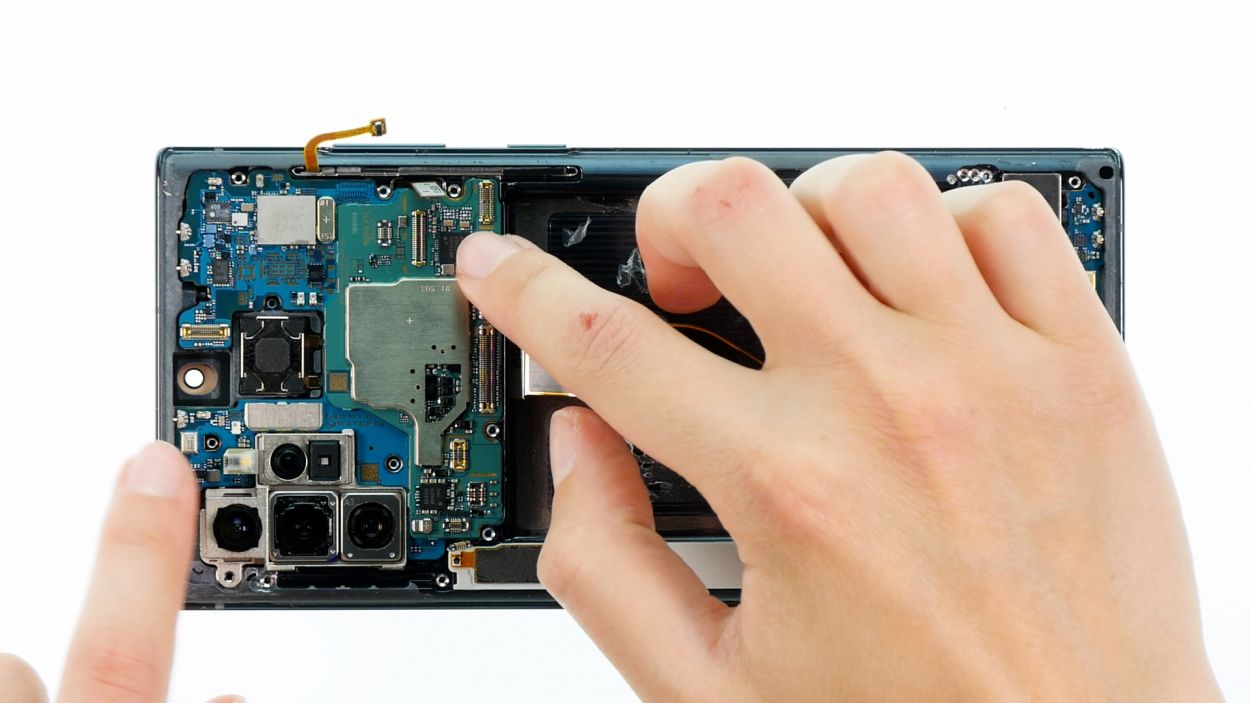
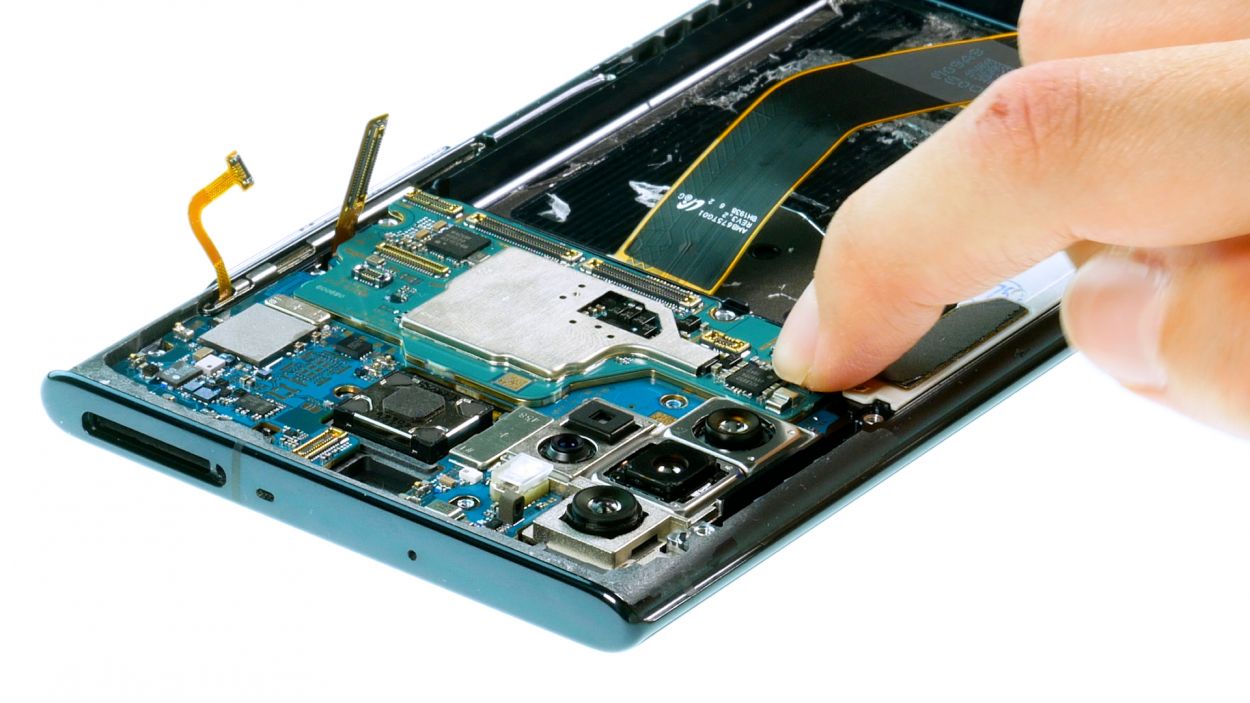
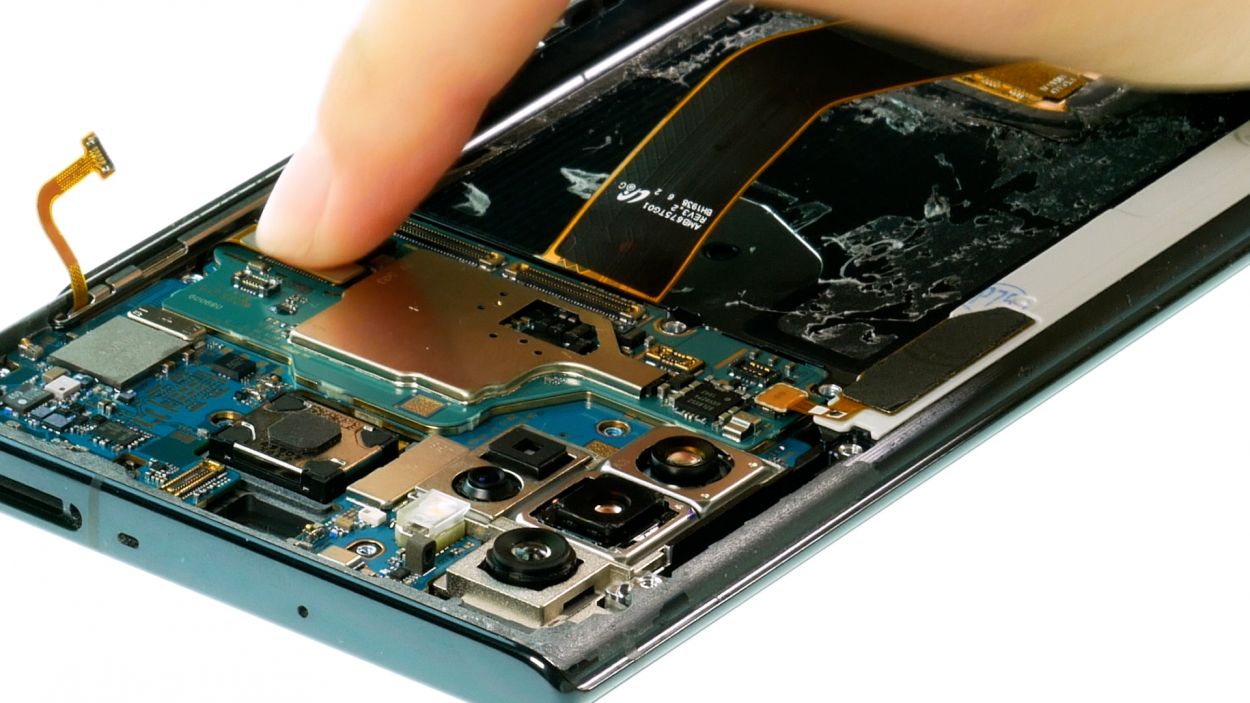
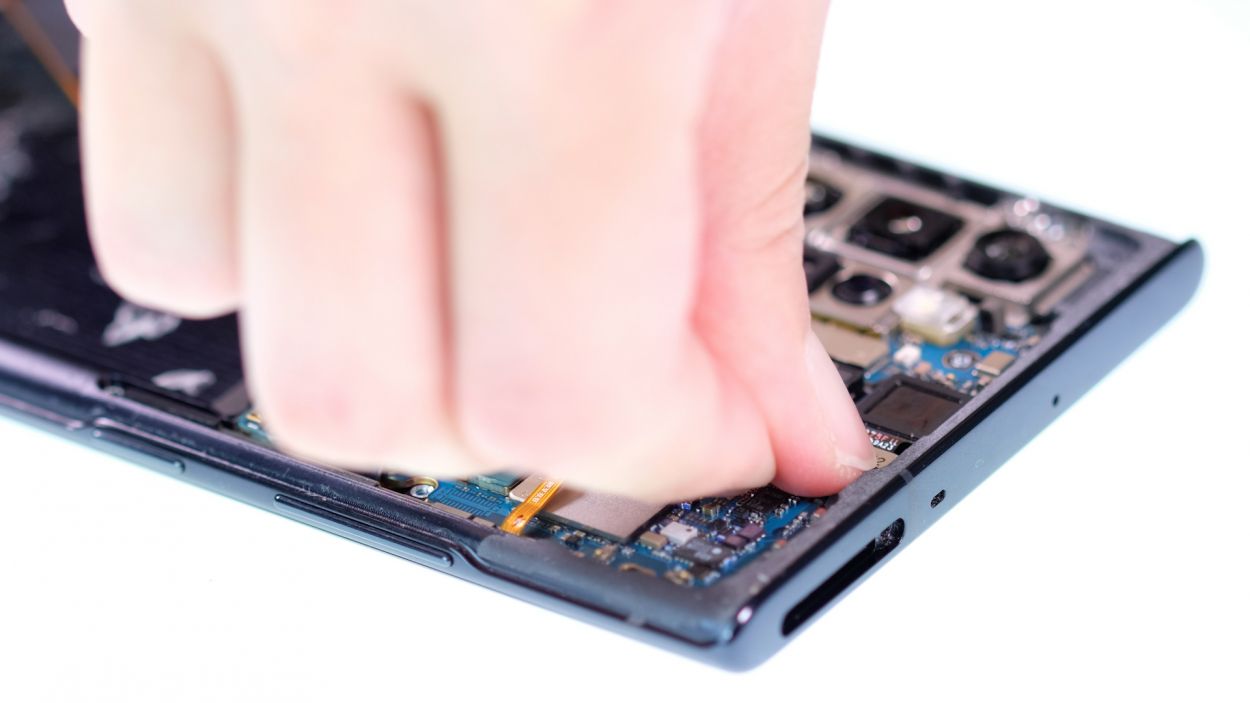
Be super careful not to pinch any connectors while sliding in the motherboard! The S Pen connector on the left side sticks out a bit and is a sneaky little guy that can easily get pinched.
– Carefully place the mainboard in position and give it a nice, firm press to secure it in place.
Step 16
Hey there! Remember, connectors are like delicate flowers—handle them with care! Forcing them can cause a whole component to go kaput. If you need help, you can always schedule a repair.
– Gently slide the front camera back into its cozy little spot, ensuring it sits just right.
Tools Used
Step 17
– If you find any pesky adhesive leftovers, it’s time to tidy up and stick on a fresh adhesive surface. We suggest considering our universal adhesive+strips+Galaxy+Note+10+&crid=1TJIMMAJSUJUZ&sprefix=repair+tools%2Caps%2C165&linkCode=ll2&tag=salvationrepa-20&linkId=c486487cf454ce8edd6f5beefab4110f&language=en_US&ref_=as_li_ss_tl’>adhesive strips to get the job done right!
Step 18
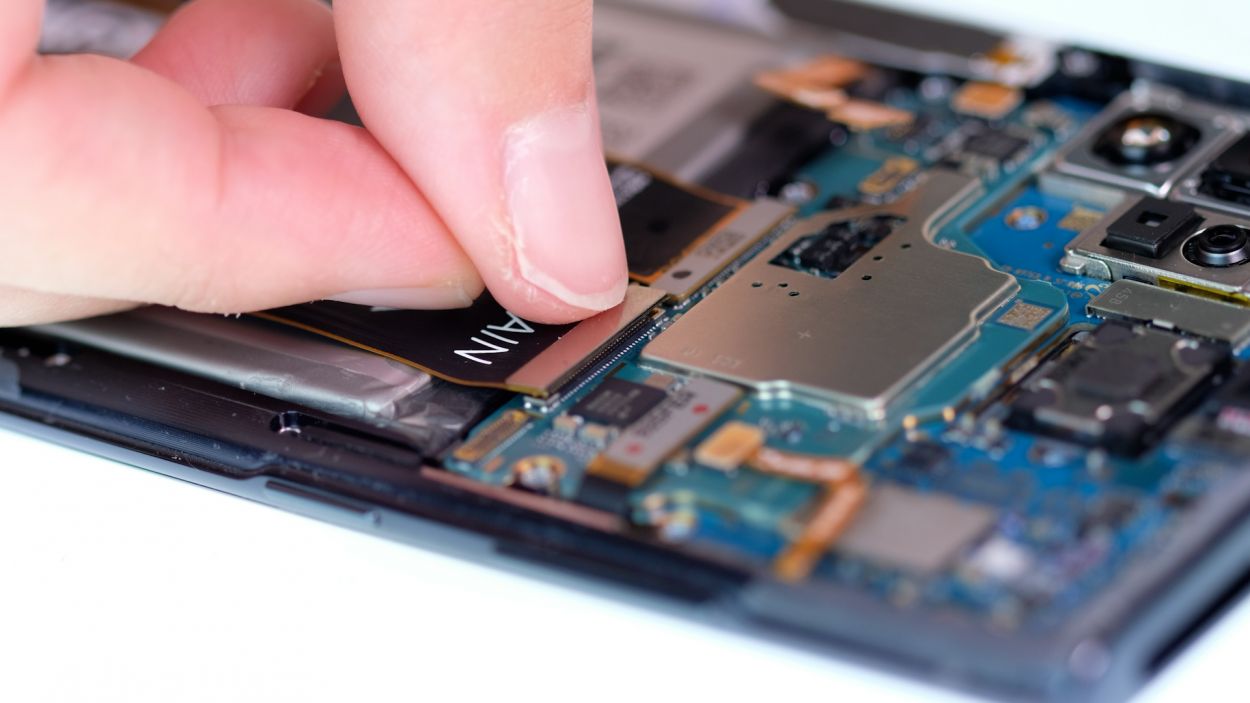
Hey there! Just a friendly reminder: don’t force those connectors together. Giving them a little push can lead to some serious damage and might ruin the whole component. So, let’s keep it gentle and smooth!
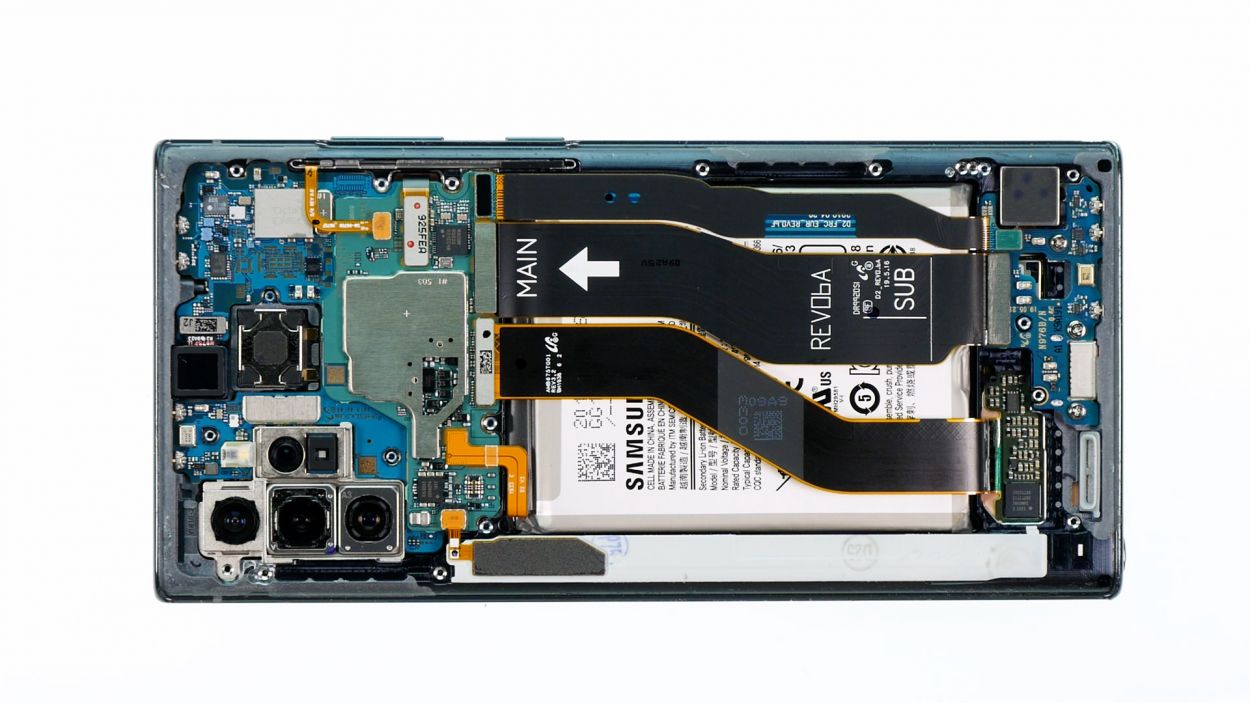
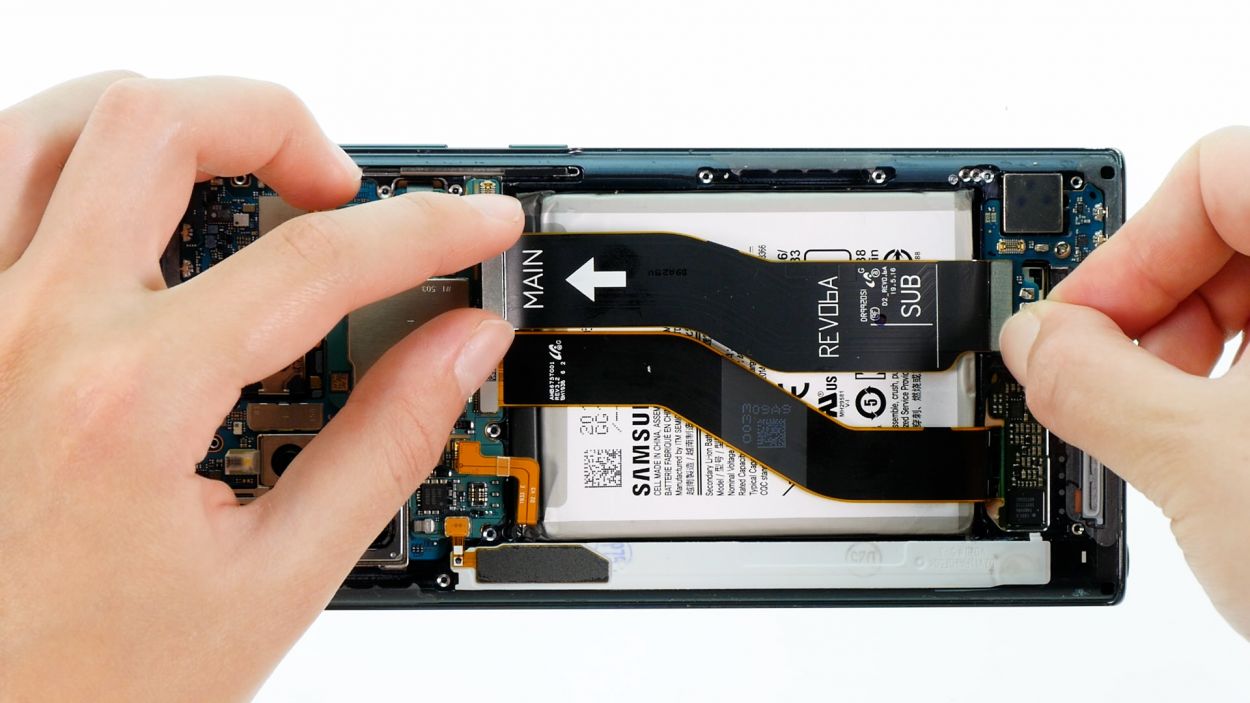
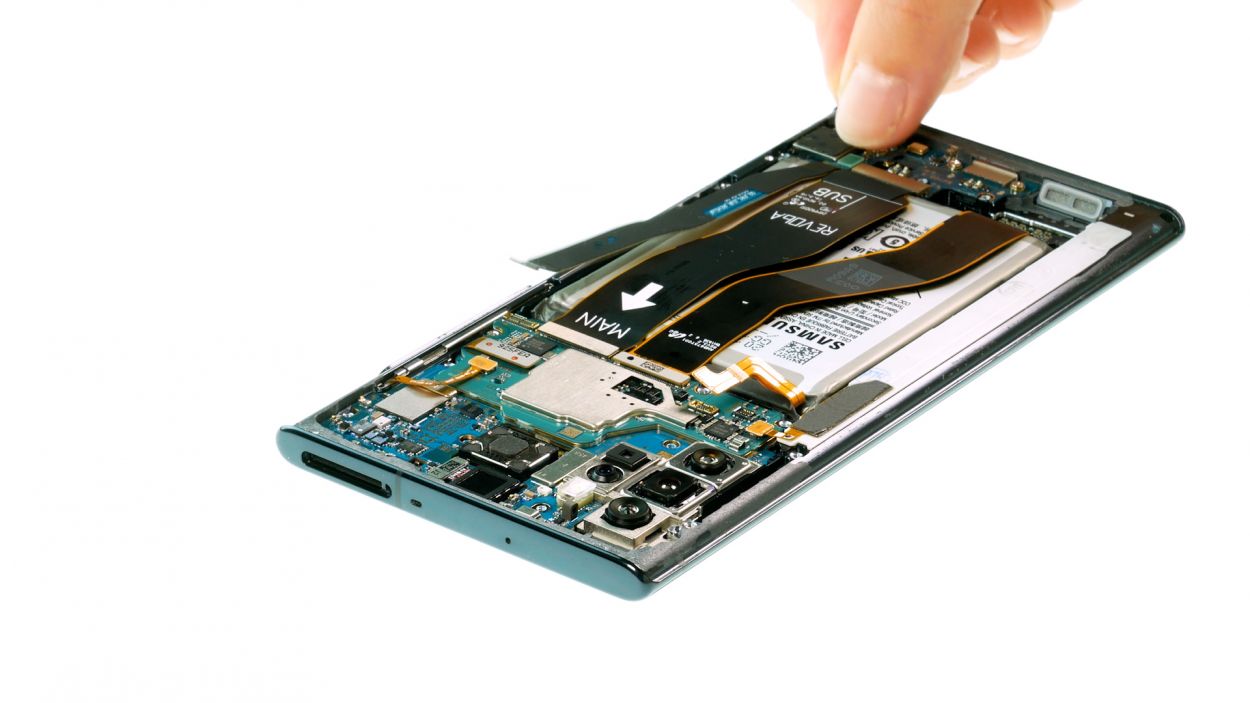
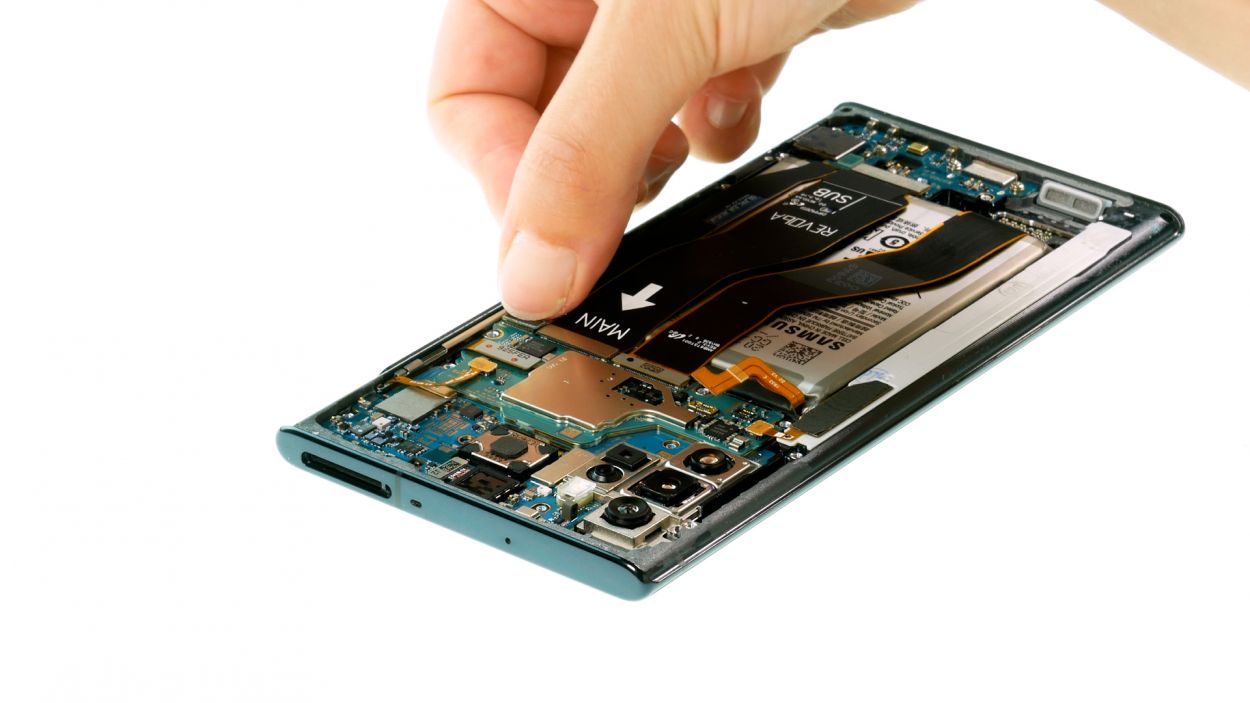
– Align the cables over the battery. In order to align them correctly refer to the labels on the cable and the connector positions.
Step 19
Hey there! Remember, when connecting those little guys, be gentle! Forcing a connector can spell trouble for the whole component. Take it easy and keep everything in tip-top shape! If you need help, you can always schedule a repair.
Step 20
Feel free to check out other parts too, like the vibration motor and speakers. They might just need a little love!
Step 21
14 × 4.0 mm Phillips
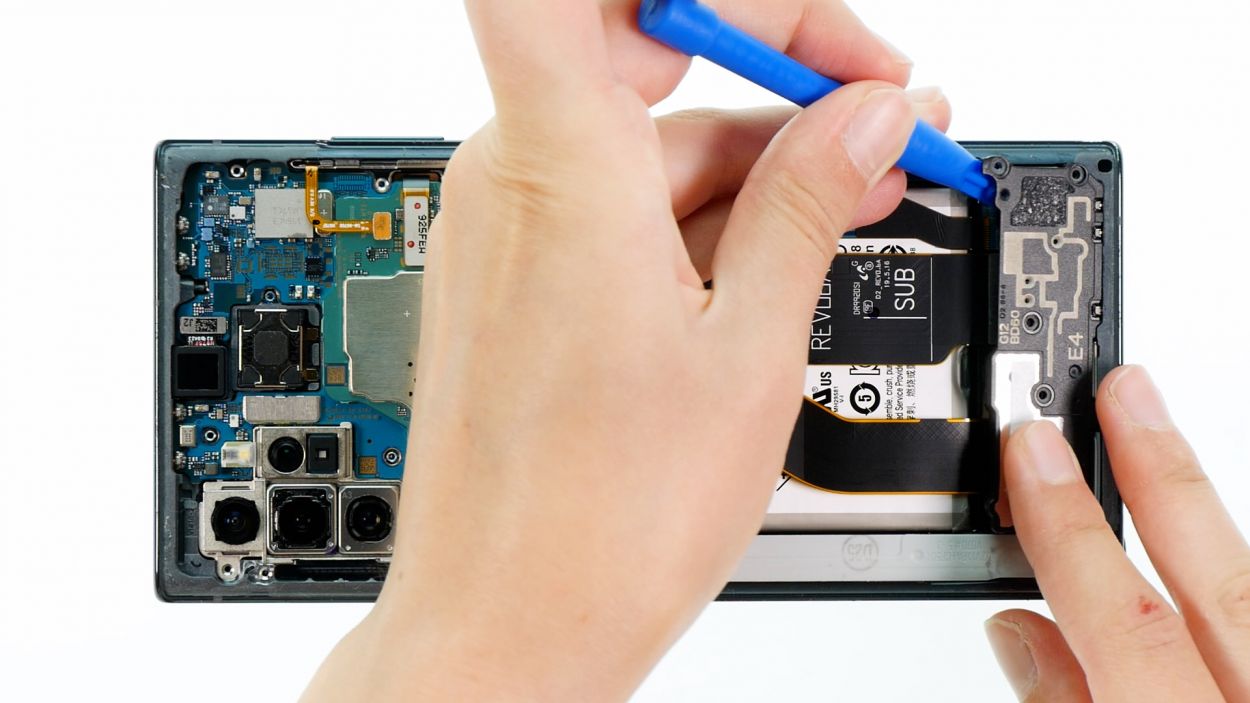
The plastic covers come with little lugs on their edges. To ensure they fit snugly, those lugs need to click into the housing frame just right. Let’s get that perfect fit!
– First, gently slide those two plastic covers back into their rightful spots. You’ve got this!
Tools Used
Step 22
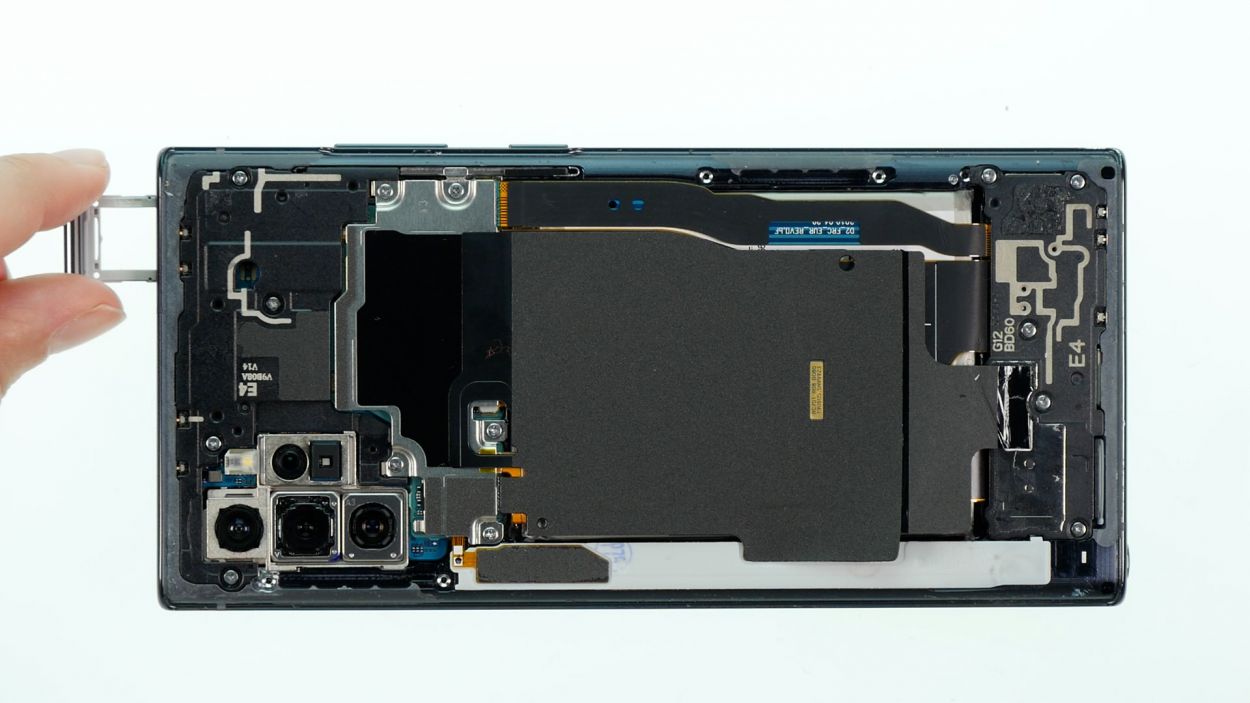
– Slide the card holder back into its slot in the rear case frame until you hear and feel it click into place. If you need help, you can always schedule a repair.
Step 23
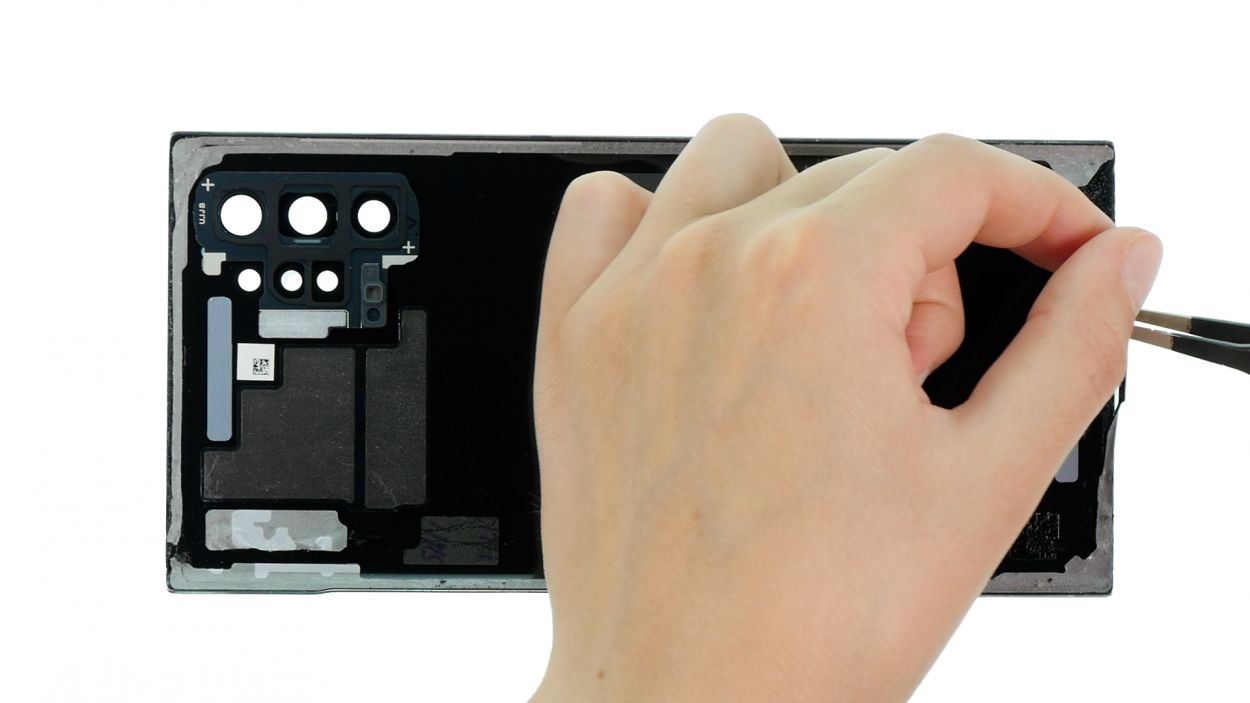
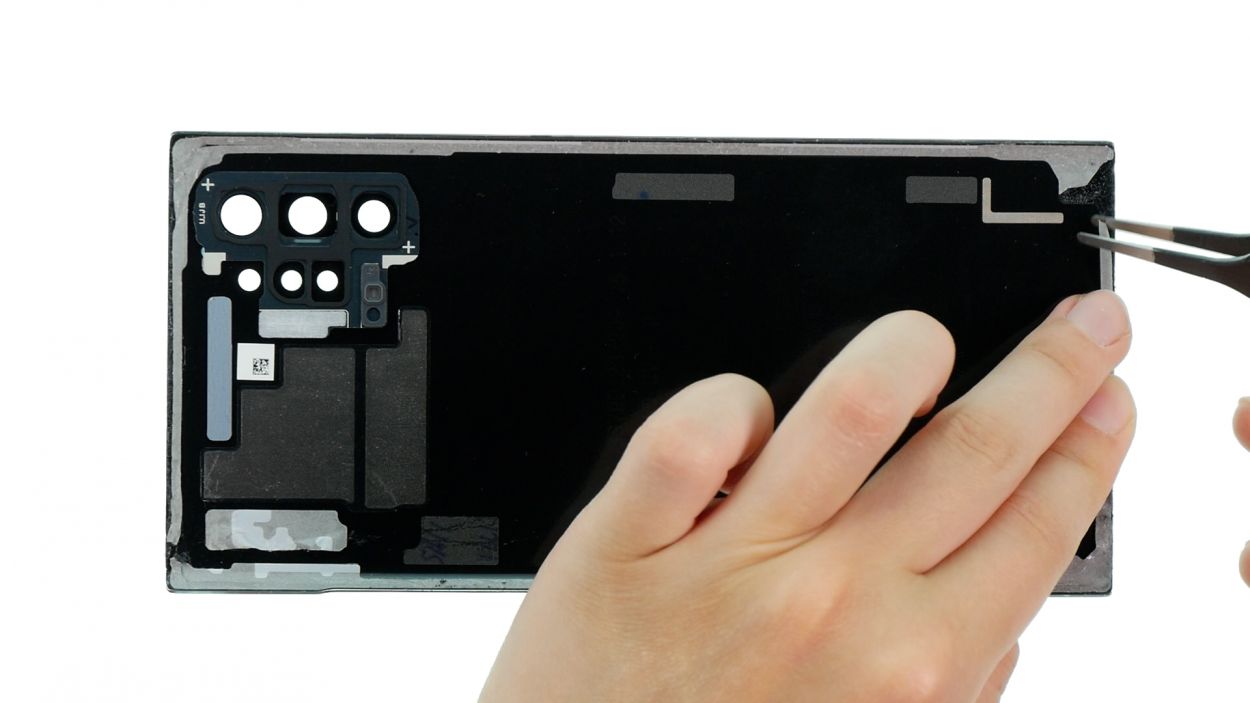
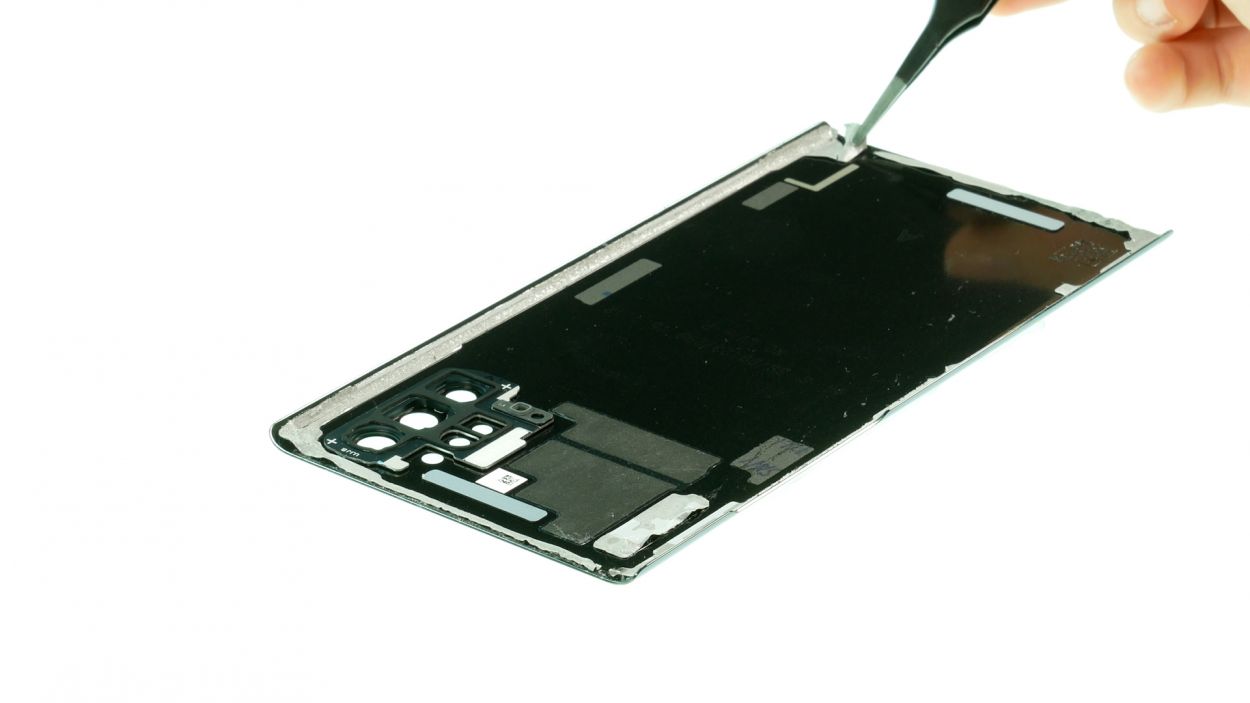
– If the adhesive frame inside the back cover is still in good shape, feel free to reuse it. Just make sure it stays smooth and lump-free for a proper close. Trim it to fit if needed and use tweezers to get it perfectly aligned. If you need help, you can always schedule a repair.
Tools Used
Step 24
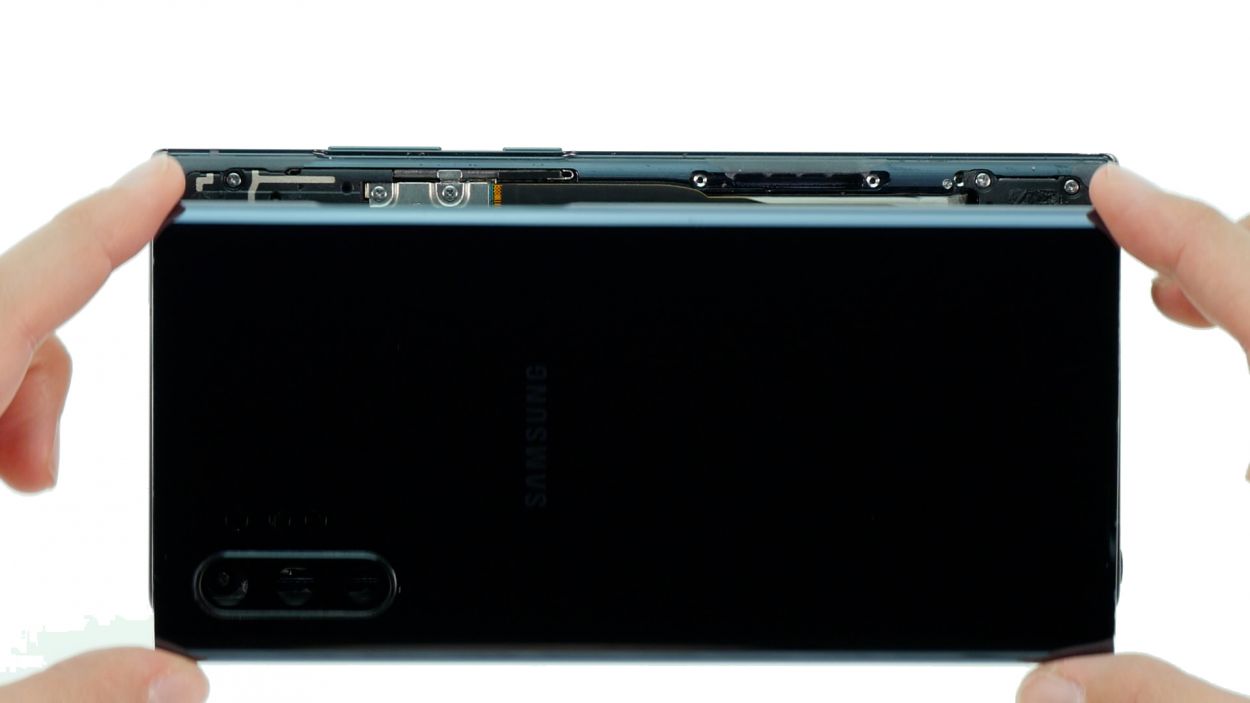
– Gently place the back cover onto the display unit and give it a nice firm press.
– To help that adhesive stick like glue, we suggest warming up the edge of the back cover a bit.
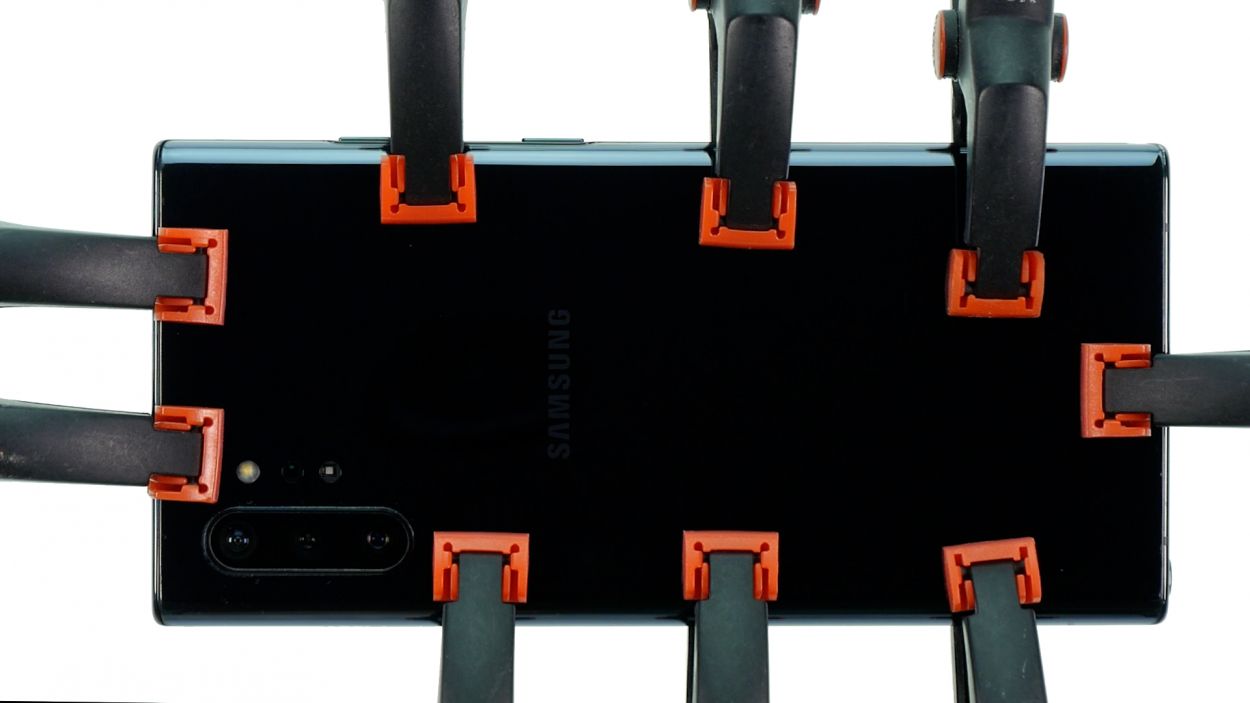
– And to top it all off, weigh down your device with some books or something heavy. We like to use clamps for this, but whatever works for you!
Tools Used
- heat gun to heat parts that are glued on so they’re easier to remove.
In most cases, you can also use a hairdryer.” rel=”noopener”>Heat gun
