DIY Guide to Replace Galaxy Note 10+ Back Cover
Duration: 30 min.
Steps: 6 Steps
In this handy photo guide, we’ll walk you through each step to help you replace the back cover of your Galaxy Note 10+ all by yourself. If you’re on the lookout for the right tools or an original back cover for your Galaxy Note 10+, check out our online store. Wishing you the best of luck and remember to enjoy the process of your repair!
Step 1
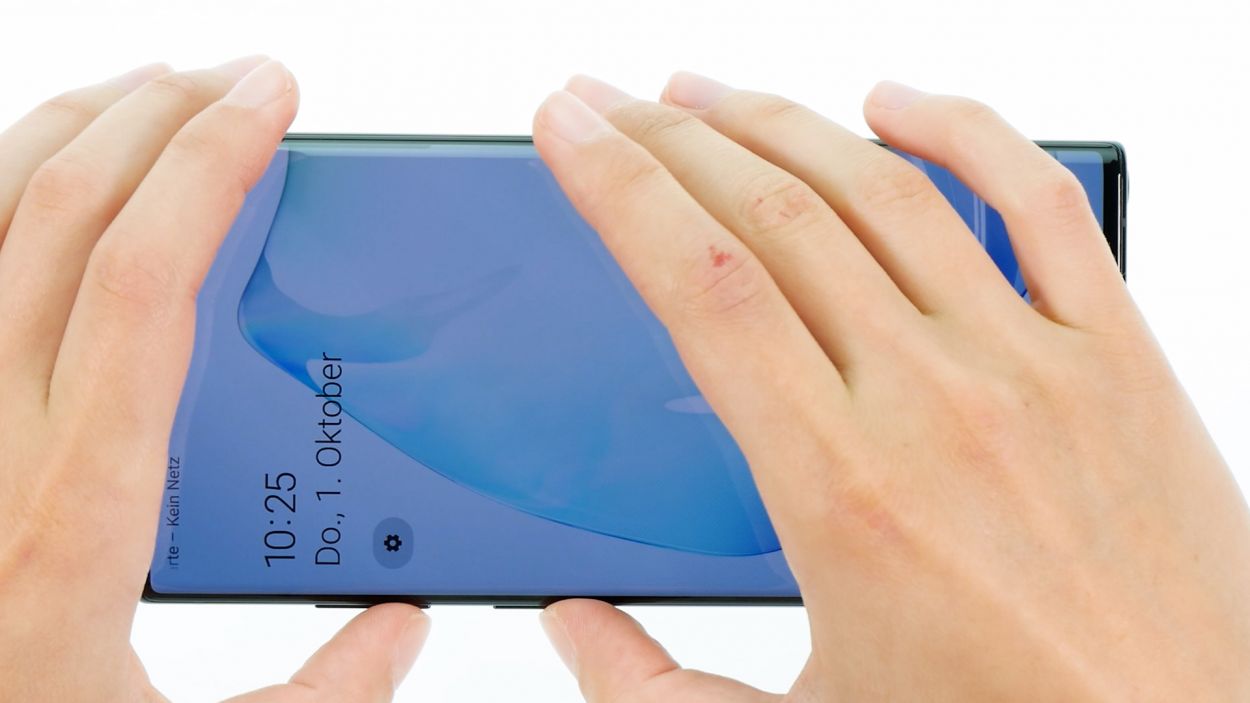
– Alright, let’s kick things off! Press and hold the side button and the volume down button together for a few seconds. You’ve got this!
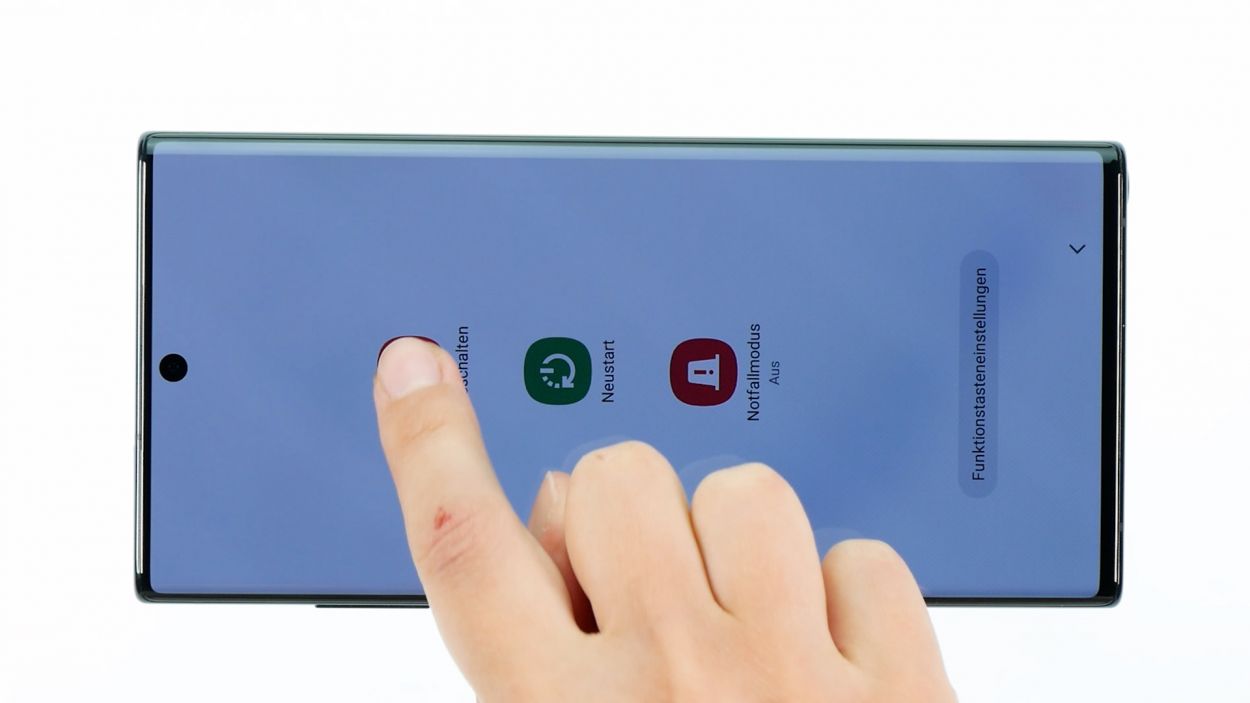
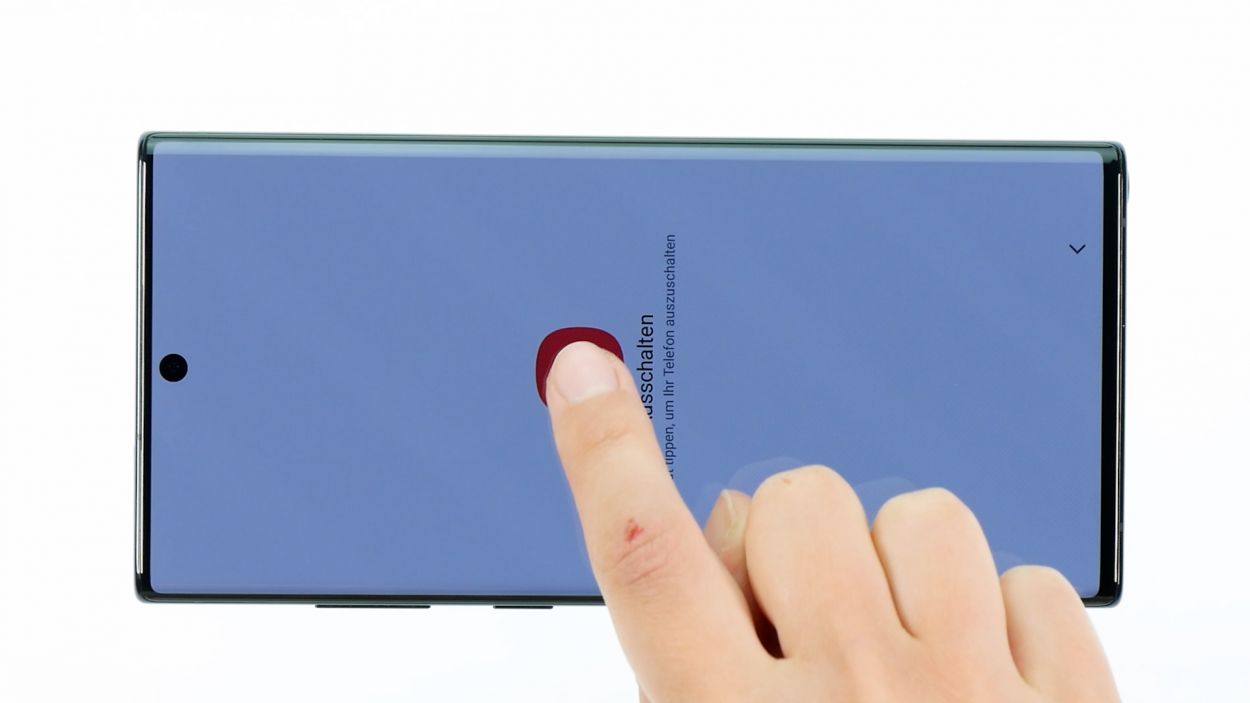
– Next up, just tap on ‘Switch off’ in the menu that pops up. Easy peasy!
– And just like that, your phone will power down completely in just a few moments. You’re doing great!
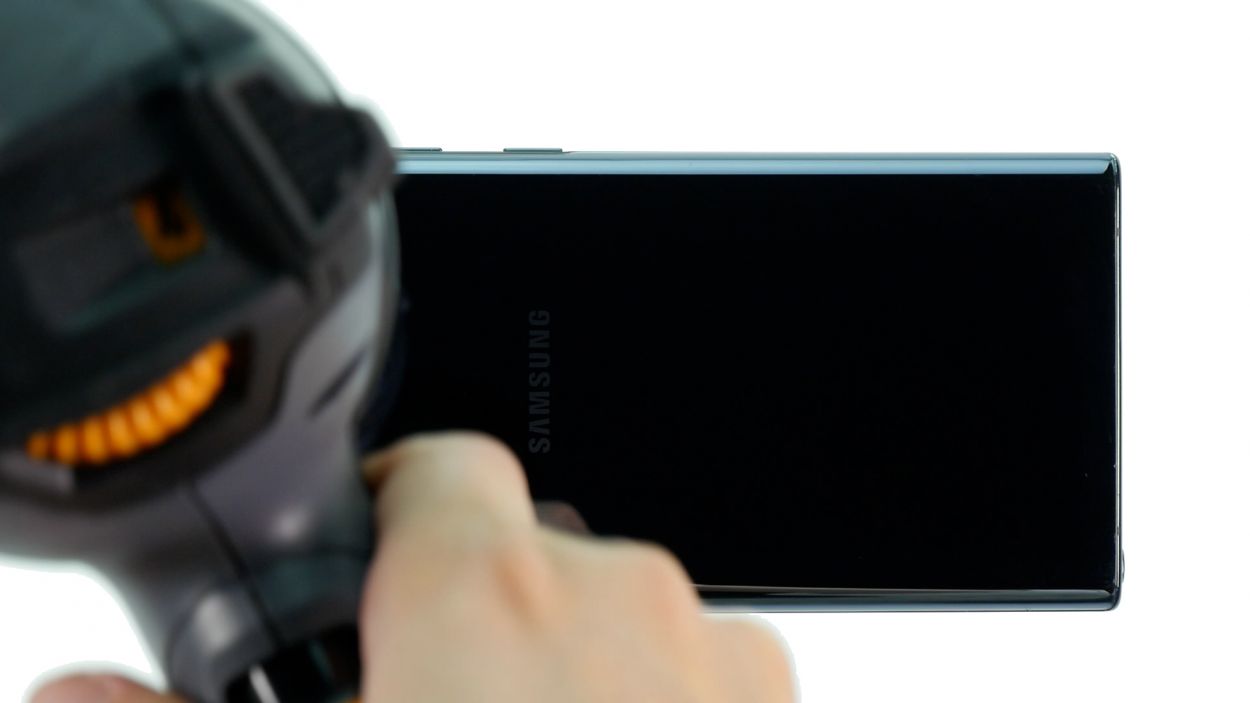
Step 2
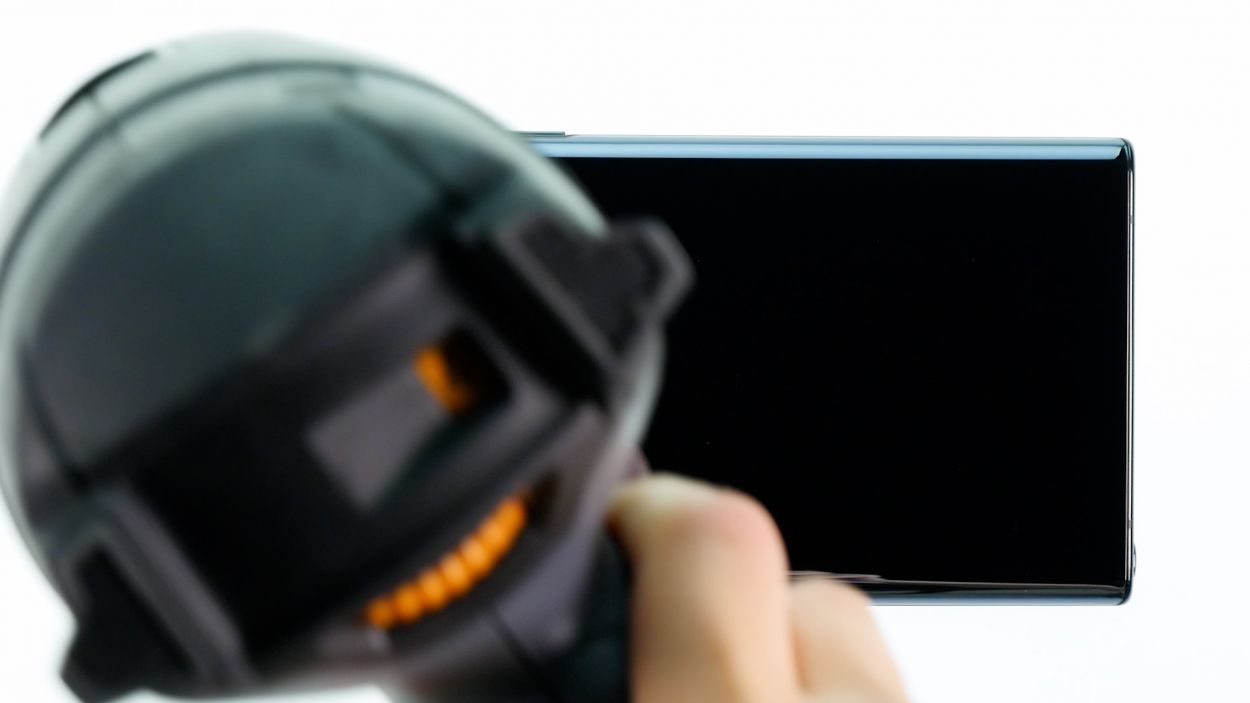
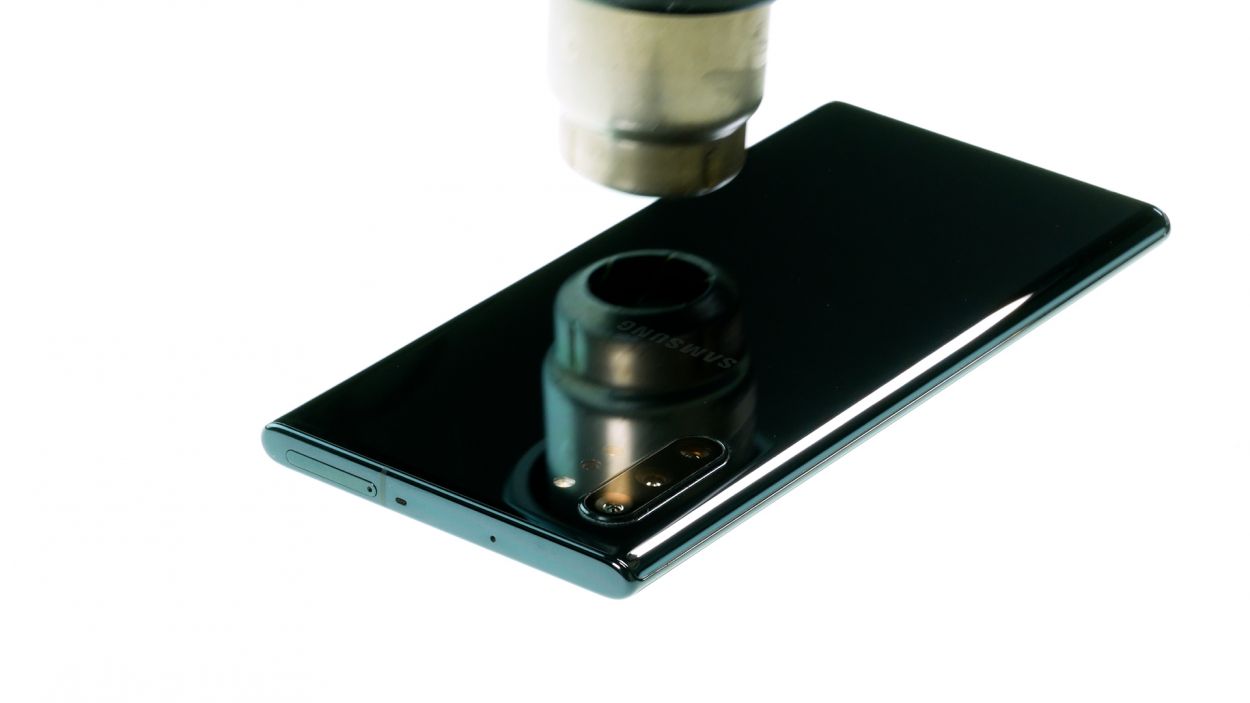
Here’s a handy tip: When warming up the edge of the back cover, make sure it’s just hot enough that you can touch it comfortably—no need to play with fire here!
– Gently lay your phone face down on a soft, clean surface—like a cozy pillow for your device!
– Now, take your hot air tool and glide it evenly along the edge of the back cover. Think of it as giving your phone a nice warm hug!
Tools Used
- heat gun to heat parts that are glued on so they’re easier to remove.
In most cases, you can also use a hairdryer.” rel=”noopener”>Heat gun
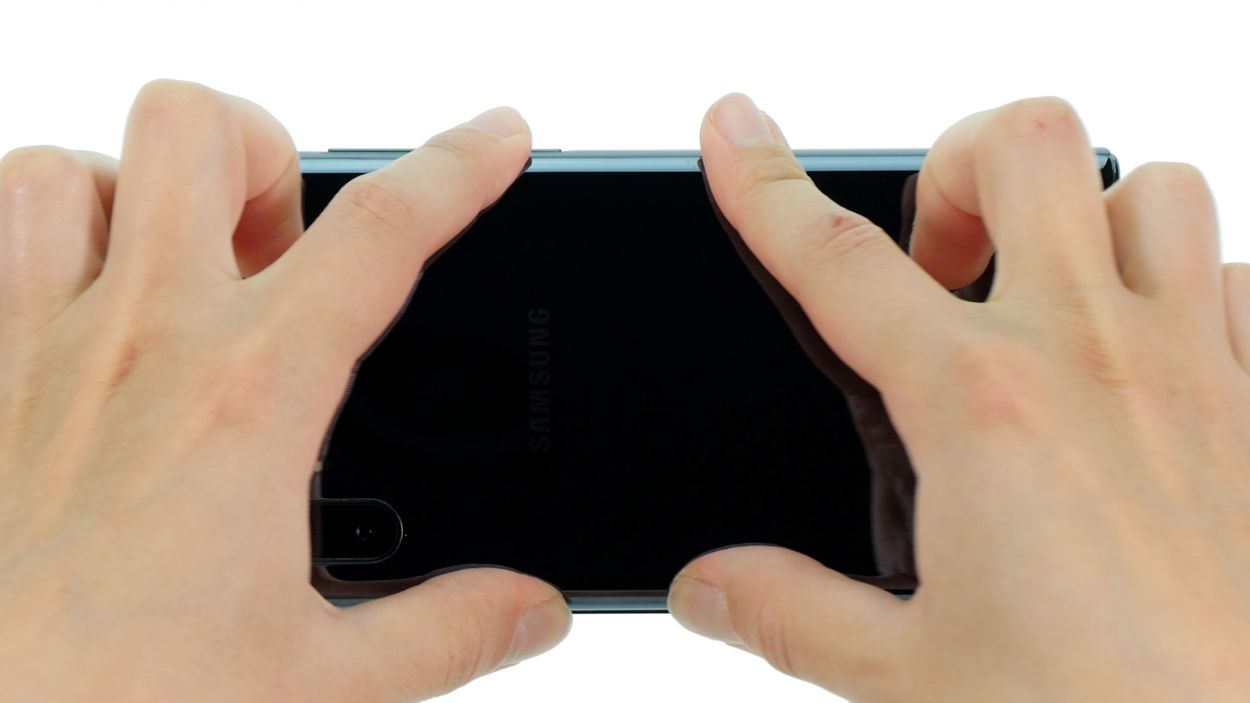
Step 3
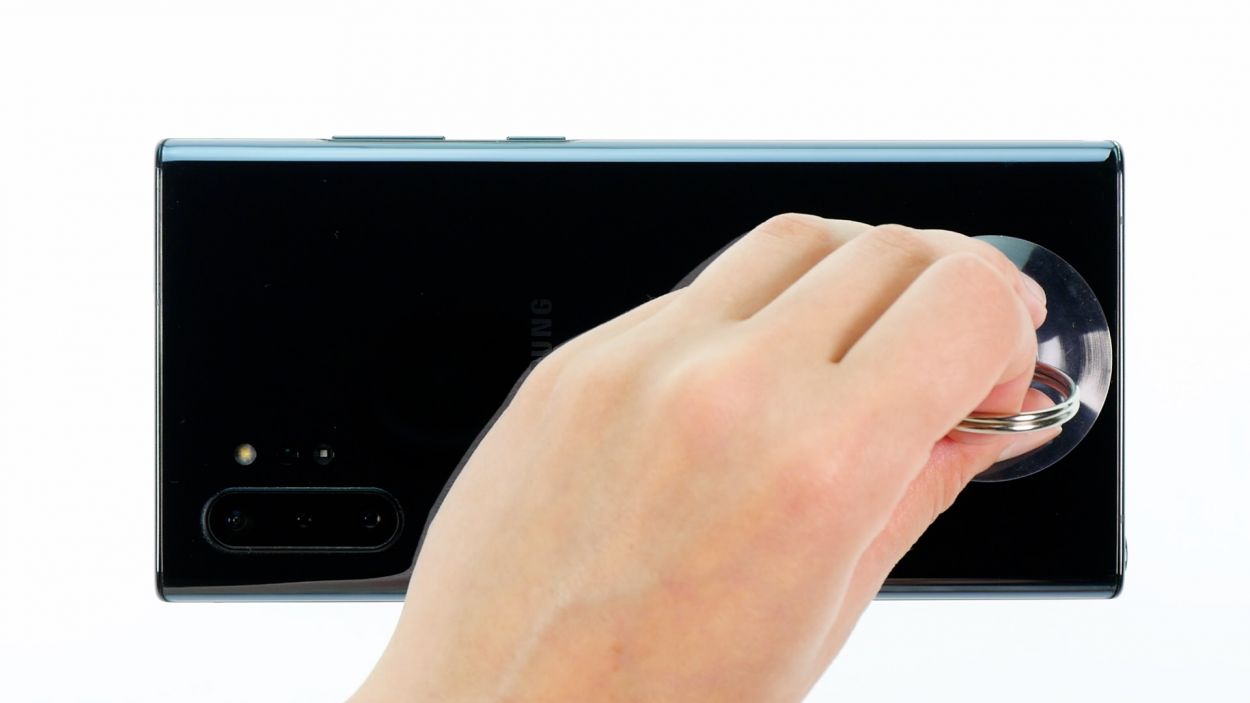
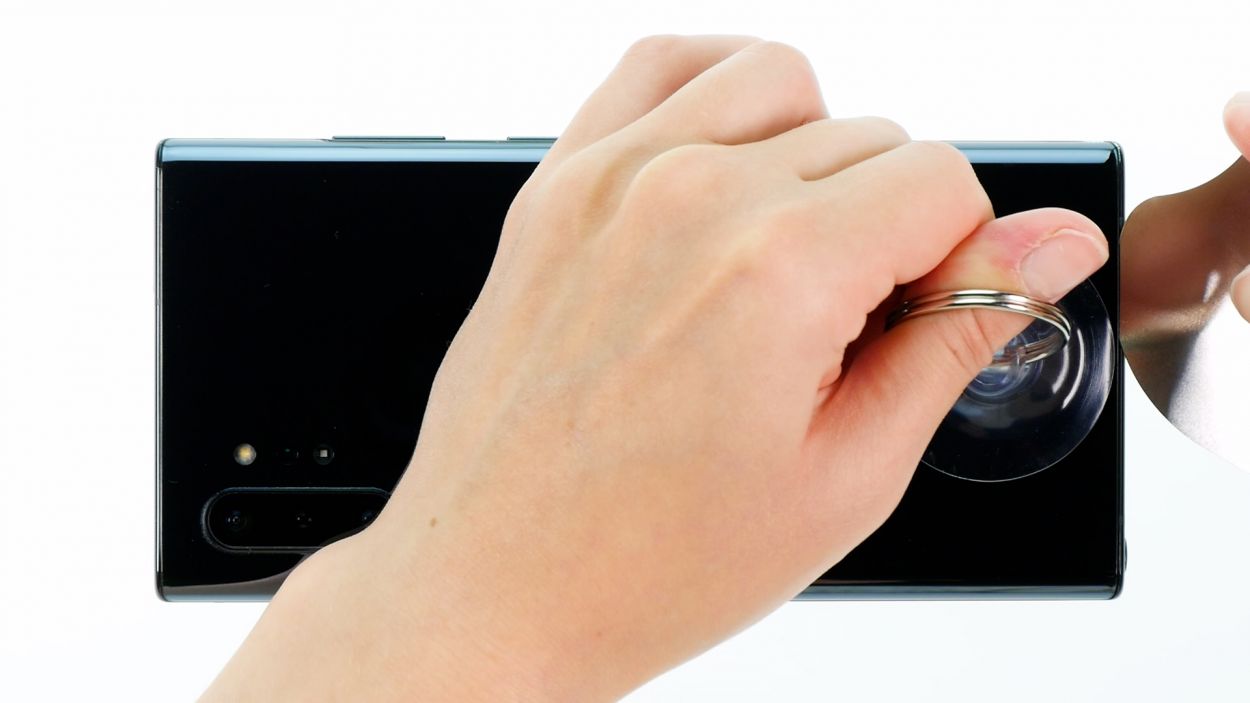
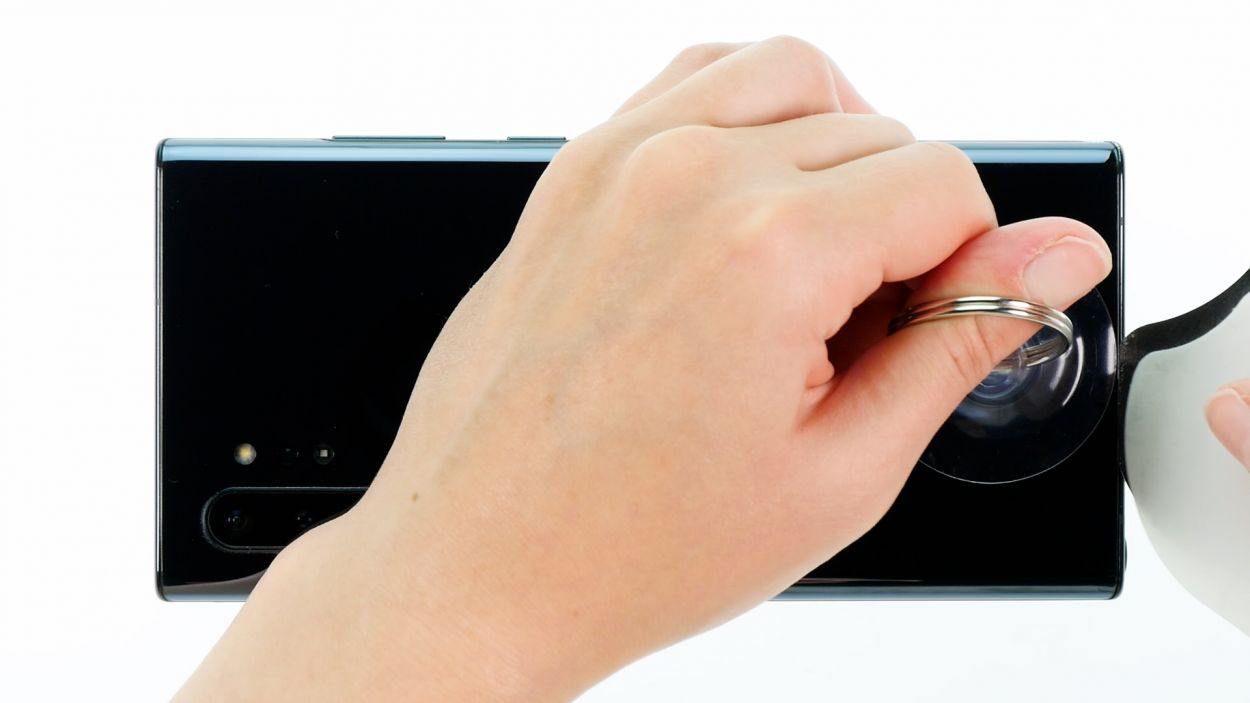
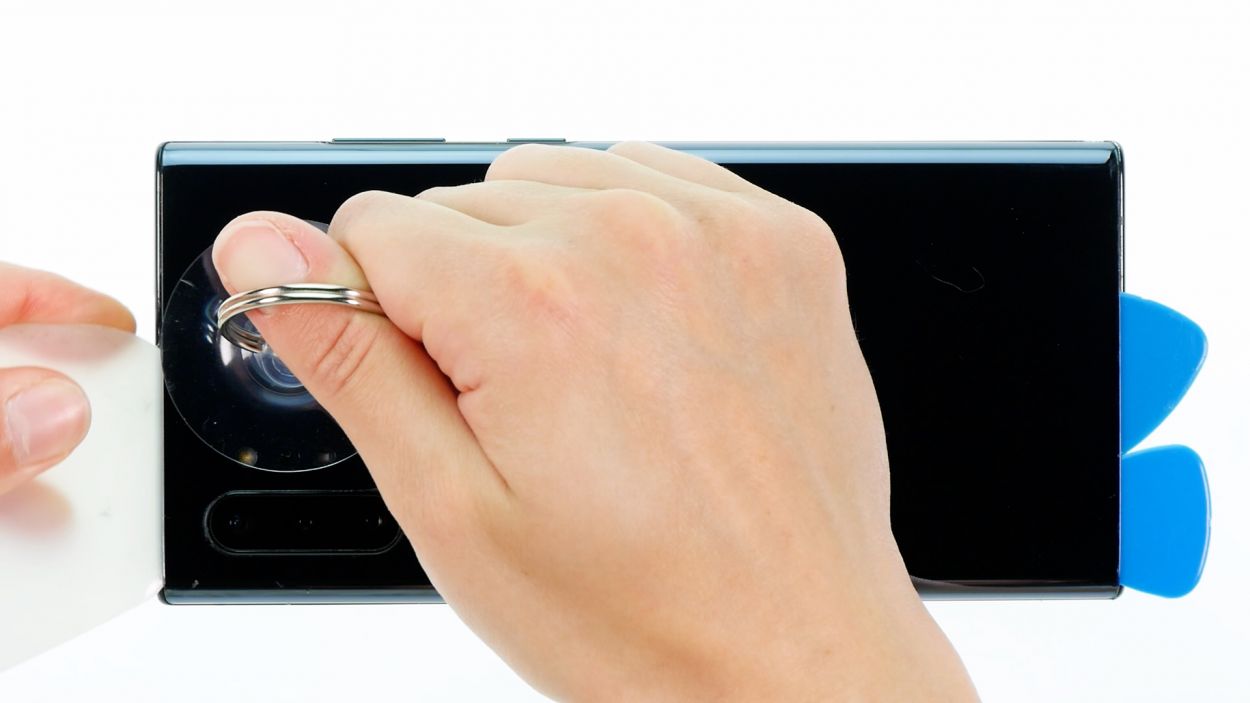
– Grab a suction cup and pop it onto the lower section of the back cover, then give it a gentle pull upwards. This will create a little space between the back cover and the rear case, just enough to work with.
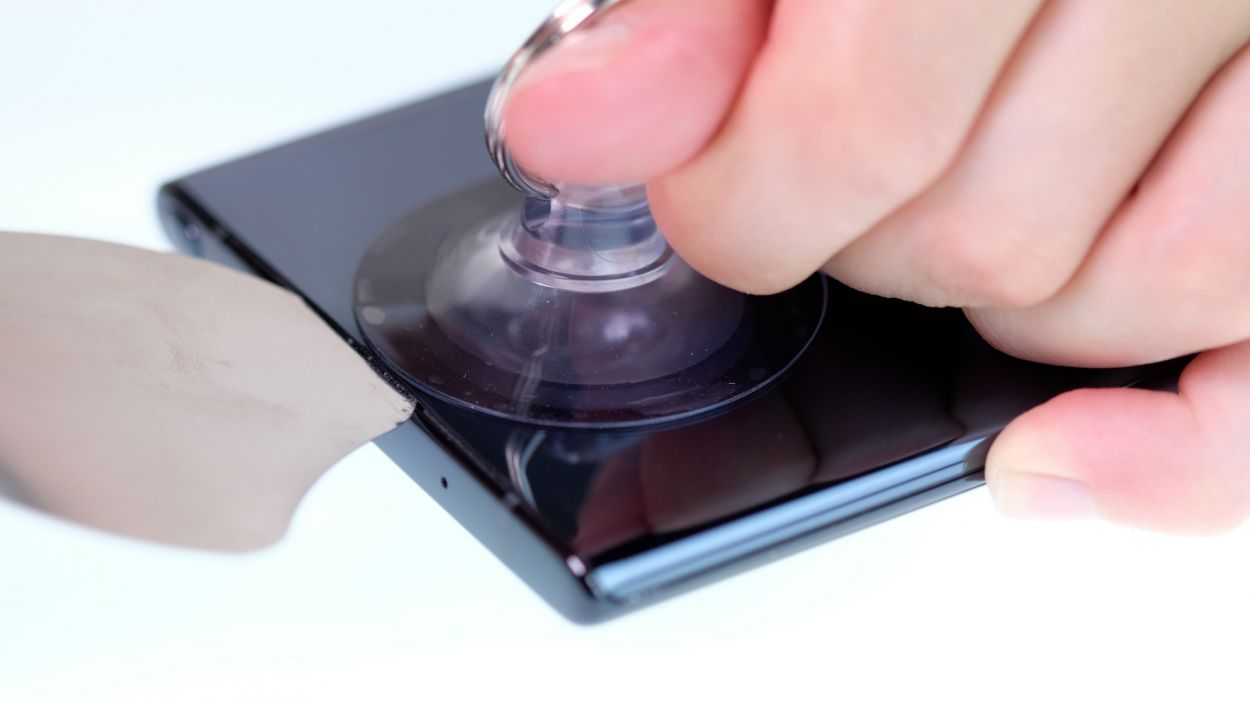
– Now, while you’re at it, slide a flat, sturdy tool into that gap to widen it even more. The iFlex is a great choice for this!
Heads up! Opening your Galaxy Note 10+ will cancel your manufacturer’s warranty. So, if you’re feeling unsure, it’s totally cool to schedule a repair instead!
The iFlex is crafted from sleek, sturdy metal with some sharp edges, making it a breeze to slide in. Just a heads up though – it might leave a few scratches along the way. So, we suggest kicking things off with the iFlex and then switching over to a plastic tool as soon as you can. Remember, if you need help, you can always schedule a repair.
Tools Used
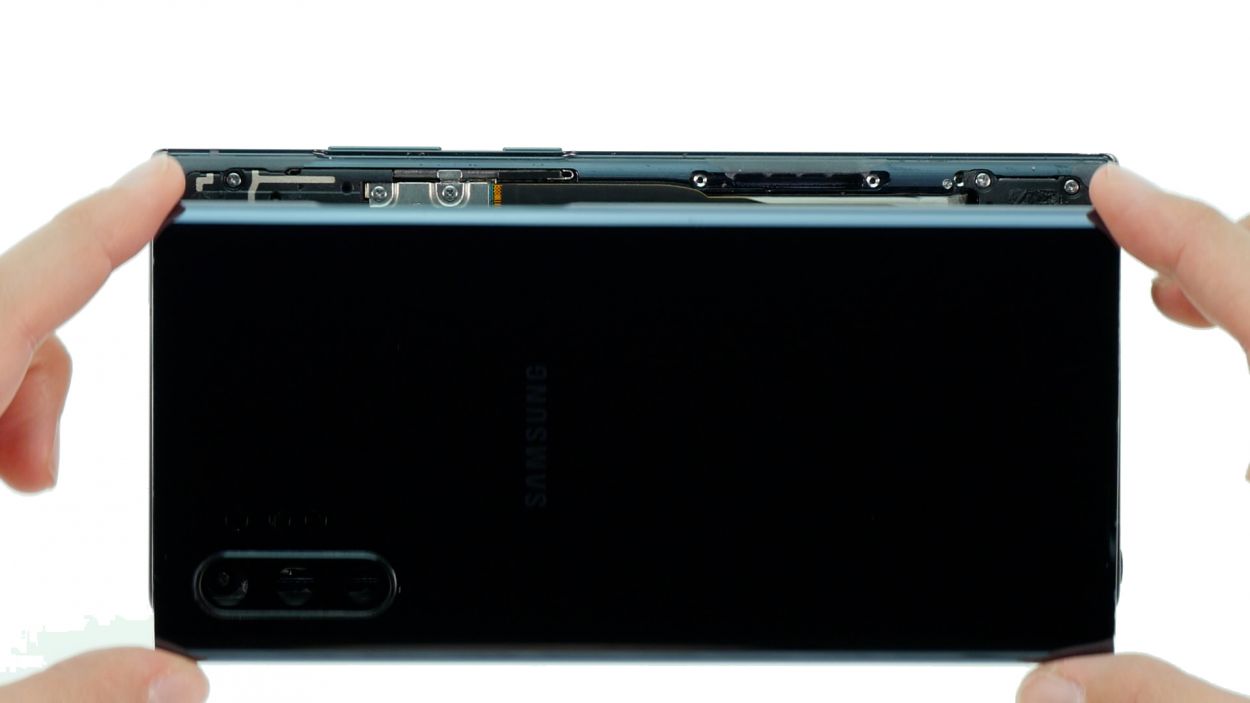
Step 4
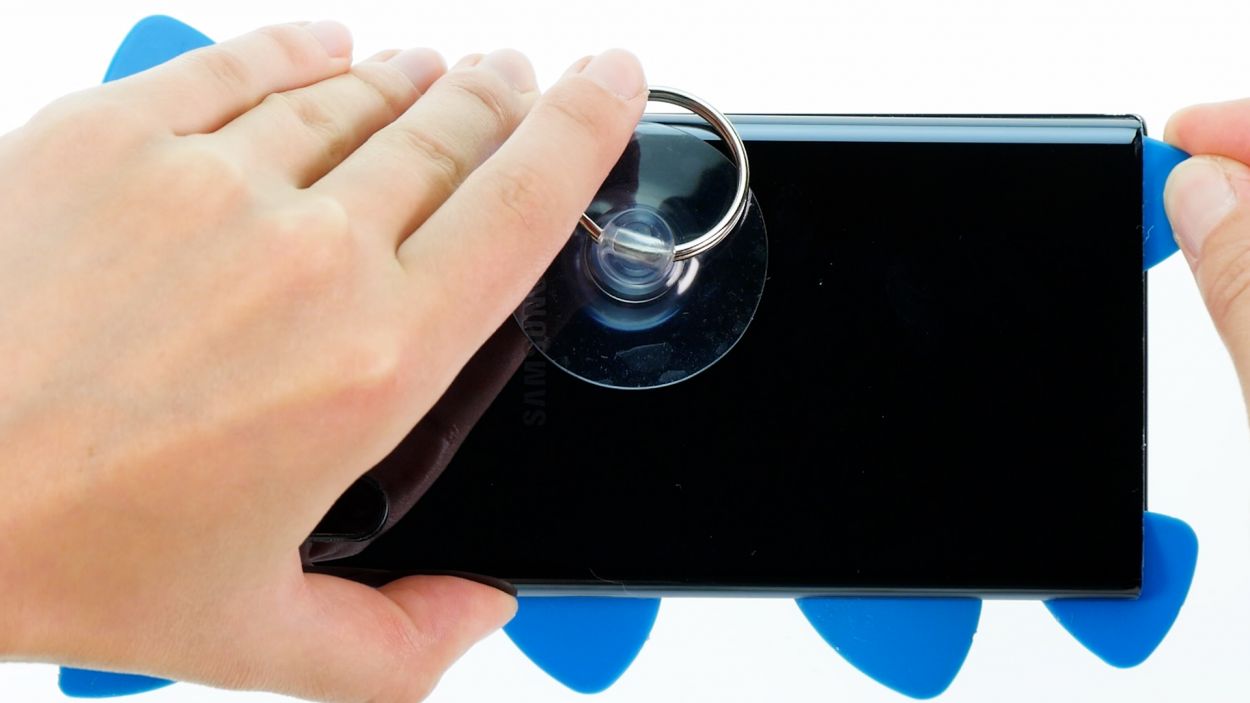
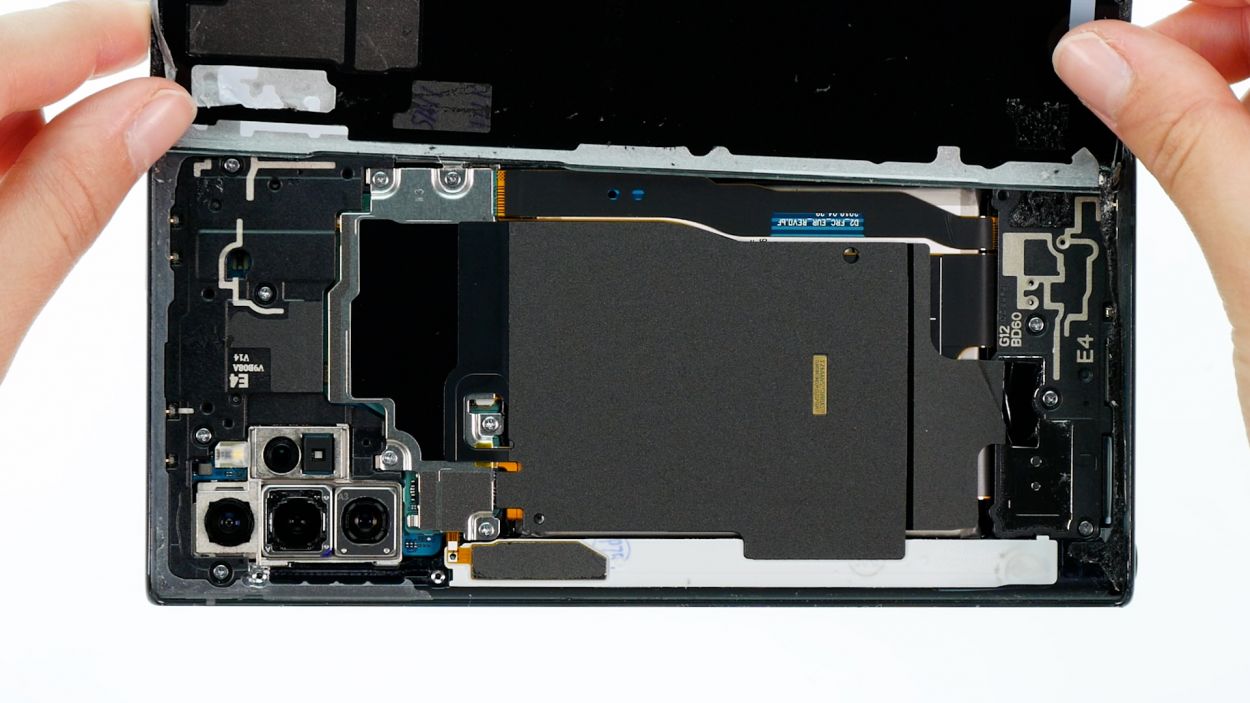
– Gently pry off the back cover from the rear case frame, one piece at a time, using a plastic tool to glide along the edge of the cover. The trusty iPlastix is perfect for this task!
Hey there! Just a friendly reminder to keep your tool at a safe distance while you’re working inside the device. We want to avoid any accidental run-ins with those delicate components!
The iPlastix is crafted from a sleek, bendy plastic that’s super handy. Unlike its cousin the iFlex, it won’t poke you with any sharp edges. So, get ready to dive into your repair with confidence!
Tools Used
- Flat Picks
- battery? Then the iPlastix with its large blade will help you. The practical assistant is made of flexible, especially sturdy plastic and lies comfortably in the hand. Thanks to its design, you can even get into smaller gaps, for example to lift the screen or to prevent it from sticking together again.” rel=”noopener”>iPlastix Opening Tool
Step 5
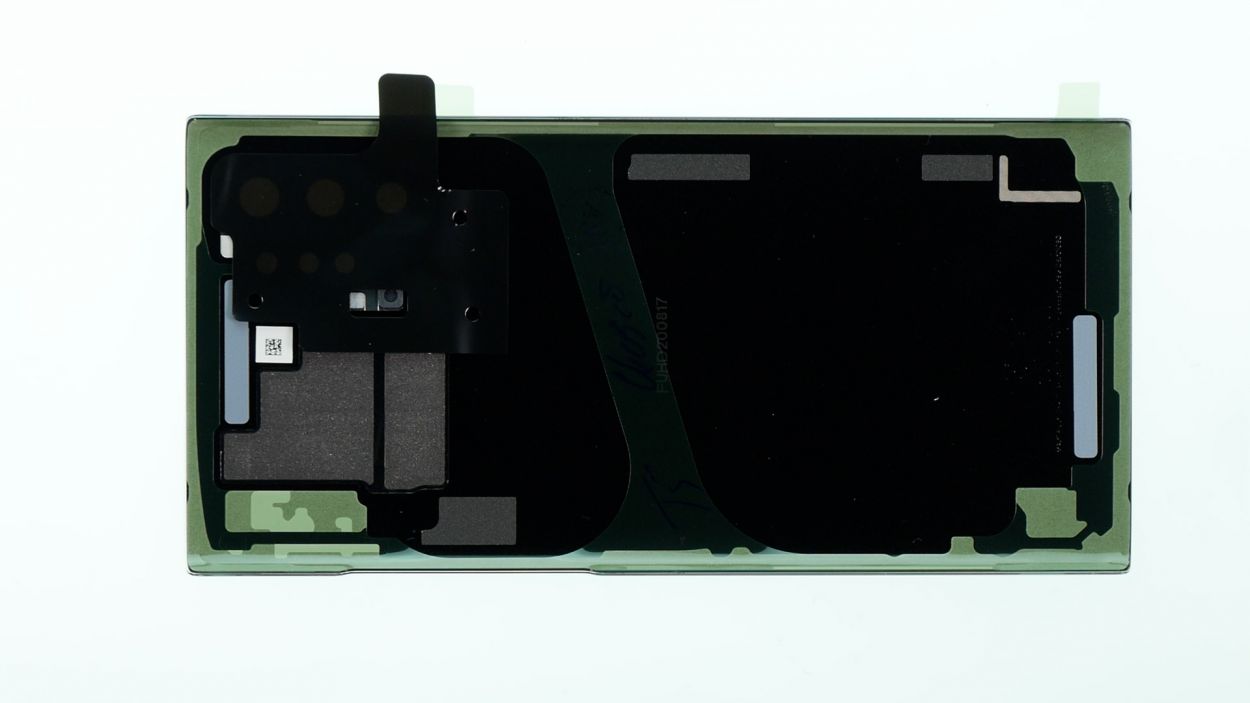
– Before slapping that shiny new back cover on, let’s make sure it’s ready to roll by peeling off all those pesky seals and protective films from both the outside and the inside. Ready, set, go!
Tools Used
Step 6

– Time to put it all back together! Place the prepared back cover onto the display unit and press down firmly to secure it.
– To make sure the adhesive sticks properly, we recommend giving the edge of the back cover a quick re-heat.
– The final step: weigh down your device with some heavy books (we use clamps, but you can get creative!) to make sure everything sets in place.
Tools Used
- heat gun to heat parts that are glued on so they’re easier to remove.
In most cases, you can also use a hairdryer.” rel=”noopener”>Heat gun