DIY Guide to Replace Samsung Galaxy S4 Active Sub Board
Duration: 45 min.
Steps: 18 Steps
In this guide, we’ll help you tackle the task of removing your Galaxy S4 Active’s sub-board all by yourself! You might need to do this if your phone is playing hard to get with charging, your computer isn’t giving it the time of day, or if your friends are having a tough time hearing you on calls. Let’s get started!
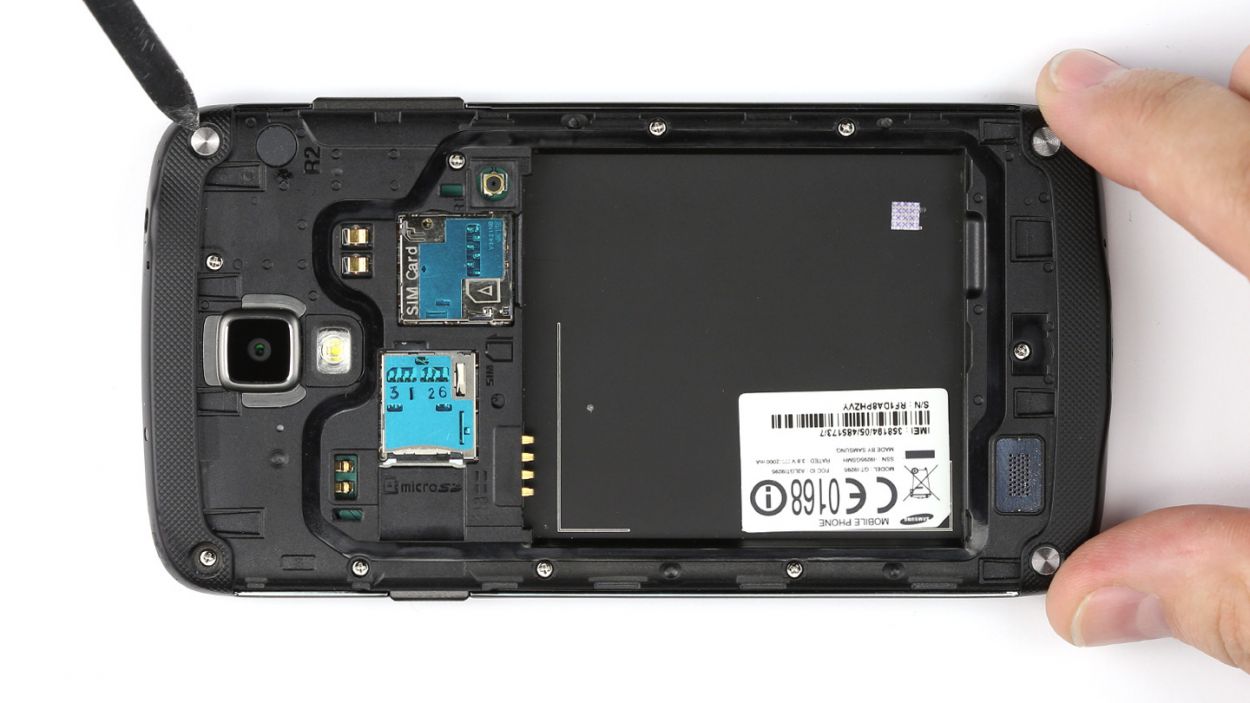
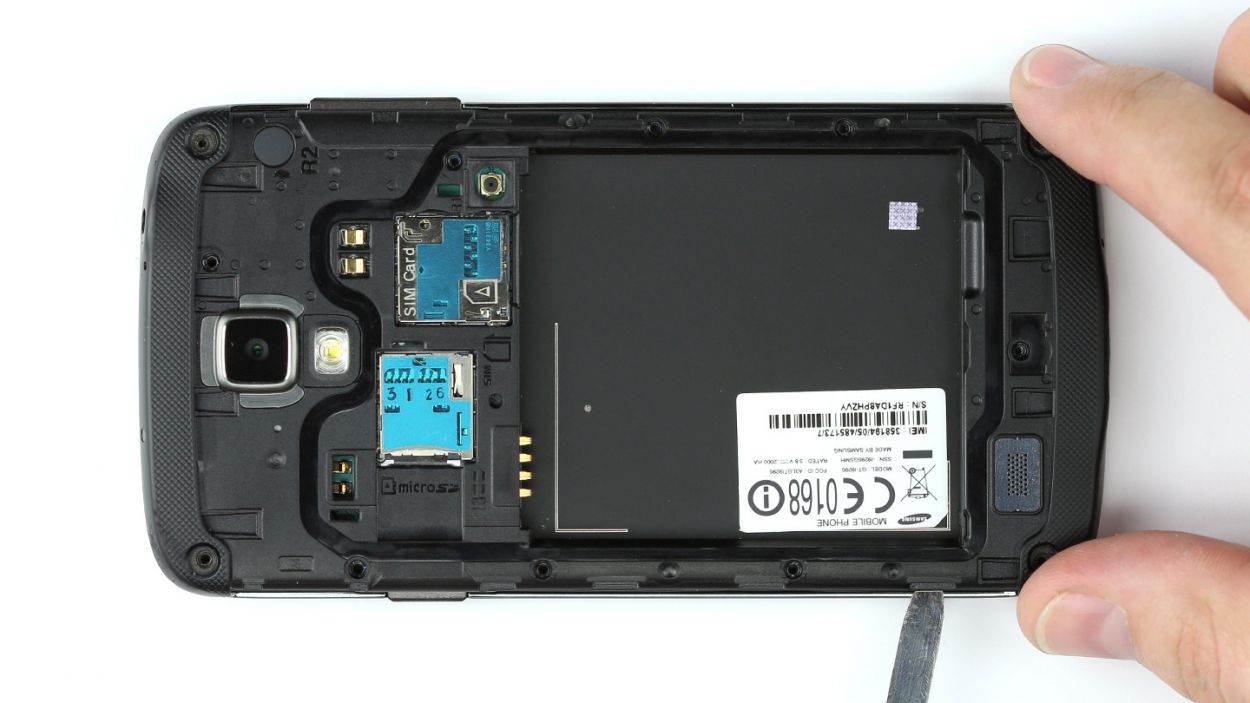
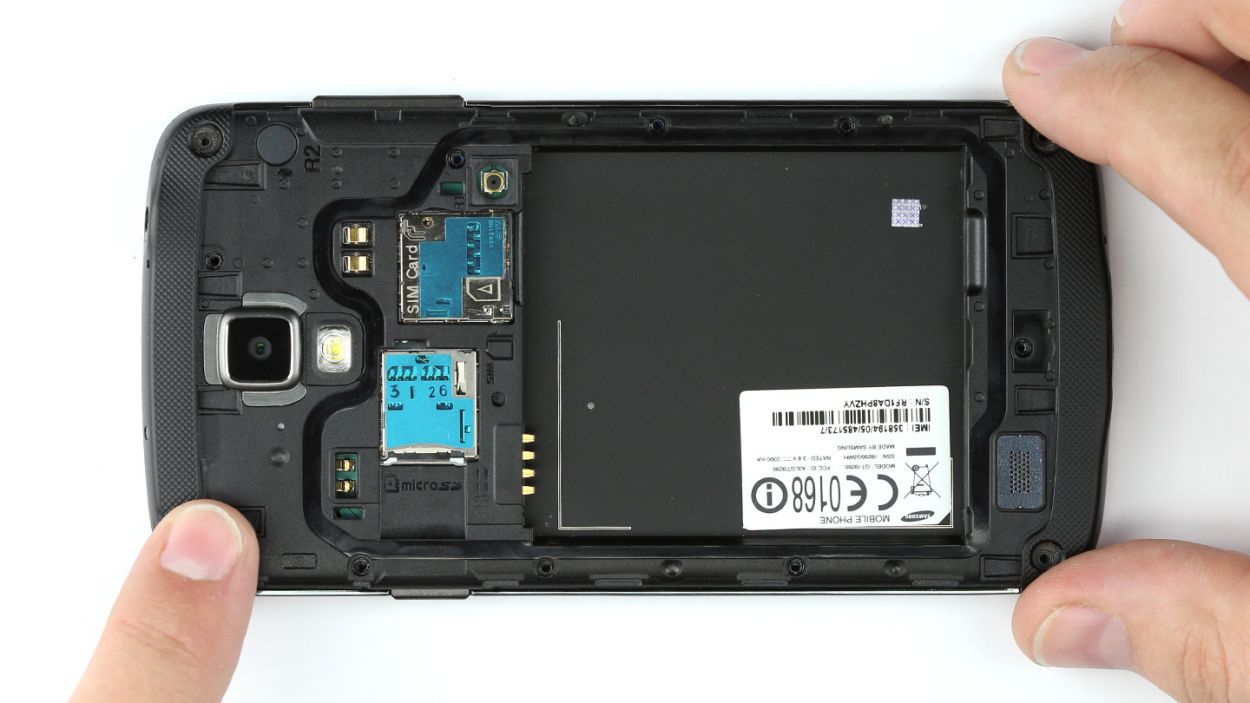
Step 1
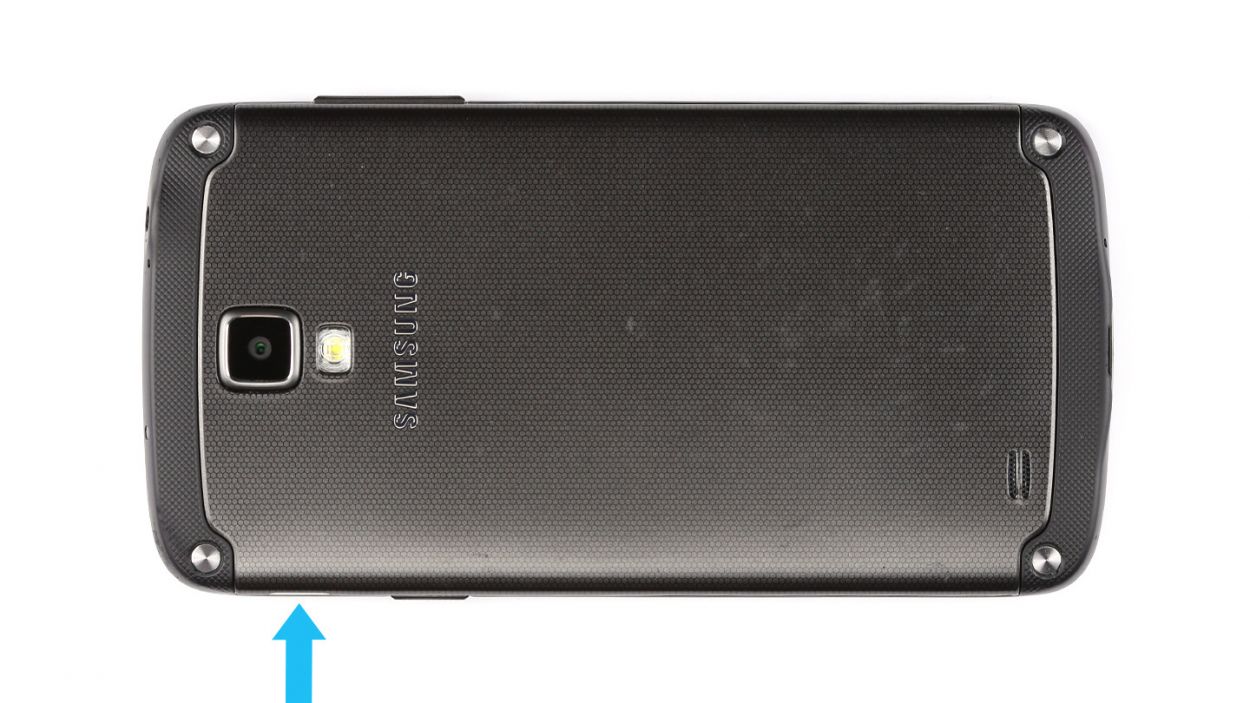
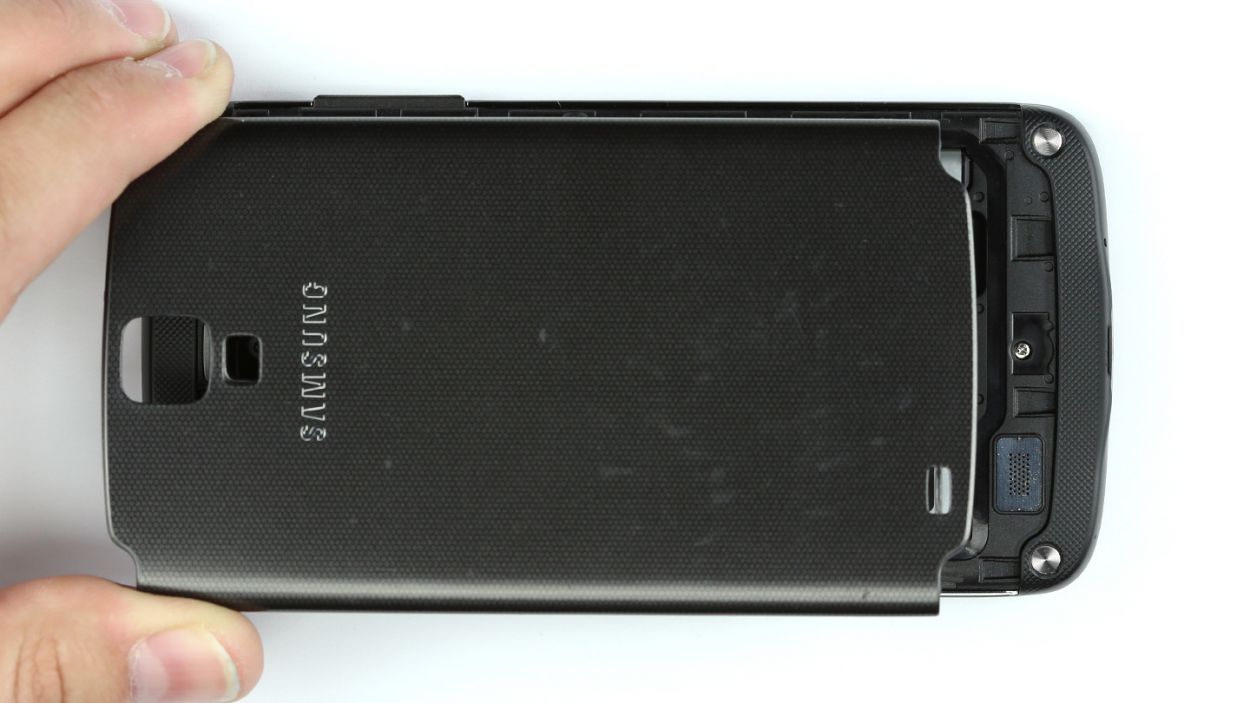
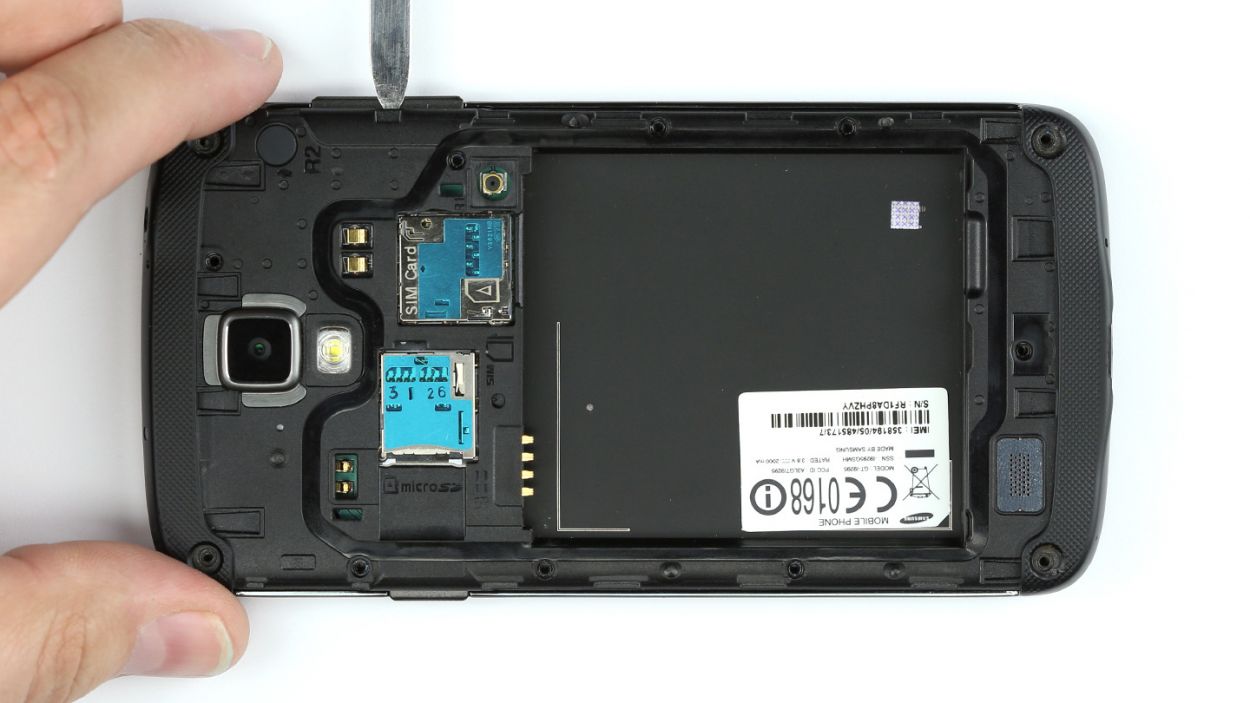
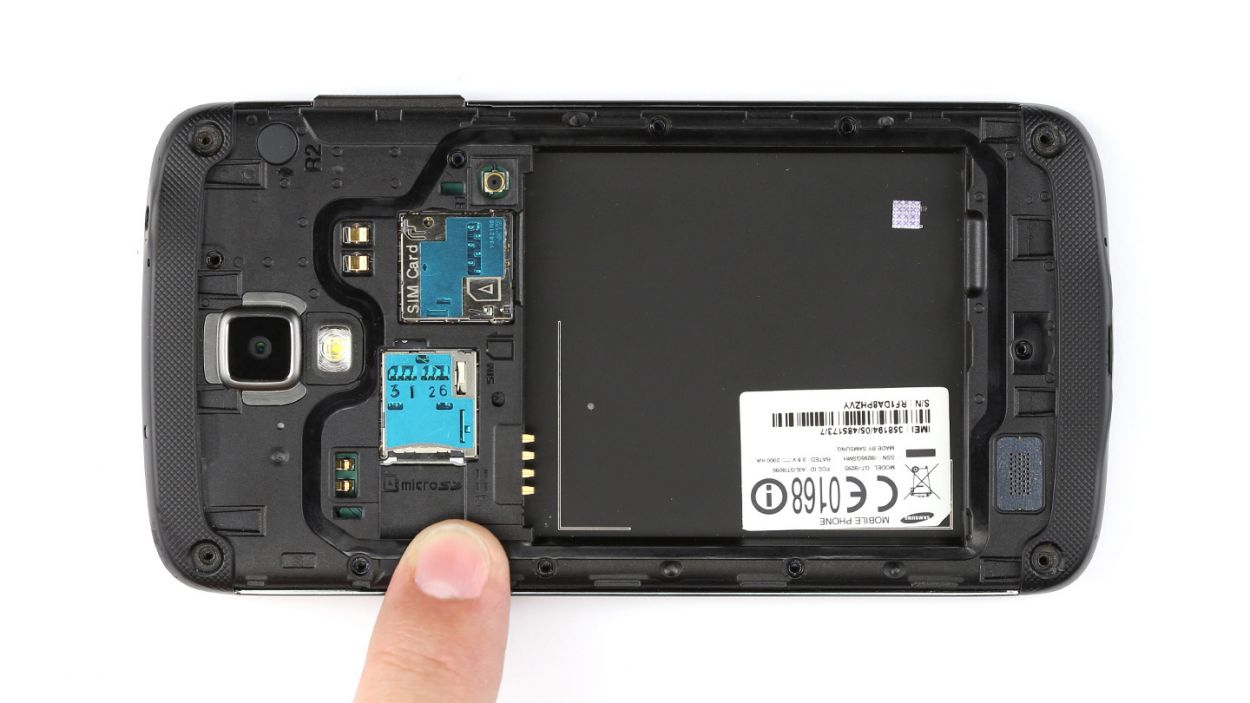
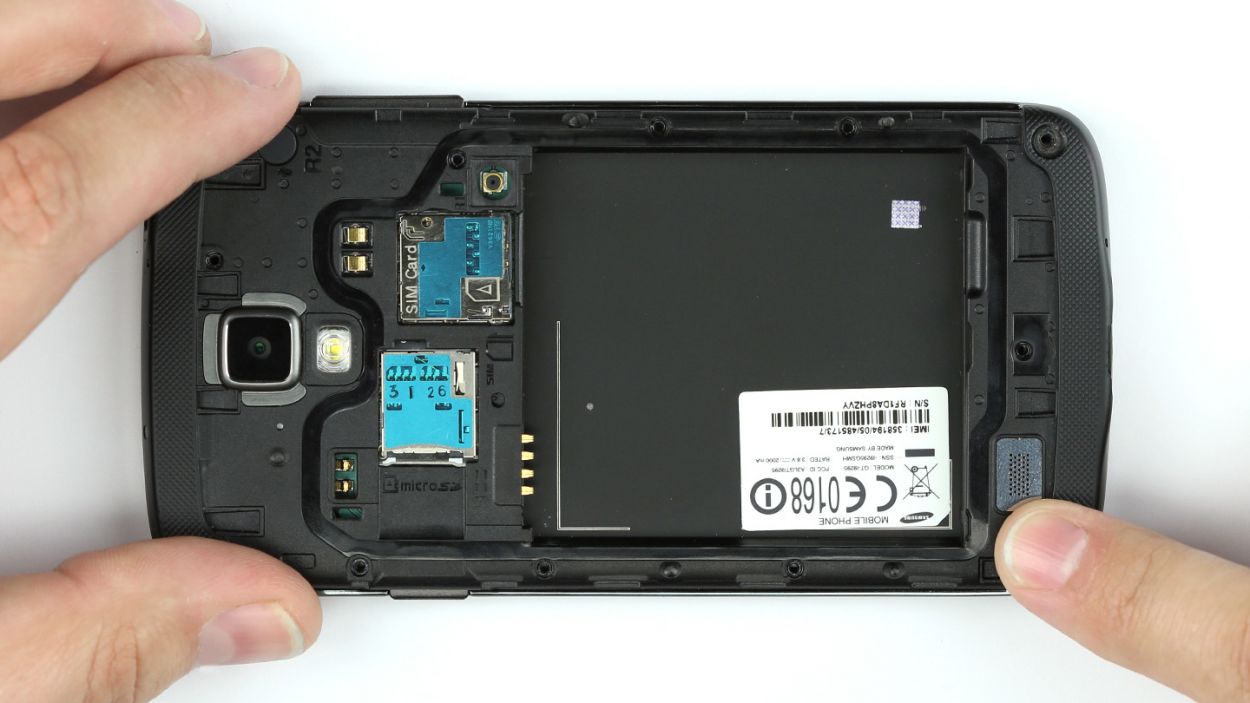
– Hey there! You’ll notice some tiny clips holding the back cover snugly to the chassis. Right above the power button, there’s a little dip in the cover. With your trusty fingernail or a spudger, gently pry it up from this spot.
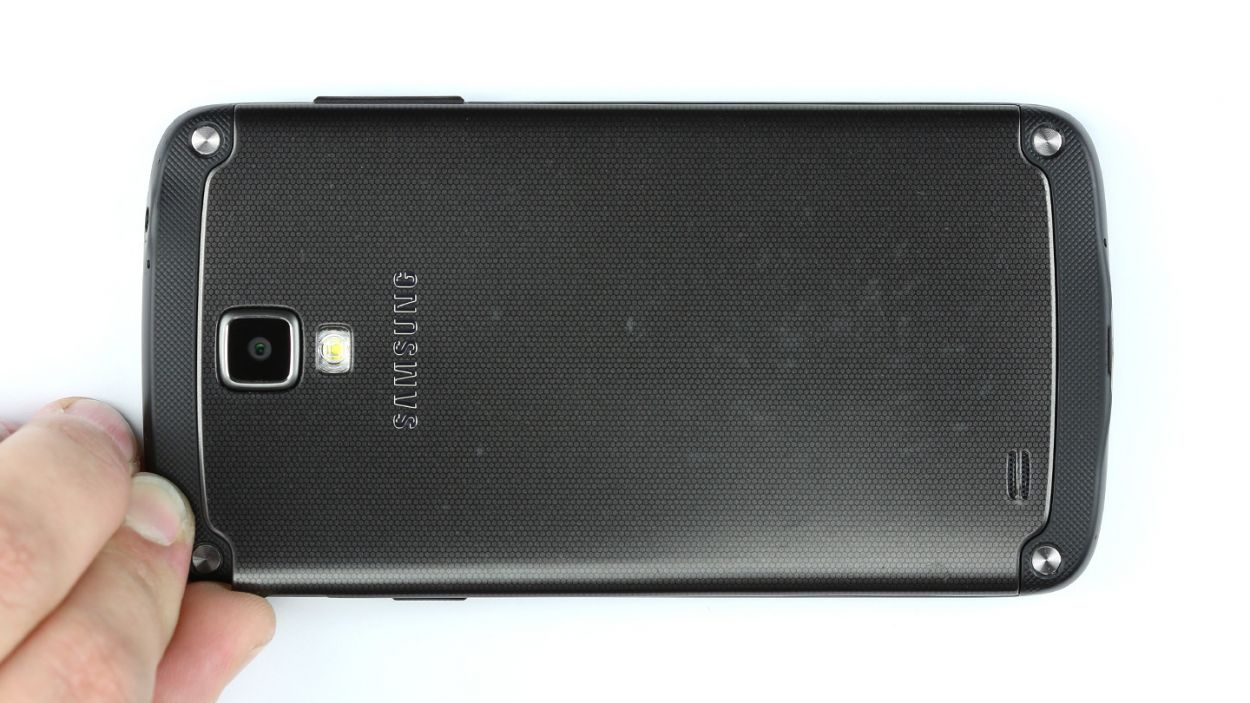
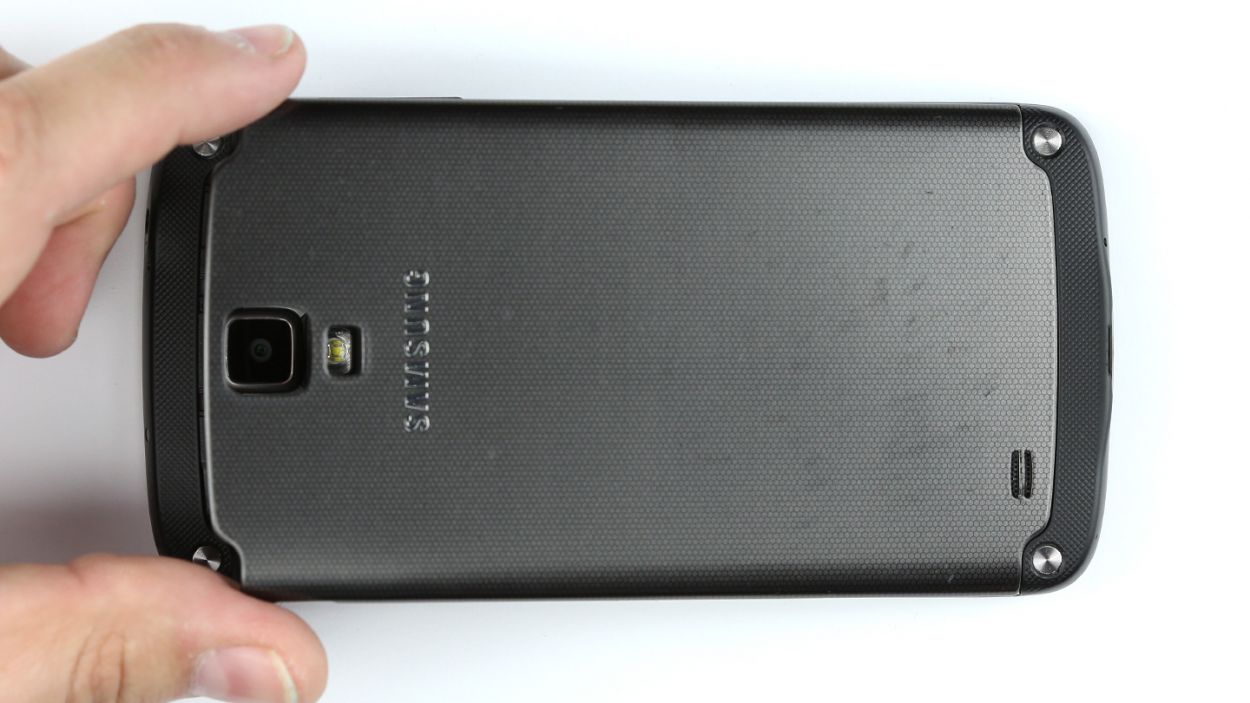
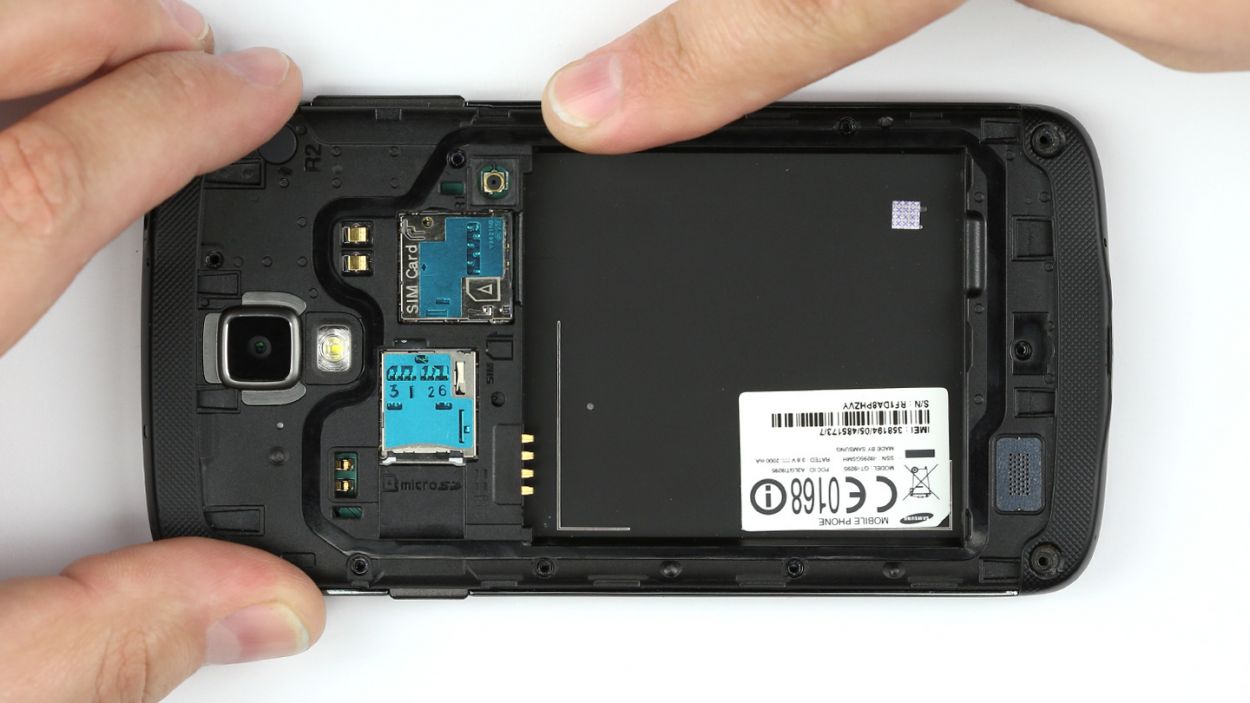
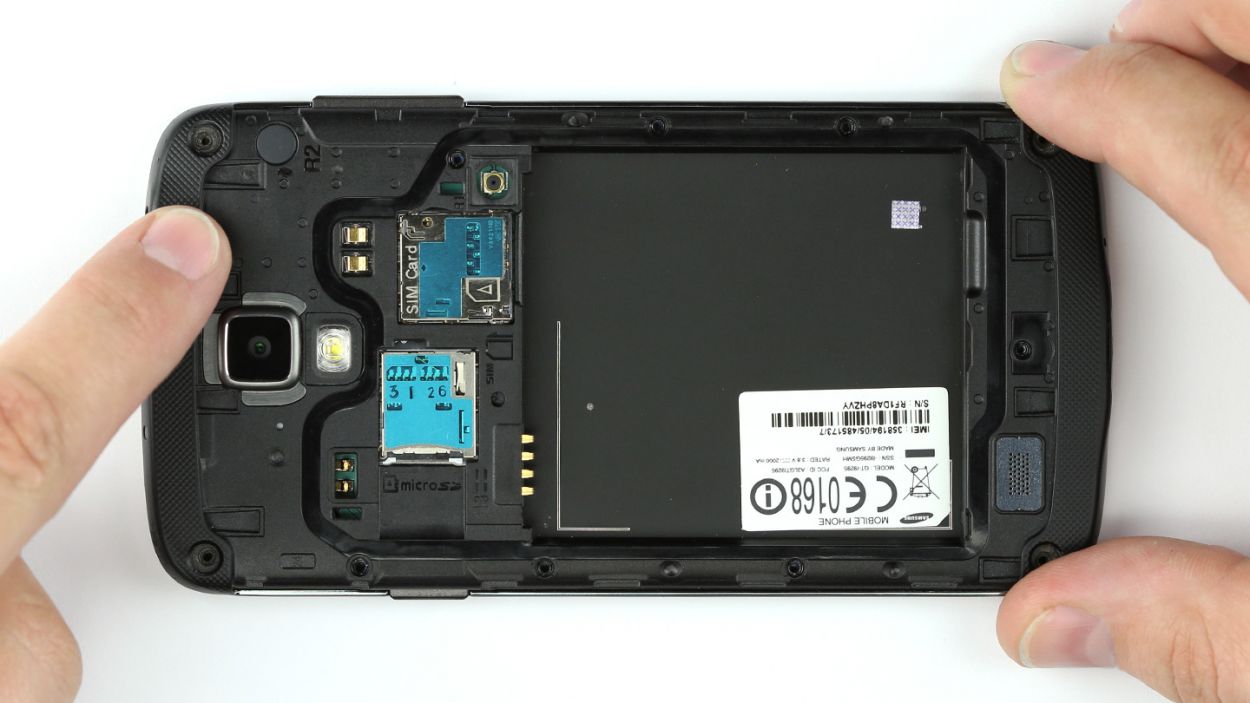
– Now, let’s carefully separate the back cover from the chassis. Take your time!
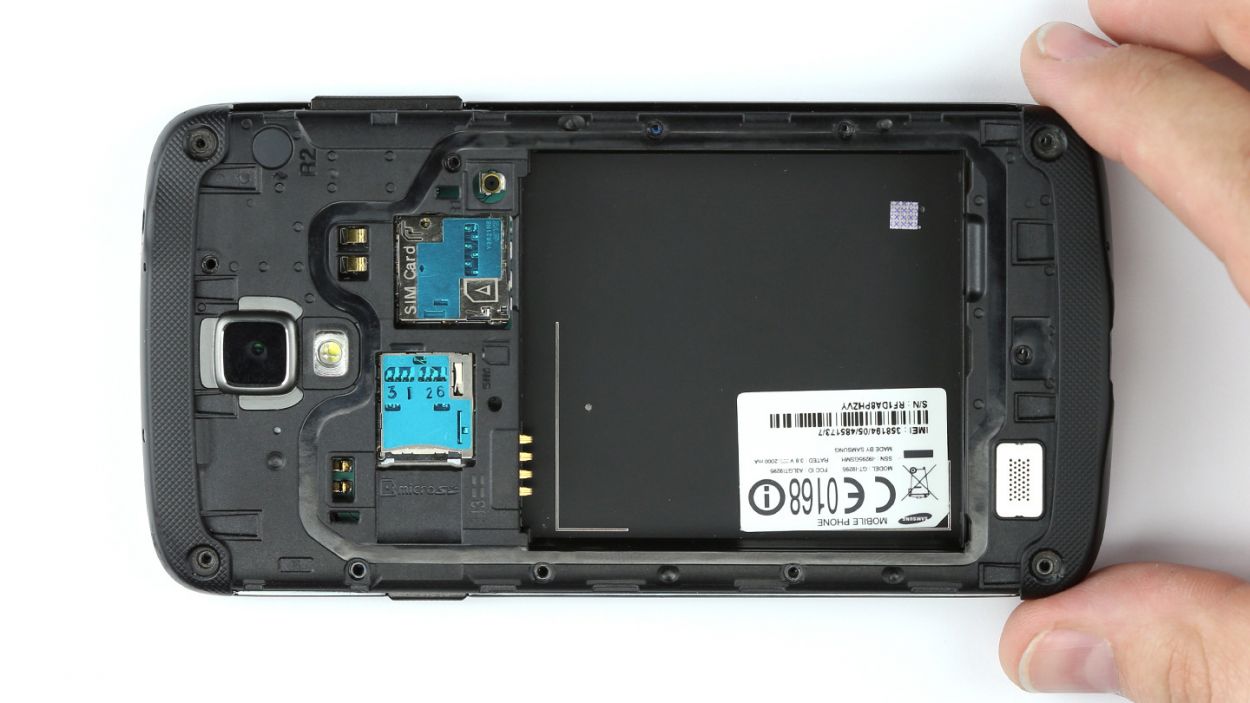
– Awesome! Go ahead and remove the back cover.

Step 3

– Get ready to breathe new life into your device by following these easy steps! Before we dive in, if you need help along the way, don’t worry! You can always schedule a repair.
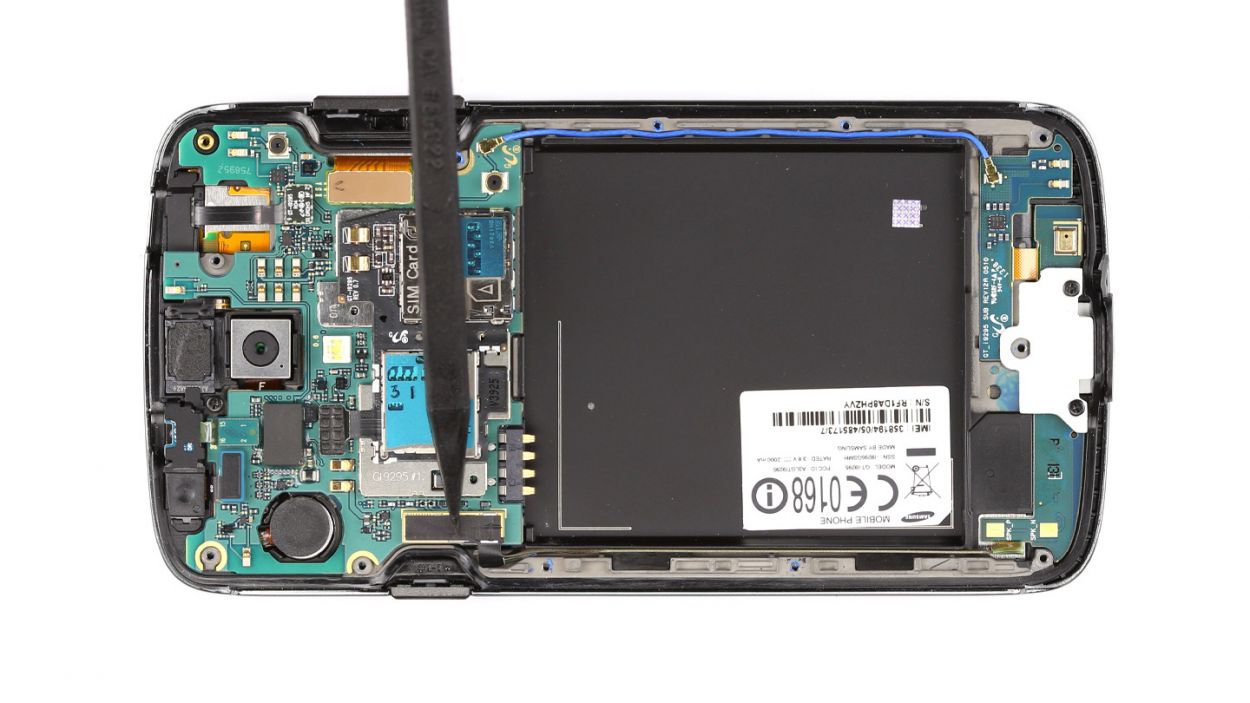
Step 4
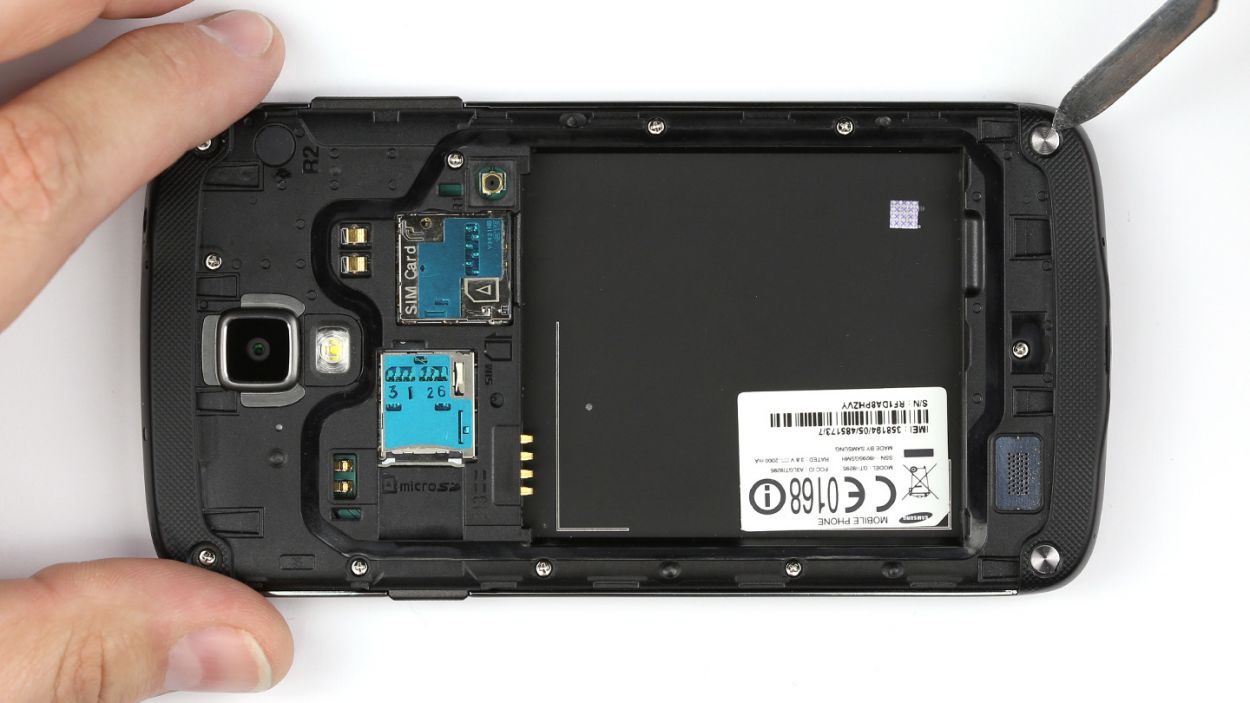
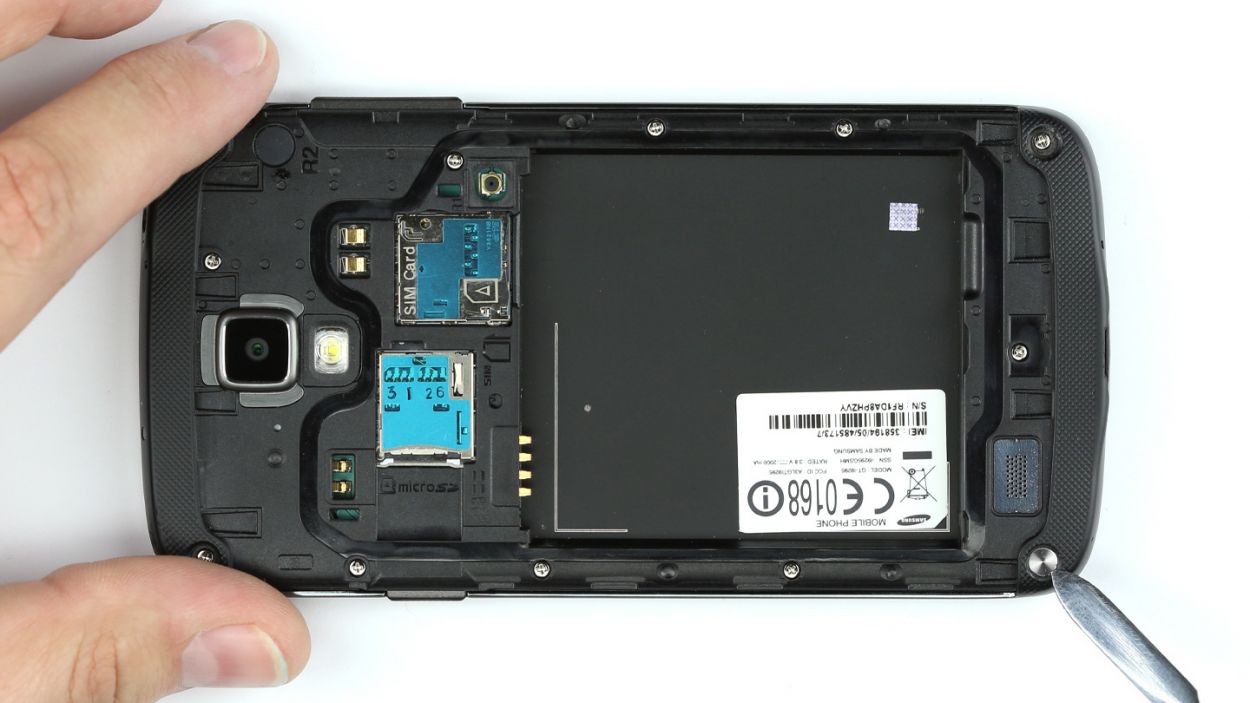
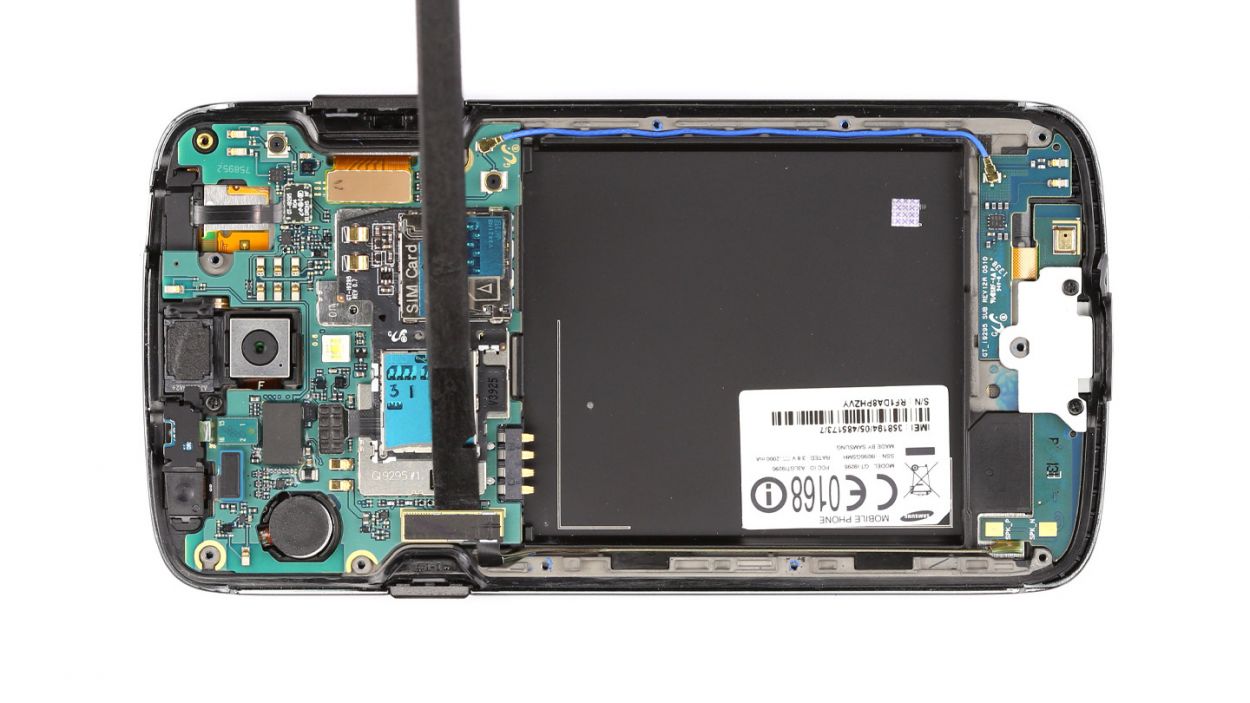
– Grab that trusty steel laboratory spatula and let’s get those four metal shields off! Slip the spatula under the covers and gently pry those little guys out of their cozy spots in the chassis. It’s a breeze to get the tip underneath—let’s do this!
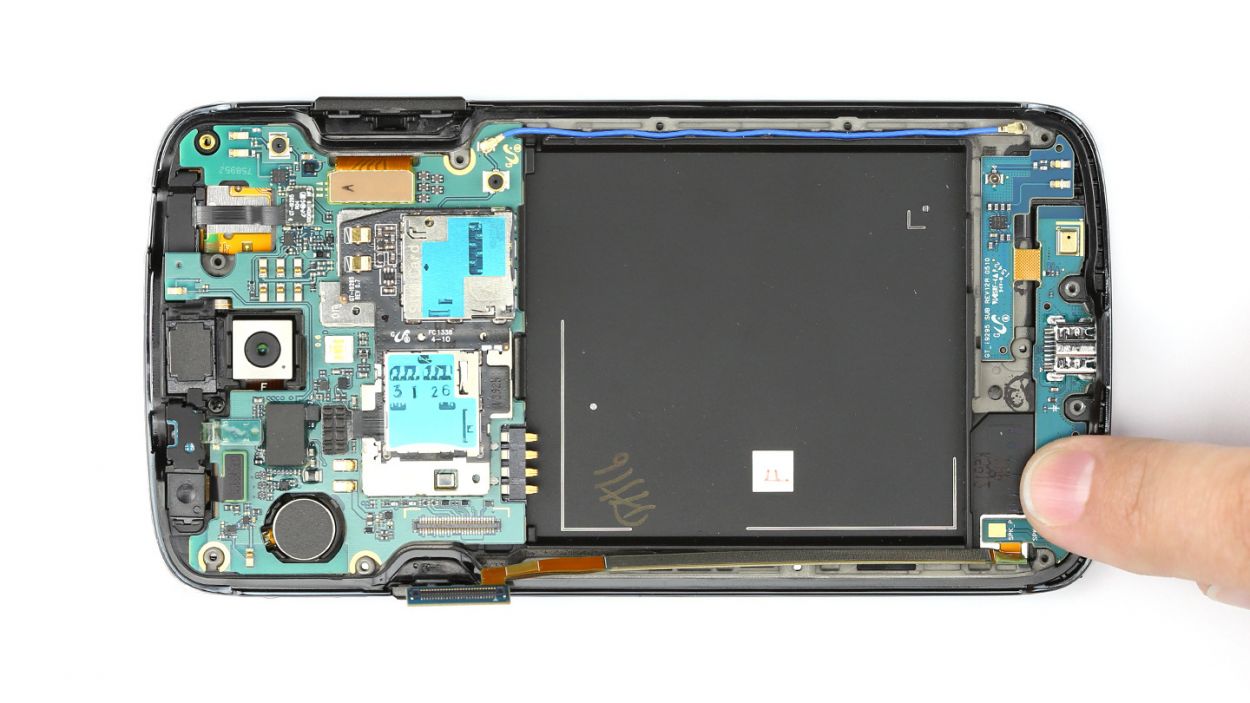
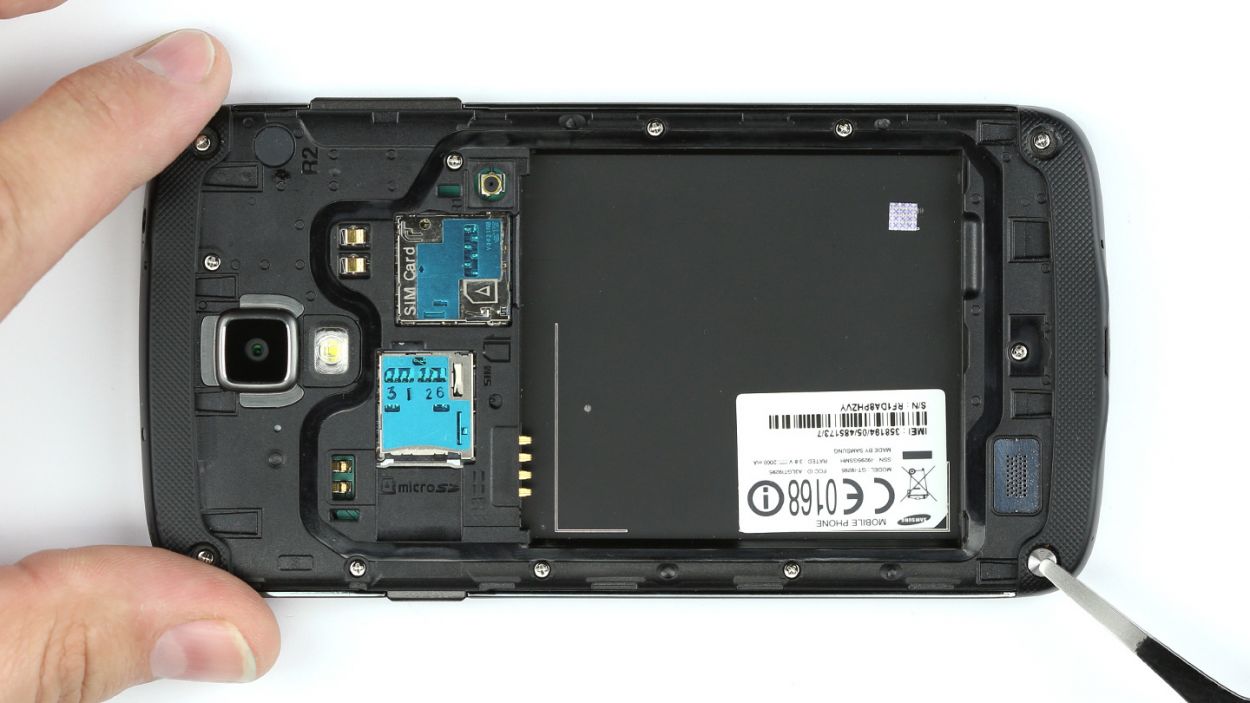
Step 5
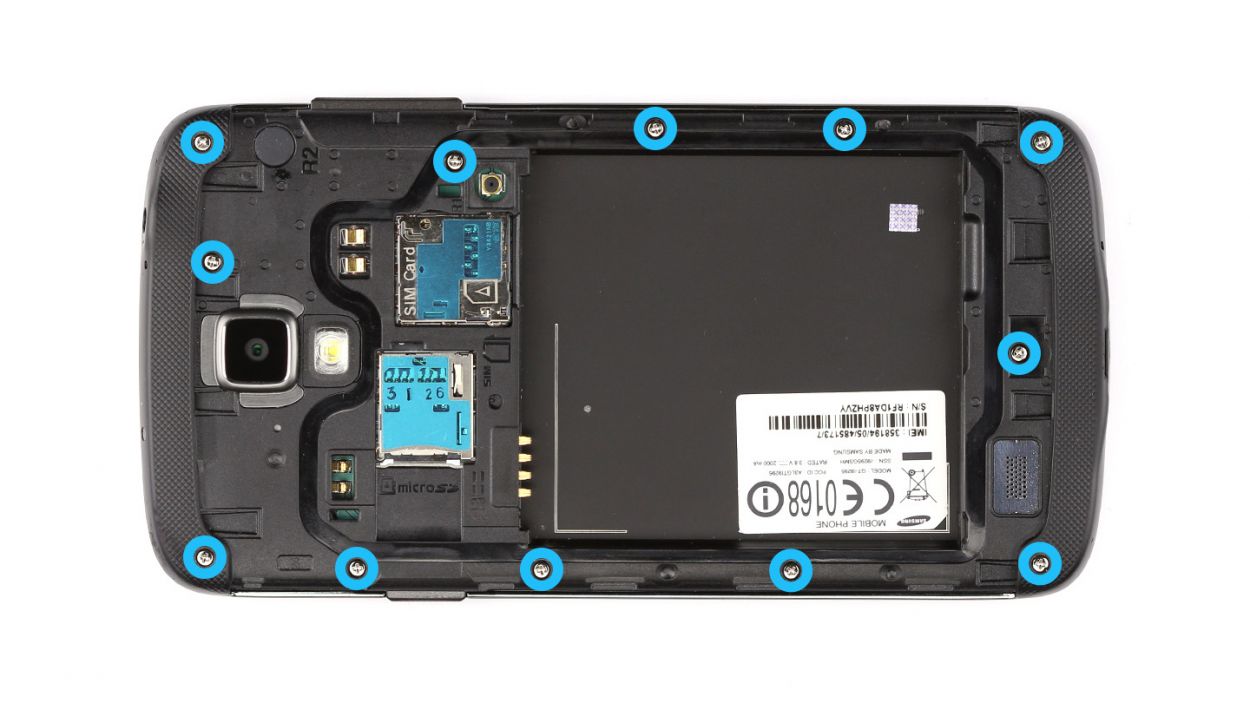
– Time to get those screws out! Carefully take out the twelve Phillips screws that hold the chassis to the display. Make sure to keep them safe in a container, so they don’t go on an adventure without you. 12 x 3.9 mm Phillips screws are what you’re looking for!
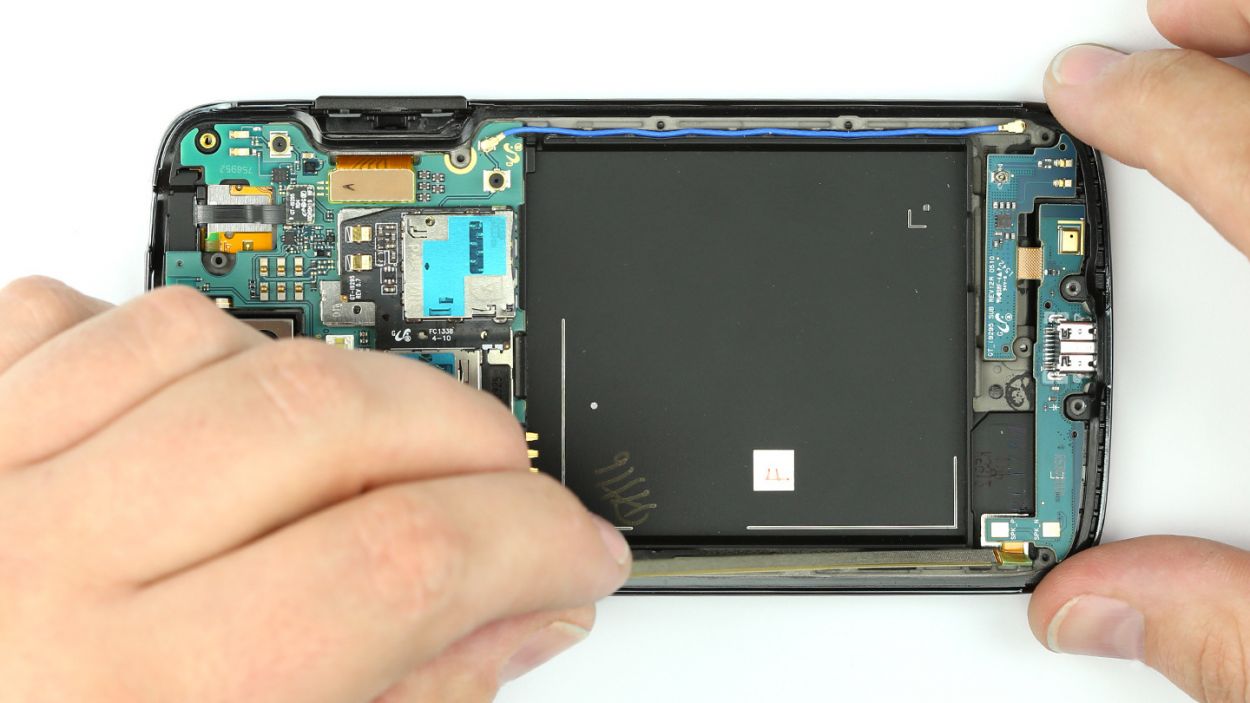
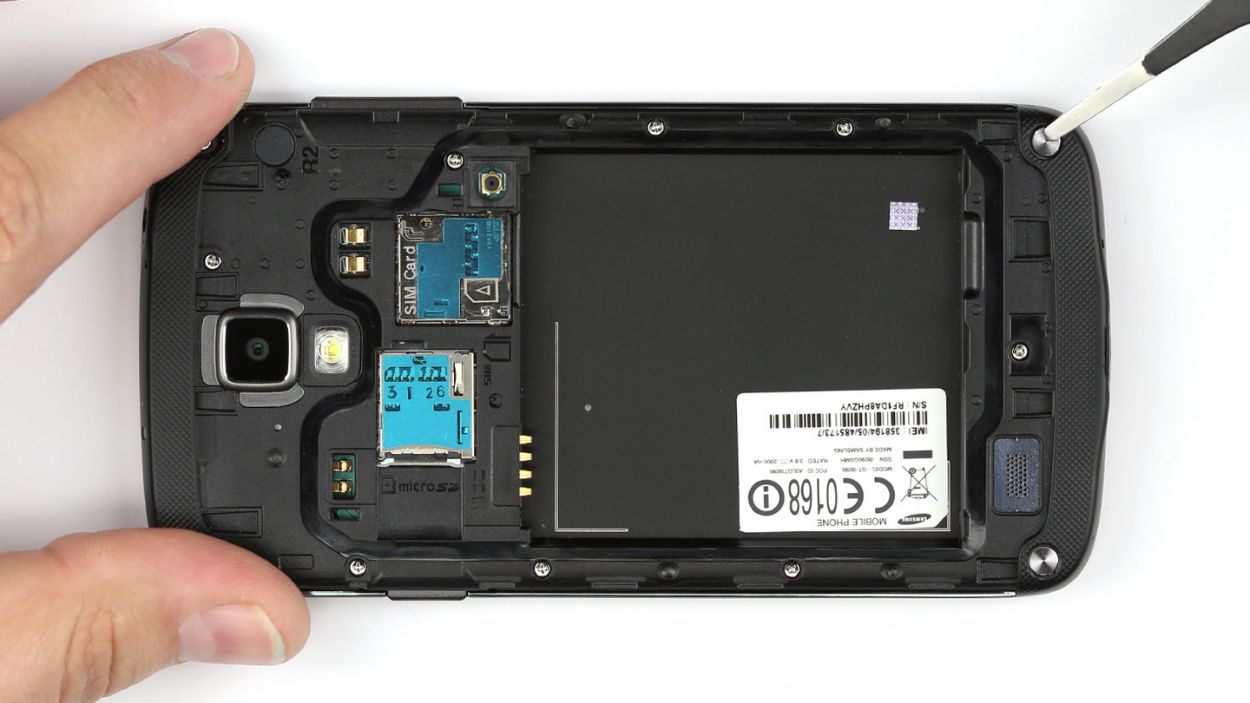
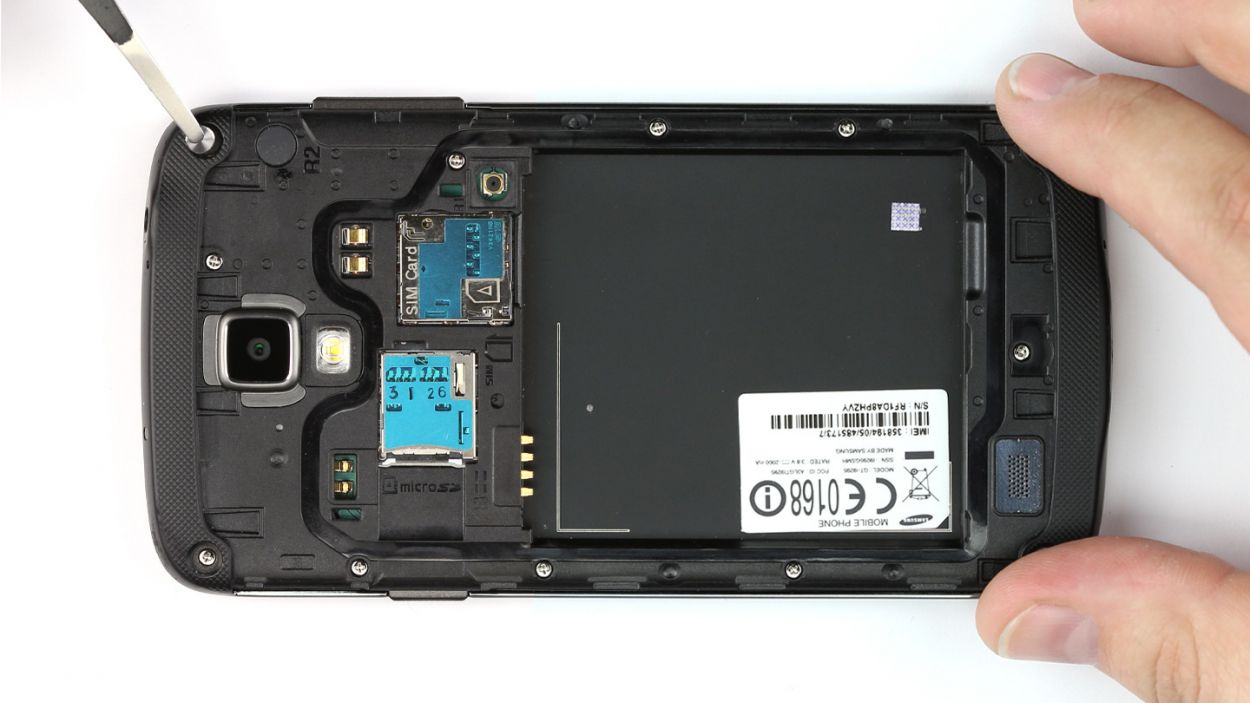
Step 6

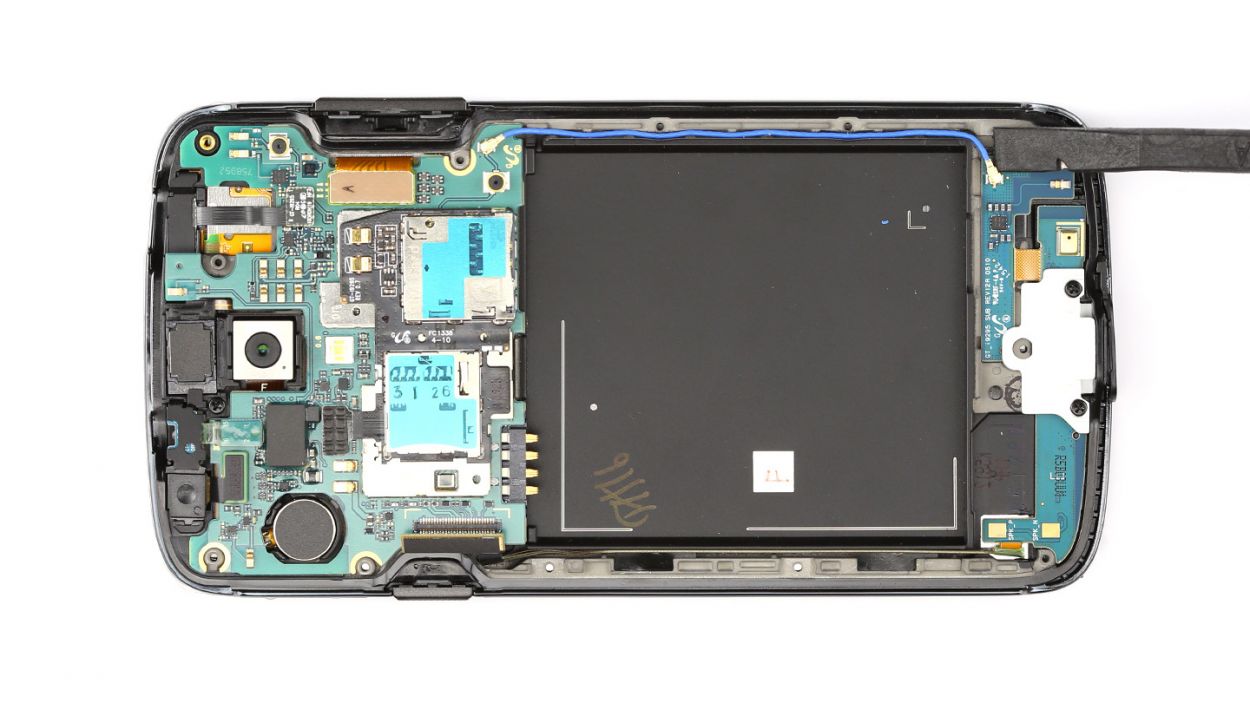
– The chassis isn’t just hanging out with the display; it’s also got some sneaky little hooks keeping it cozy. Grab your trusty steel spatula and let’s detach that chassis!
– Slide the spatula between the display and the chassis. Starting near the power button is a piece of cake!
– Gently work your spatula all the way around the device, like you’re giving it a little hug.
– Once you’ve successfully detached the chassis, go ahead and lift it away from the display. You’re doing great!
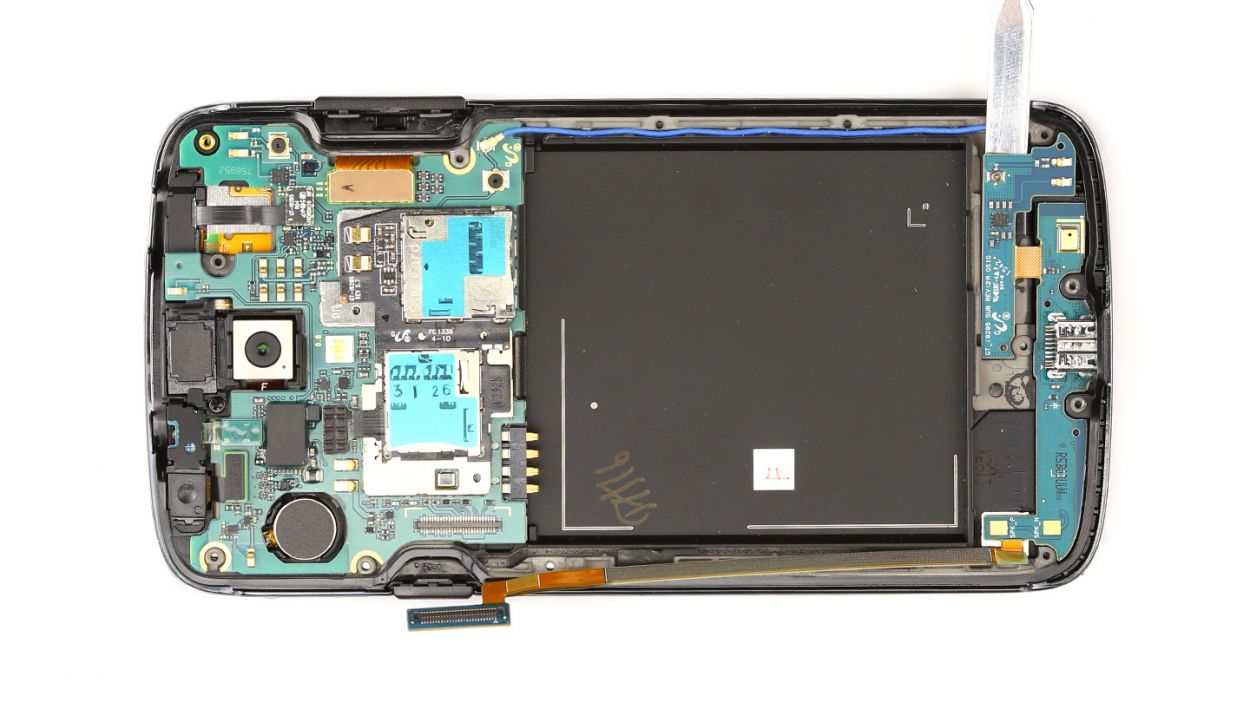
Step 7
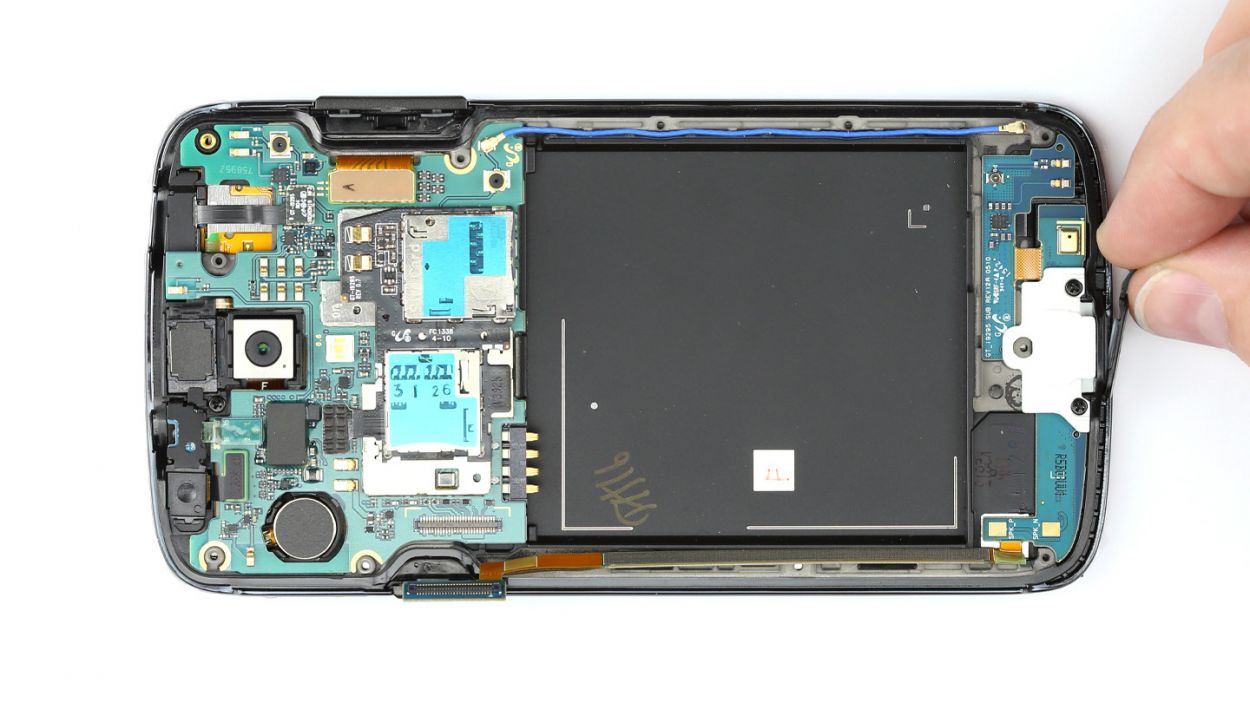
– Gently unplug the sub-board’s connector from the logic board, giving it a little wiggle if it’s feeling stubborn.
– Carefully detach the antenna cable from the sub-board, making sure to be gentle so it doesn’t put up a fight.
Step 8
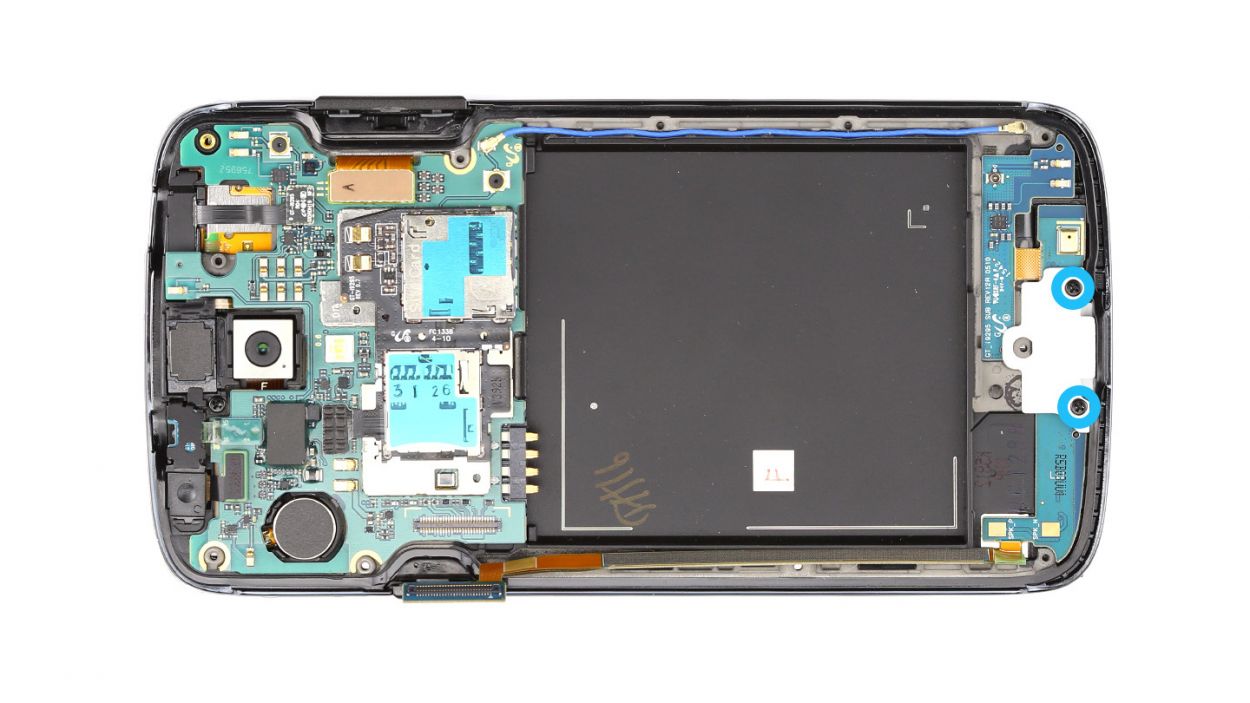
– Alright, time to get this fix started! Let’s begin by removing the cover from the trusty old USB port. Yep, it’s that easy!
– Next up, we’ve got two tiny Phillips screws (2 x 3.0 mm, don’t worry if you need help with that, schedule a repair!), keeping the white cover attached to the sub-board. Un-screw those babies!
– Time to say goodbye to that pesky USB cover! Just carefully remove it from the enclosure, and we’ll be one step closer to getting your device up and running.
Step 9
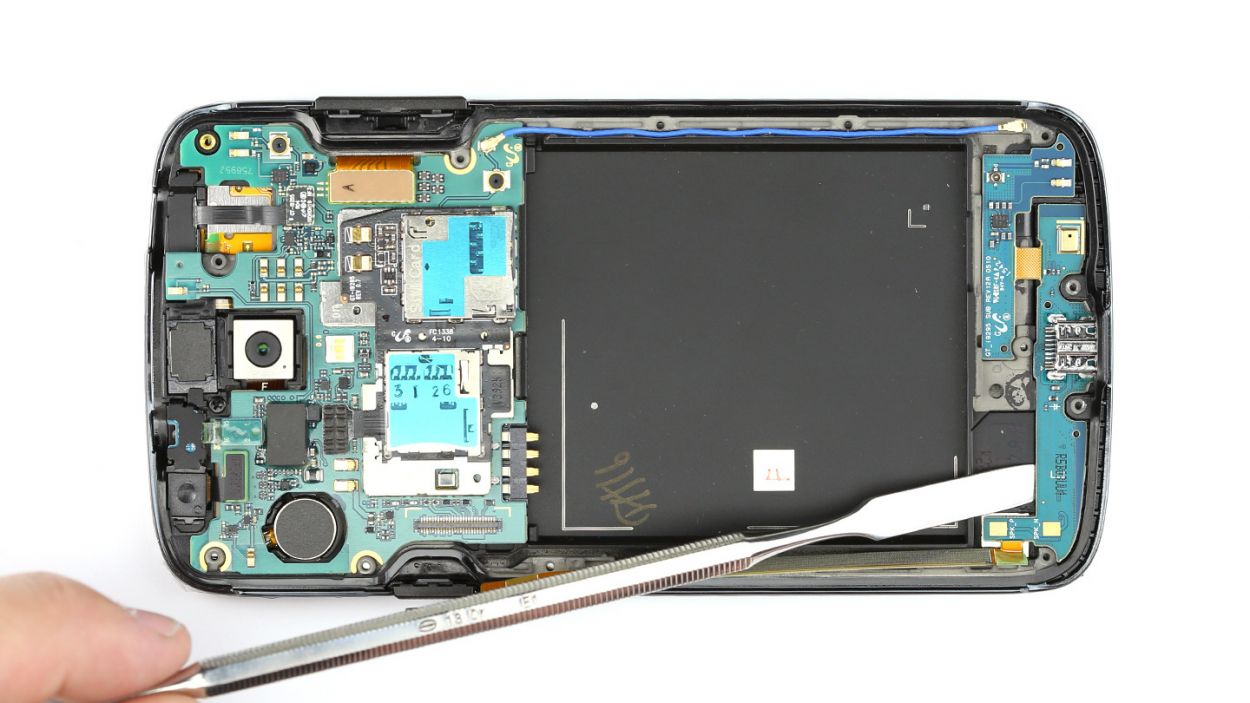
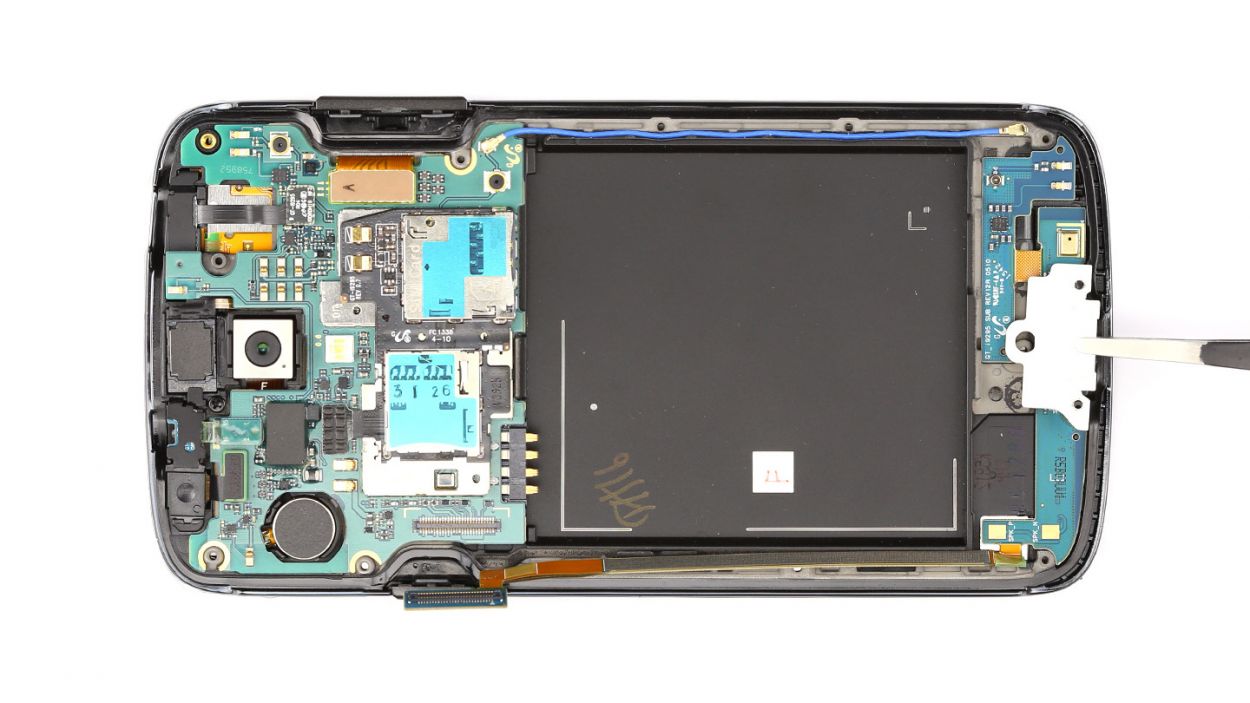
– The sub-board is snugly glued to the enclosure. Grab your trusty steel spatula and gently work your magic to free the sub-board. Slide the spatula underneath it with care until it’s completely liberated.
– Now, go ahead and lift the sub-board out of the enclosure. You’ve got this!
Step 10


– Gently place the sub-board into the enclosure, ensuring it’s snug and secure.
– Give it a little love by pressing down on the sub-board with your fingers to help the glue do its magic.
Step 11


– Slide that snazzy white cover of the USB port right back into its cozy spot in the enclosure.
– Secure the sub-board to the enclosure using those two trusty Phillips screws – you know, the 2 x 3.0 mm kind.
– Now, pop that USB port cover back on and give yourself a pat on the back!
Step 12

– Time to get that antenna cable snugly connected to the sub-board!
– Now, let’s reconnect the logic board to the sub-board like a pro.


Step 14

– Time to get those screws in! Attach the chassis using the twelve 3.9 mm Phillips screws. It’s like giving your device a super-strong hug.
Step 15

– Grab your trusty tweezers and carefully place those four metal shields back where they belong.
– Give each cover a solid press to make sure they’re snug and secure.
Step 16
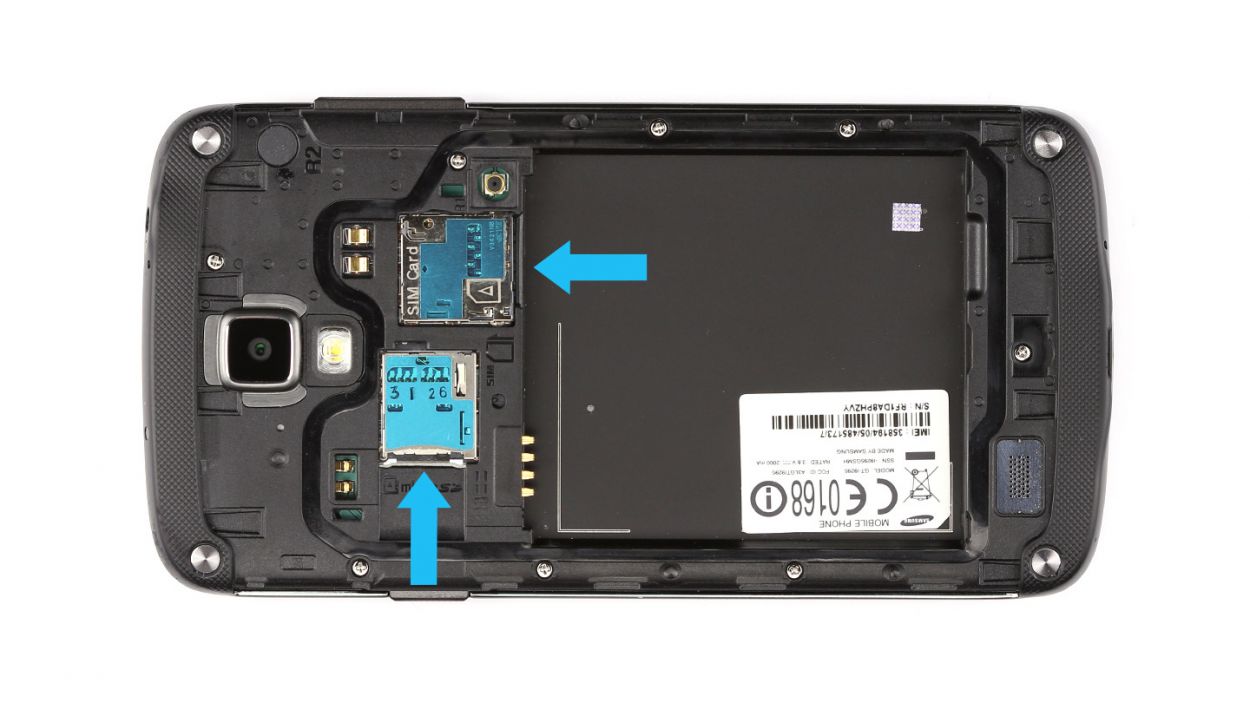
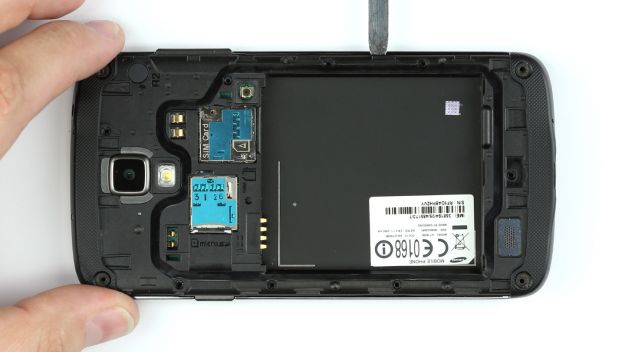
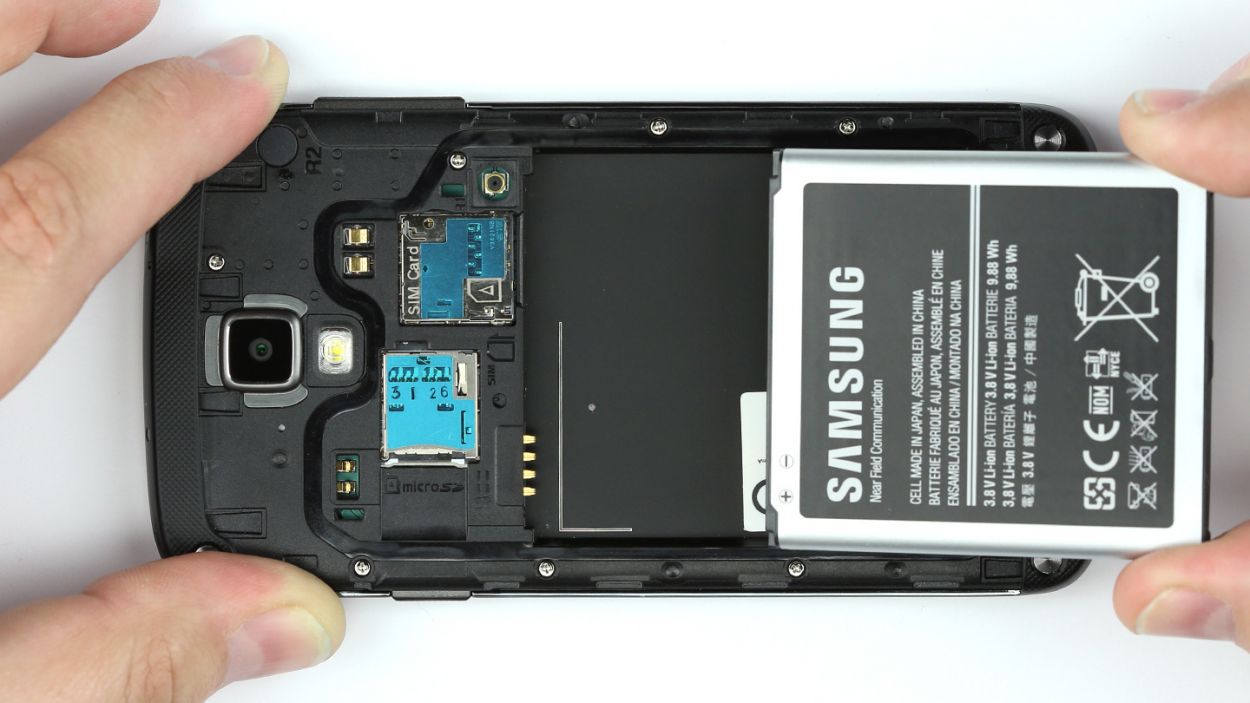
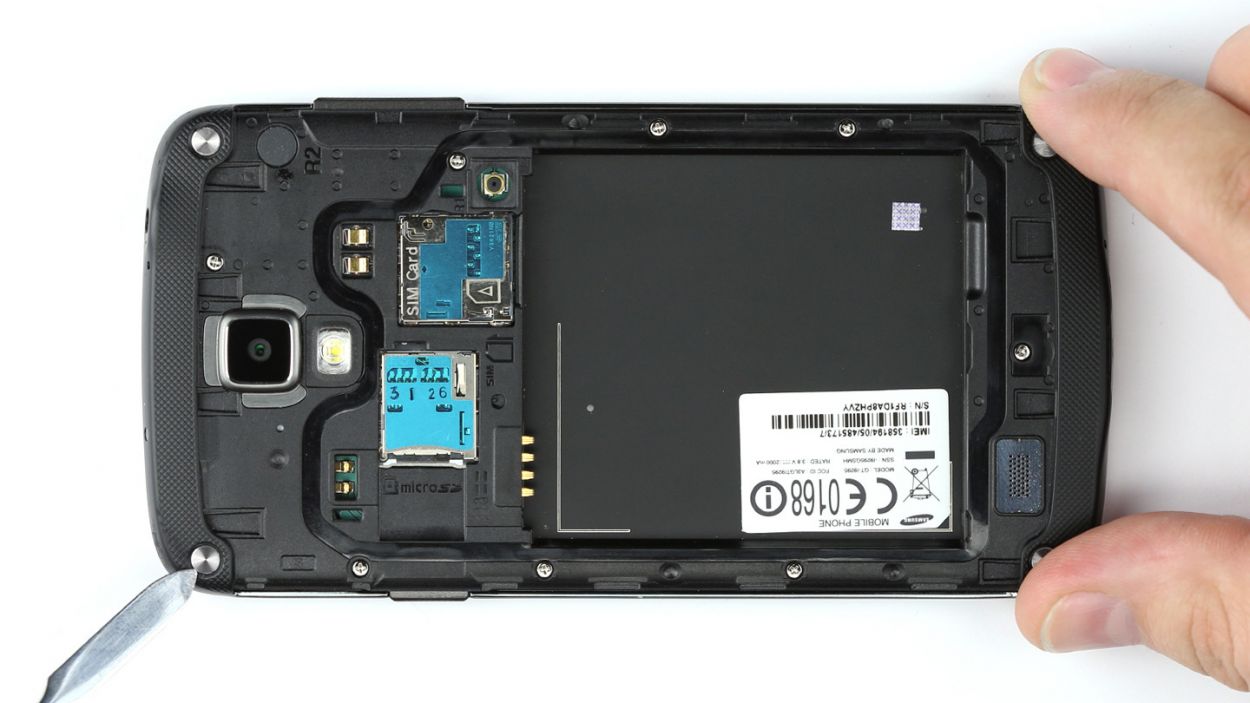
– Pop in the SIM card and slide in the microSD card like a pro!
Step 17

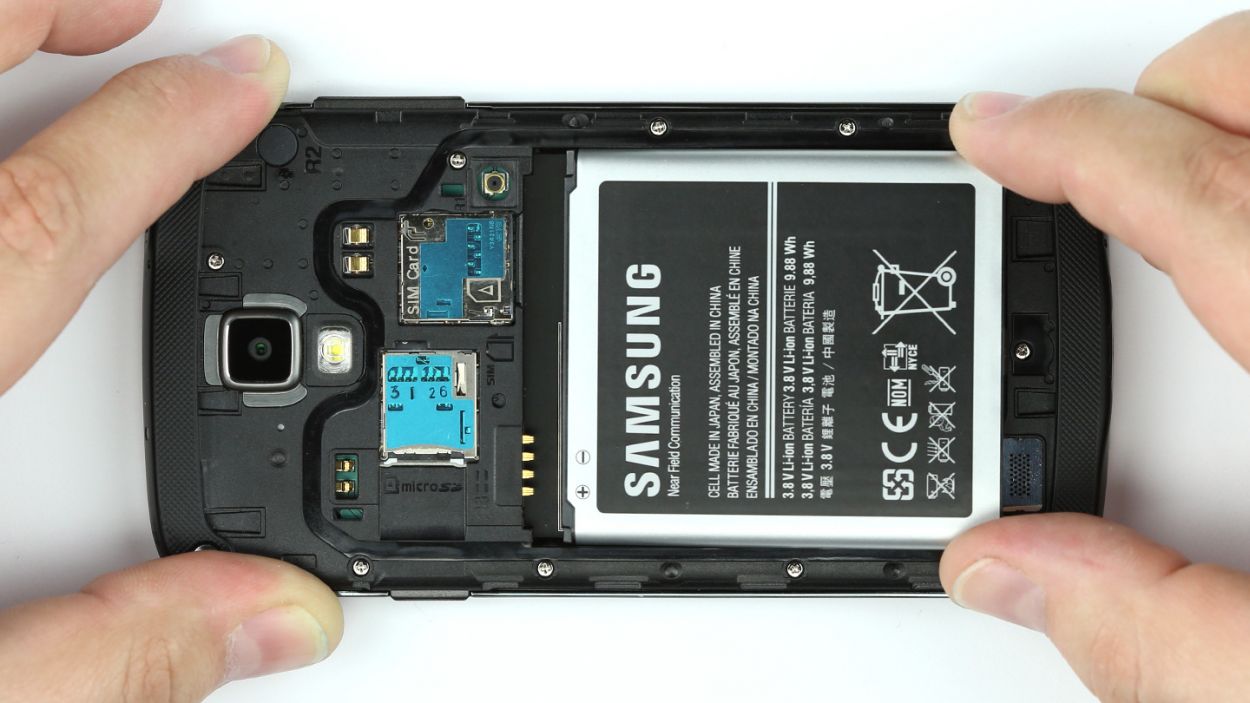
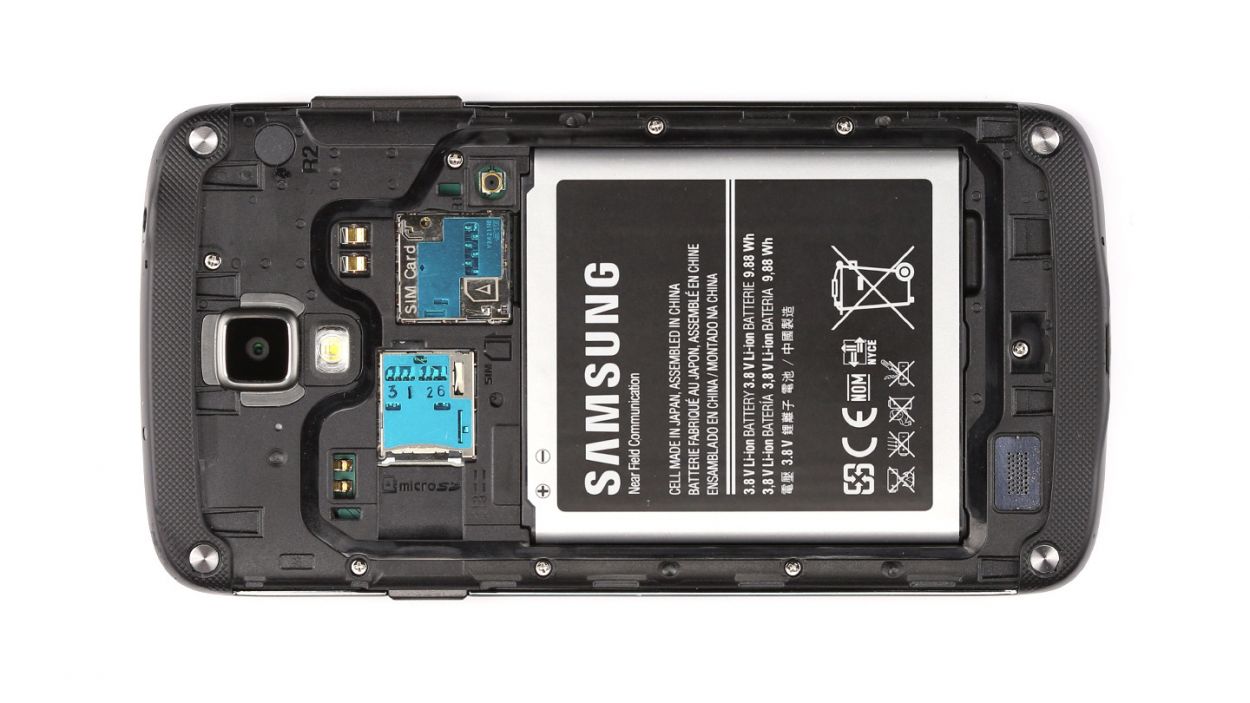
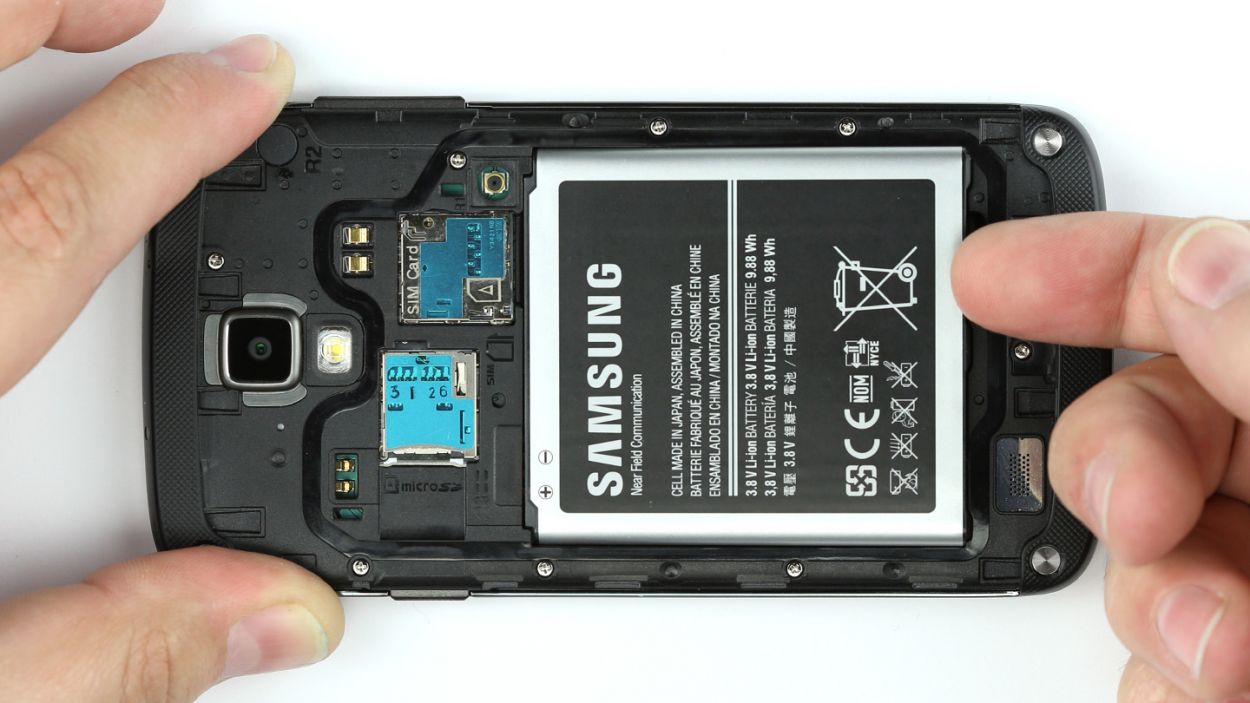
– Slide the battery into your Galaxy S4 Active like it’s a cozy little bed!
Step 18


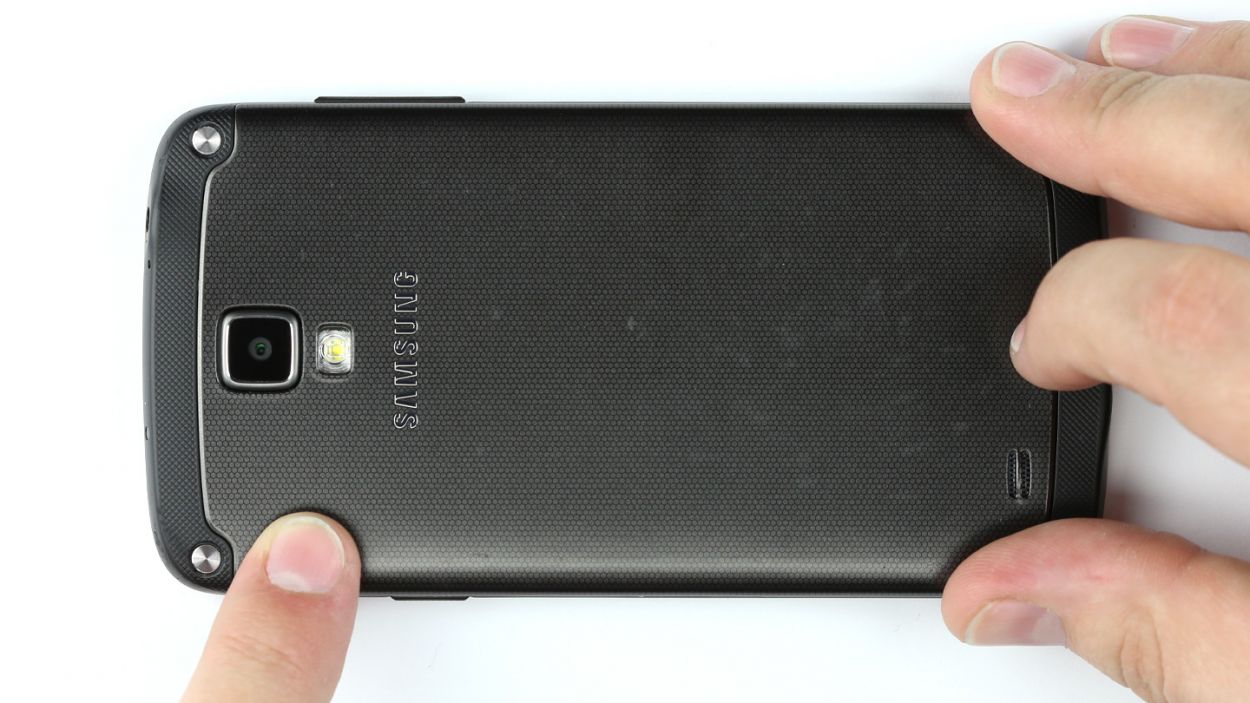
– Let’s get that back cover snugly resting on the chassis!
– Make sure the bottom of the chassis is ready to welcome the back cover with open arms.
– Now, gently press down all around the back cover so those pesky retaining clips can snap into place like they were meant to!