DIY Guide to Replace Samsung Galaxy S4 Active Speaker
Duration: 30 min.
Steps: 14 Steps
Ready to give your Galaxy S4 Active a little TLC? In this guide, we’ll walk you through replacing that pesky, broken speaker all by yourself! If your tunes are barely a whisper or your ringtone is playing hide and seek when calls come in, it’s time for a change. Let’s get started!
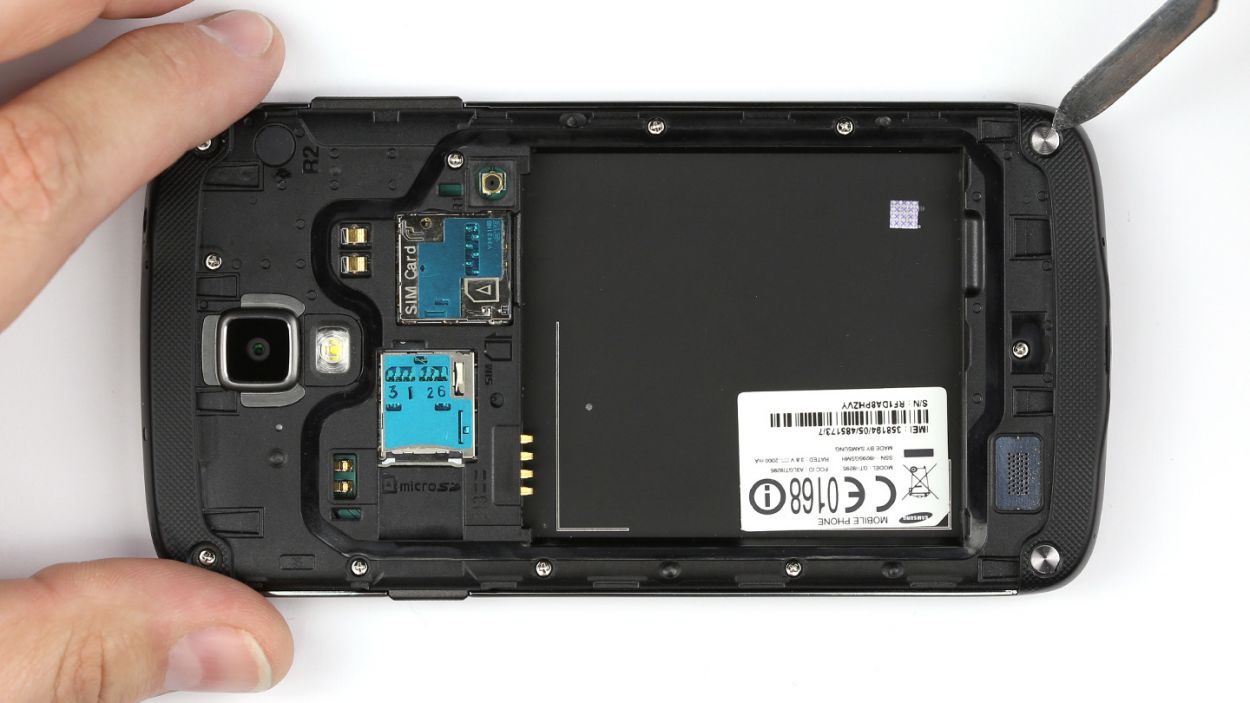
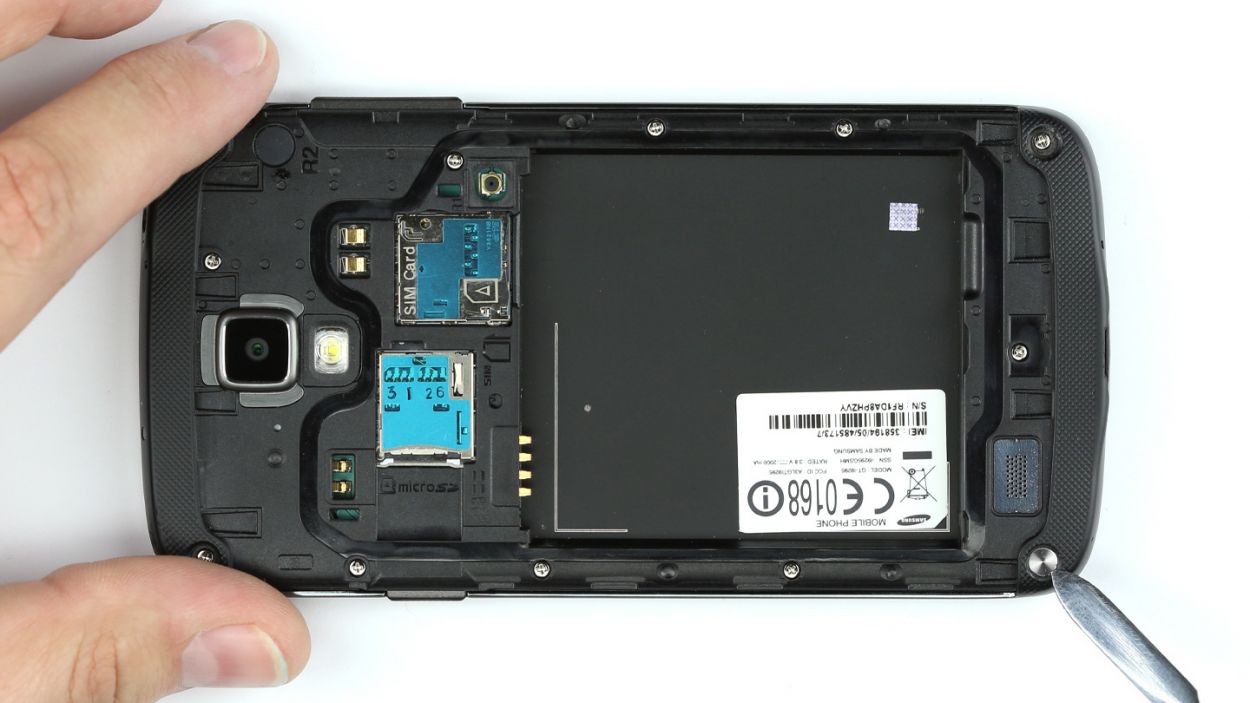
Step 1
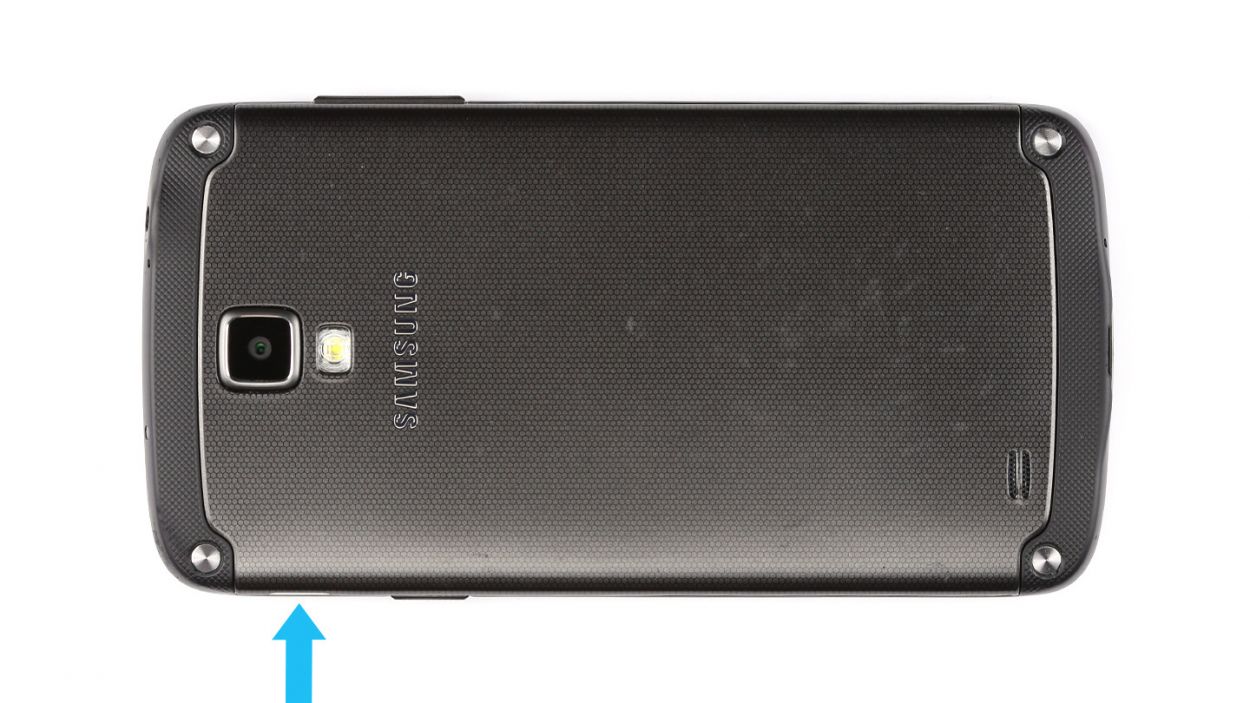
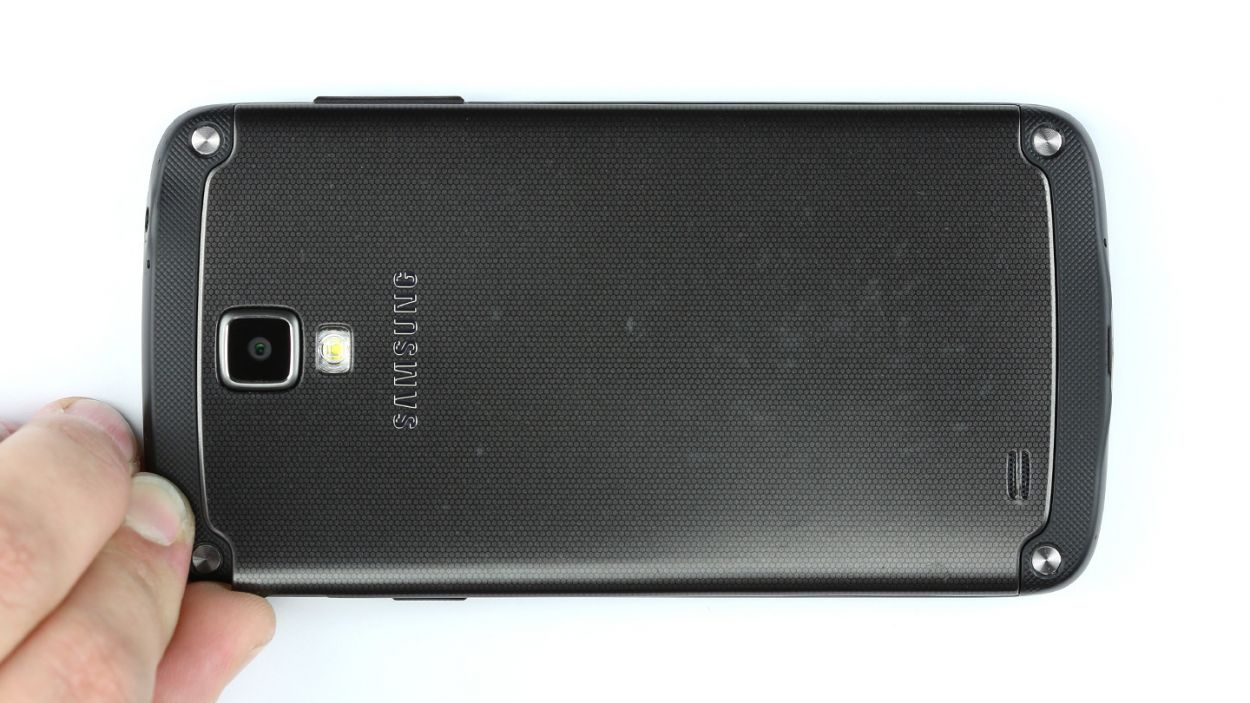
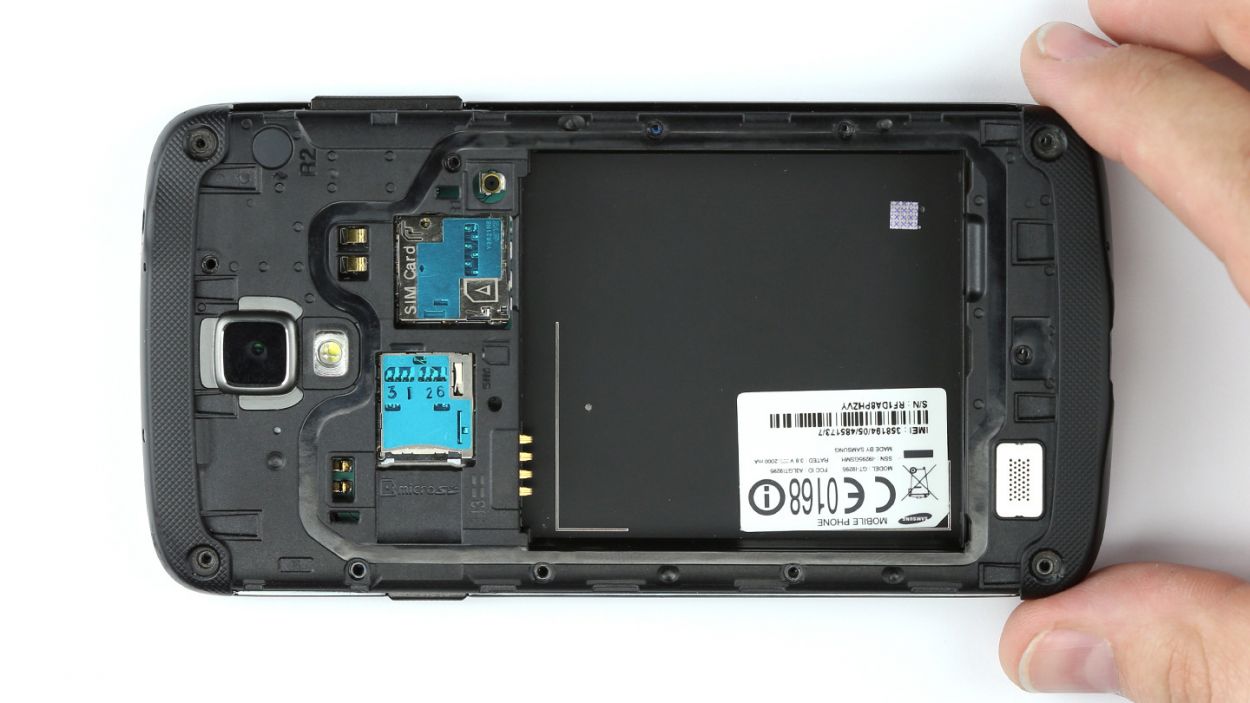
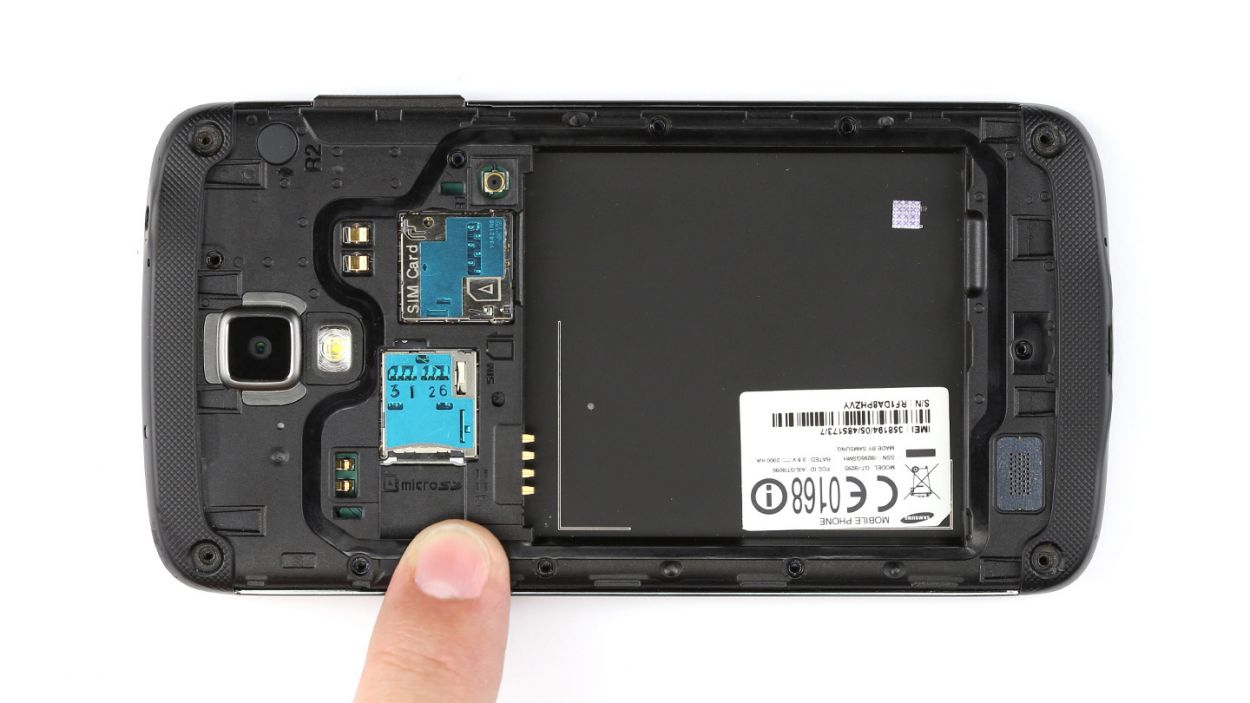
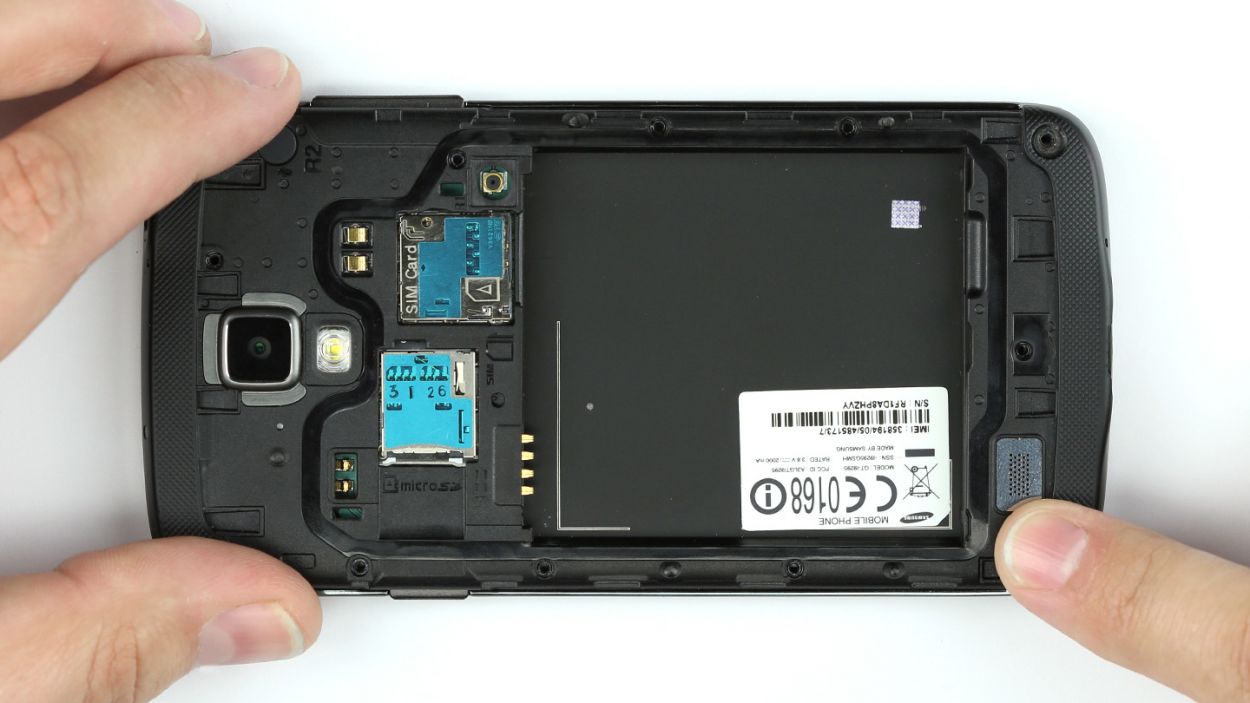
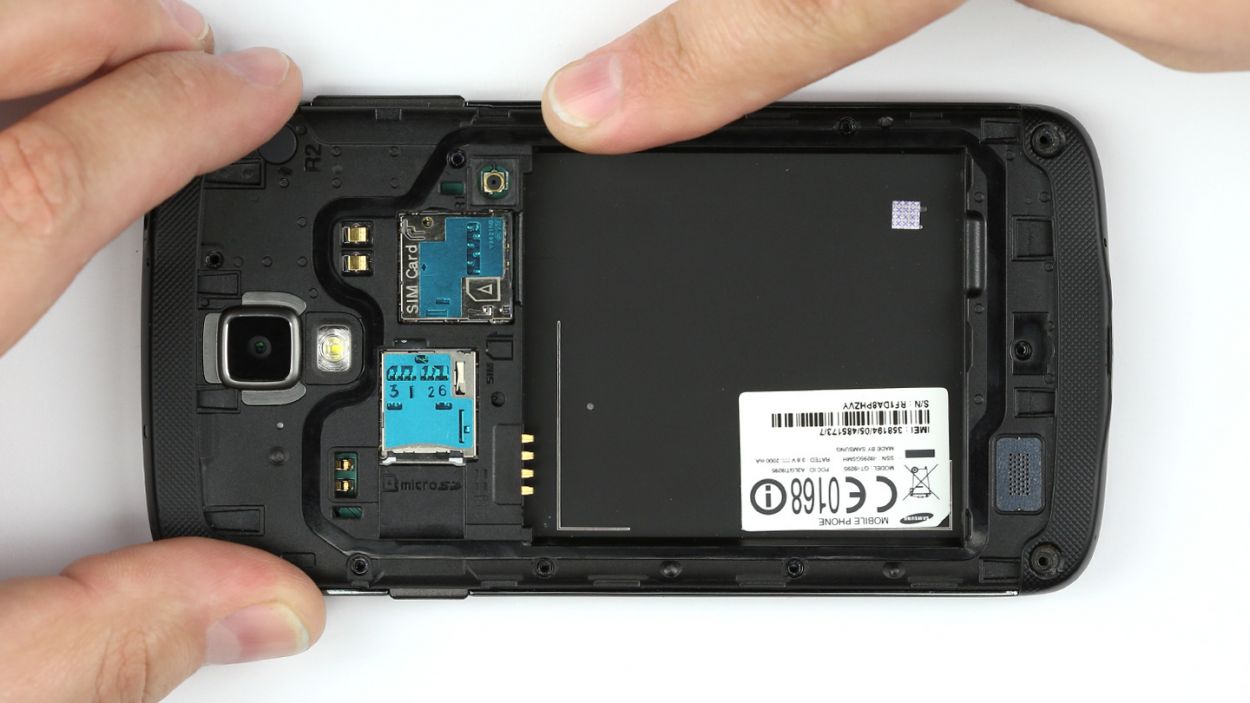
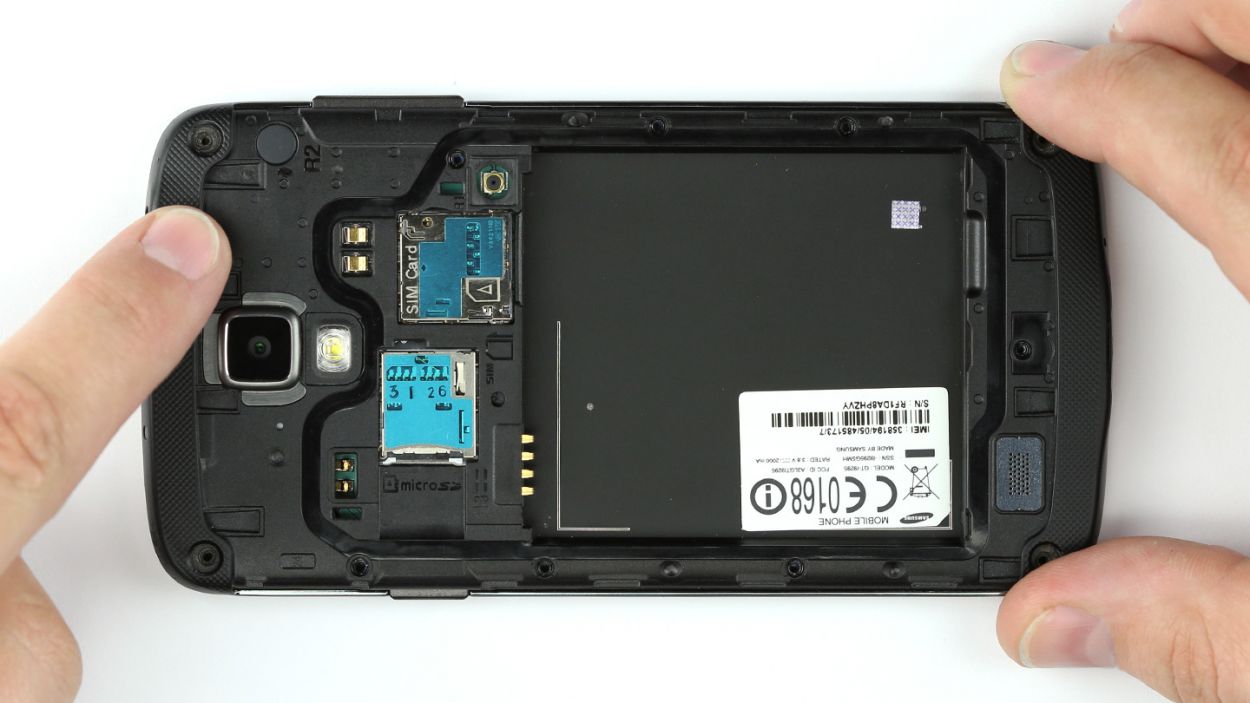
– First things first! There are some tiny clips holding the back cover snugly to the chassis. Look for a little recess right above the power button – that’s your golden ticket! Use your fingernail or a spudger to gently lift the cover from this spot.
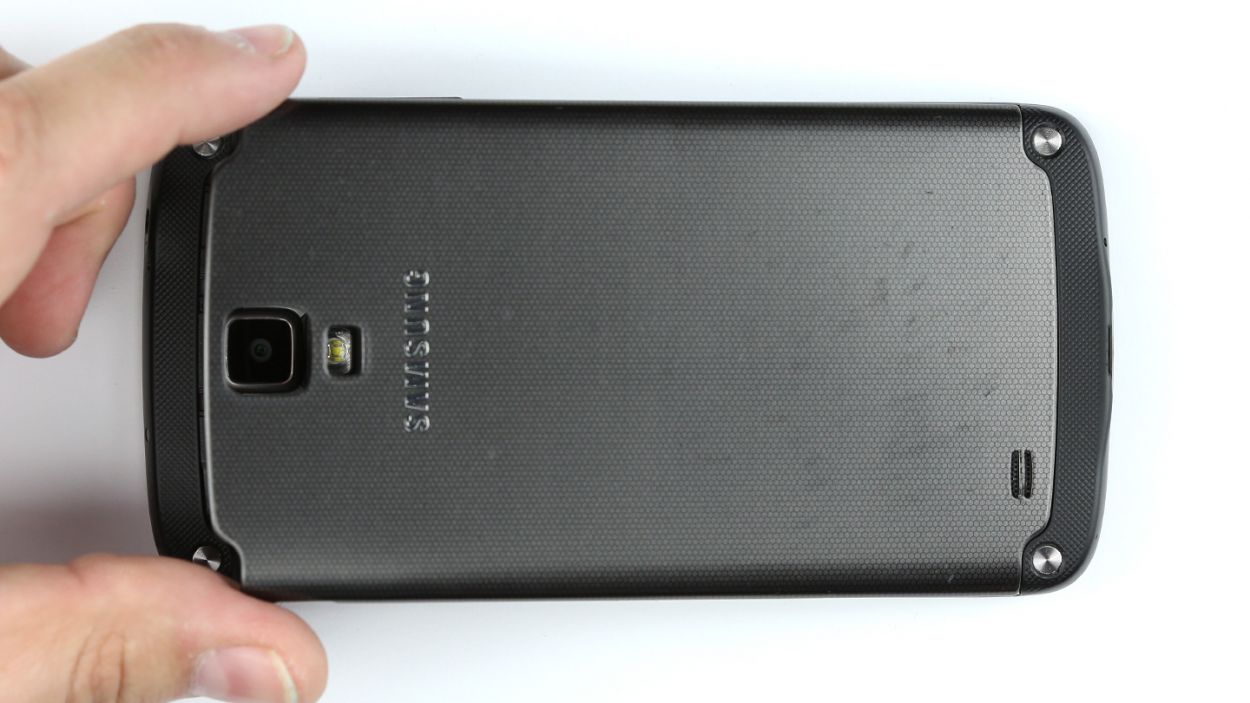
– Now, with a bit of care, disconnect the back cover from the chassis. You’ve got this!
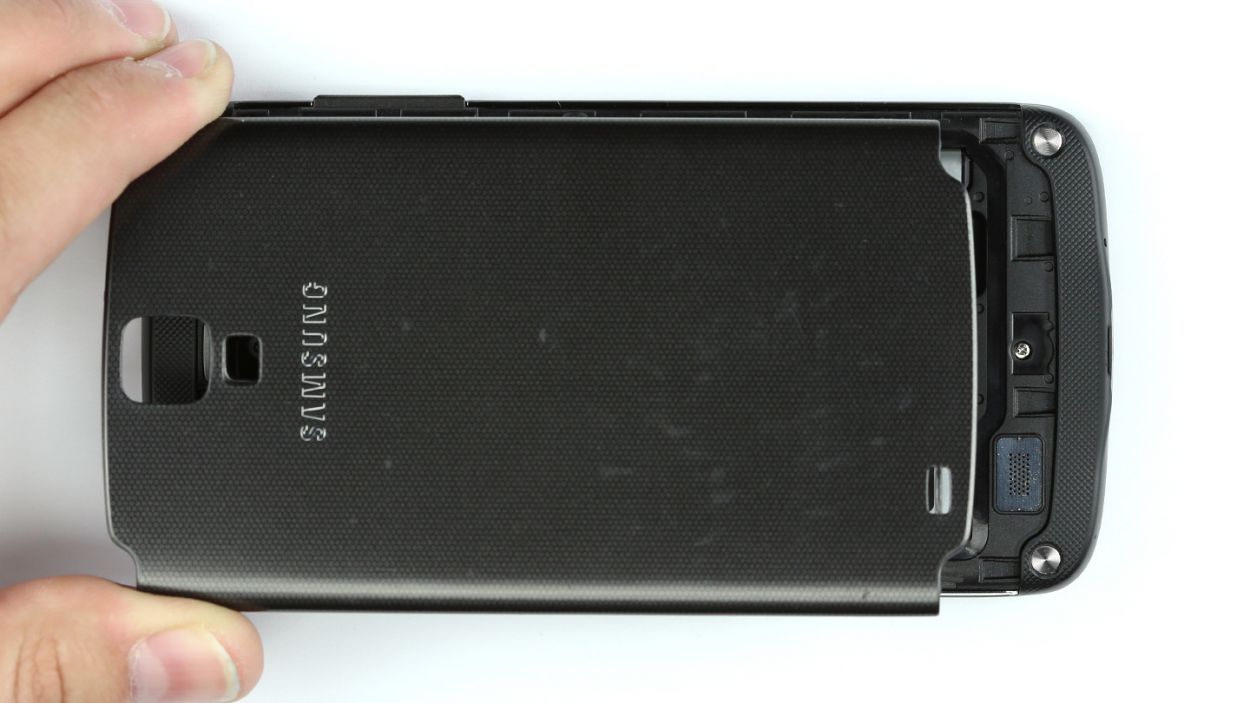
– Finally, go ahead and remove the back cover. Easy peasy!

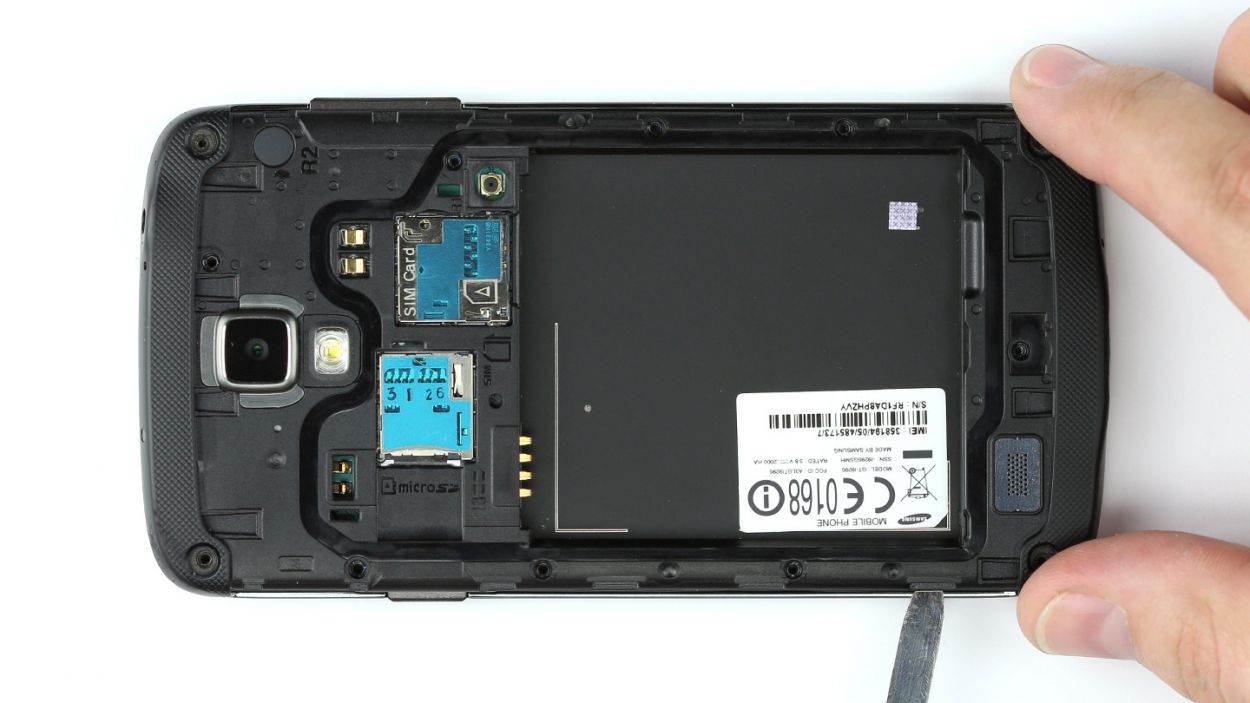
Step 3

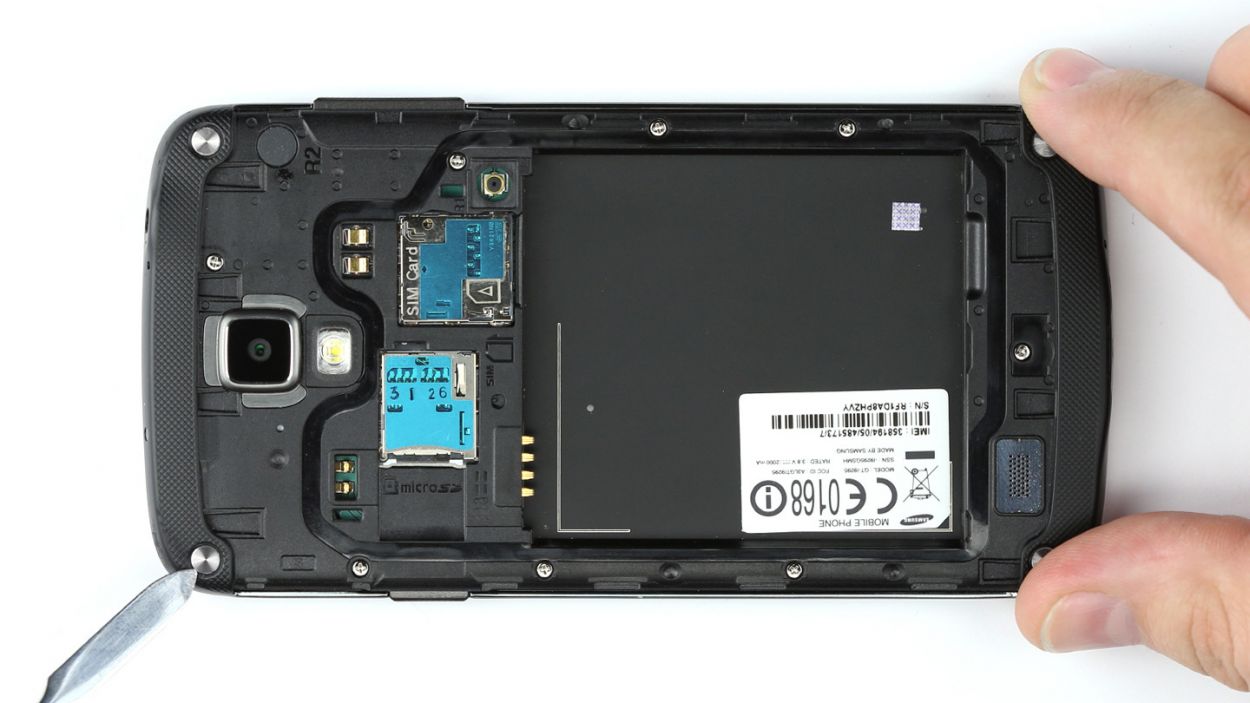
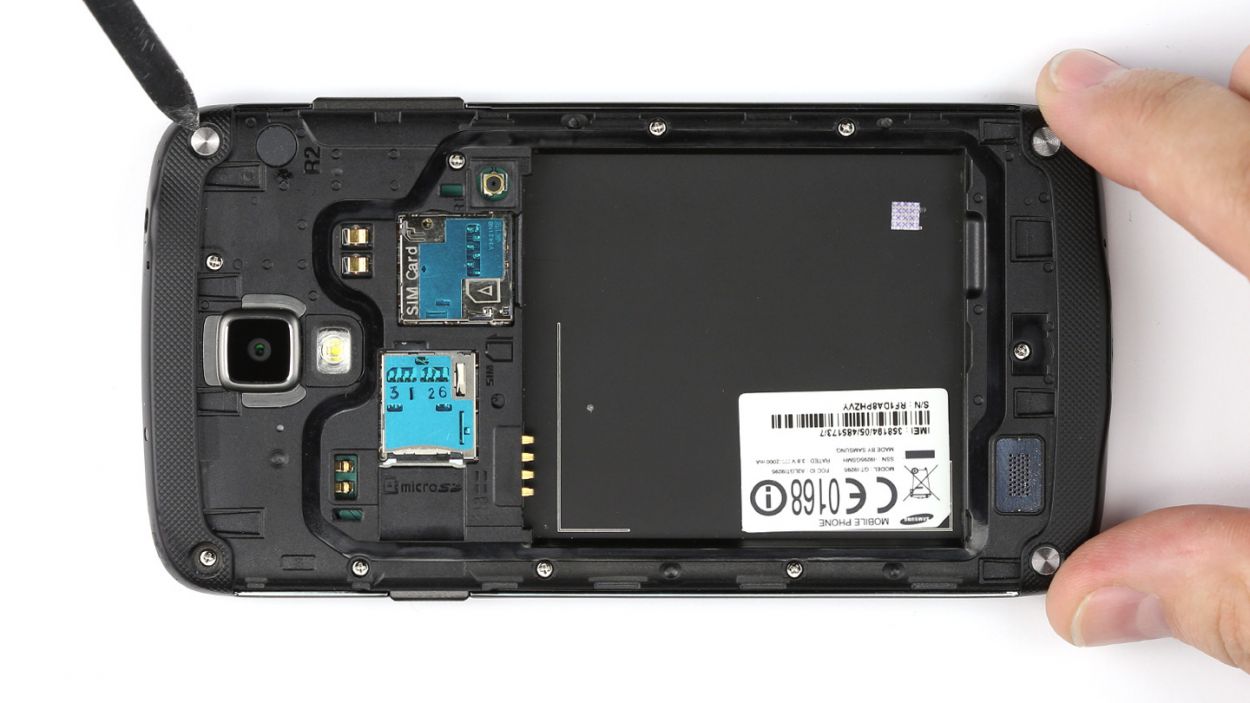
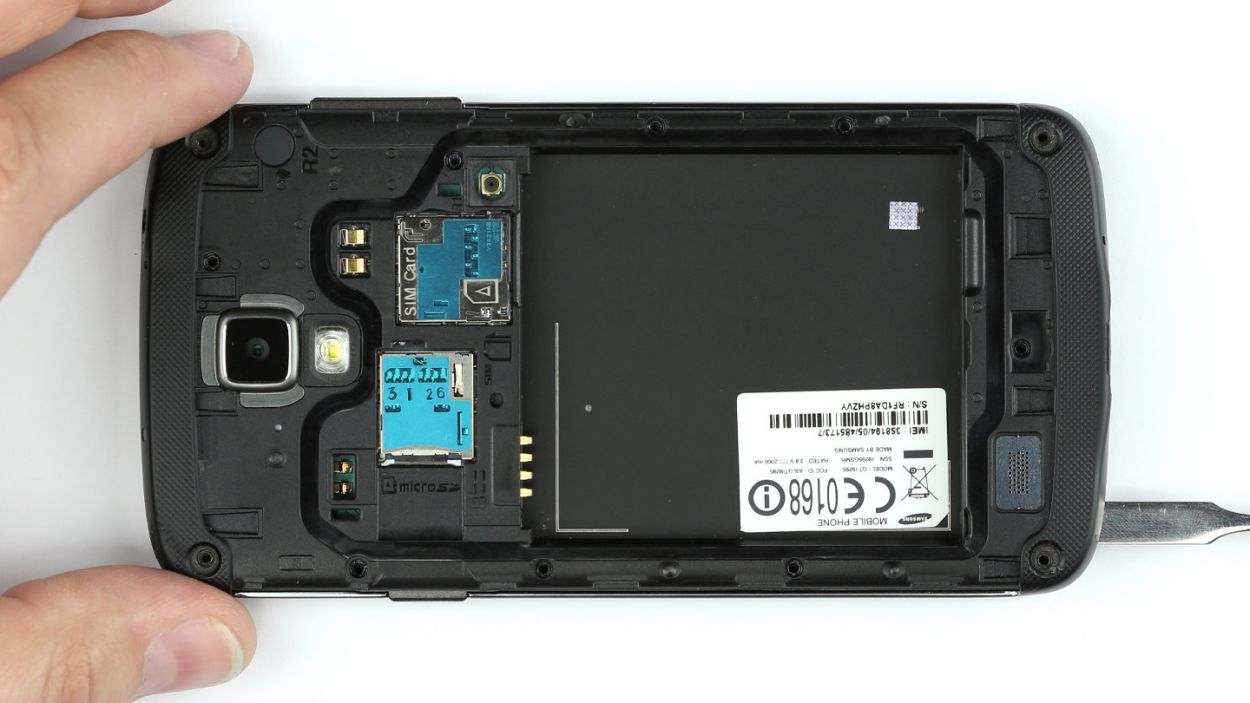
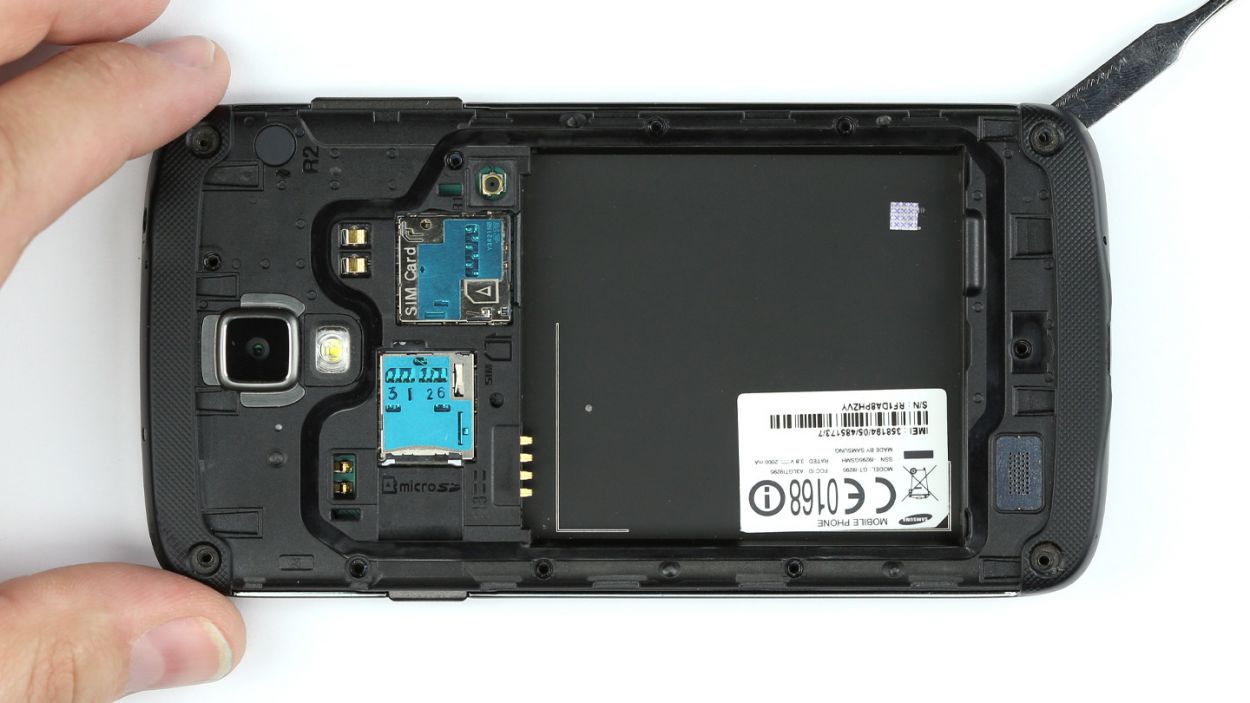
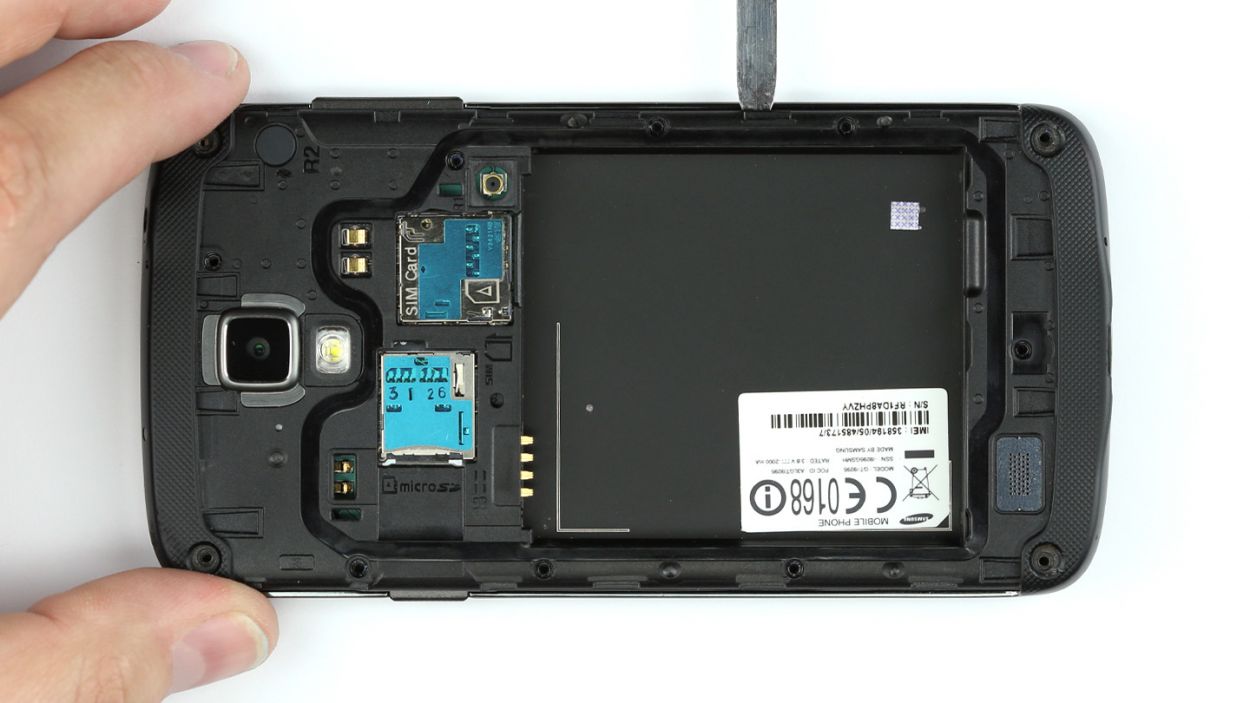
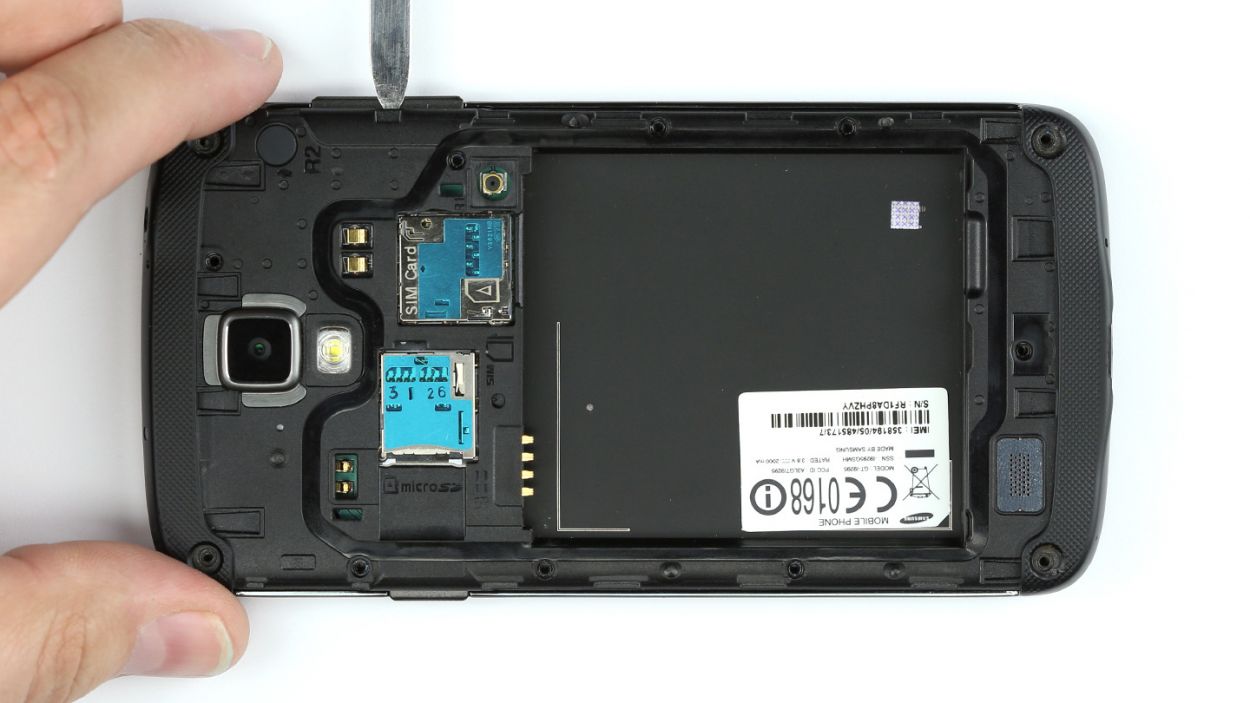
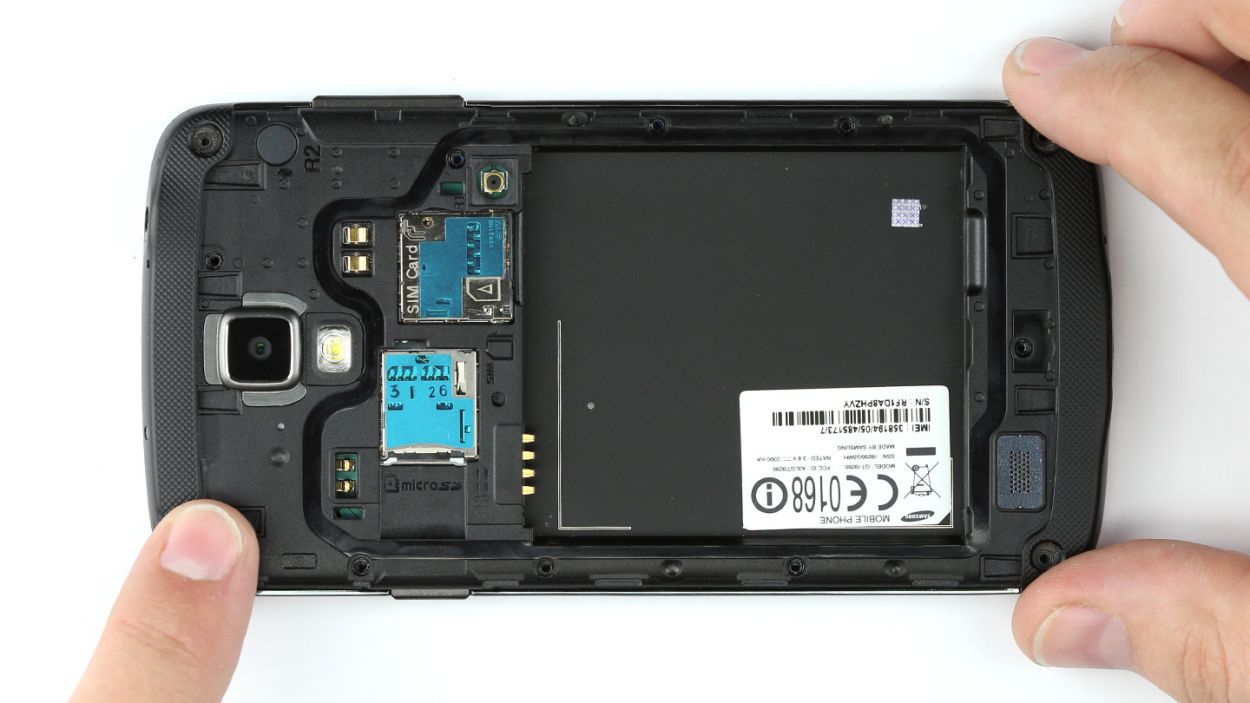
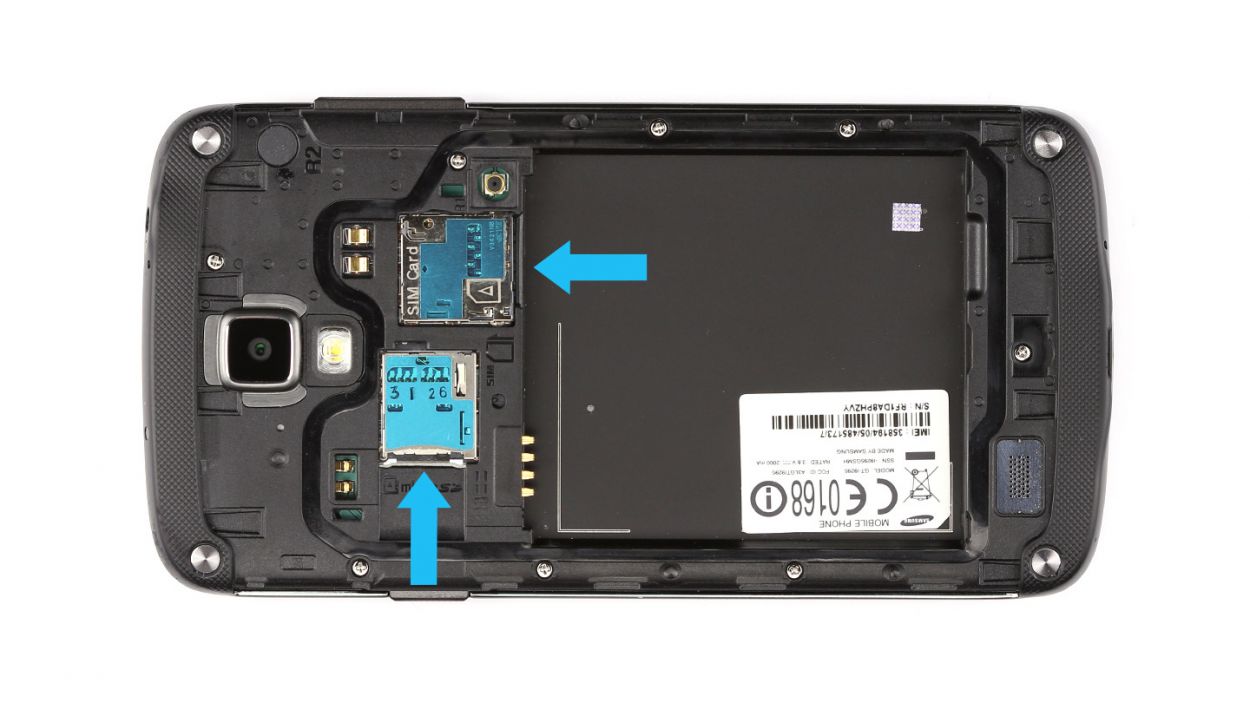
– Take out the SIM card and that sneaky microSD card. Let’s make some space for the magic to happen!
Step 4
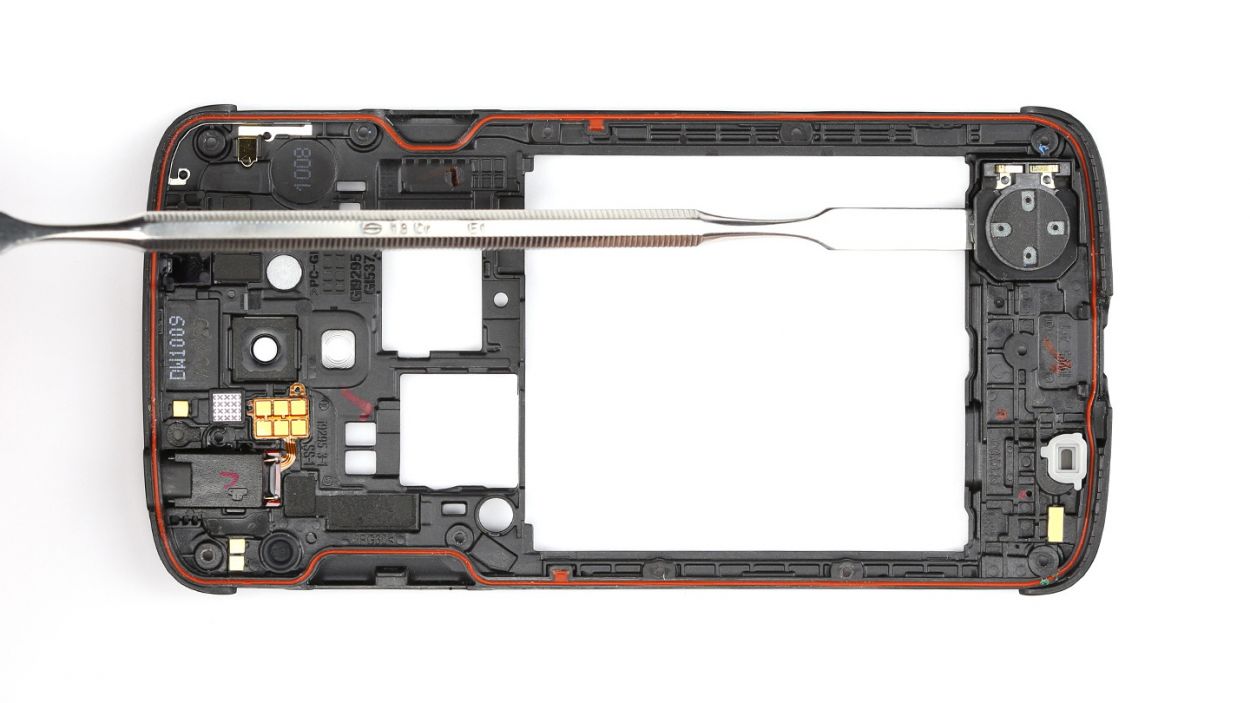
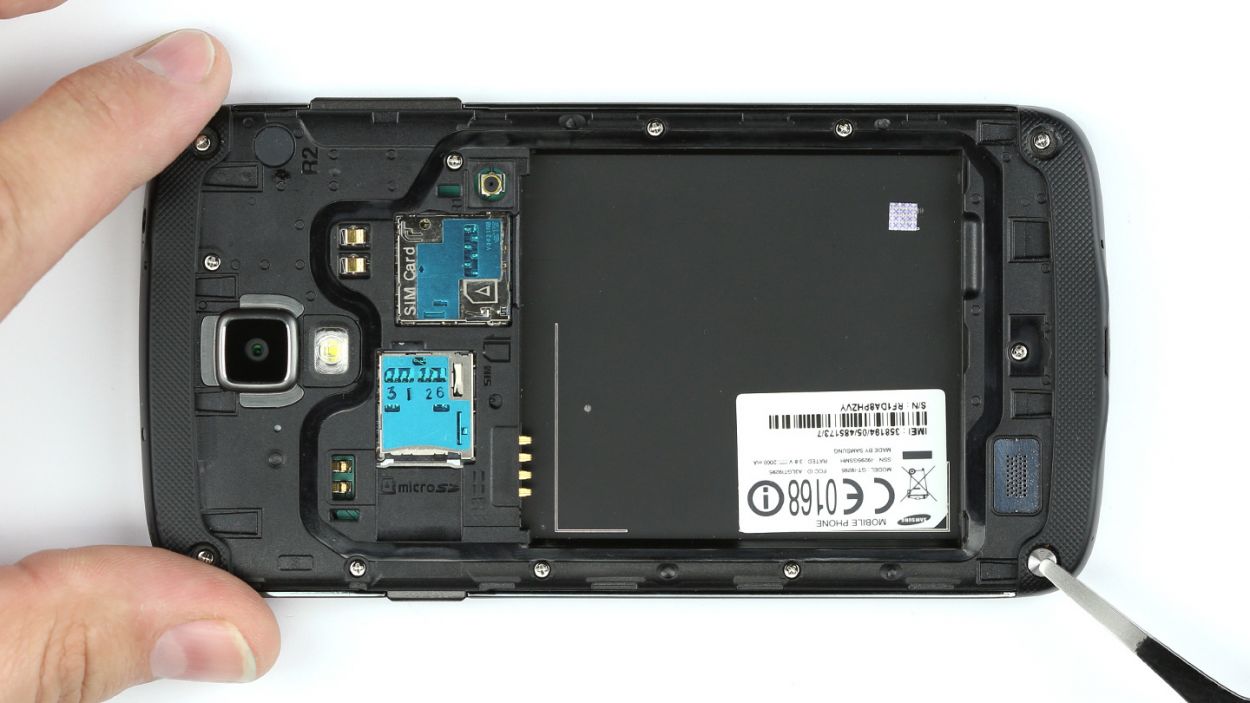
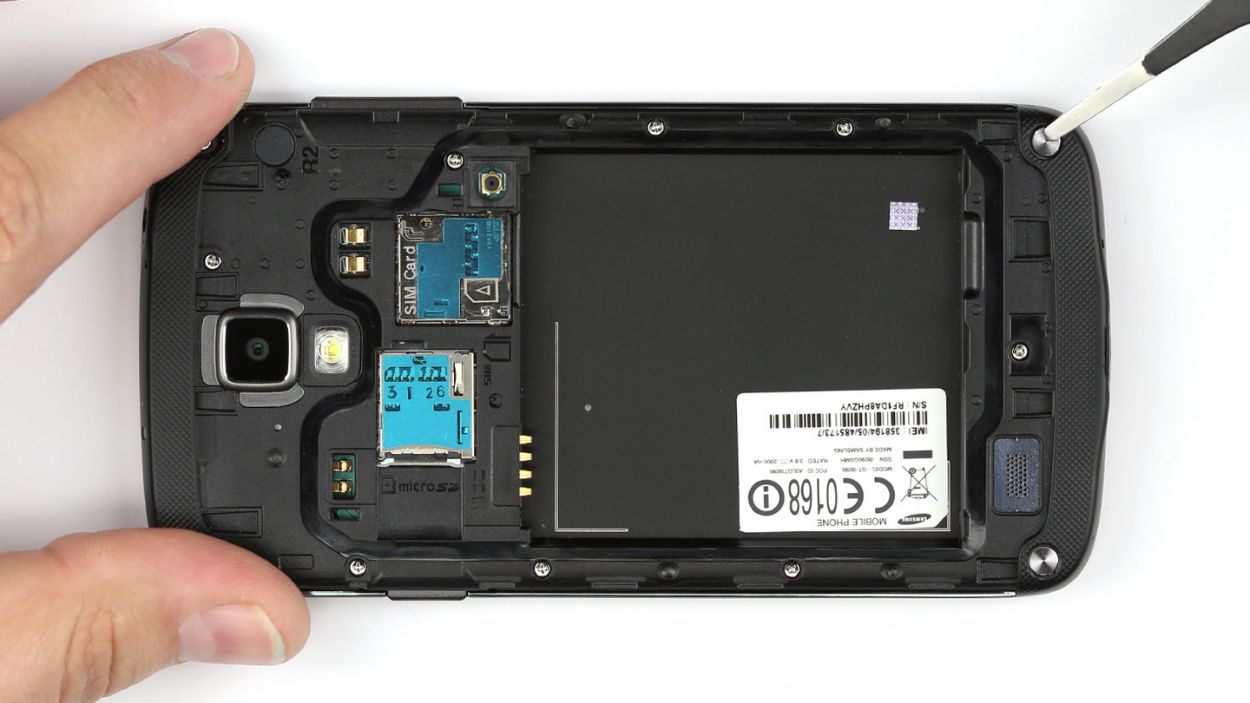
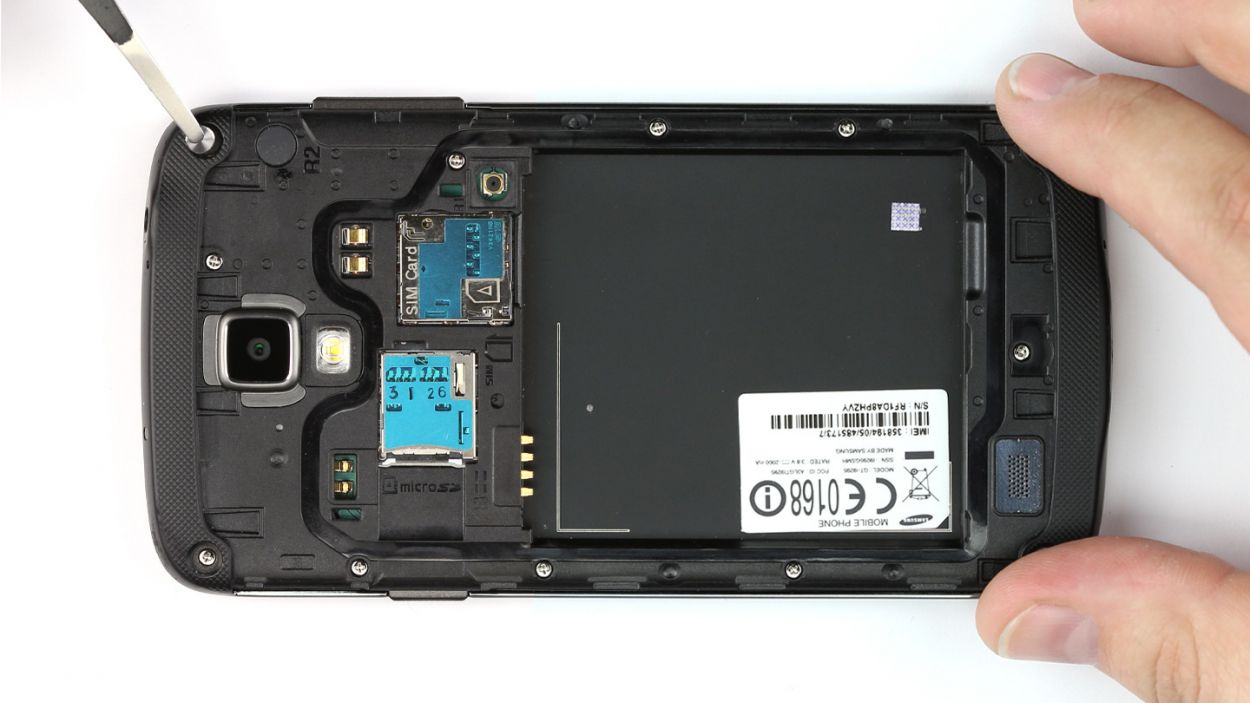
– Use the steel laboratory spatula to remove the four metal shields. Use the spatula to pry the covers out of the hollows in the chassis. You can get the tip of the spatula under the covers.
Step 6

– The chassis isn’t just hanging out with the display; it’s got some sneaky little hooks holding it in place. Grab that steel spatula and gently pry it loose!
– Slide the spatula between the display and the chassis. A great starting point is right at the power button—it’s like a secret entrance!
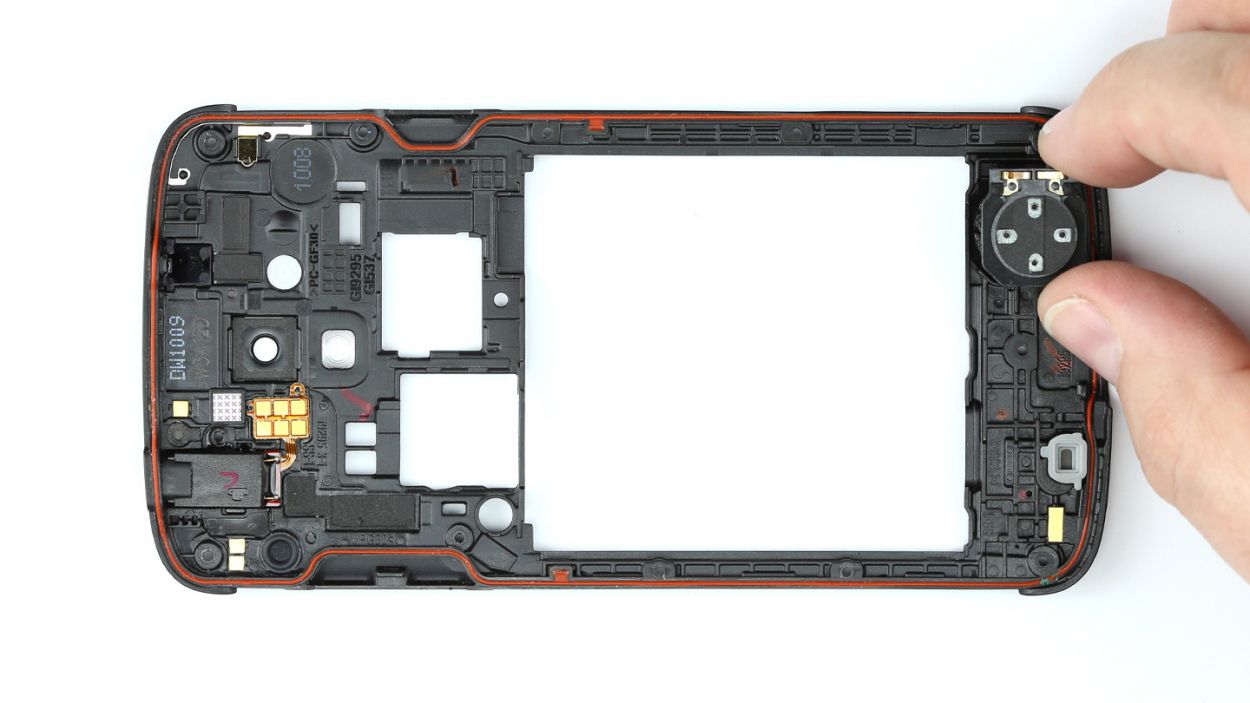
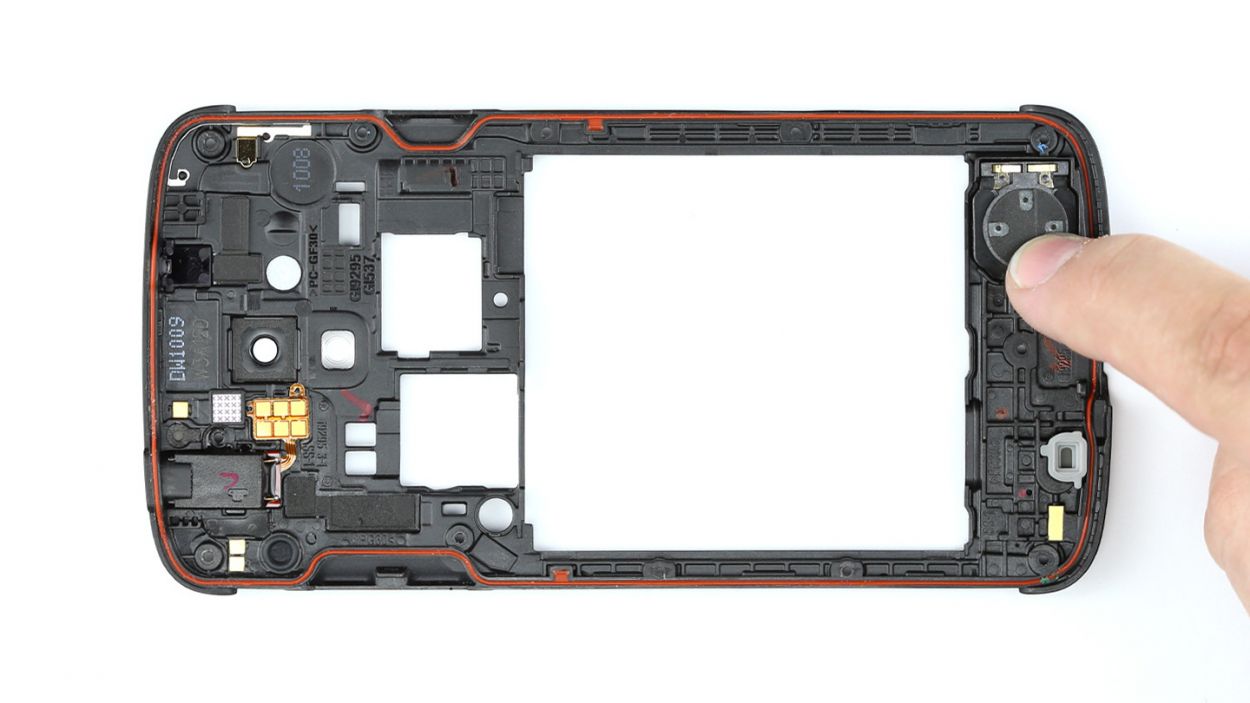
– Carefully work your way around the device with the spatula, making sure to keep it friendly with both the display and the chassis.
– Once you’ve successfully freed the chassis, just lift it away from the display and give yourself a little high-five!


Step 11

– Time to get those metal shields back in place! Use your trusty tweezers to put them back on.
– Give each cover a firm press to make sure they’re secure. If you need help, you can always schedule a repair
Step 12
– Pop in that SIM card and slide in the microSD card like a pro!
Step 13

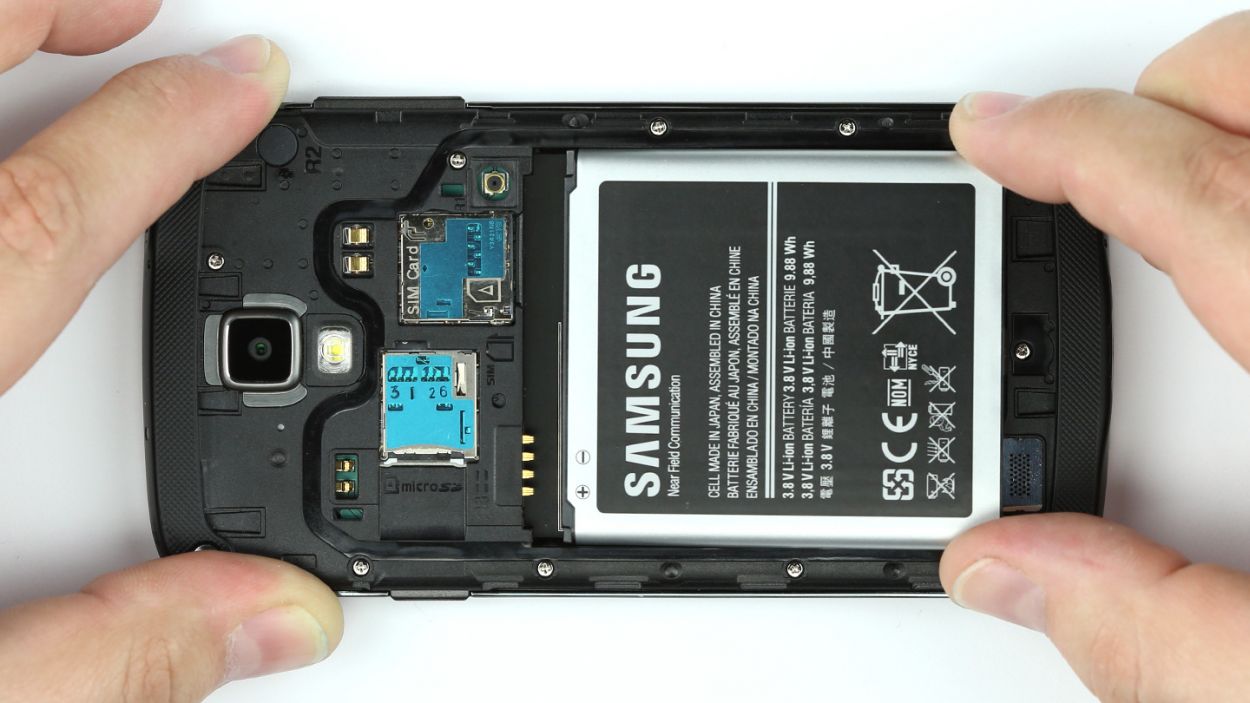
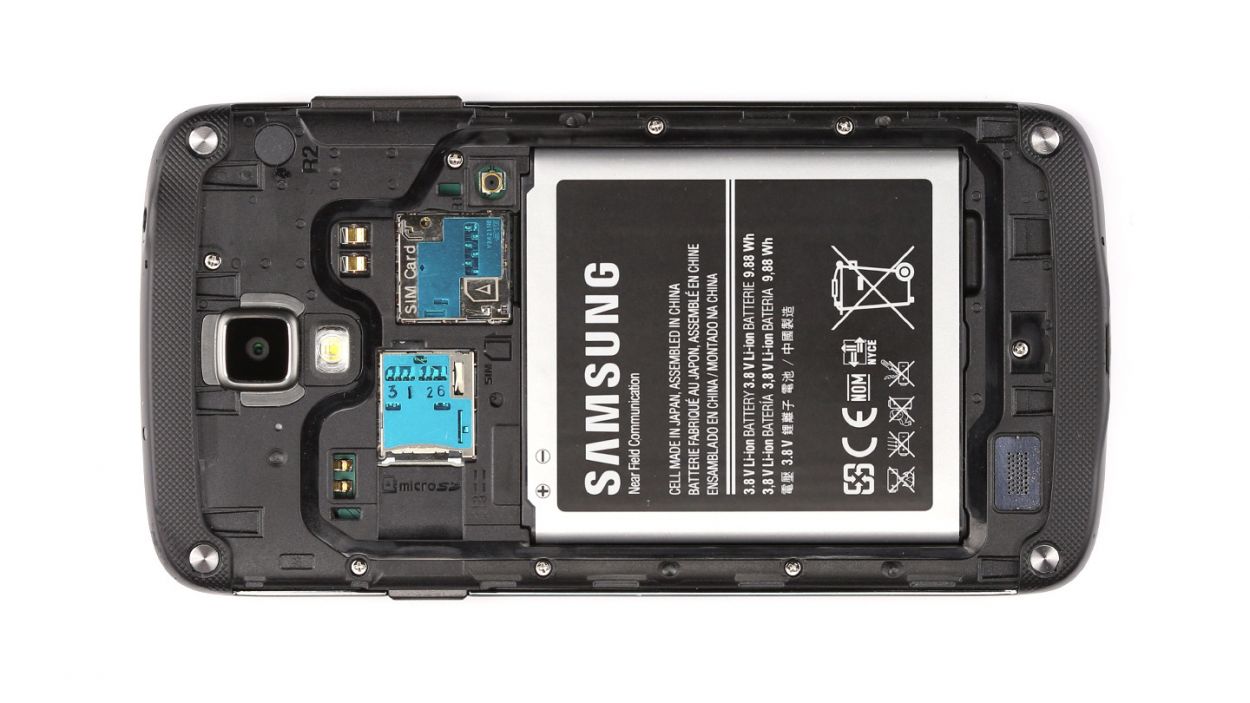
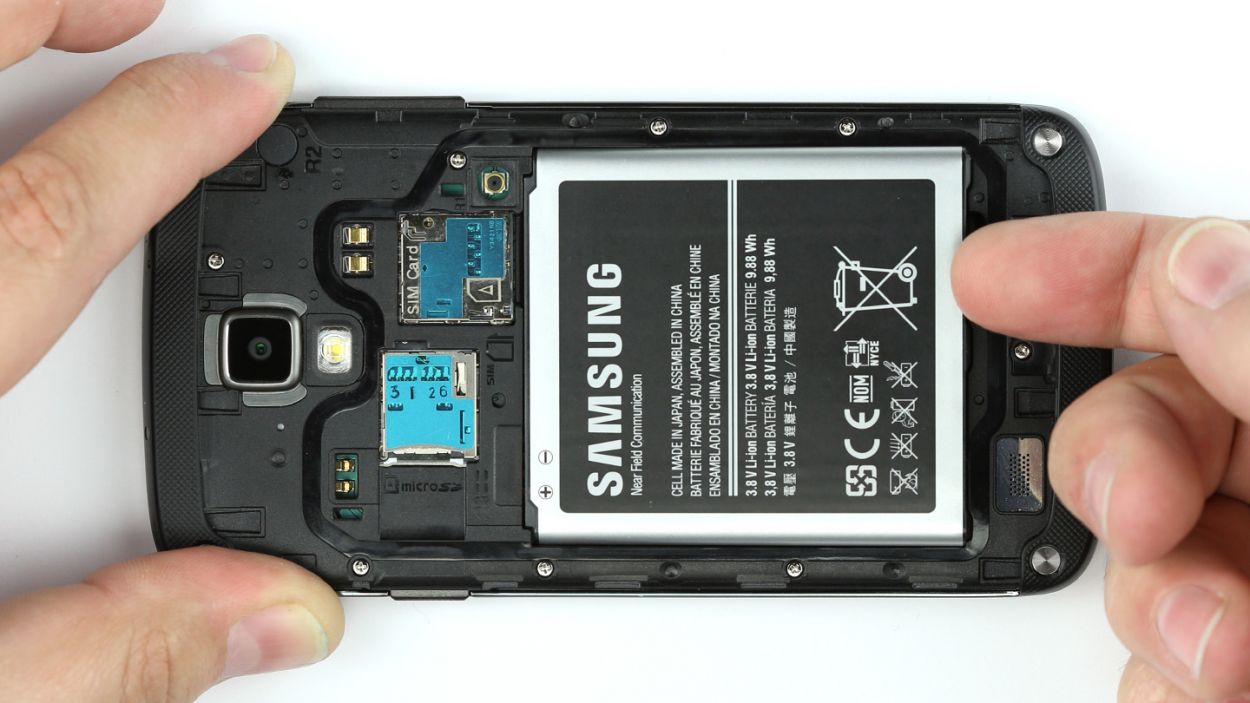
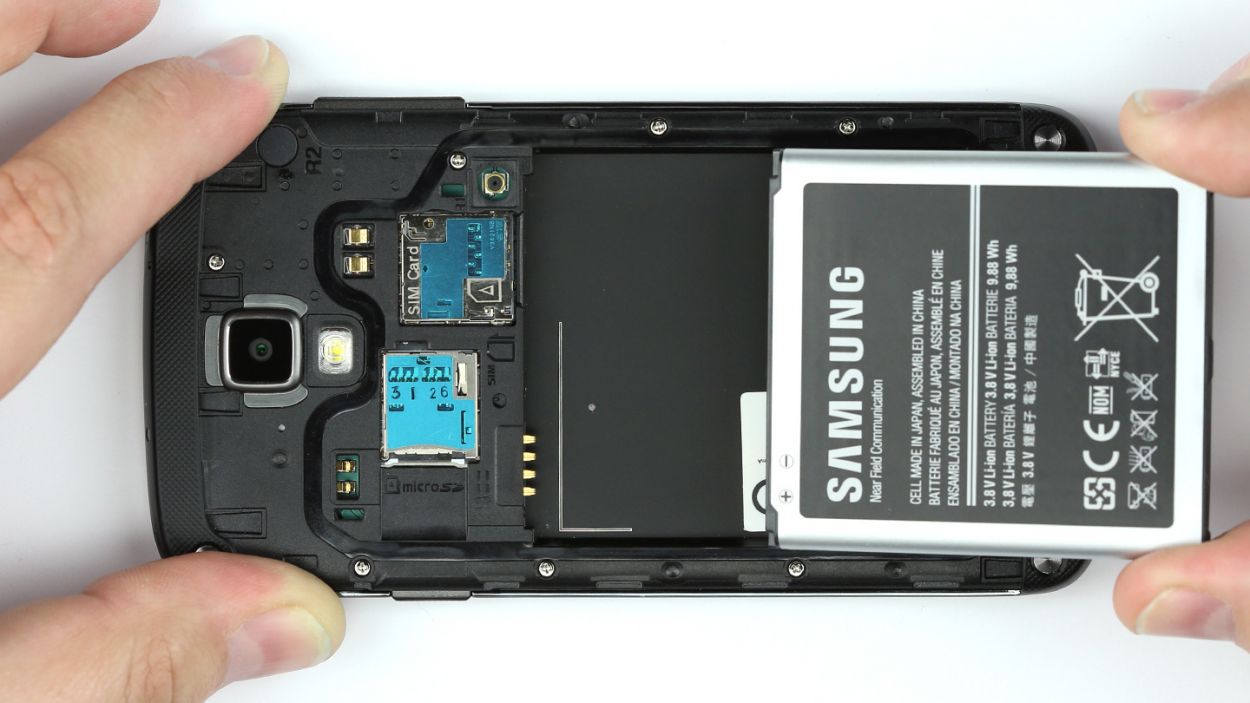
– Slide the battery into your Galaxy S4 Active like a pro!
Step 14


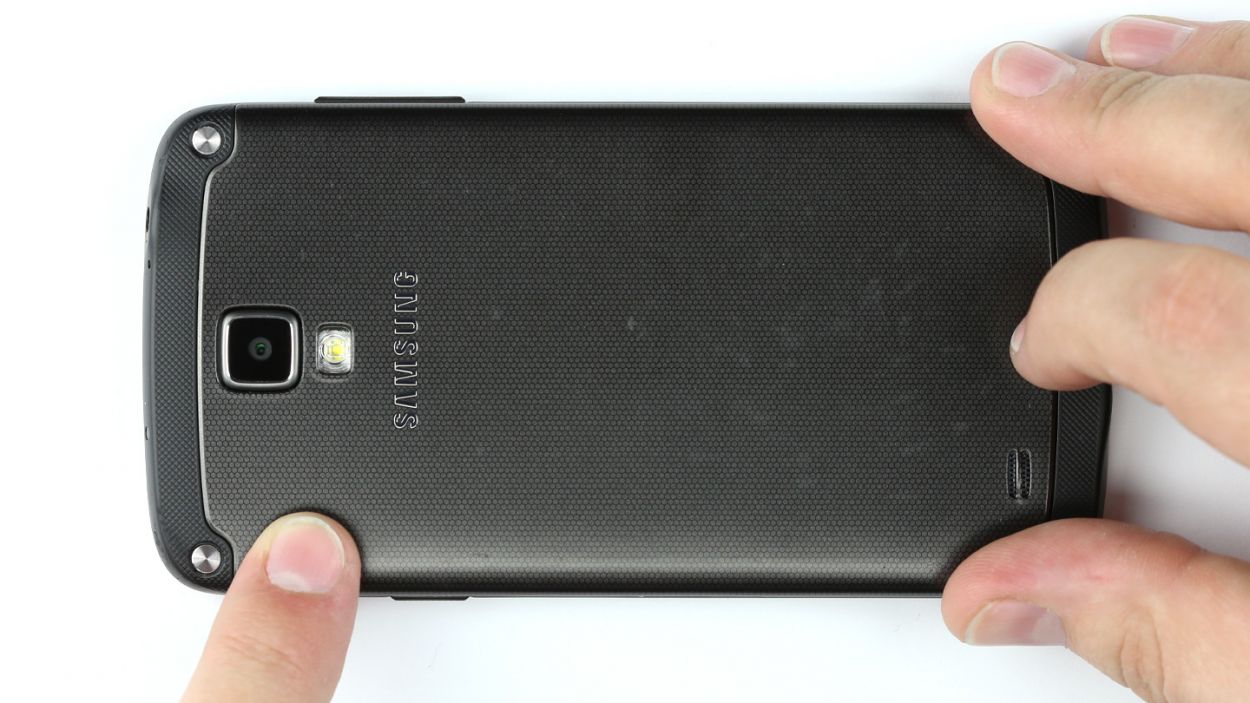
– Gently position the back cover onto the chassis, like a cozy blanket.
– Make sure the back cover fits snugly over the bottom of the chassis.
– Now, give the back cover a gentle press all around so the retaining clips can do their thing and snap into place.


