Replace Samsung Galaxy S4 Active Chassis Guide
Duration: 30 min.
Steps: 12 Steps
In this guide, we’re going to walk you through the process of removing the enclosure from your Galaxy S4 Active. If your enclosure is looking a bit worse for wear, it’s time to take matters into your own hands and replace it. Let’s get started!
Step 1
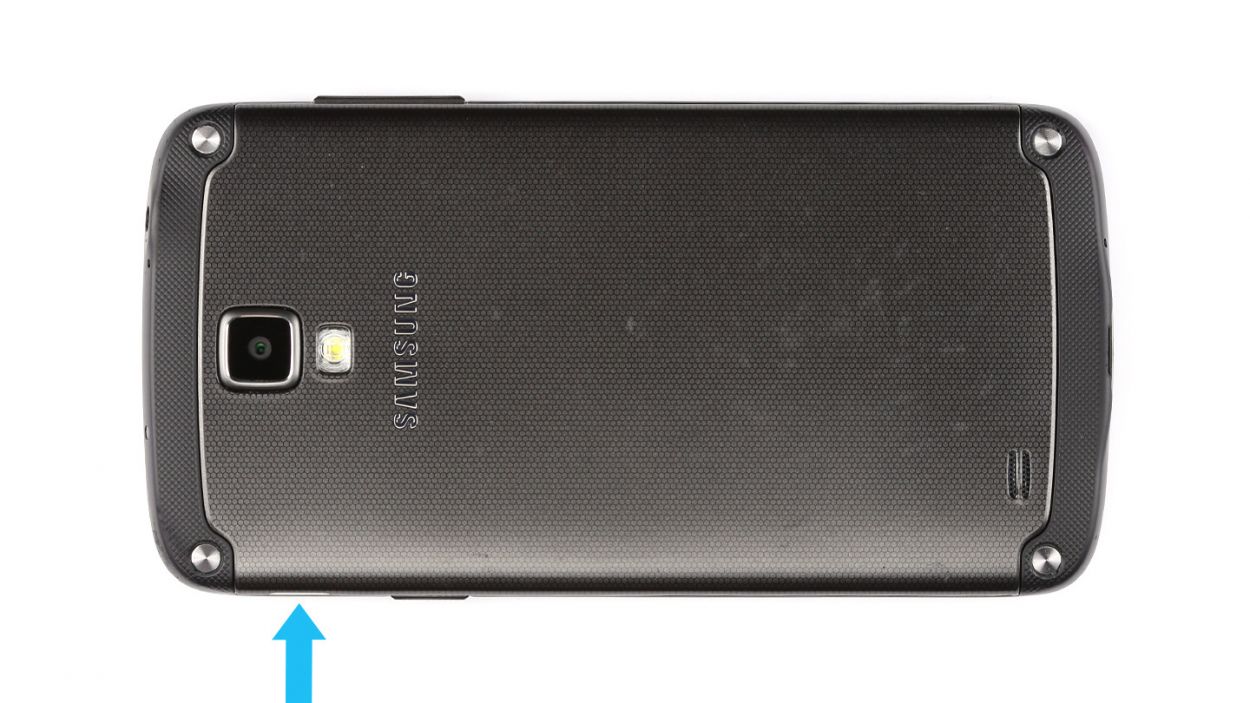
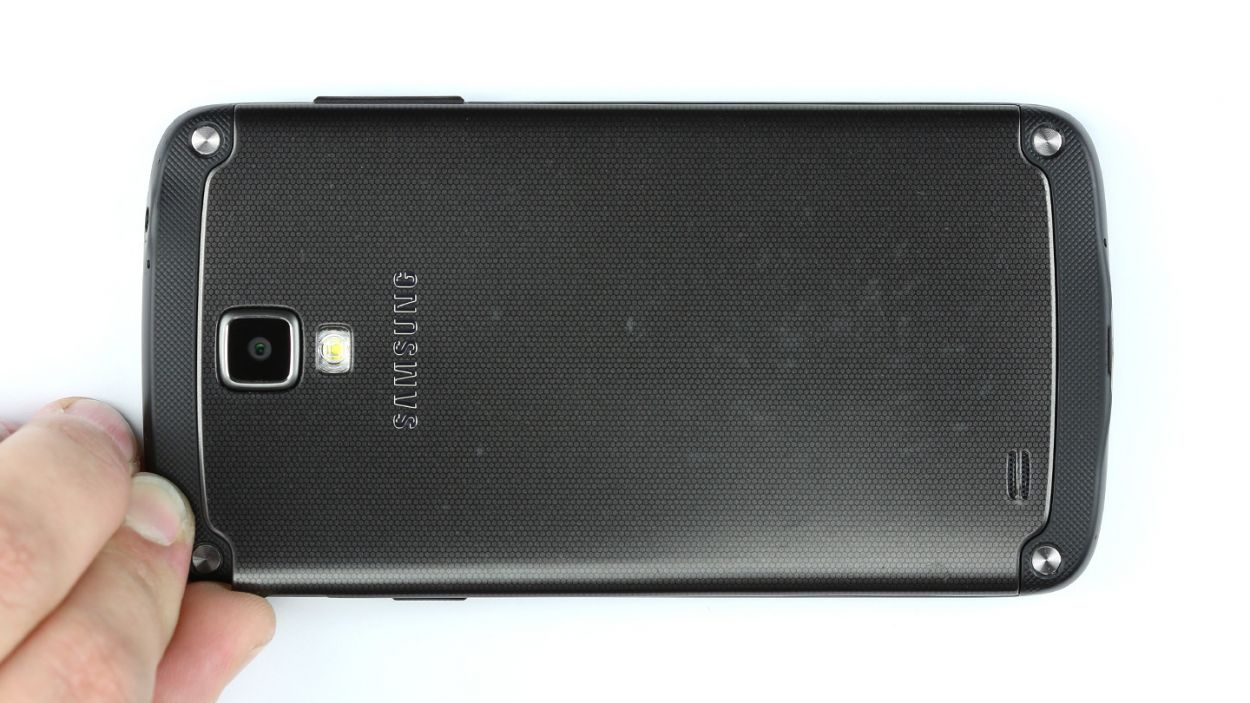
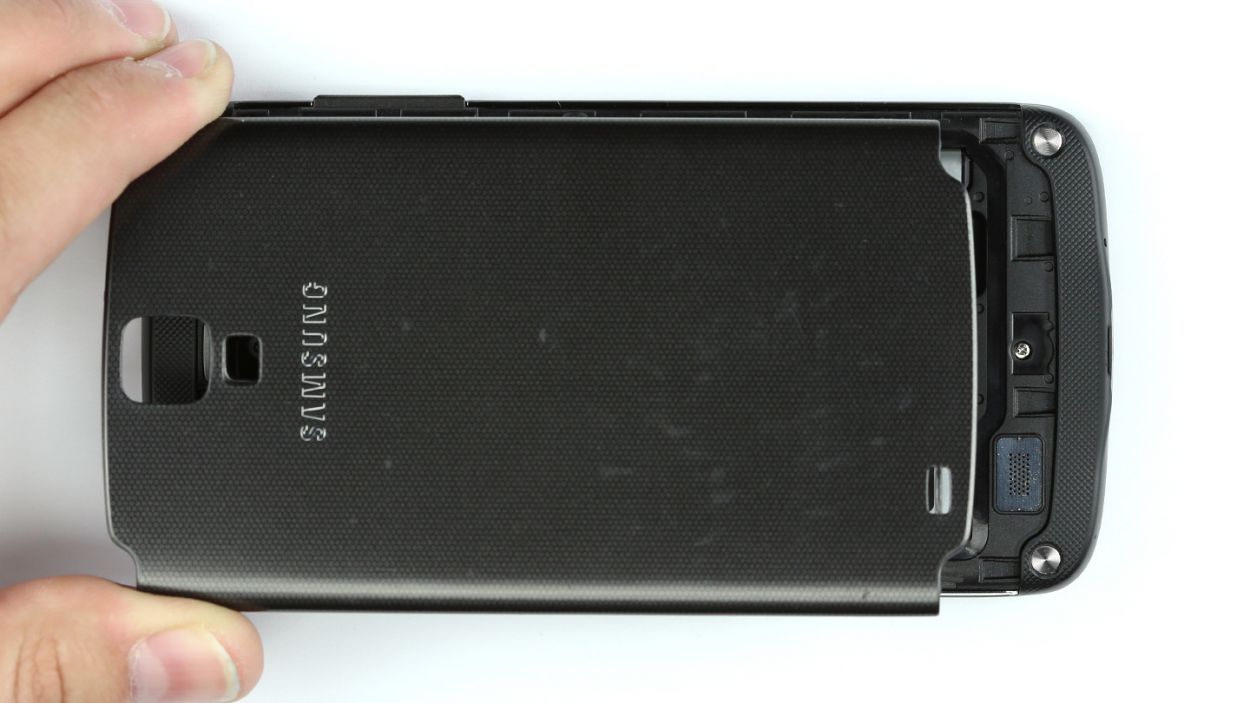
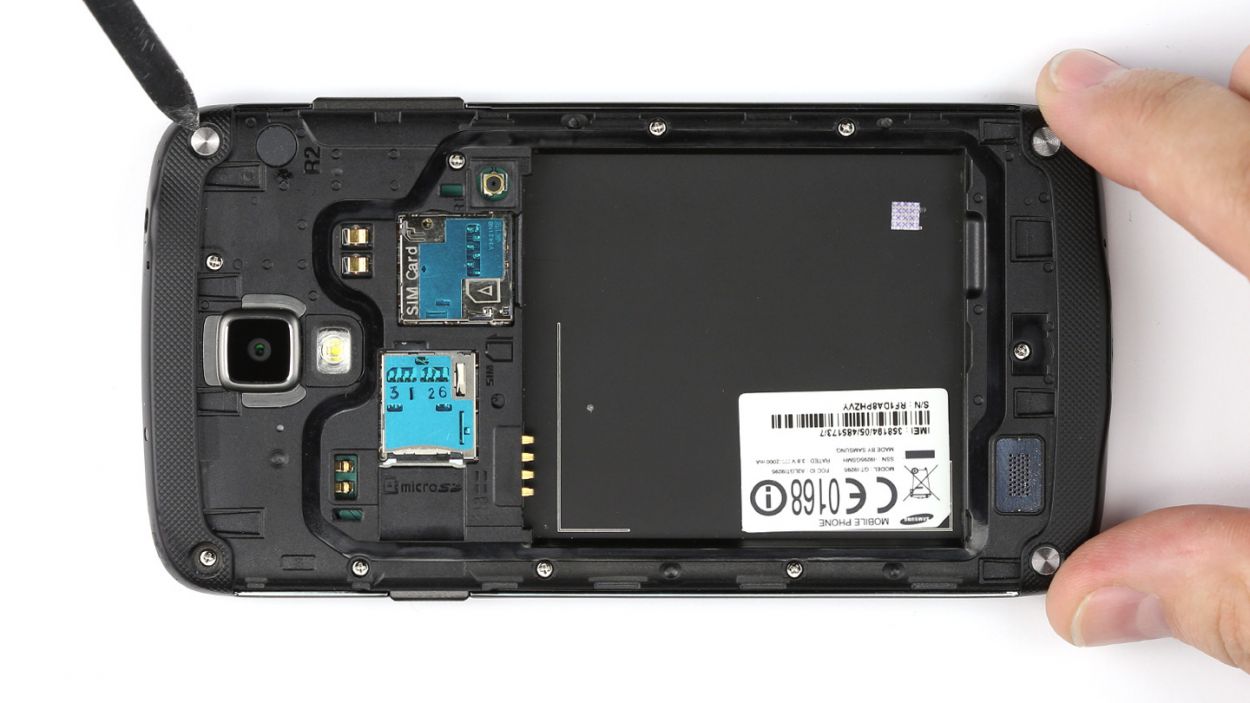
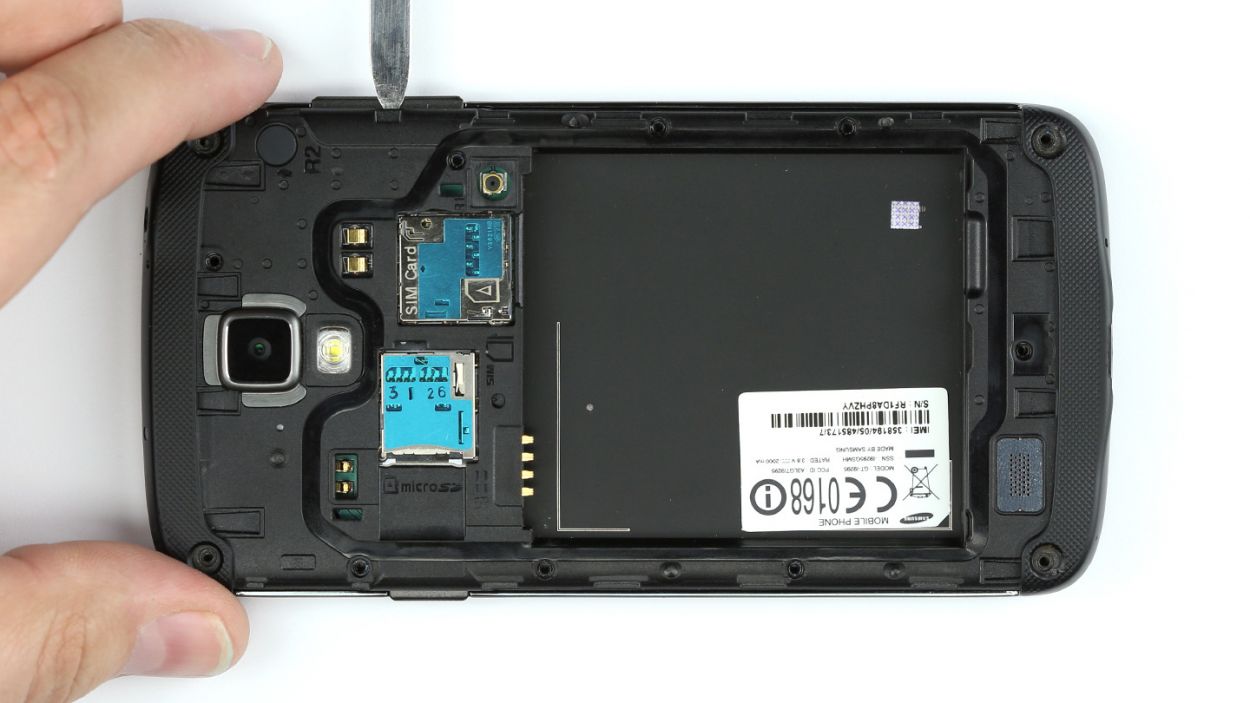
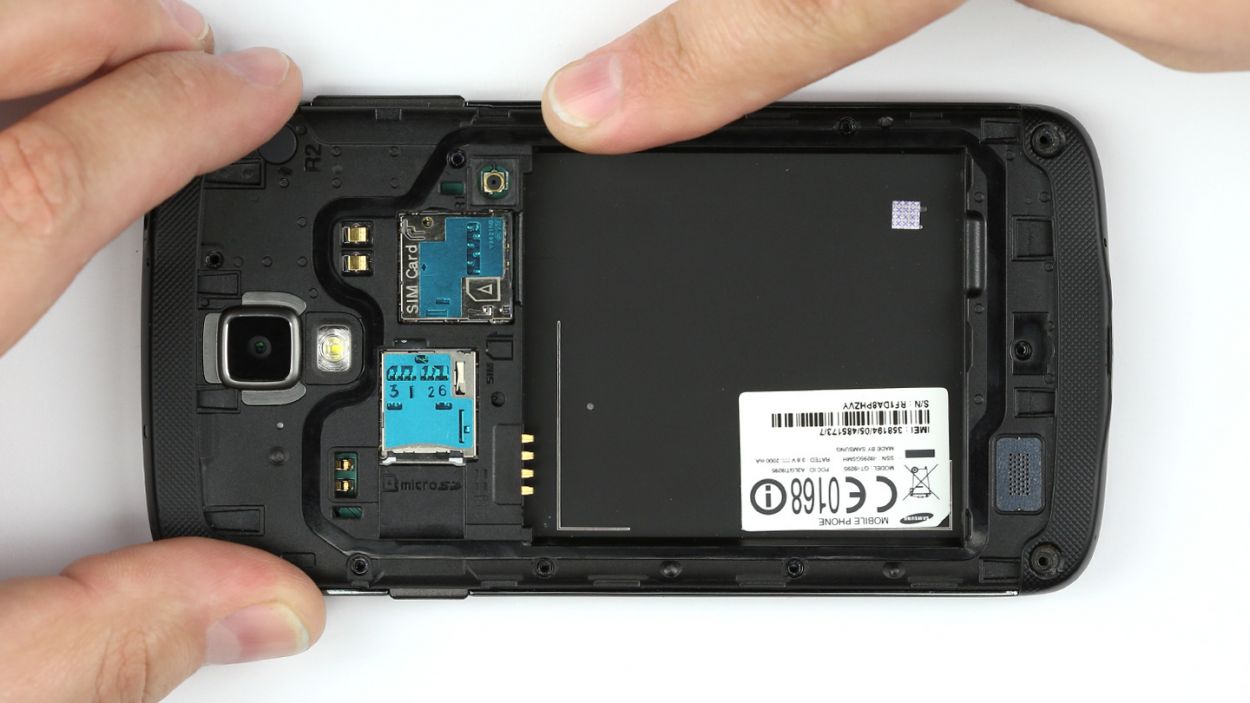
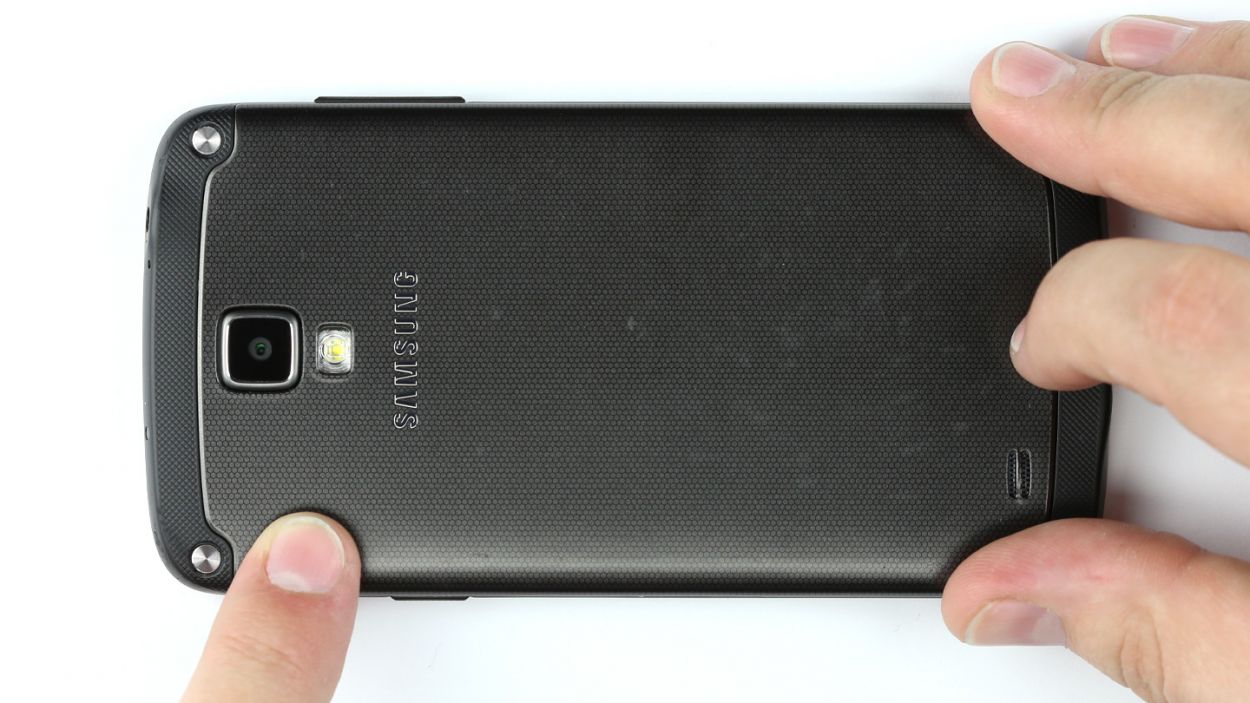
– Hey there! You’ll notice some tiny clips holding the back cover snugly to the chassis. There’s a little groove right above the power button that’s just waiting for your fingernail or a spudger to give it a gentle lift.
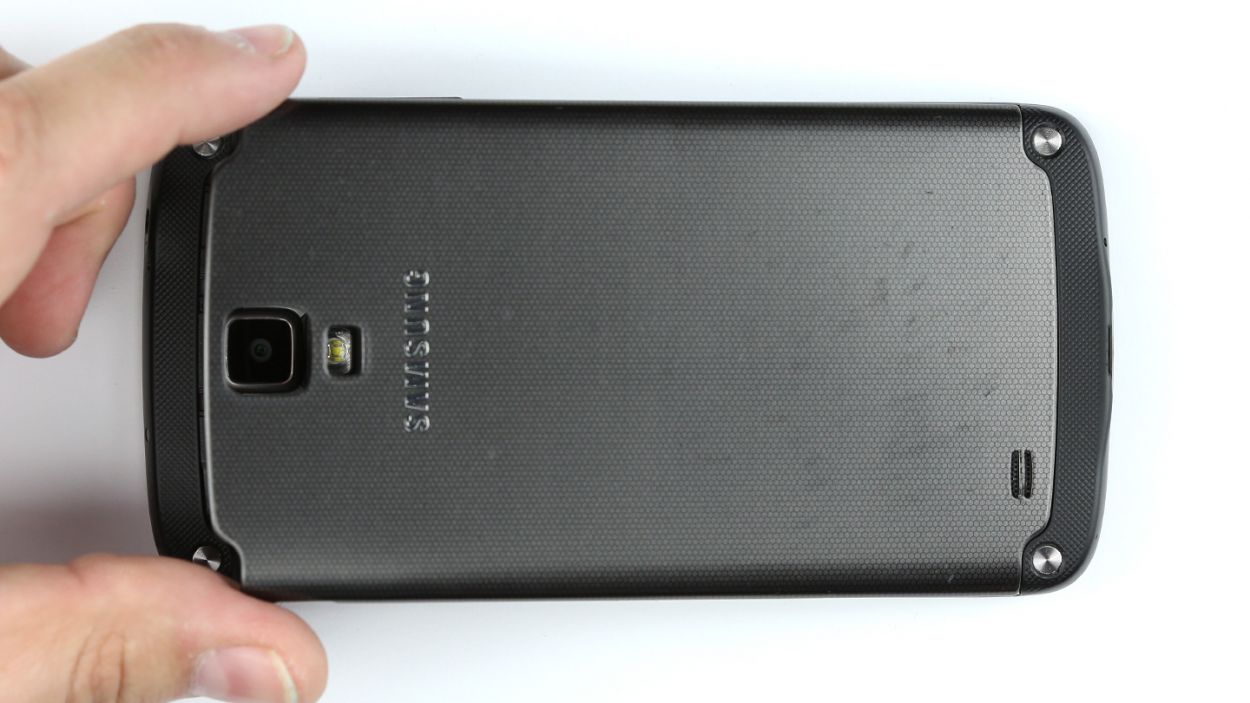
– Now, take your time and carefully disconnect the back cover from the chassis. You’ve got this!
– Once that’s done, go ahead and remove the back cover. Easy peasy!

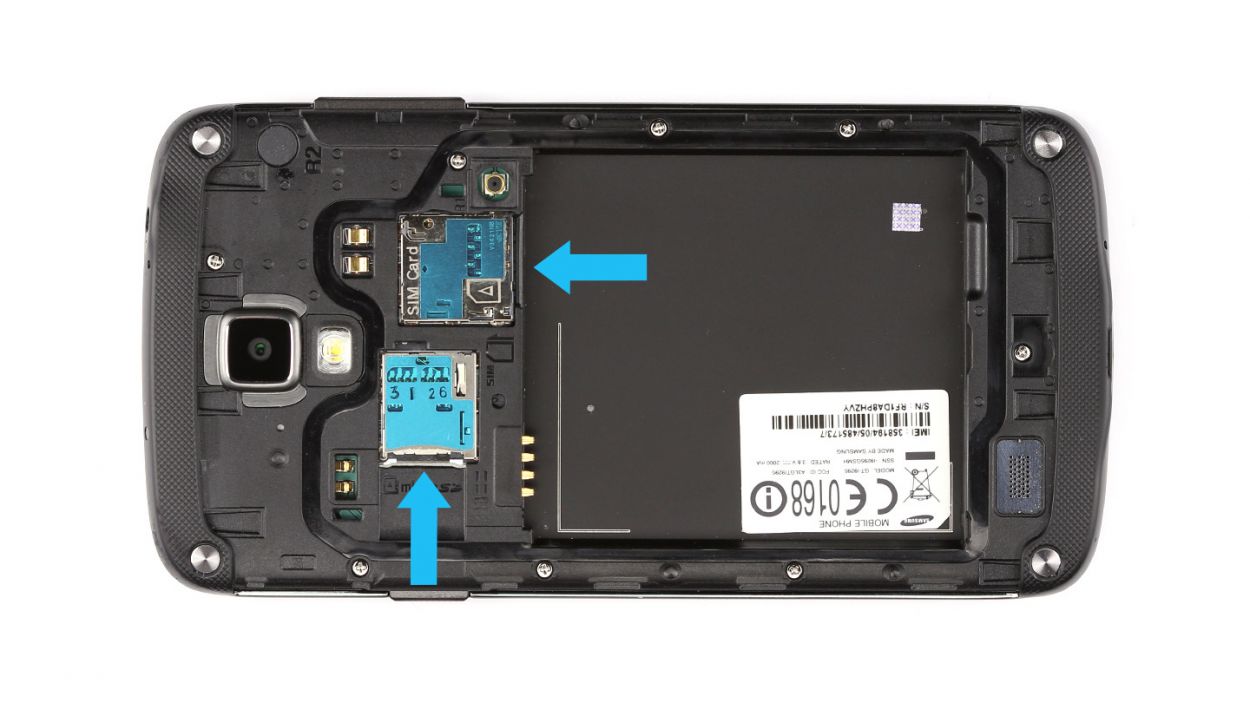
Step 3

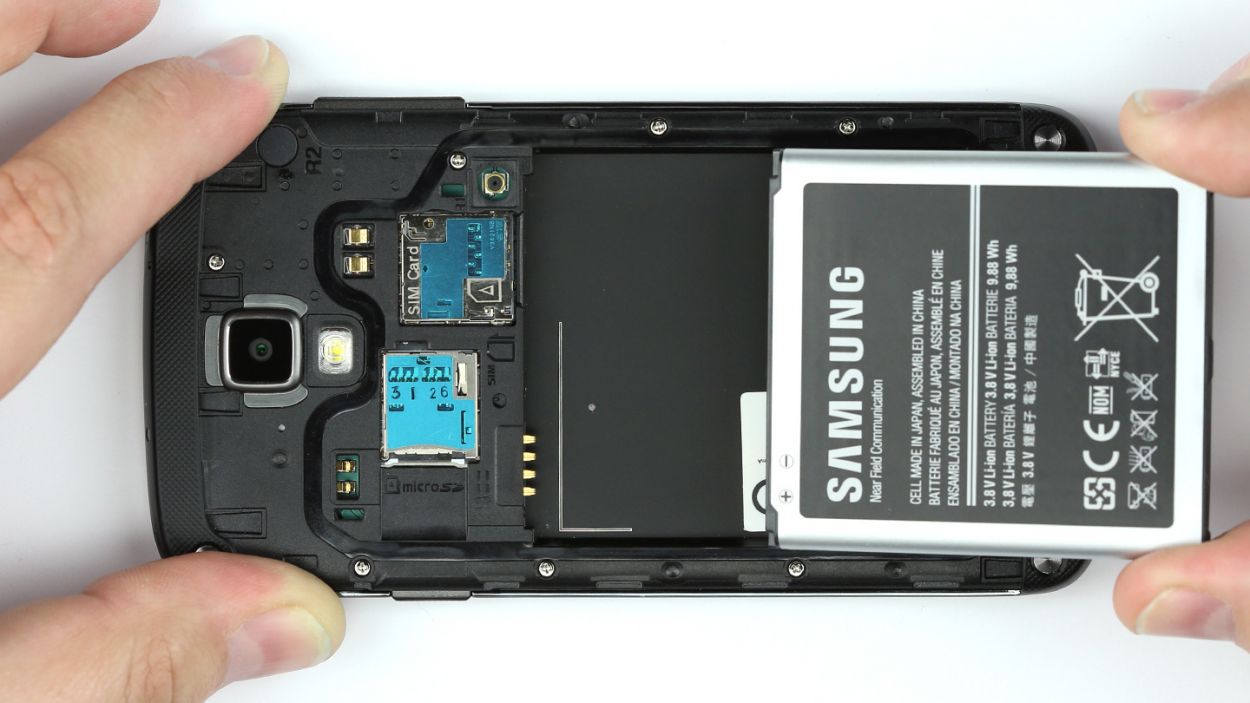
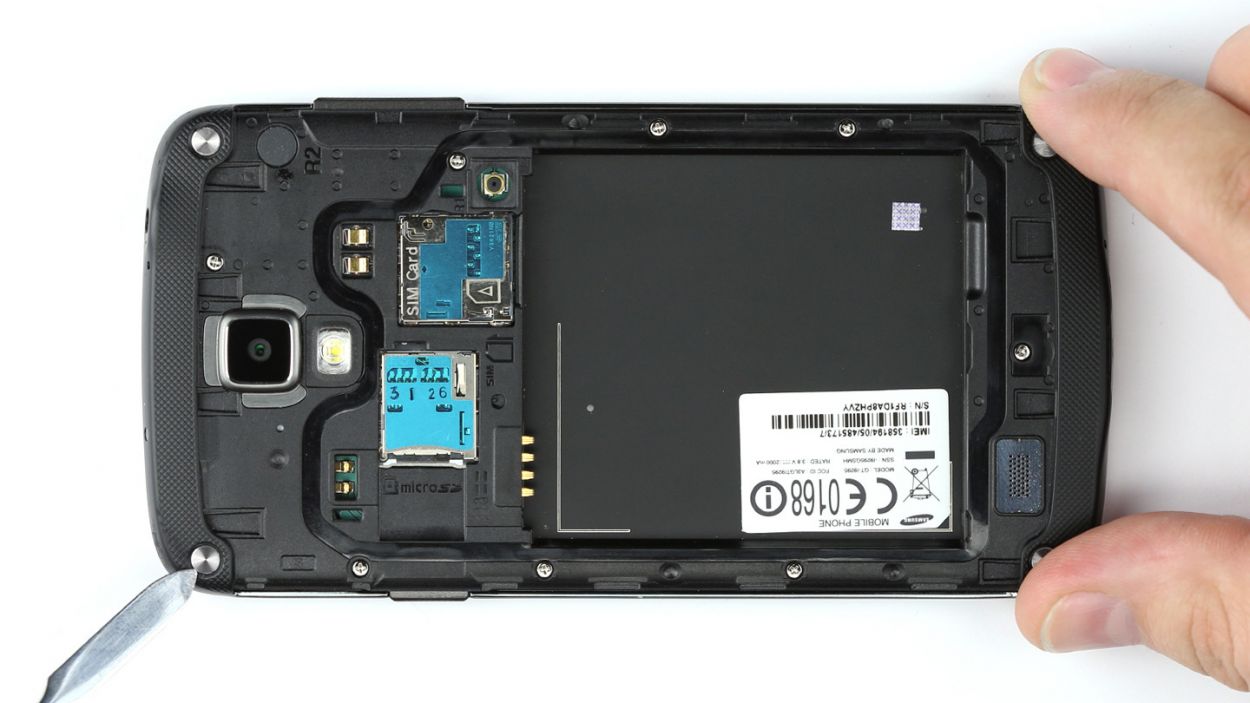
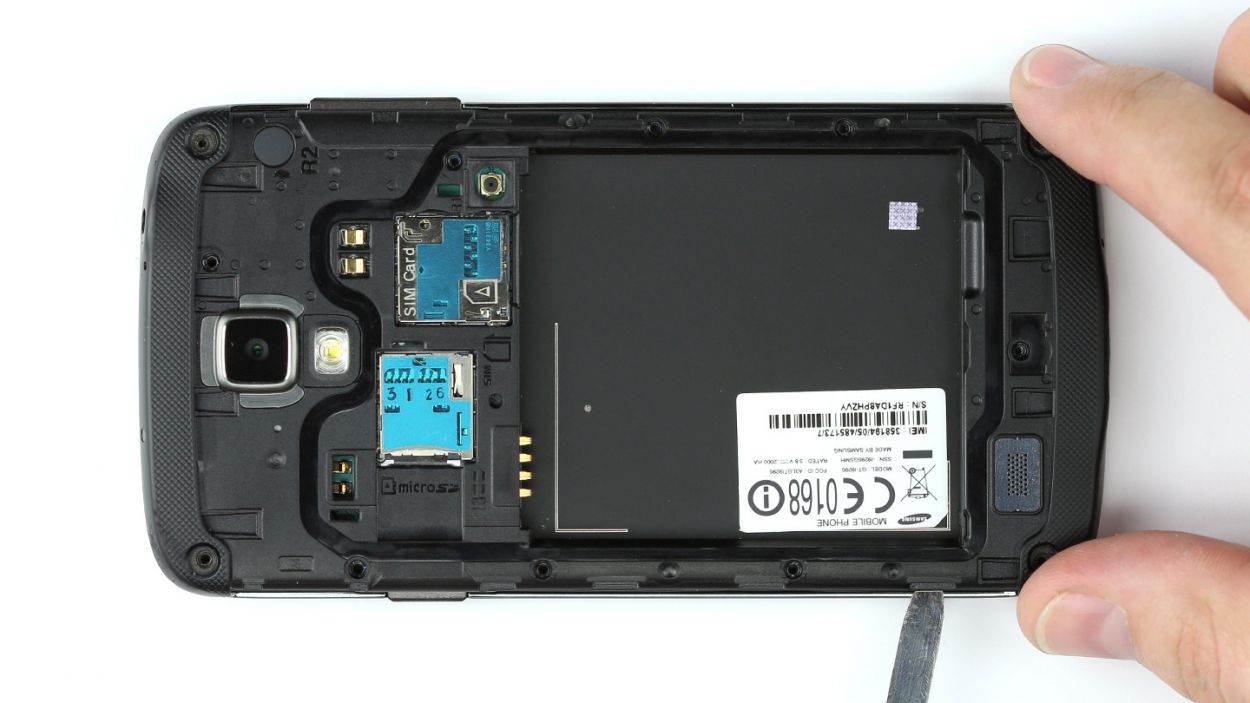
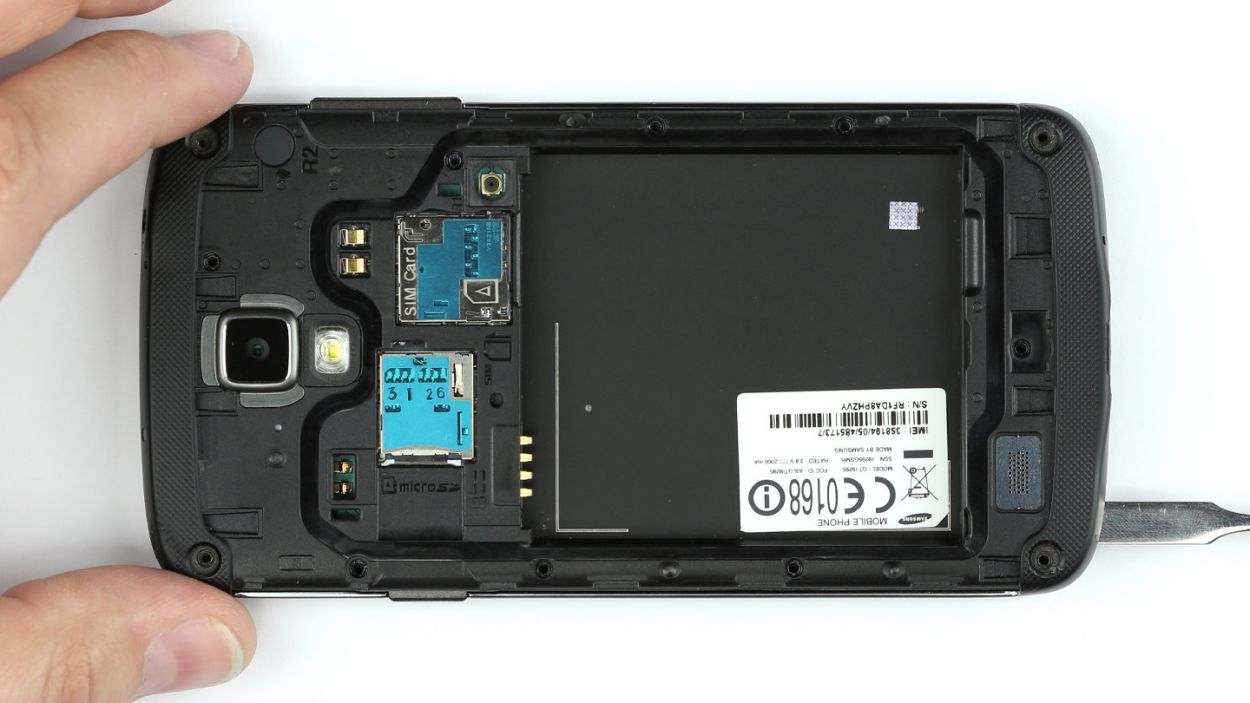
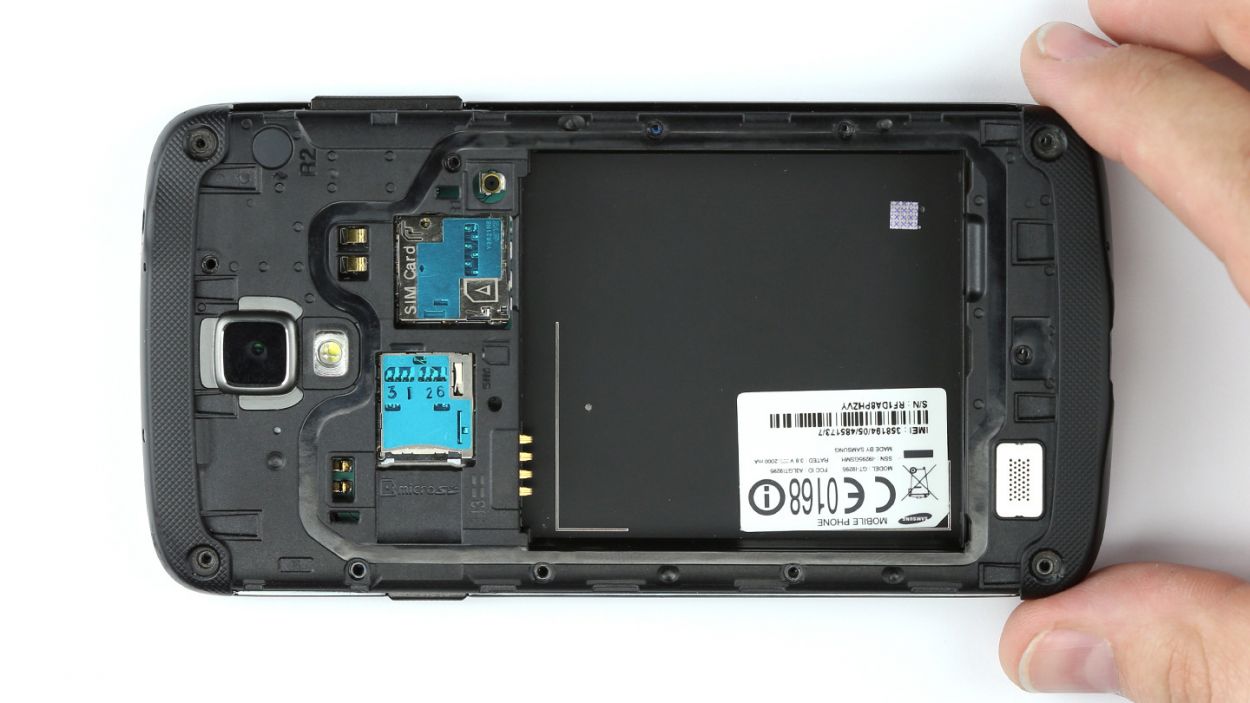
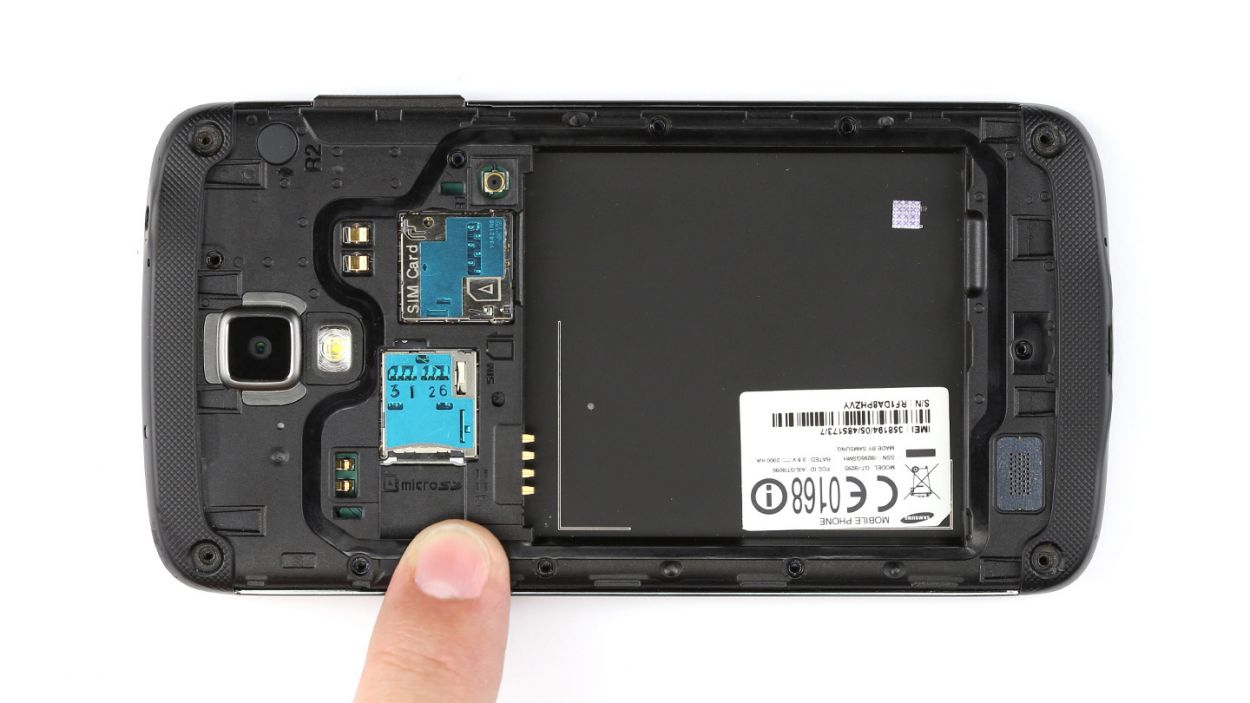
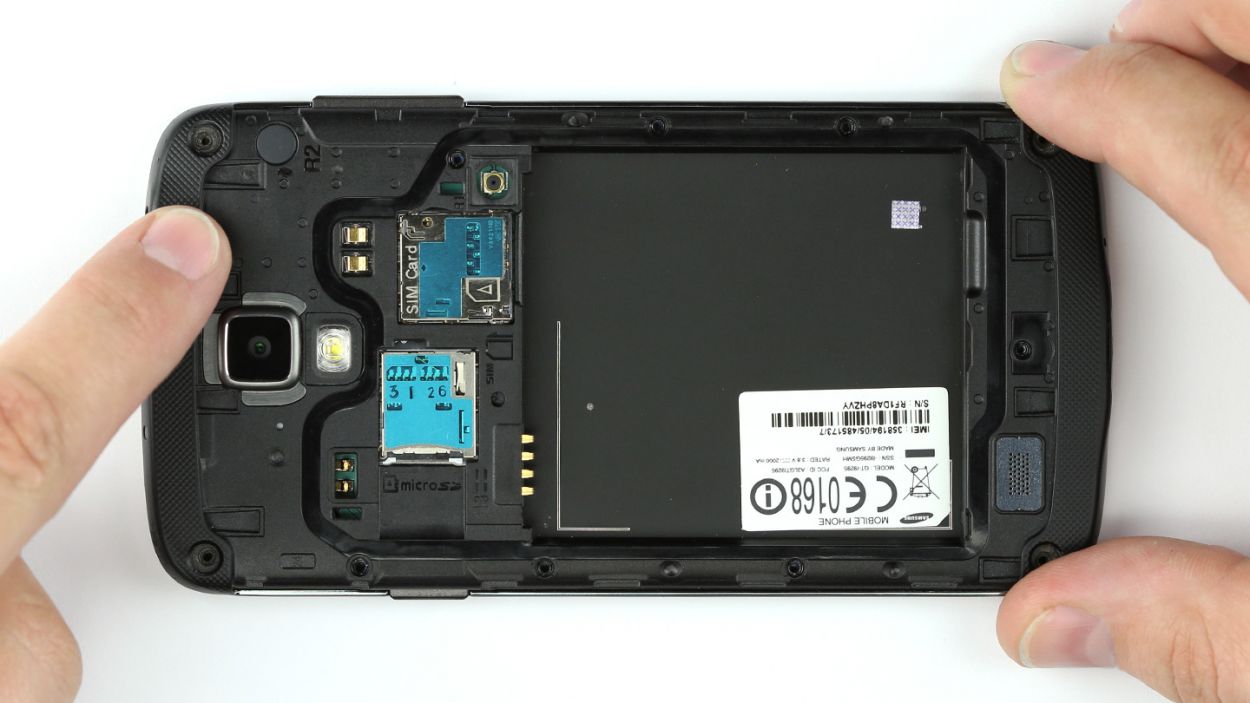
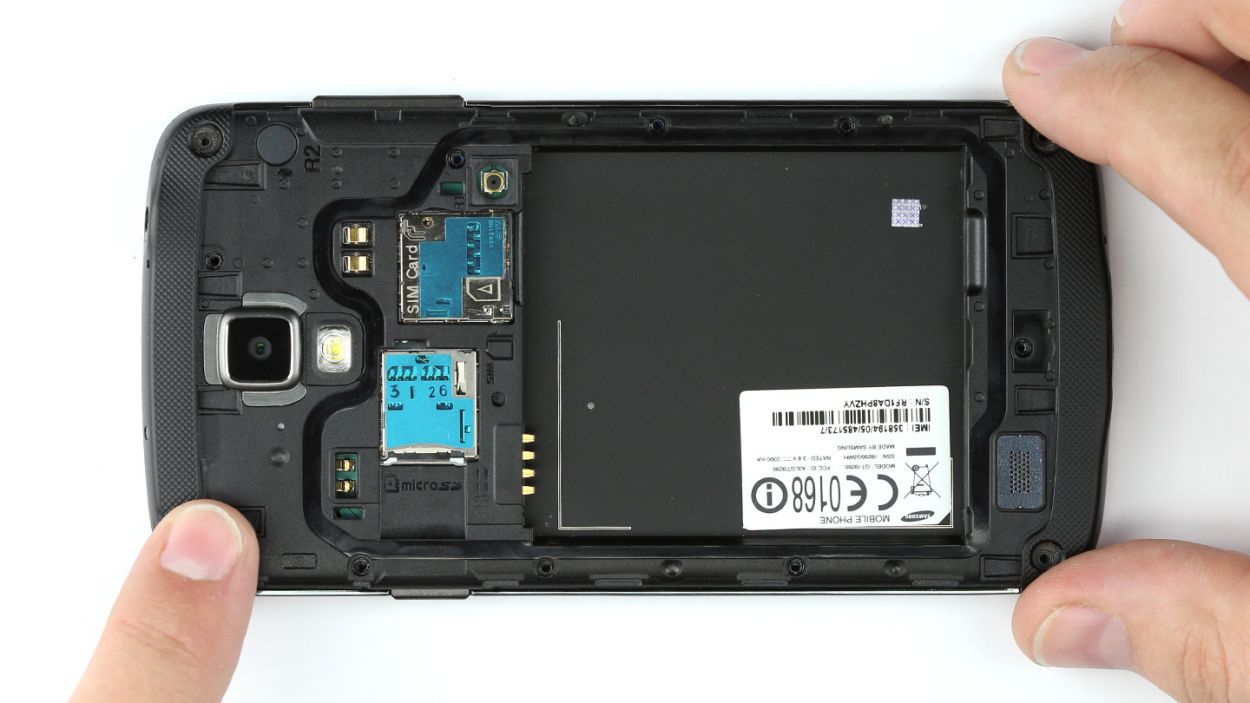
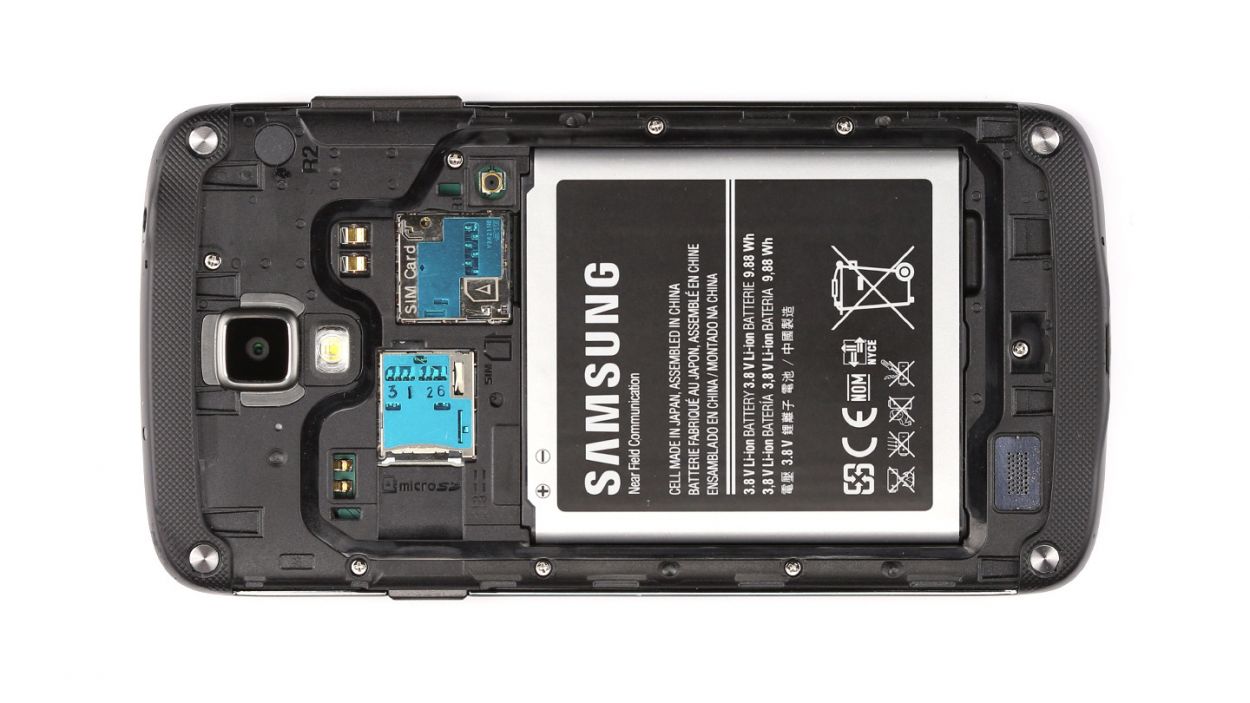
– Remove the SIM card and the microSD card.
Step 4
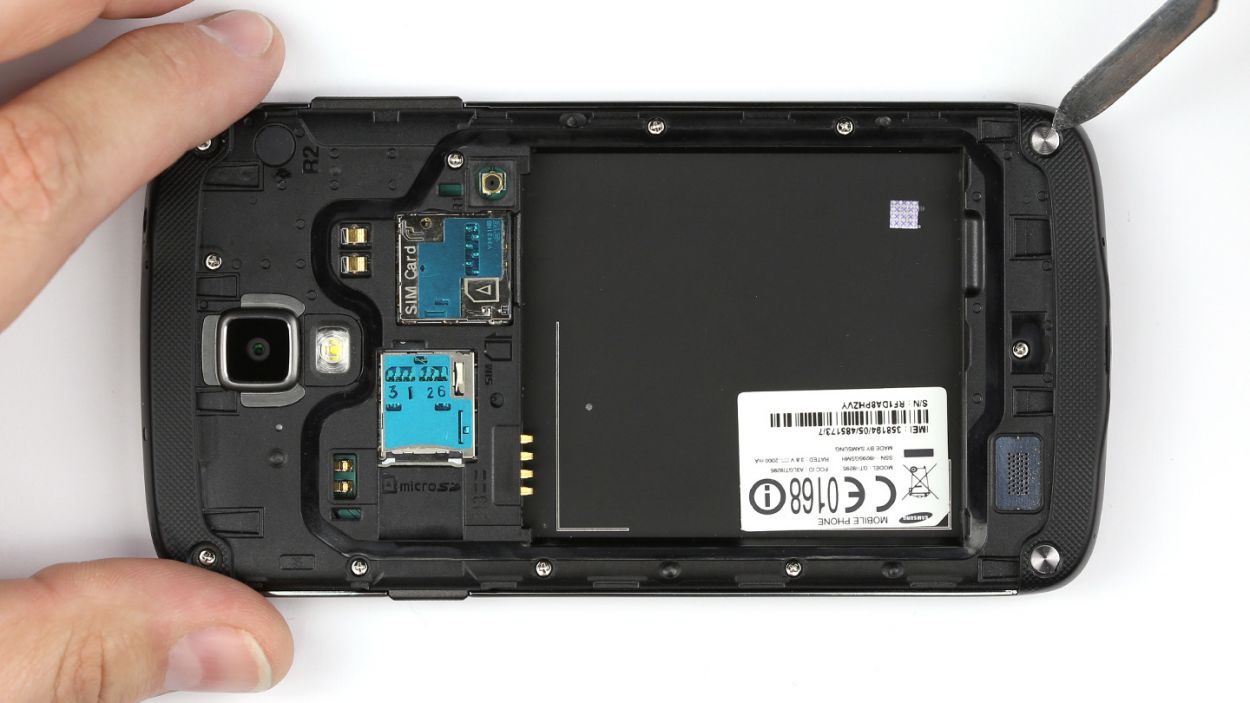
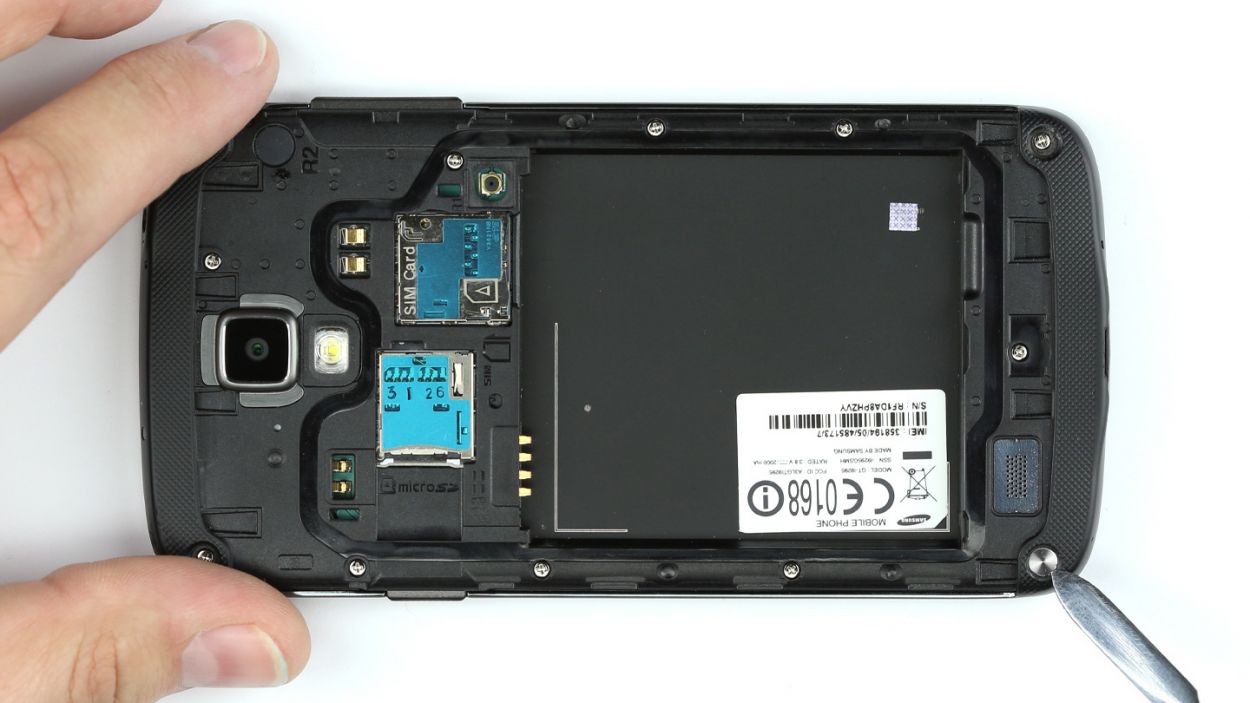
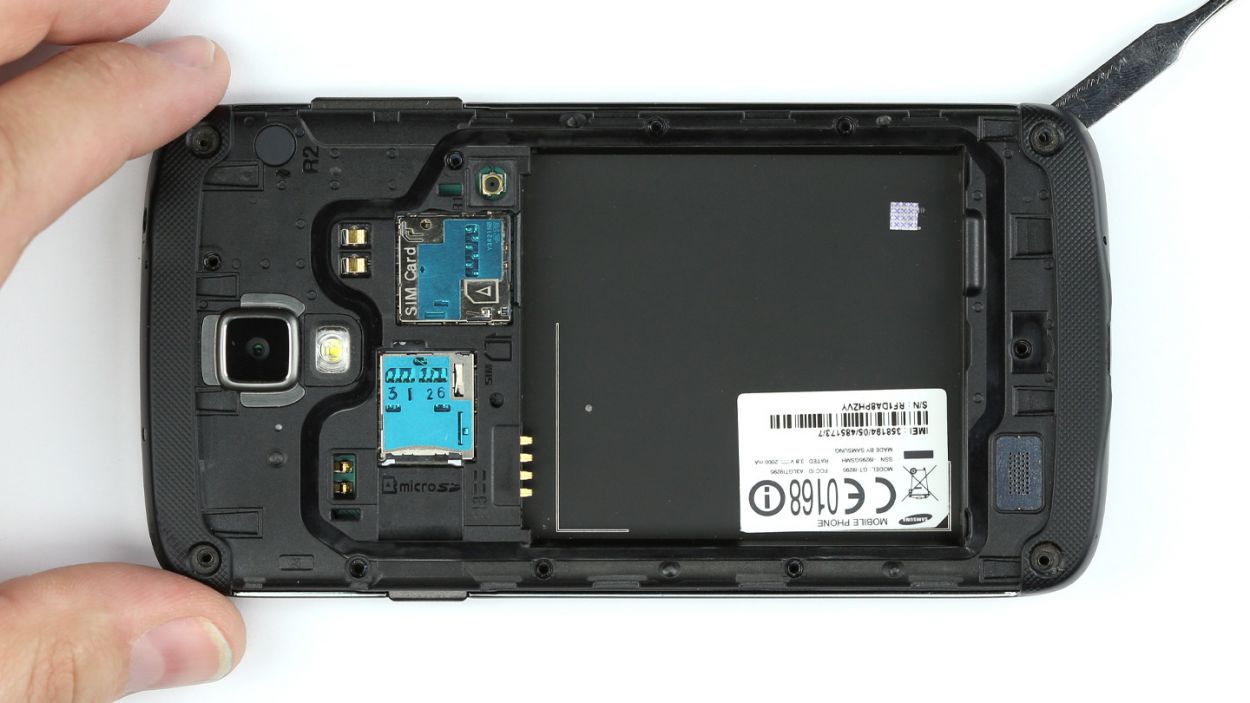
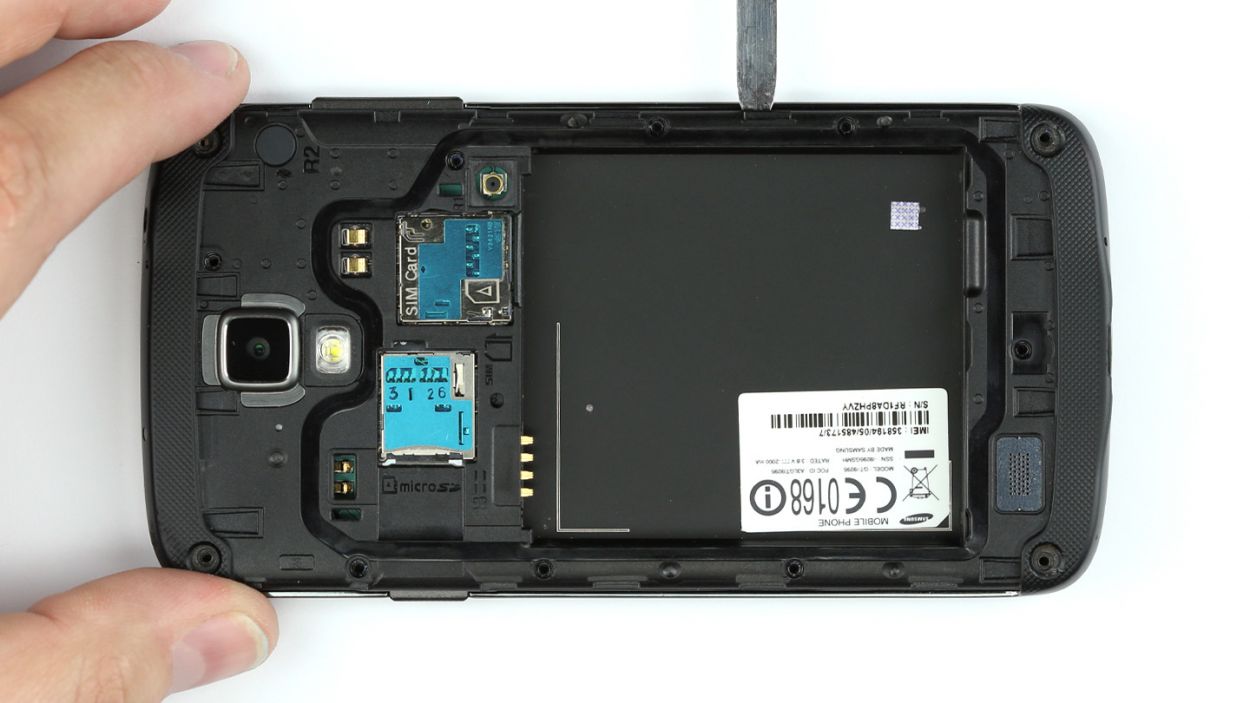
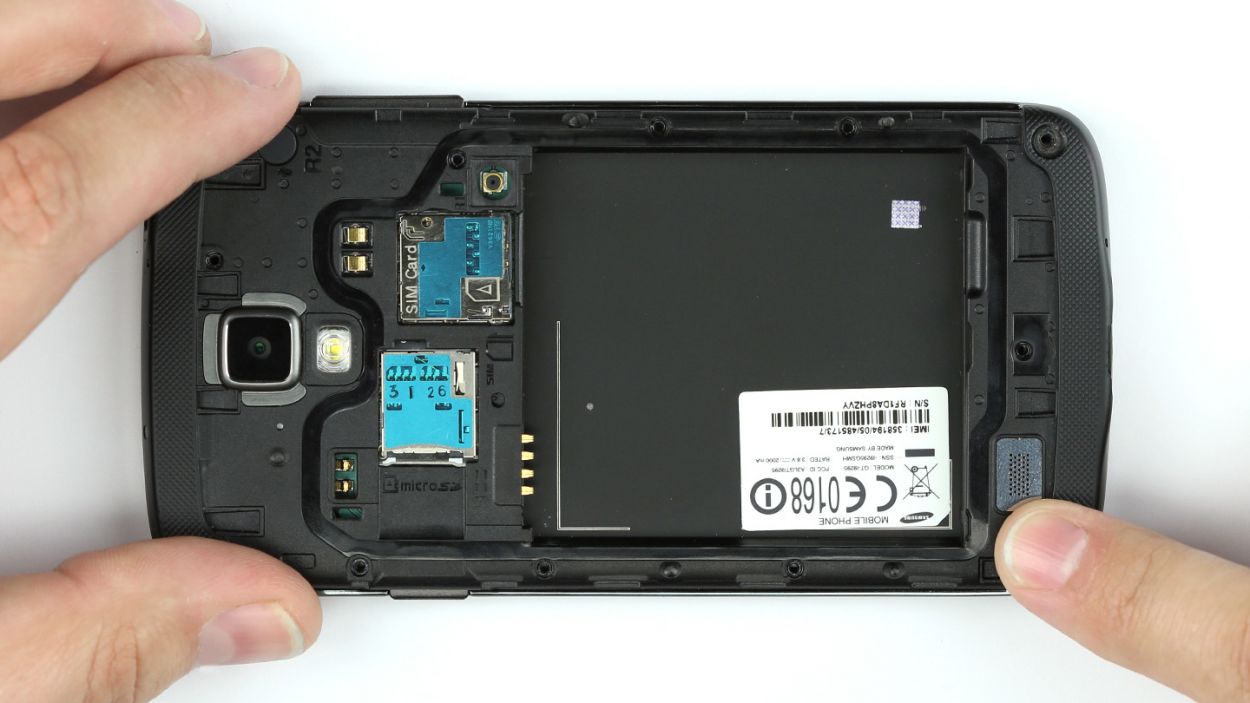
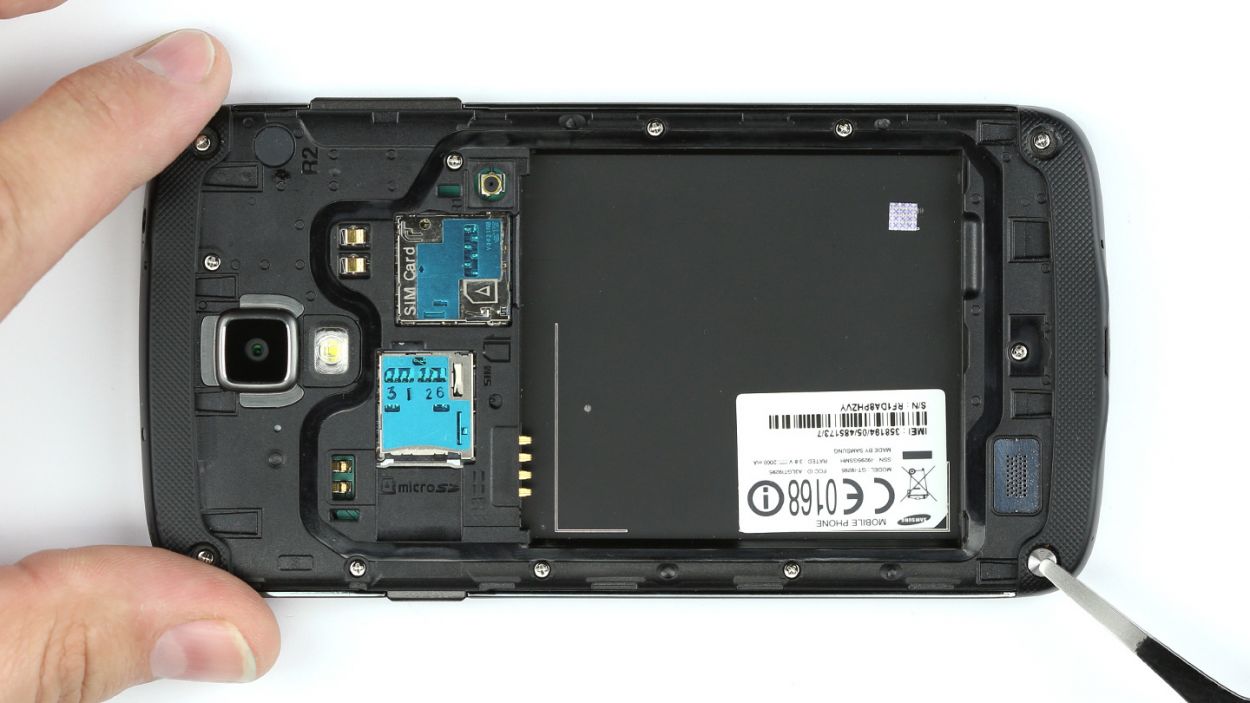
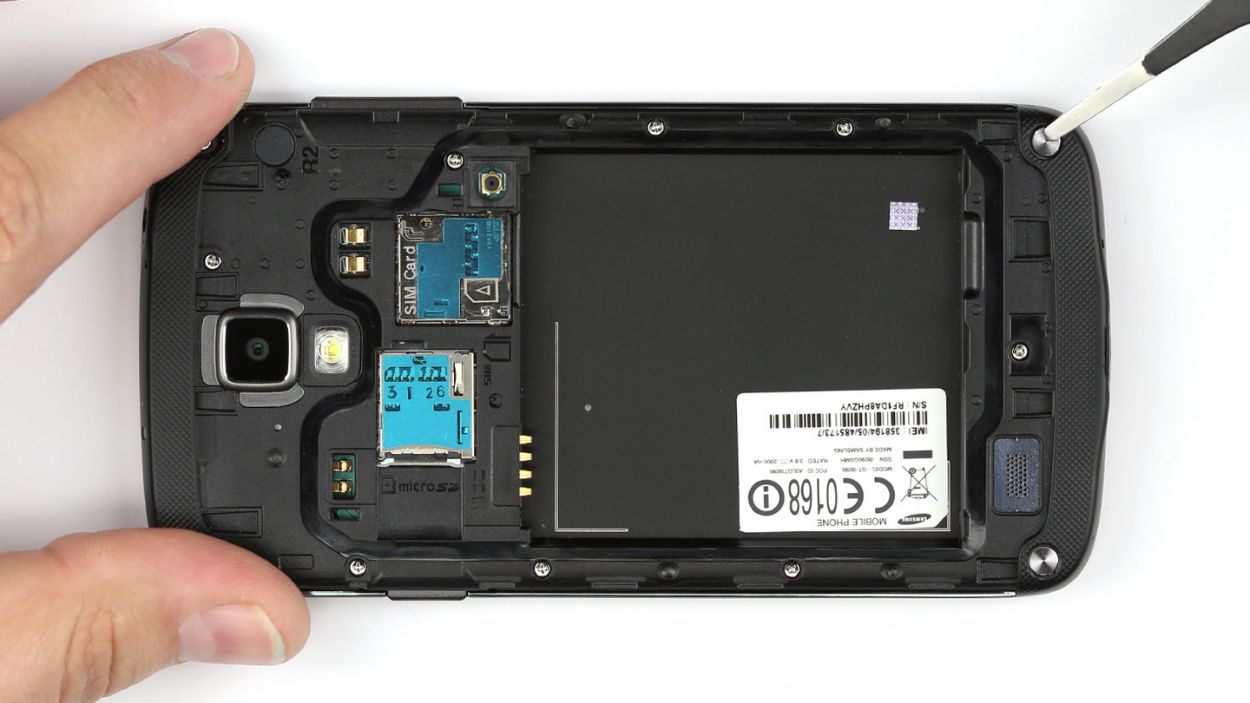
– Grab your trusty steel laboratory spatula and get ready to tackle those four metal shields! With a little finesse, use the spatula to gently pry the covers out of their cozy spots in the chassis. Just slide the tip of the spatula underneath the covers and lift them away like a pro!
Step 5
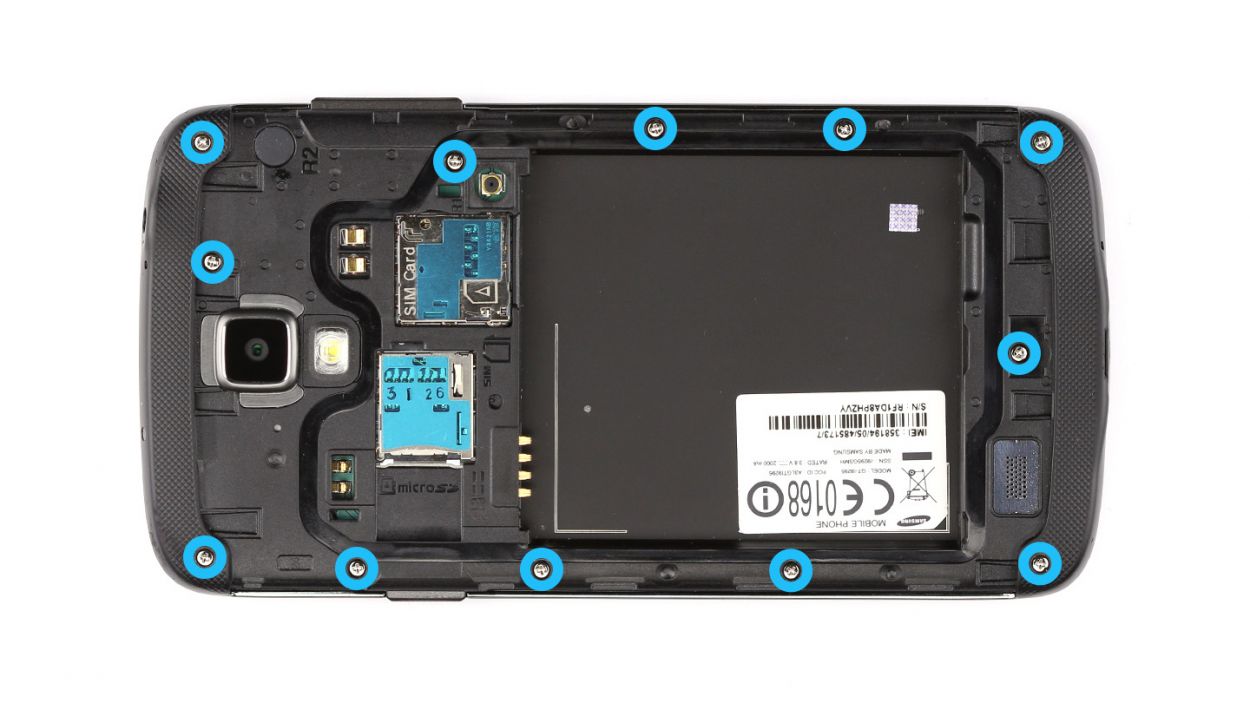
– Time to get those screws out! Start by unscrewing the twelve Phillips screws that hold the chassis snugly against the display. Remember to keep those little guys safe in a container so they don’t go wandering off. We’re dealing with 12 x 3.9 mm Phillips screws here!
Step 6

– The chassis isn’t just hanging out with the display; it’s got some sneaky little hooks keeping it cozy. Grab your trusty steel spatula and let’s unhook that chassis!
– Slide the spatula in between the display and chassis. A great starting point is right at the power button—easy peasy!
– Now, gently glide the spatula all the way around the device, like you’re giving it a little spa day.
– Once you’ve successfully detached the chassis, go ahead and lift it off the display. You’re doing great!
Step 7


– Hey there! Just a heads up, the chassis isn’t just hanging out with the display; it’s got some sneaky little hooks holding it in place. Give that chassis a gentle press with your fingers to make sure it’s snug and secure on the display.
– Now, let’s get that chassis pressed down firmly all over the device. You’ve got this!
Step 8

– Secure the chassis in place using those twelve trusty Phillips screws. 12 x 3.9 mm Phillips screws are your best friends on this mission!
Step 9

– Grab those tweezers and gently place the four metal shields back where they belong.
– Give each cover a nice firm press to make sure they’re snug.
Step 10
– Pop in the SIM card and slide in the microSD card like a pro!
Step 11

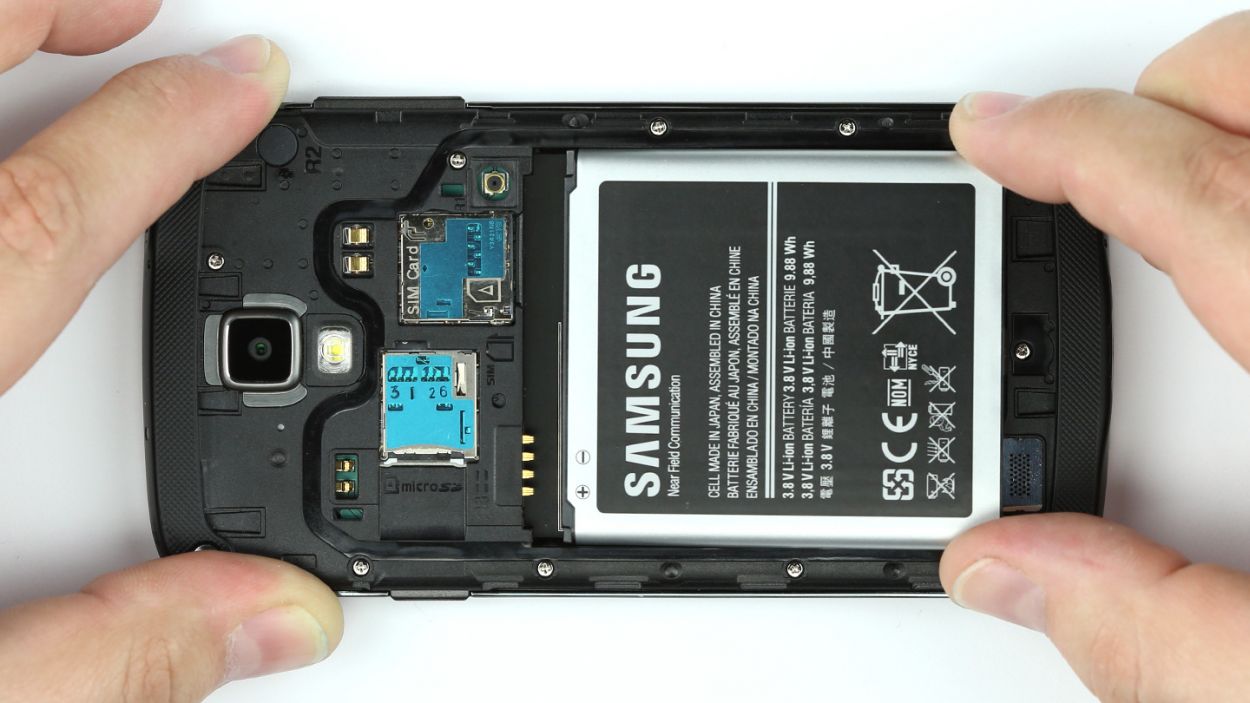
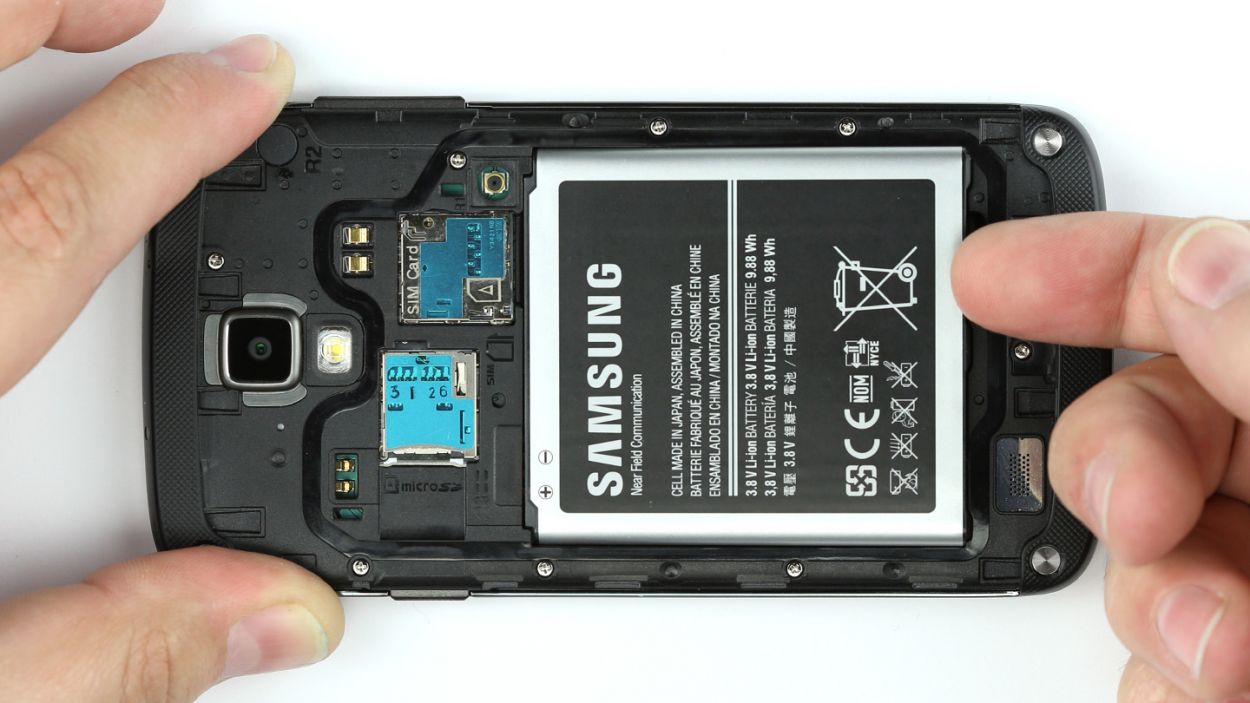
– Slide that battery right into your Galaxy S4 Active like it belongs there!
Step 12


– Let’s get that back cover snug on the chassis! Start by positioning it just right.
– Now, hook the back cover onto the bottom of the chassis like a pro.
– Give it a gentle press all around so those retaining clips can snap into place. You’ve got this!


