DIY Samsung Galaxy S5 Teardown Guide: Step-by-Step Tutorial
Duration: 60 min.
Steps: 12 Steps
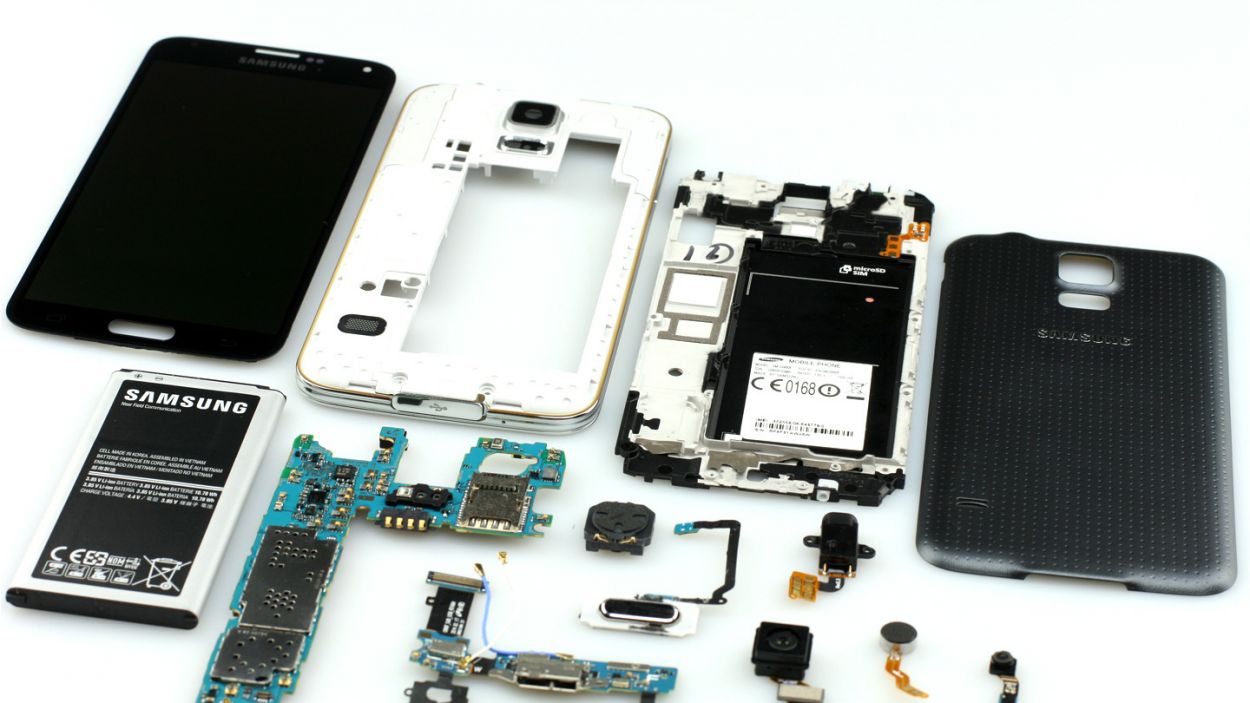
Let’s take apart the Samsung Galaxy S5 and explore every little bit! We’re curious about just how simple it is to fix Samsung’s latest flagship. Discover all the details right here!
Step 1
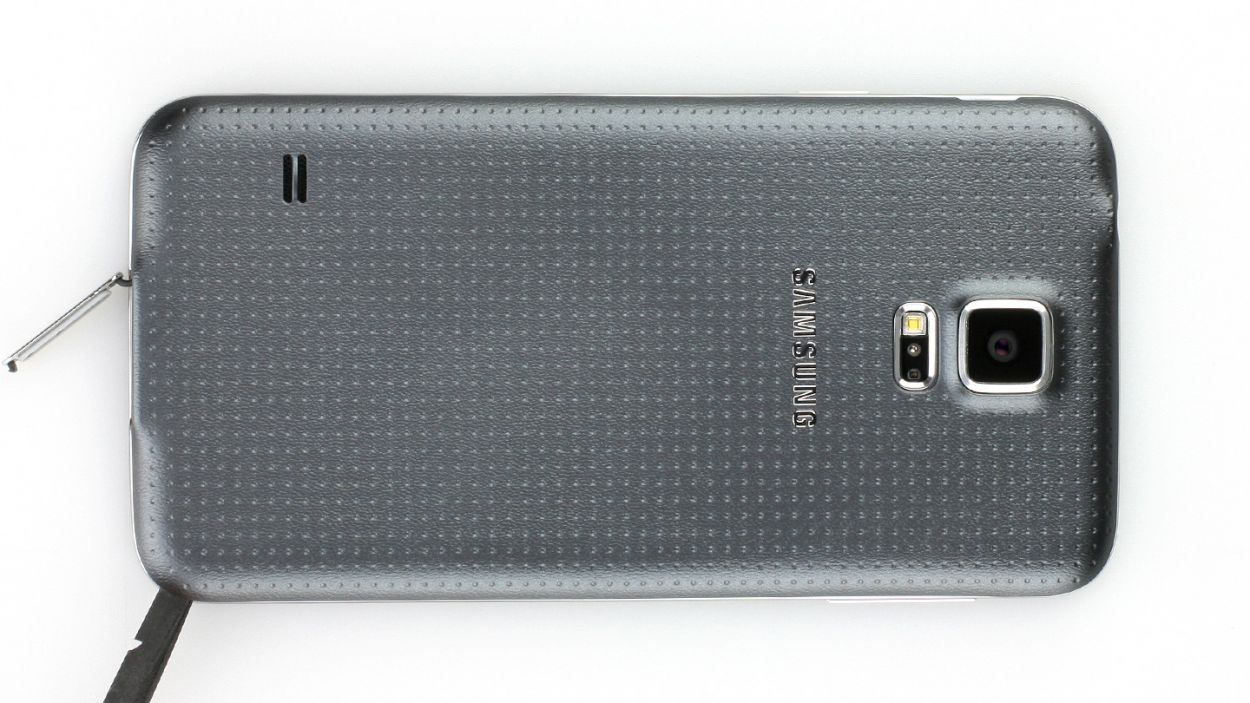
– Guess what? The new Samsung Galaxy S5 has landed and is ready for you to grab! Samsung is stepping up its game with this flagship model, making waves in the premium price range. We’re here to guide you through what’s inside the Galaxy S5 and whether fixing it is a breeze compared to its predecessors.
– OS: Android 4.4.2 (KitKat)
– Dimensions: 142.0 x 72.5 x 8.1 mm, 145 g
– Display: 5.1” FHD Super AMOLED (1920 x 1080), 432 ppi
– RAM: 2 GB
– Memory: 16/32 GB + microSD slot (up to 128 GB)
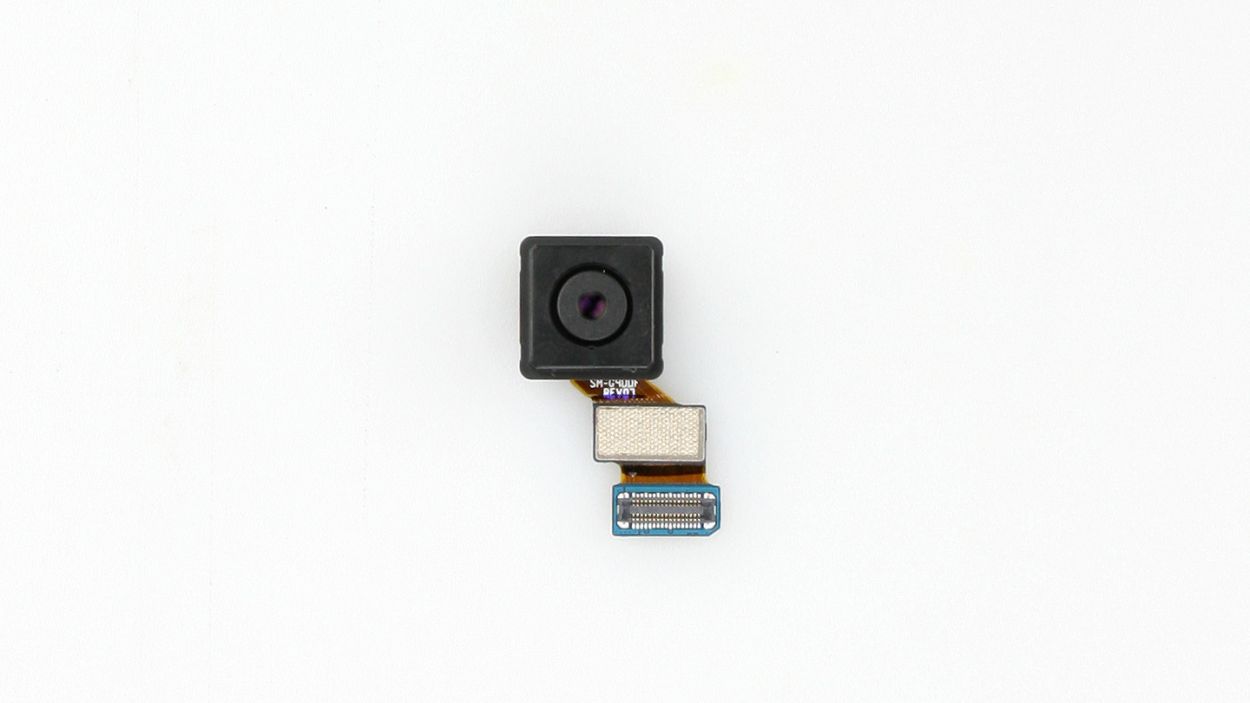
– Rear camera: 16 MP (1/2.6″, phase detection AF)
– Front camera: 2 MP (1920 x 1080, wide-angle lens)
– Battery: 2800 mAh
Step 2
Step 3

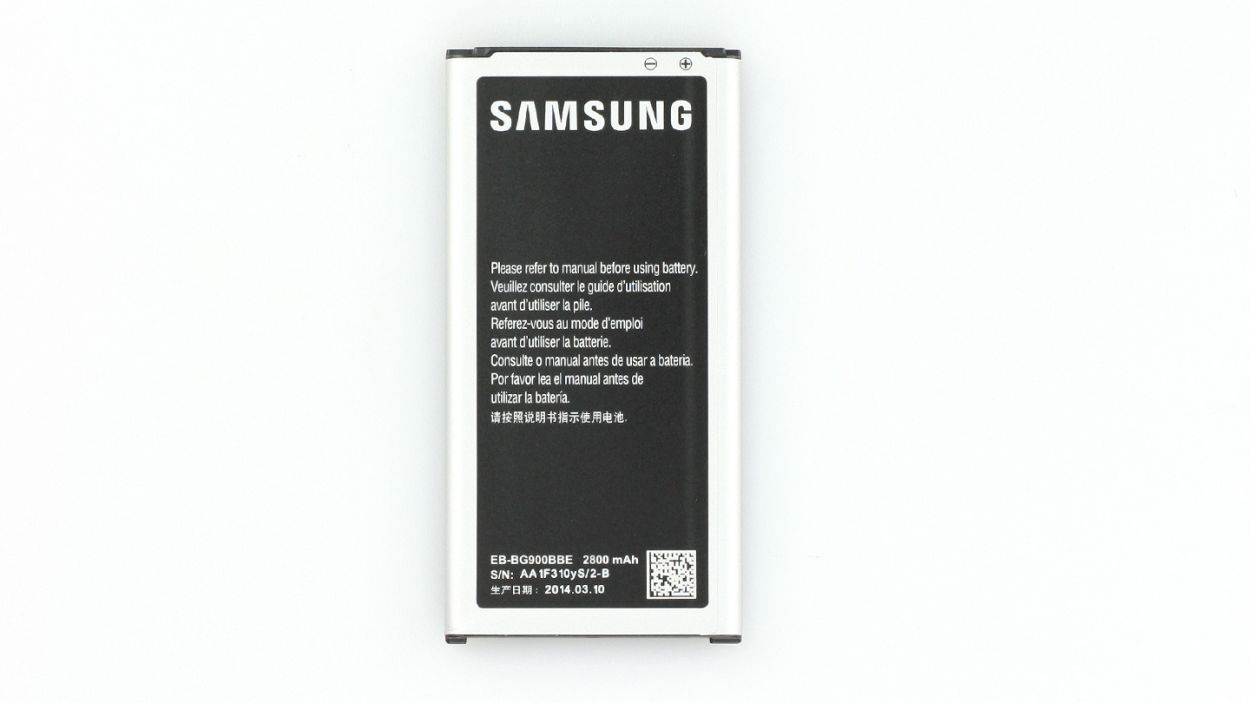
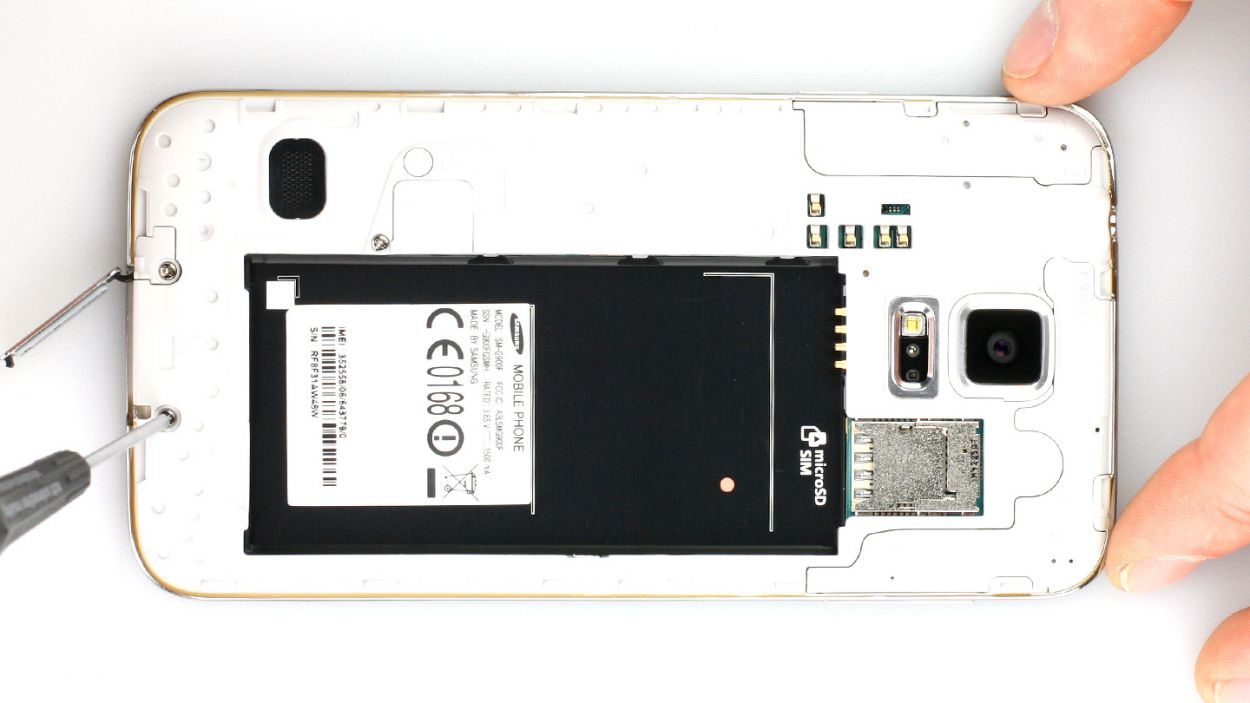
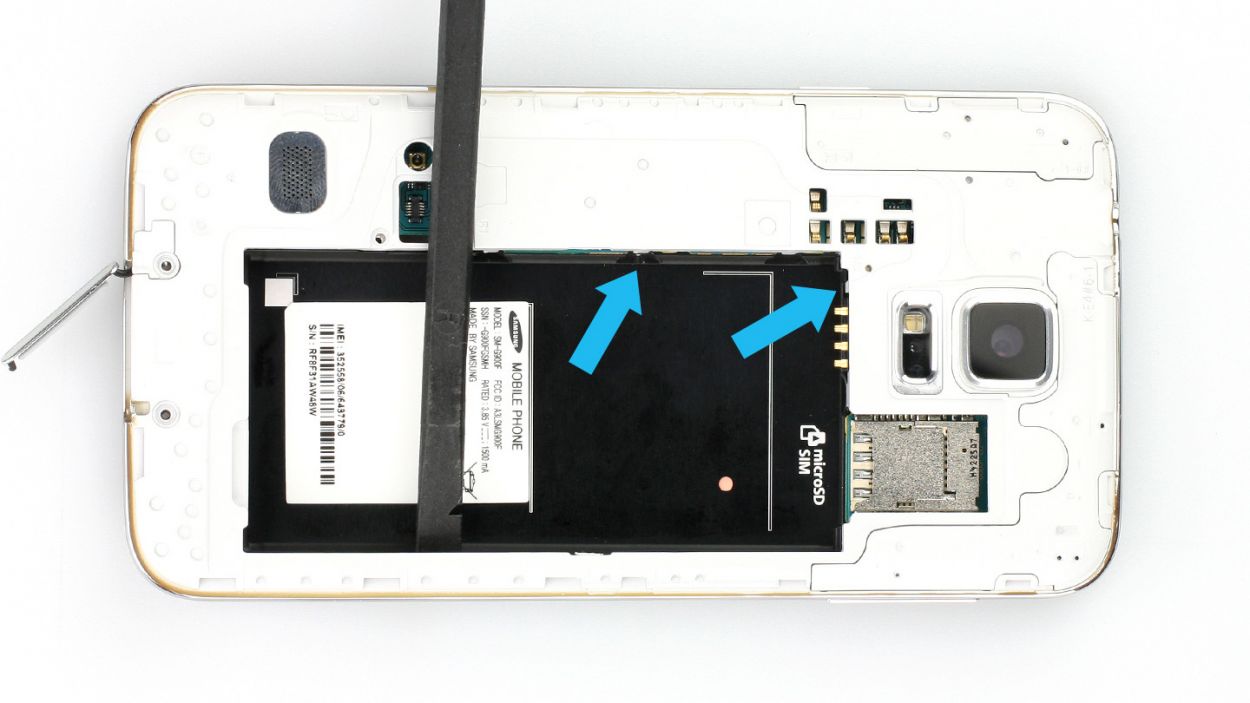
– Get ready for a little surprise: the battery! It’s got a bigger capacity and a whole new shape. With a power-packed 2800 mAh, this battery is designed to keep your device running 20% longer than the last version, and guess what? It’s rectangular now instead of square! But don’t worry, it’s just as easy to pop out as it was before. Tools used so far: 0
Step 4
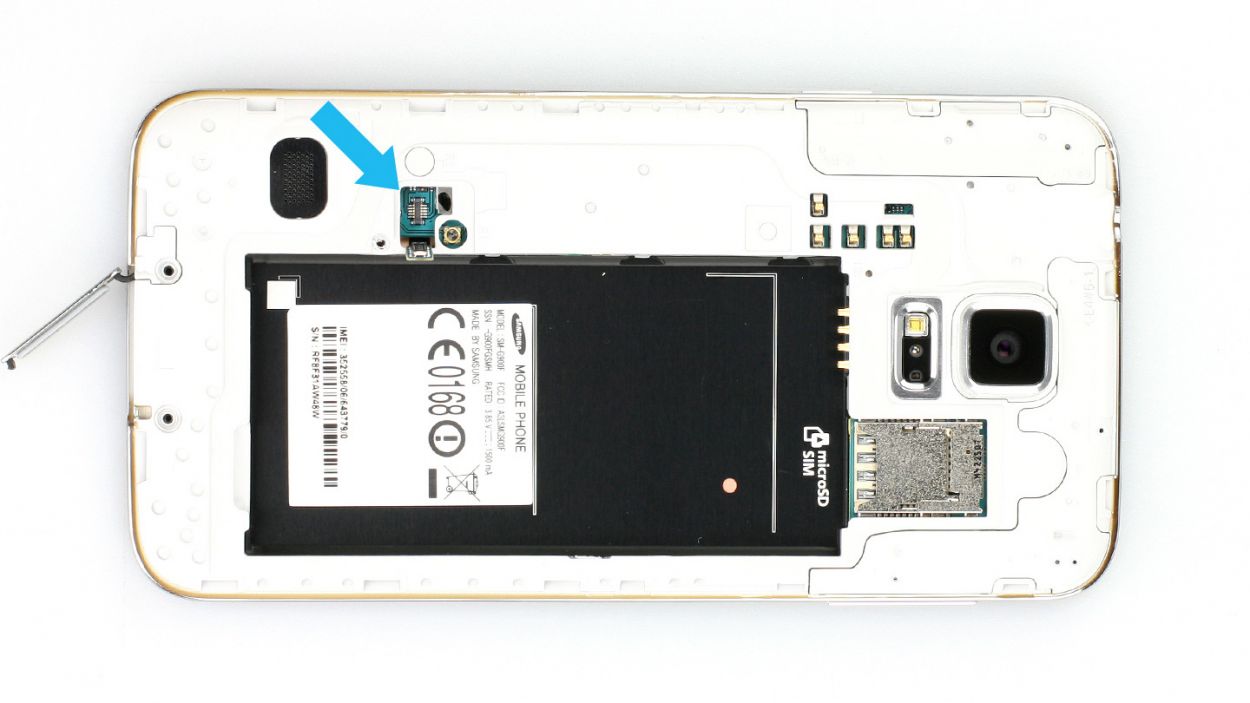
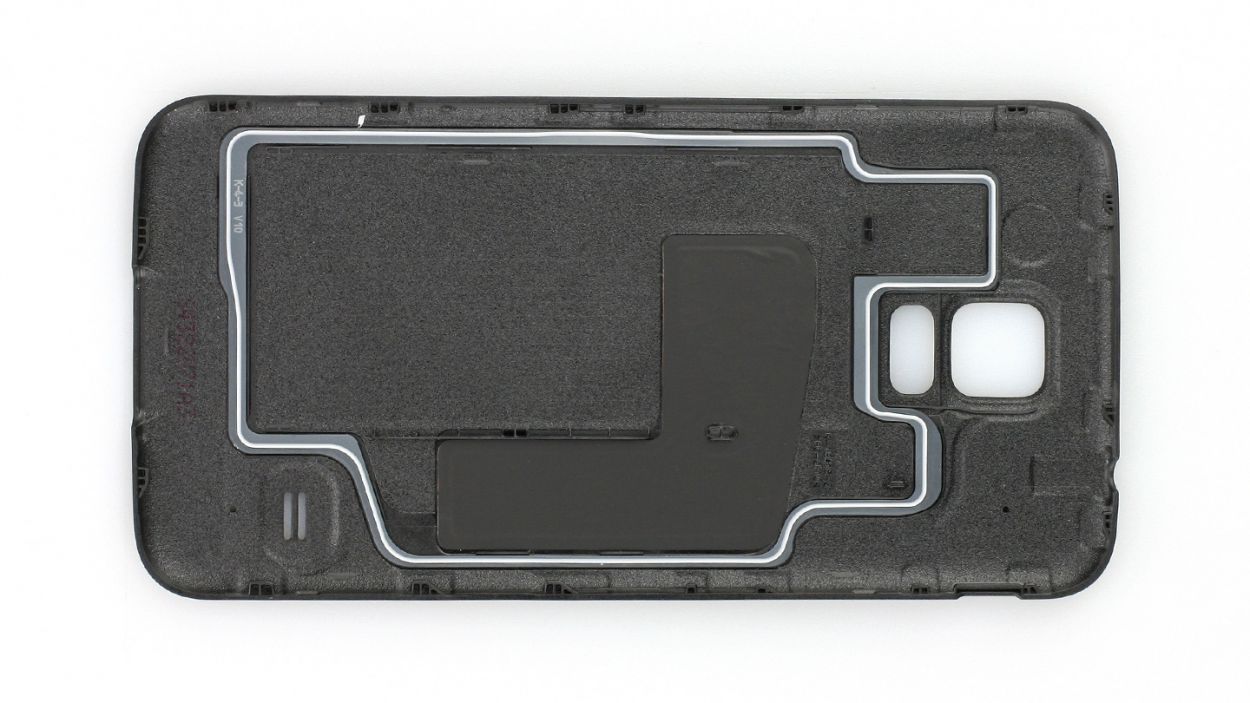
– We finally get to use a screwdriver. Our tool of choice: the Wiha ESD PH00. We remove the three screws on the back that help hold the midframe in place. There’s also the closure for the fingerprint sensor and the Home button, which is hidden under a cover (see figure 2).Afterwards, taking this phone apart is already very different than it was for previous models. Even though we’ve removed all the screws from the back, we still can’t take off the midframe. Why? IP67. This new standard is supposed to make the Samsung Galaxy S5 dustproof and waterproof (30 min. at a depth of up to 1 meter).
Step 5
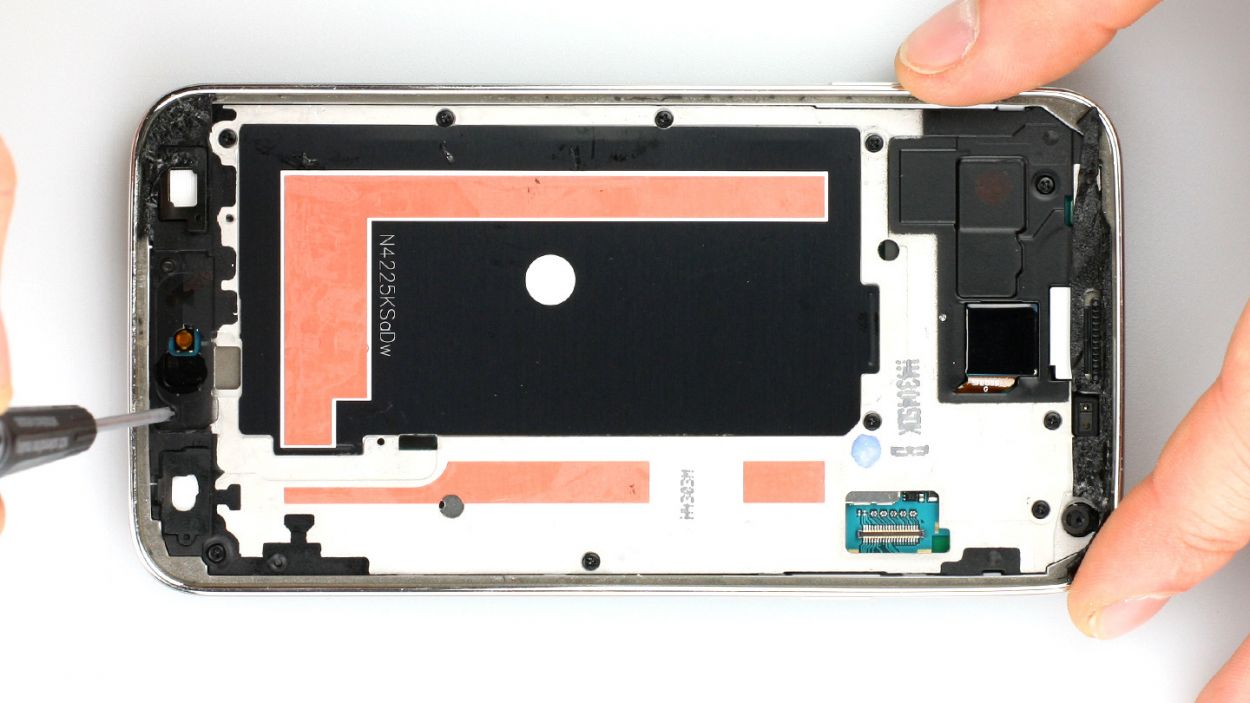
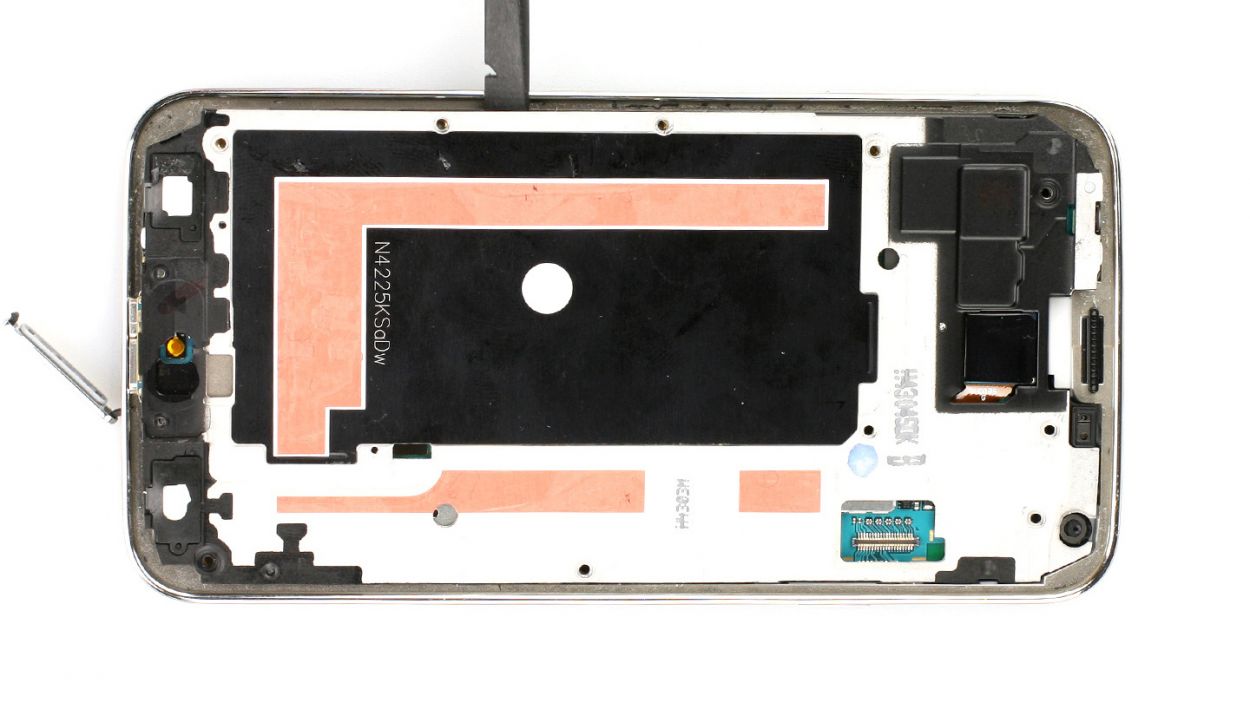
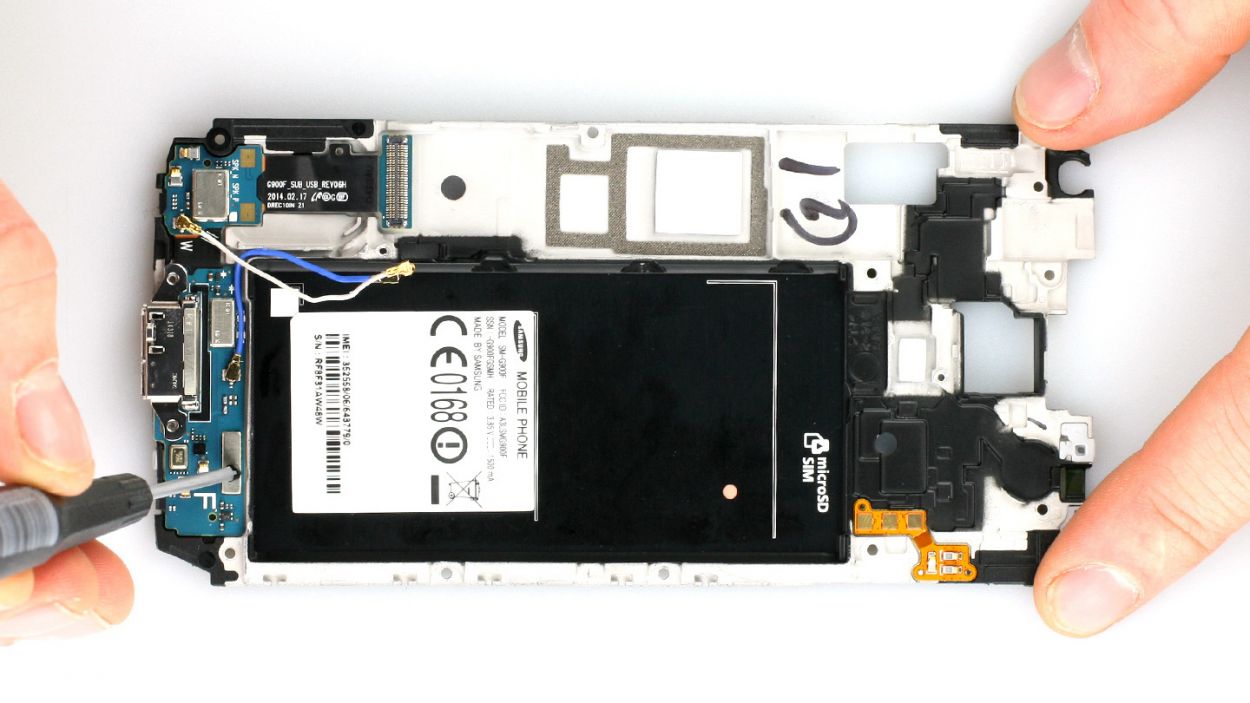
– We’ve gotten the hardest part done. Now it’s the same old Samsung routine, and we unscrew ten screws to free the midframe.We use the spudger to disconnect the frame from the enclosure.Be careful.It’s hard to figure out how much force you need to apply to detach the frame.This step may try your patience.You have to undo the plastic brackets.Lift the frame at the charging port.
Step 6
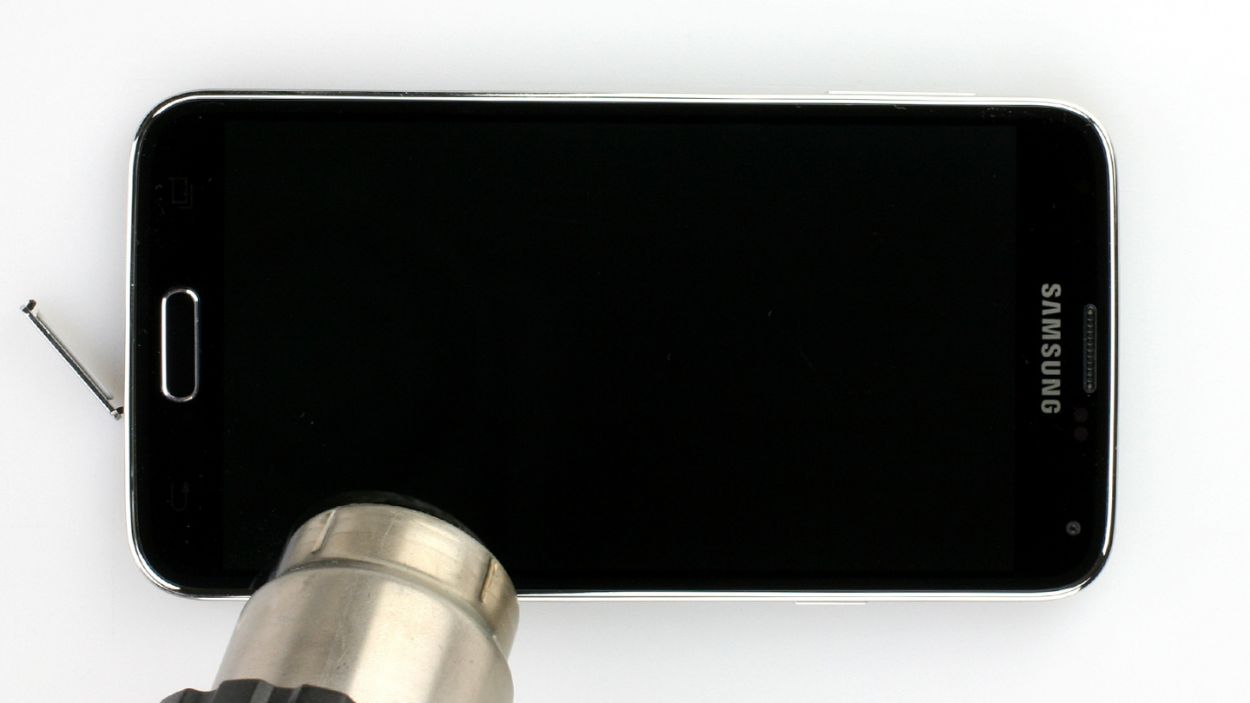
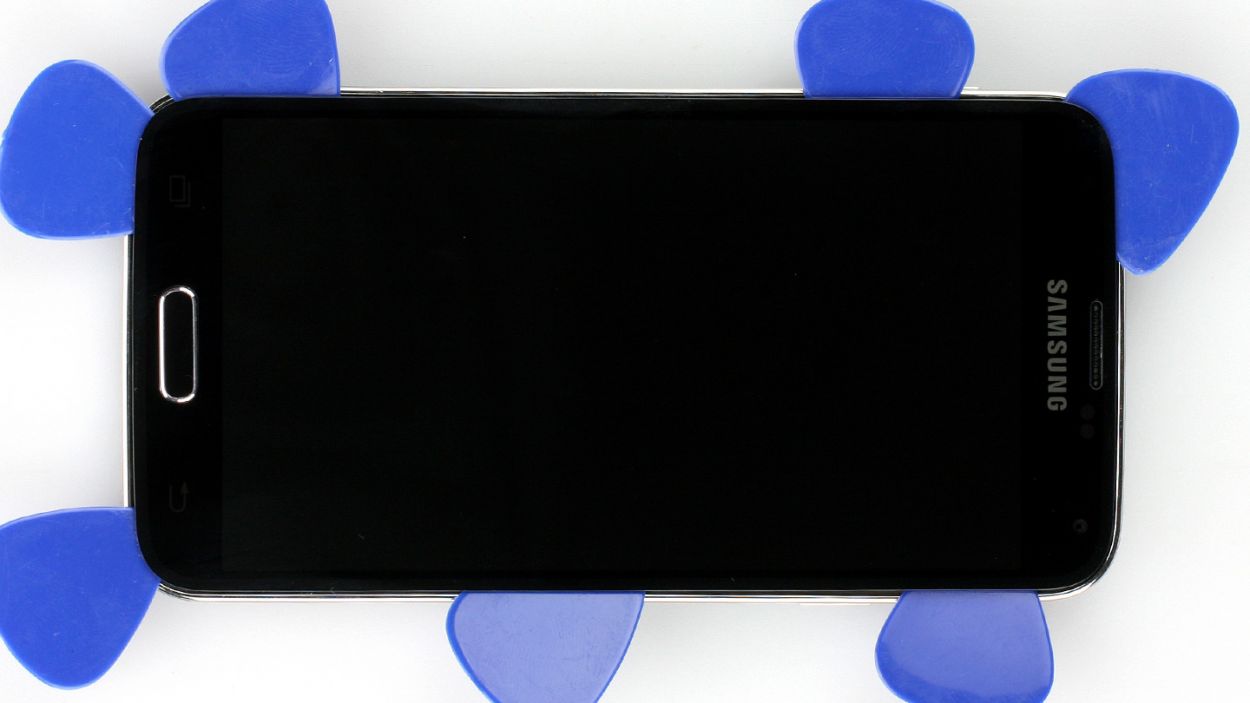
– We’re diving into some new waters with Samsung Galaxy repairs! First up, we need to carefully detach the display, which is stuck on pretty firmly. This is a bit of a shift from the previous models where you could usually get everything apart with just a screwdriver and a spudger. So, let’s take it slow and steady—you’re doing great! And remember, if you need help, you can always schedule a repair.
Step 7
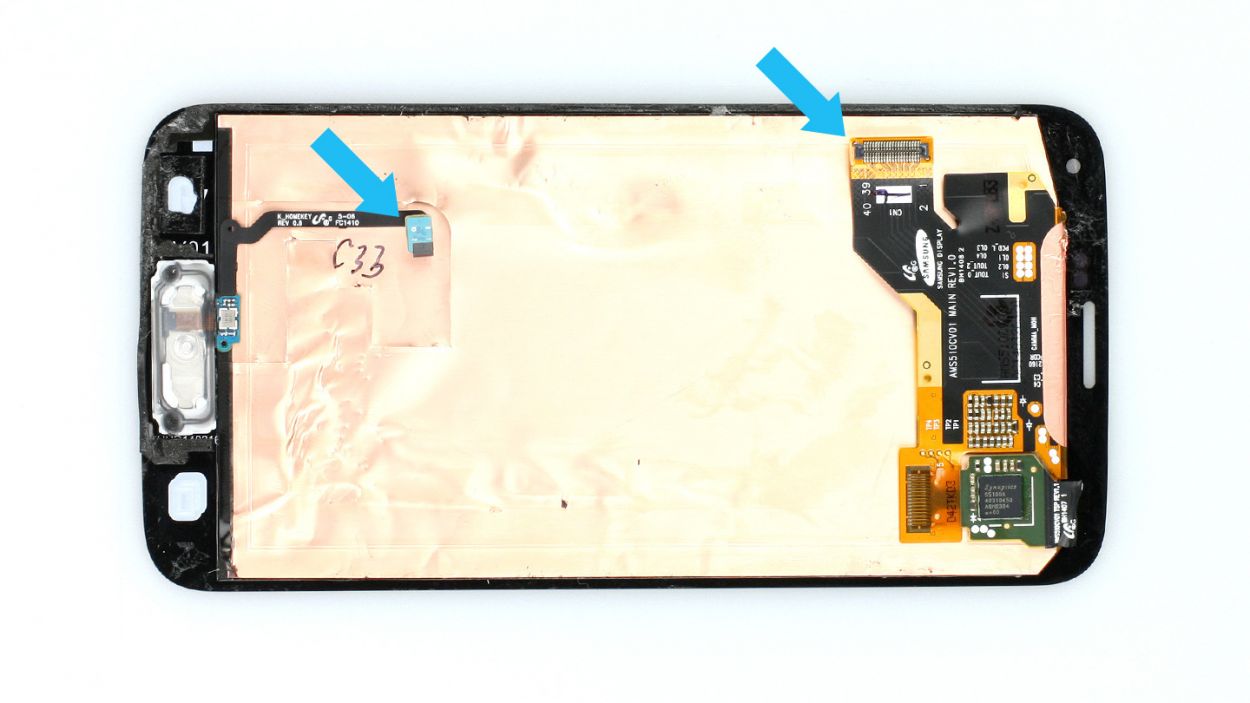
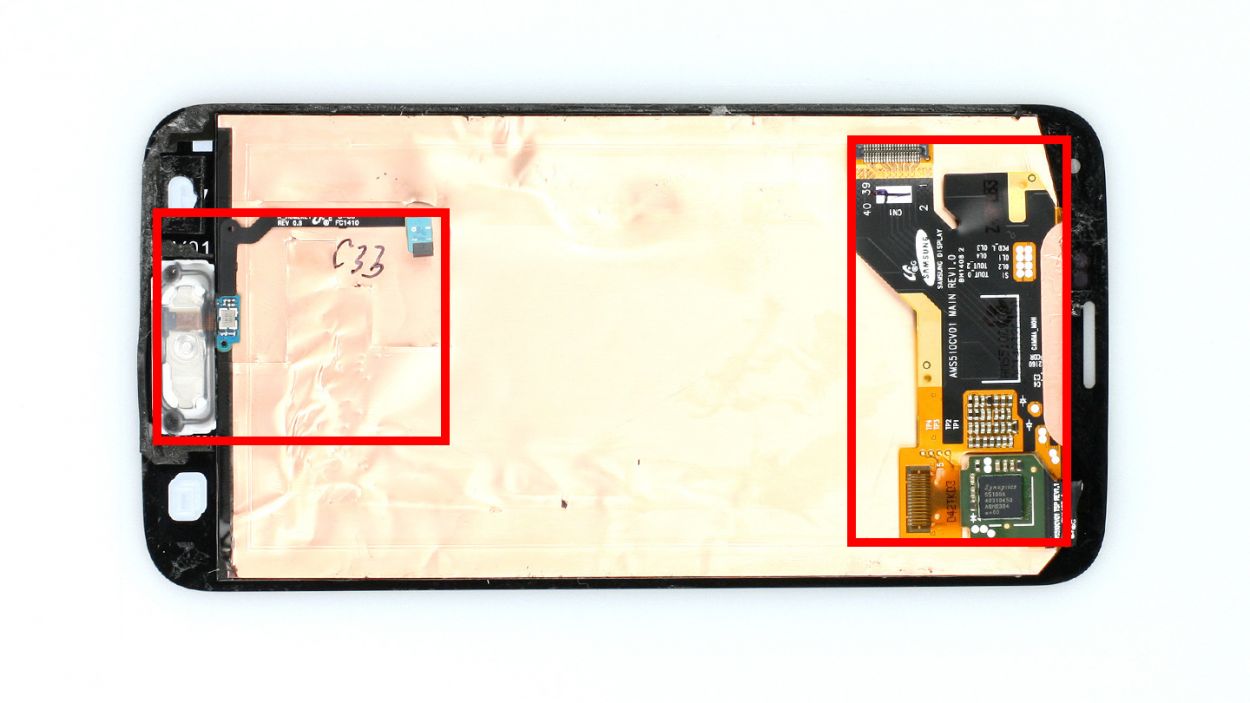
– Whoa, the display’s looking a little lonely! Gently disconnect that display cable near the earpiece – careful now! Then, sneak that fingerprint sensor cable through the midframe gap. We’re still investigating if each Home button cable has its own secret agent processor (like in the iPhone 5s days – super spy stuff!). Once everything’s unplugged, you can finally lift off the screen. It’s super thin, seriously impressive engineering from Samsung! High five!
Step 8

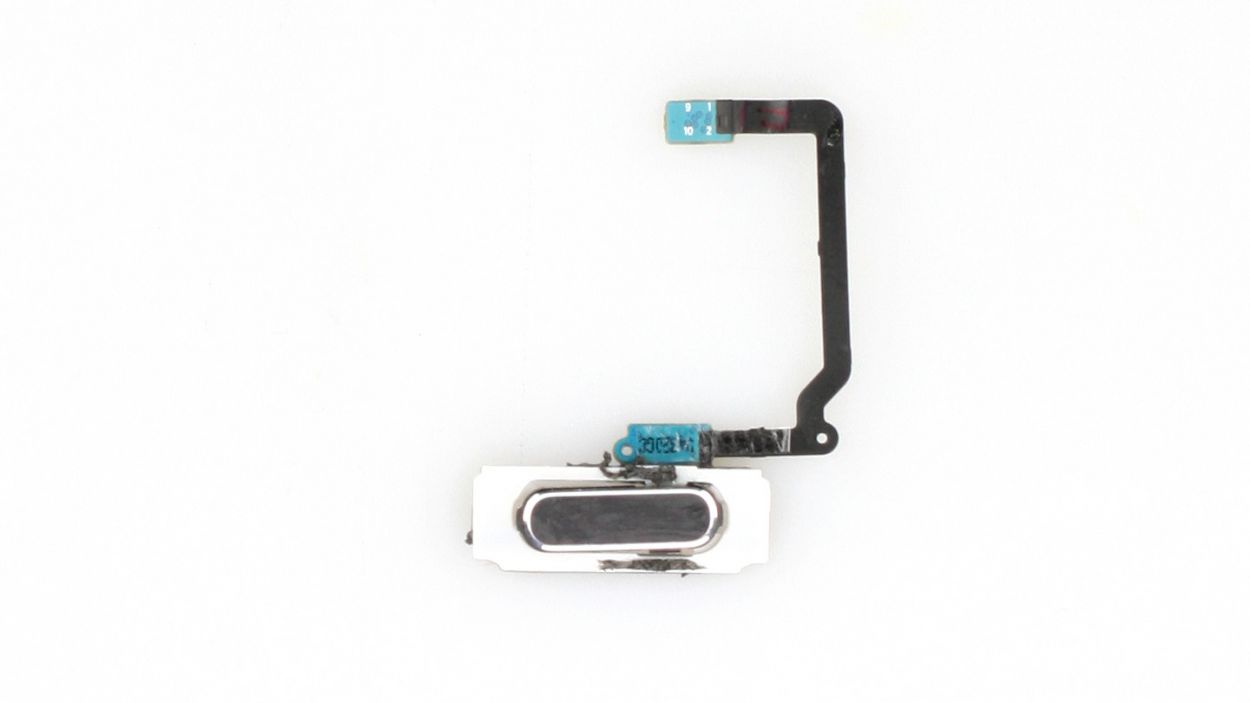
– The Home button is snugly glued to the back of the display. Let’s warm up that cable set one more time and gently lift off the Home button, taking care not to scratch the back. You’ve got this!
Step 9

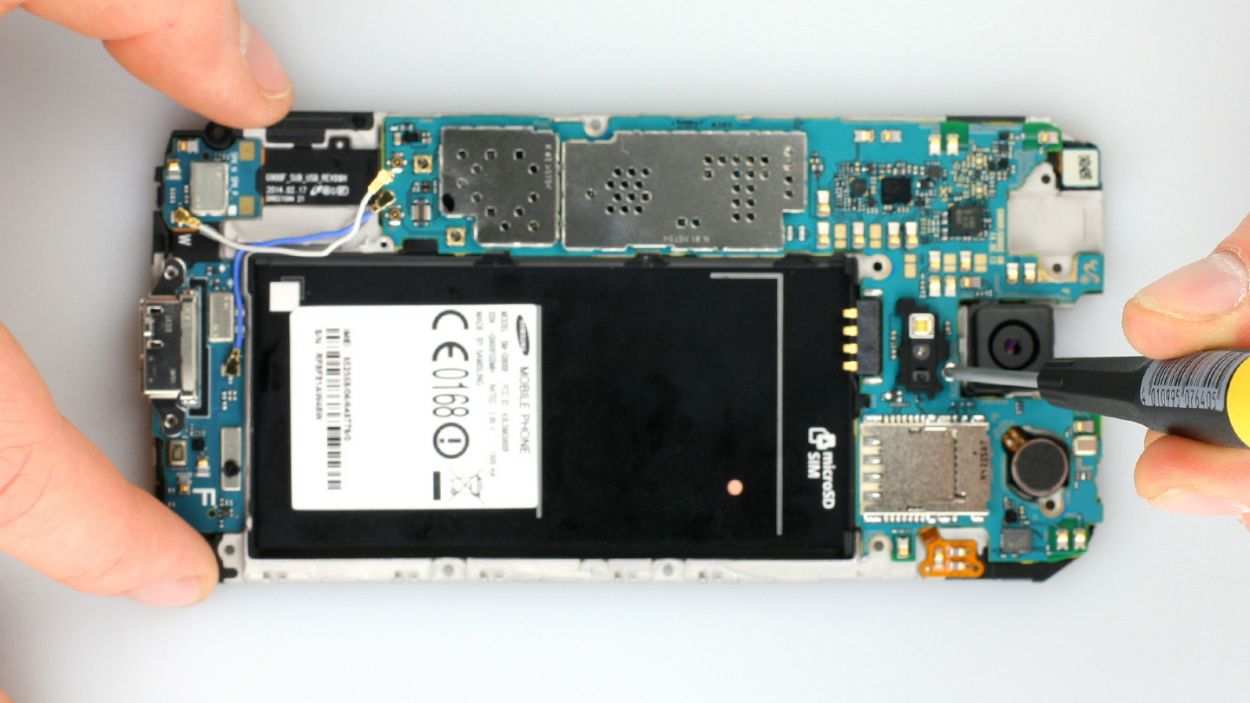
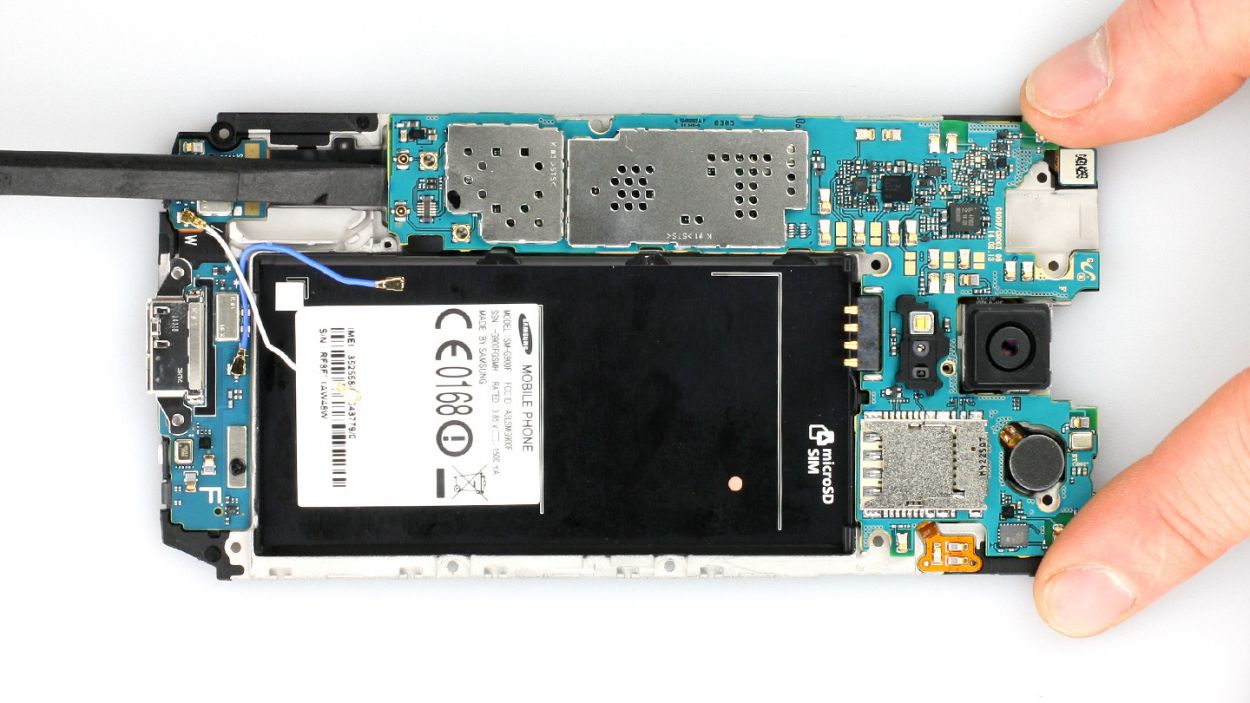
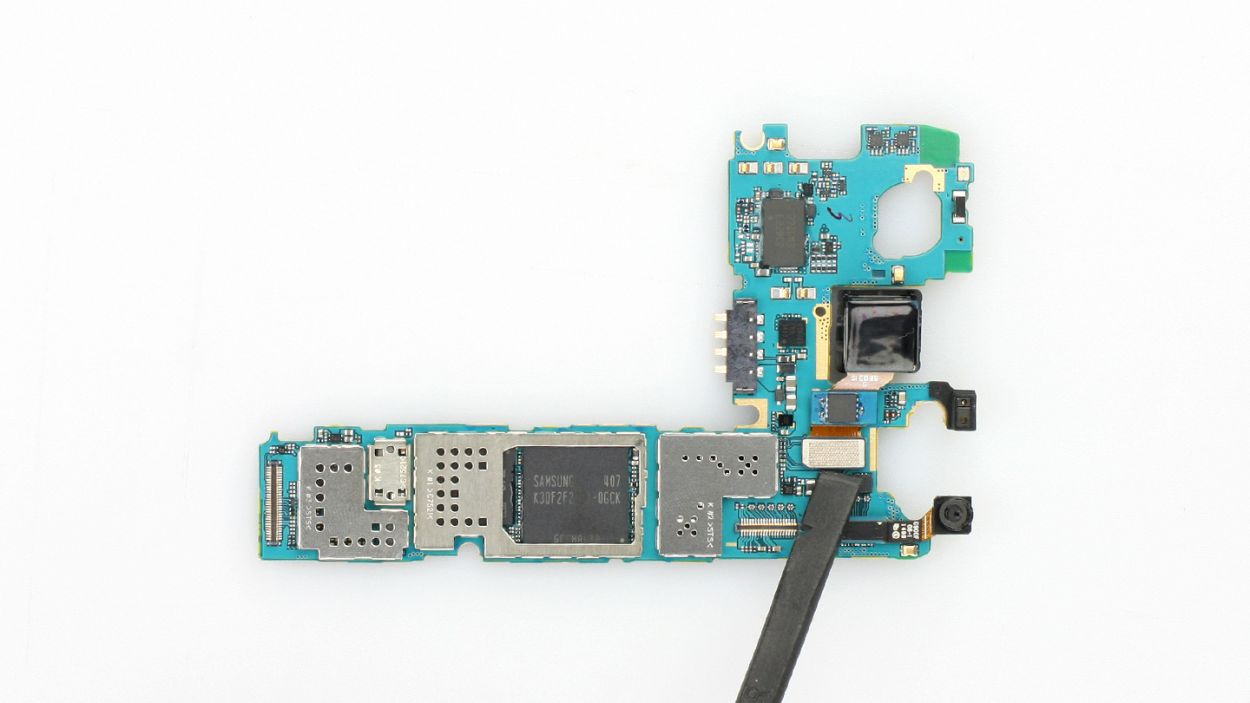


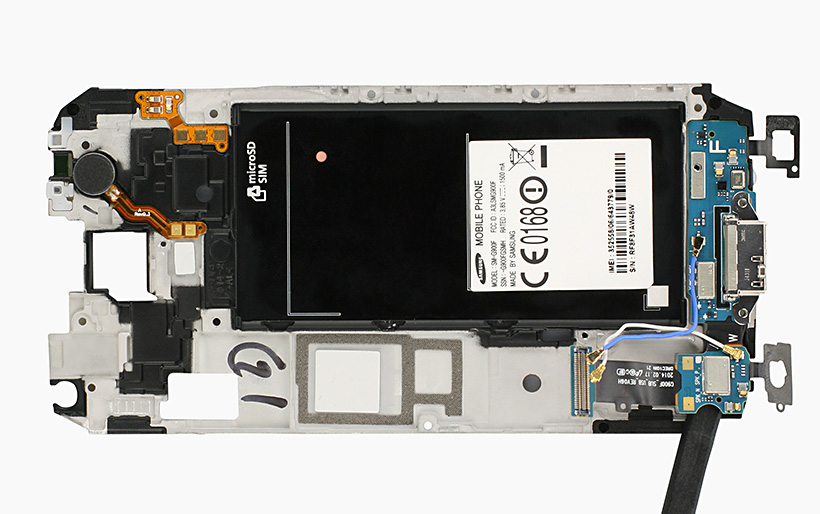
– Alright, we’ve got one last screw keeping the logic board snug in its spot. Let’s go ahead and unscrew it! Before we lift out the logic board, we need to disconnect those two antenna cables and the ribbon cable at the bottom. And just like that, the logic board is ready to be revealed!
Step 10
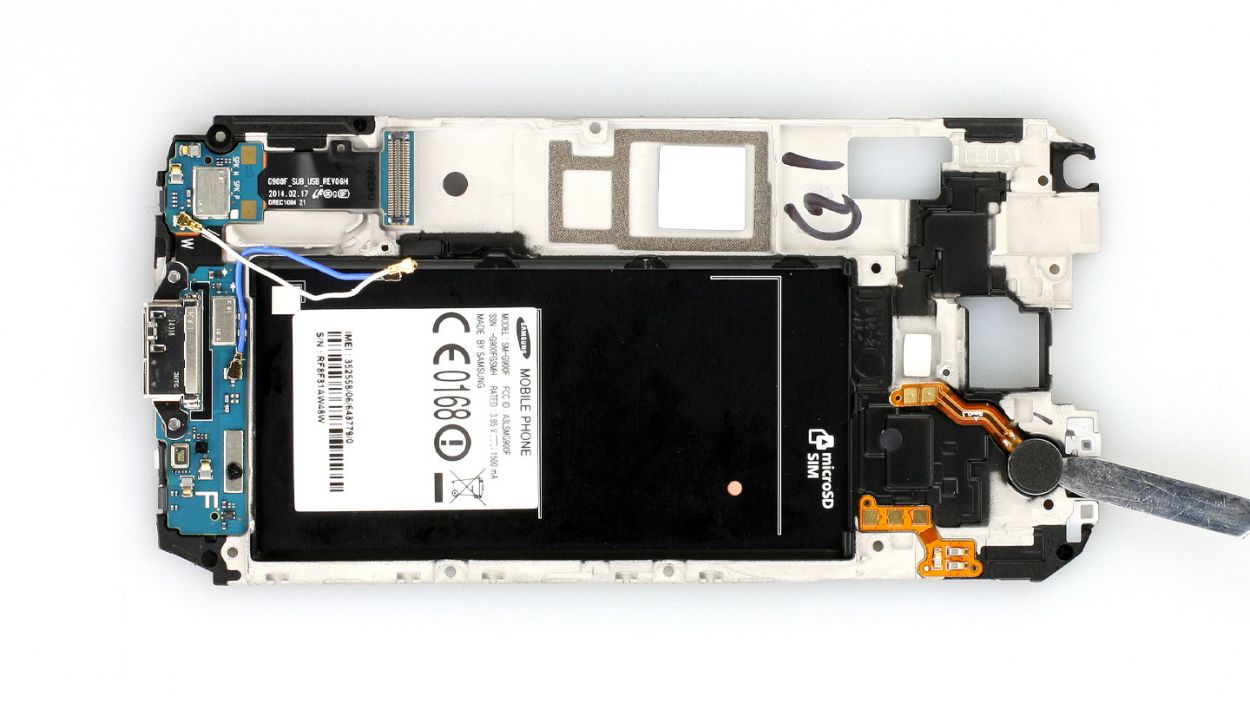
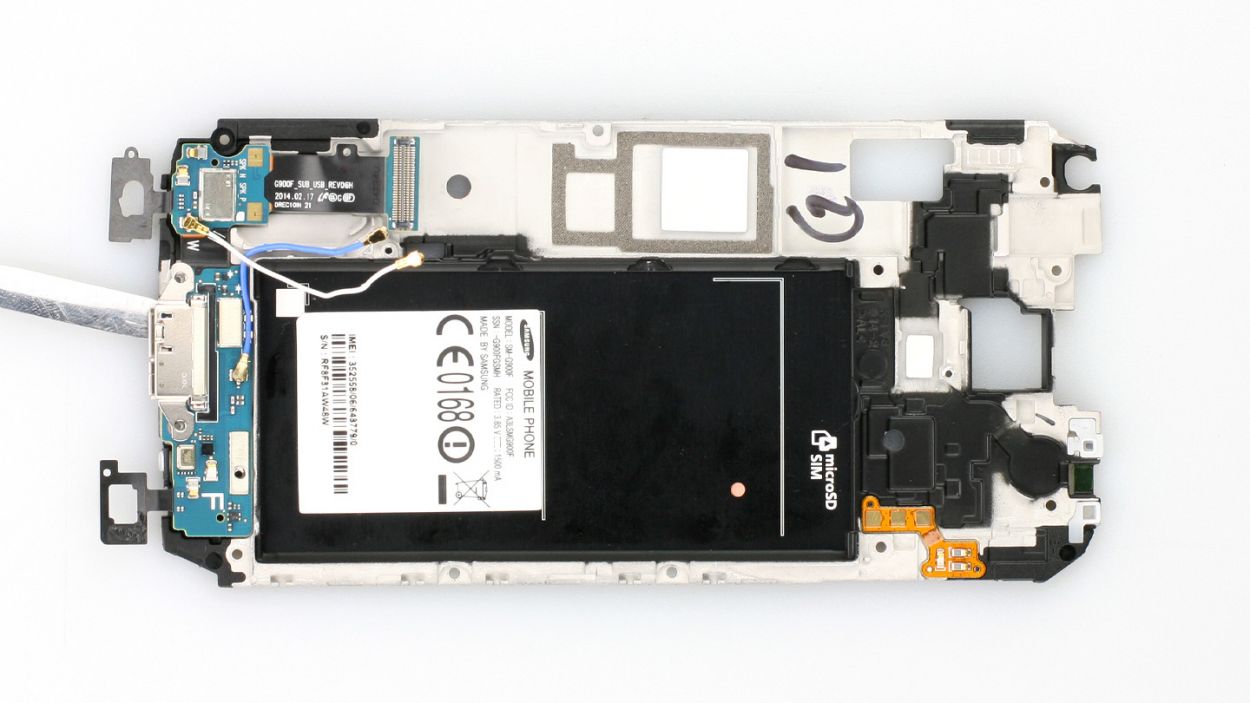
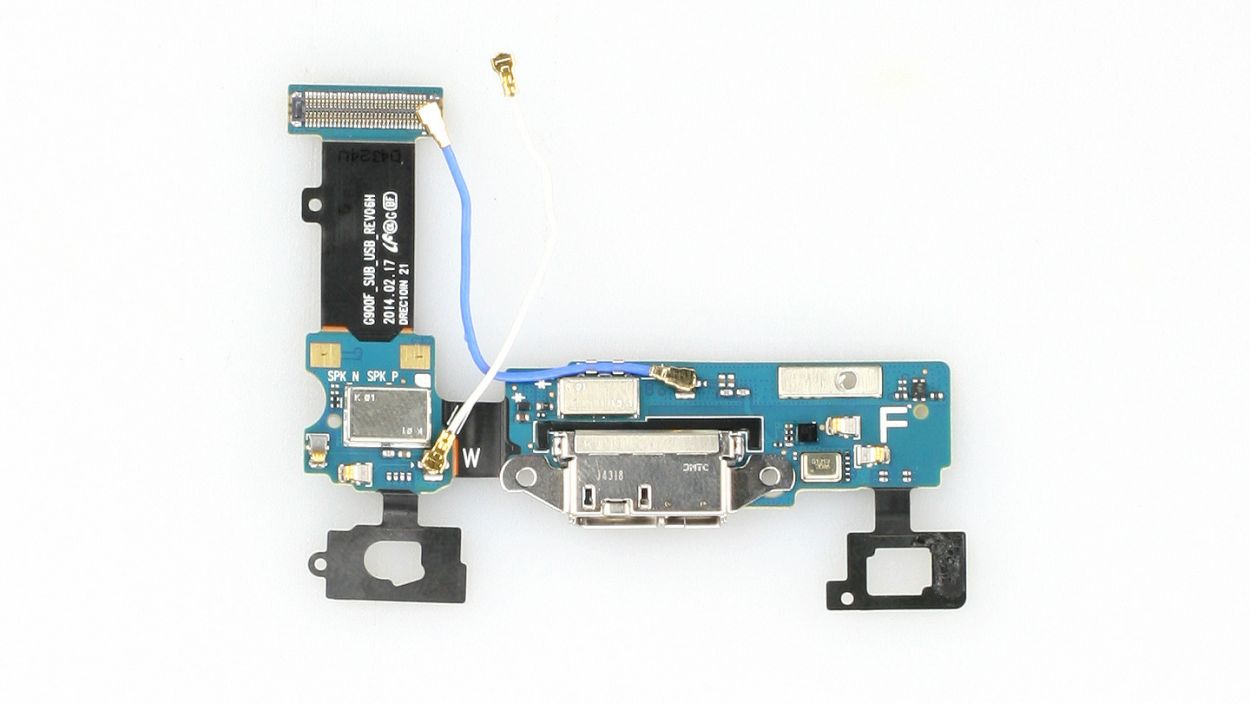
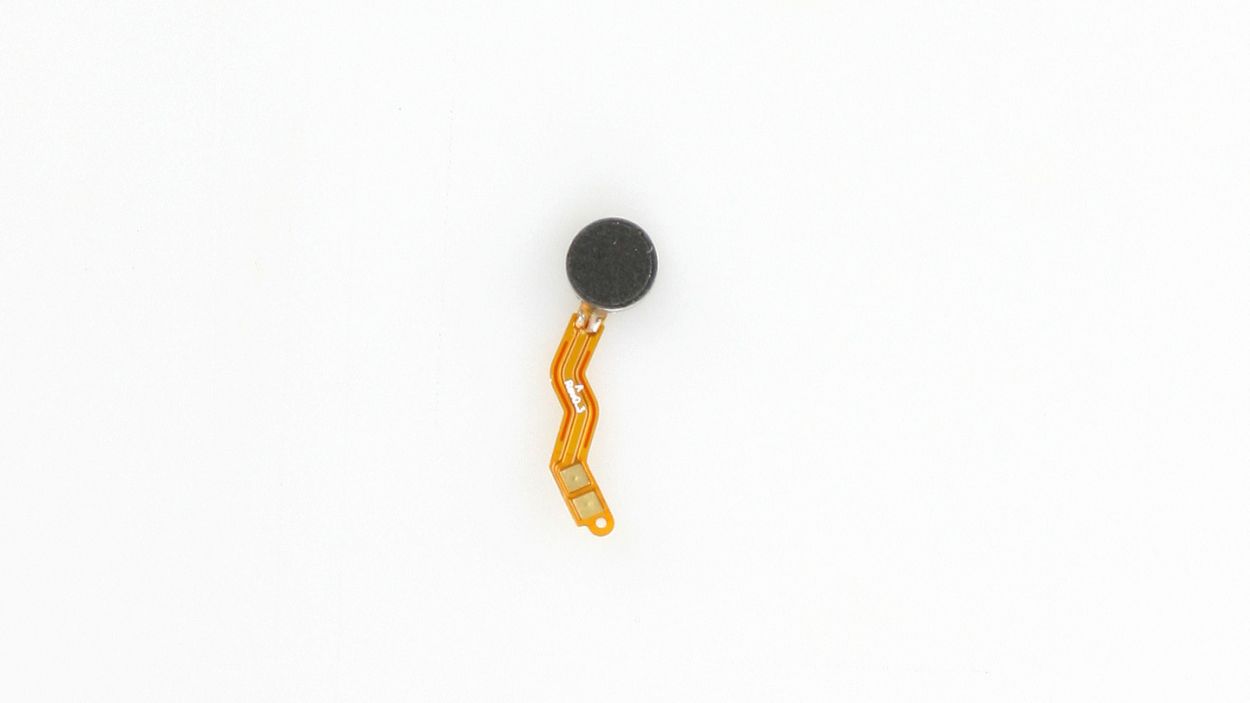
– The vibration motor and the charging port ribbon cable are still on the frame. We heat both of them briefly and can then easily remove them from the frame.
Step 11
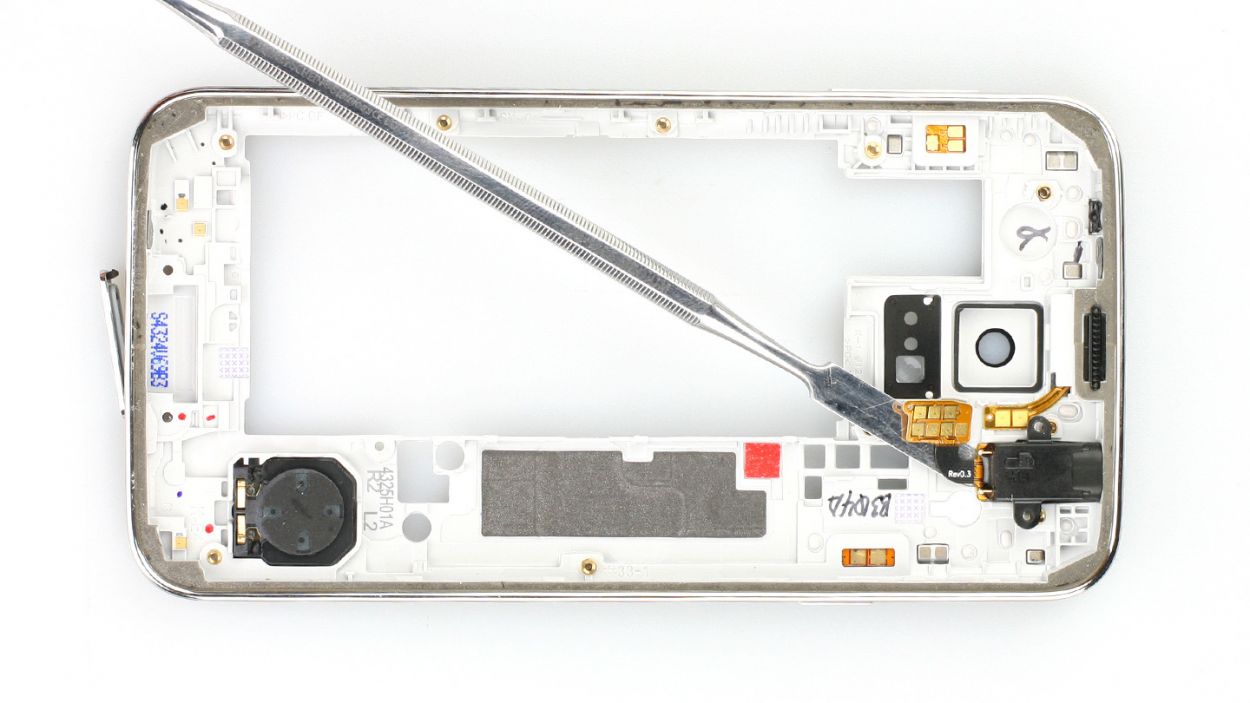
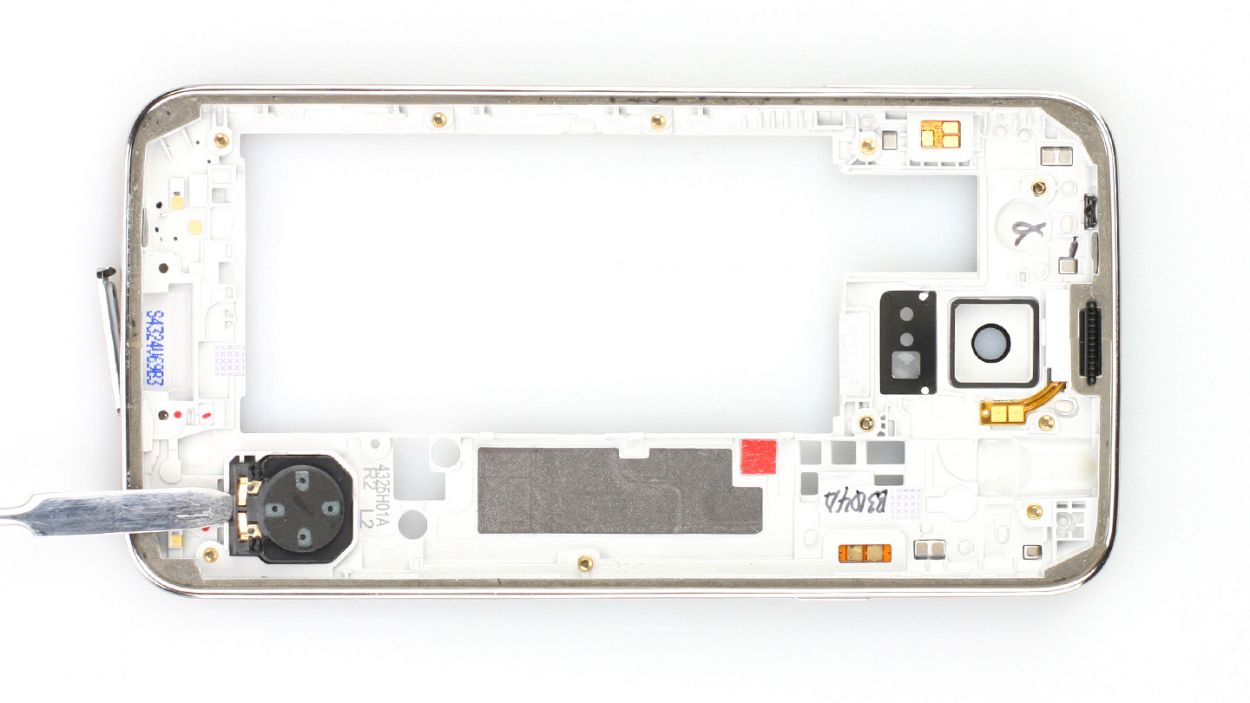

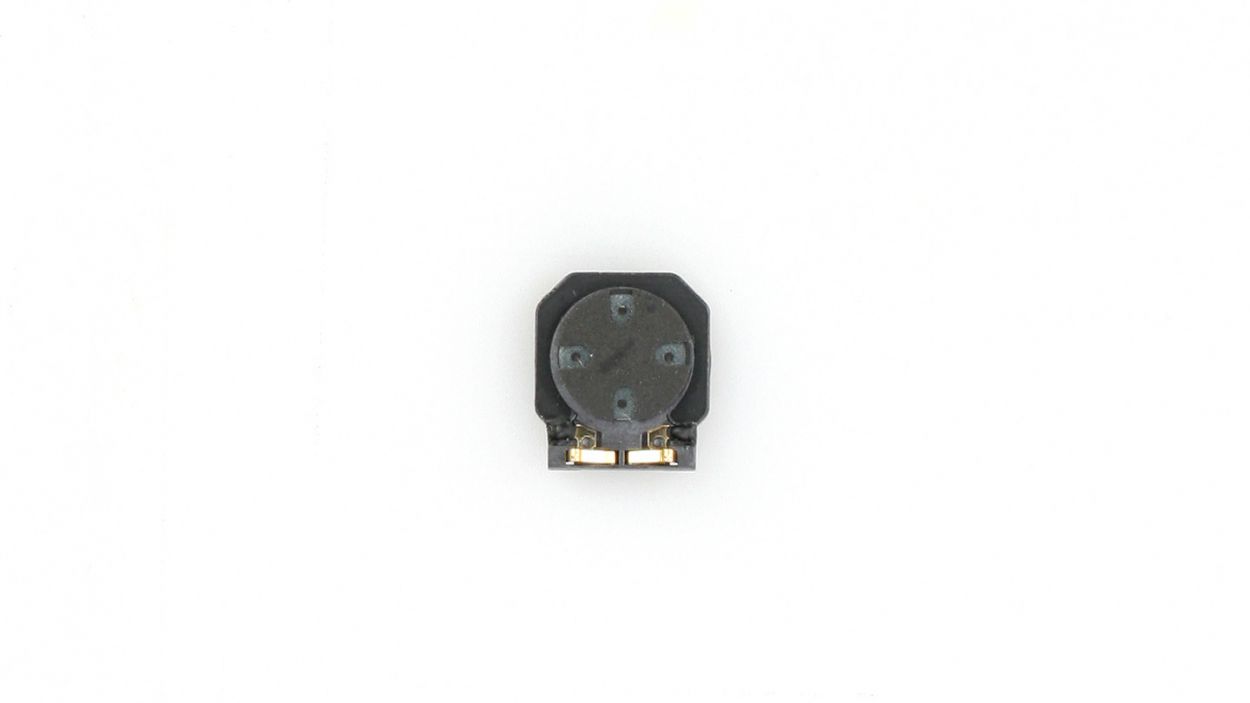
– The audio port and speaker are just having a light glue party! A quick blast of heat will help us separate them like old friends. And voilà, that was a breeze!
Step 12
– Let’s dive into the biggest change: The Samsung Galaxy S5’s display is securely glued down. Samsung did this to achieve that impressive IP67 certification. But here’s the catch—it means a bit more work for anyone looking to fix this smartphone. So, when you’re removing the display, take it slow and steady. Plus, you’ll find that replacing other parts can be trickier since the display usually has to come off first. Unfortunately, this means that repairing the S5 is a bit more of a challenge compared to previous models. In the world of repairs, we have to hand Samsung’s new flagship a bit of a rough grade.