DIY Guide to Replace Battery in Samsung Galaxy S6 Edge
Duration: 60 min.
Steps: 11 Steps
Ready to bring your Samsung Galaxy S6 Edge back to life? In this guide, we’ll walk you through the steps to swap out that tired battery yourself! Whether your phone is crashing during those intense gaming sessions, refusing to turn on, or just can’t seem to hold a charge, we’ve got you covered. Let’s get started and give your device the boost it needs!
Step 1
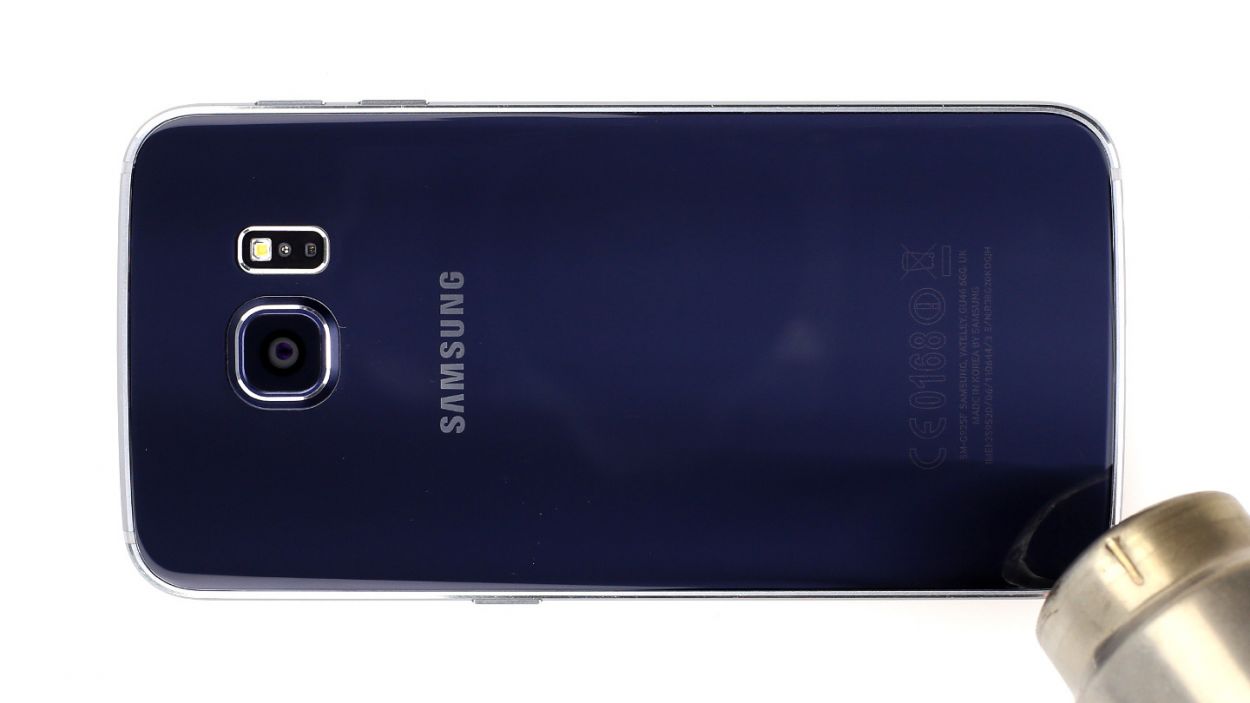
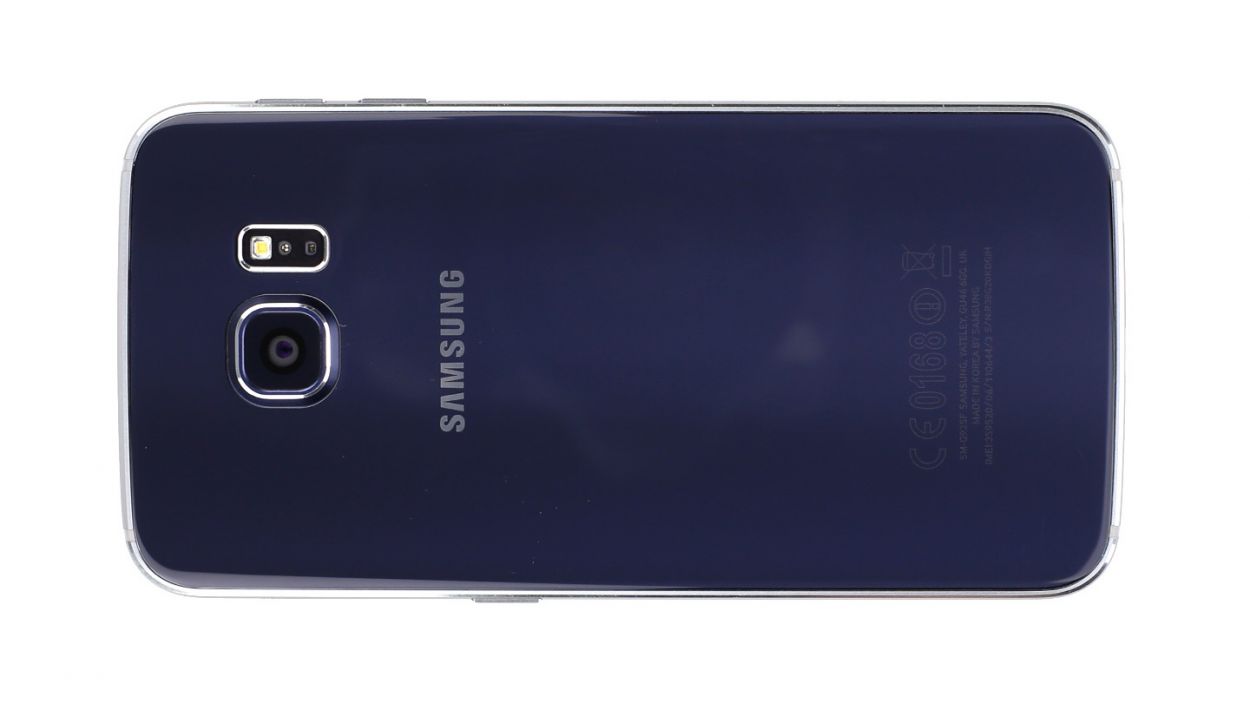
– The back cover of your Samsung Galaxy S6 Edge is glued on tightly, but don’t worry! Just grab a heat gun and warm it up a bit to soften that adhesive. Once it’s nice and toasty, slide a plastic pick into the tiny gap between the frame and the glass to help separate them.
– That gap between the sleek aluminum frame and the glass is pretty snug. We suggest using a flat, sturdy tool to work your way in there.
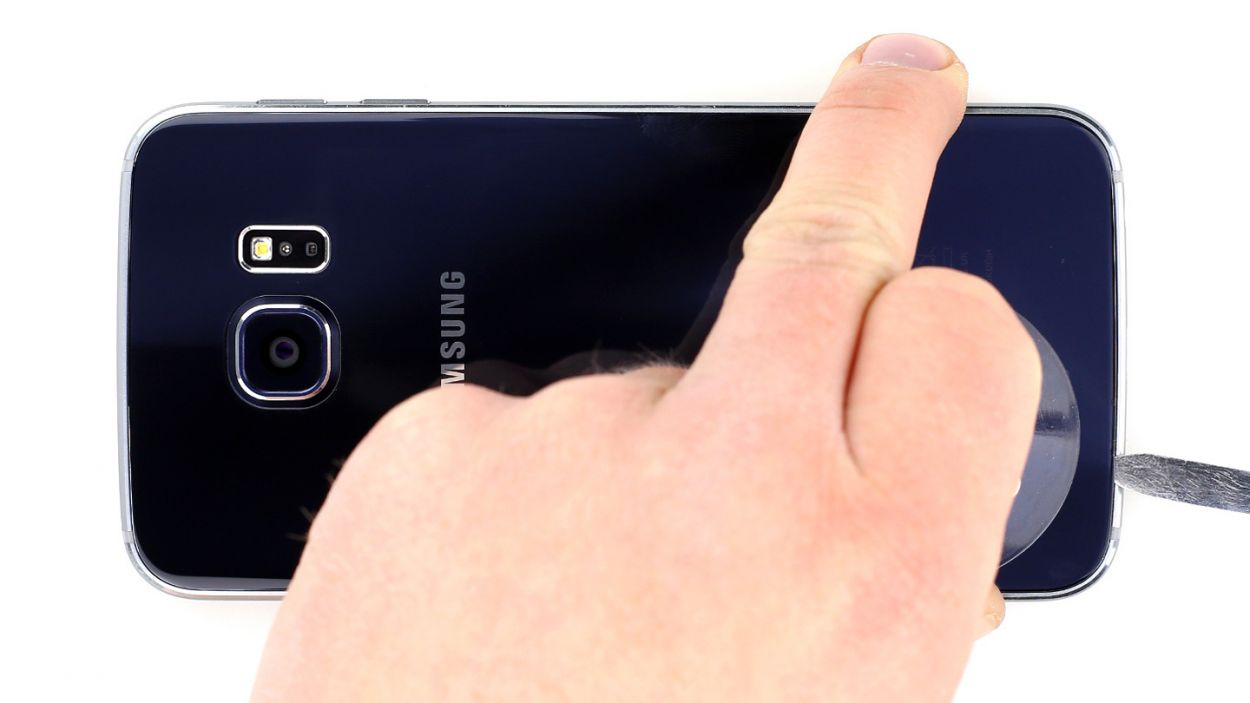
– Now, gently lift the back cover using a suction cup. You’ve got this!
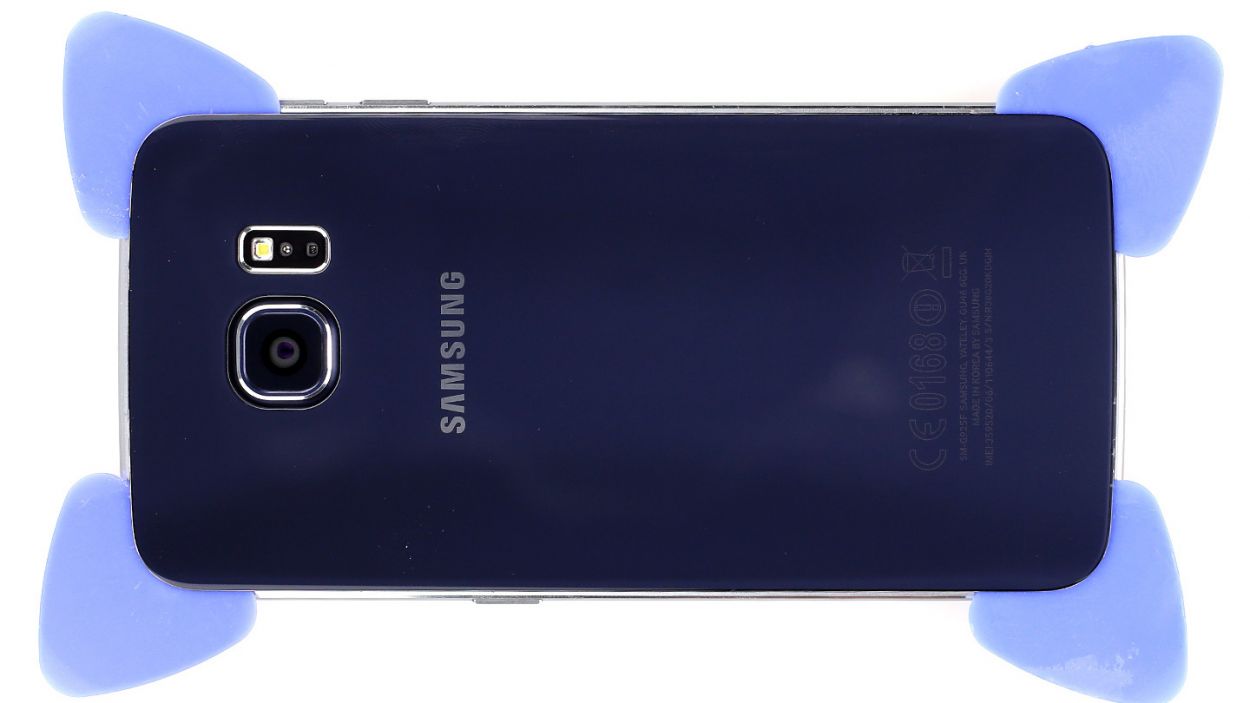
– As soon as you see a little opening, pop in that plastic pick to keep everything safe and sound without scratching the aluminum.
Step 2
The inside of the back cover has a fresh coat of paint! Gently remove any sticky residue to keep it looking sharp and avoid any scratches or cracks.
– Time to get started! Insert the pick about two or three millimeters between the back cover and the frame. Be gentle, you don’t want to cause any damage inside the enclosure. And remember, the back cover is painted on the inside, so be careful when removing any adhesive residue to avoid scratches or cracks.
– The back cover is glued to the entire outer edge of the Galaxy S6 Edge, so take your time and move the pick around the entire phone. Don’t worry, it’s easier than it sounds!
– You’ve made it this far! Once you’ve detached all the glue, you can carefully lift the back cover. If you need help, you can always schedule a repair.
Step 3
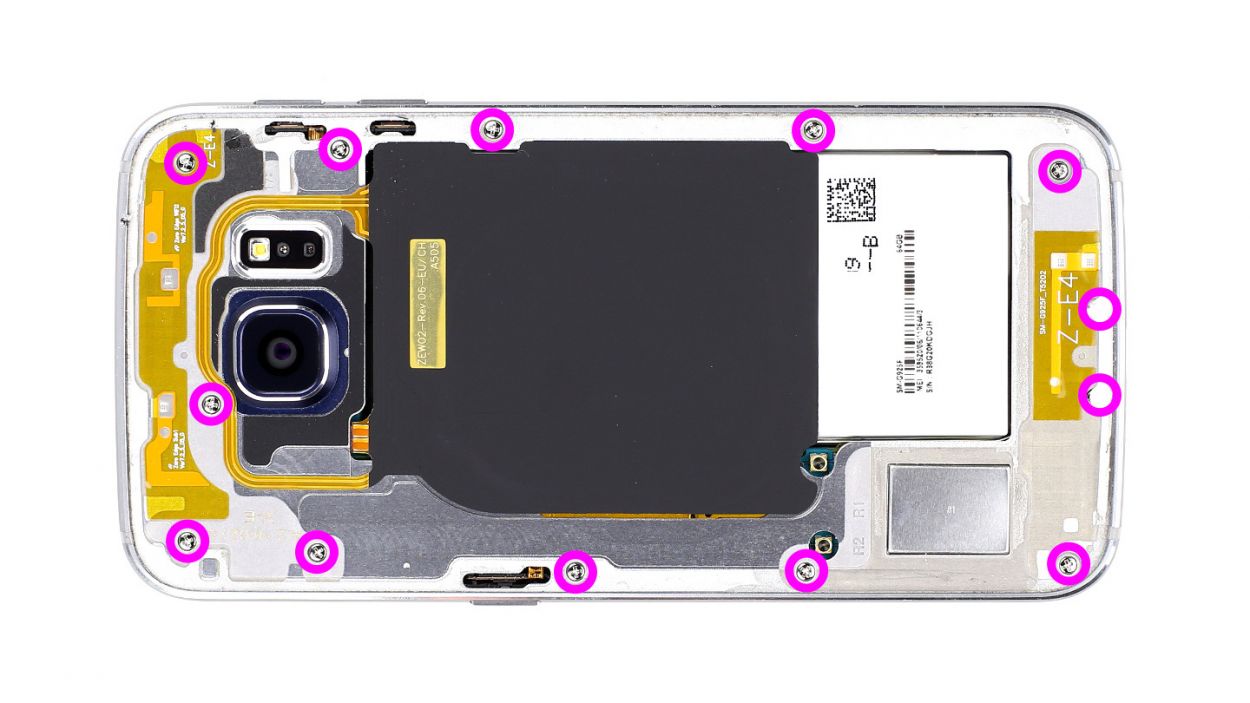
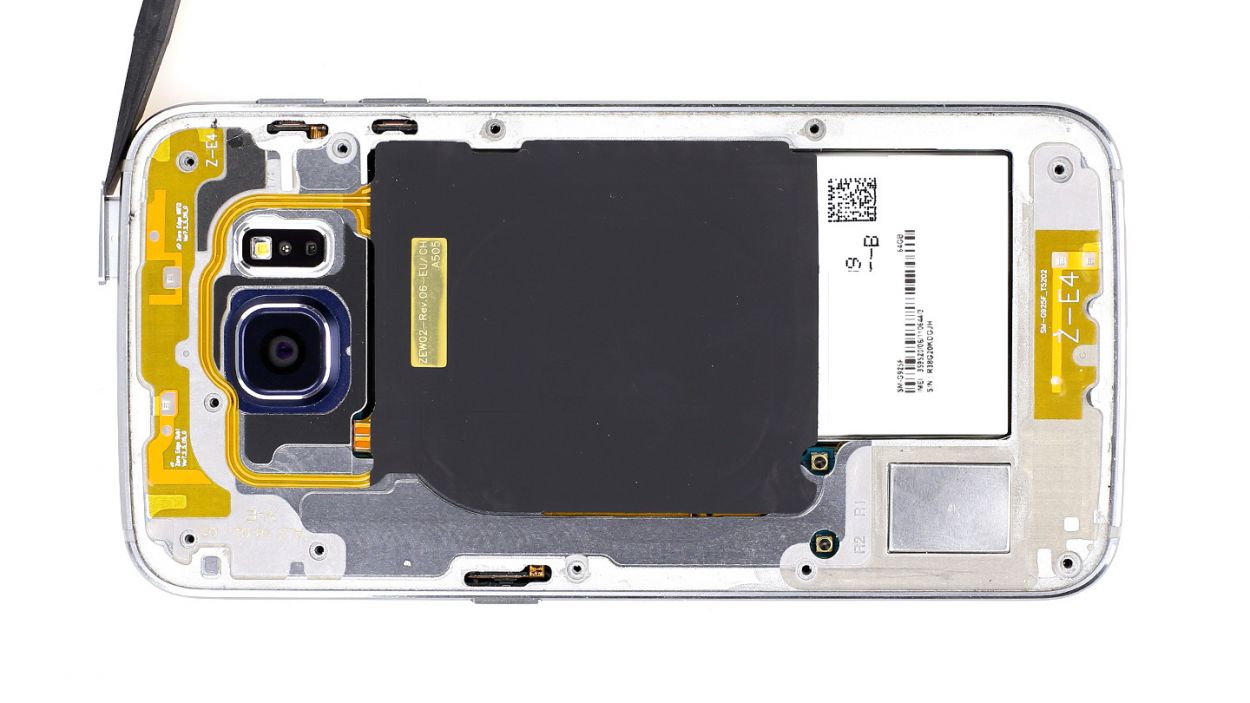
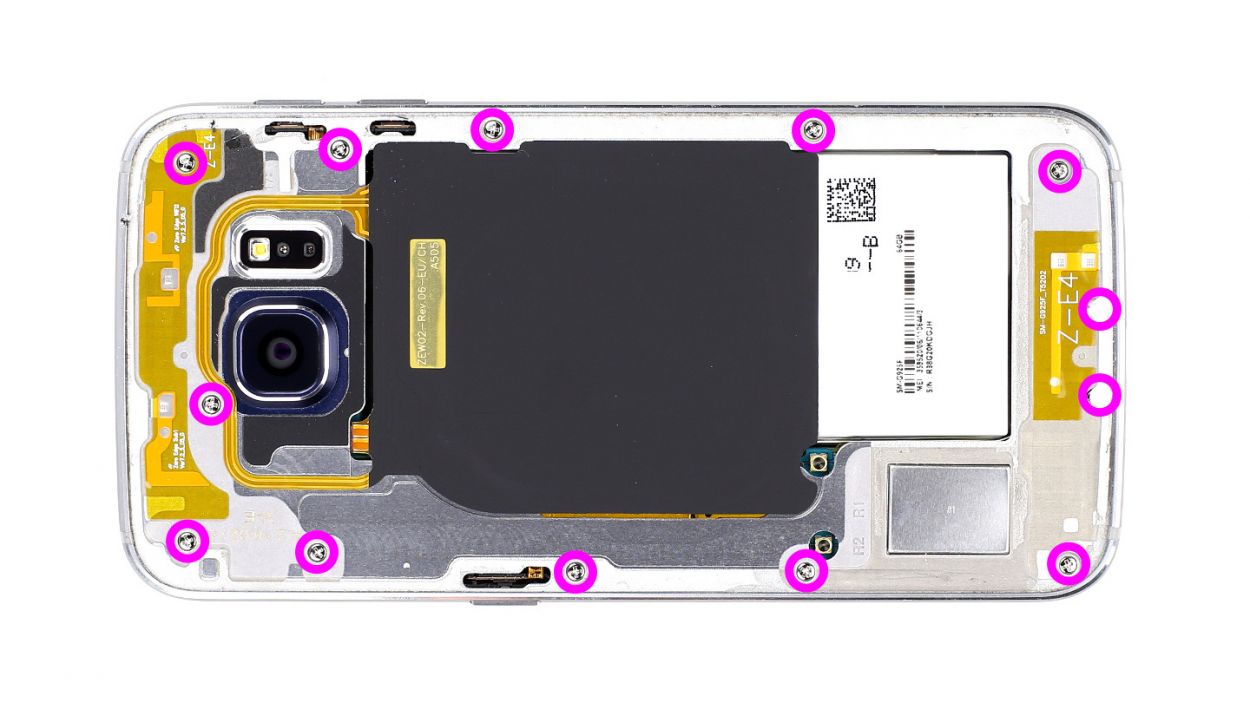
– Let’s kick things off by removing the 13 trusty Phillips screws holding the plastic cover in place (check out figure 1 for a visual aid!) – we’re talking 13 x 3.3 mm Phillips screws here.
– Time to get cozy with your SIM card tray – simply take it out!
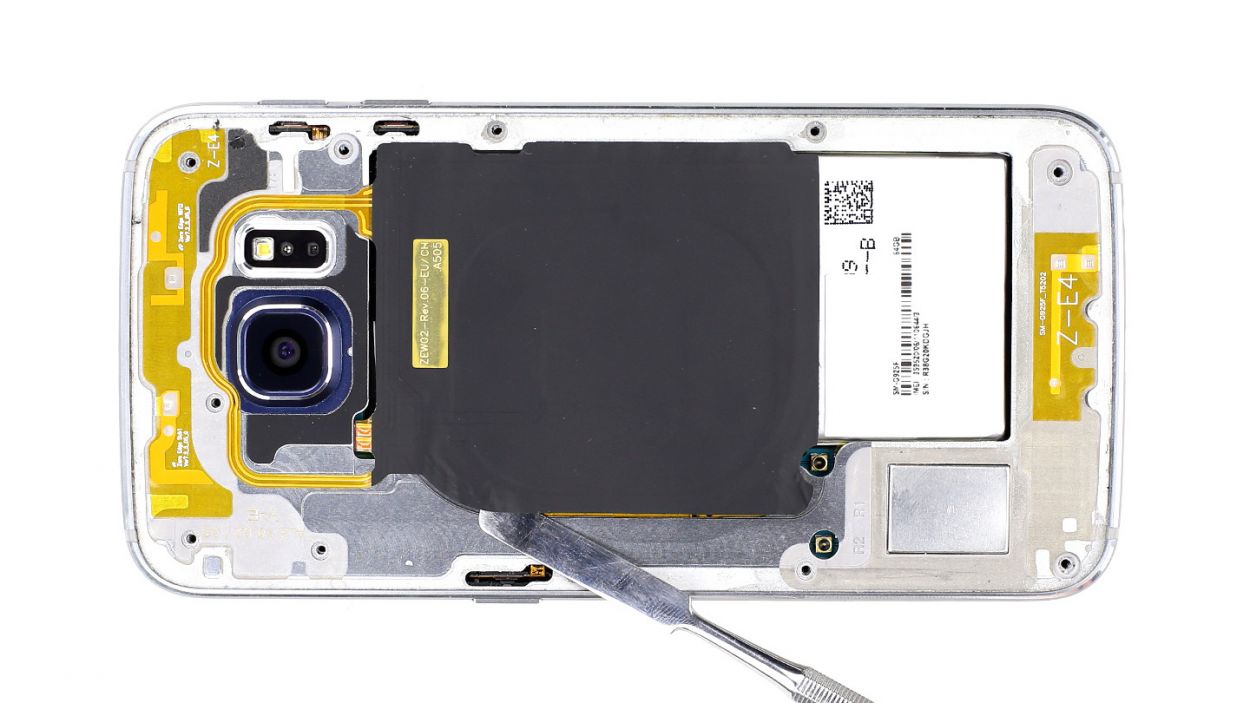
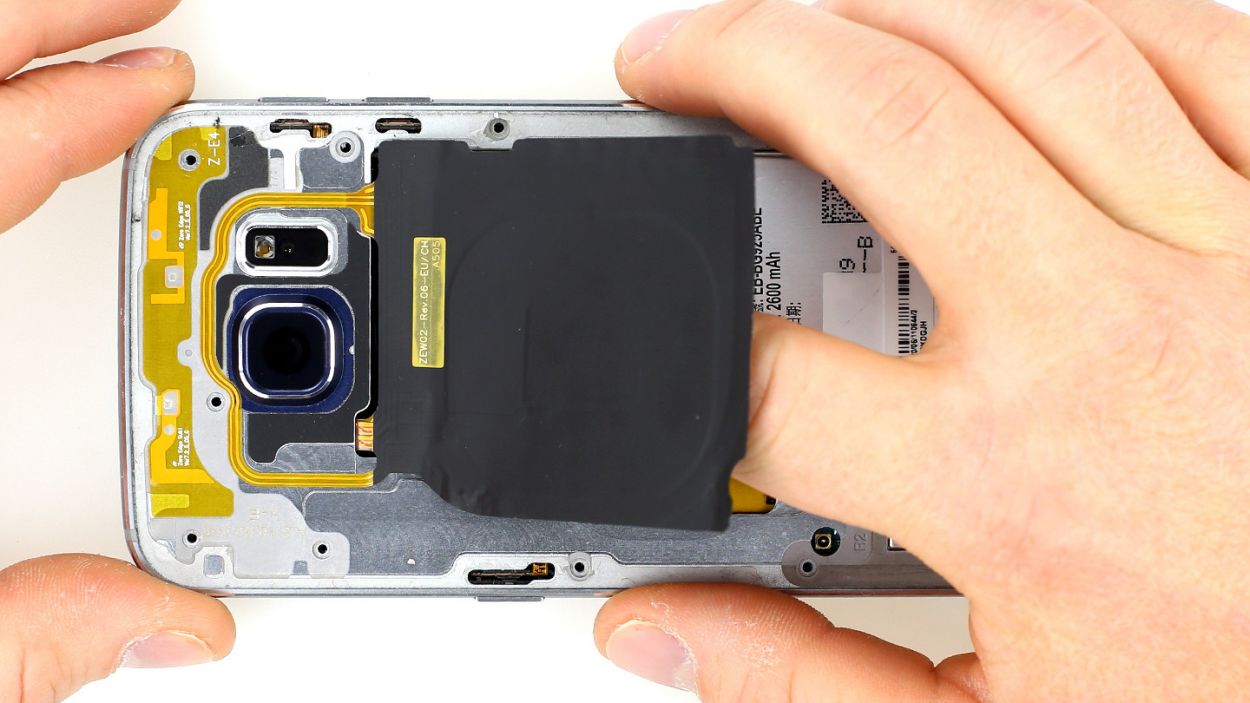
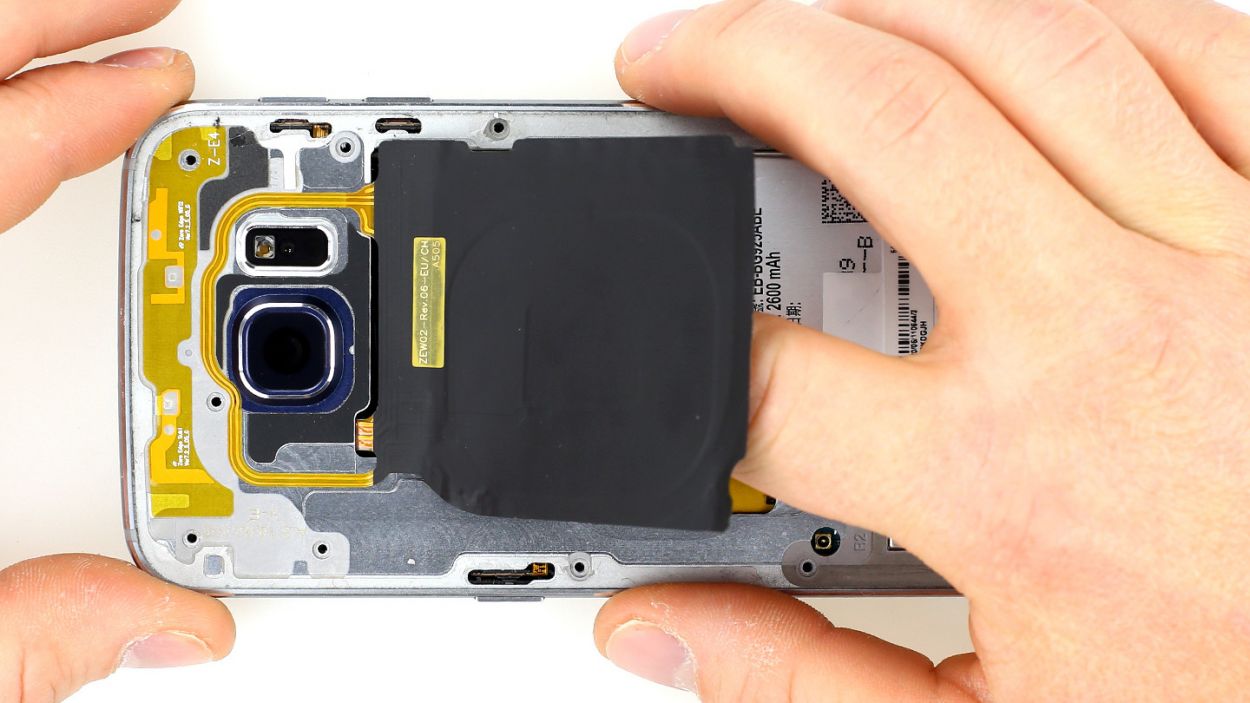
– Your charging pad for wireless charging is just begging to be freed – gently lift it clear of the midframe, and be gentle, it’s lightly stuck on.
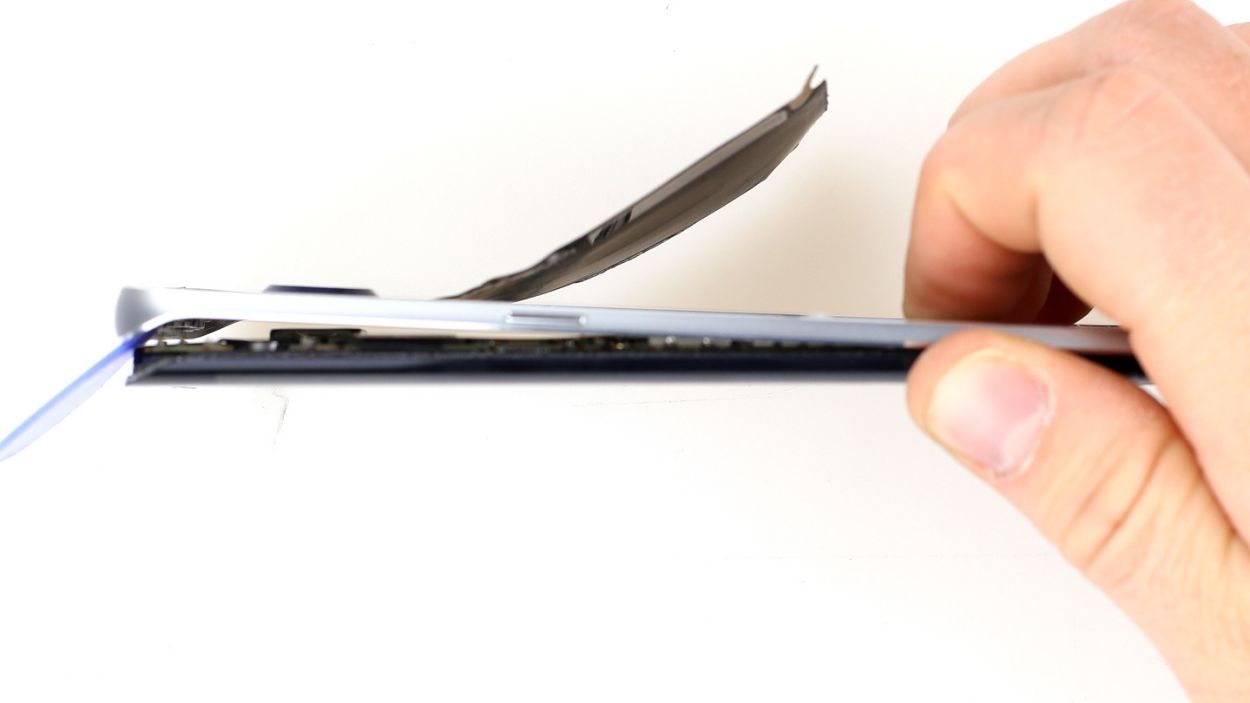
– To remove the midframe, we’ve got to get our friend the battery to cooperate – carefully push it down, and with your other hand, give that frame a gentle push upward. If it’s still being stubborn, grab a trusty pick and slip it between the display and frame, giving it a gentle nudge – voilà!
Step 4
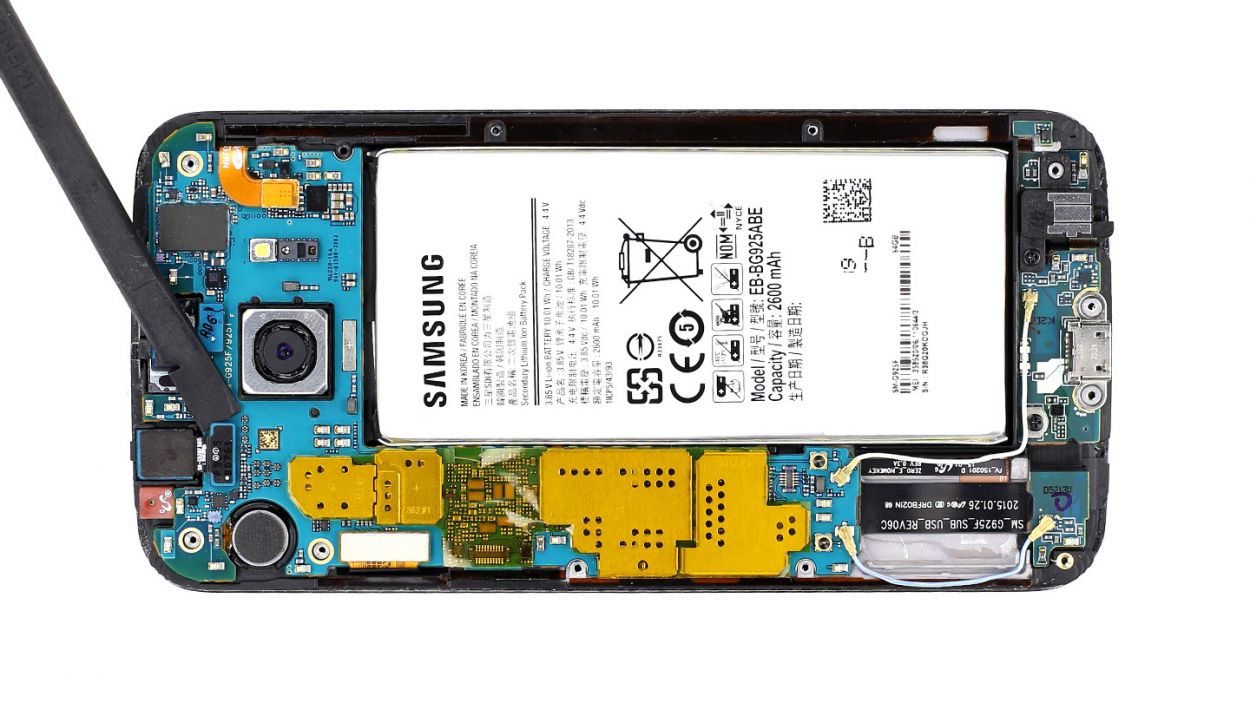
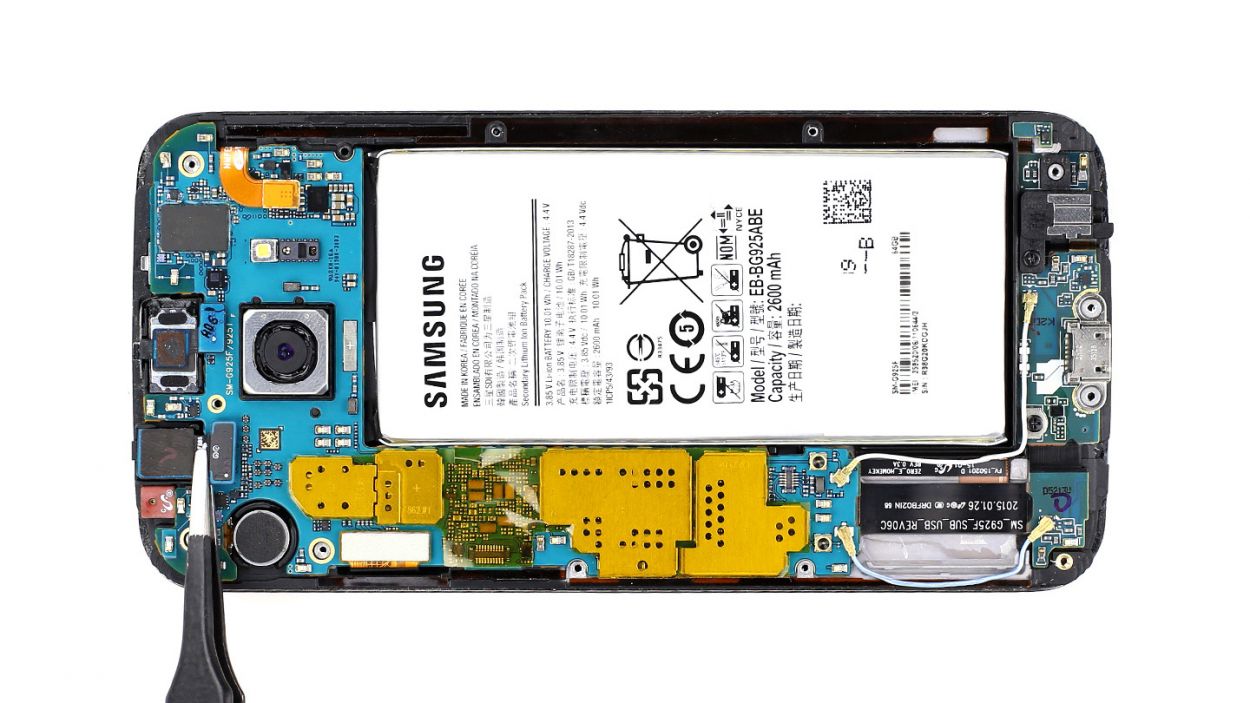
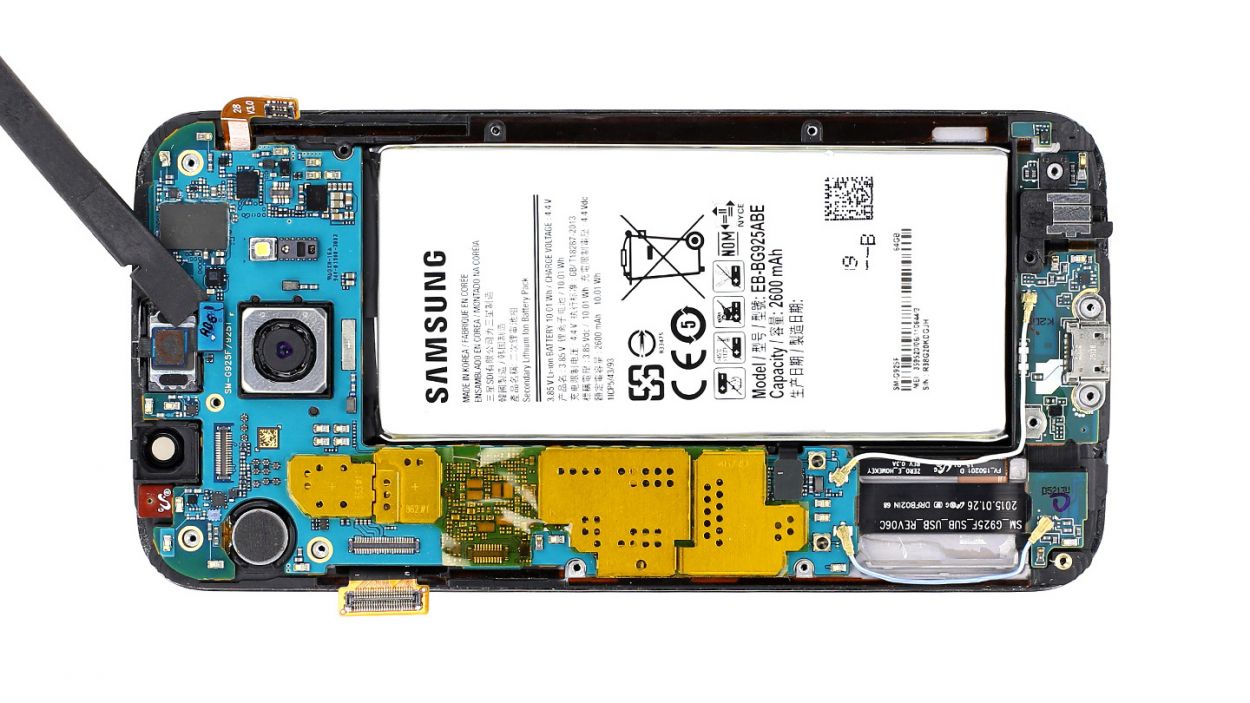
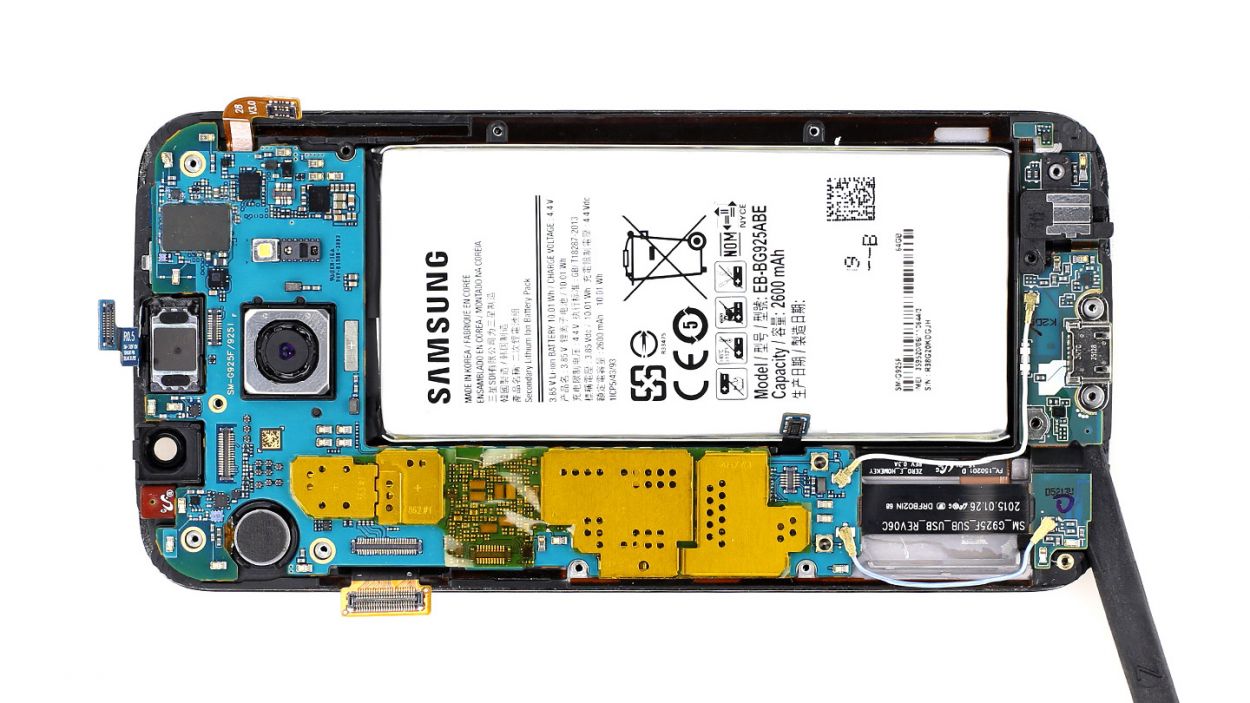
– Gently slide the pointed tip of the spudger just below the contact and give it a little lift. Remember, we want to keep those resistors on the logic board safe and sound!
– Now it’s time to disconnect the front camera connector. Just take it slow and steady—you’re doing great!
Step 5
Hey there! Just a heads up: there’s a tiny plastic pin hanging out in the SIM tray opening. Keep an eye on it so it doesn’t take a little tumble!
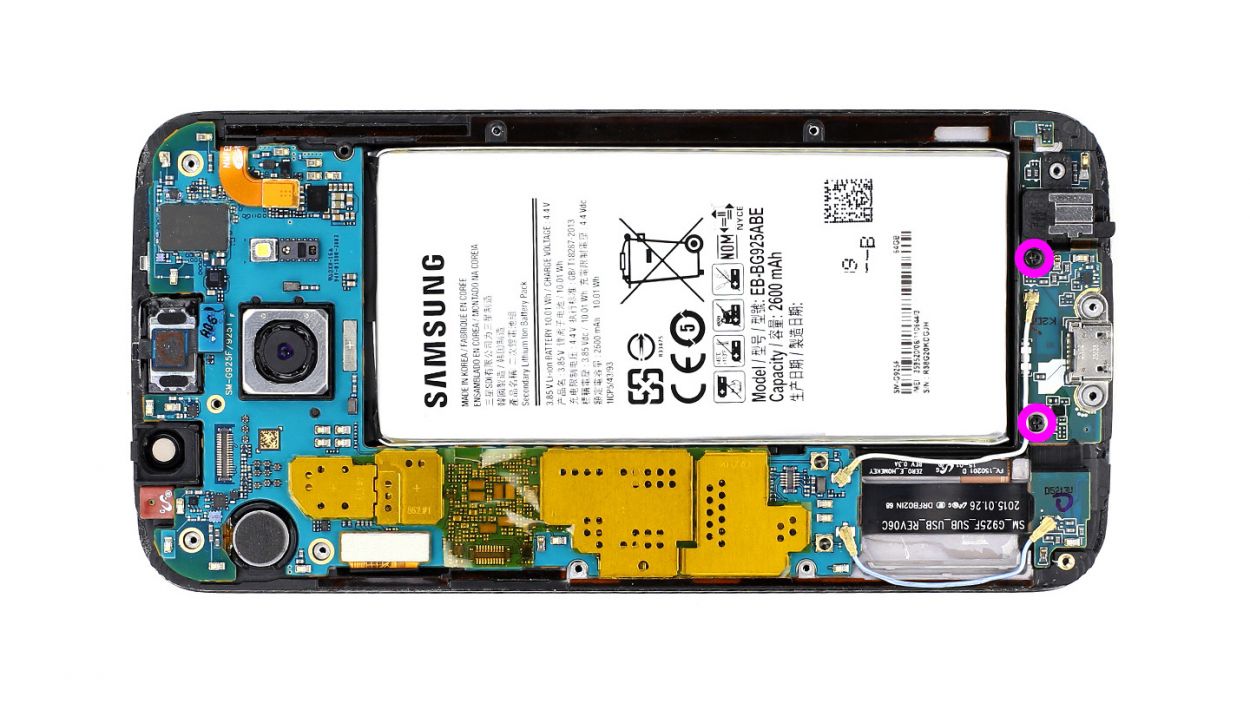
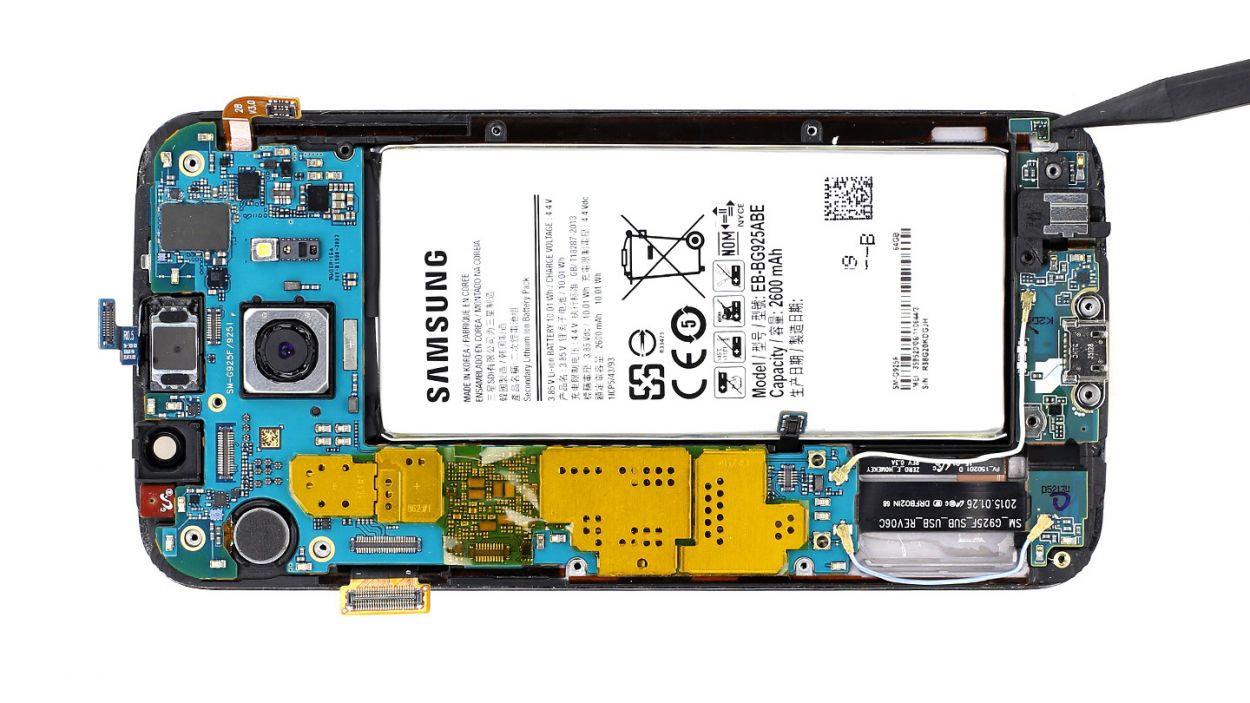
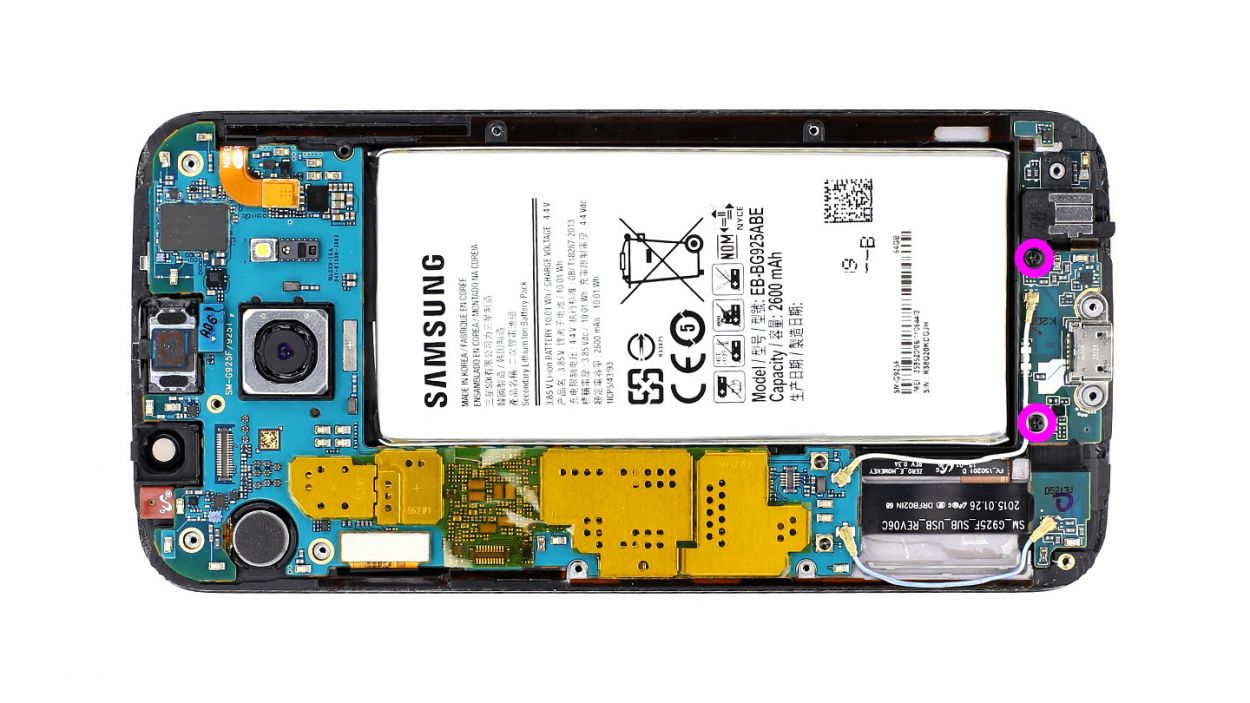
– Alright, let’s kick things off! First up, grab your trusty screwdriver and unscrew those two black screws on the dock connector – they’re the 2 x 3.3 mm Phillips screws that are just waiting to be freed!
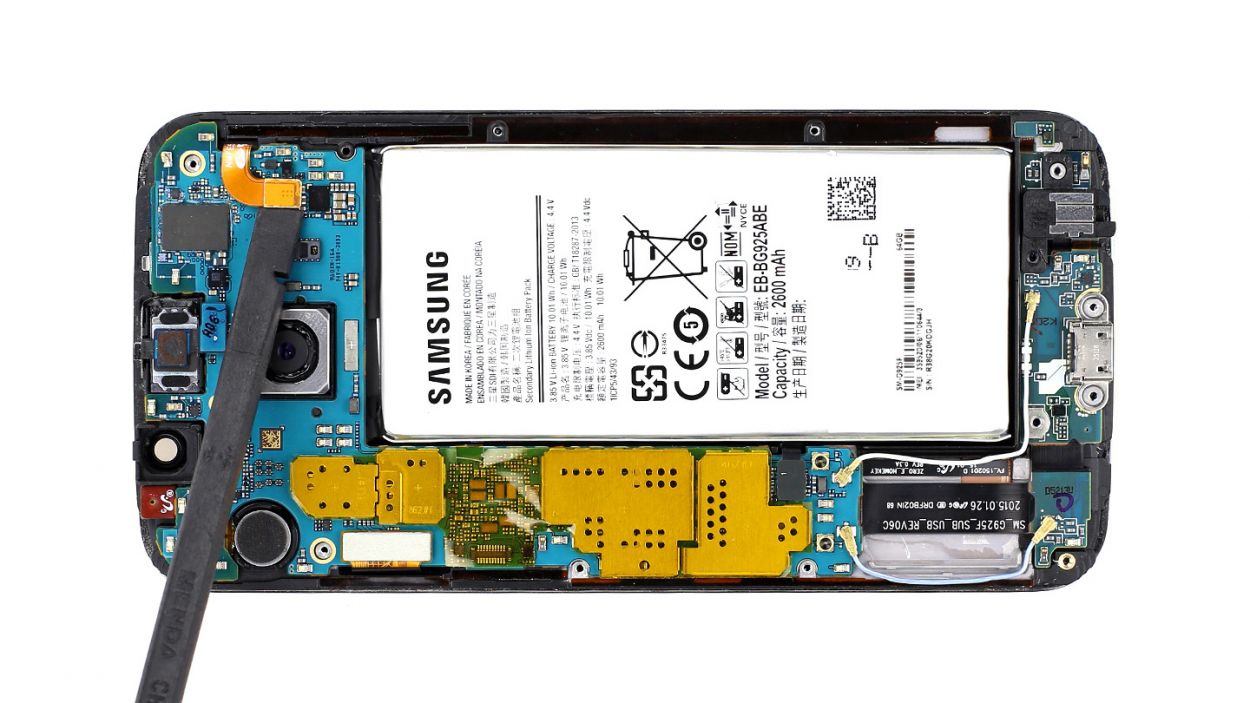
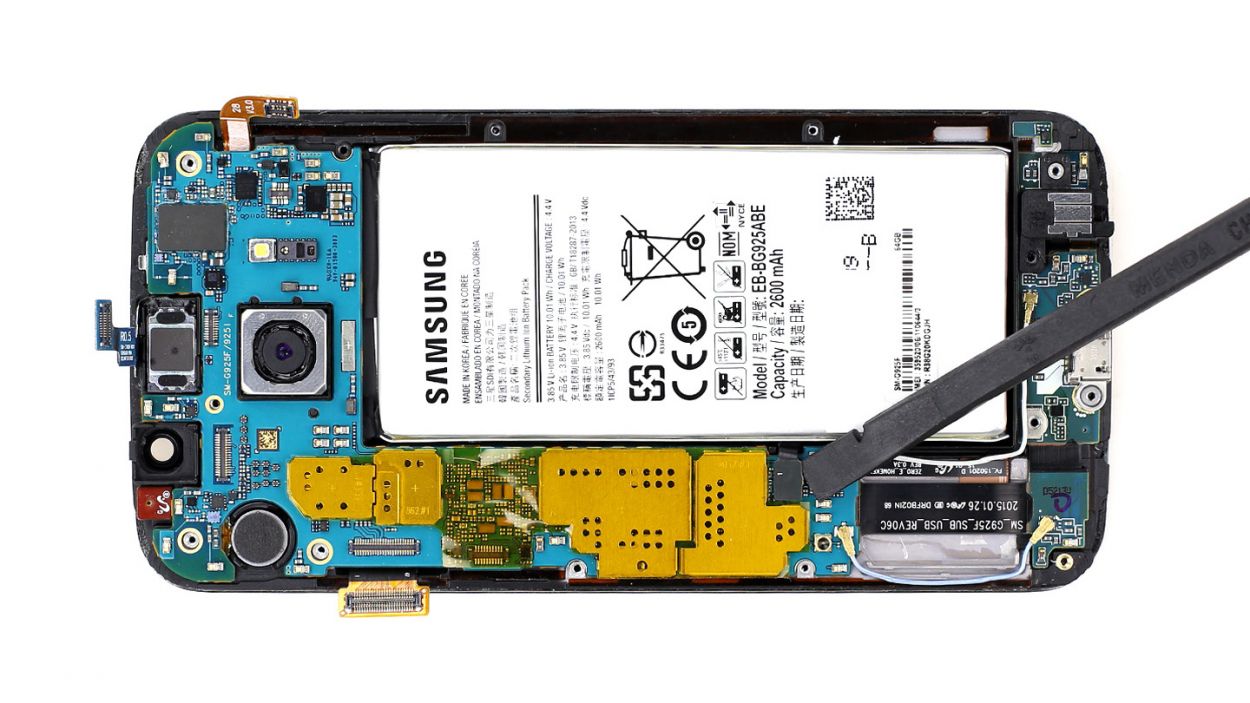
– Next, it’s time to disconnect some contacts. Gently slide the pointy tip of the spudger just below the contacts and give them a little lift. We’re talking about the Battery, Display (make sure to connect the new display and test all the functions), Earpiece, and Home button. Easy peasy!
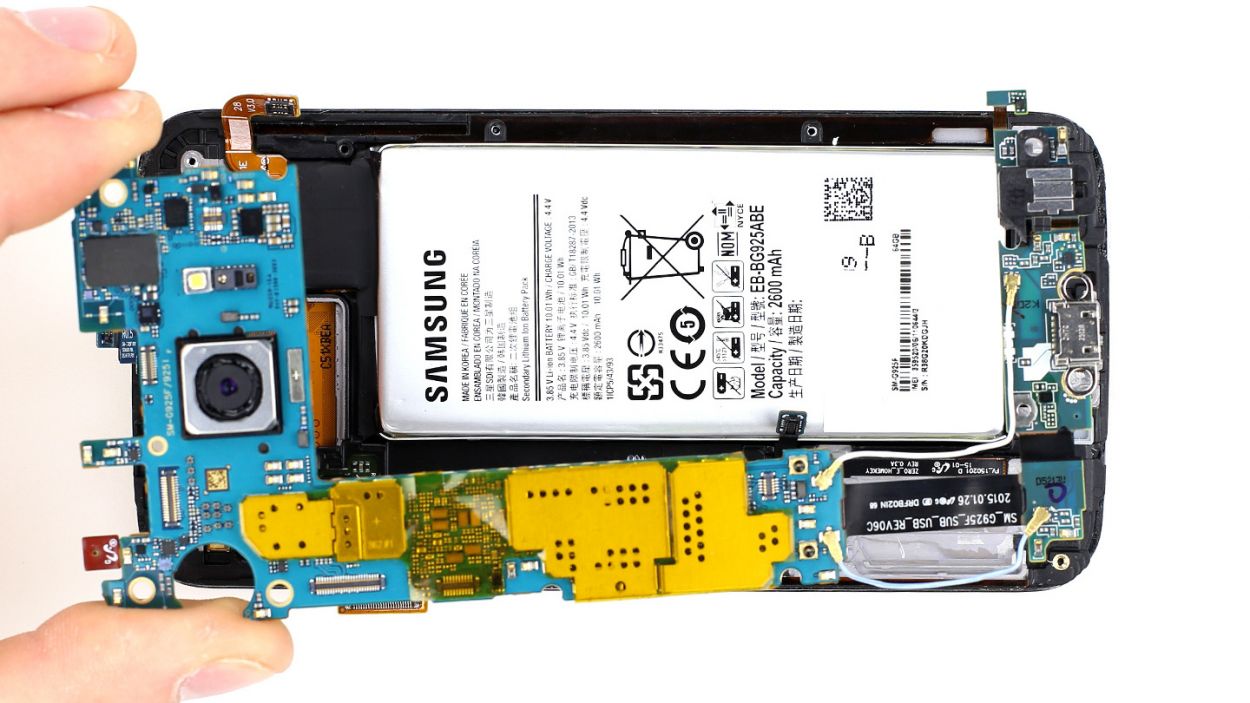
– Now, slide that spudger right under the dock connector cable set – it’s just lightly glued on, so it should pop up without much fuss. Oh, and keep an eye out for the sensor that’s also lightly glued; it’s playing hard to get!
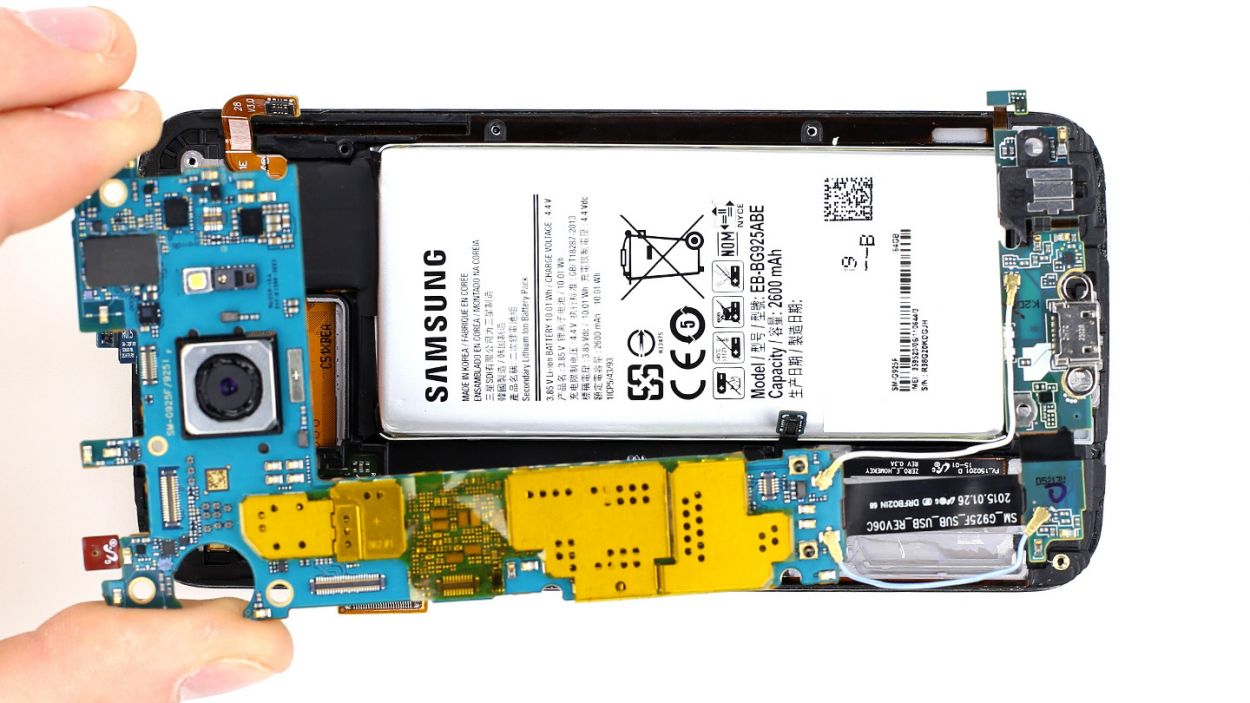
– Once you’ve done all that, you’re ready to remove the logic board while keeping the dock connector connected. You’ve got this!
Step 6
Take it nice and easy while working on this! Going too fast with the tool might just make things a bit messy by damaging the battery and causing some fluid to spill out. So, let’s do this carefully!
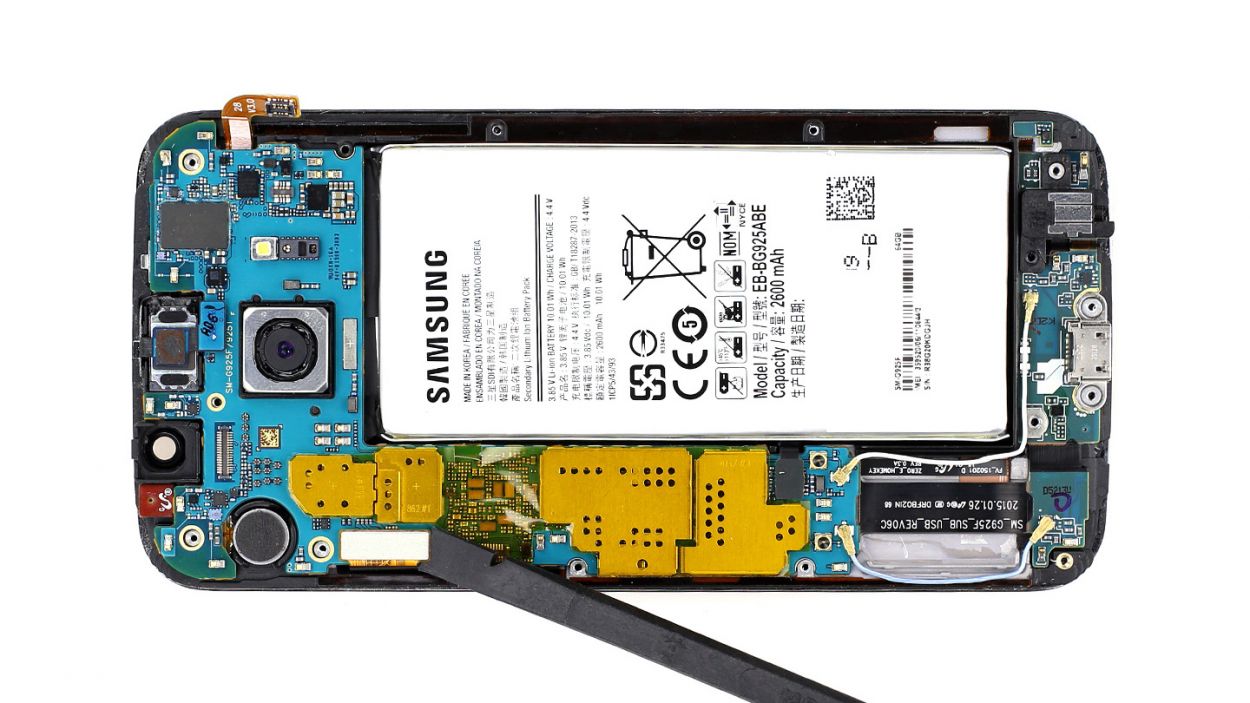
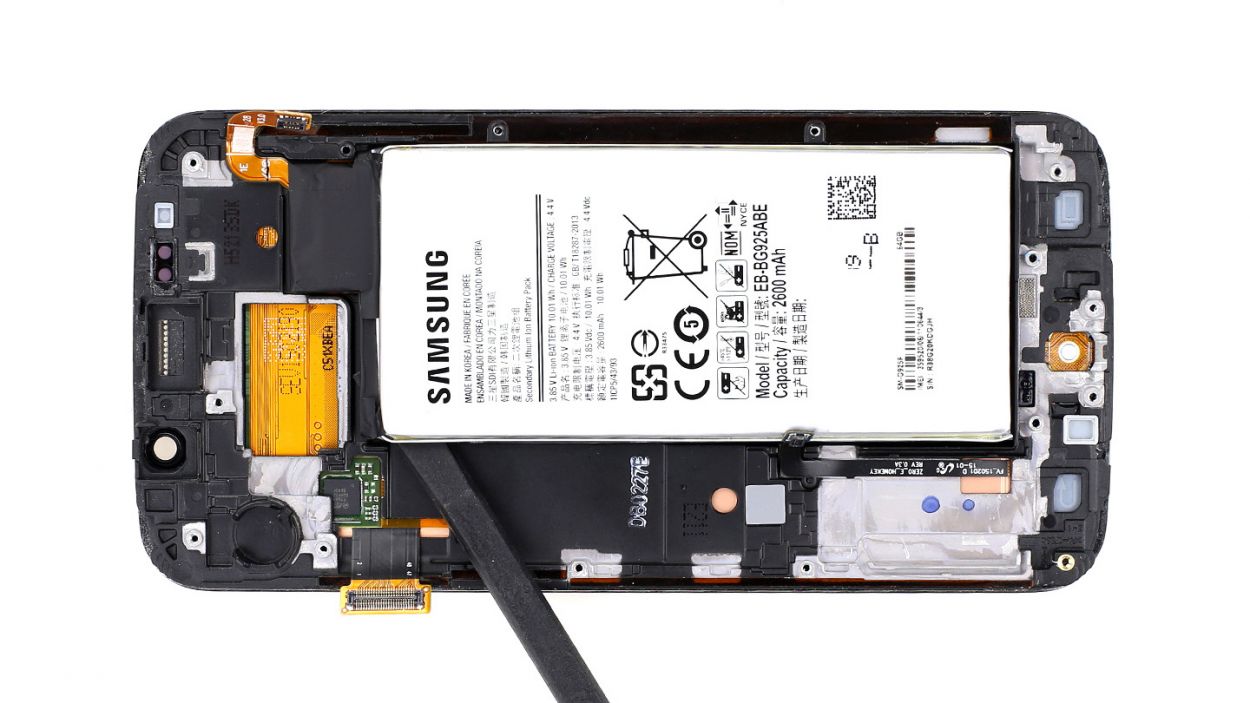
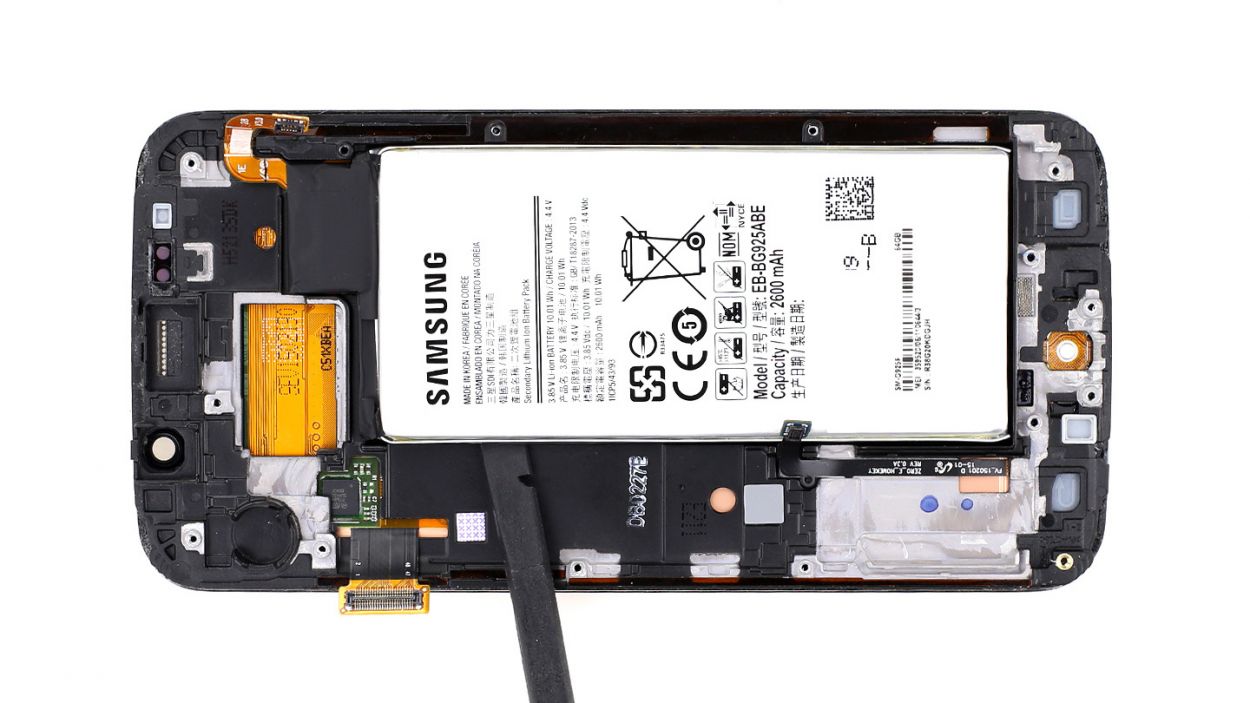
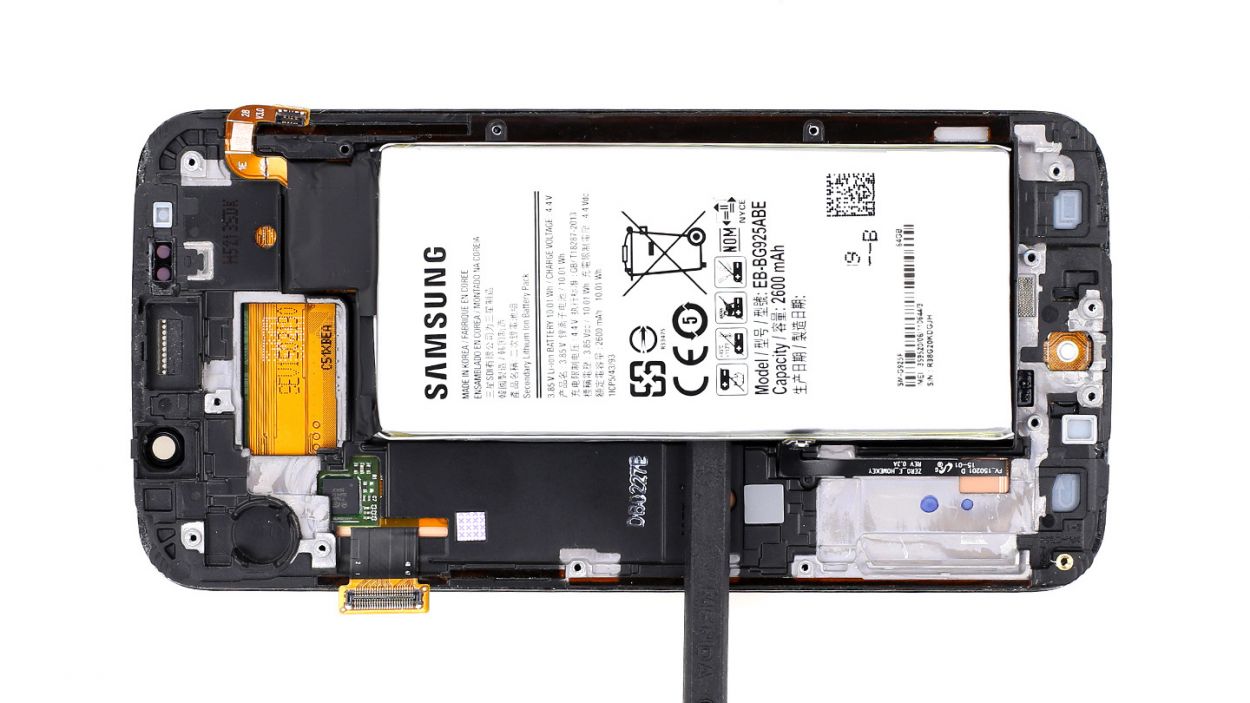
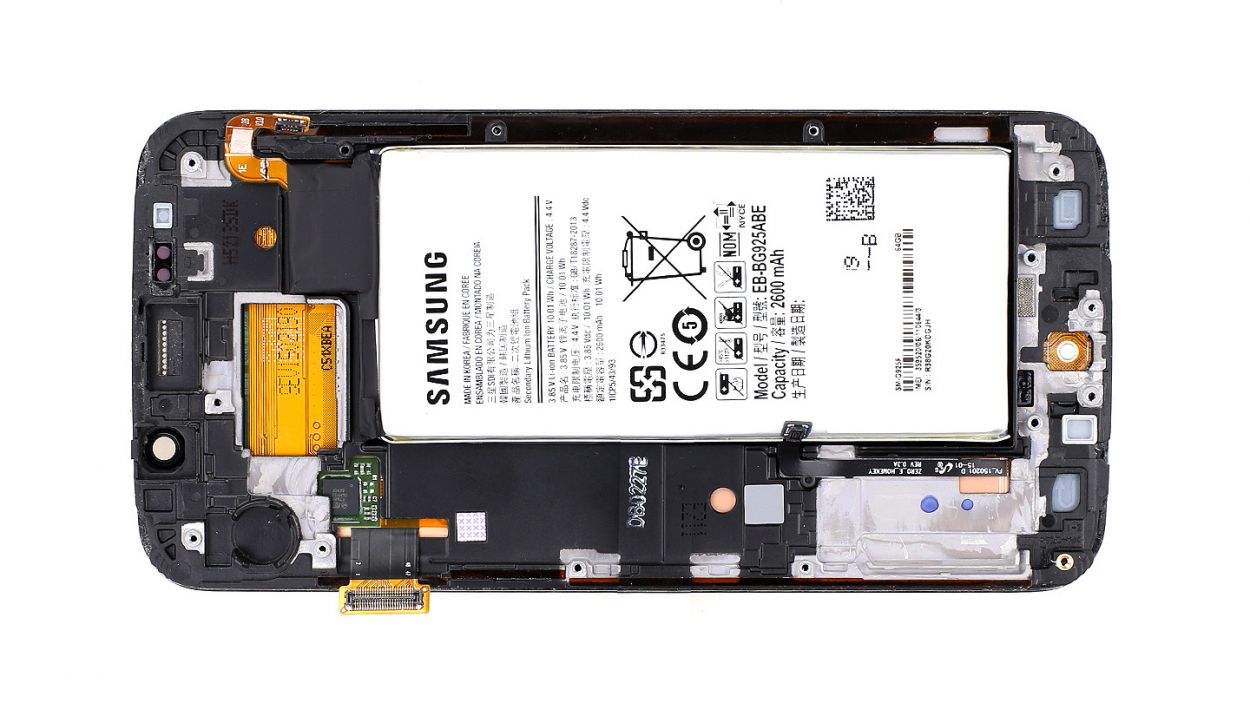
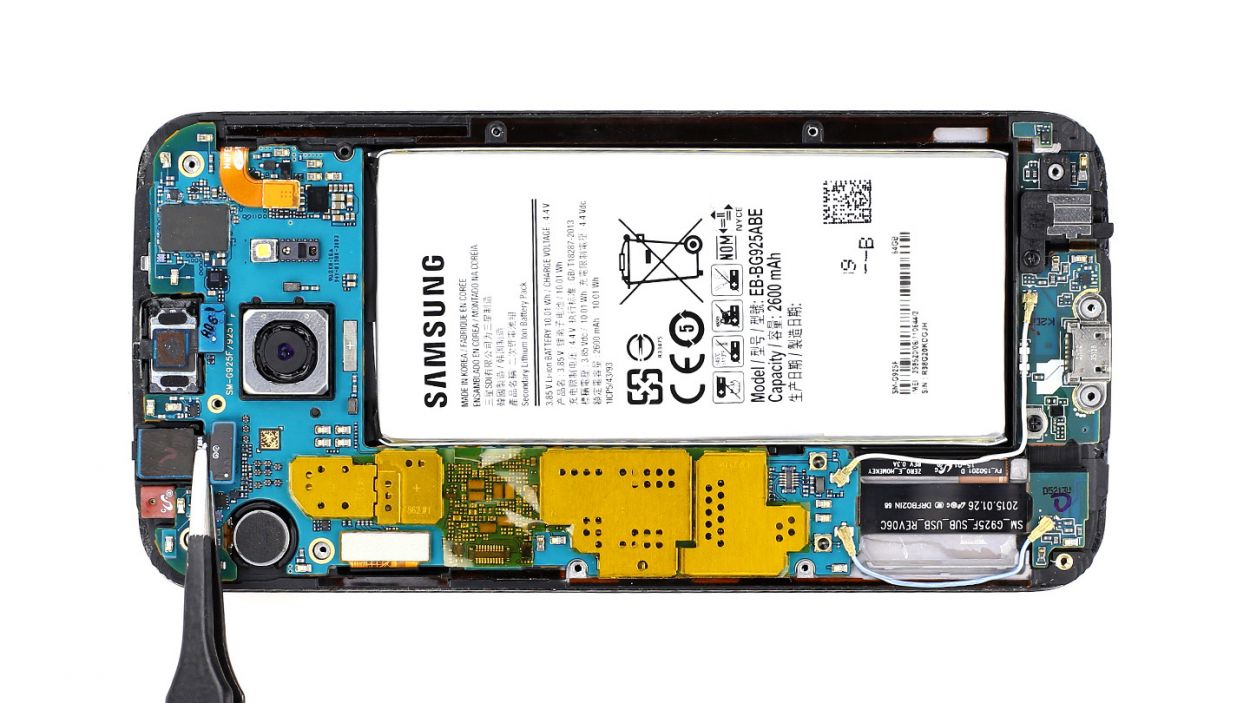
– Let’s get that battery out! First, give it a gentle warm-up to loosen the glue that’s holding it in place.
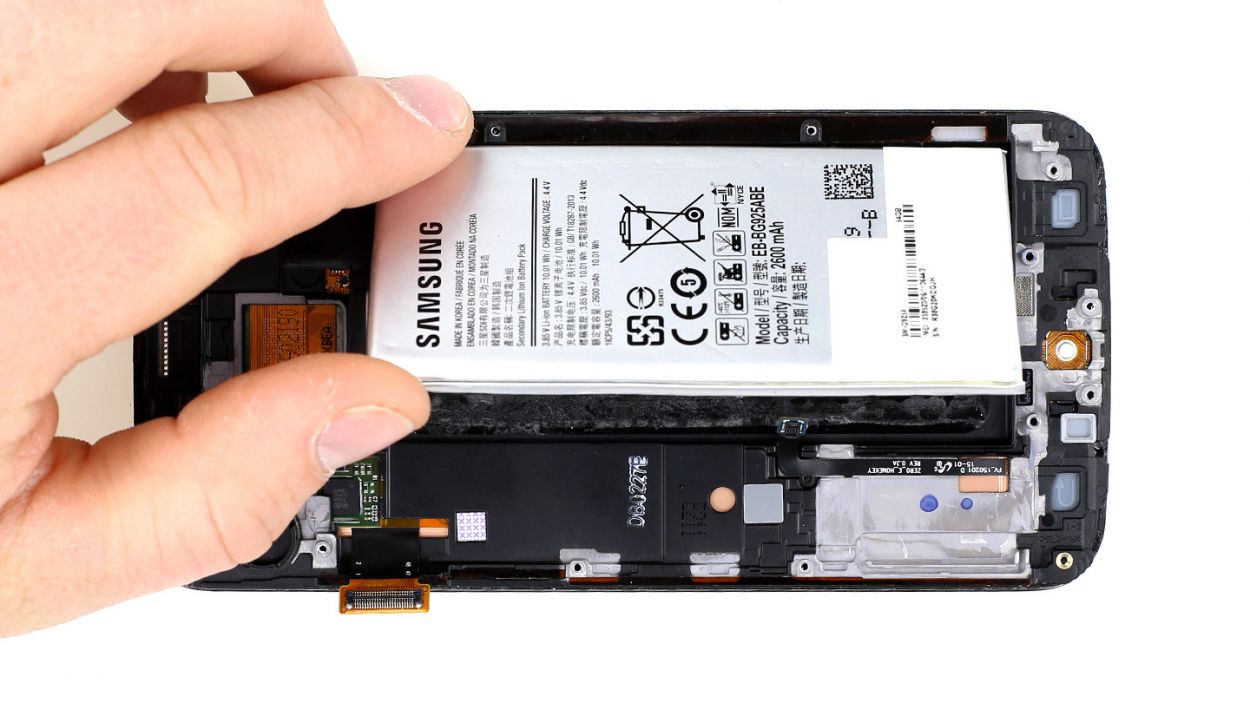
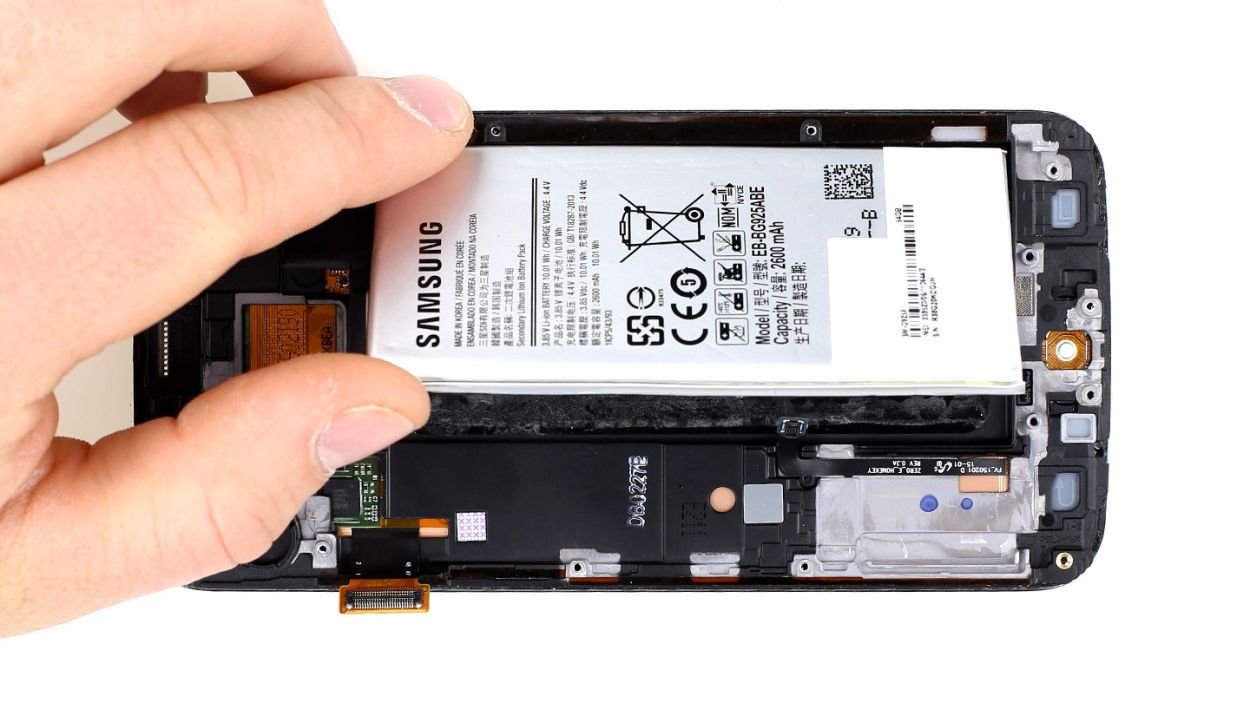
– Now, using your trusty spudger or a plastic pick, carefully lift the battery just a little bit at a time—about a millimeter each go.
– Remember to keep heating the battery every so often to keep that glue nice and soft, making it easier to lift without any sticky situations.
Step 7
– Alright, it’s time to pop that battery back in! Just make sure it’s snug and aligned just right.
– Double-check that the Home button cable isn’t trapped under the battery. We want it to breathe!
– Gently press it down onto those sticky adhesive+strips+Samsung+Galaxy+S6+Edge&crid=1TJIMMAJSUJUZ&sprefix=repair+tools%2Caps%2C165&linkCode=ll2&tag=salvationrepa-20&linkId=c486487cf454ce8edd6f5beefab4110f&language=en_US&ref_=as_li_ss_tl’>adhesive strips. You got this!
Step 8
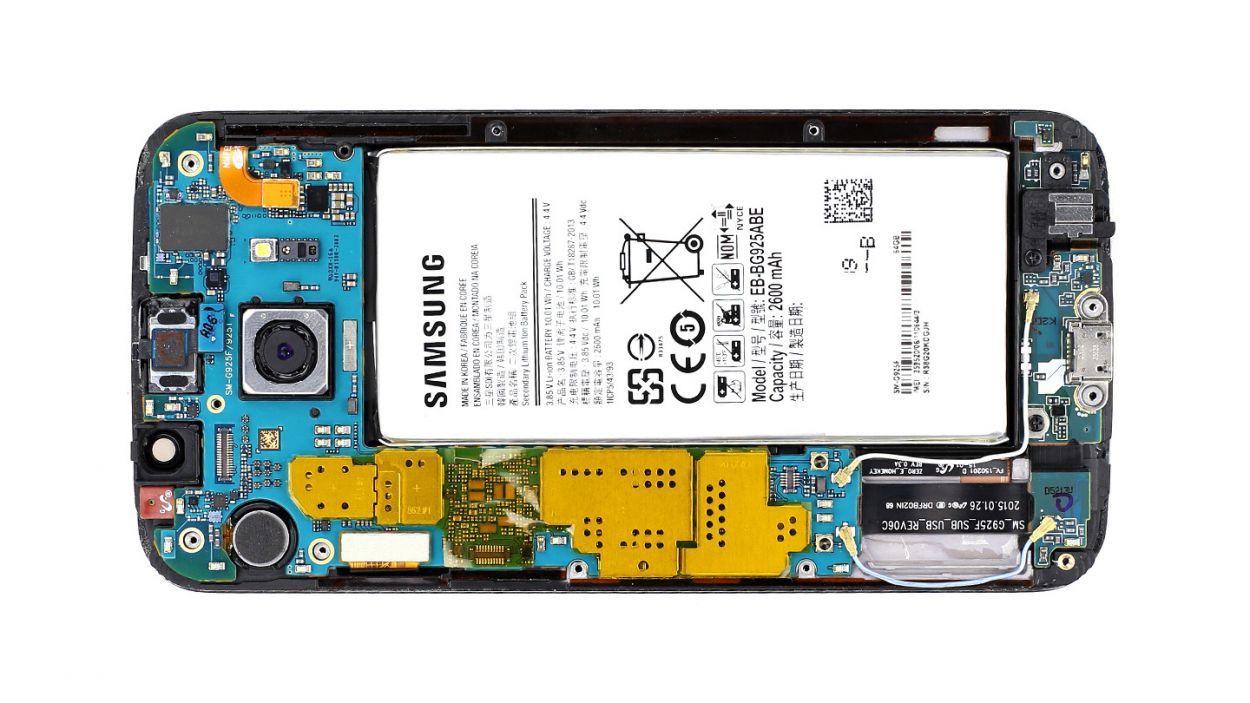
– Alright, let’s get that logic board back into its cozy little frame! Start by connecting the dock connector to the logic board.
– Once everything’s snug and secure, it’s time to install the rest of the logic board. Keep an eye on those cables; we don’t want them hiding underneath. Use the picture as your trusty guide to ensure your logic board is sitting pretty.
– Now, let’s reconnect all those important connectors: Battery, Display, Earpiece, and Home button. They’re ready to party!
– Finally, grab those black screws and fasten the dock connector with 2 x 3.3 mm Phillips screws. You’re almost there!
Step 9
– First, gently place the front camera back into its cozy spot.
– Next up, connect the little connector to the logic board like a pro.
Step 10
– Let’s get that outer frame back on the main component! Begin at the dock connector and give those two frame pieces a good press together. You’ve got this!
– Now, it’s time to secure everything with some screws. Grab those 13 x 3.3 mm Phillips screws and twist them in tight!
Step 11
– To wrap things up, it’s time to pop that back cover back on.
– Chances are, the old glue is still holding on pretty well.
– Just place the back cover on, give it a little warmth, and then apply some gentle pressure to secure it to your smartphone for a bit.
