DIY Guide to Replace Galaxy S7 Edge Mainboard
Duration: 45 min.
Steps: 21 Steps
In this guide, we’ll walk you through the process of removing the motherboard from your Galaxy S7 Edge all by yourself! If your device has taken a dip and needs a little TLC, getting to the PCB is the first step to giving it a good clean. Let’s get started!
Step 1
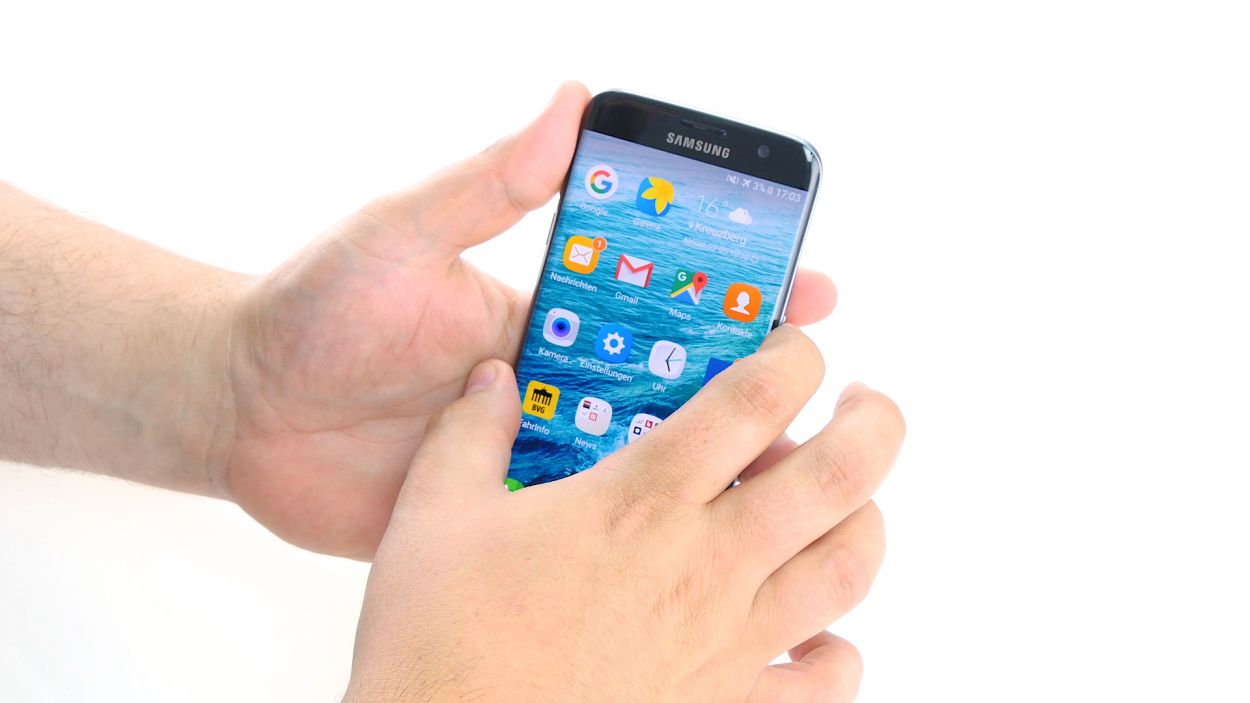

– First things first, let’s power down that device! Just hold down the power button until you see the ‘Power off’ option pop up.
– Once you see it, give it a tap with your finger to confirm you want to turn off your Galaxy S7 Edge. Now, just hang tight and wait for the screen to go dark.
Step 2
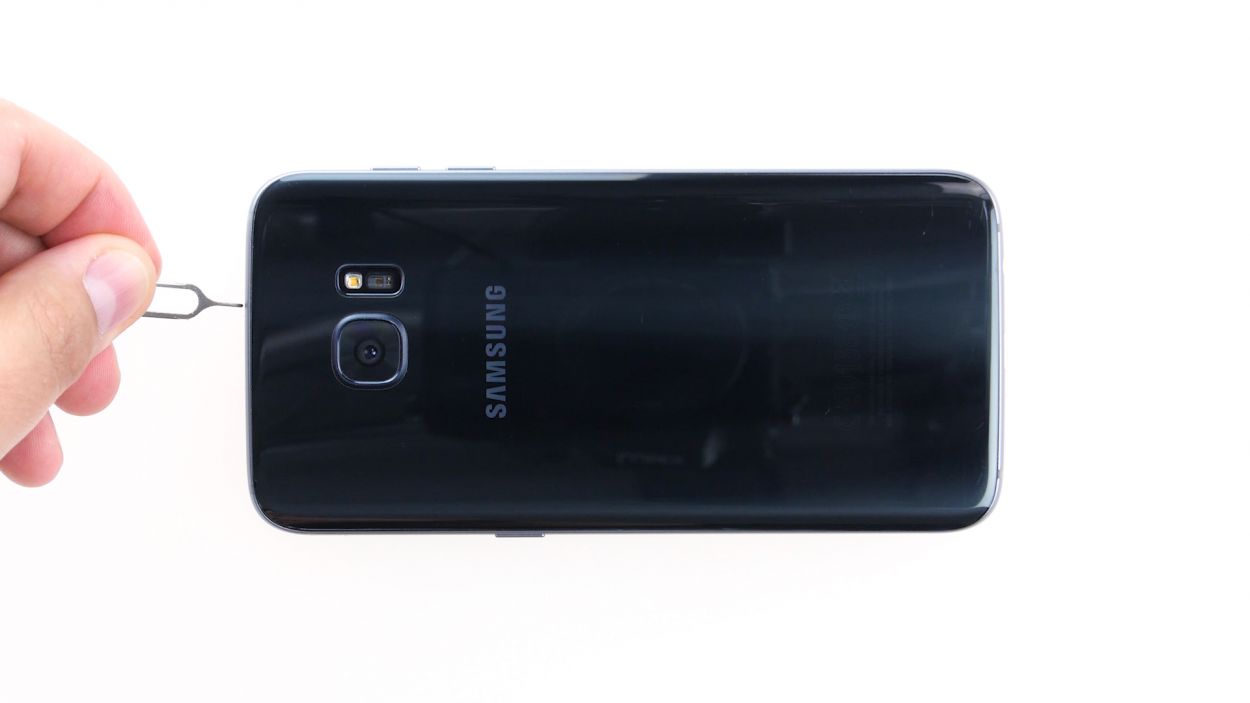

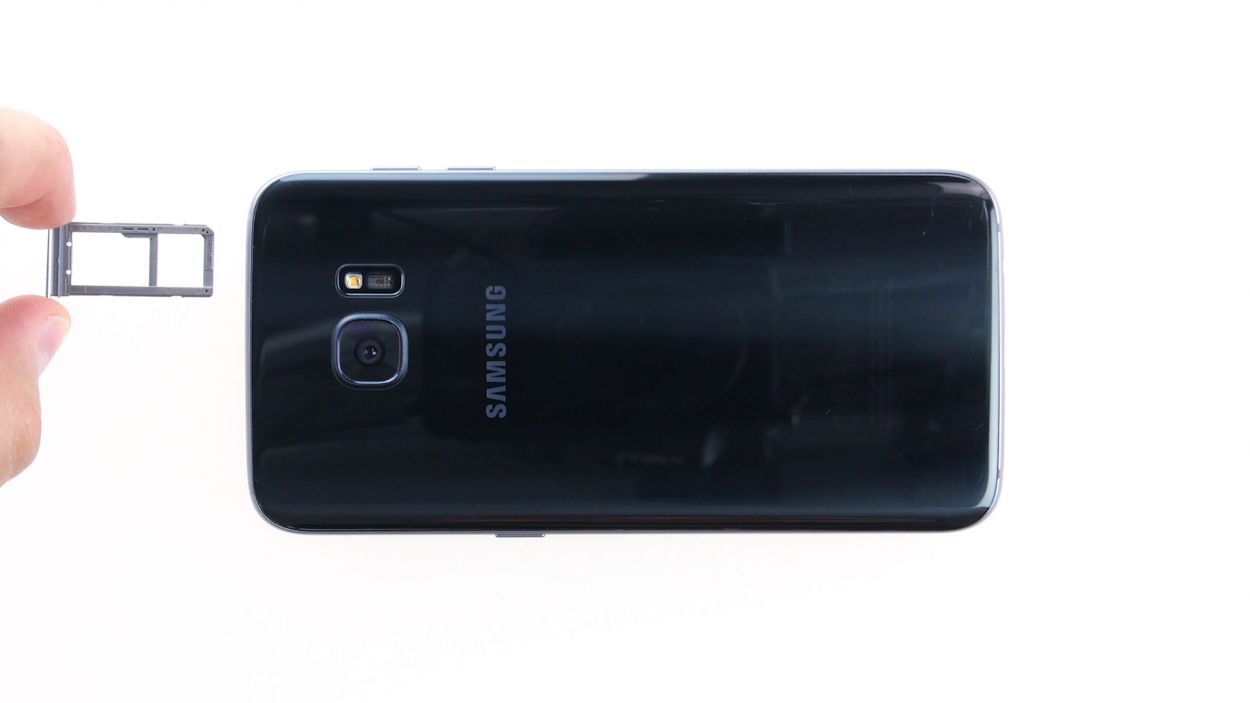
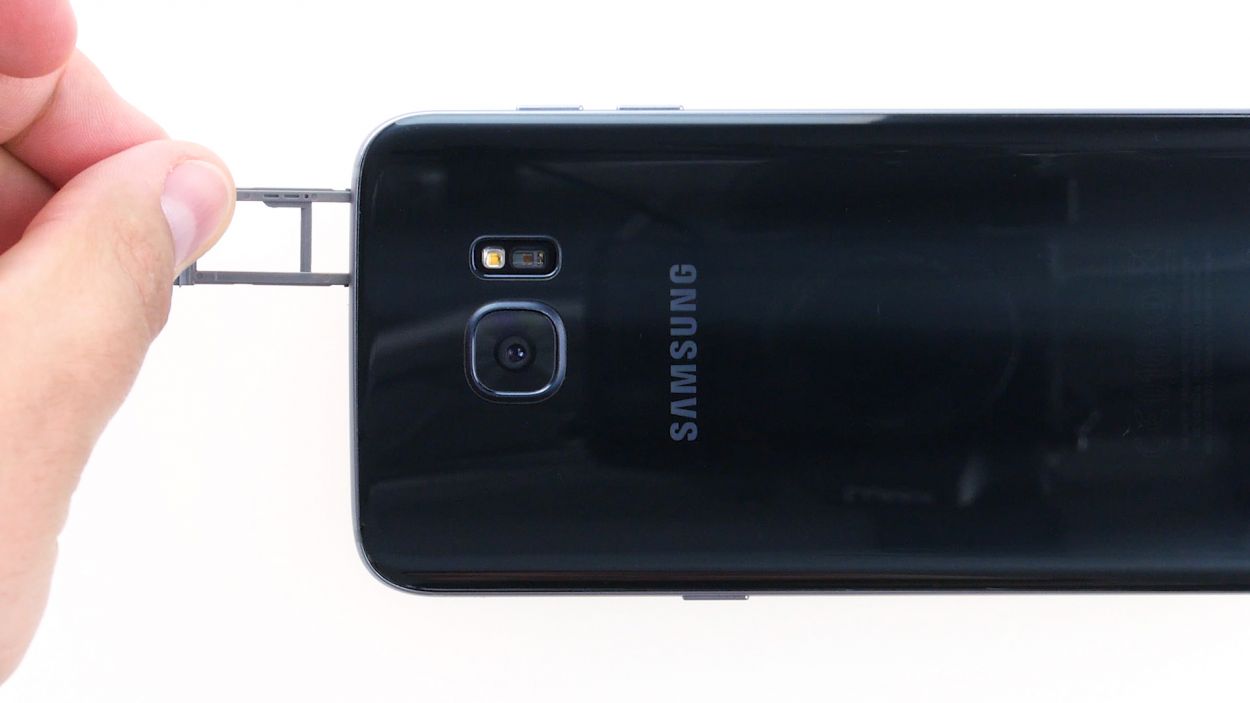
– Grab that trusty SIM tool and give the SIM tray a little nudge to pop it out of your device. Once it’s free, gently pull the tray out with your fingers. You’ve got this!
Step 3
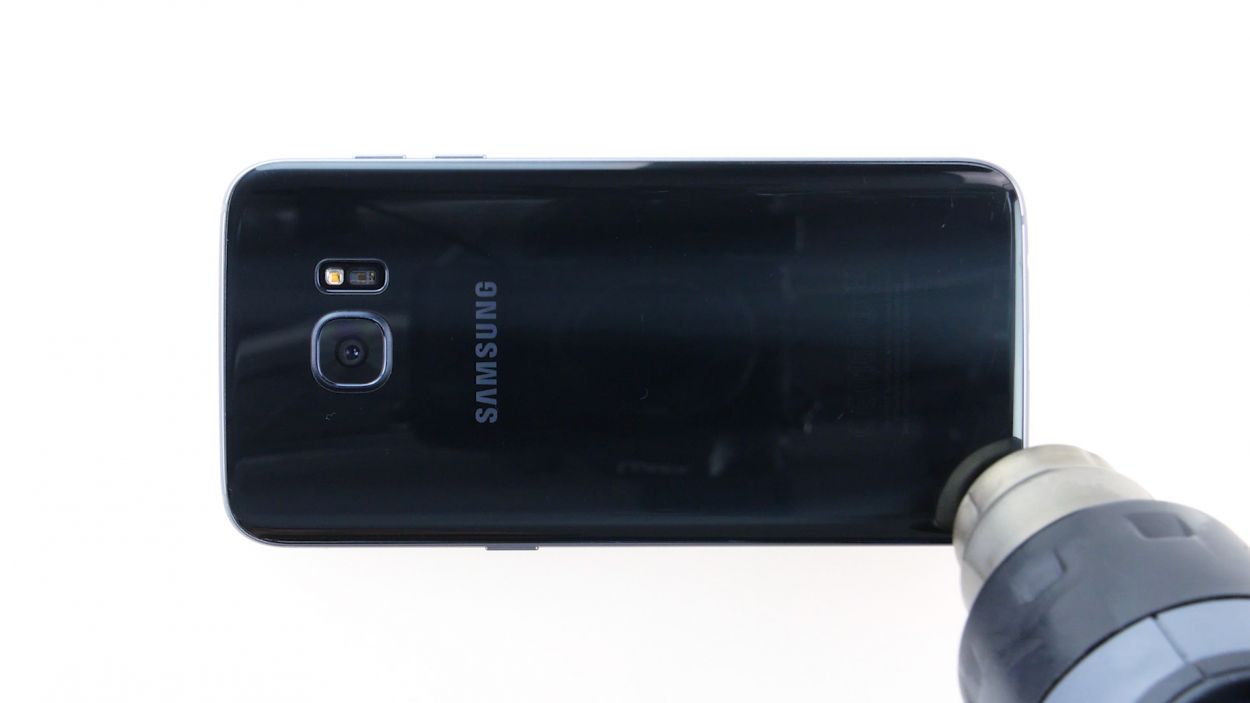

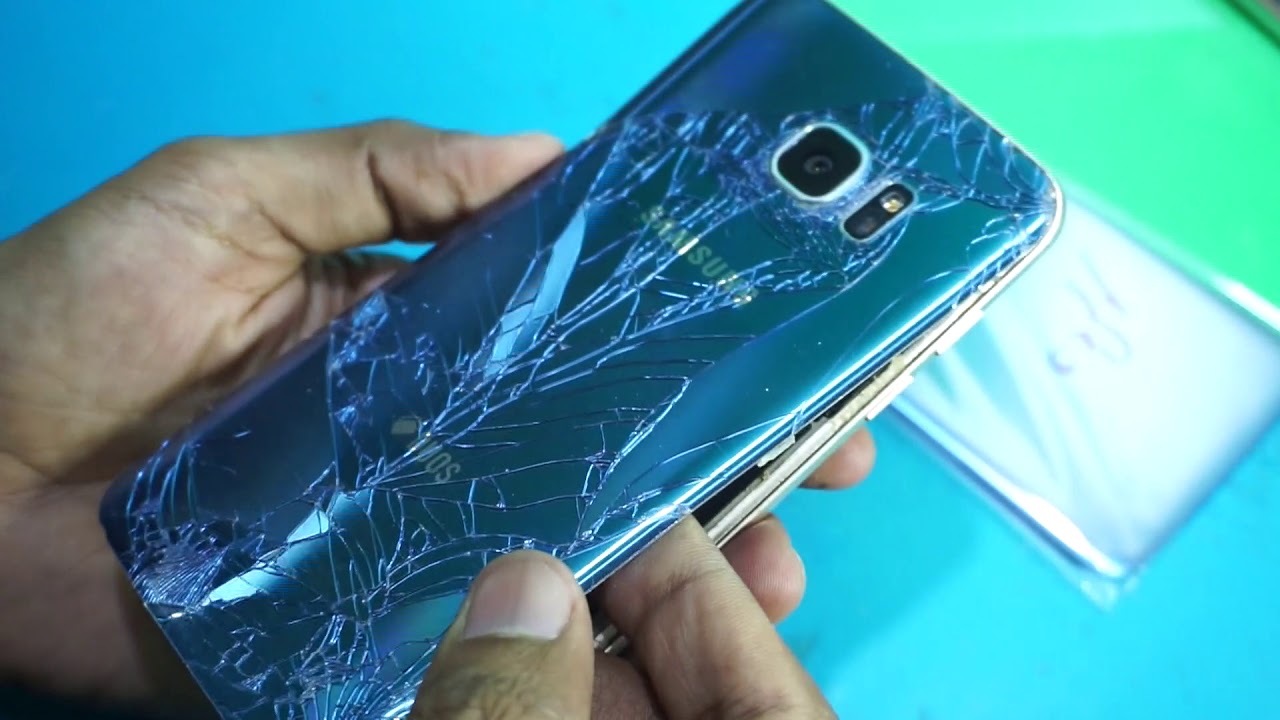
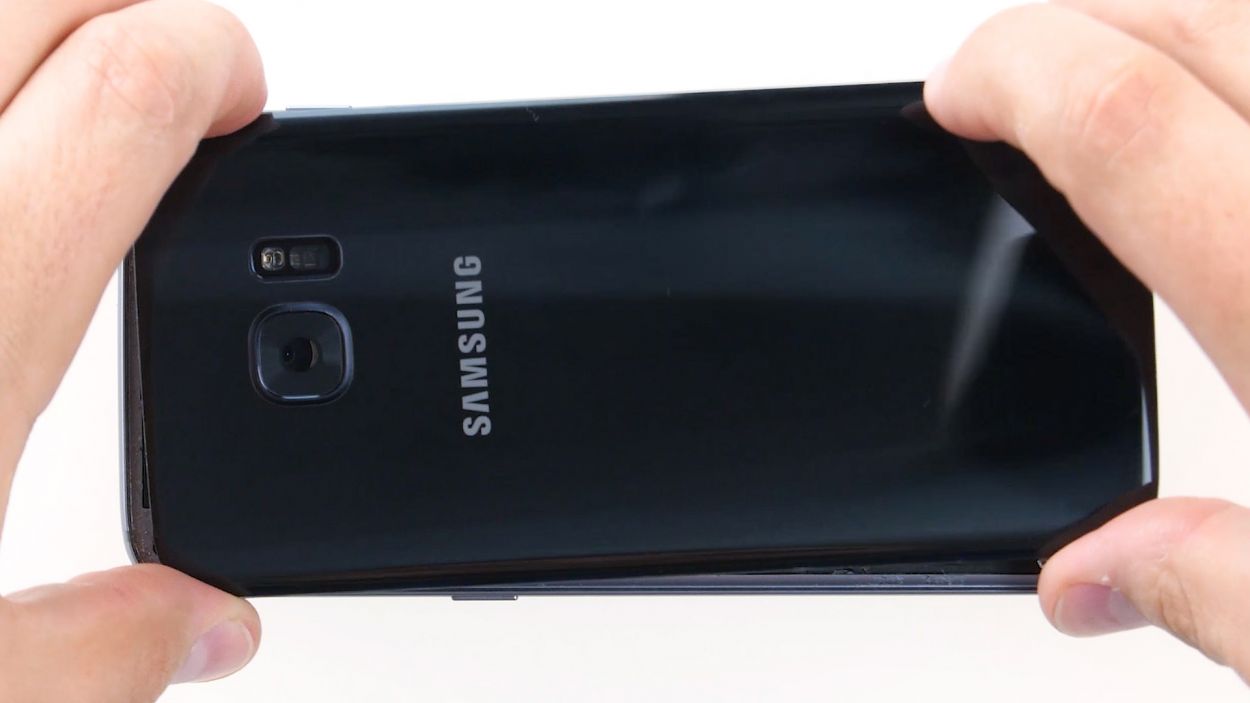
Hey there! The back cover has a lovely paint job on the inside. When you’re peeling off any sticky residue, take it easy to sidestep those pesky scratches or cracks. Happy repairing!
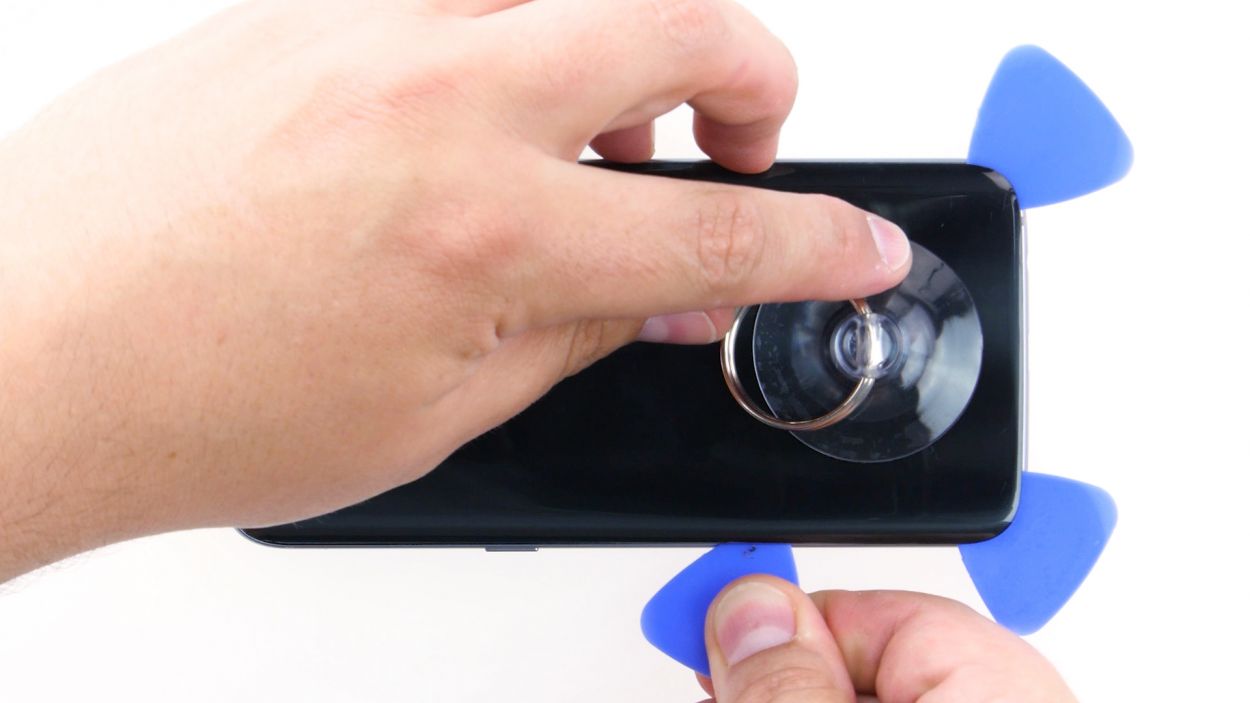
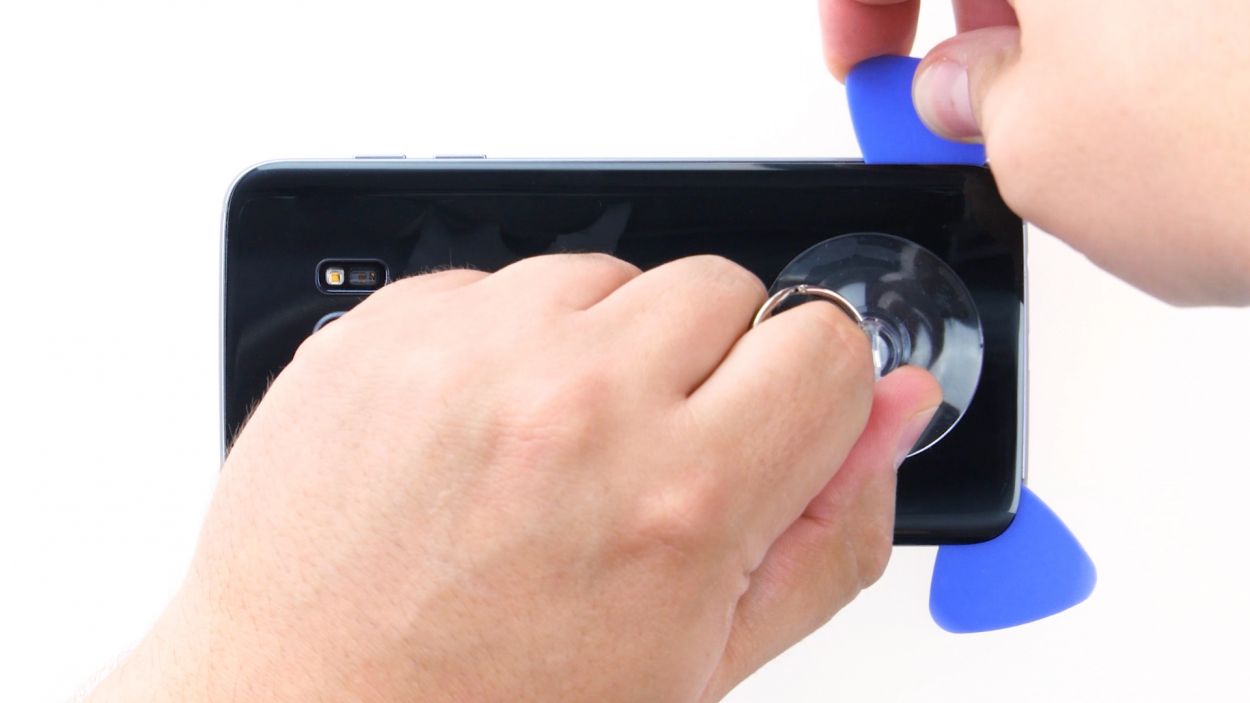
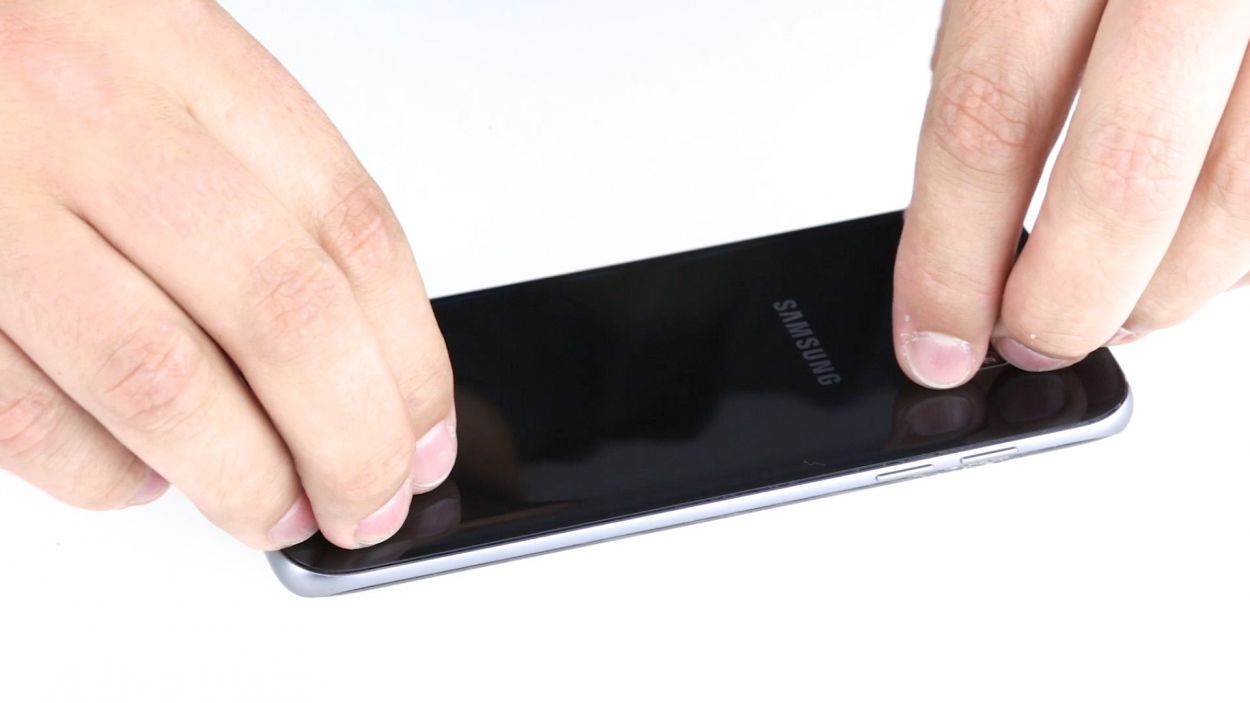
– Alright, let’s get that back cover off! It’s stuck on there with some serious glue action. Grab a suction cup and give it a gentle pull. While you’re at it, use a pick to nudge it away from the frame. A little hot air from a heat gun or hair dryer will help loosen that glue up nicely!
– Once you see a tiny gap forming between the back cover and the chassis, it’s time to slide that pick in there. Just a heads up, the inside of the back cover is painted, so be super careful when cleaning off any leftover adhesive to keep it looking sharp.
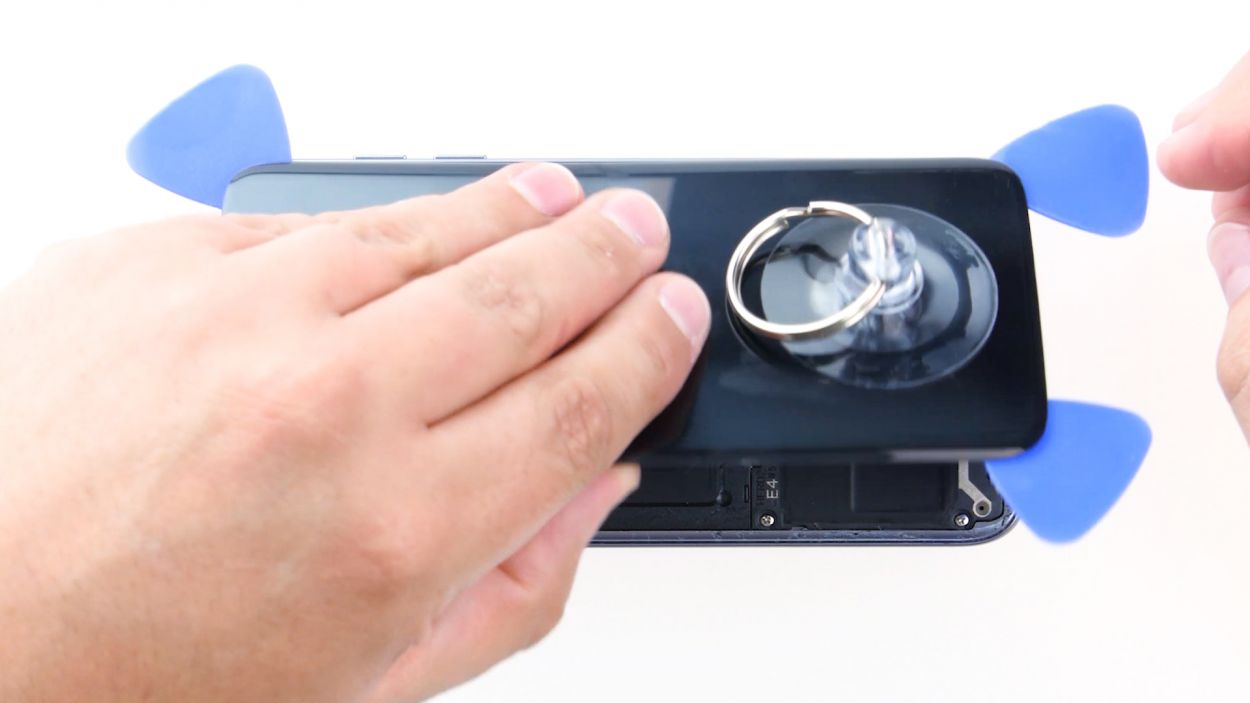
– Now, let’s tackle those corners! Use more picks to gently pry them apart one by one. Patience is key here!
– When you’ve loosened all the glue, go ahead and lift off that back cover. You’ve got this!
Tools Used
- heat gun to heat parts that are glued on so they’re easier to remove.
In most cases, you can also use a hairdryer.” rel=”noopener”>Heat gun - Flat Picks
- VAKUPLASTIC Suction Cup
Step 4

12 × 3.3 mm PH00 Phillips screws
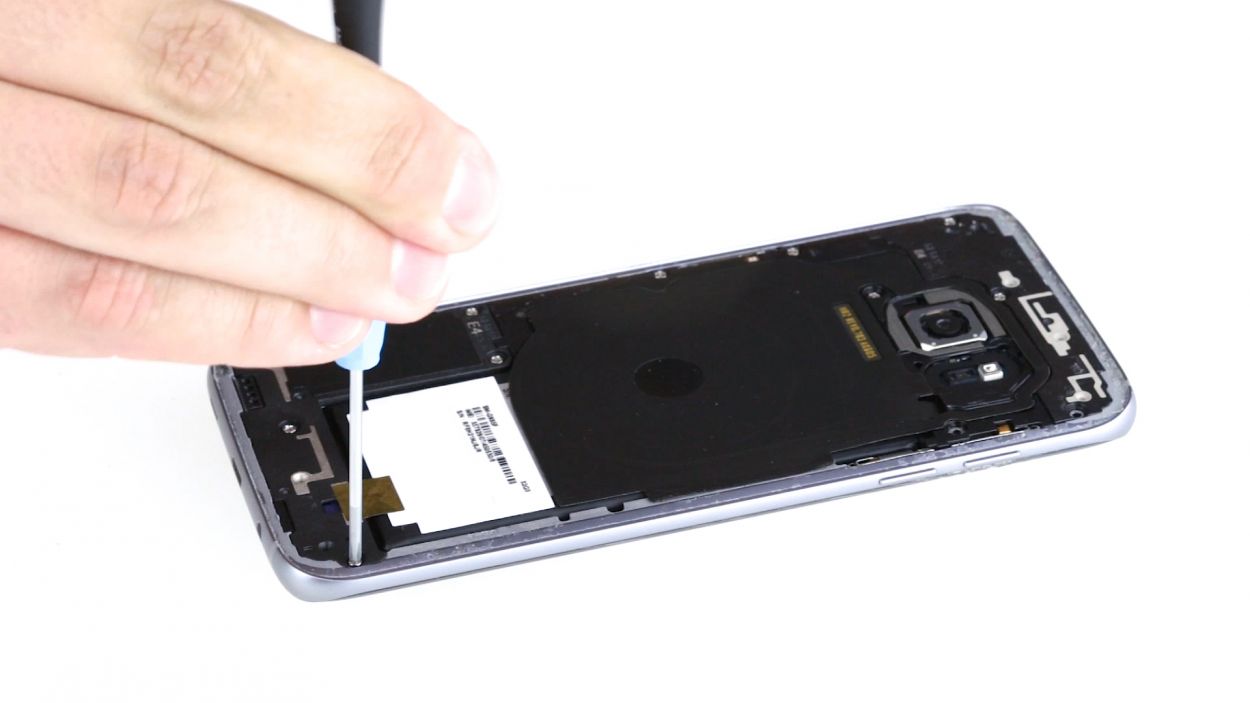
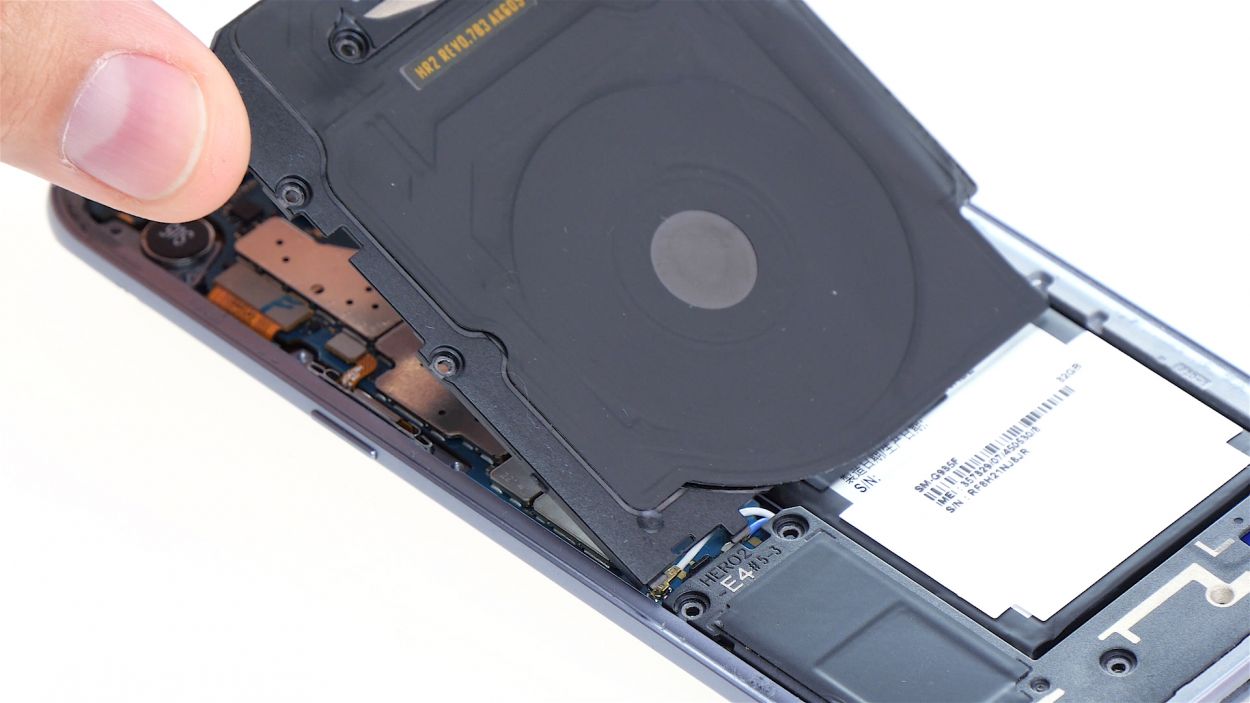
– Let’s get those twelve screws out that are keeping the three antennas snug as a bug. Grab your screwdriver and go for it!
– Now, it’s time to peel away that yellow adhesive strip. Just a little tug and you’re good to go!
Tools Used
Step 5

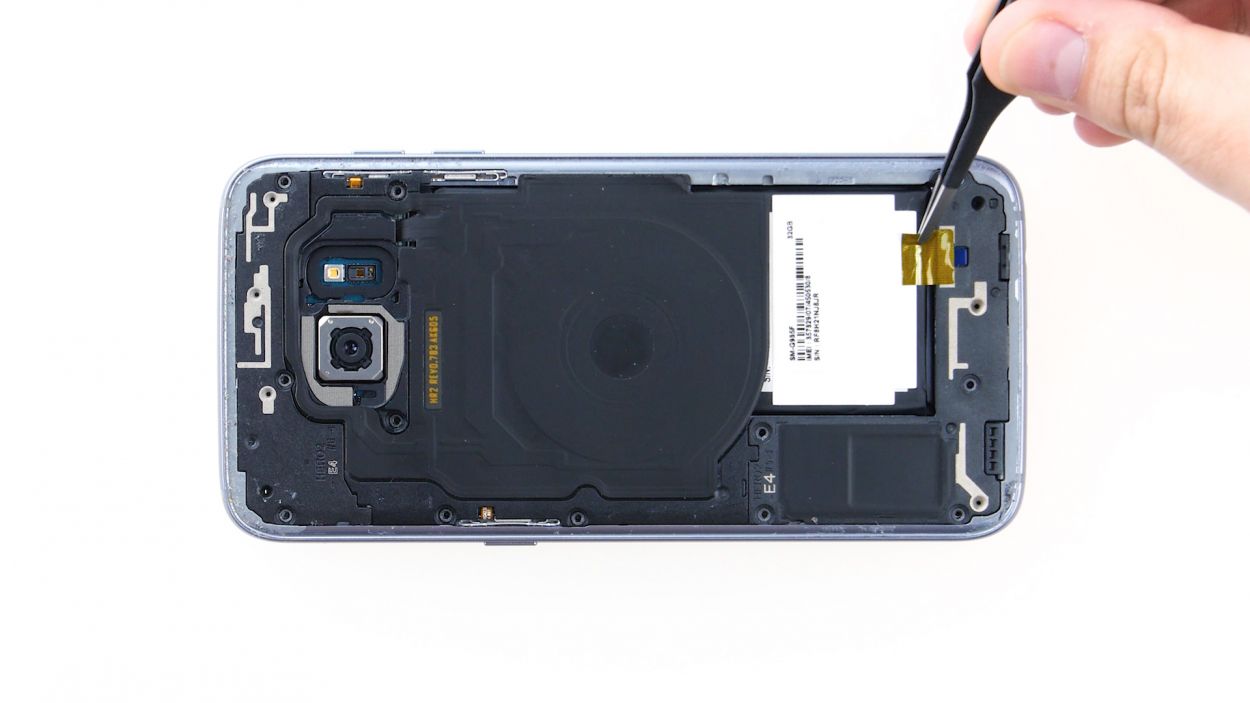
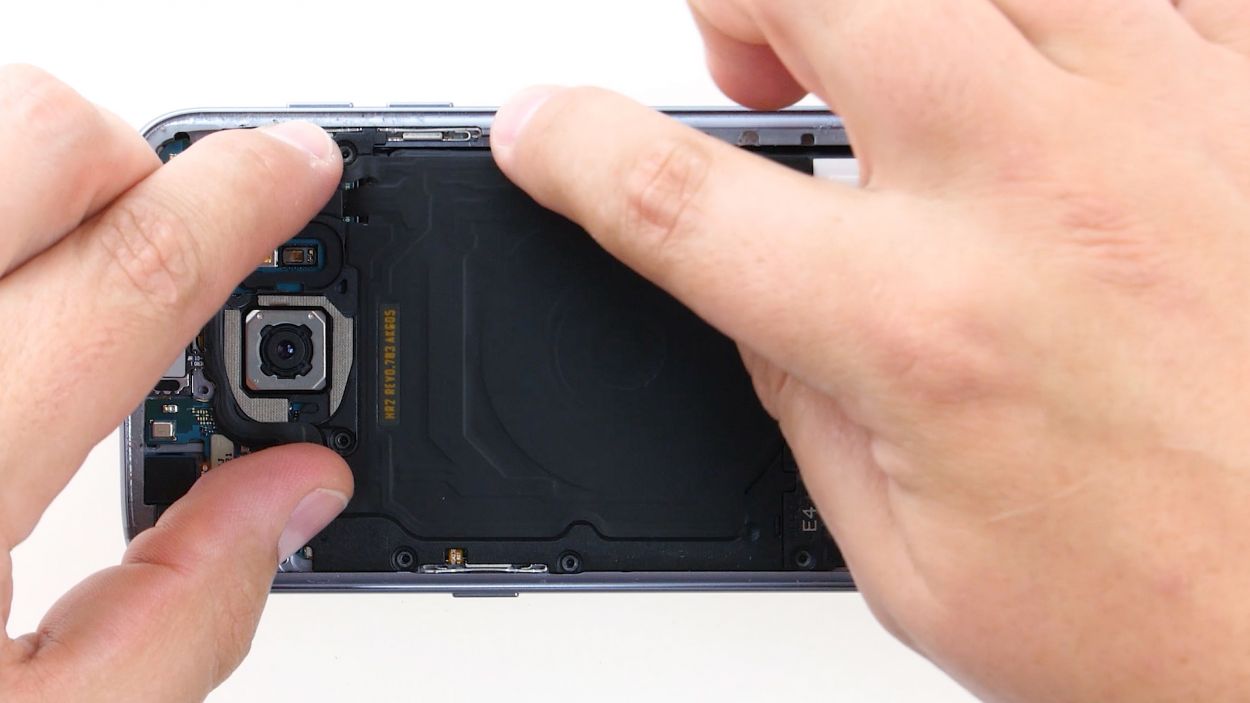
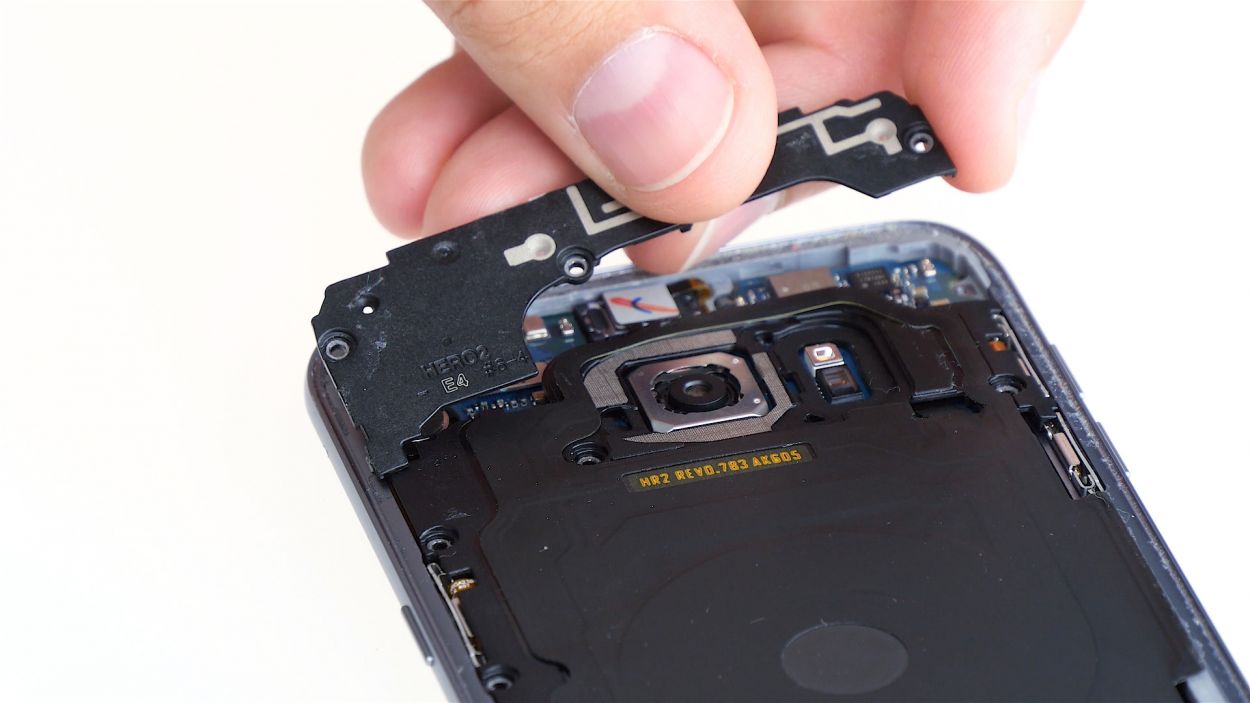
– First things first, let’s disconnect that upper antenna from the enclosure! It’s snugly hooked on there, so start your adventure at the upper right corner.
– Once you’ve freed the right side of the antenna, gently lift it up in the middle. This will help the left side come off without any fuss.
– And voilà! You’ve successfully removed the antenna from the enclosure. Great job!
Step 6
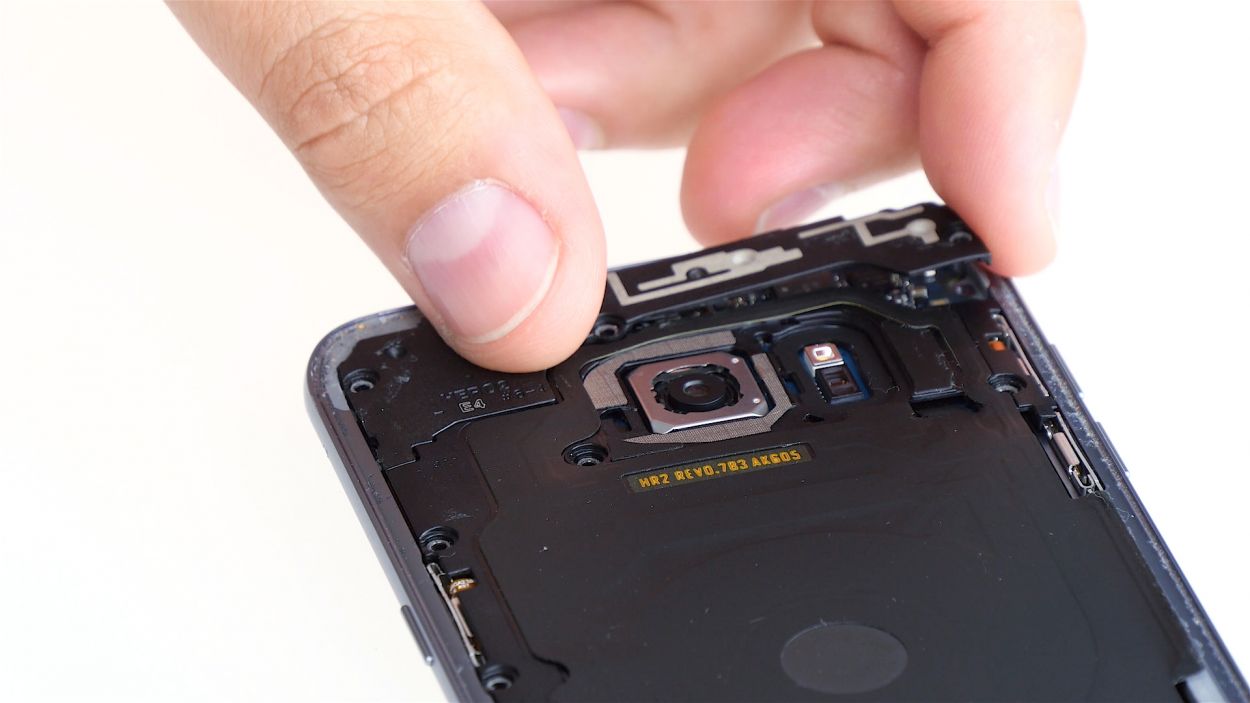
– Gently wiggle the middle antenna out of its cozy spot in the enclosure. Just a heads up, it’s snuggled up with the lower antenna, so be mindful when giving it a little tug.
Step 7
– Time to give that lower antenna a little wiggle! Grab your trusty tweezers and gently unhook it from the left side.
– Now, let’s set that antenna free from the enclosure. You’ve got this!
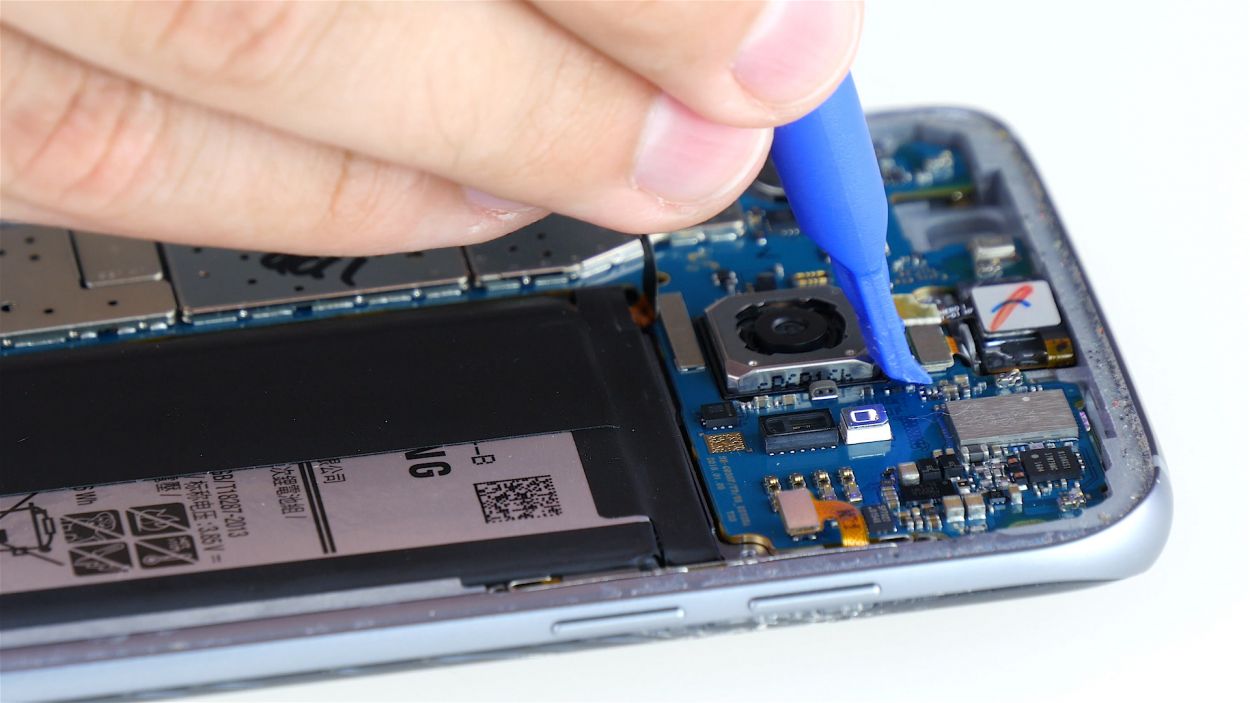
Step 8
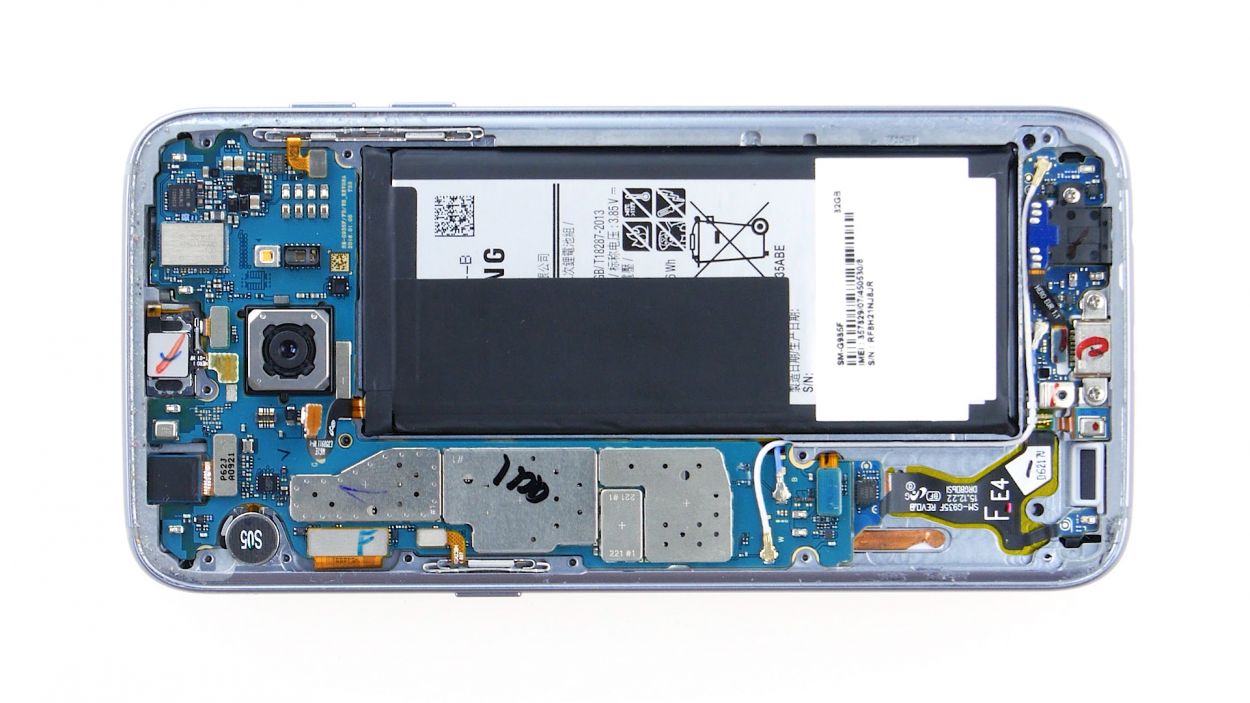
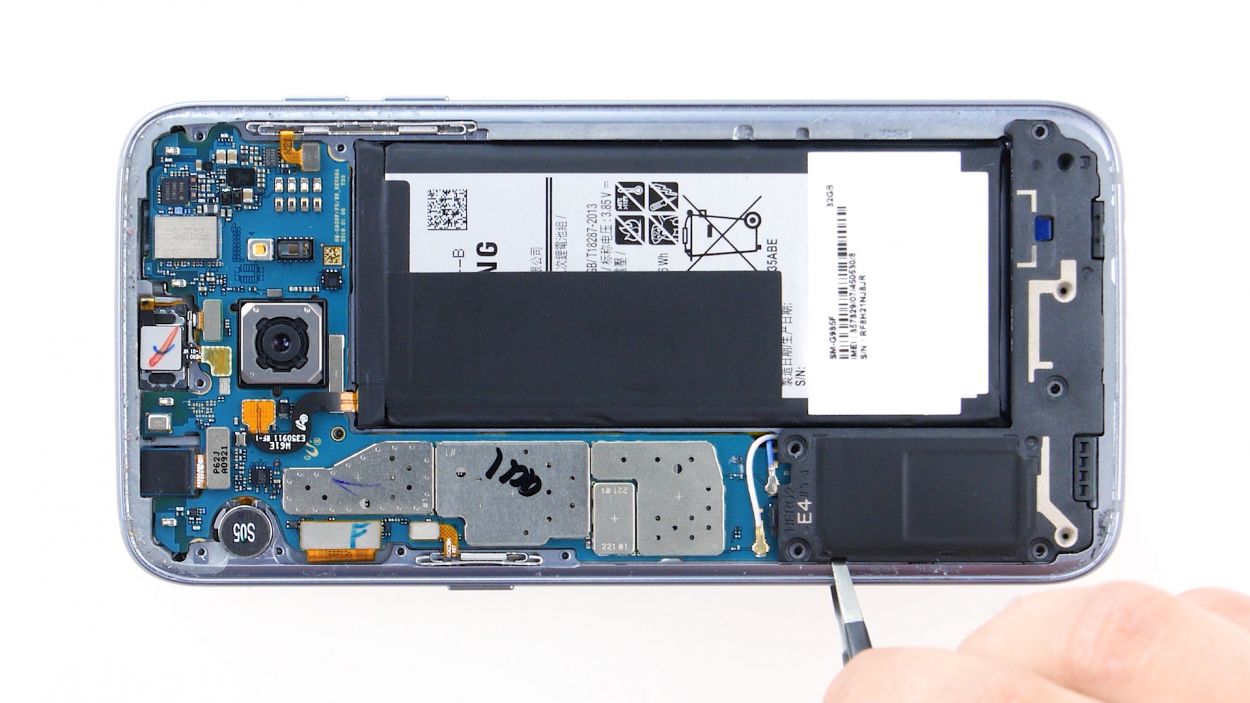
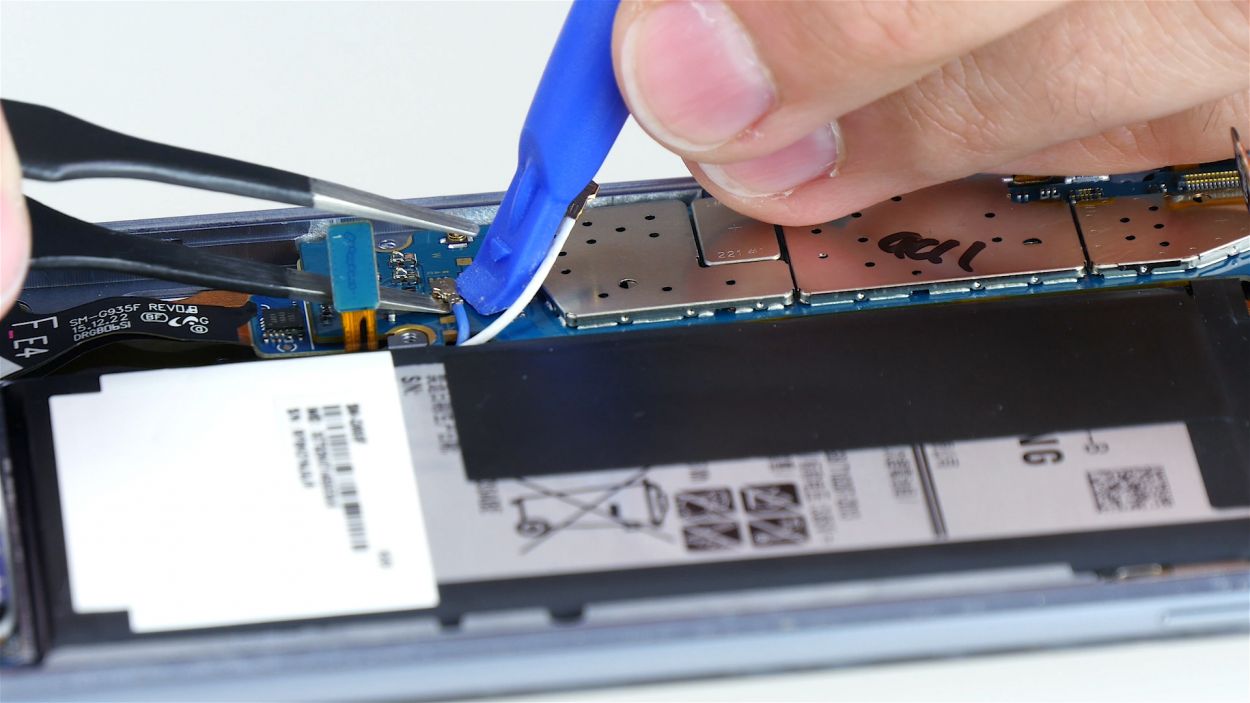
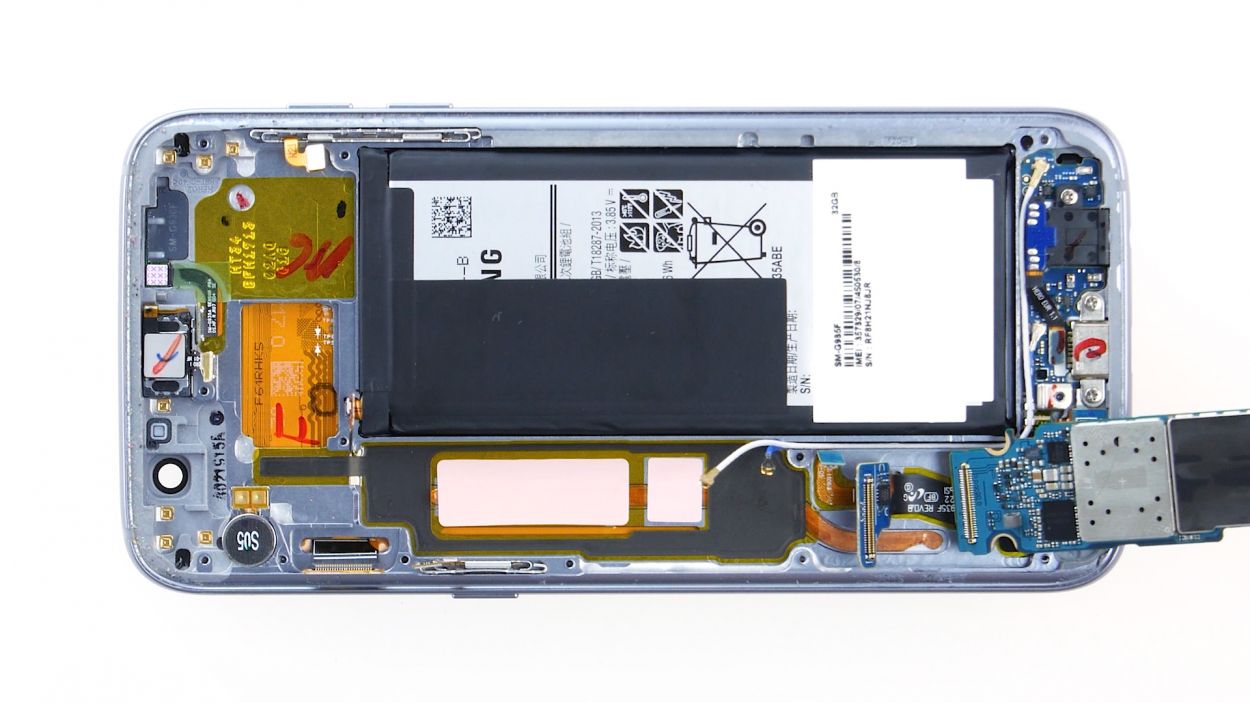
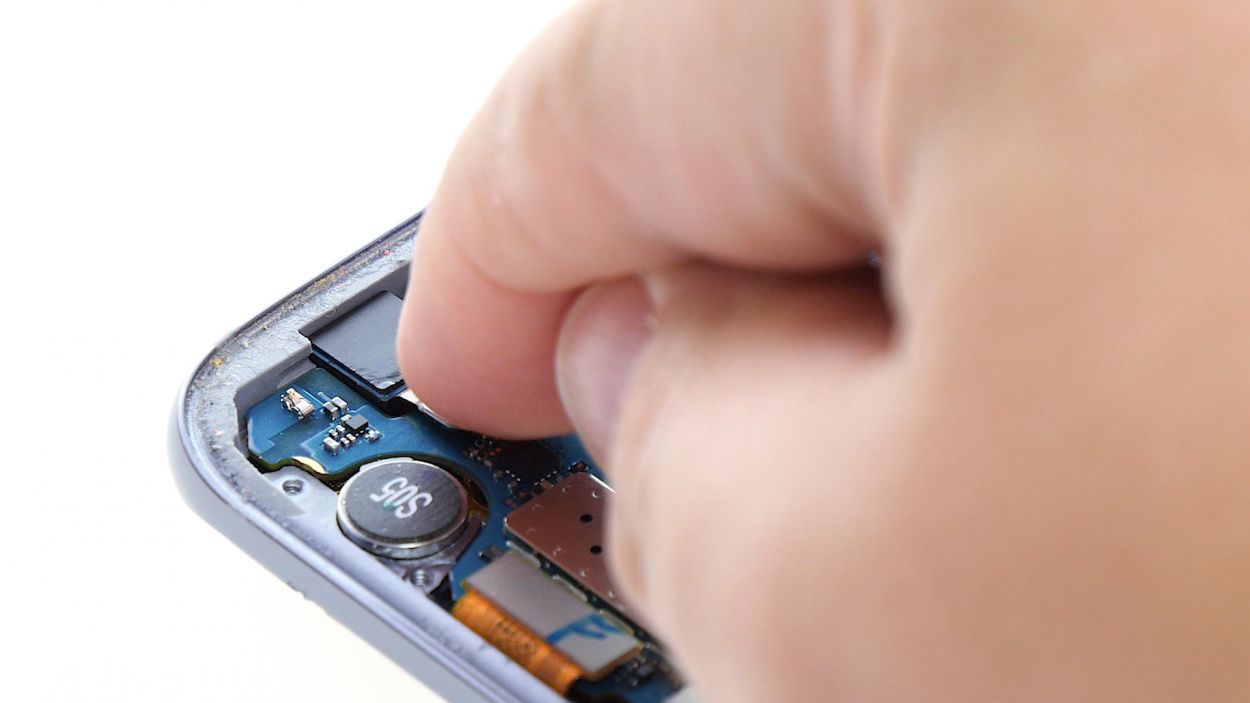
– Grab your trusty spudger and gently wiggle that battery contact free from the motherboard. Just give it a little nudge to pop it out of the socket, and you’ll be on your way to a smooth repair journey!
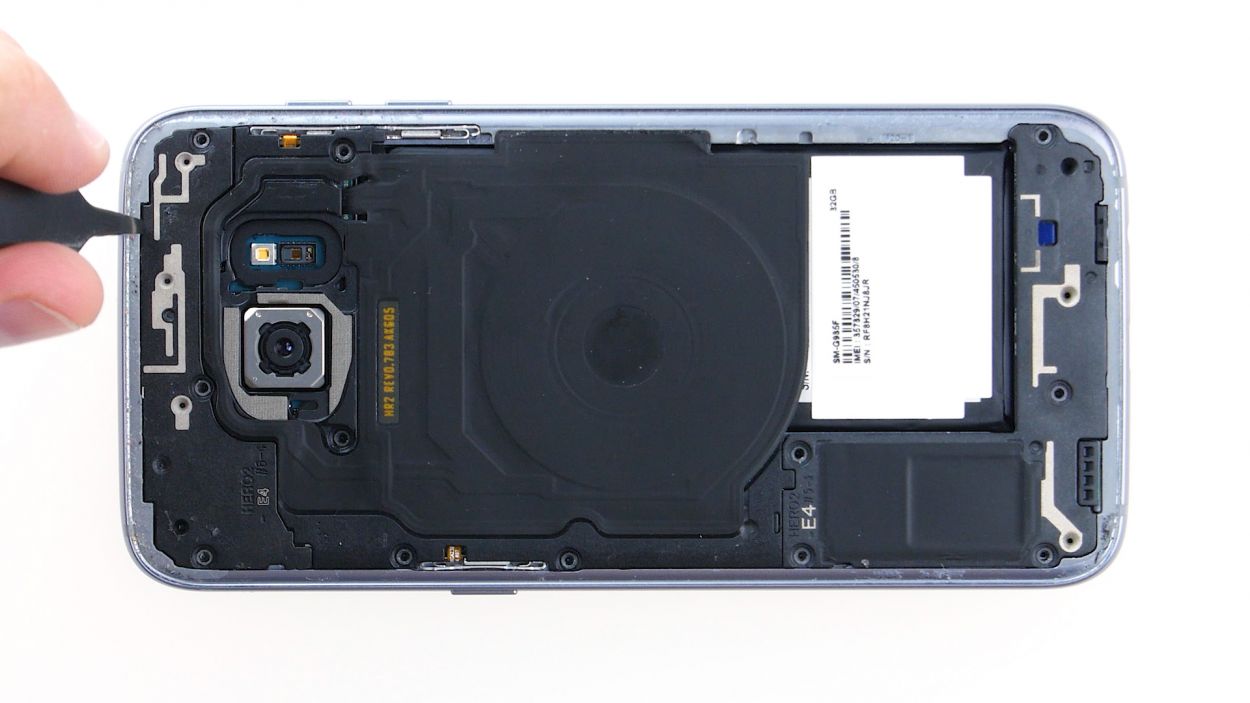
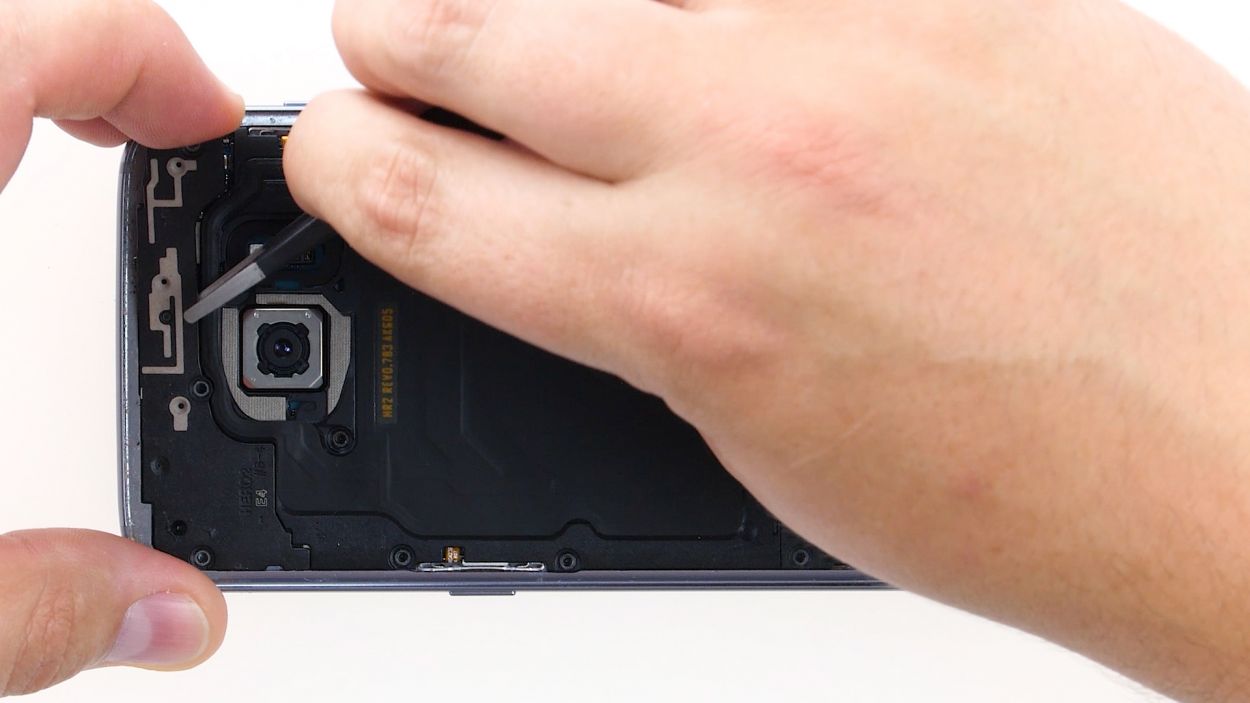
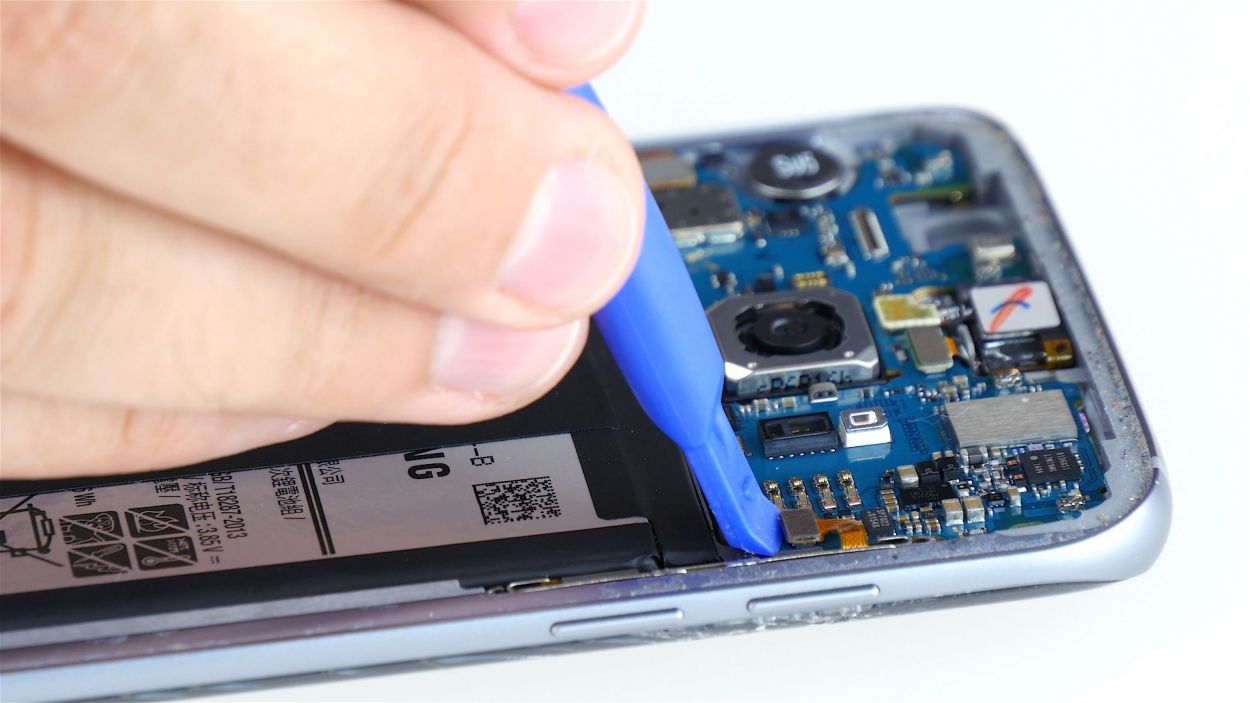
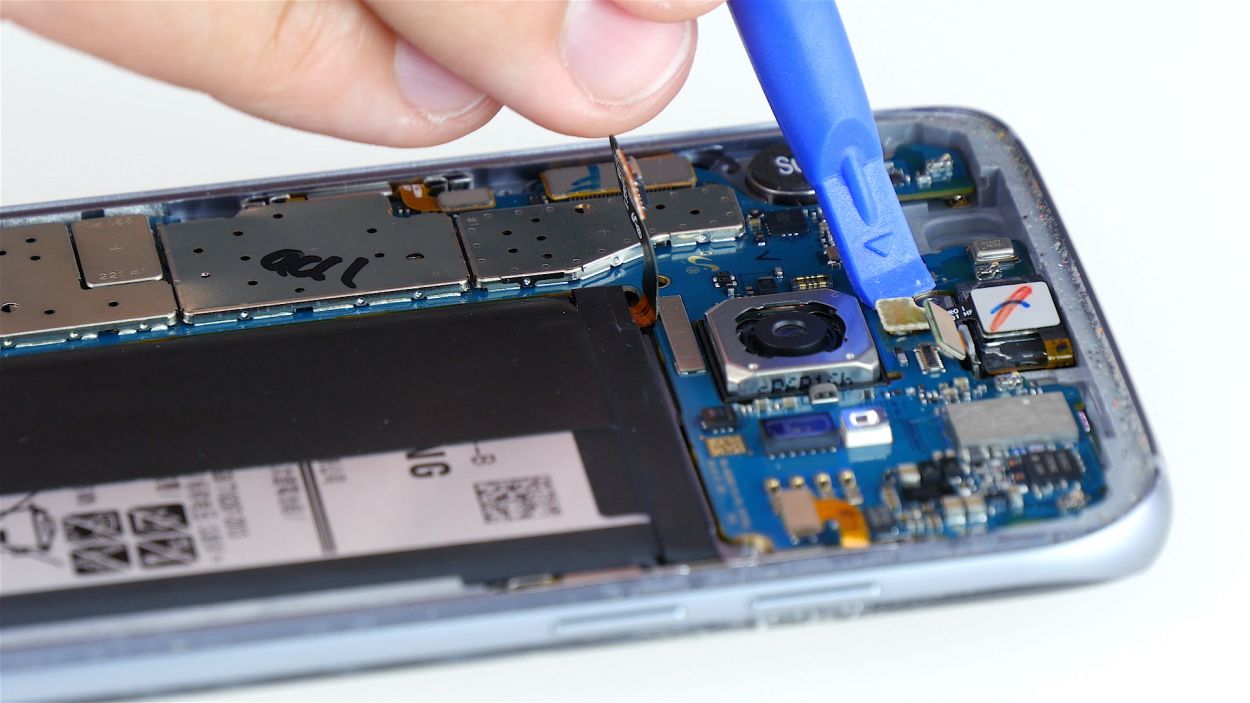
Step 9
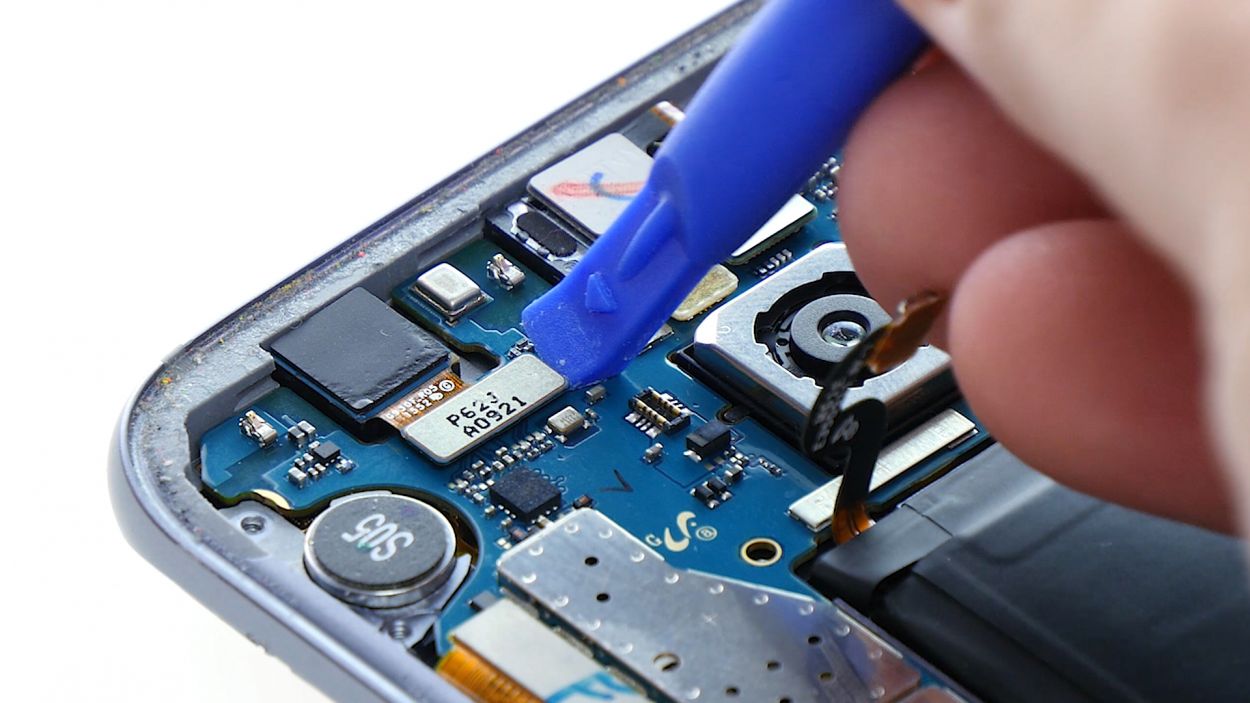
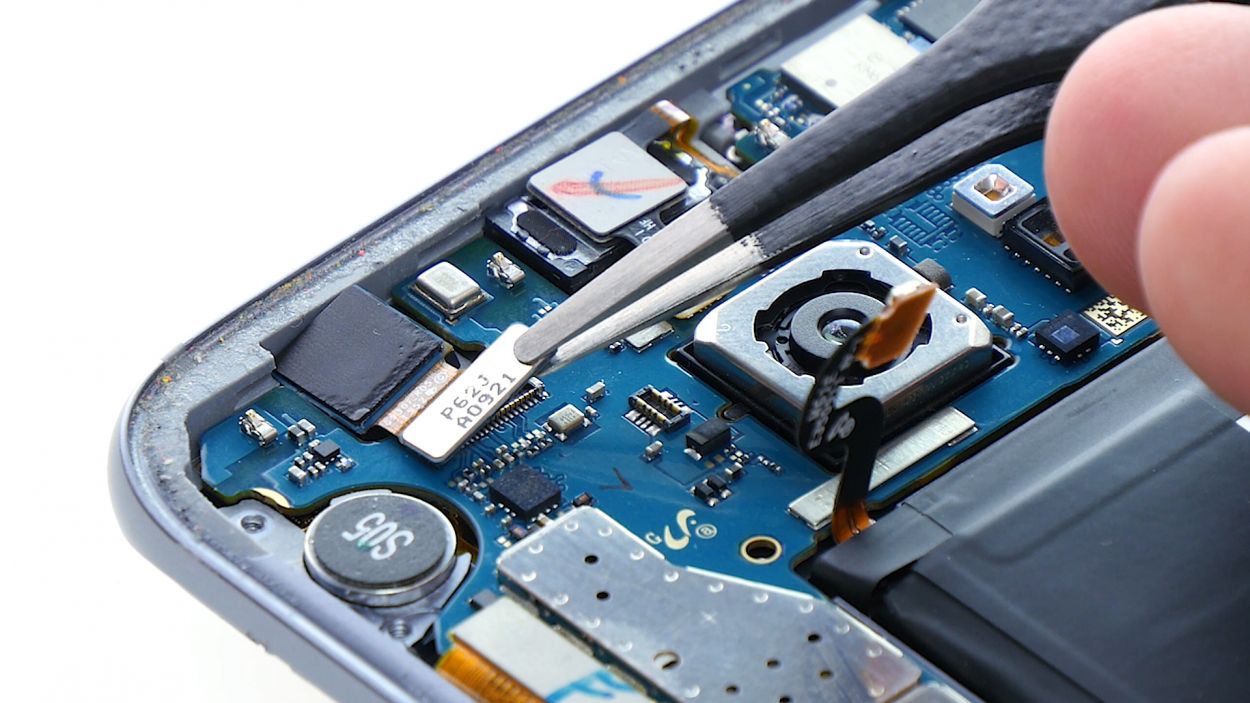
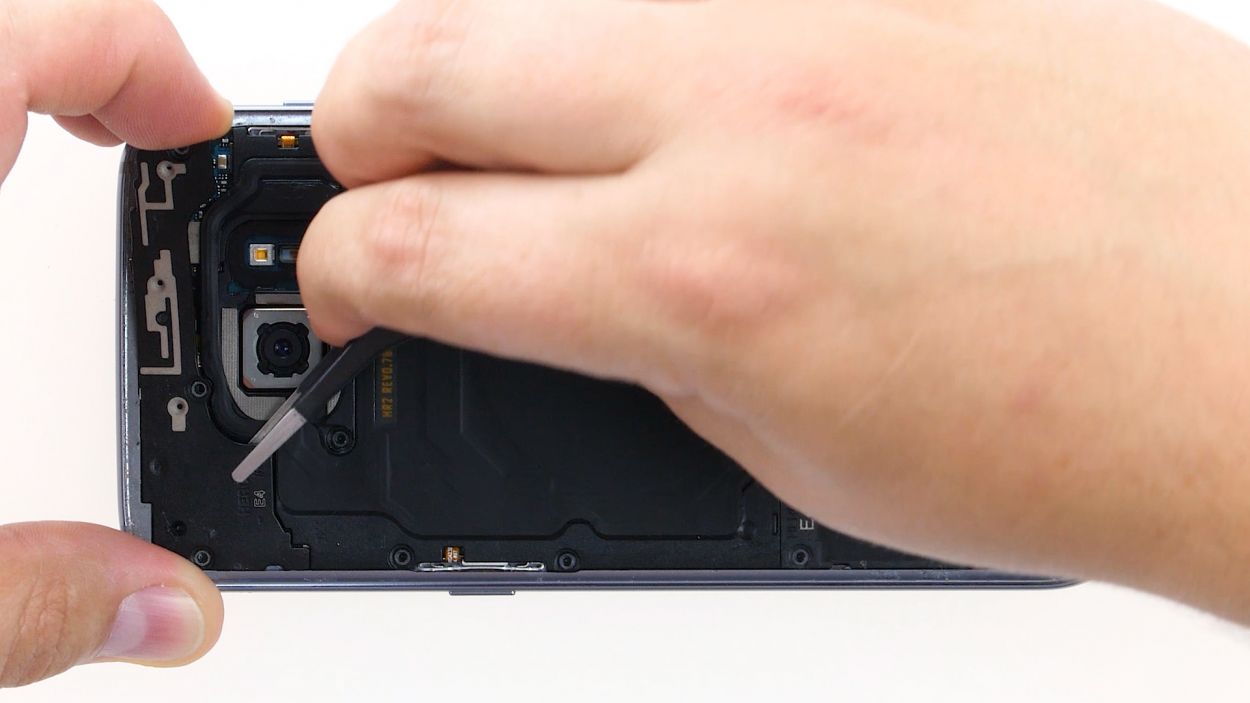
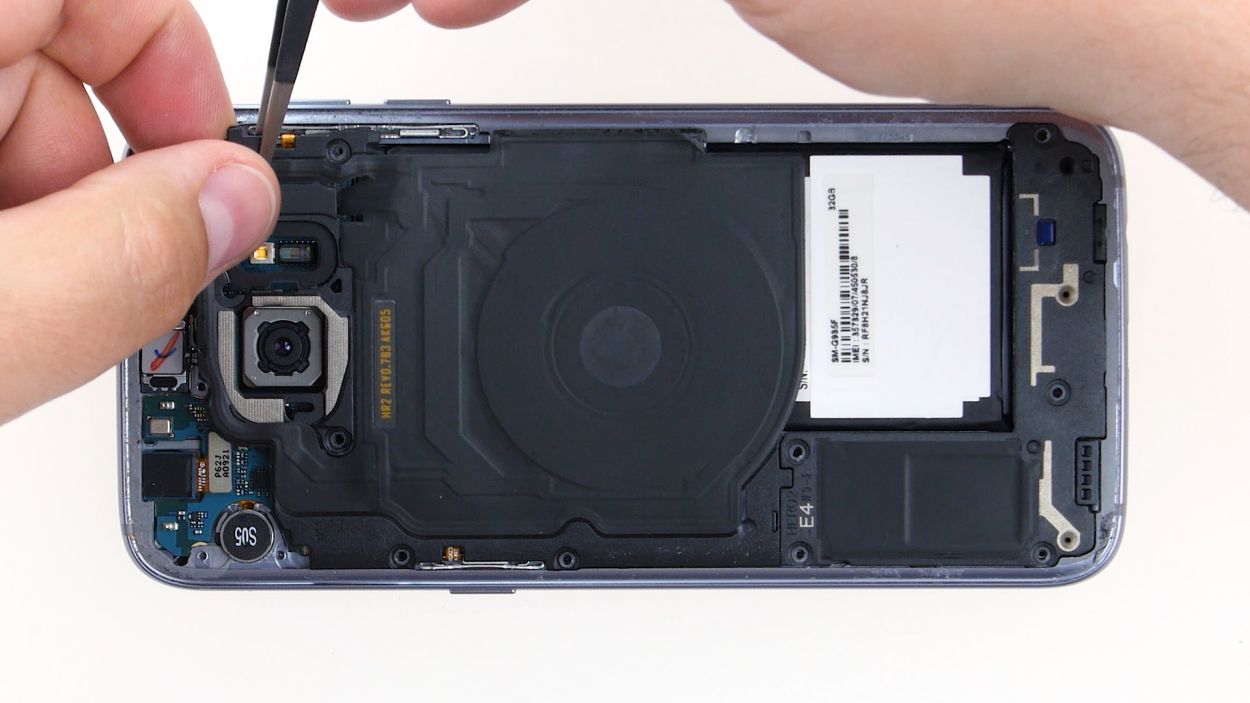
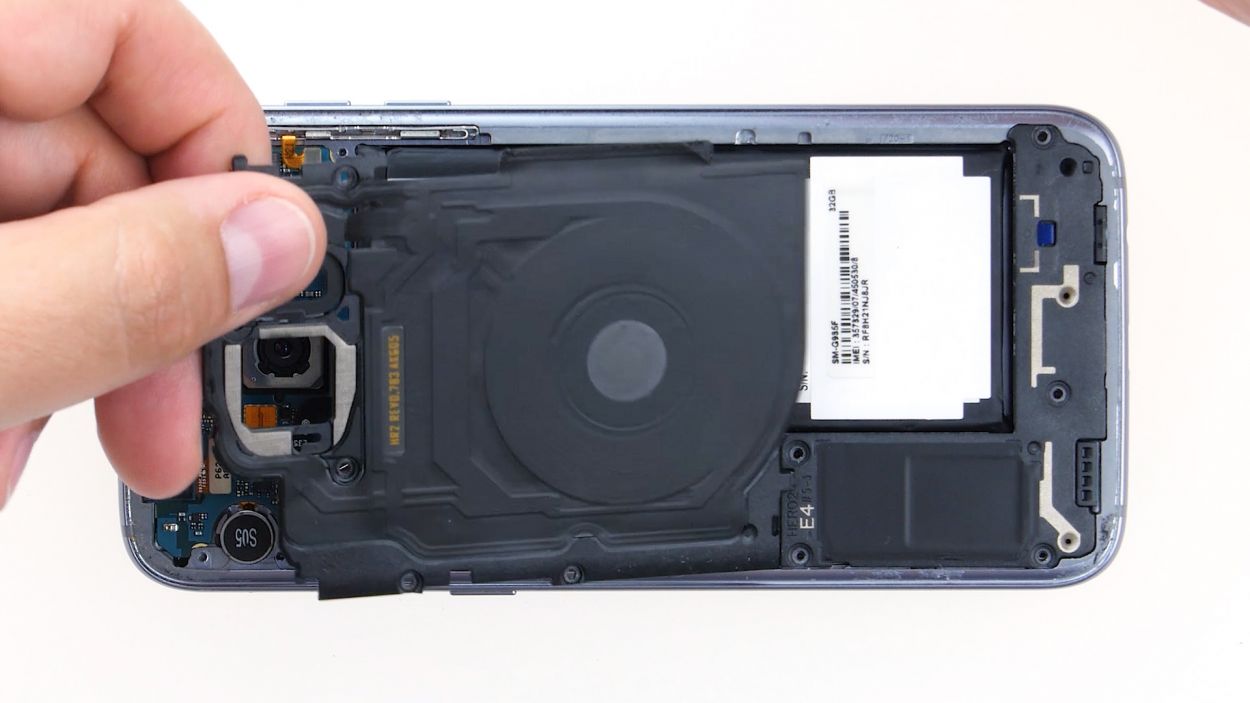
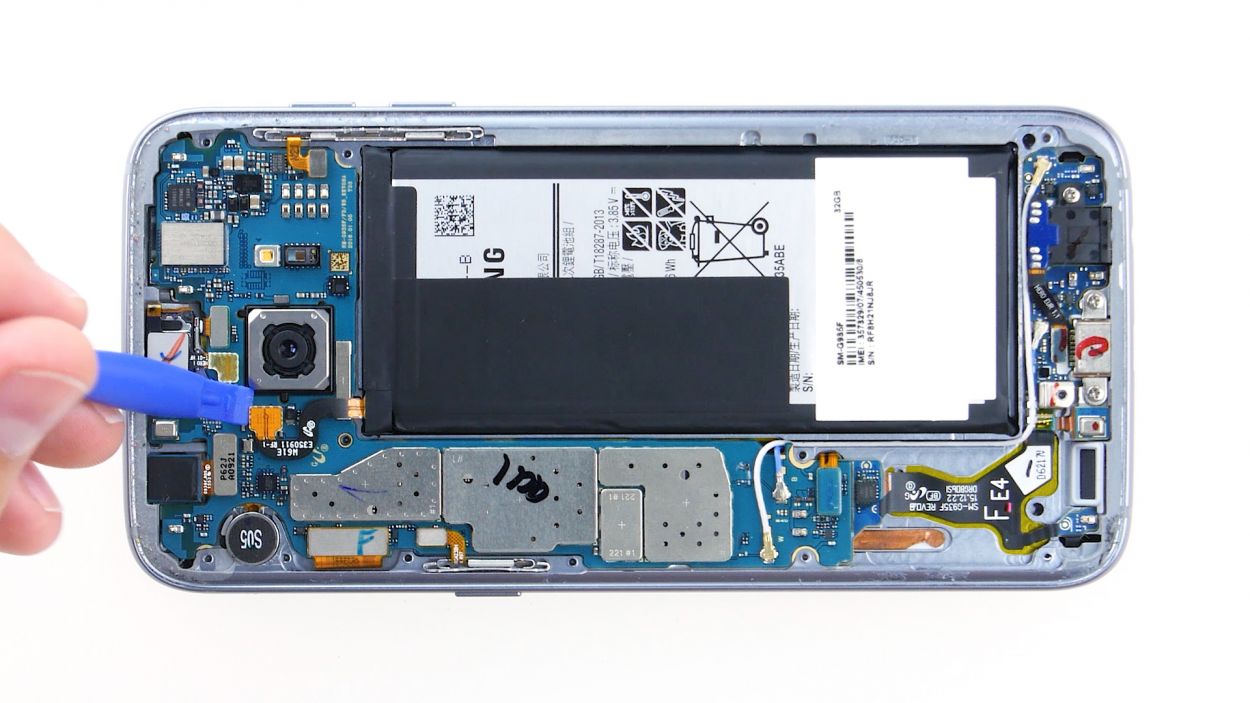
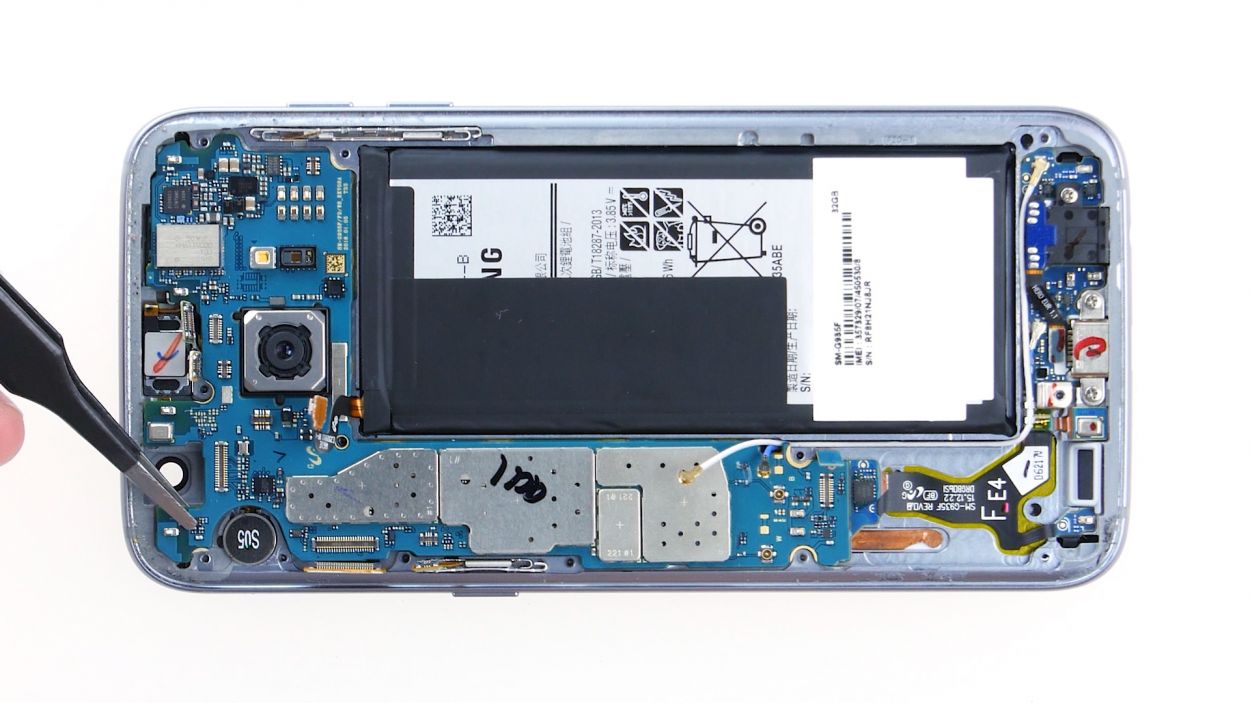
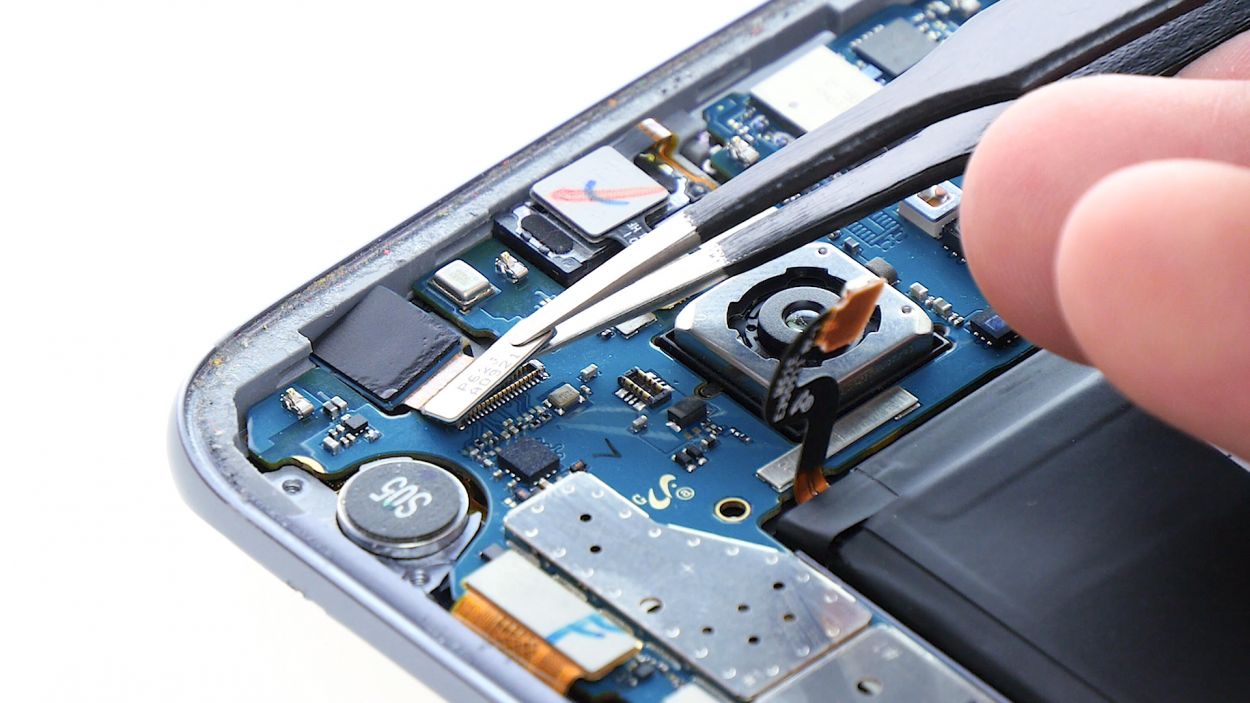
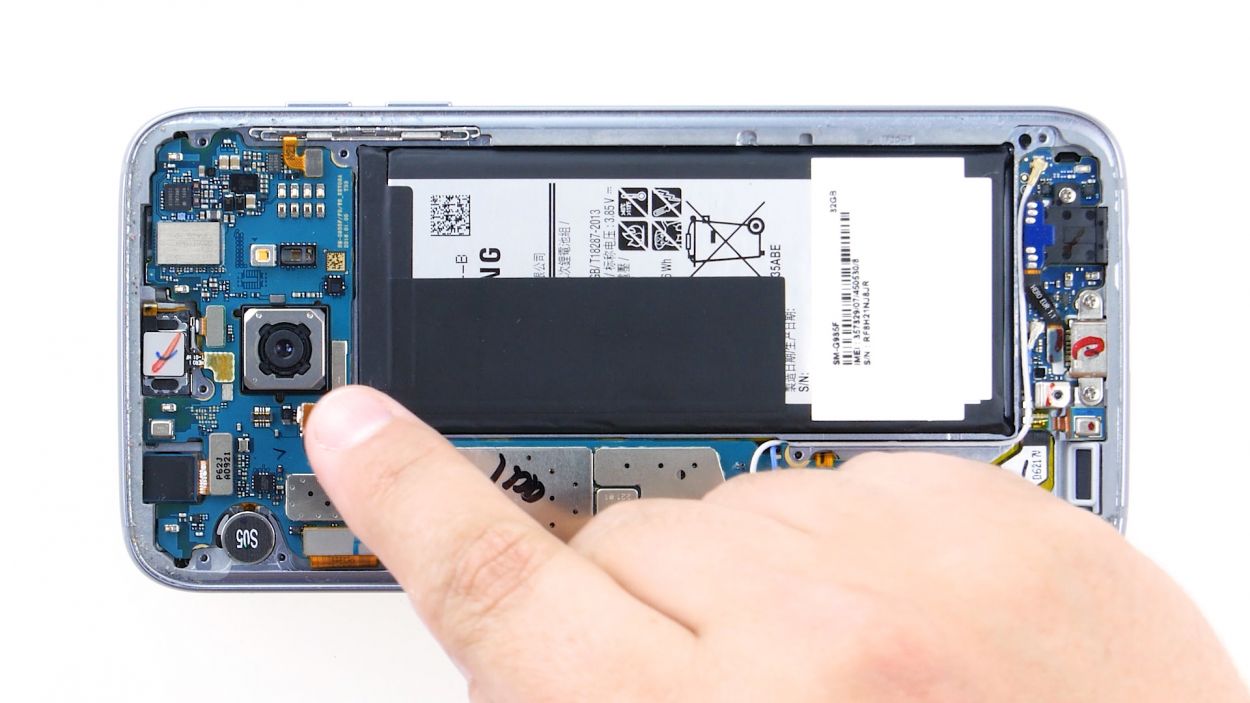
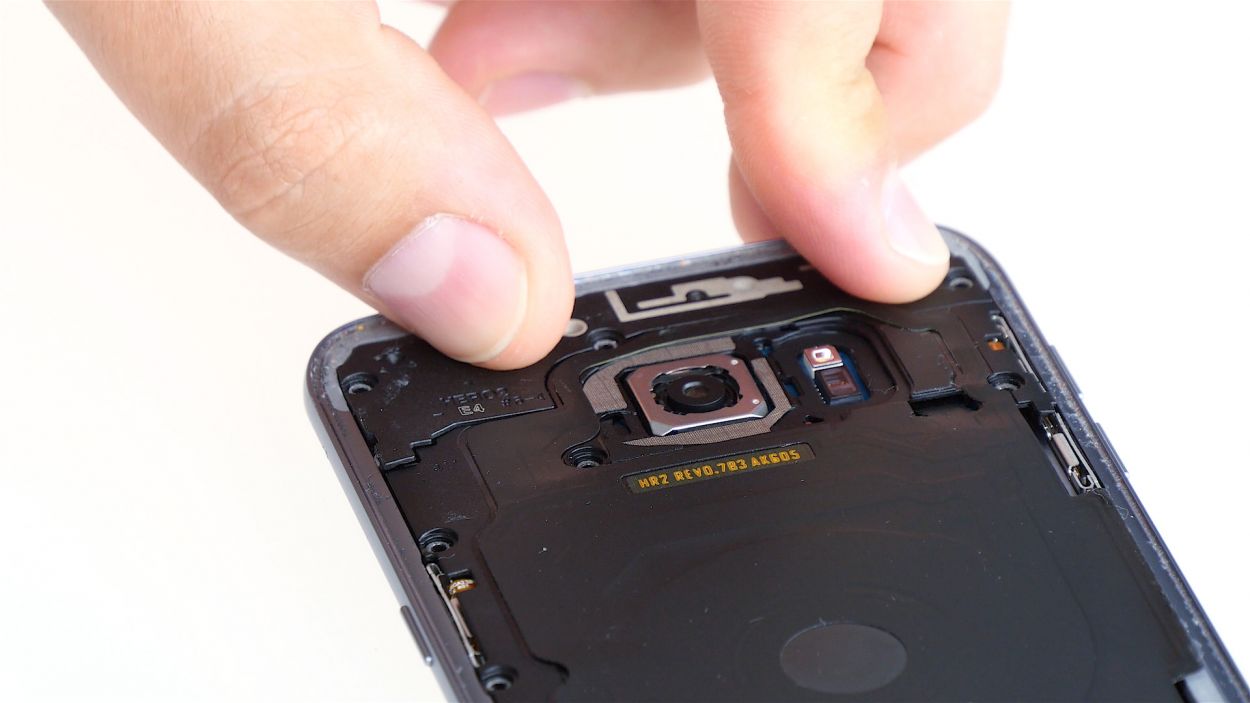
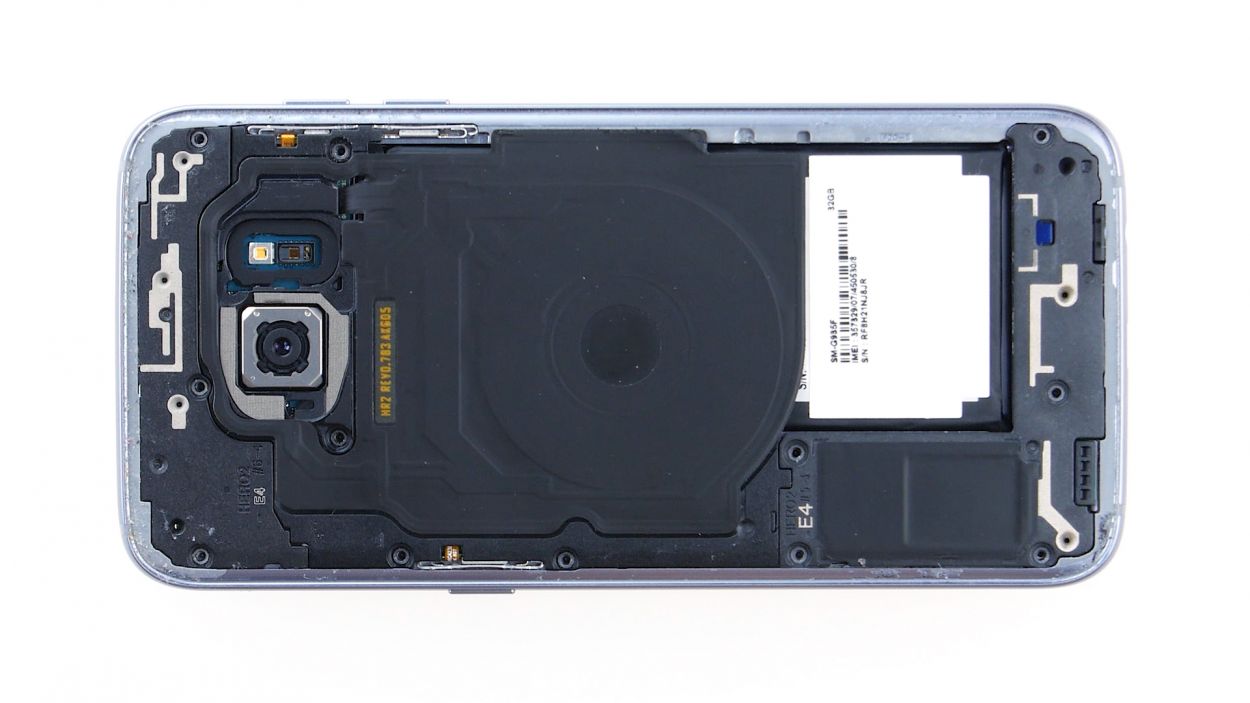
– Grab your trusty spudger and gently pry away the front camera’s connection from the motherboard. Easy does it!
– Now, go ahead and lift the front camera out of its cozy little home in the enclosure.
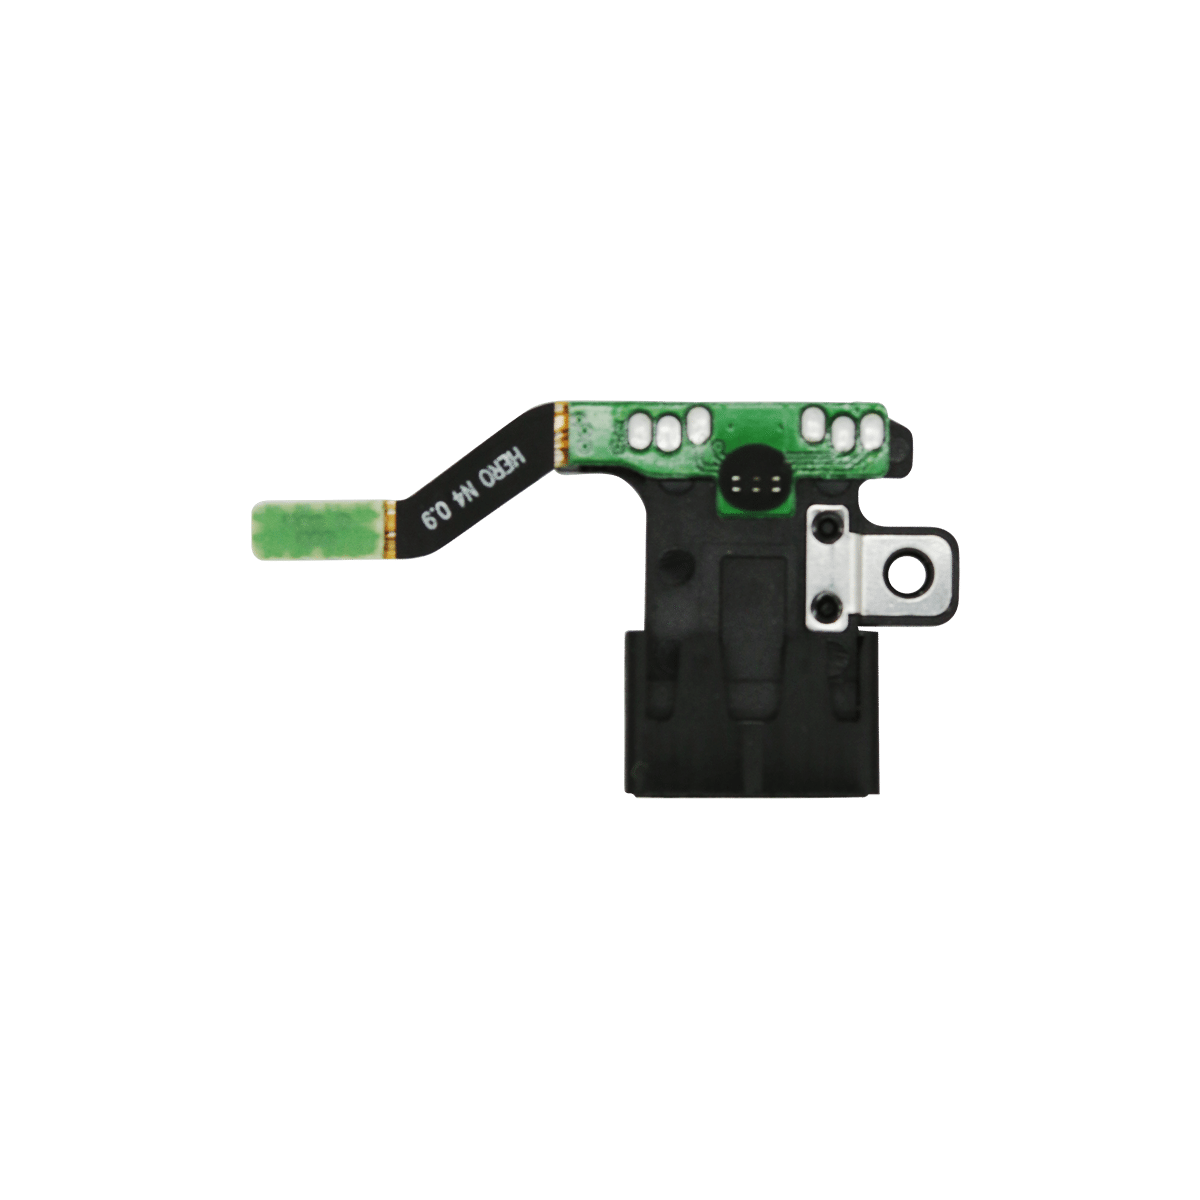
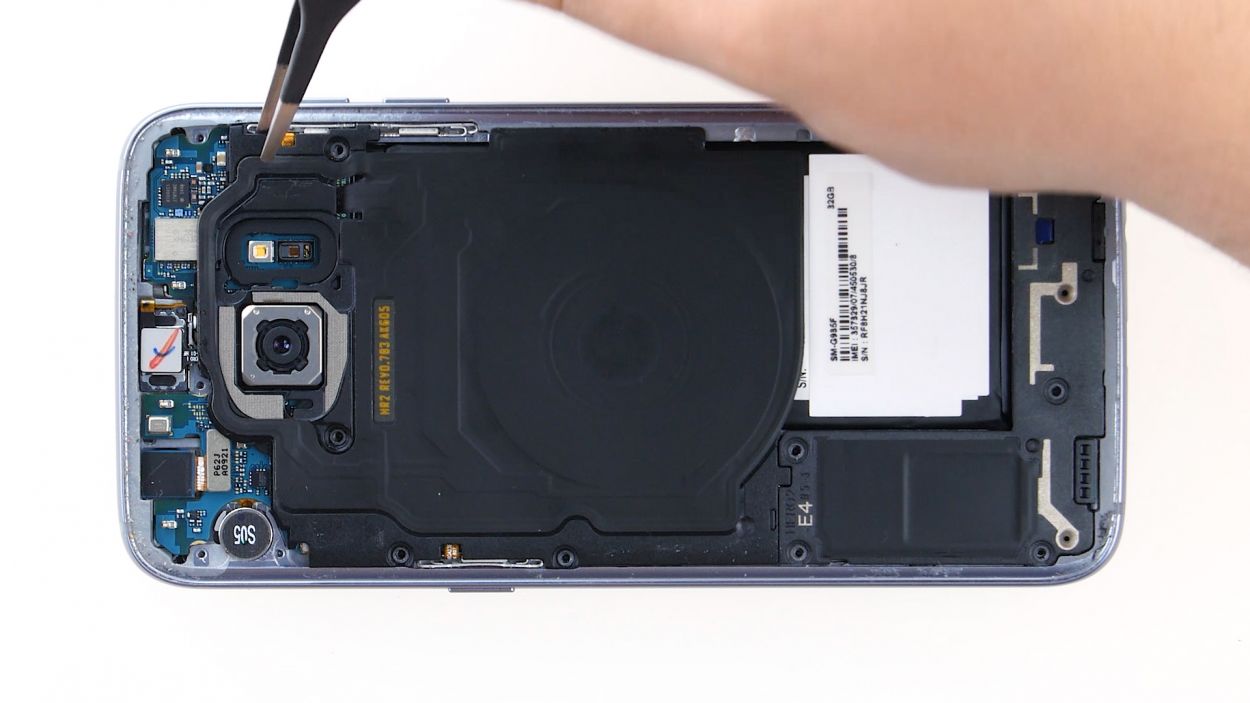
Step 10
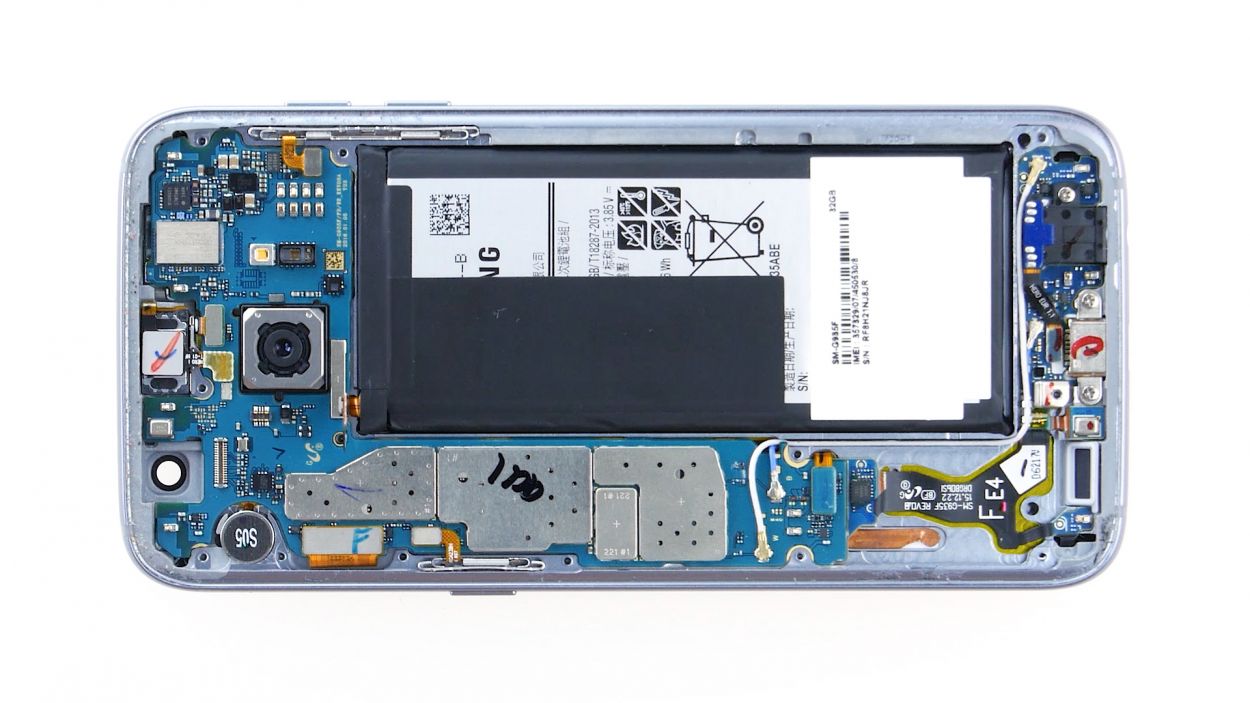
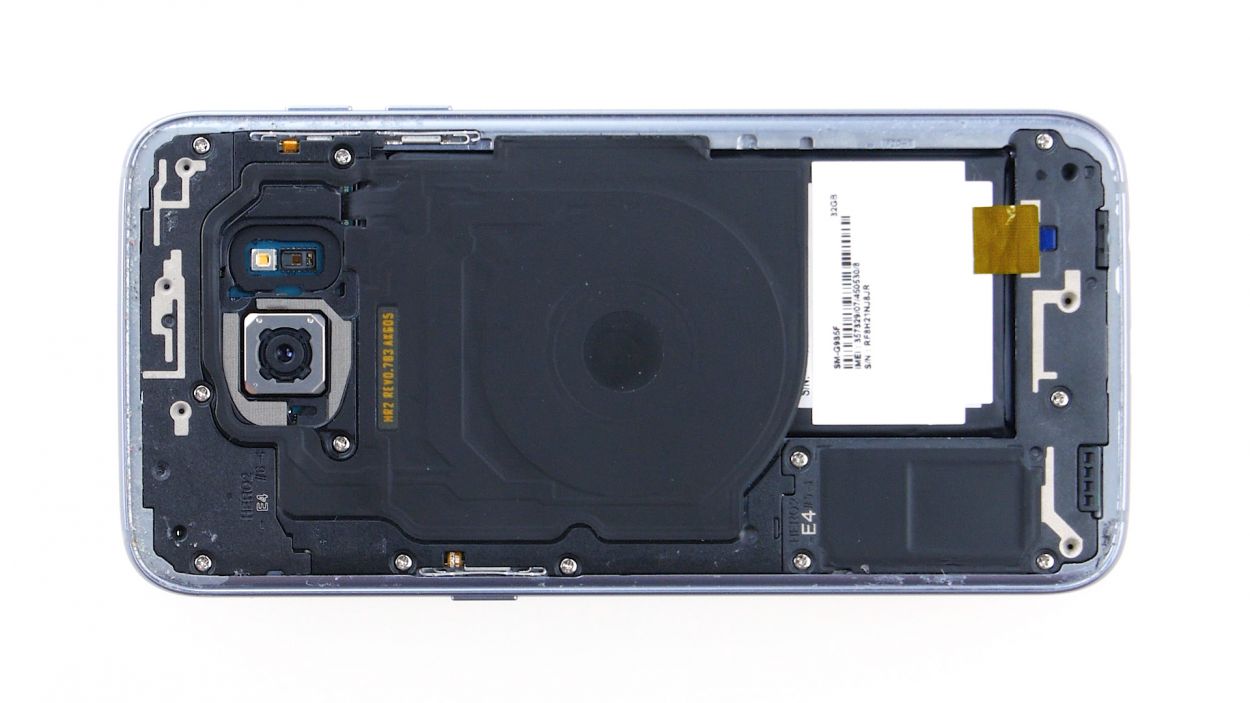
Volume Connector
Proximity Sensor
Earpiece Connector
Display
Power-Button
Antenna
Sensors
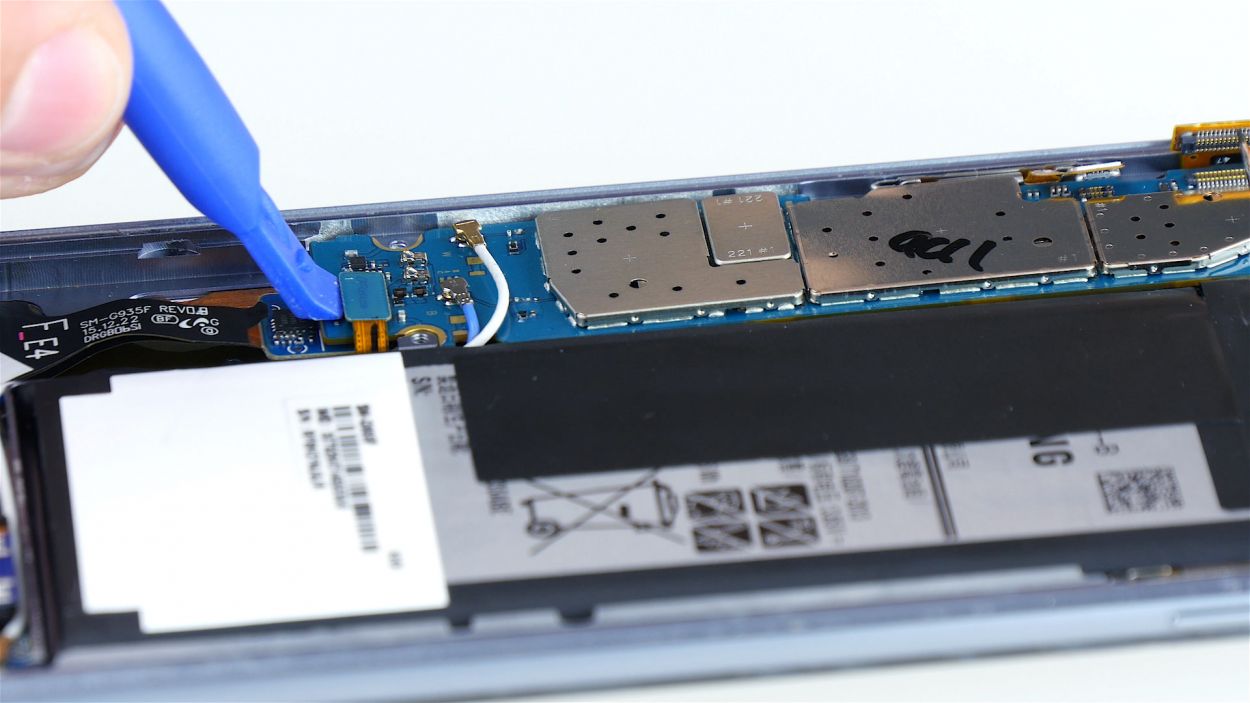
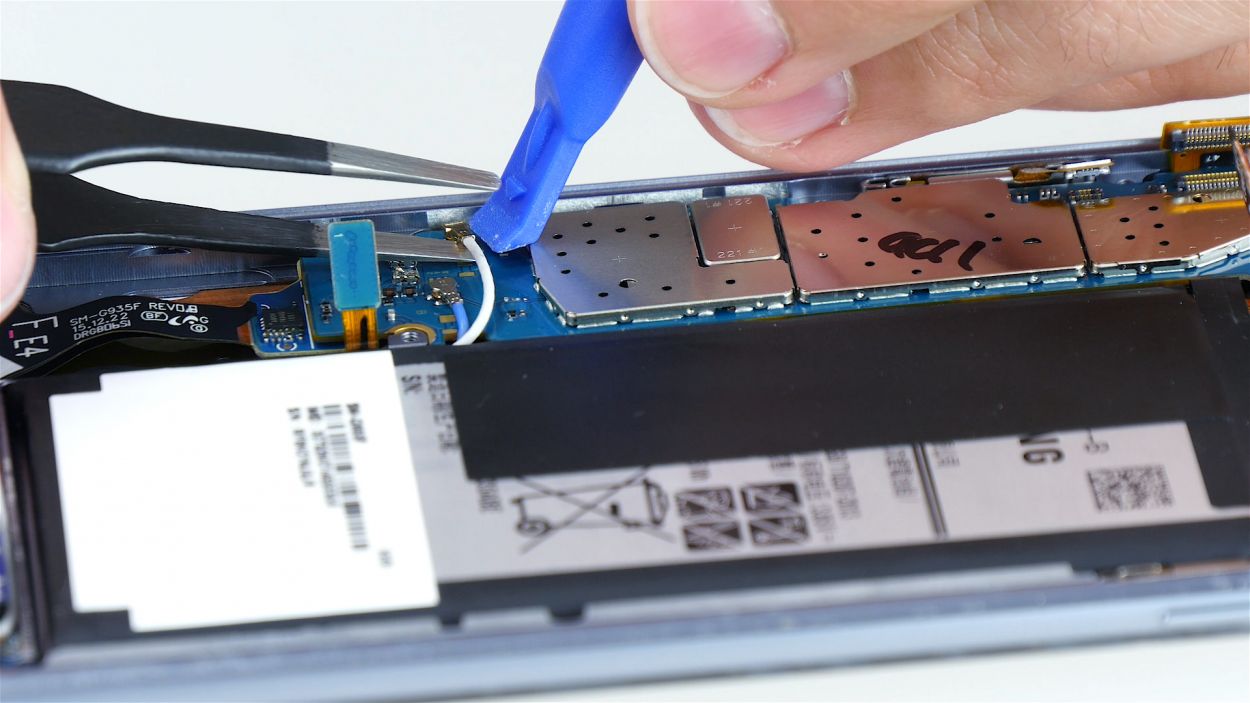
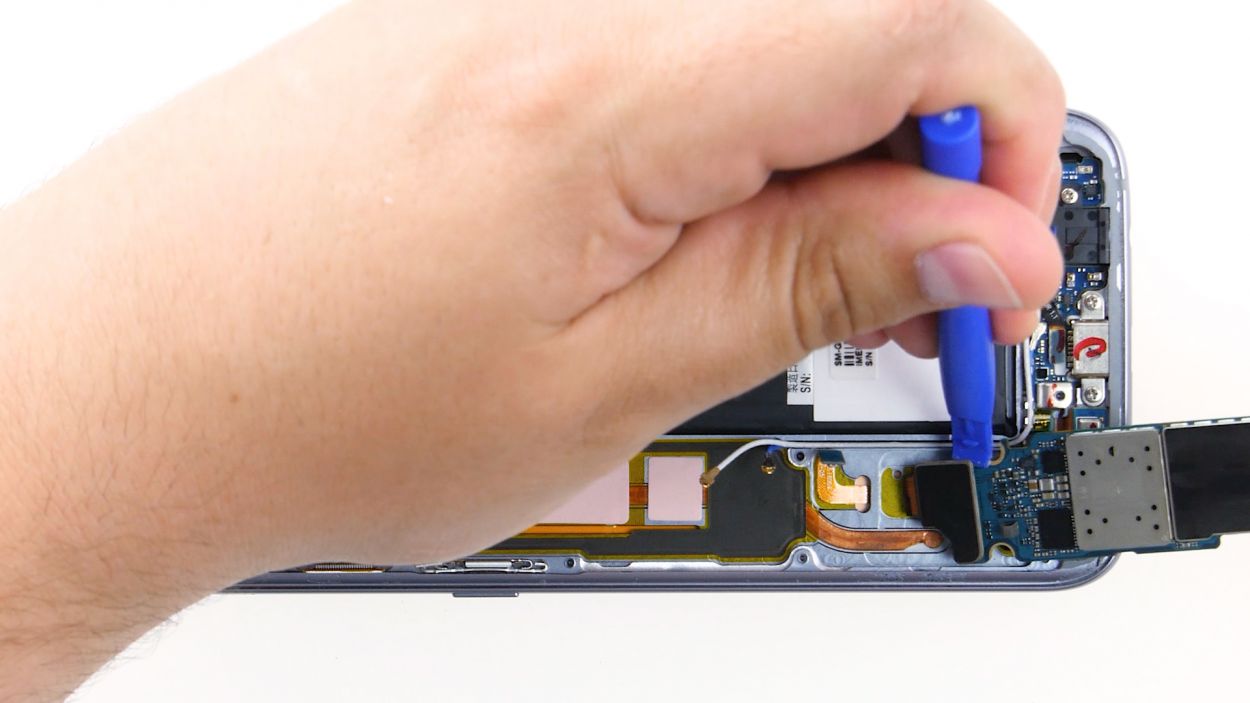
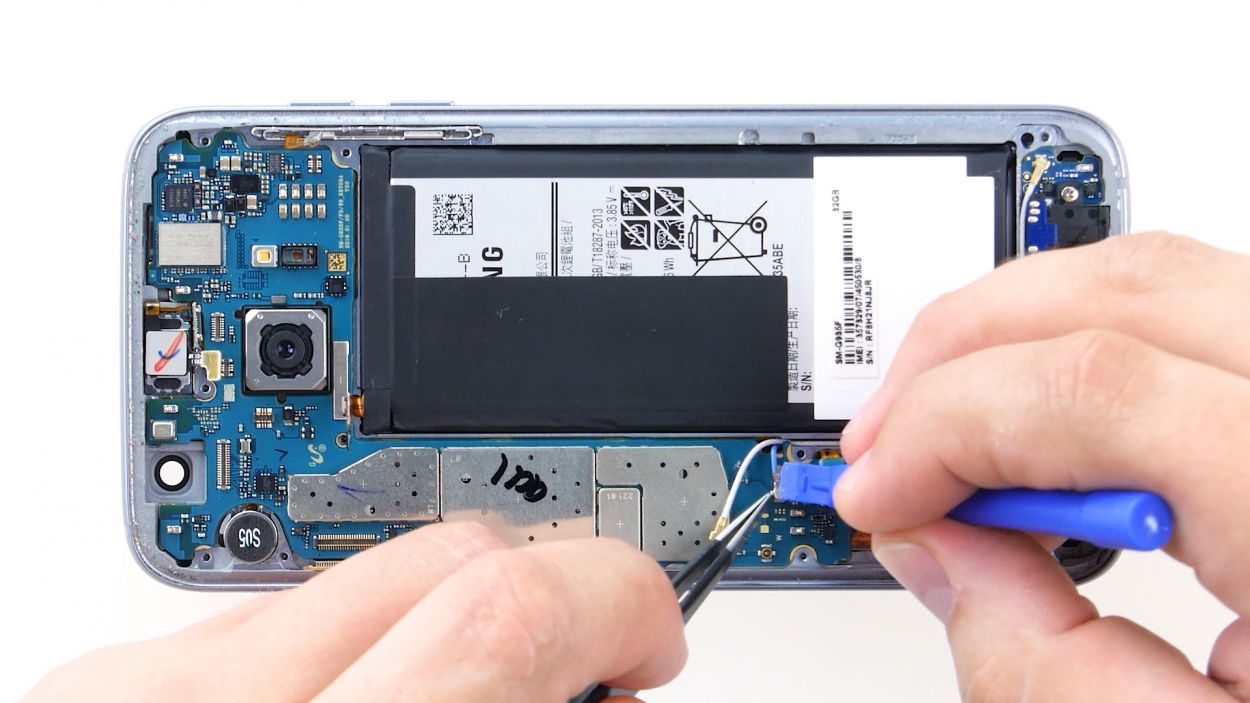
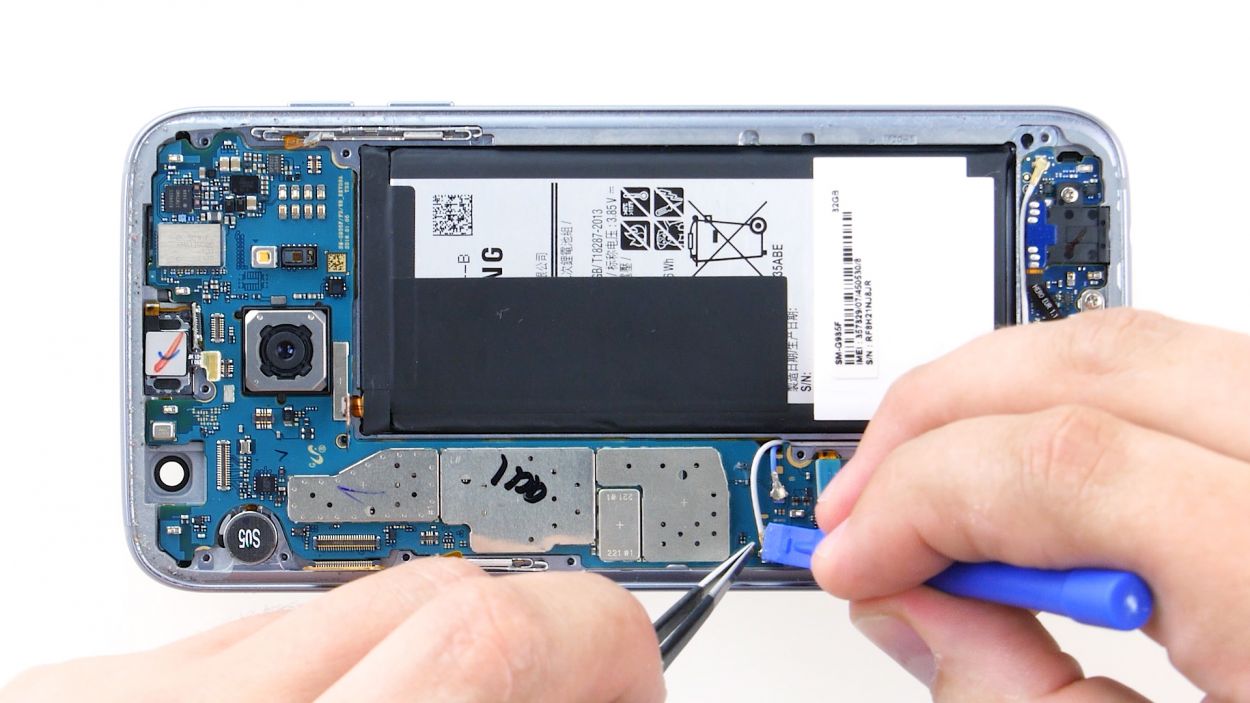
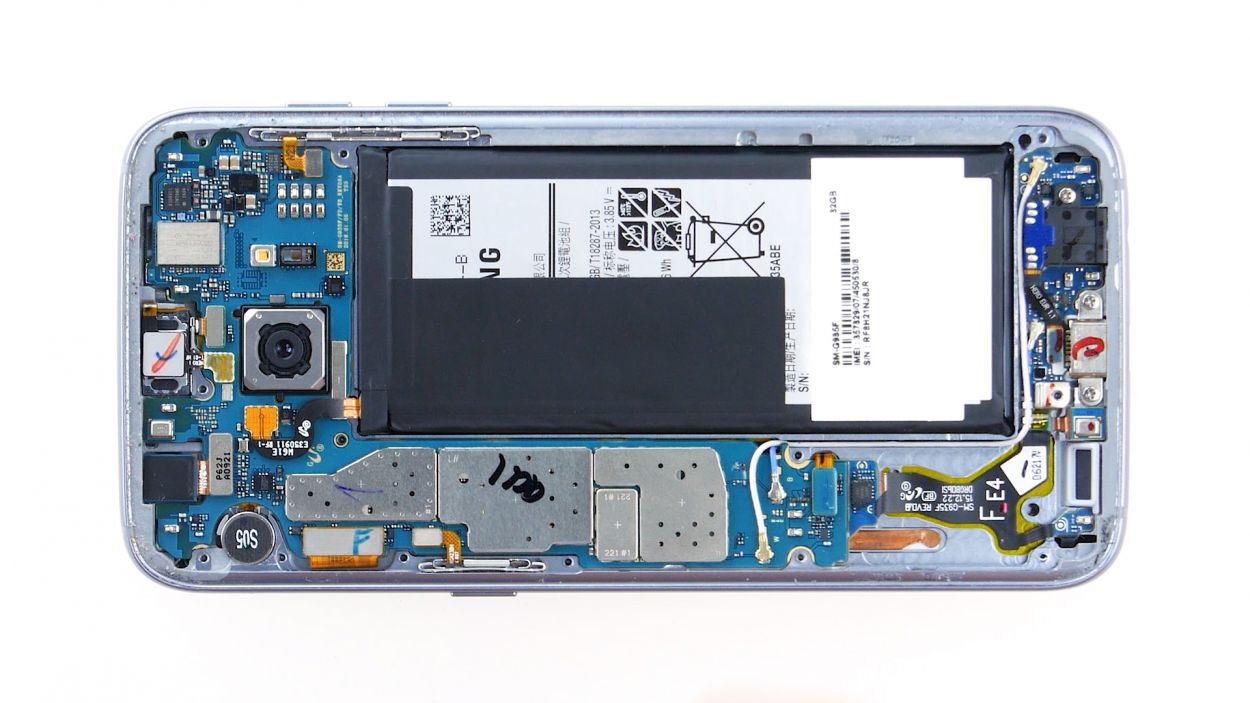
– Grab your trusty spudger and gently disconnect those contacts from the motherboard like a pro!
Step 11

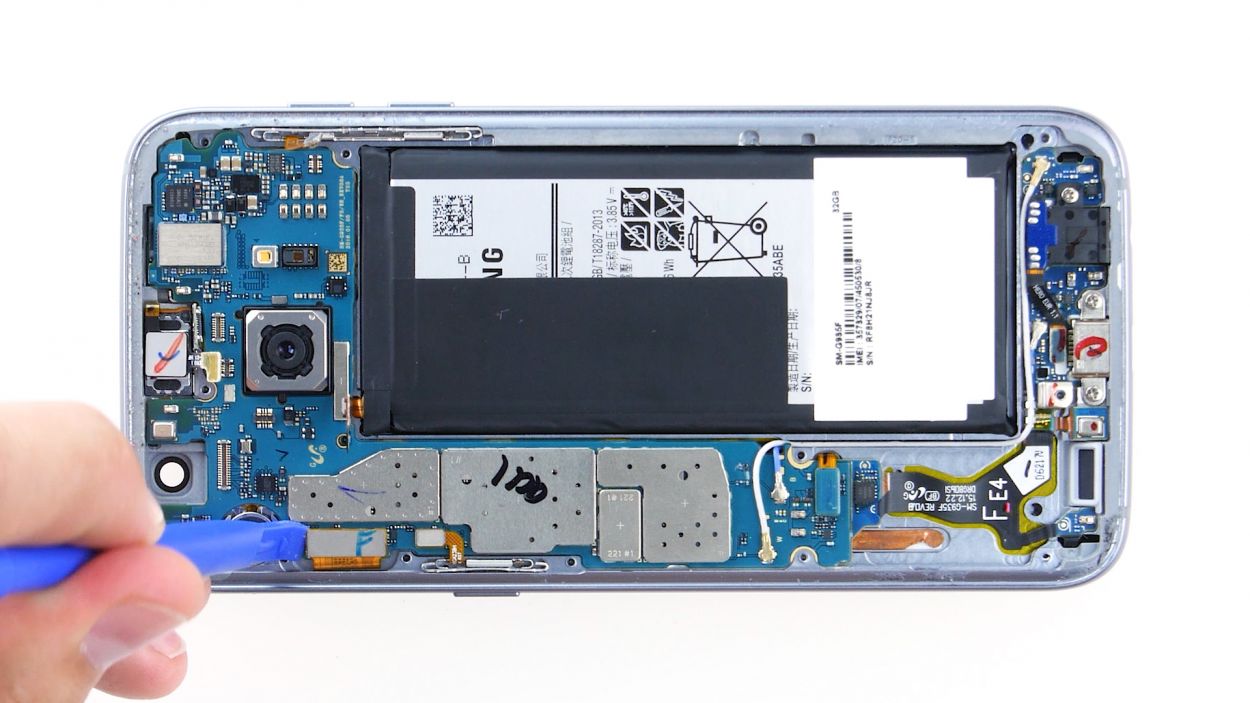
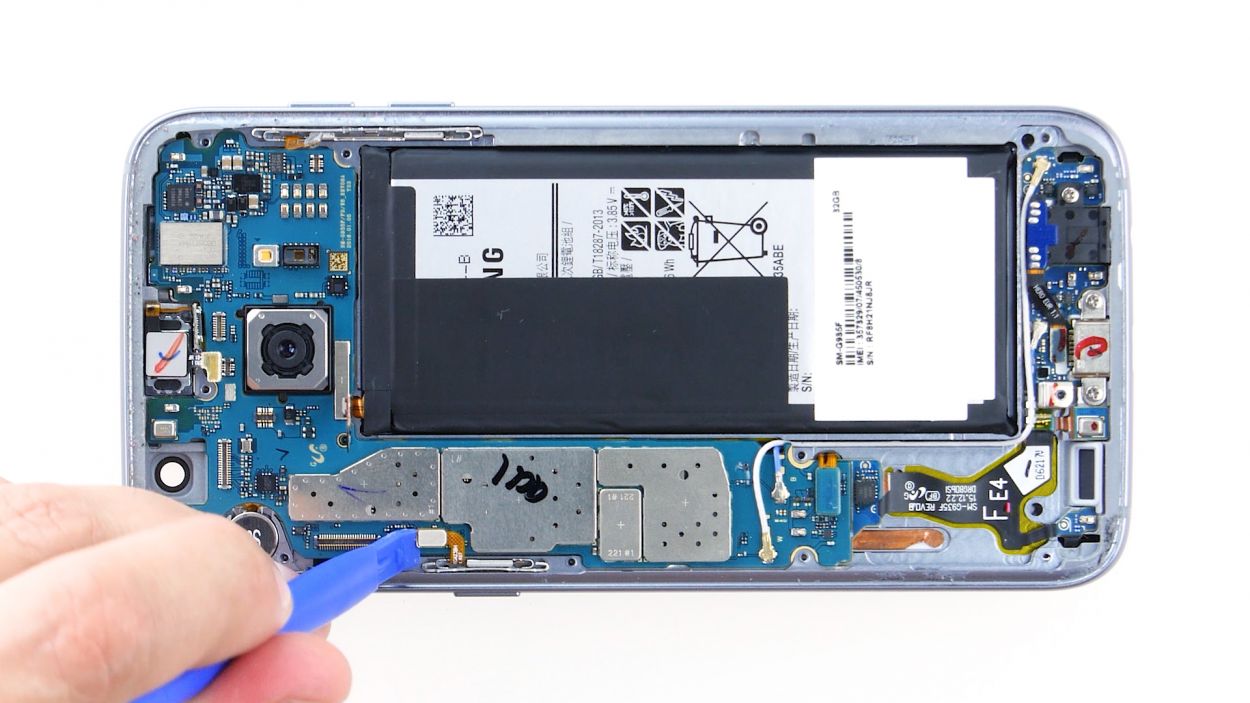
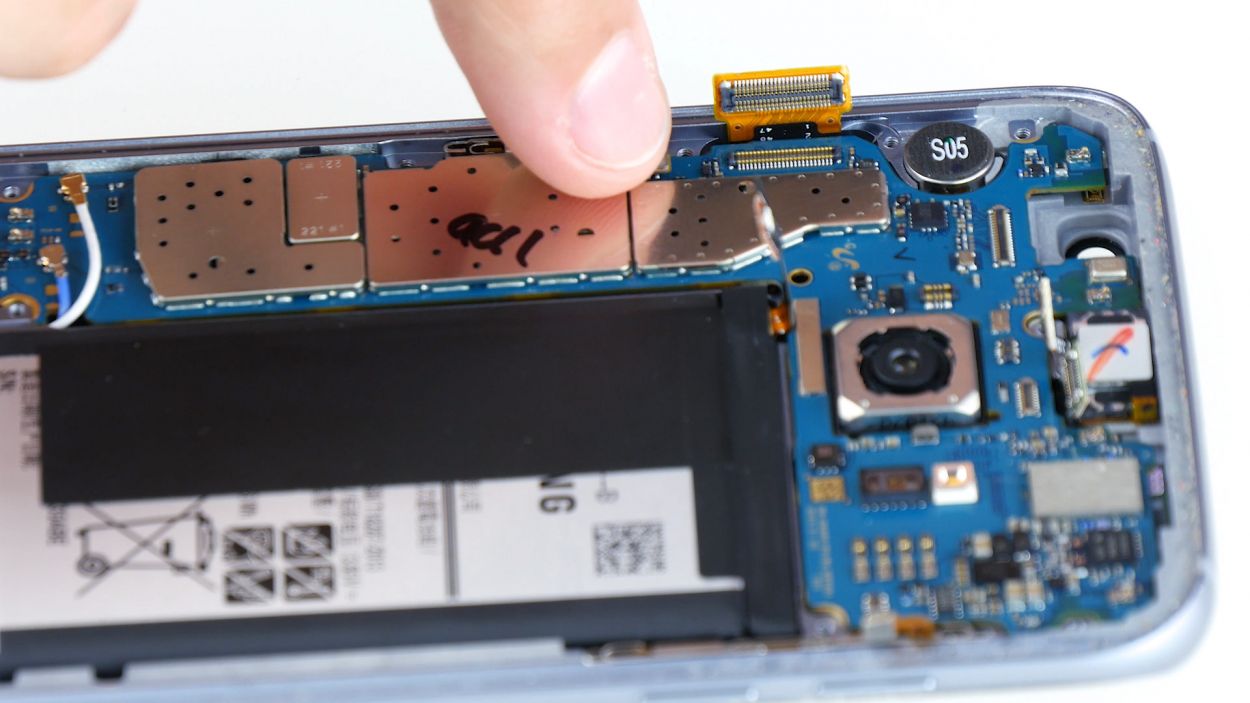
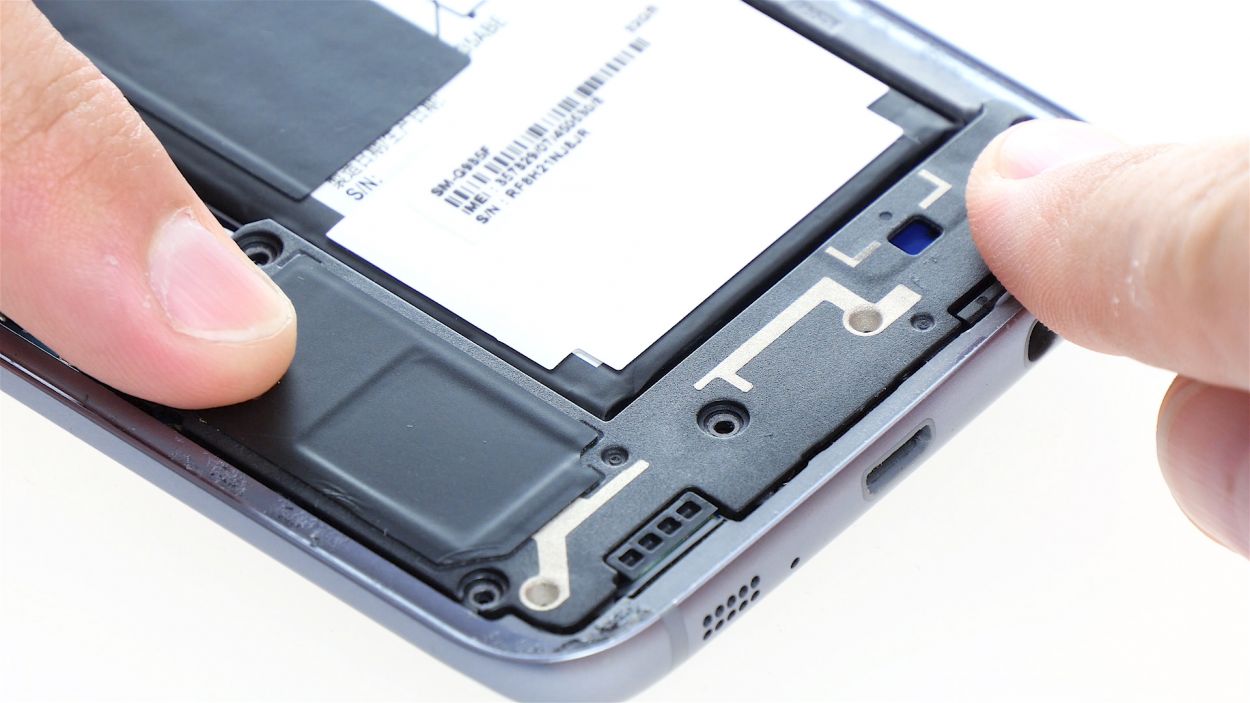
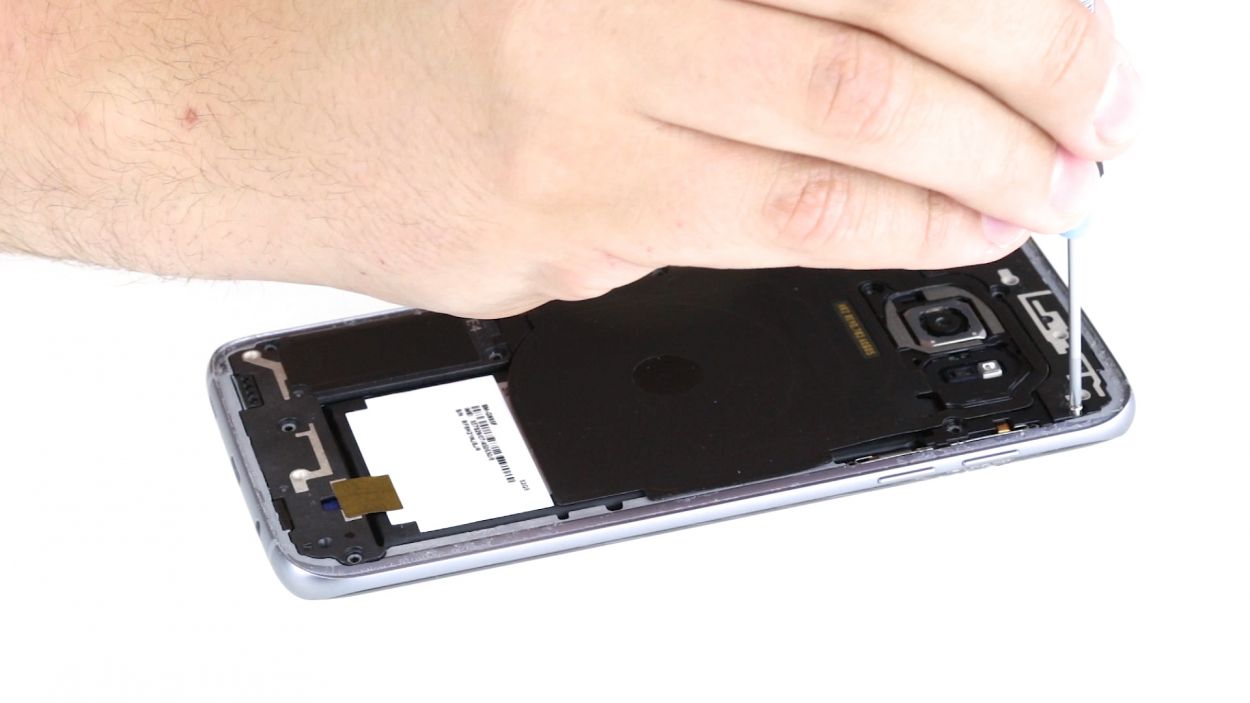
Hey there! Just a heads up: there’s a tiny plastic pin hanging out in the SIM tray opening. Keep an eye on it so it doesn’t take a dive!
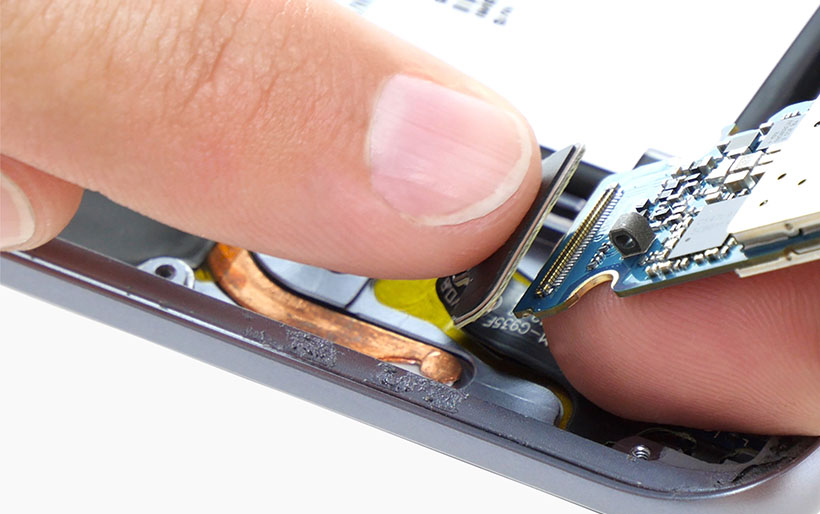
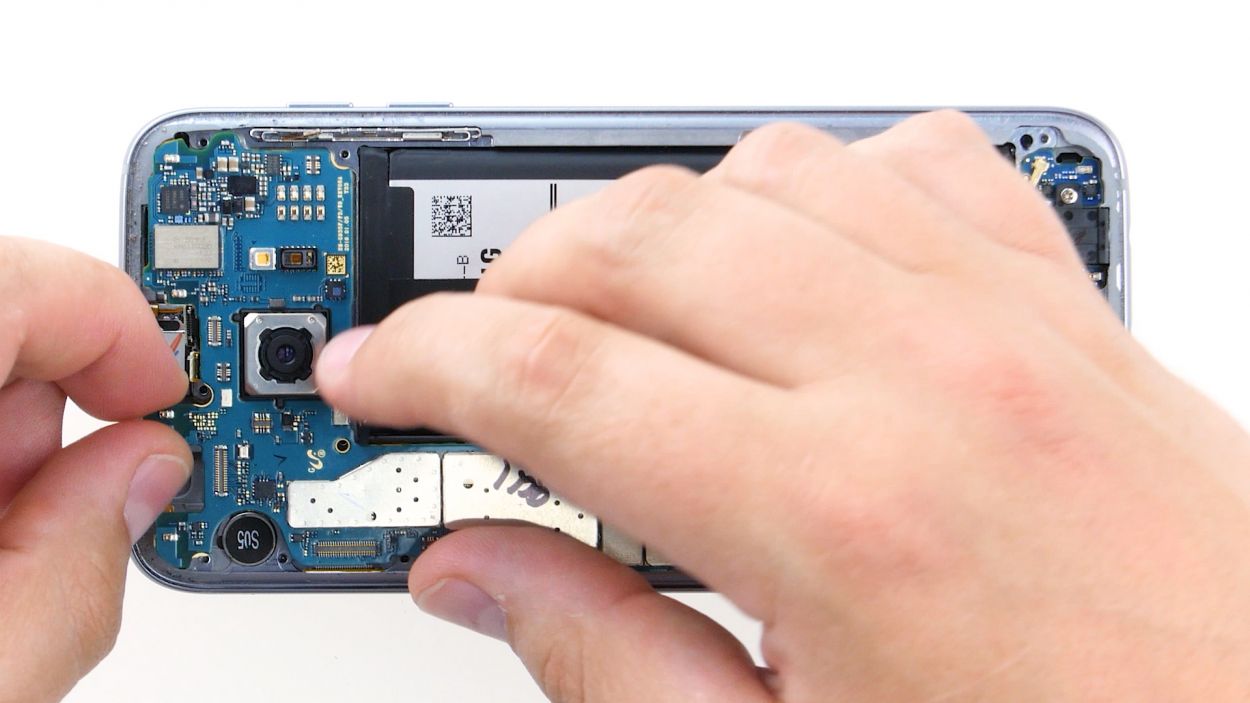
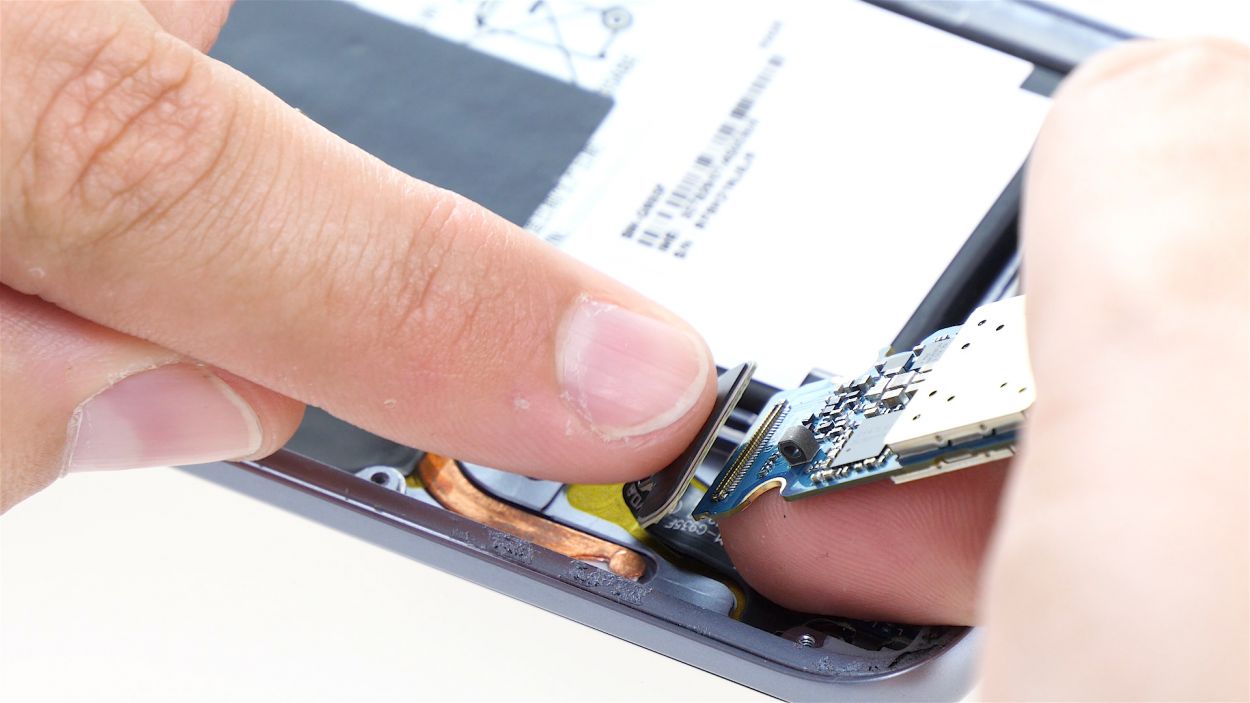
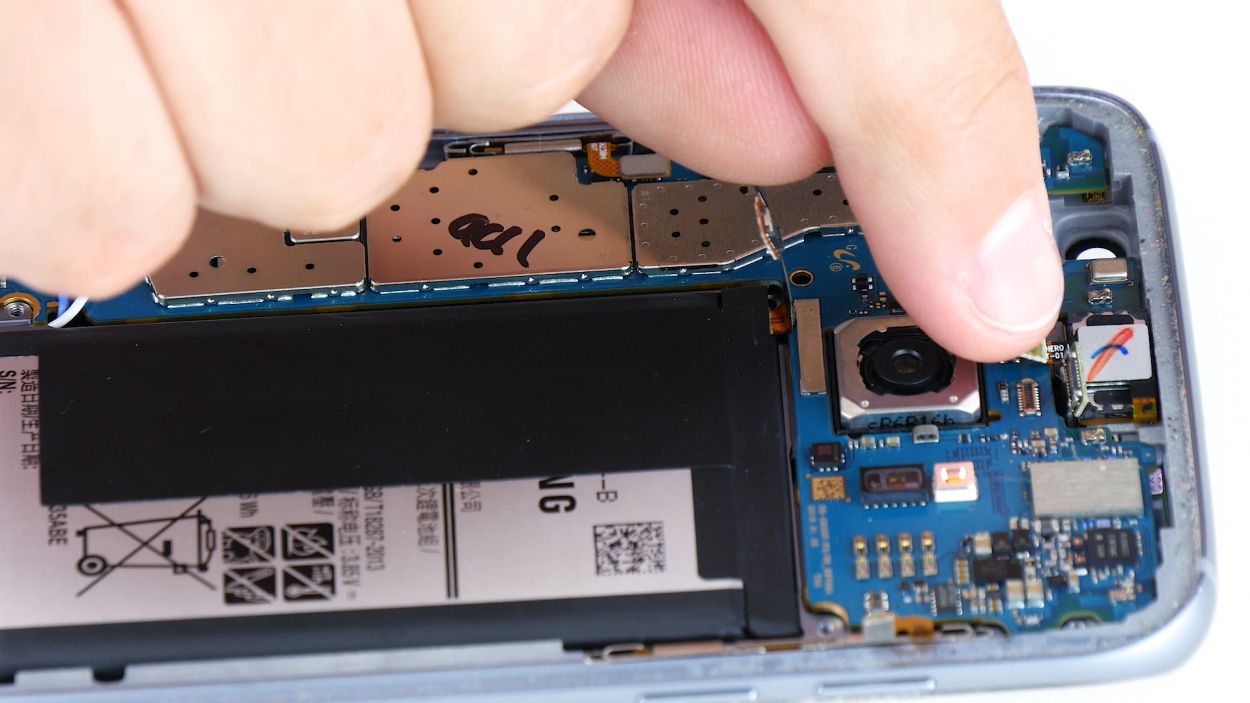
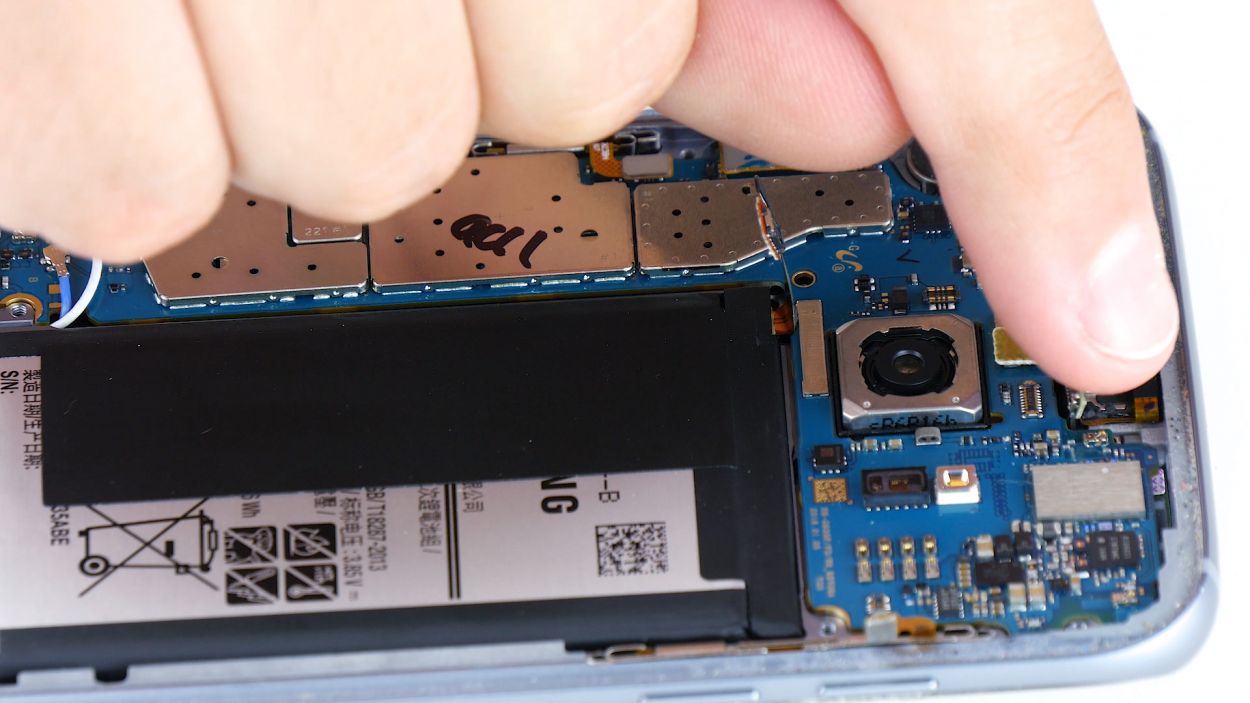
– Check it out! The bottom of the motherboard (you’ll see an arrow) is snugly connected to the USB port.
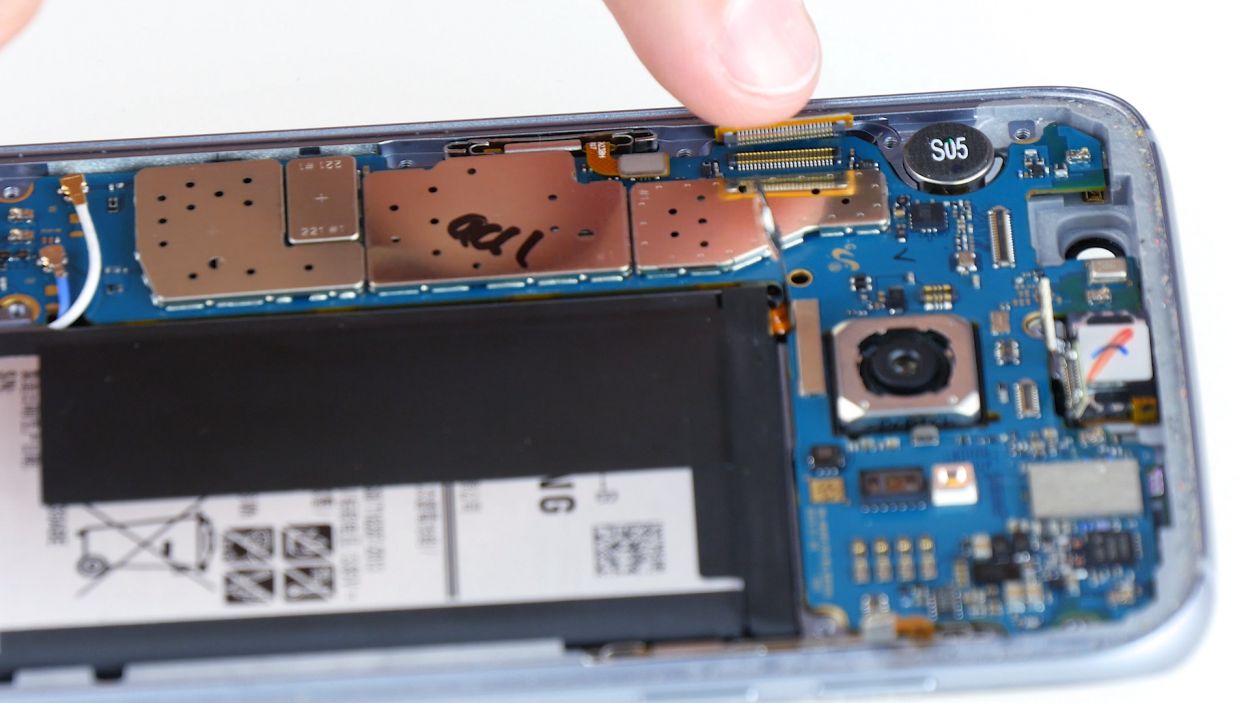
– Now, gently tilt that board up by 180° to access the contact—just be sure not to yank too hard!
– Grab your trusty spudger and carefully disconnect the contact from the PCB. You’ve got this!
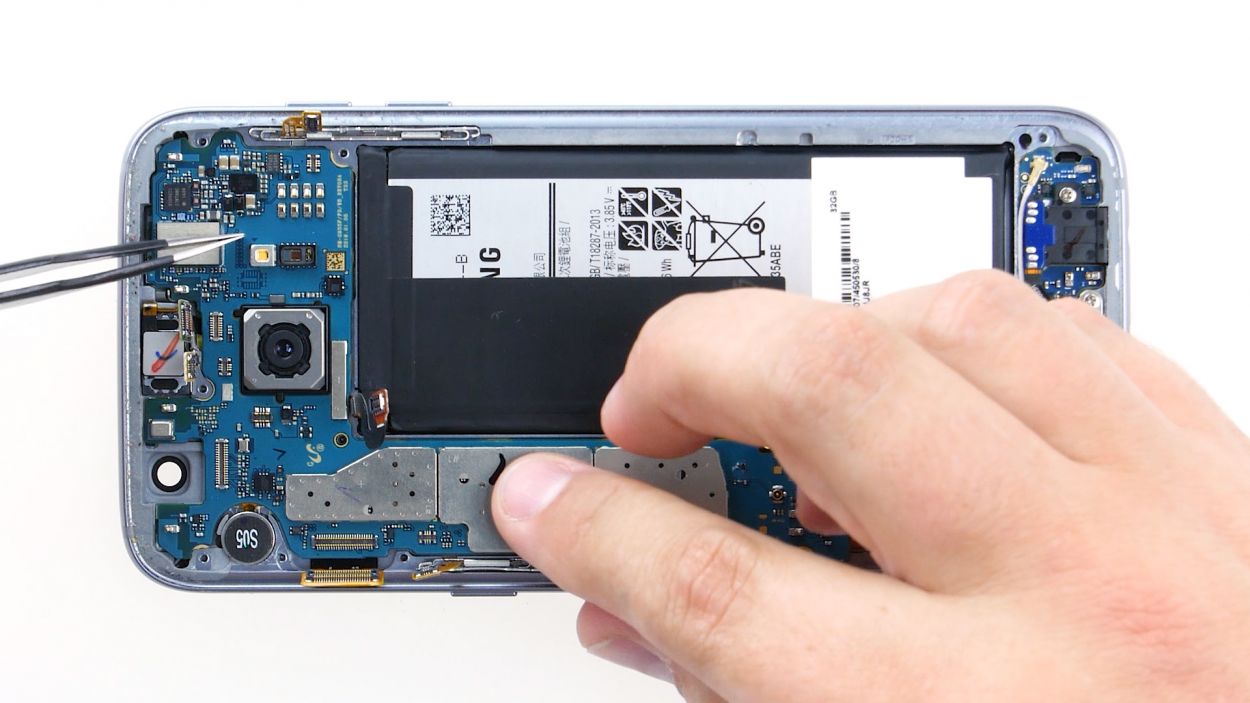
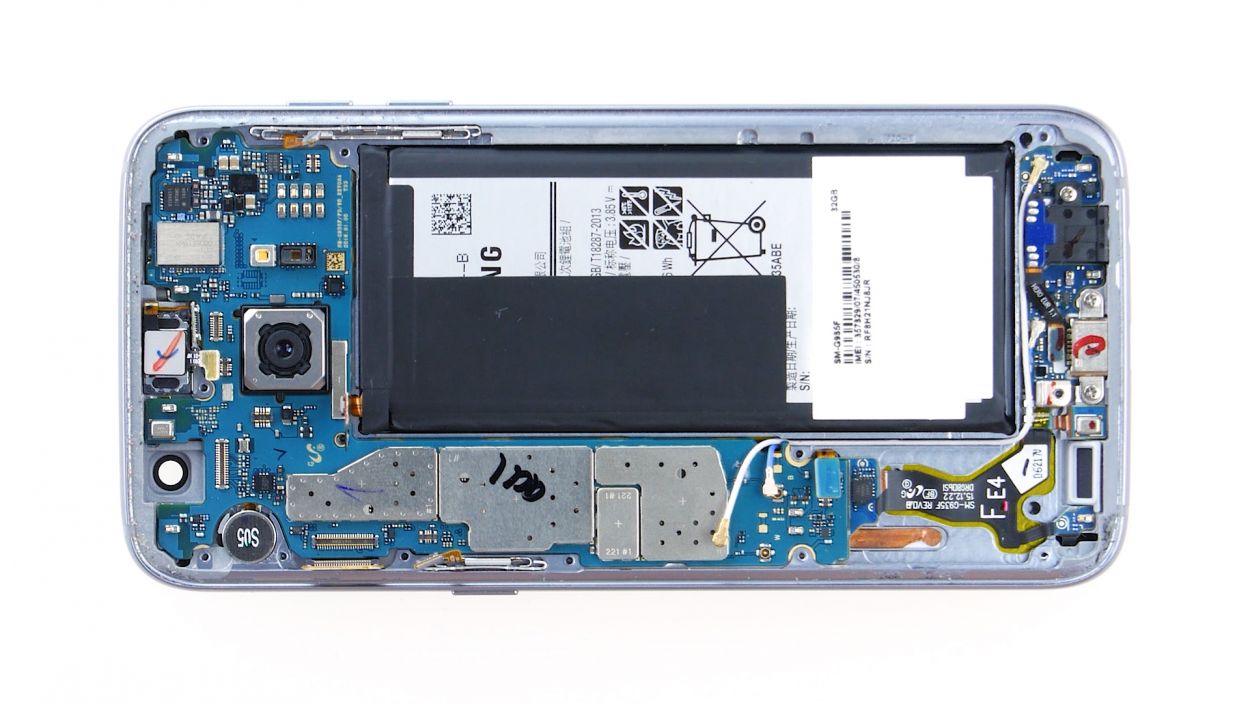
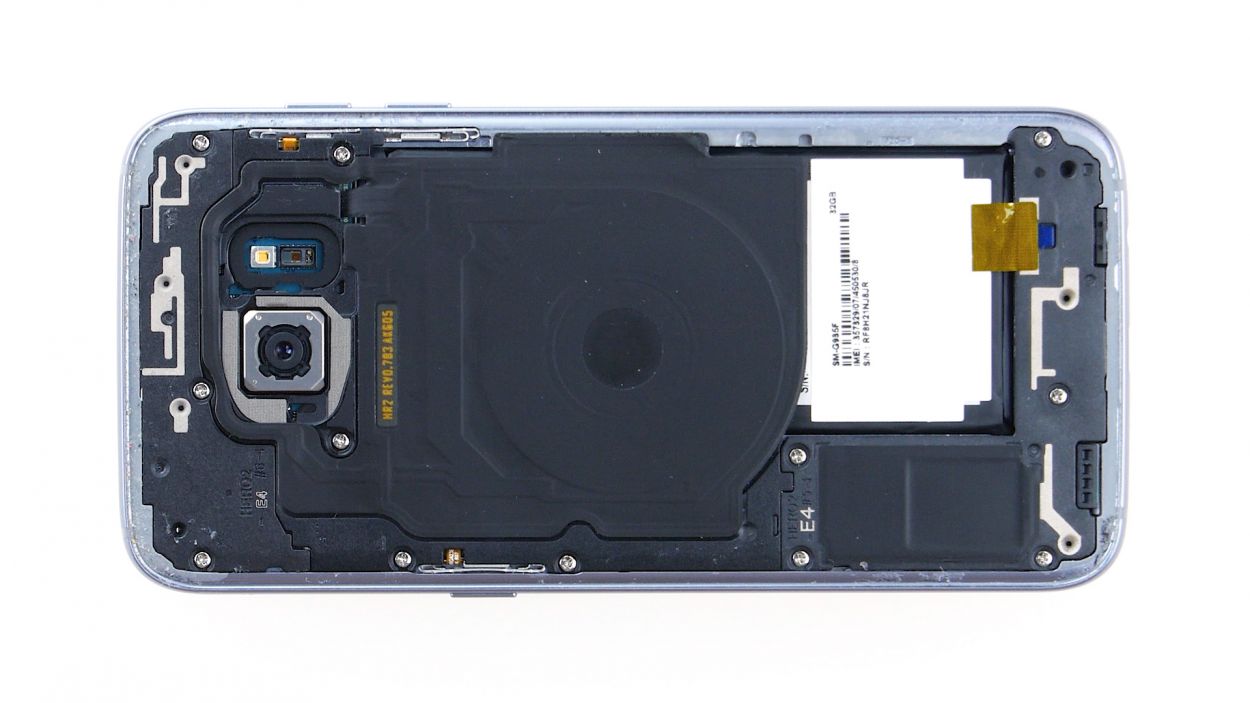
– Time to say goodbye to the board—go ahead and remove it!
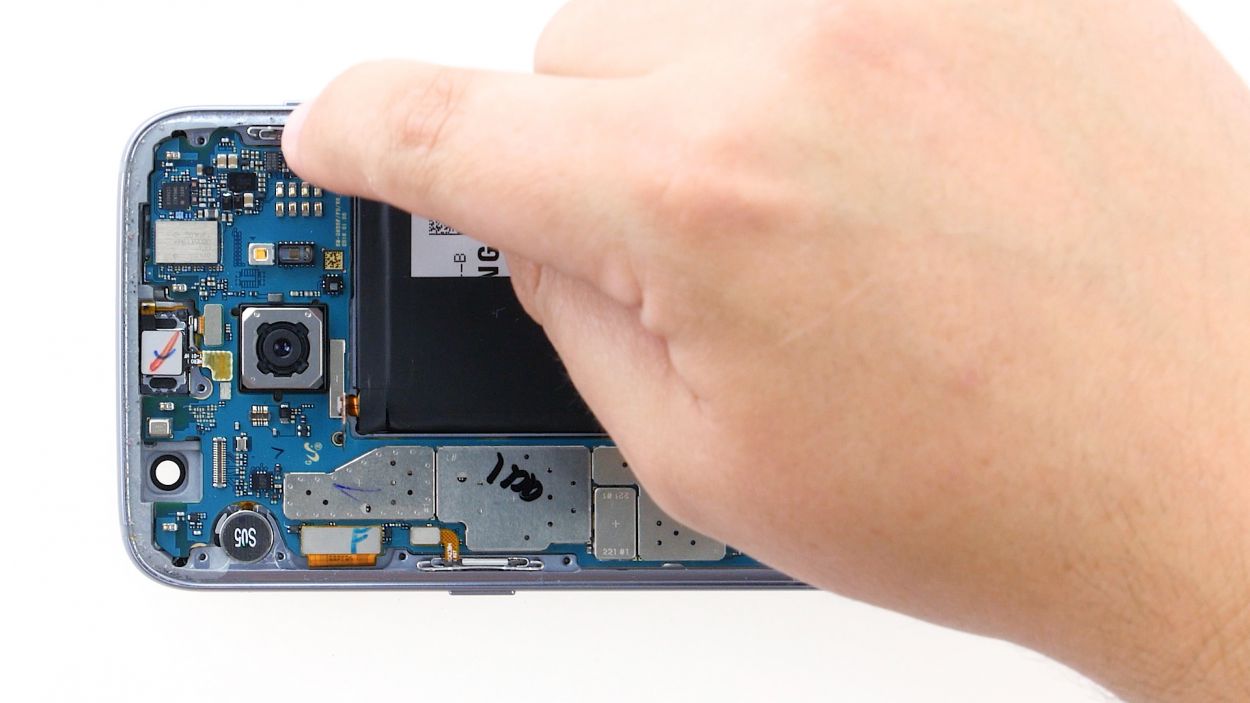
Step 12

– Flip that board upside down and nestle it at the bottom of the enclosure to reconnect the USB port’s contact like a pro.
– Give that contact a little push until you hear it click snugly into place.
– Now, fold the board back over, ready to slide it into the enclosure like a cozy blanket.
Step 13

Proximity Sensor
Earpiece Connector
Display
Power-Button
Antenna
Sensors
Volume Connector
– Attach the contacts to the motherboard with care.
Step 14

– Gently place the front camera into its cozy spot at the top edge of the enclosure.
– Now, connect the camera to the motherboard. Listen for that satisfying click to know it’s snug as a bug!
Step 15
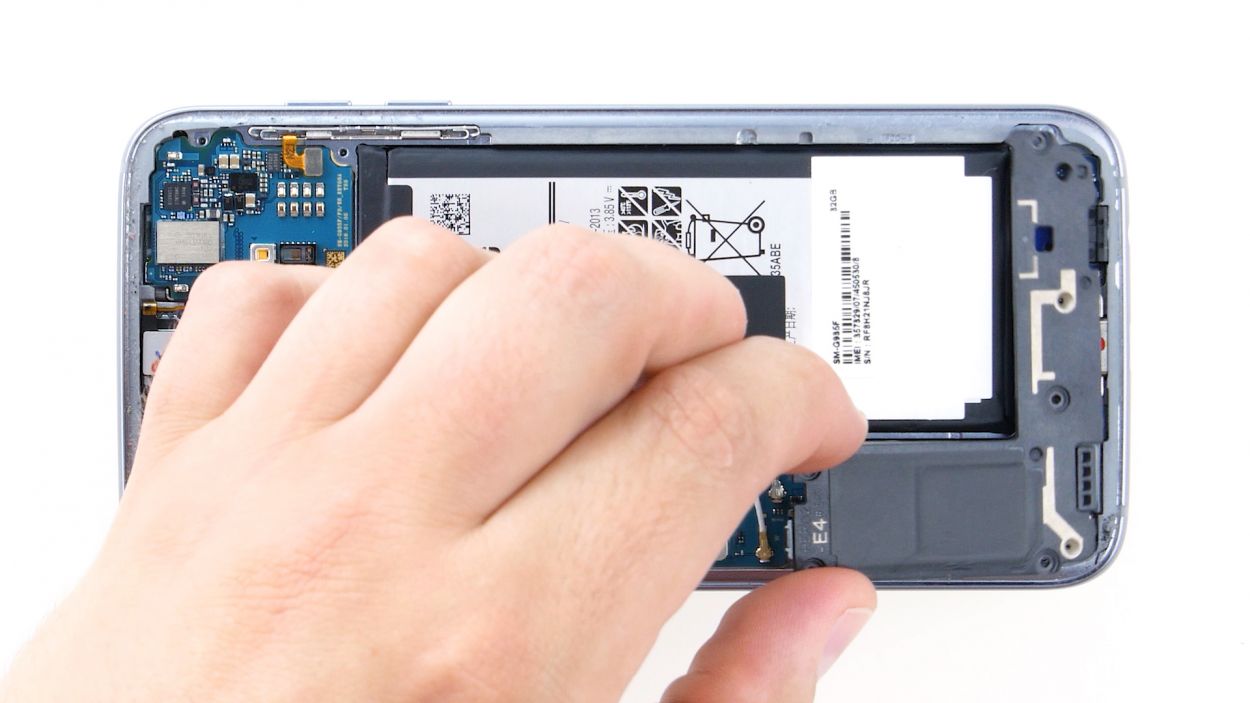
– Attach the battery to the motherboard. Gently press the connector into the socket on the motherboard until you hear that satisfying click, letting you know it’s snug as a bug in a rug.
Step 16

– Place the antenna at the bottom of the enclosure.
– Gently press on the antenna with your fingers until you hear a satisfying click as it locks into place.
Step 17
– Carefully slide the antenna back into the enclosure after securing it onto the lower antenna. You’re almost there!
– Give the antenna a gentle push with your fingers until you hear that satisfying click, ensuring it’s snugly fit in the enclosure. You’ve got this!
Step 18
– Time to get that antenna snug in its cozy home! Start by placing it on the left side and then give it a good press with your fingers to secure it.
– Listen closely! You should hear a satisfying click as the antenna settles into place.
Step 19

12 × 3,3mm PH00 Phillips-Schrauben
– Time to stick that yellow adhesive strip back on! It’s like giving your device a warm hug.
– Now, let’s get those three antennas connected! Use the twelve screws—12 x 3.3 mm PH00 Phillips screws—to secure them in place. You’re doing great!
Step 20
– Carefully place the back cover back where it belongs.
– Give that back cover a good press all around to help the glue do its job.
– For a little extra love, warm up your device with some hot air and then weigh it down with a couple of books or clamp it. This will help the glue stick even better!
Step 21
– Pop that SIM tray back into your device! Just make sure it’s snug and sitting pretty in its spot.