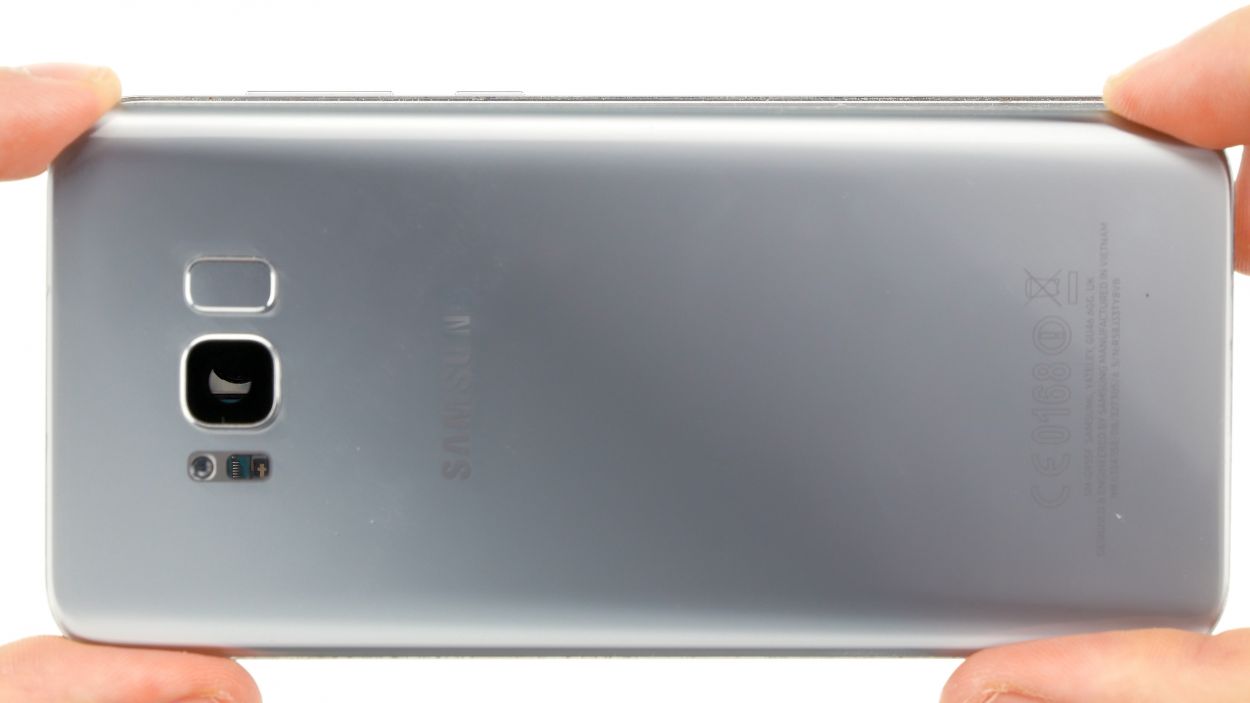
DIY Guide to Replace Galaxy S8 Plus Back Cover
Duration: 30 min.
Steps: 7 Steps
Ready to give your Galaxy S8 a fresh look? In this guide, we’ll walk you through replacing that worn-out back cover. Whether it’s cracked, broken, or you just fancy a new color, we’ve got you covered! If you need help, you can always schedule a repair.
Step 1
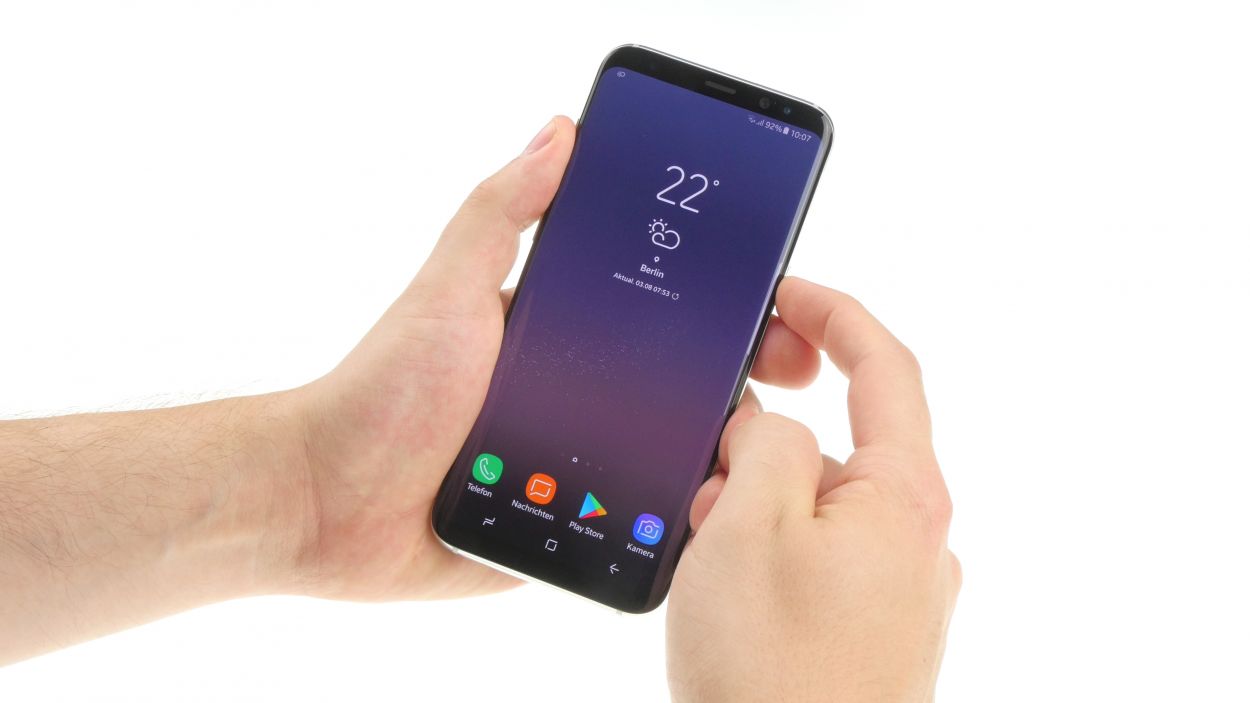

– First things first, let’s give your device a little break! Press and hold the power button until you see the ‘Power off’ option pop up on your screen.
– Now, just tap that option with your finger to confirm you want to shut down your Galaxy S8 Plus. Sit back and relax while you wait for the screen to go dark.
Step 2

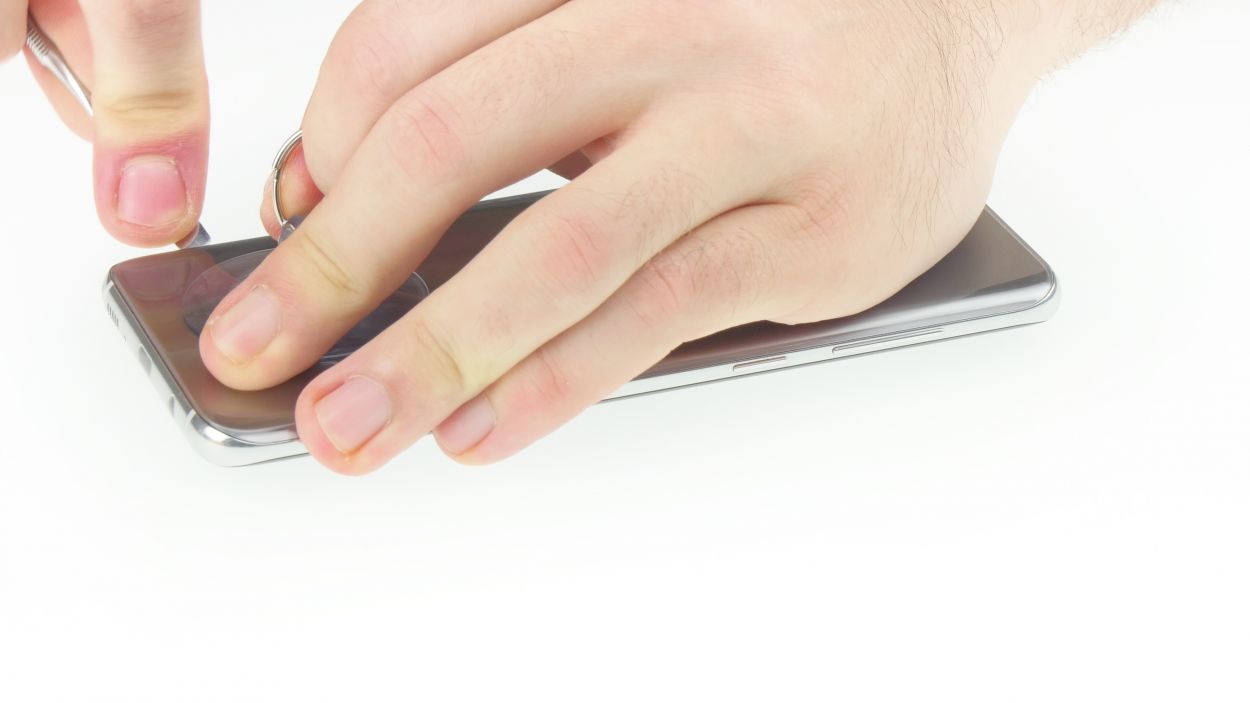
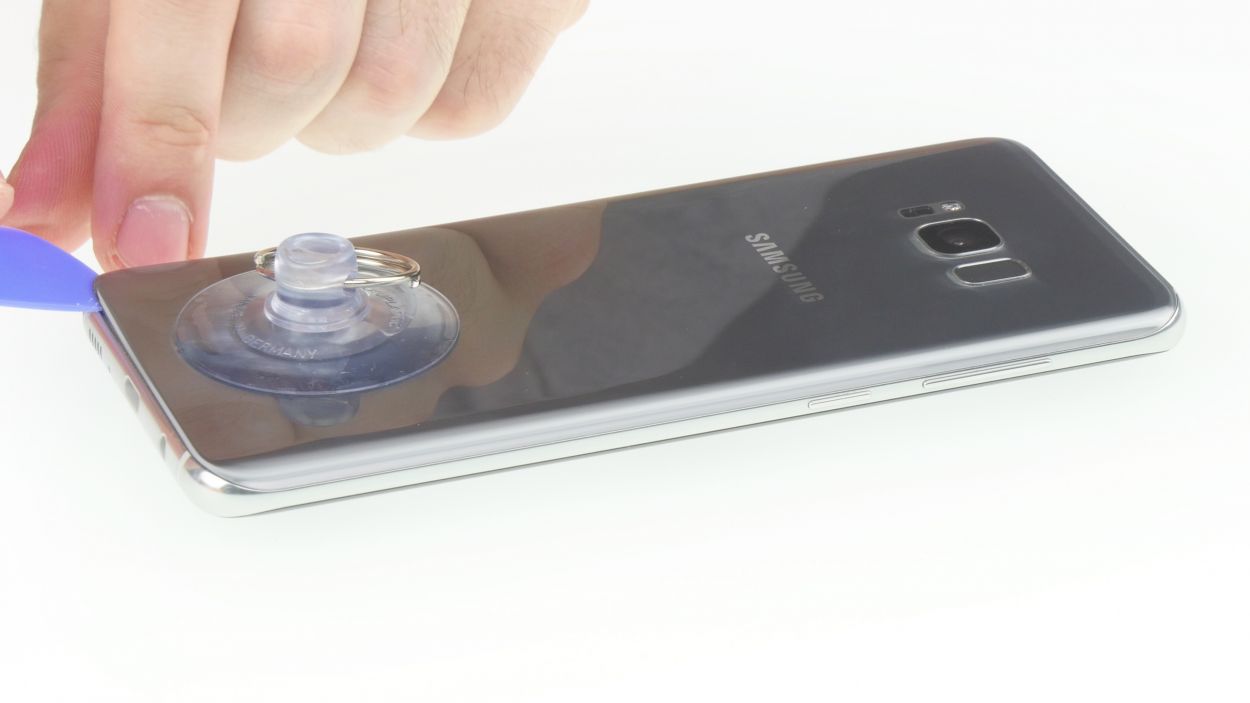

Hang tight! This step might take a little while. You may need to warm up that rear glass or the glue a few more times before it finally decides to let go.
If you’re having trouble finding a spot to insert your tool, grab a suction cup and give that glass a little lift. You’ve got this!
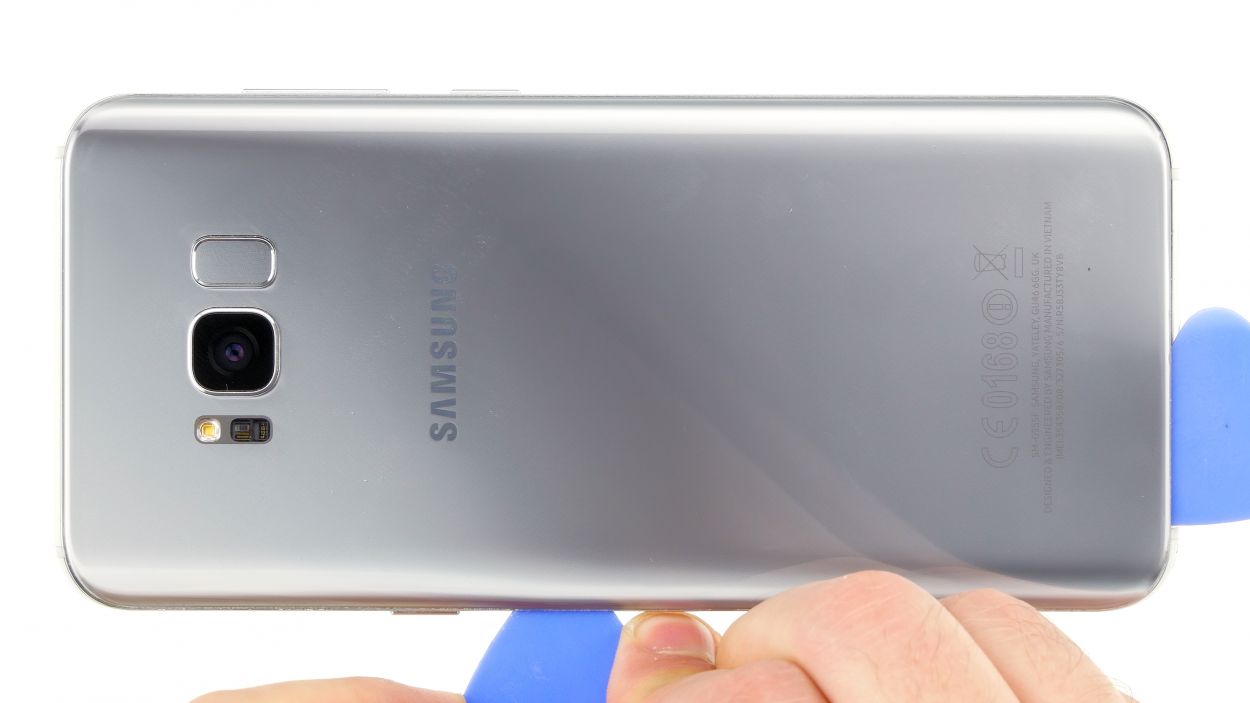
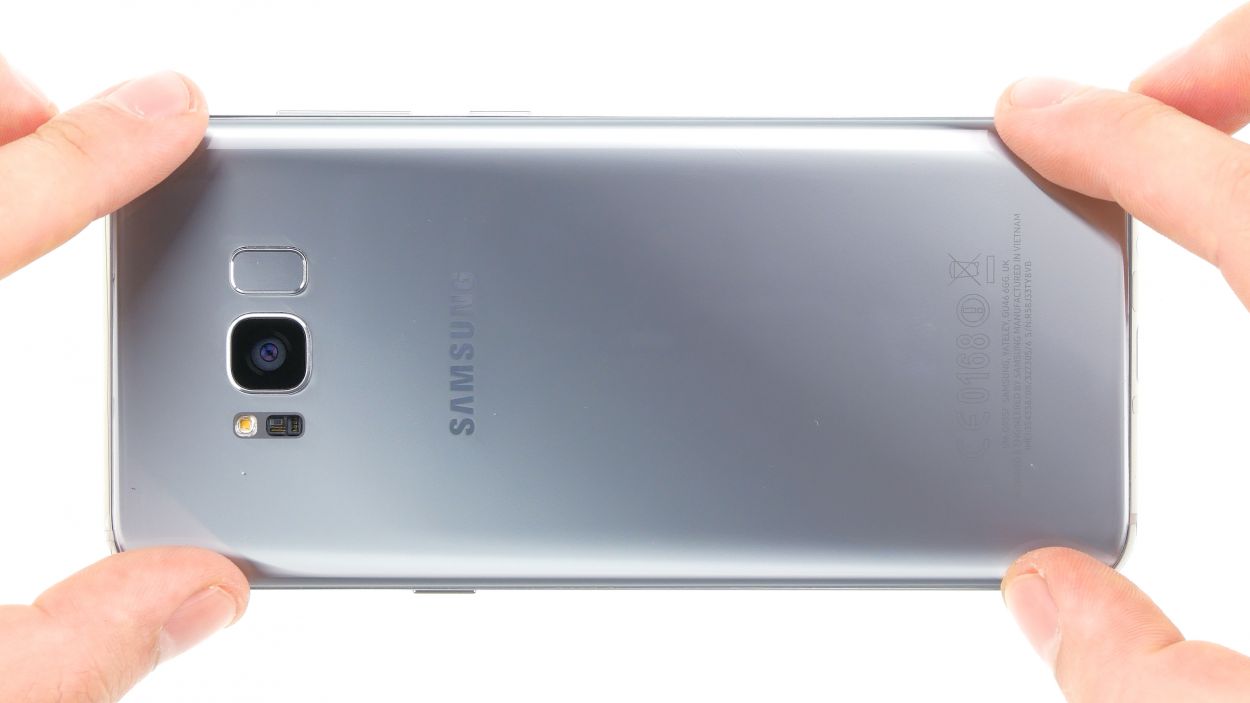
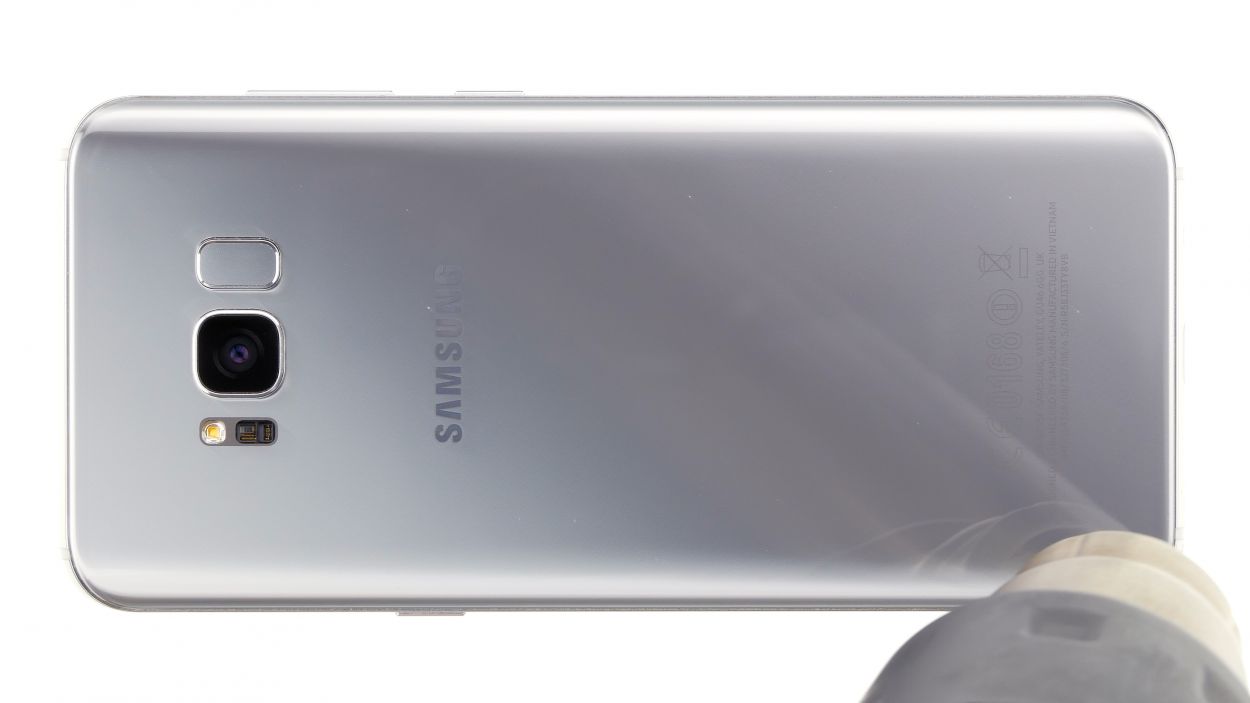
– The back cover is really stuck to the chassis, so let’s give it a little love! Use a hot air source to warm up the device evenly, which will help soften that stubborn glue.
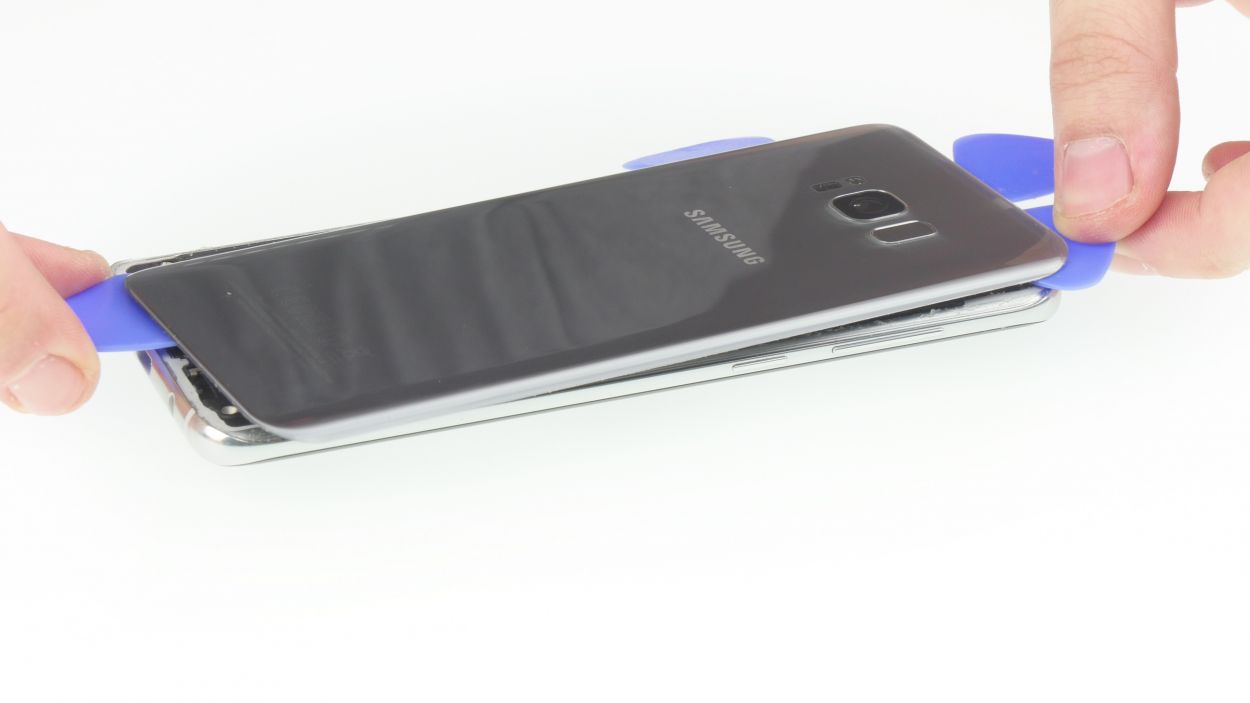
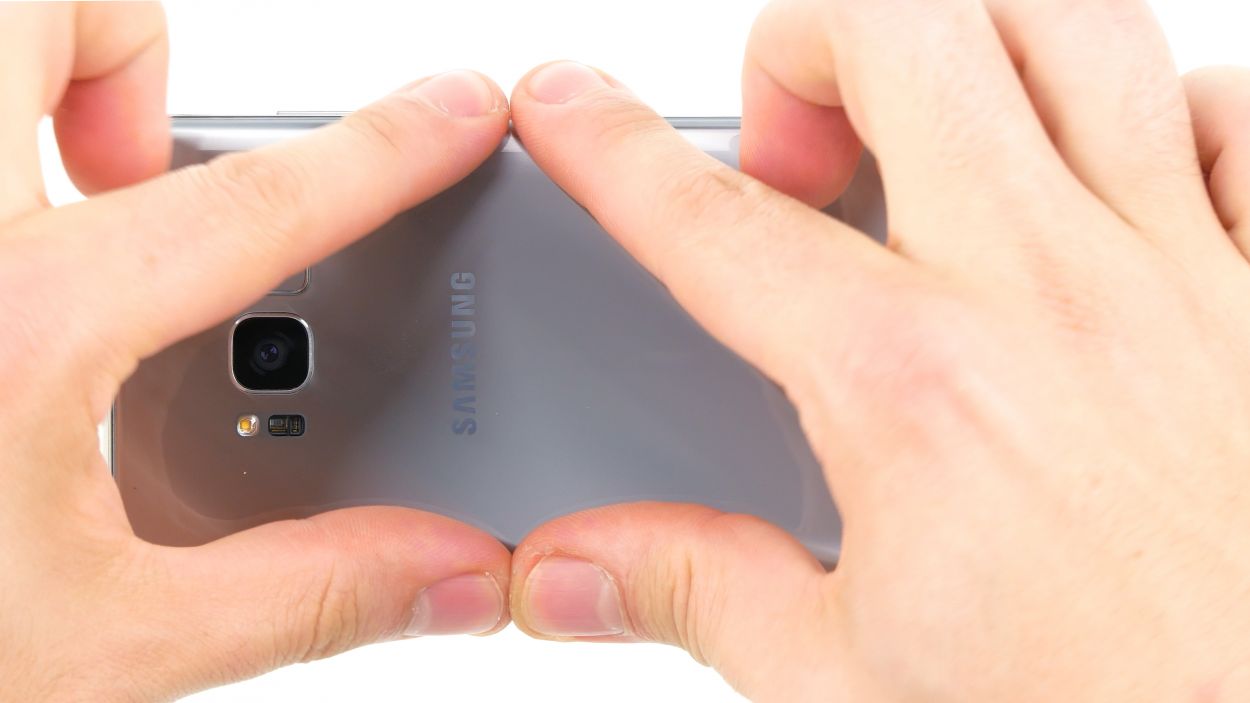
– Once it’s nice and warm, gently try to lift the rear glass with a flat, blunt tool. It’s a good idea to start at a loose spot where you can slide in the first pick. Then, take your time and work your way around the device, step by step.
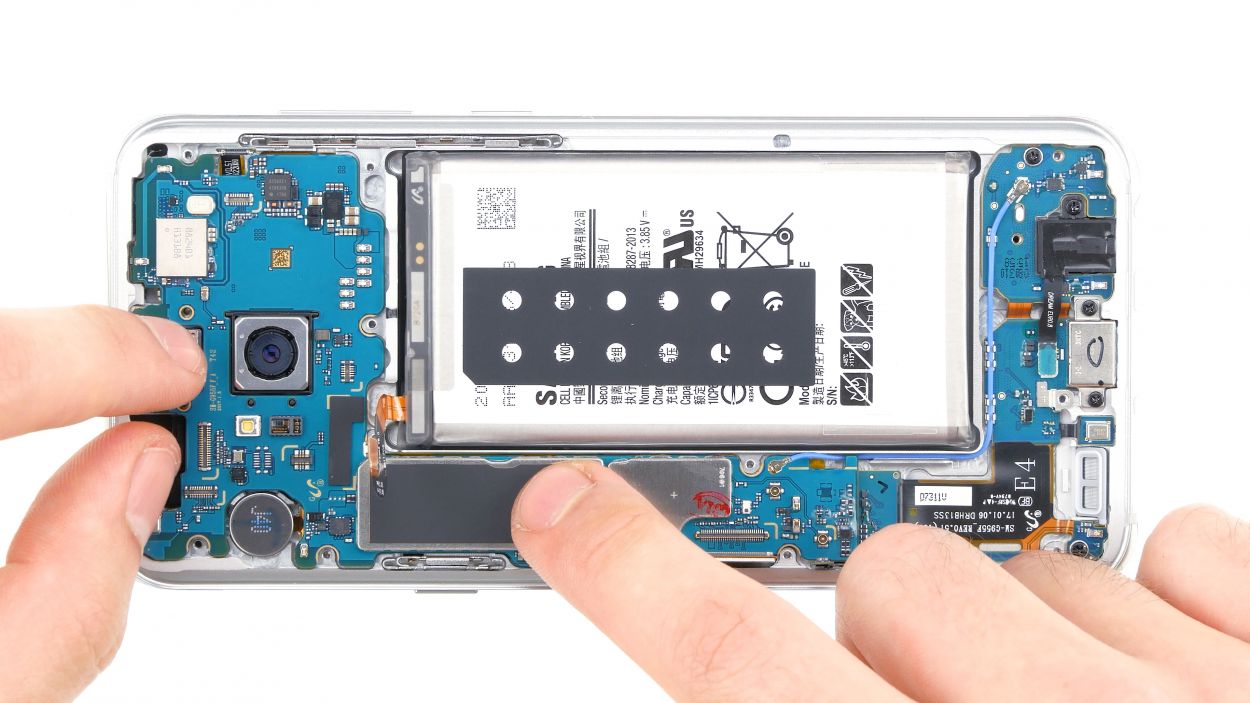
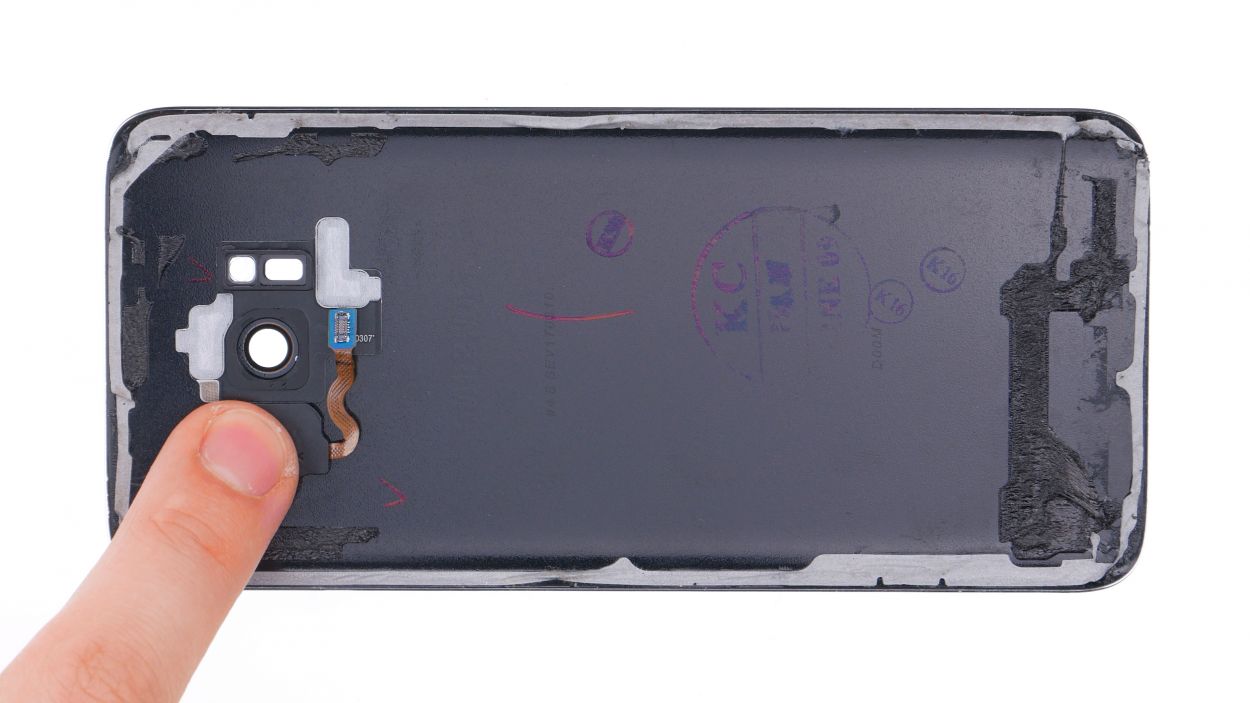
Step 3
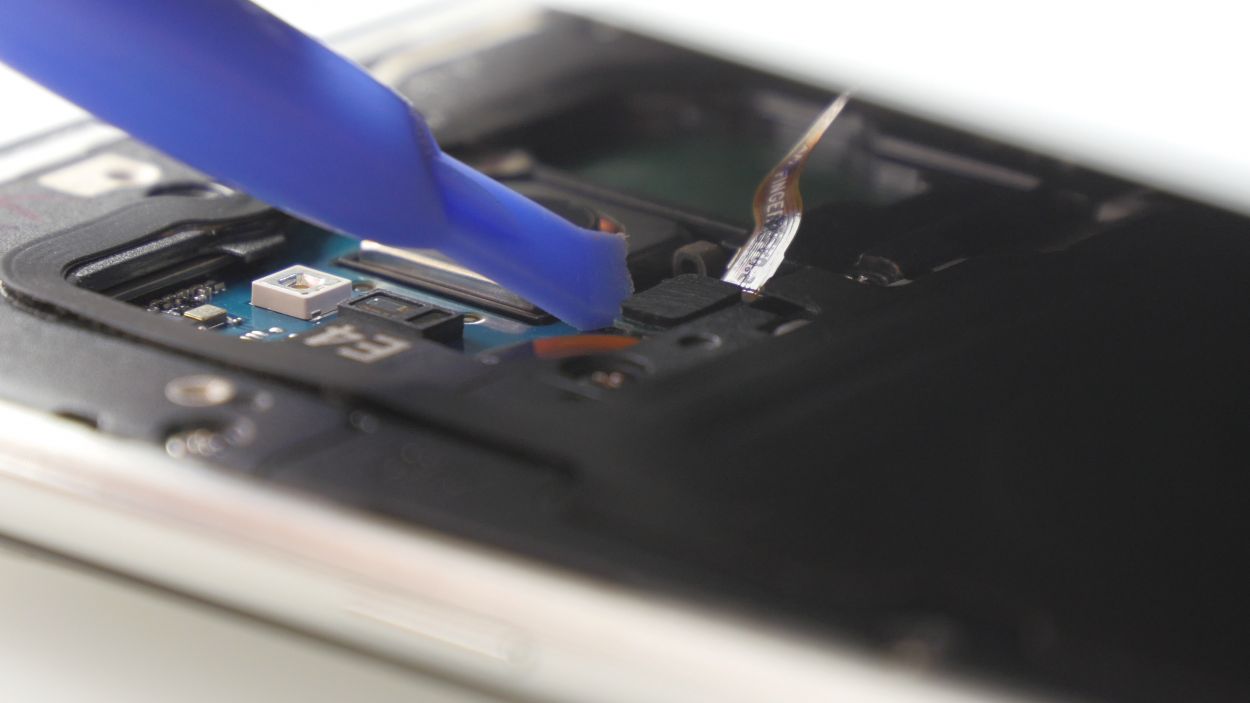
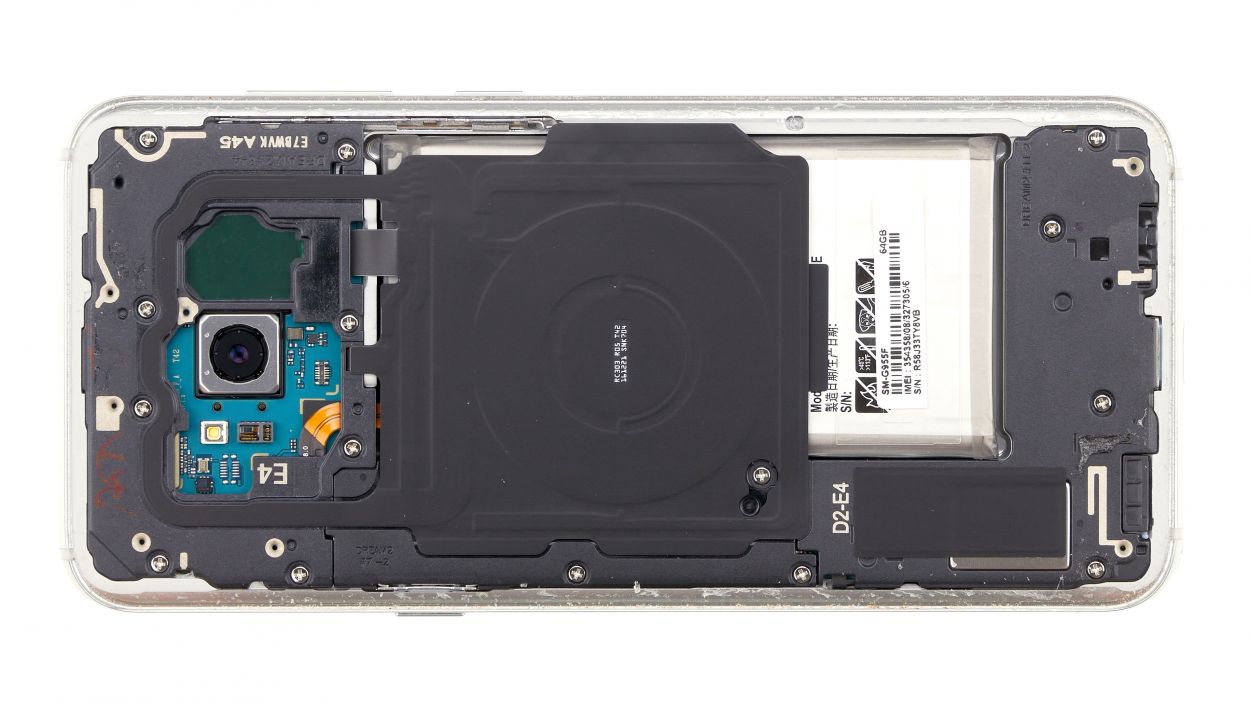
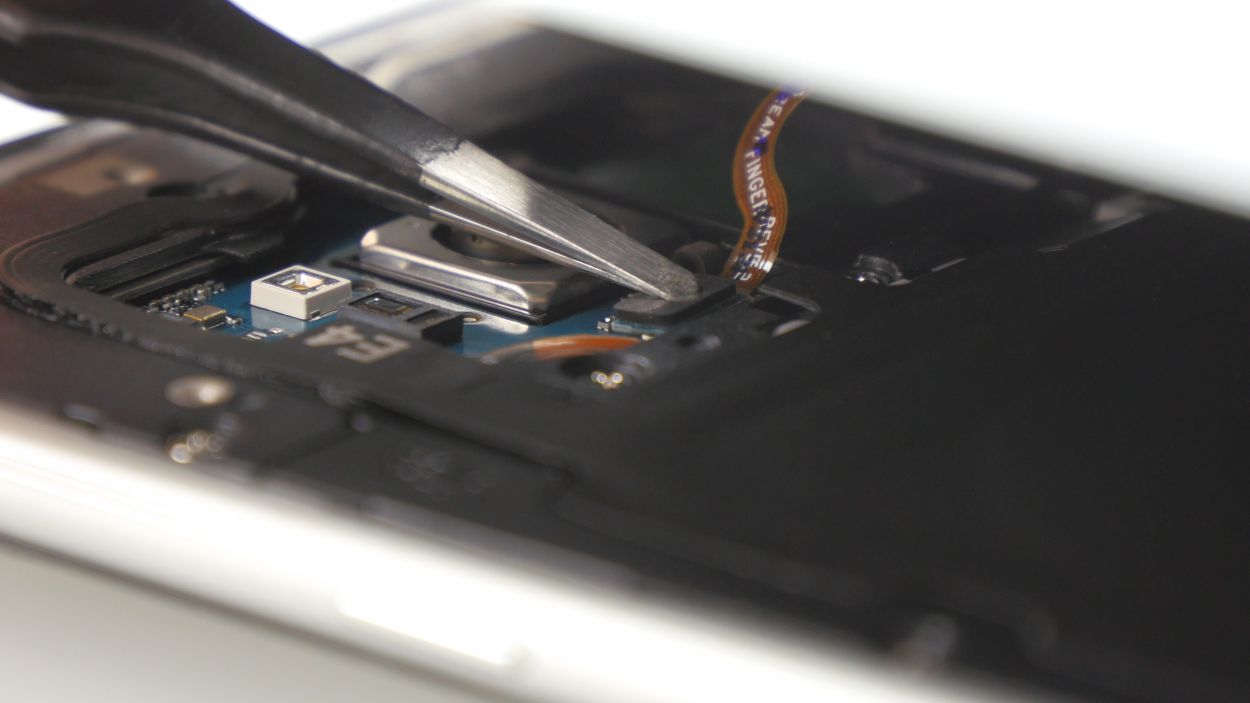
– Once you’ve popped off the back cover, gently lift it up and use your trusty spudger to disconnect the fingerprint sensor.
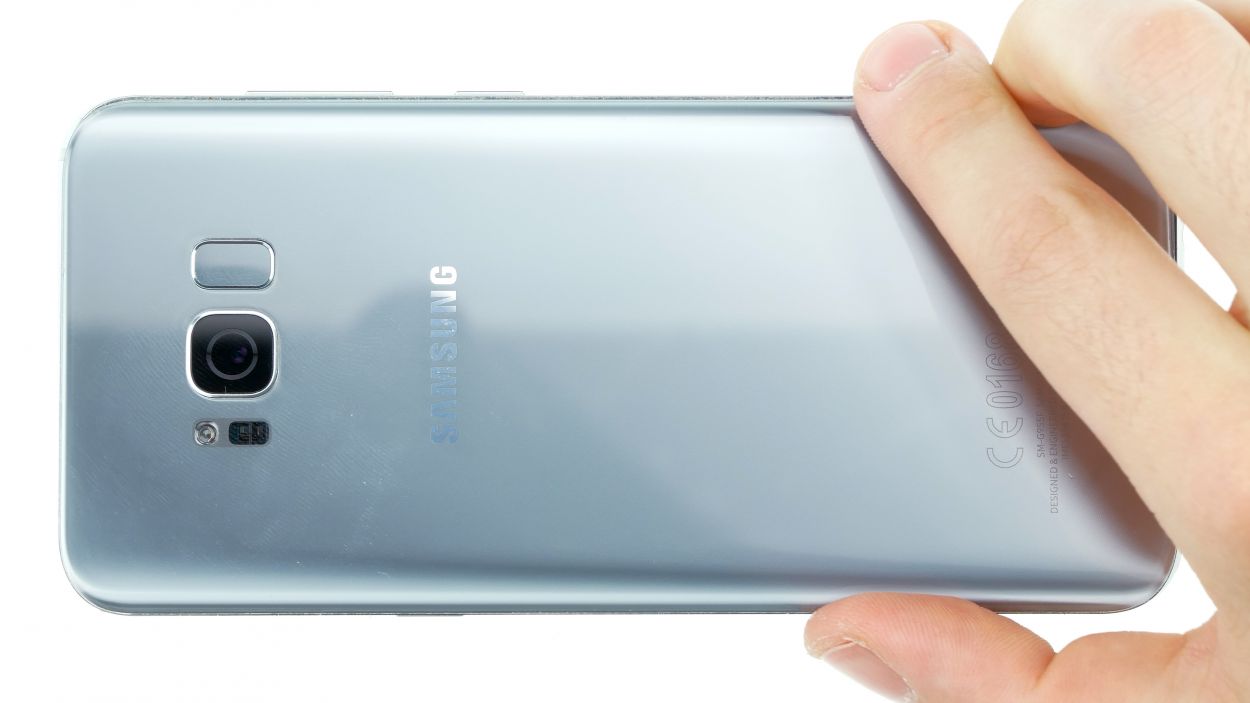
– Now, go ahead and remove the back cover entirely and set it aside like a pro.
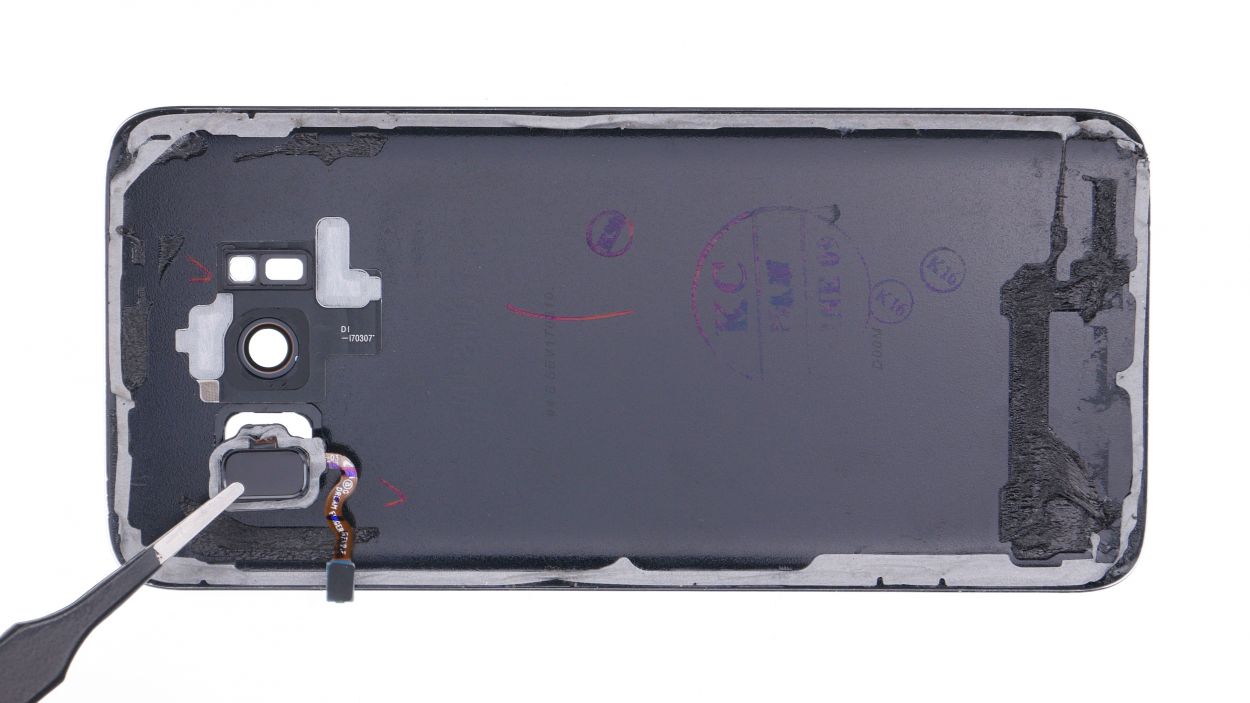
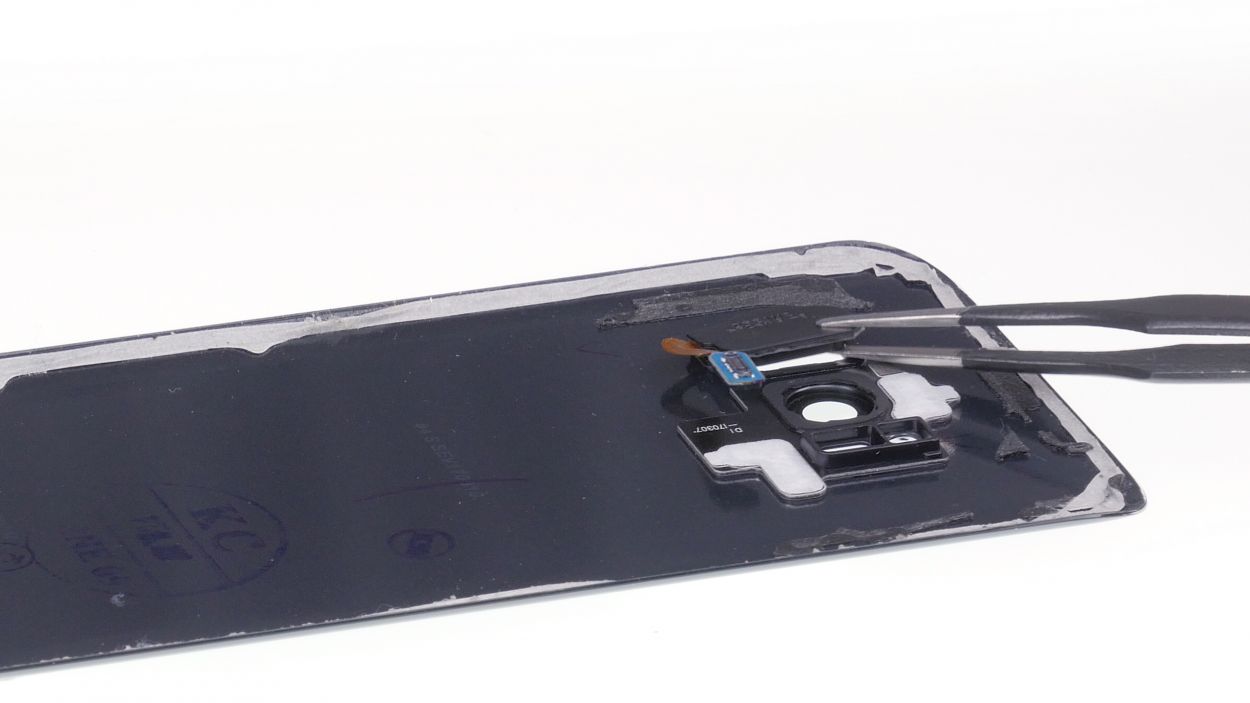
Step 4
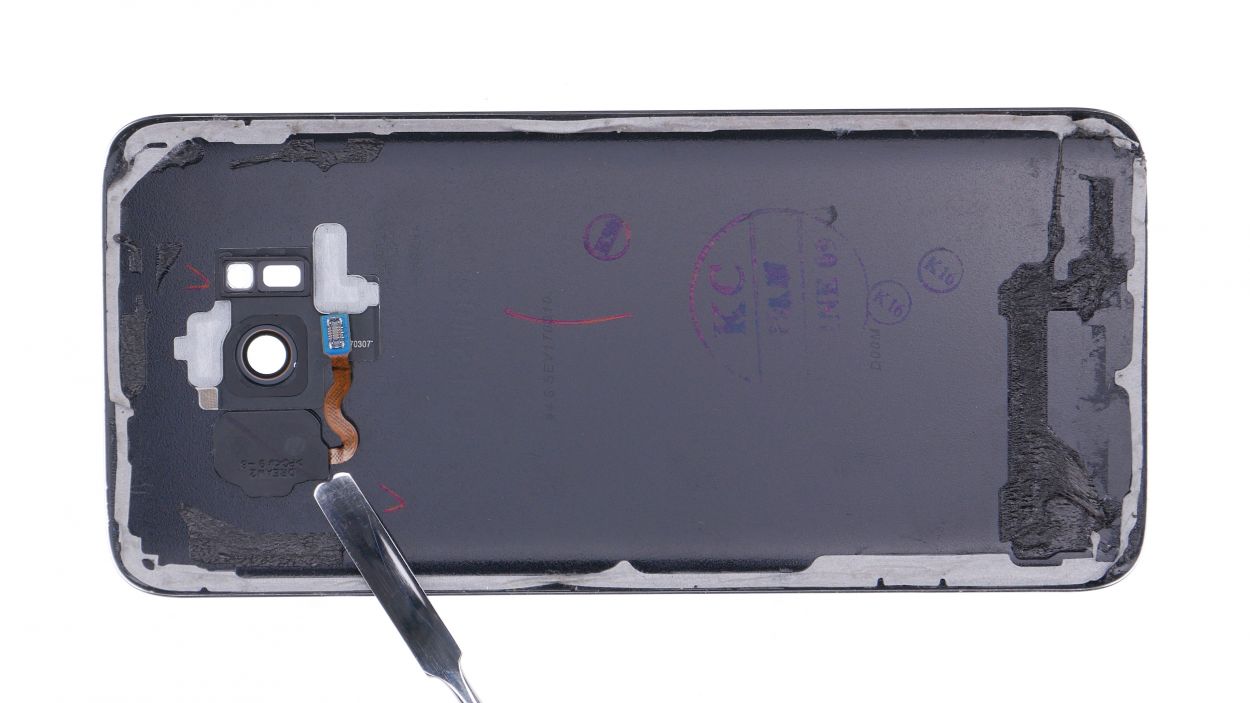

If that pesky cable is putting up a fight, grab a heat gun to gently warm things up and loosen that stubborn glue!
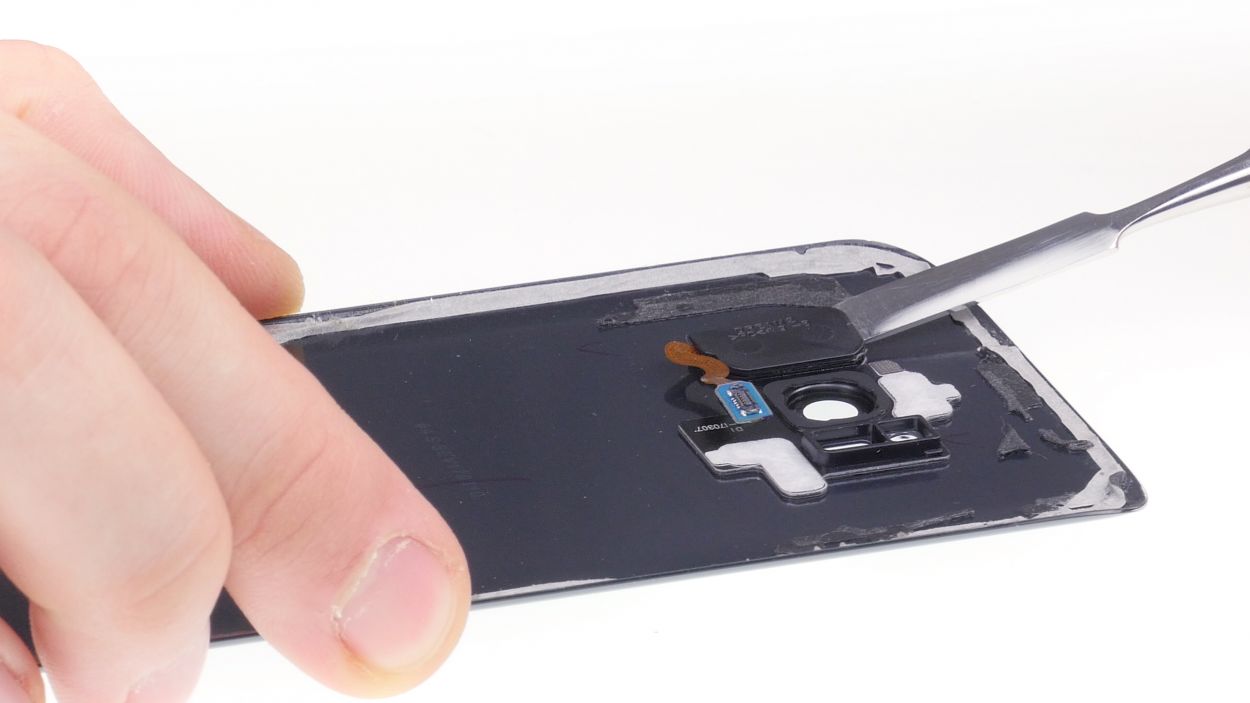
– Gently slide a steel spatula into the spot where the wireless charging coil meets the NFC antenna, and carefully pry off the connection.
– Now, take your time and slowly detach the entire flex cable from the cover.
Step 5
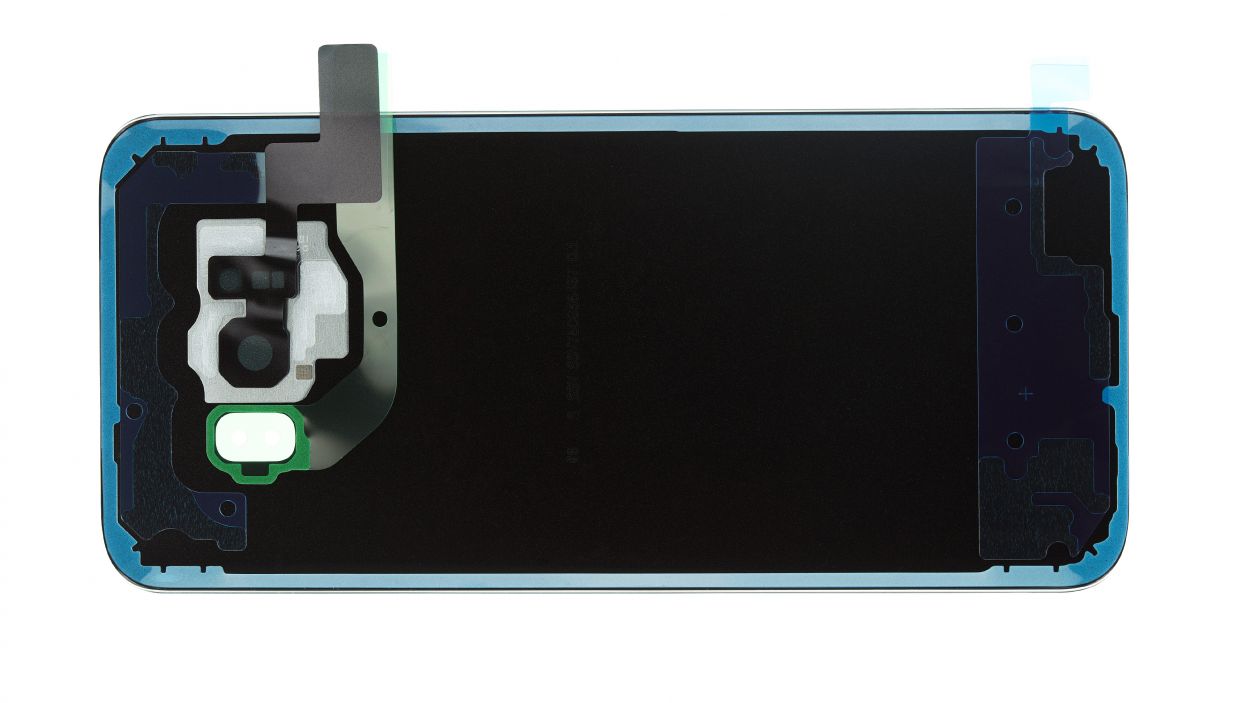
In this guide, we’re reusing a rear glass panel, so don’t be surprised if you spot a little glue residue in the upcoming steps. It’s just part of the charm of giving your device a second chance!
– Peel off all those protective films from the display and let it shine!
Step 6
– Gently place the fingerprint sensor into its cozy spot on the back cover.
– Give it a little press to help it feel right at home.
Step 7

Feeling crafty? Give your device a little warmth with some hot air, then weigh it down with a couple of books. This will help the glue bond like a champ!
– Gently place the back cover back where it belongs.
– Reconnect that fingerprint sensor like a pro.
– Give the back cover a nice press all around so the glue can do its magic.