How to Replace Galaxy S9+ Back Cover: Step-by-Step Guide
Duration: 30 min.
Steps: 8 Steps
Ready to give your Galaxy S9+ a new back cover? This step-by-step guide will walk you through it! Replacing the back cover can be a bit tricky, so grab a snack, put on some tunes, and set aside some time. It’s totally doable! Back up your data beforehand, find a nice clean workspace, and let’s get this party started! If you get stuck, don’t sweat it – just hit up our live chat or leave a comment on the step you’re struggling with. We’ve got your back (pun intended!). Need a helping hand? You can always schedule a repair.
Step 1
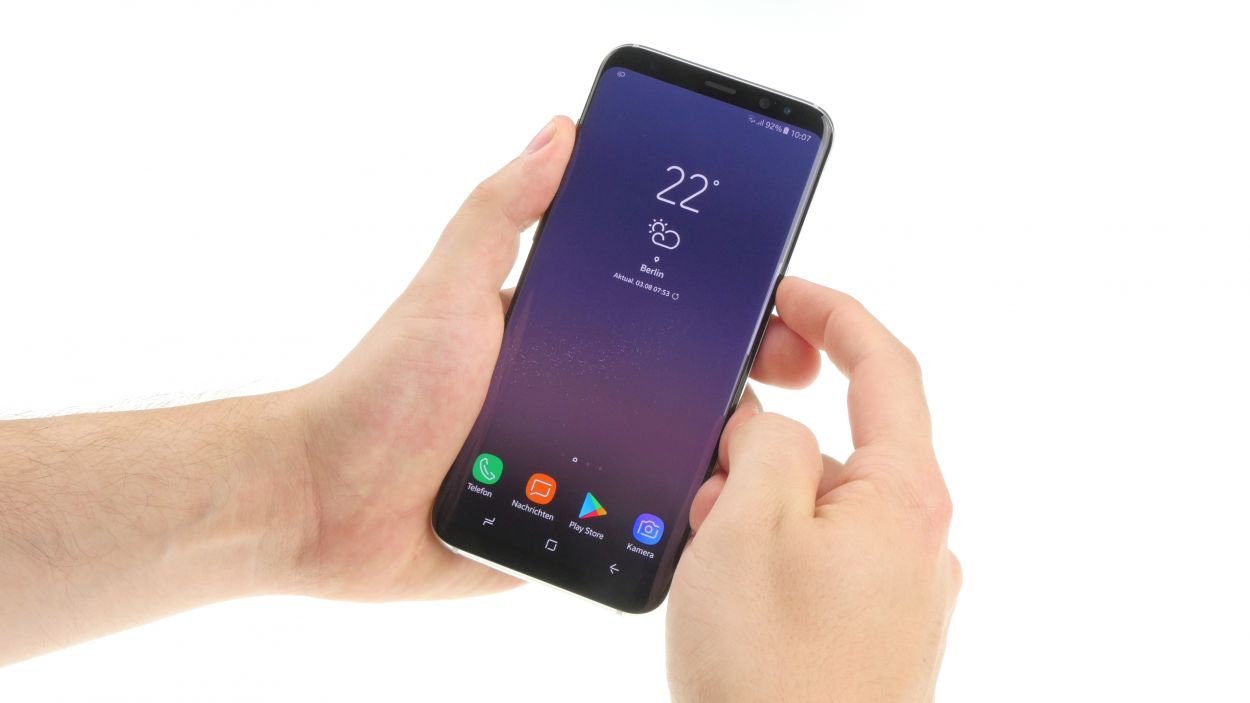
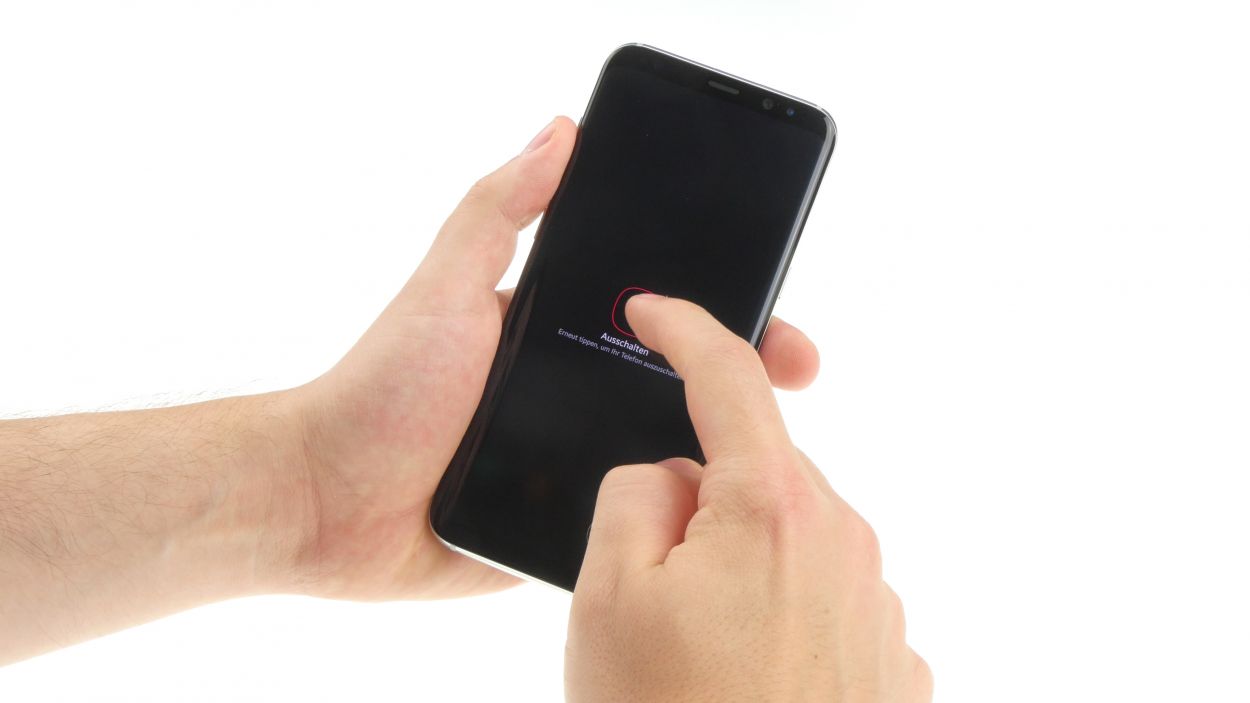
– First things first, let’s give your device a little break! Press and hold that power button until you see the ‘Power off’ option pop up on the screen.
– Now, give it a gentle tap with your finger to confirm you want to power down your Galaxy S9+. Sit tight and watch as the screen fades to black!
Step 2
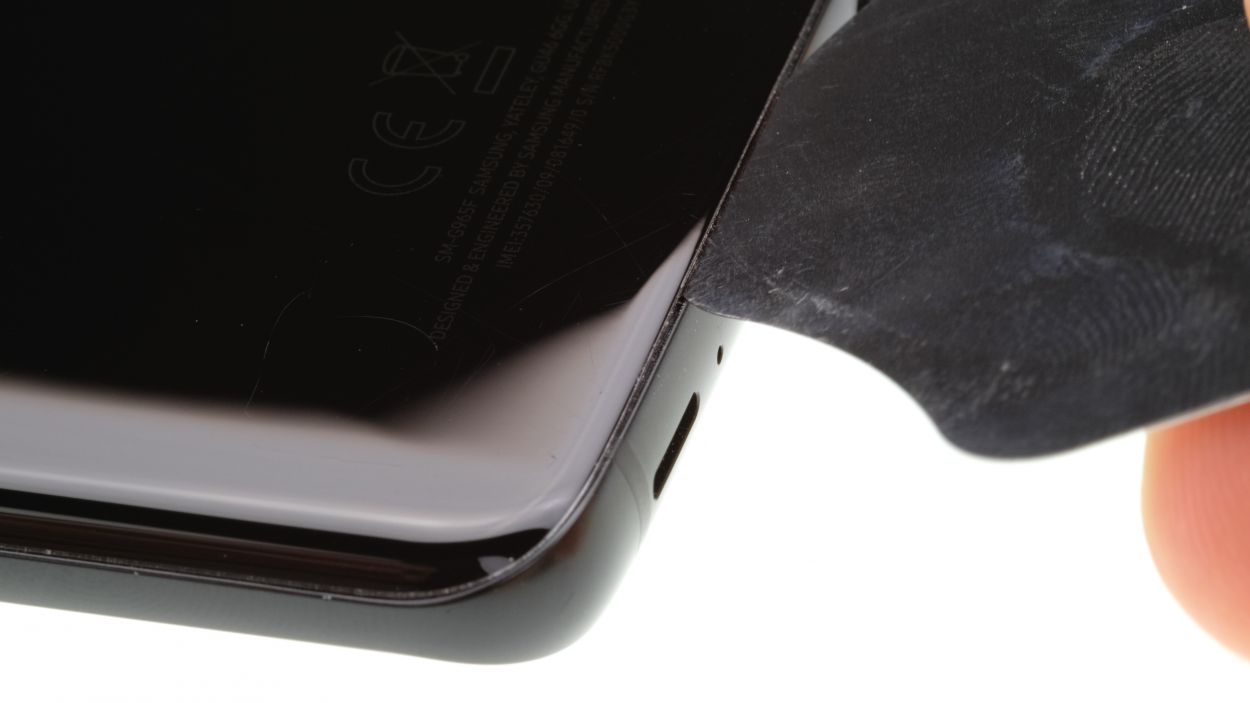
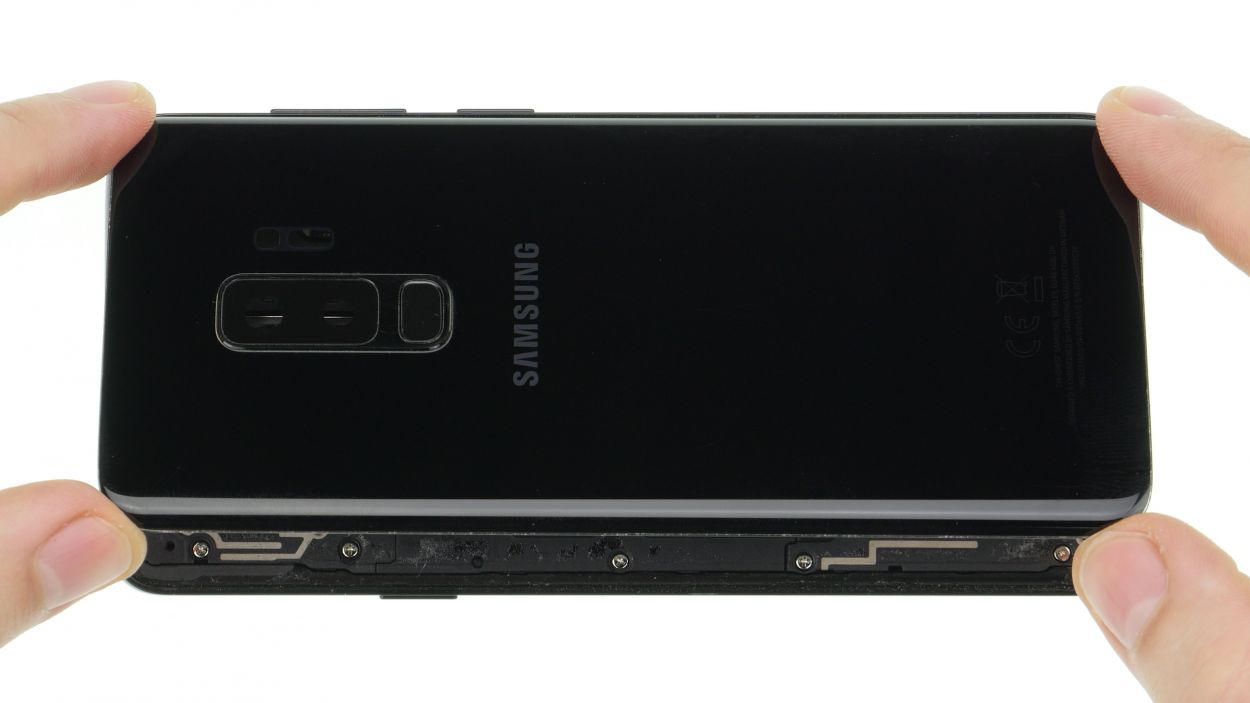
– The back cover is really stuck to the chassis, but don’t worry! Give it a nice warm hug with some hot air to loosen that glue up. Aim for a cozy temperature of 60 – 80°C. Just remember, it should feel warm and inviting, not like a hot potato that you can’t hold!
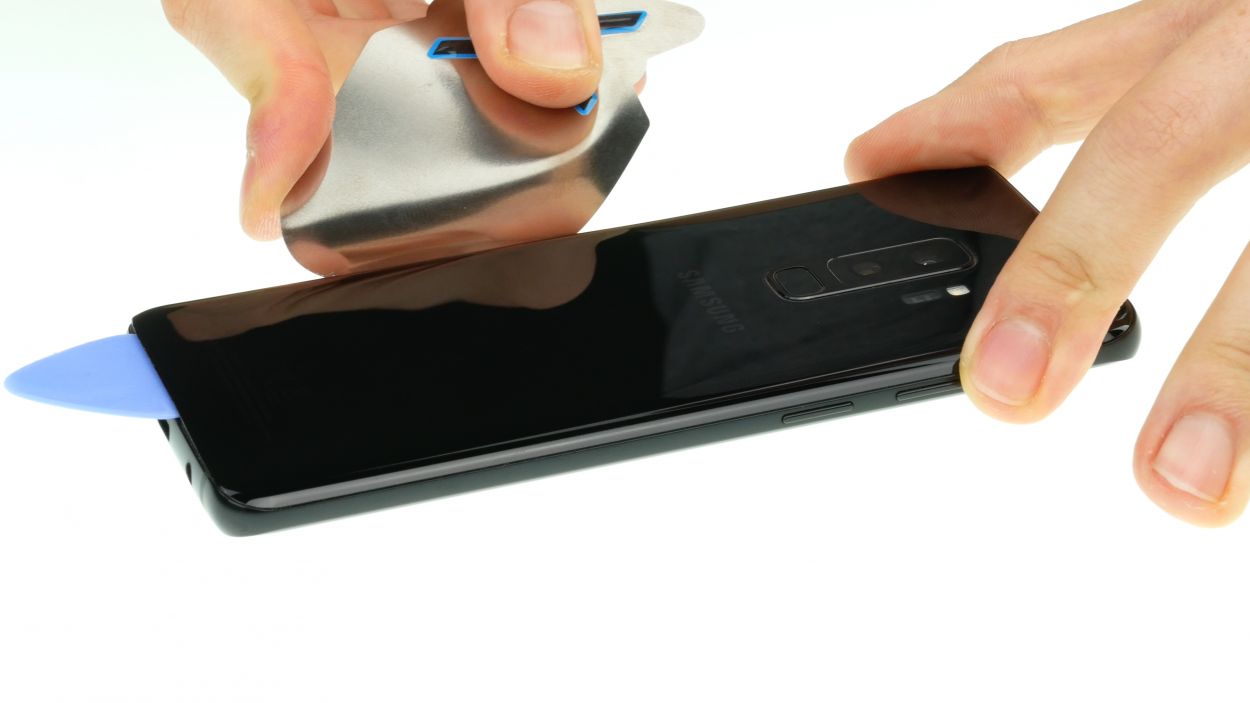
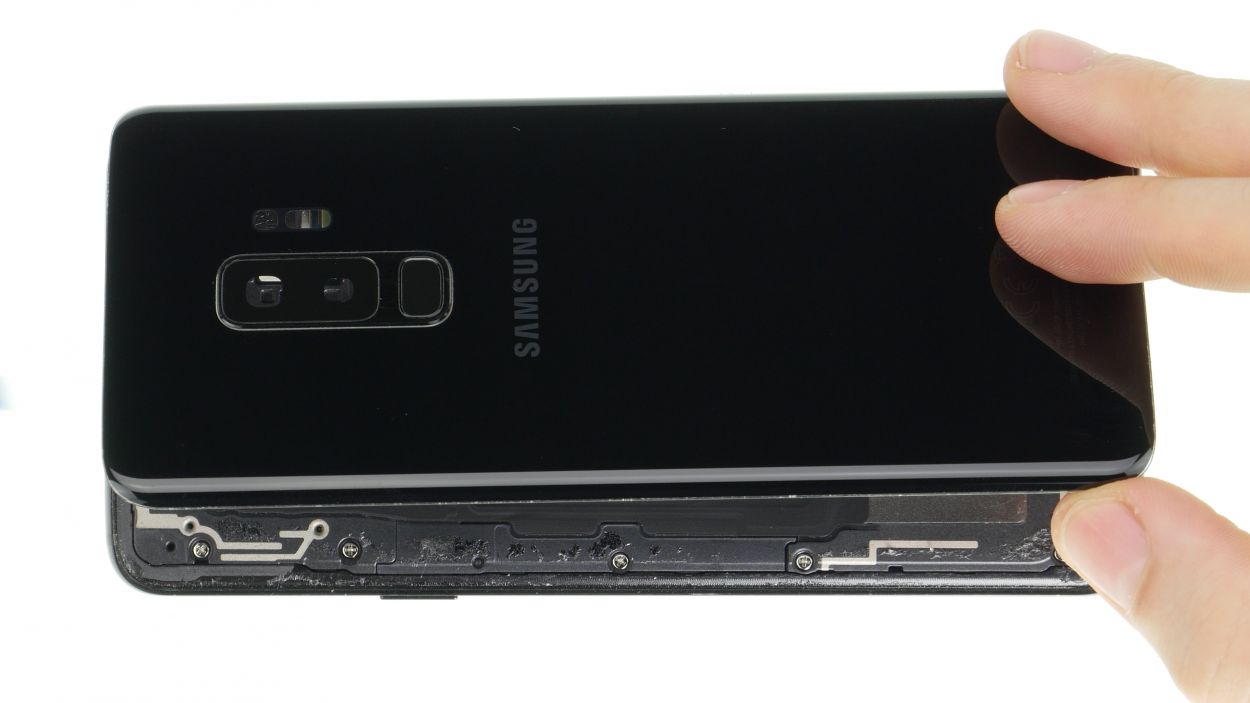
– To pop that back cover off, grab a flat and flexible tool like the iPlastix or iFlex. You’ll also want a few picks handy to gently pry it loose all around. Take your time and be gentle!
Hey there! Just a heads-up, the back cover is pretty delicate, so handle it with care. If needed, give it a little warmth, and don’t worry if you need to retry. Taking off the back cover might require around half an hour. Take your time, be meticulous, and everything will go smoothly!
The iPlastix is crafted from plastic, which means it’s gentle on your device and won’t leave a scratch. However, it can be a bit soft and a little tricky to get in there. Just take your time, and you’ll be golden!
Step 3
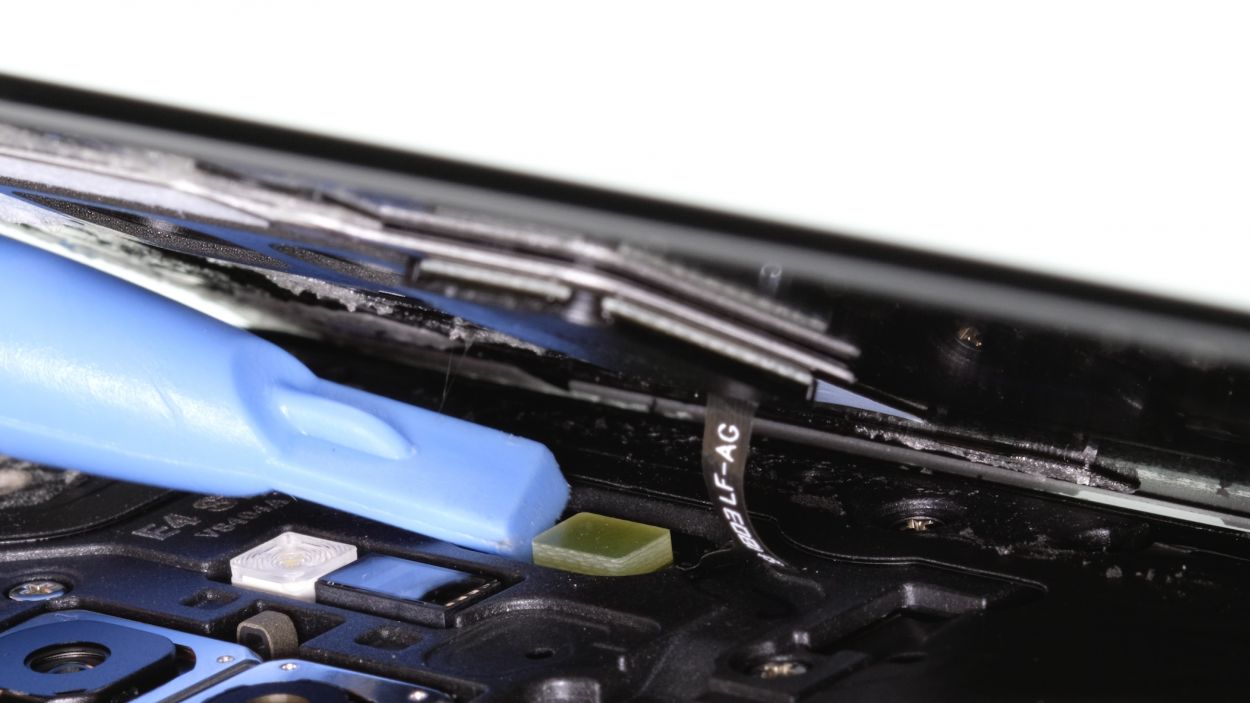
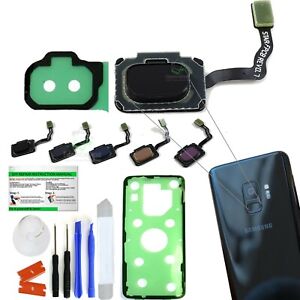
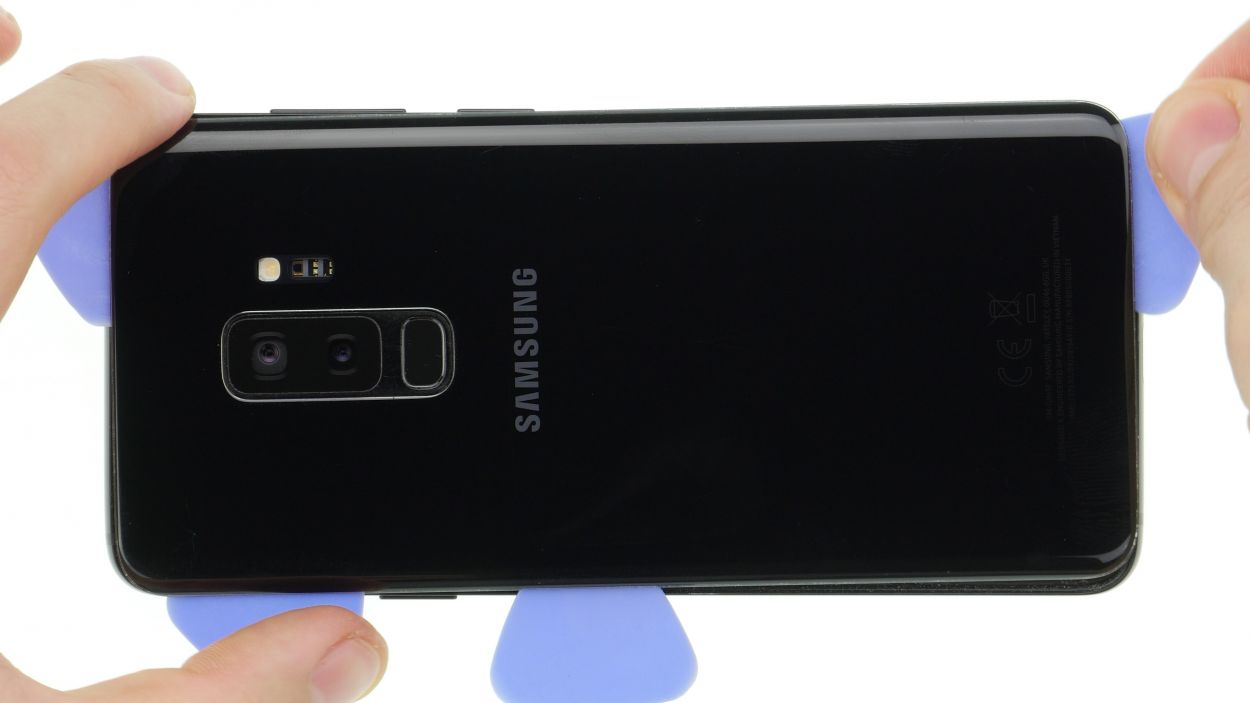
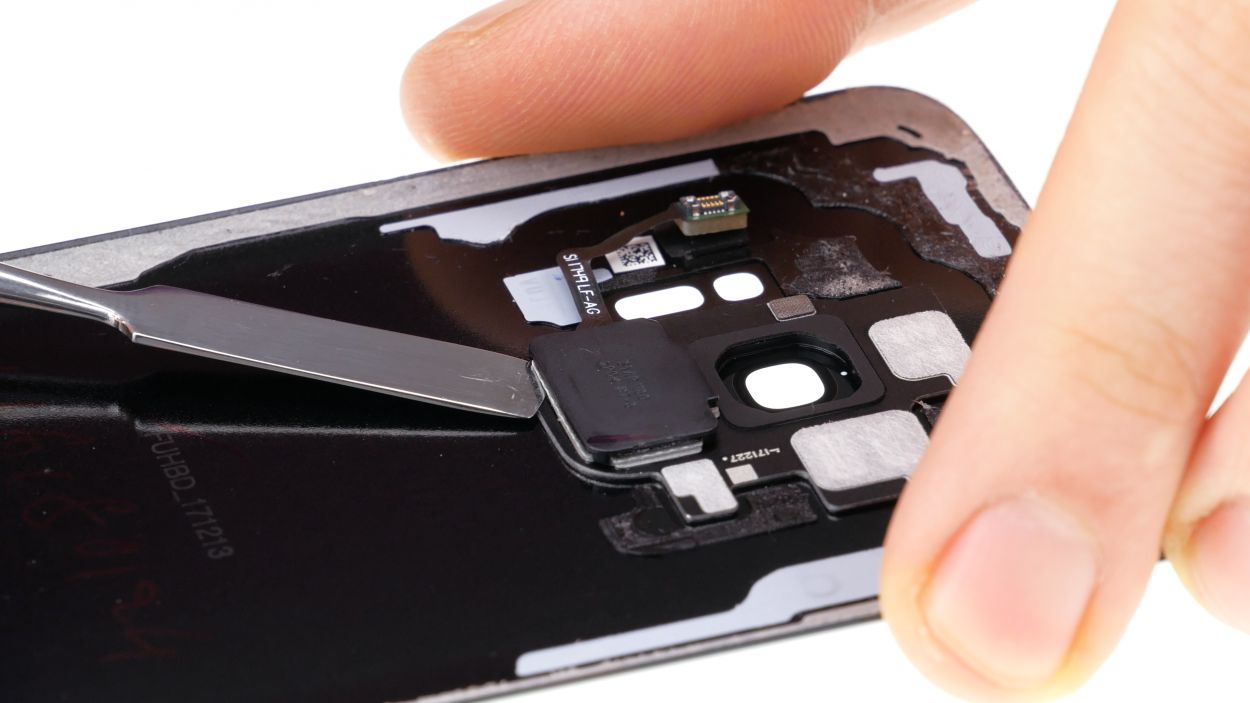
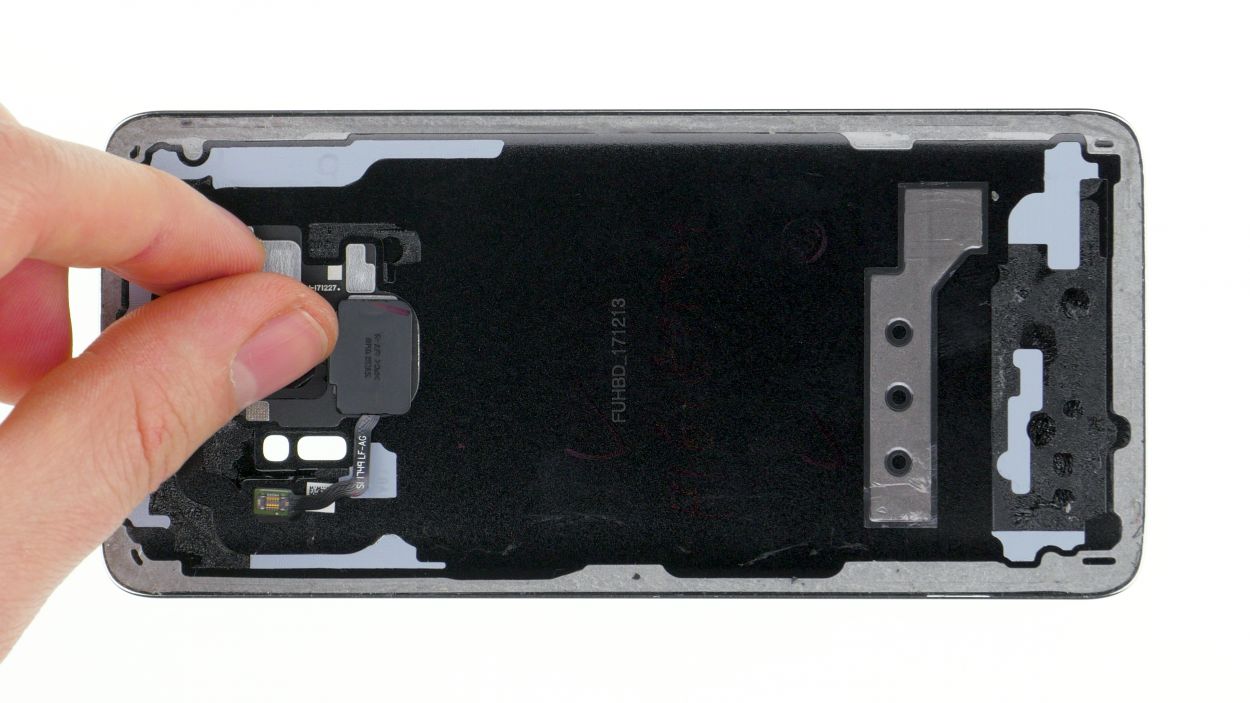
– Once you’ve popped off the back cover, gently lift it away and use that trusty spudger to disconnect the fingerprint sensor. You’re doing great!
– Now that the fingerprint sensor is free, go ahead and fully remove the back cover and set it down somewhere safe. You’ve got this!
Step 4

If you’re finding that cable a bit stubborn, a heat gun can help loosen that pesky glue and make removal a breeze!
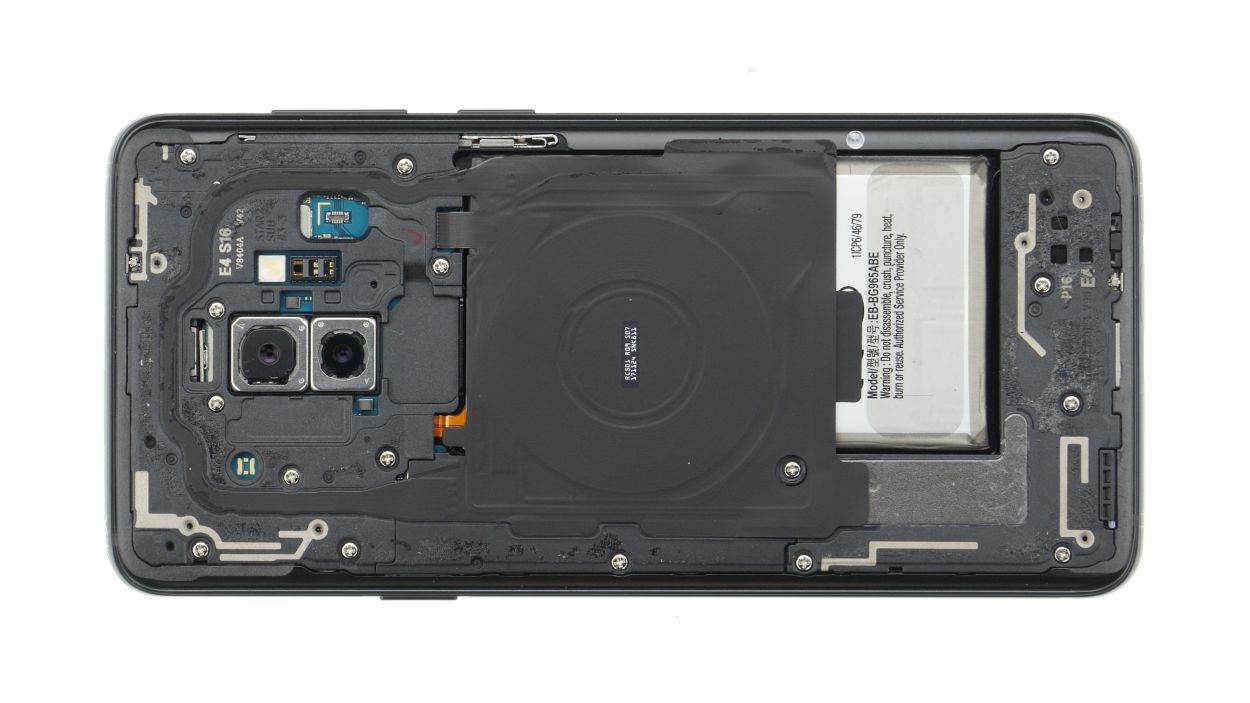
– Gently slide a steel spatula into the spot where the wireless charging coil is stuck to the NFC antenna and carefully pop off the connection.
– Next, take your time to remove the entire flex cable from the cover with care.
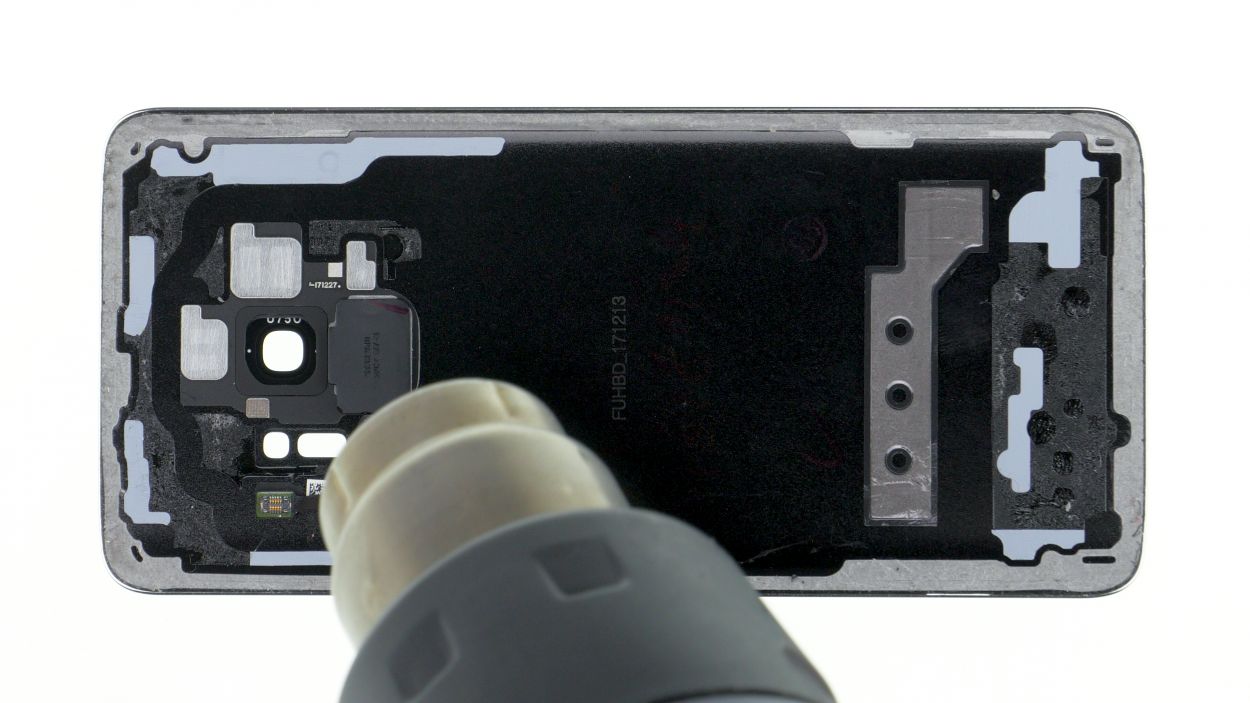
Step 5
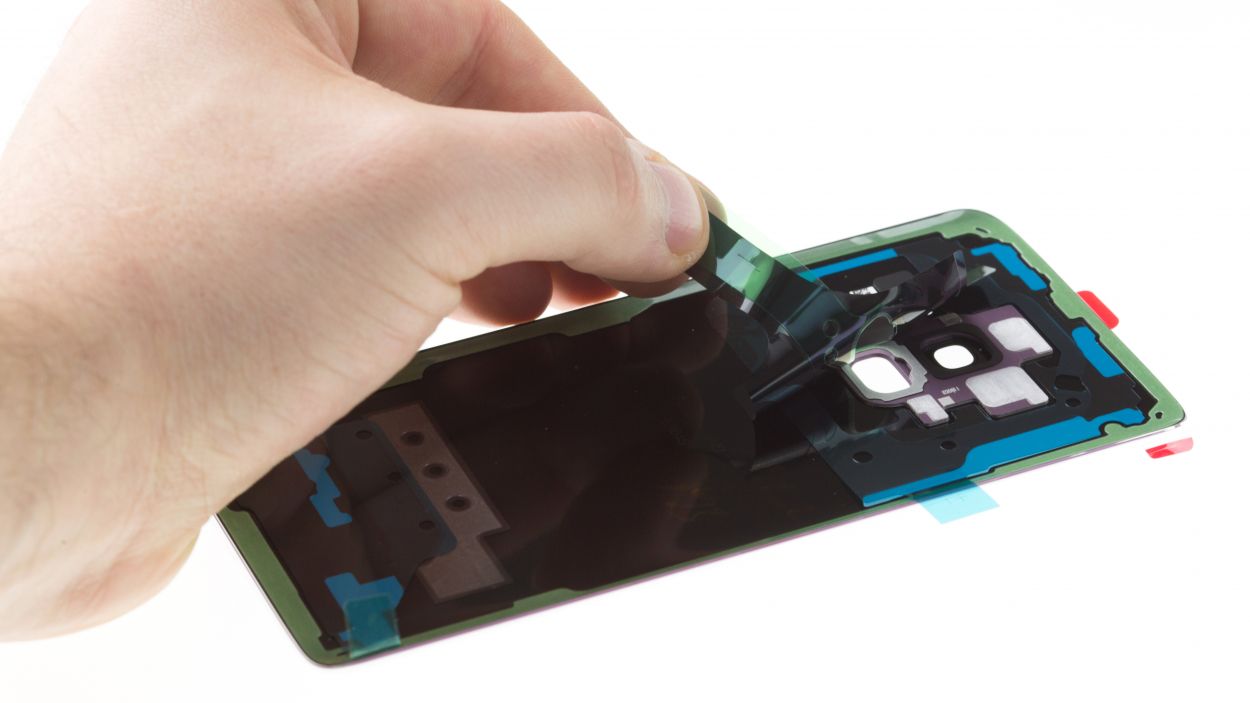
– Peel off all those protective films from the display and let it shine!
Step 6
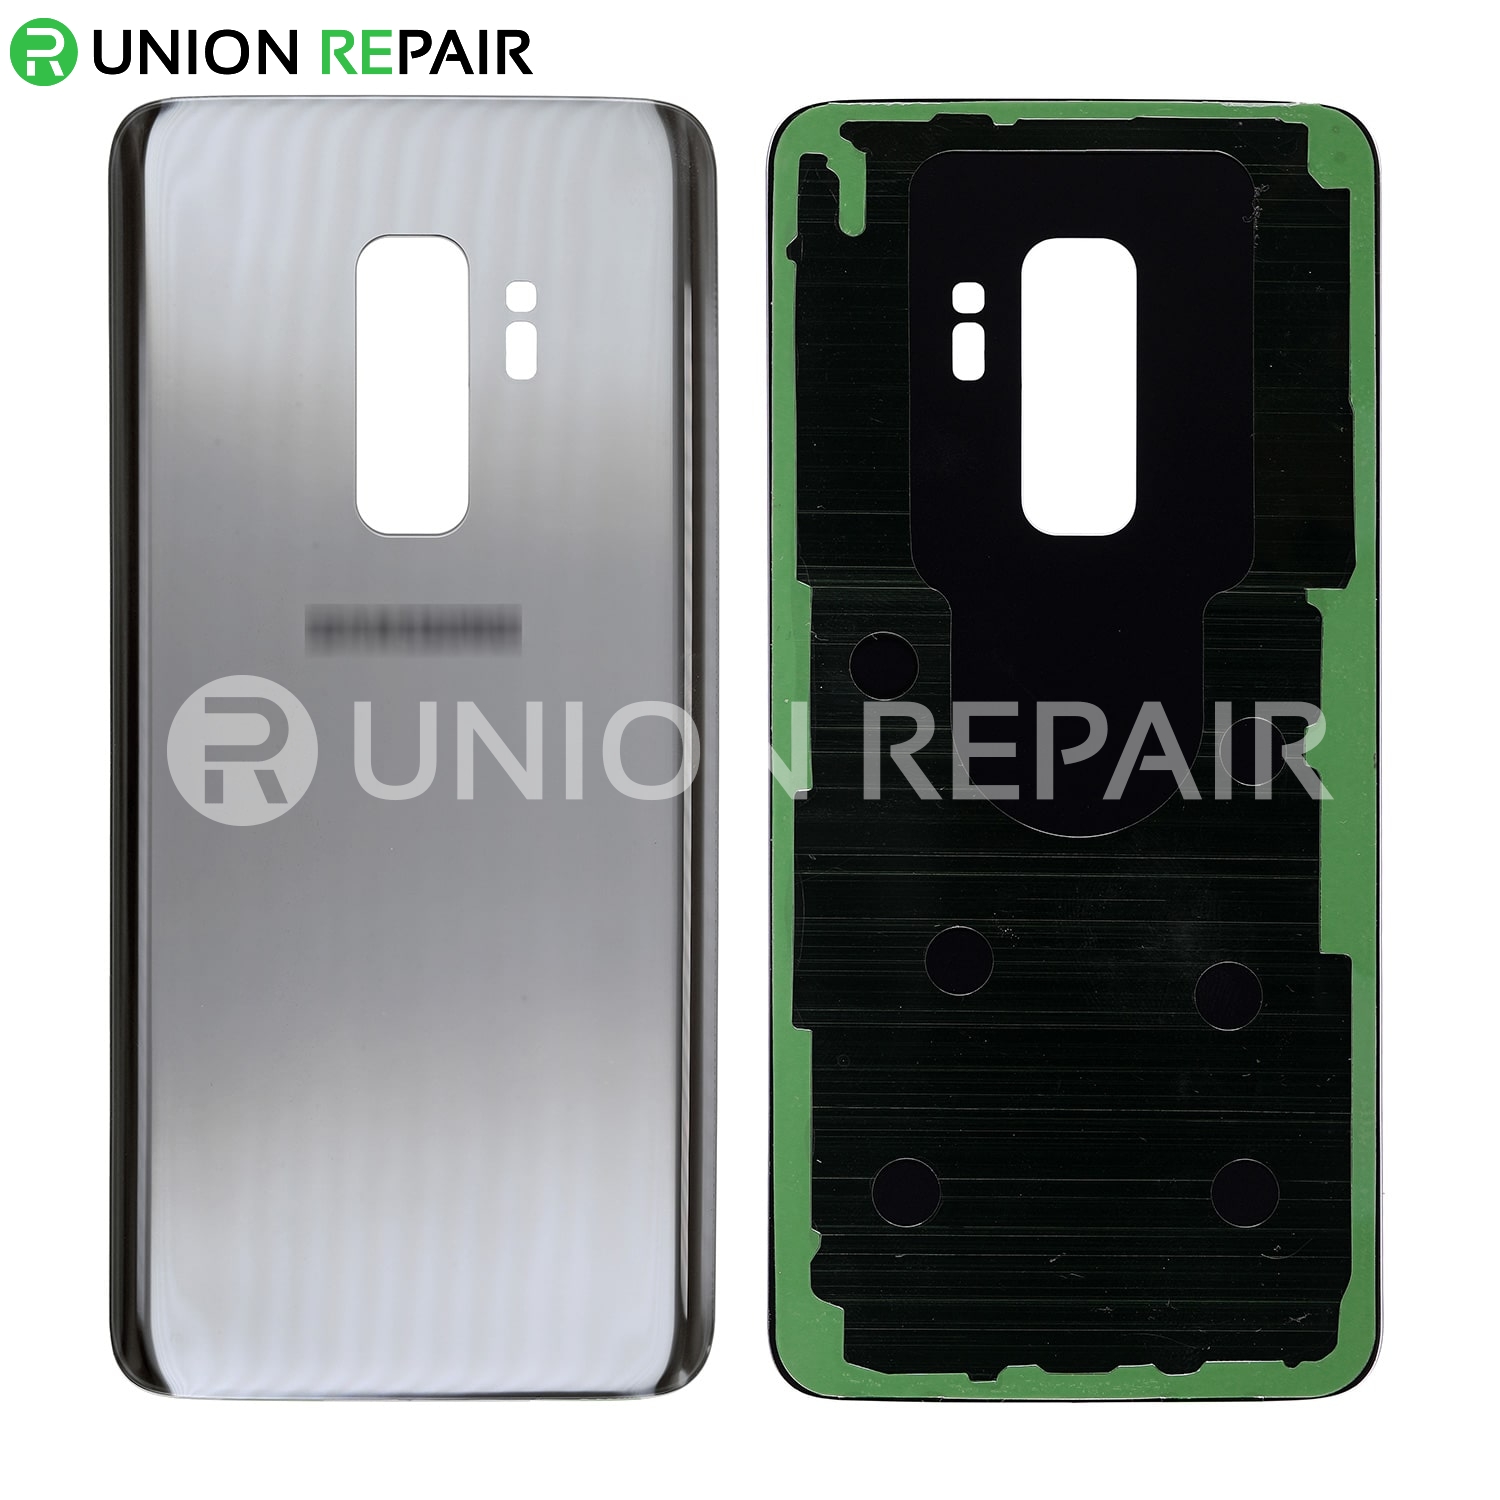
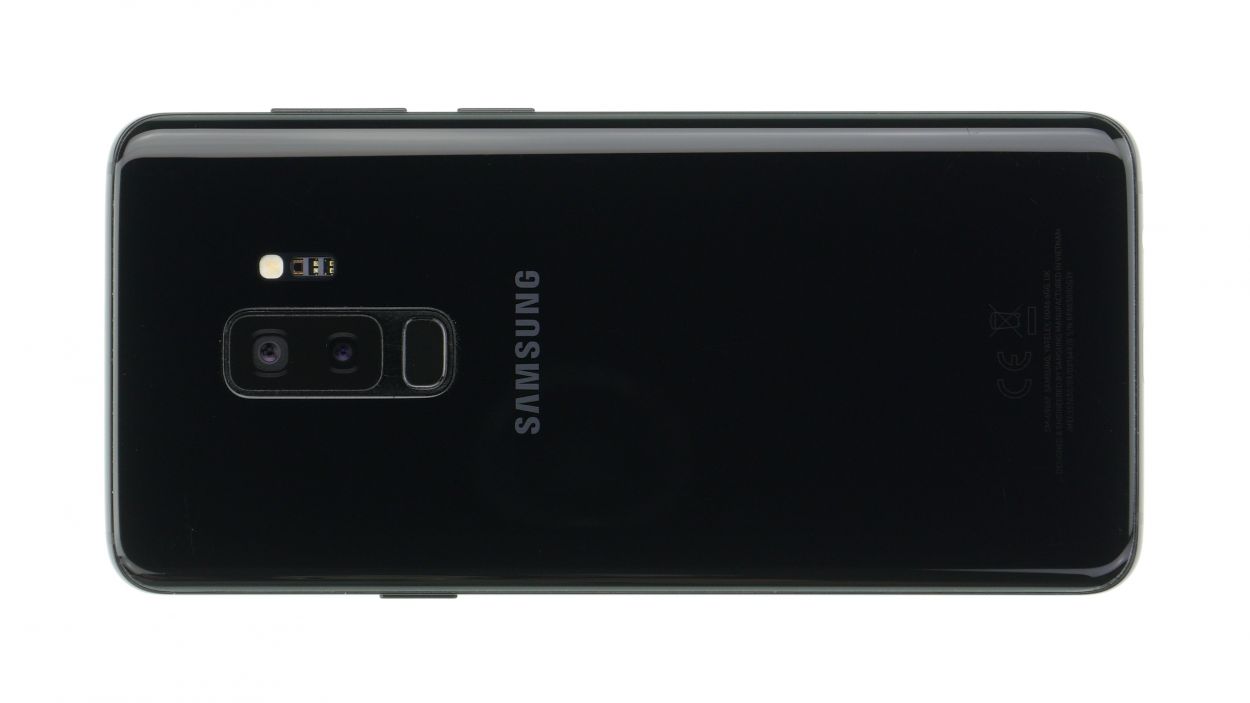
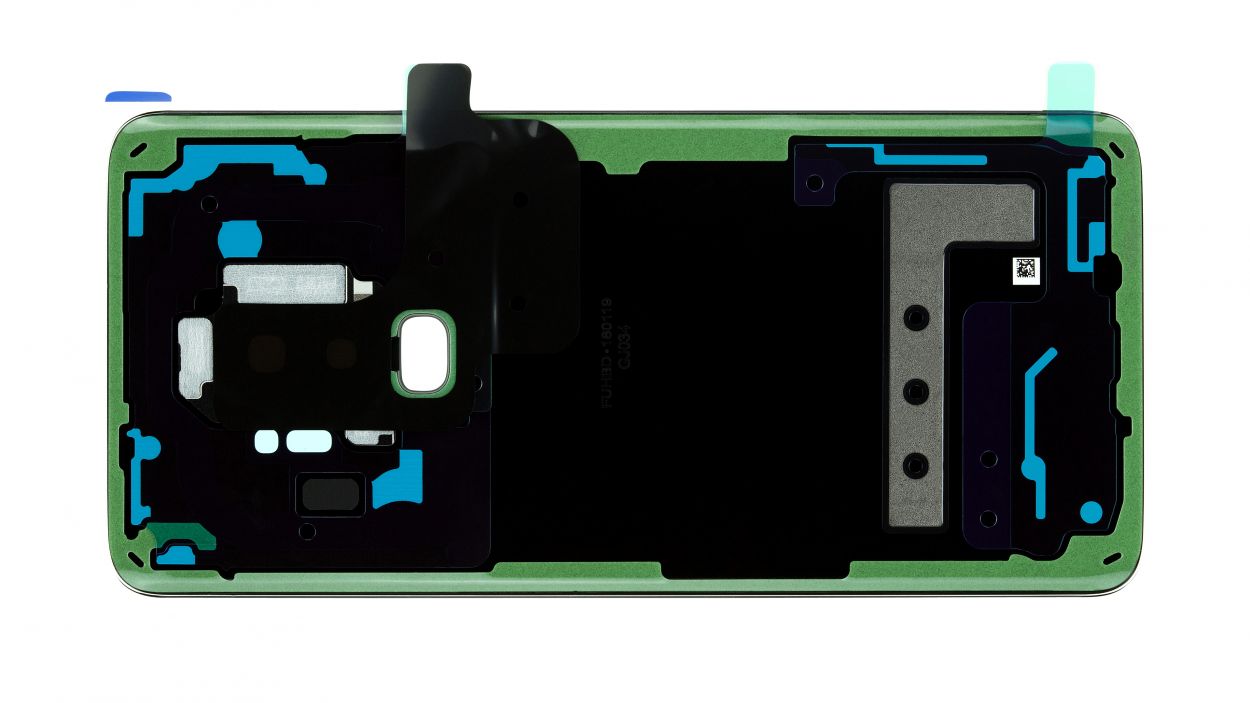
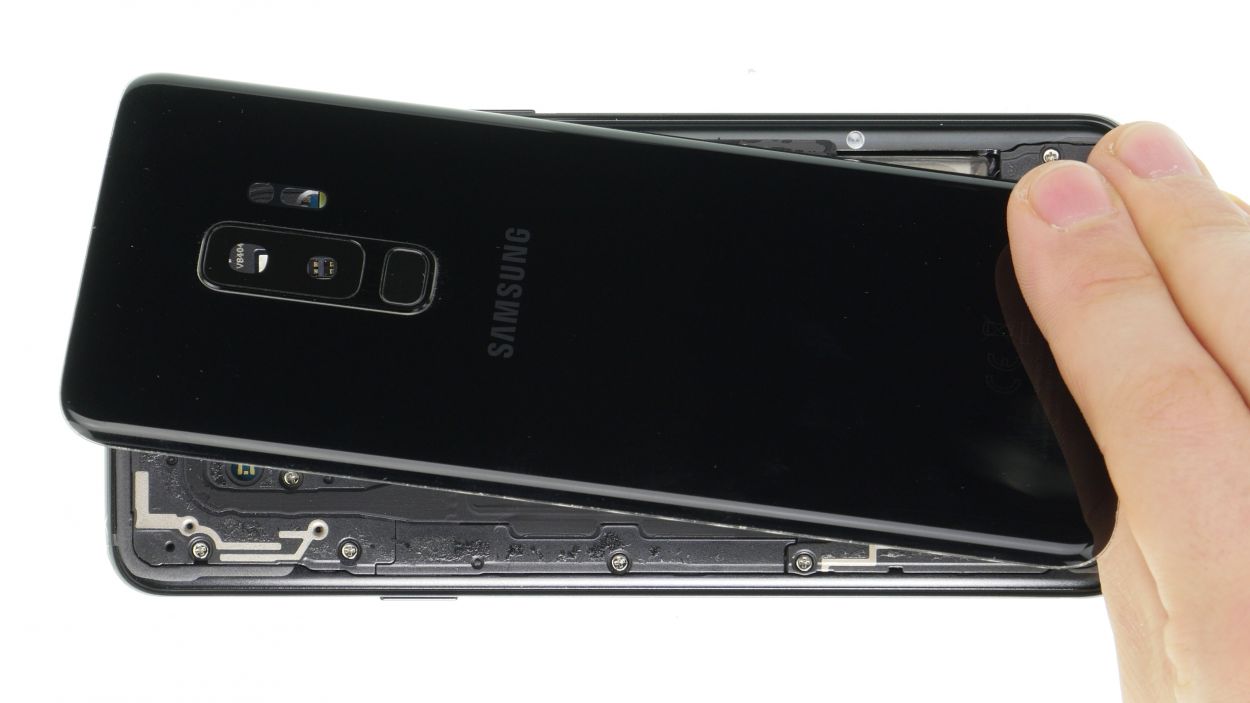
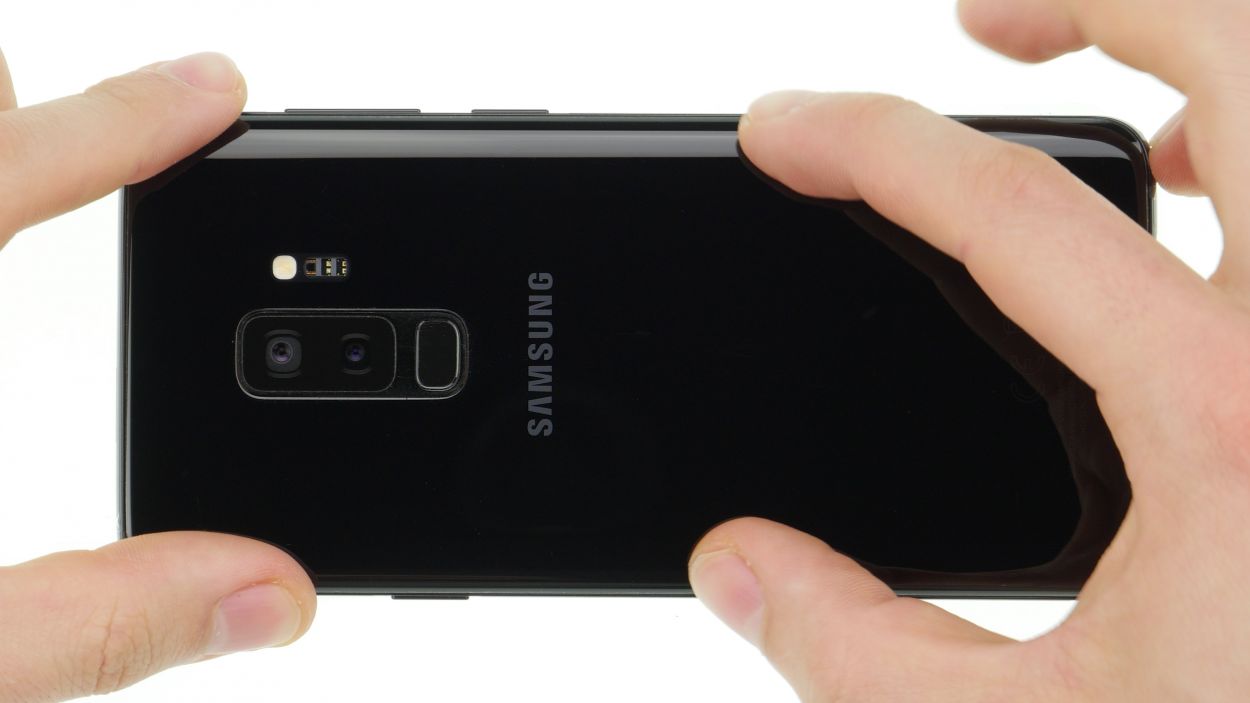
Check out the images of the back panel of a Galaxy S9! And guess what? The Galaxy S9+ sports the same sleek glass look. Ready to dive into some repair magic? Let’s go!
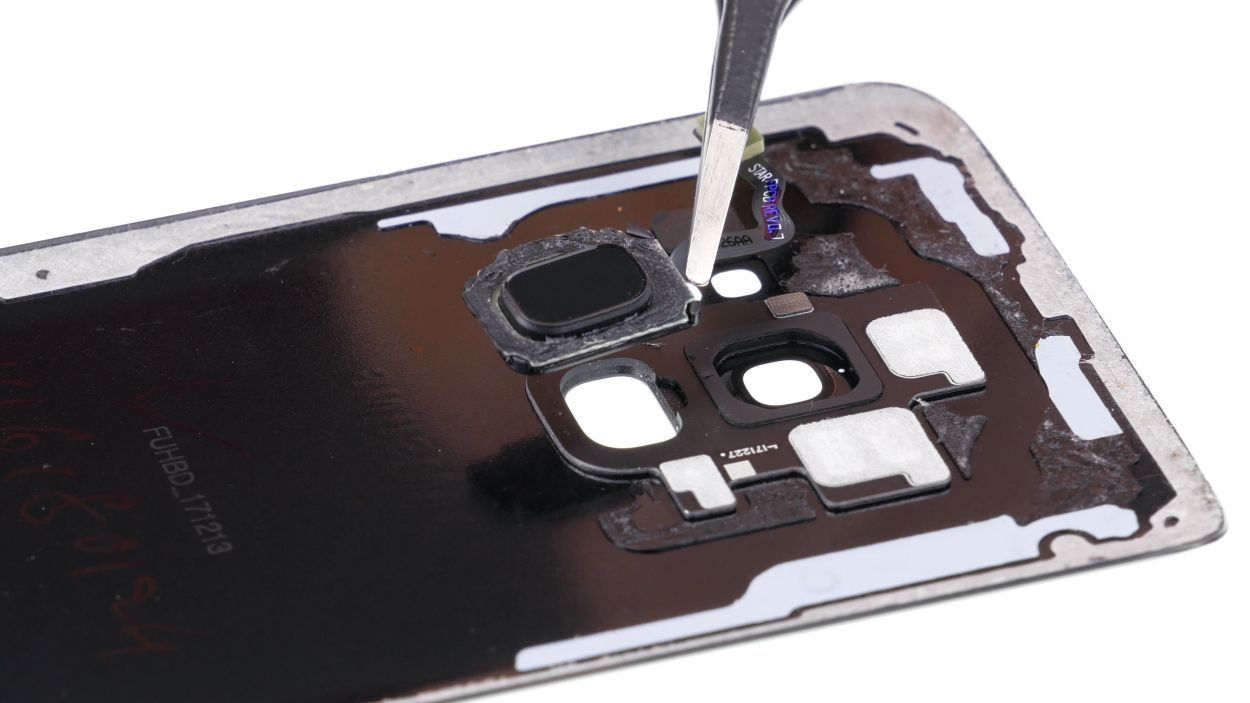
– Pop that fingerprint sensor right into its cozy spot on the back cover.
– Give it a gentle press to help it stick like a champ.
Step 7
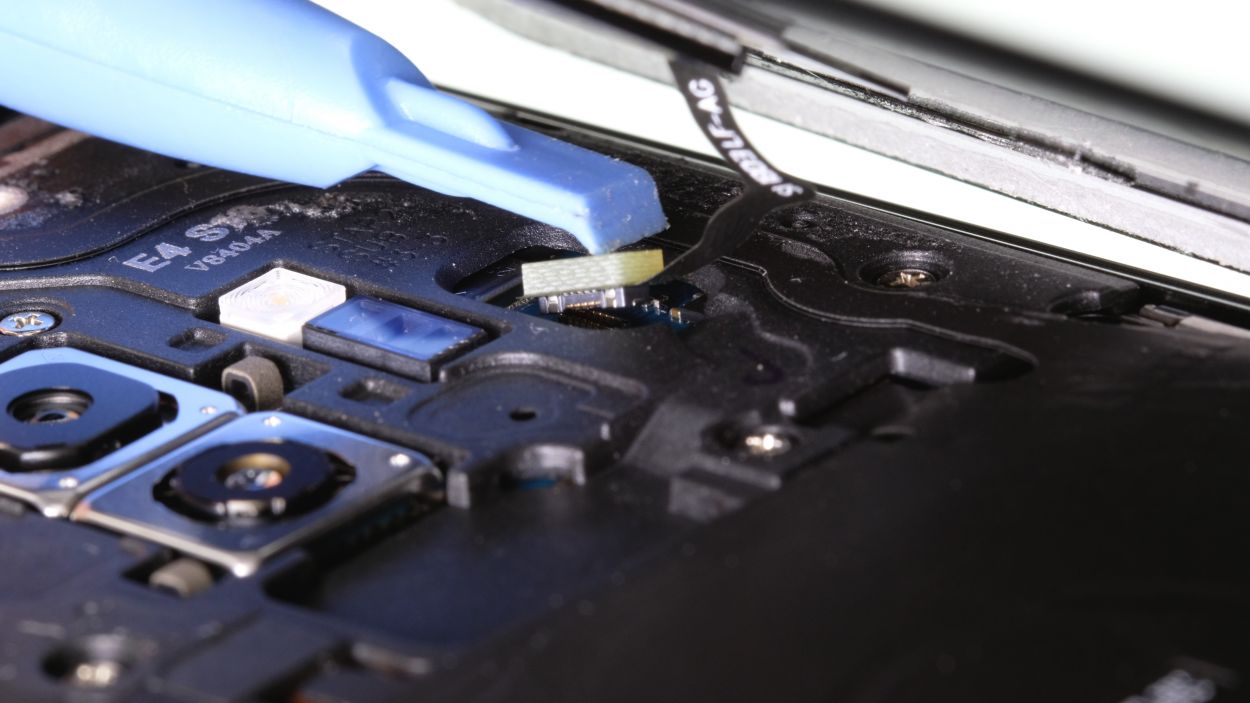
– First things first, before you pop that back cover on, make sure to connect the fingerprint sensor. It’s a little dance that makes everything work smoothly!
– Grab a trusty plastic tool to help you reach that connector. It’s like giving your device a gentle nudge in the right direction!
Step 8
Give your device a little warmth with some hot air, then weigh it down with a couple of books. This helps the glue bond like a champ!
– Gently place the back cover back where it belongs.
– Give the back cover a little love by pressing down all around so the glue can do its magic.