DIY Guide to Replace Galaxy S22 Ultra Speaker
Duration: 30 min.
Steps: 15 Steps
Opening your Galaxy will mean saying goodbye to its IP68 certification. Keep that in mind as you dive into the repair!
Time to bring back the tunes! In this fun photo guide, we’ll walk you through the process of swapping out your speaker step by step. Let’s get started!
Step 1

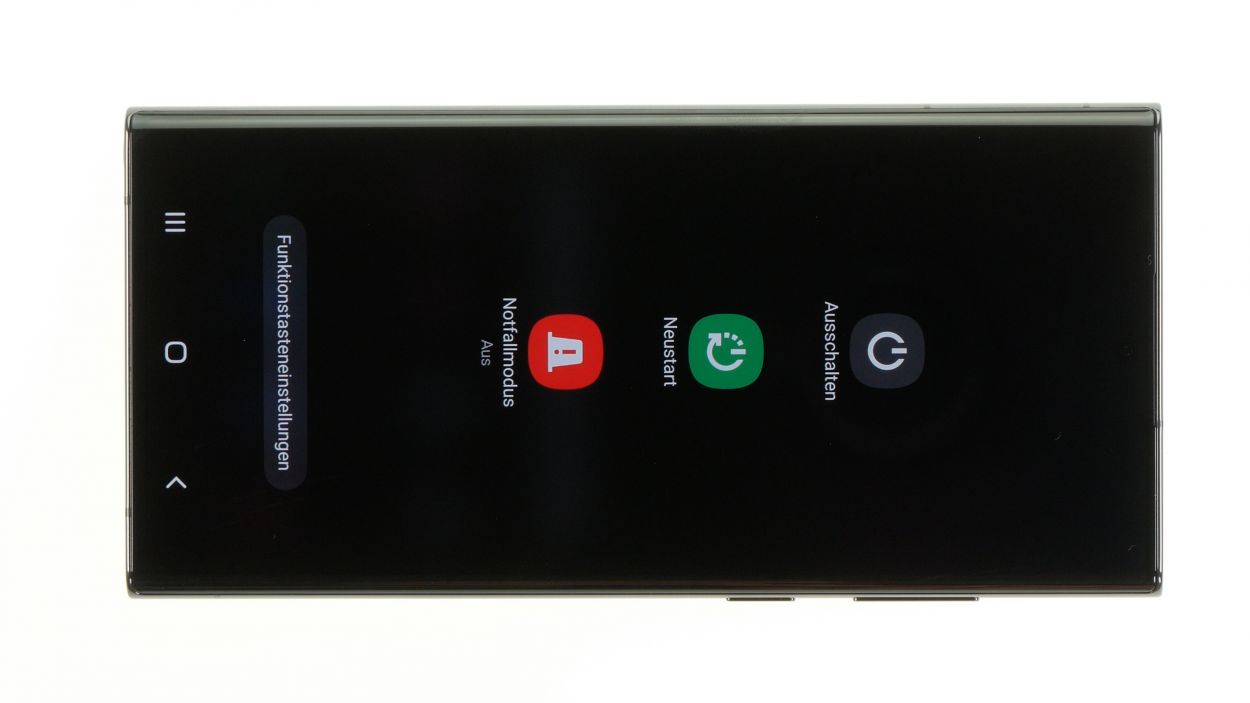
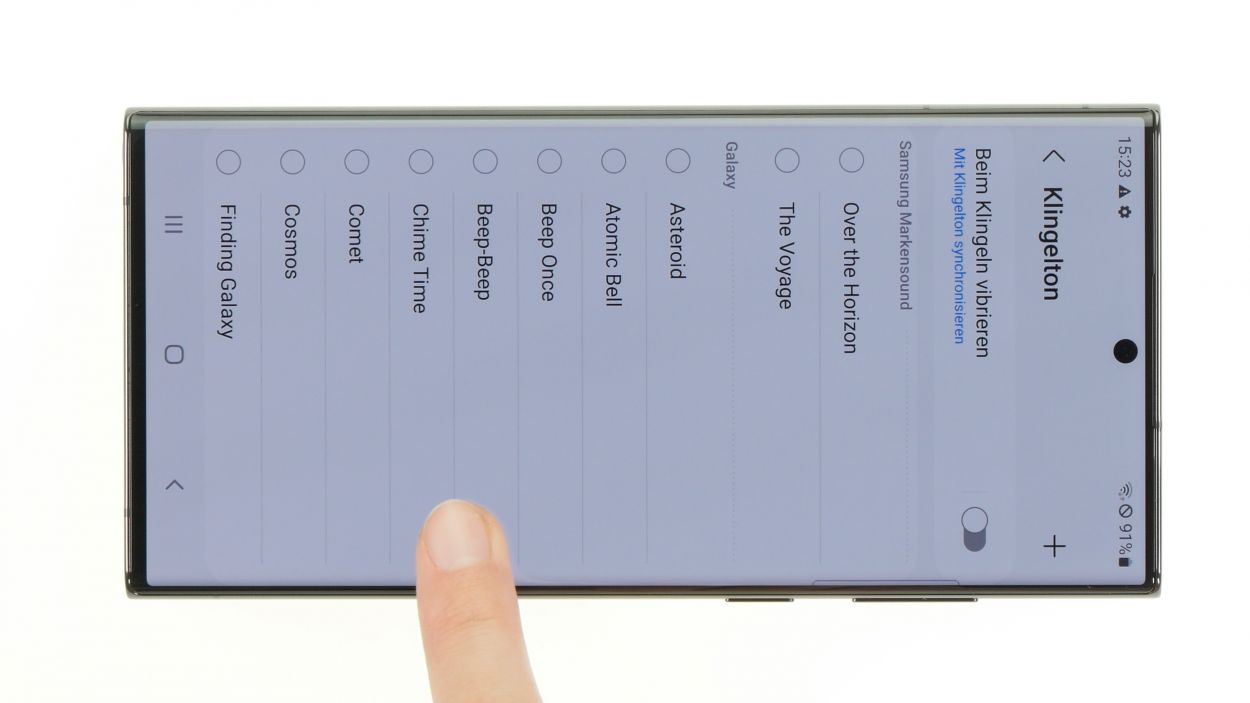
Before you dive into the repair, let’s make sure your Galaxy S22 Ultra 5G is ready to rock! Check out our handy checklist to test all the essential functions. That way, you can celebrate your successful repair later!
– Give that side button and the volume down button a friendly squeeze together for a few seconds.
– When the menu pops up, go ahead and tap on Power off to switch it off.
Step 2
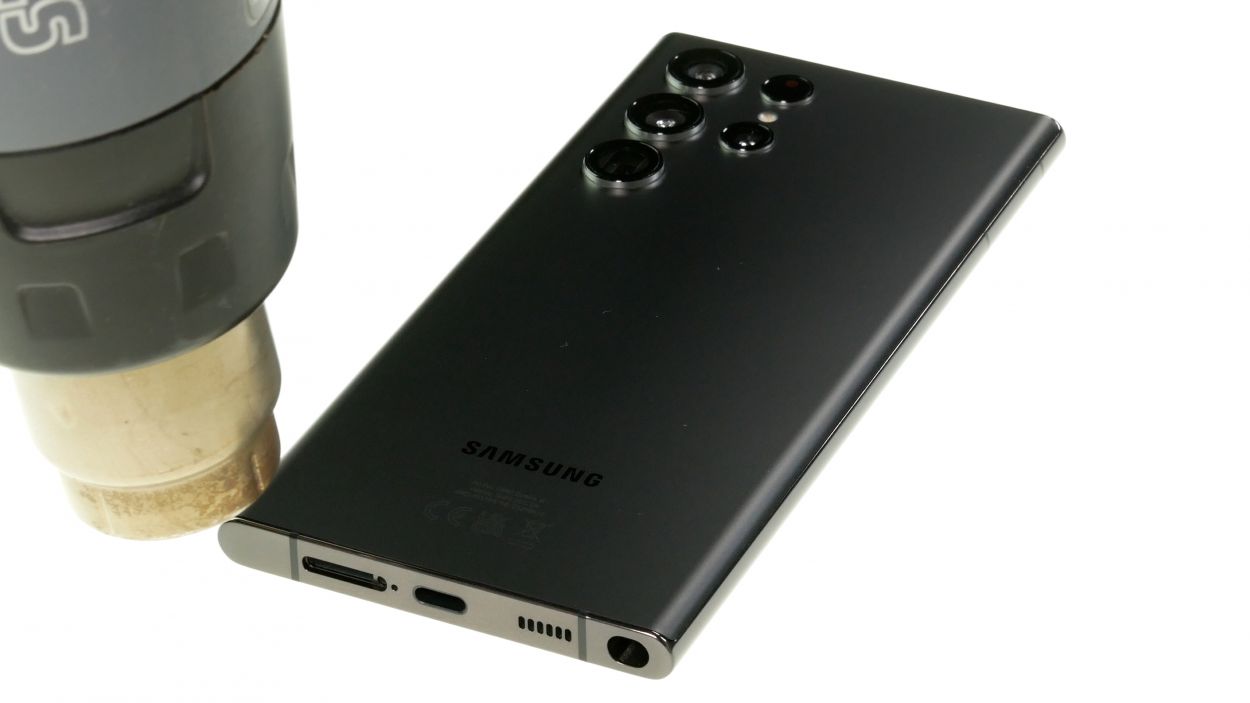
The back cover is stuck on pretty tight, so let’s give it a little warmth! Grab your heat gun or a trusty hair dryer and warm up the edges to make things easier.
– Warm up the edges of the back cover by gently waving your heat gun or trusty hair dryer over it.
Tools Used
- heat gun to heat parts that are glued on so they’re easier to remove.
In most cases, you can also use a hairdryer.” rel=”noopener nofollow”>Heat gun
Step 3
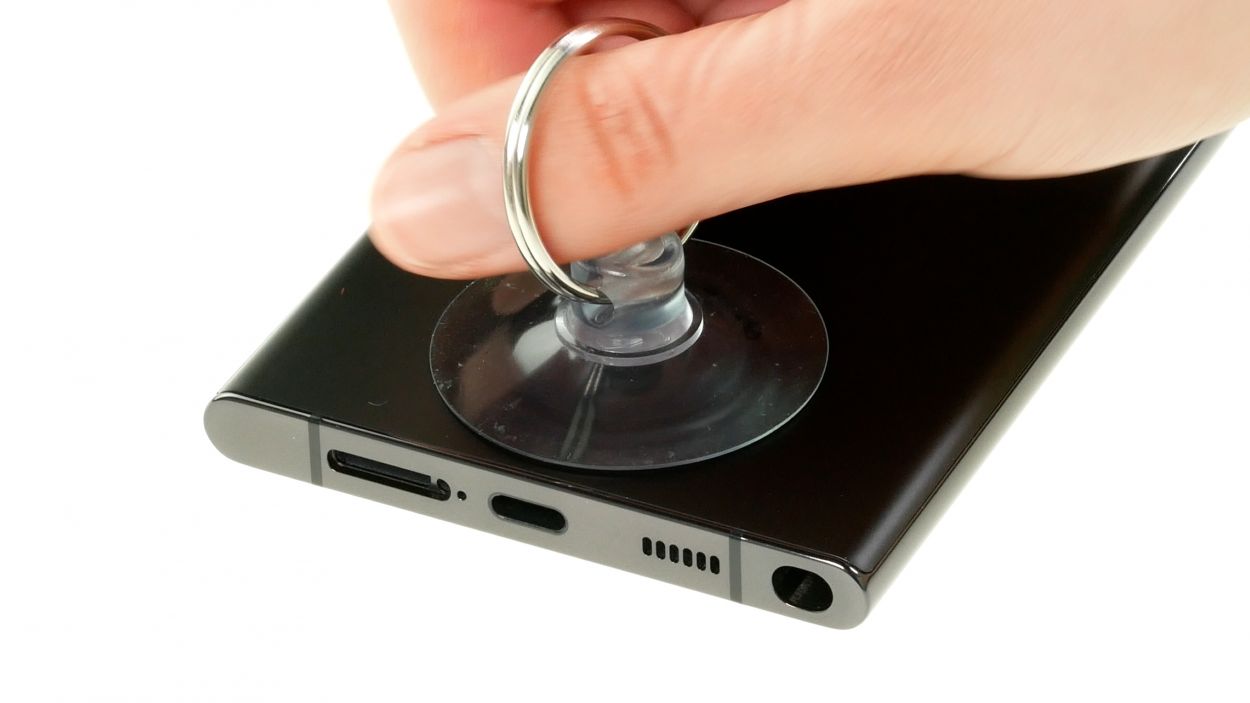

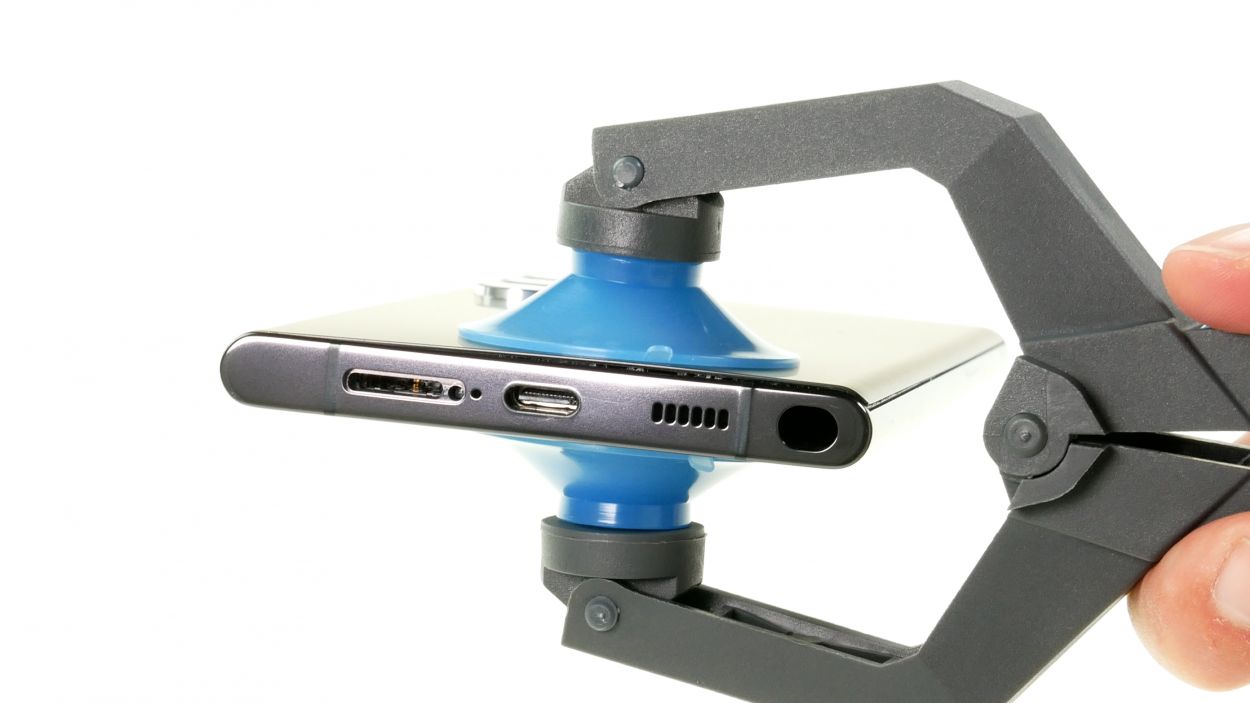
If you’re looking for a friendly alternative to the suction cup, the iSclack is your go-to! It makes lifting the back cover a breeze with way less effort.
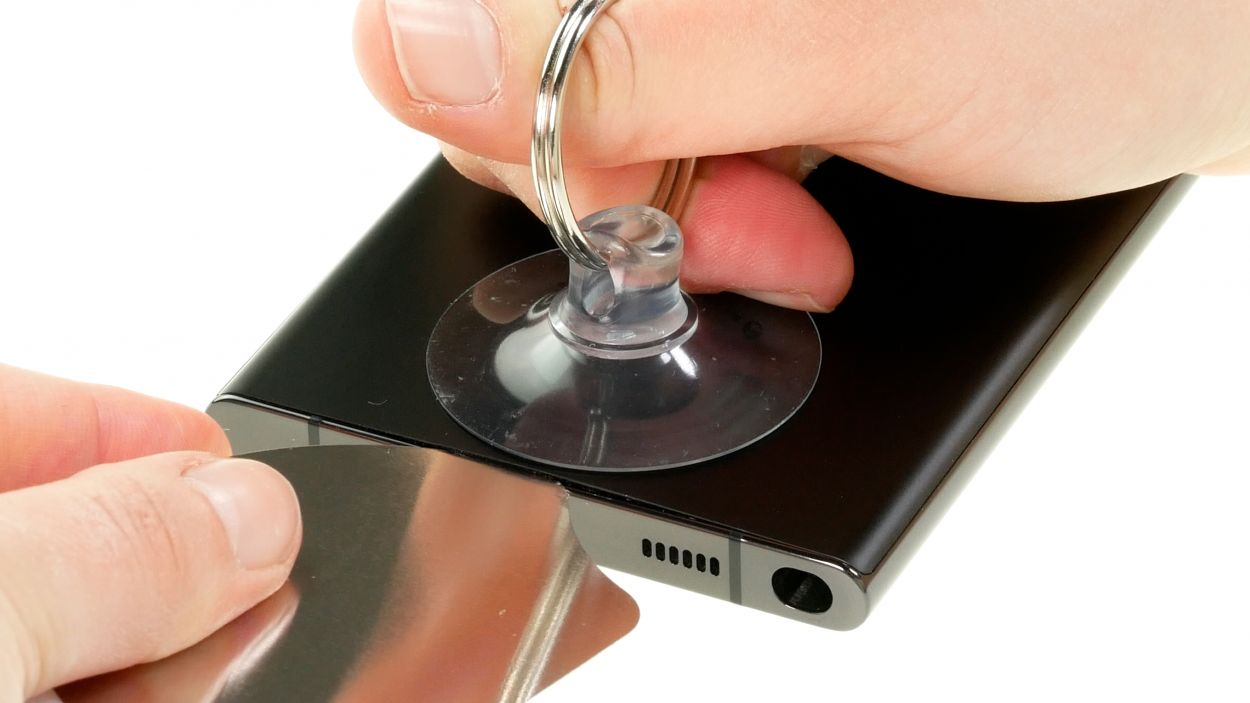
– Stick a suction cup to the bottom edge of the back cover and gently pull it upwards to create a tiny gap.
– While you’re at it, slide a flat tool into that gap between the back cover and the screen unit.
Step 4
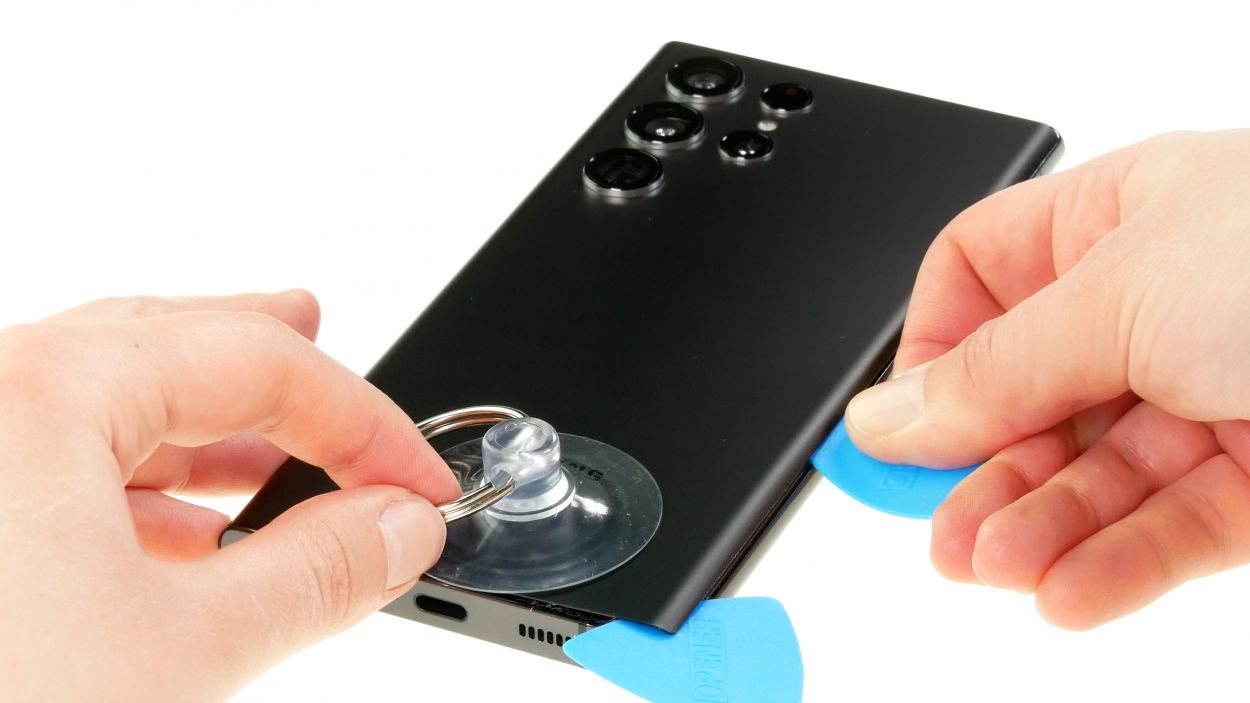
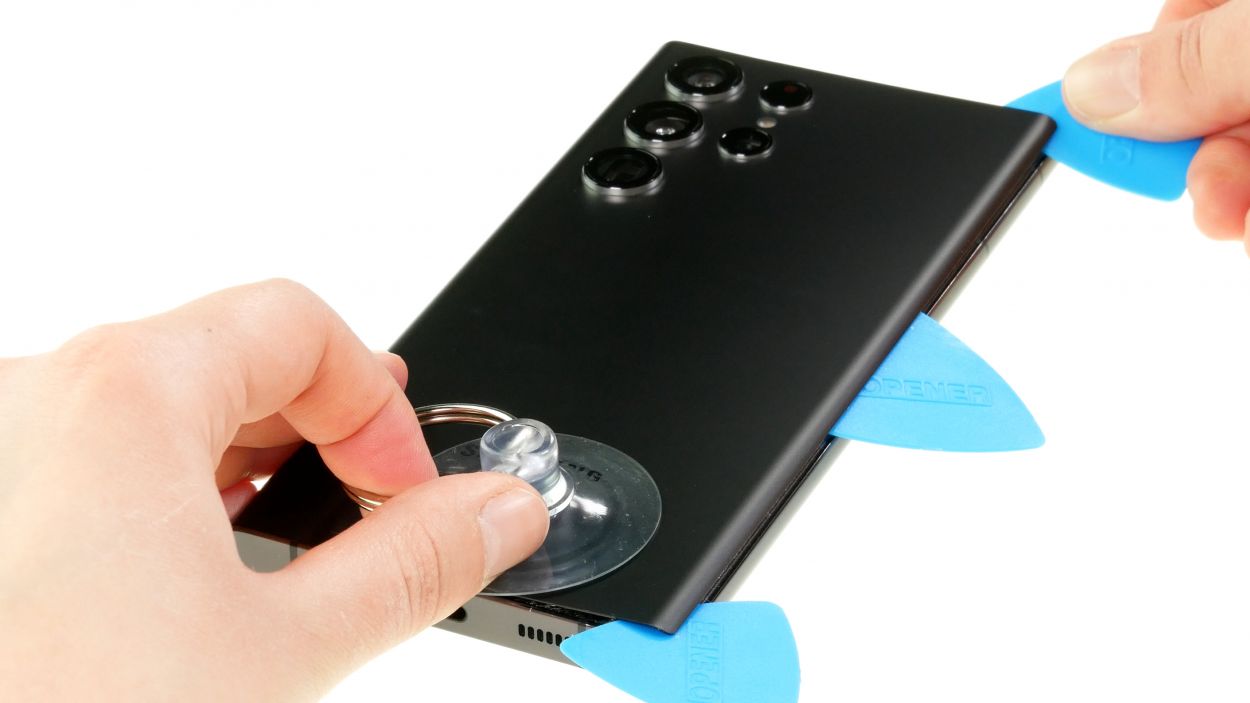

Be gentle with that camera module! Don’t go shoving your tool in too deep. A hard plastic pick is your best buddy here!
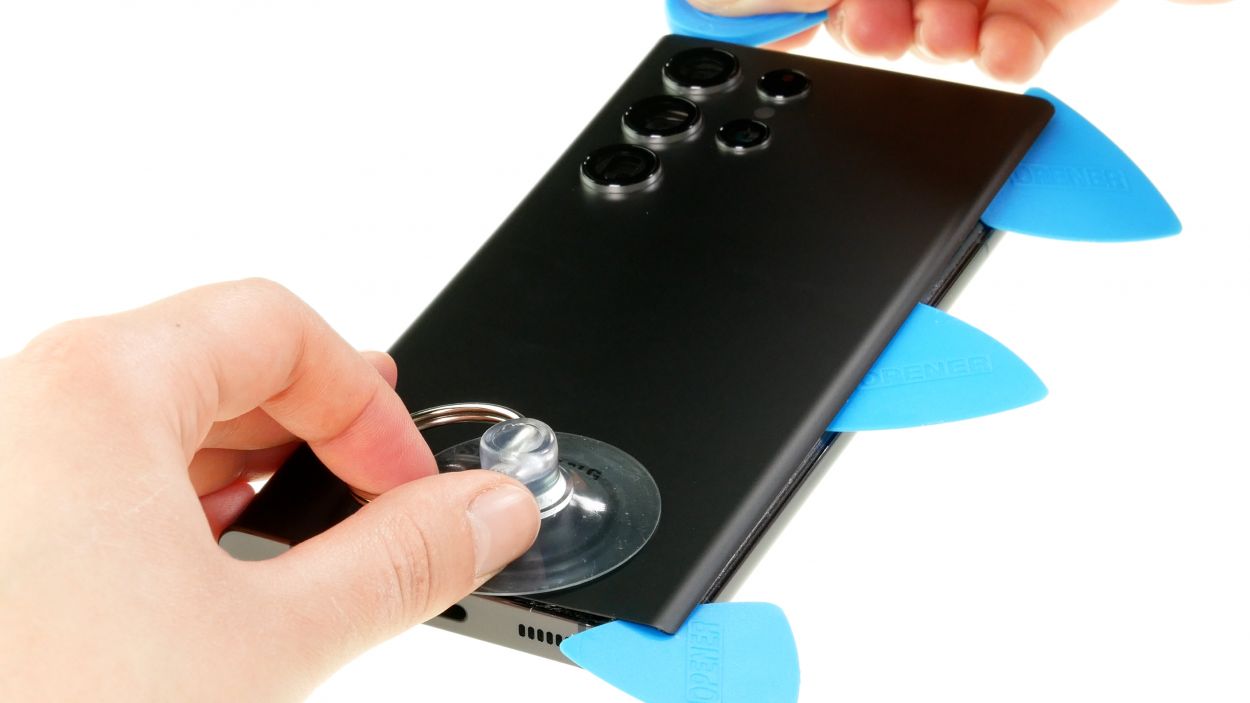
To keep the back cover from getting too cozy with the glue again, we suggest sliding some flat plastic picks under the cover at regular intervals. It’s like giving it a little personal space!
– Run your tool all the way around the edge of the back cover to gently loosen it in sections.
– Once it’s free, set the back cover aside and give it a little wave goodbye.
Tools Used
- heat gun to heat parts that are glued on so they’re easier to remove.
In most cases, you can also use a hairdryer.” rel=”noopener nofollow”>Heat gun - Pick Set
- Flat Picks
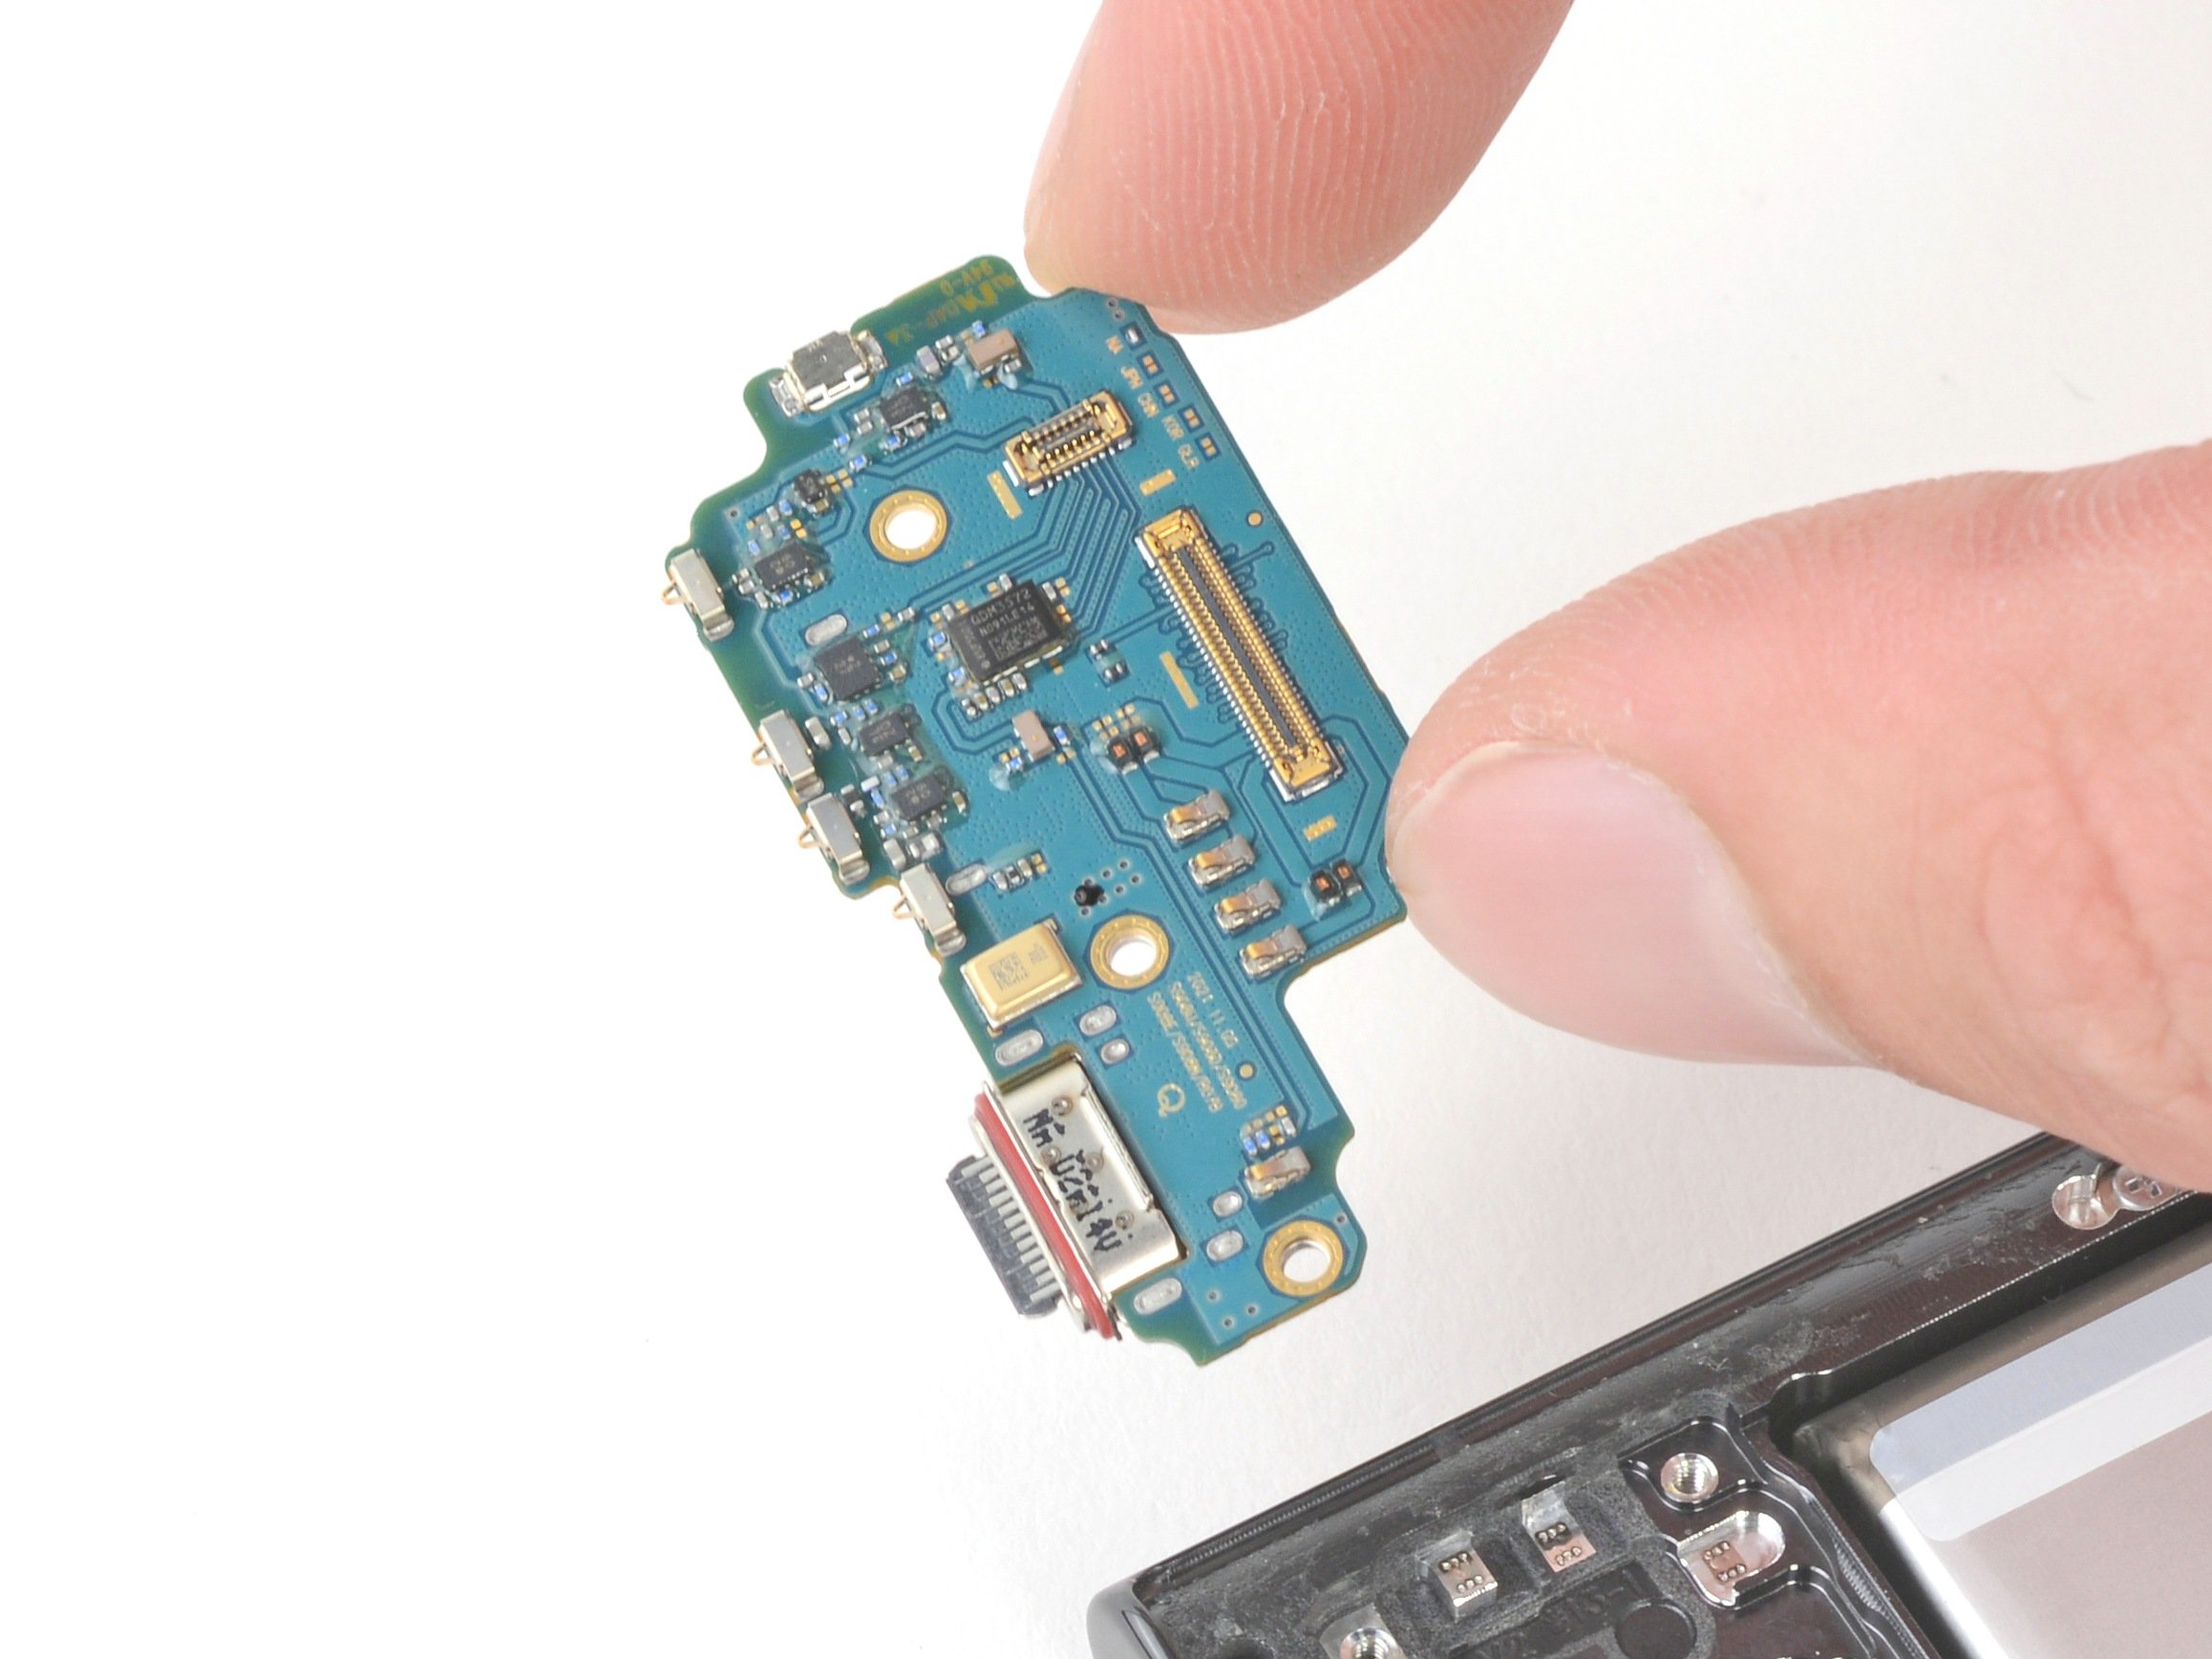
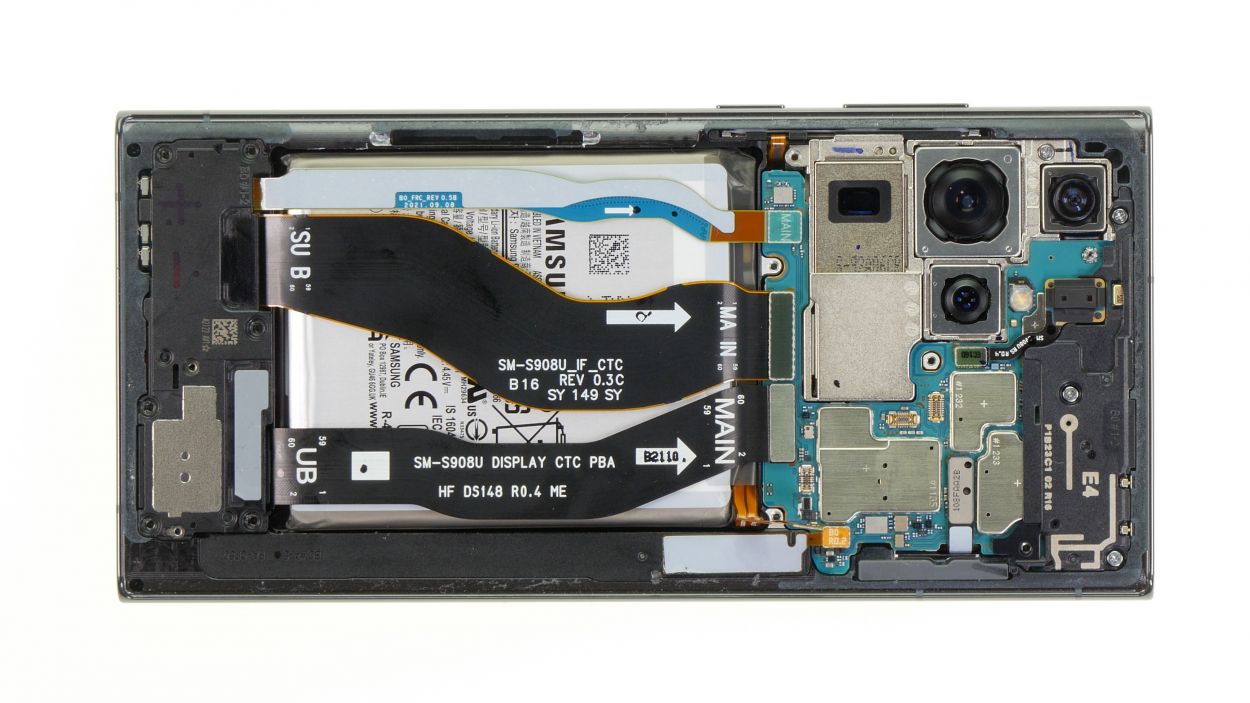
Step 5


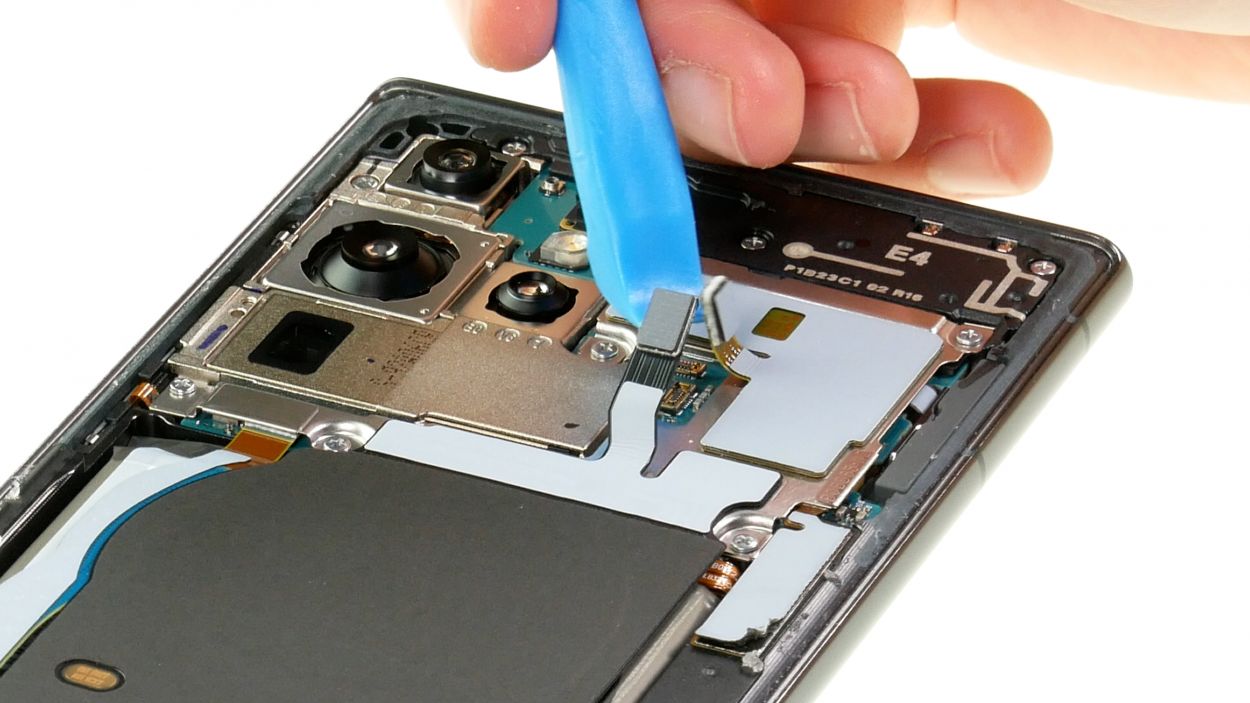
The bottom part of the charging coil is secured with glue, while the top part features a metal cover that’s snugly screwed onto the motherboard. Oh, and guess what? The NFC antenna is cleverly built right into that cover!
– Gently pry apart the connectors for the charging coil and NFC antenna from the board using a spudger.
Tools Used
Step 6


5 × 3.3 mm Phillips
To keep all those tiny screws and parts from playing hide and seek, we suggest using a screw storage solution, like our nifty magnetic pad. It’s a game changer for keeping everything safe and organized!
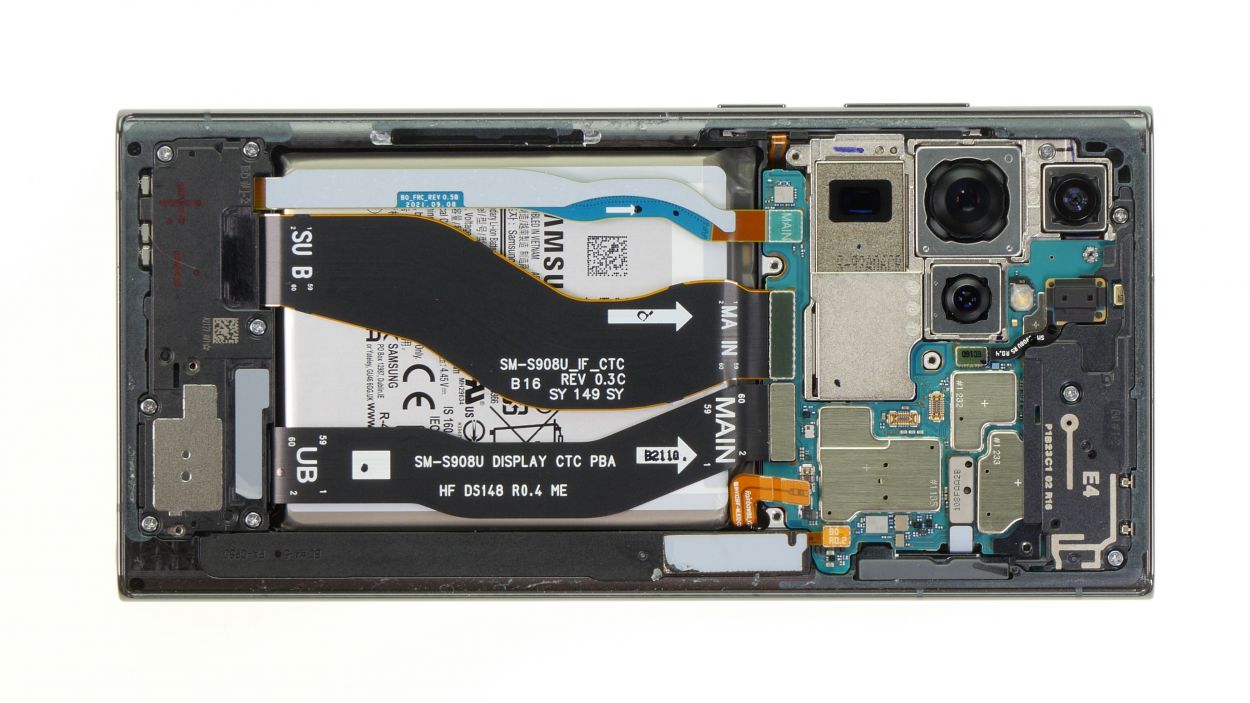
– Unscrew the five Phillips screws that secure the metal cover on the board, and let’s get this party started!
– Now, gently lift that cover up and peel off the lower, glued part of the charging coil from the speaker. You’re doing great!
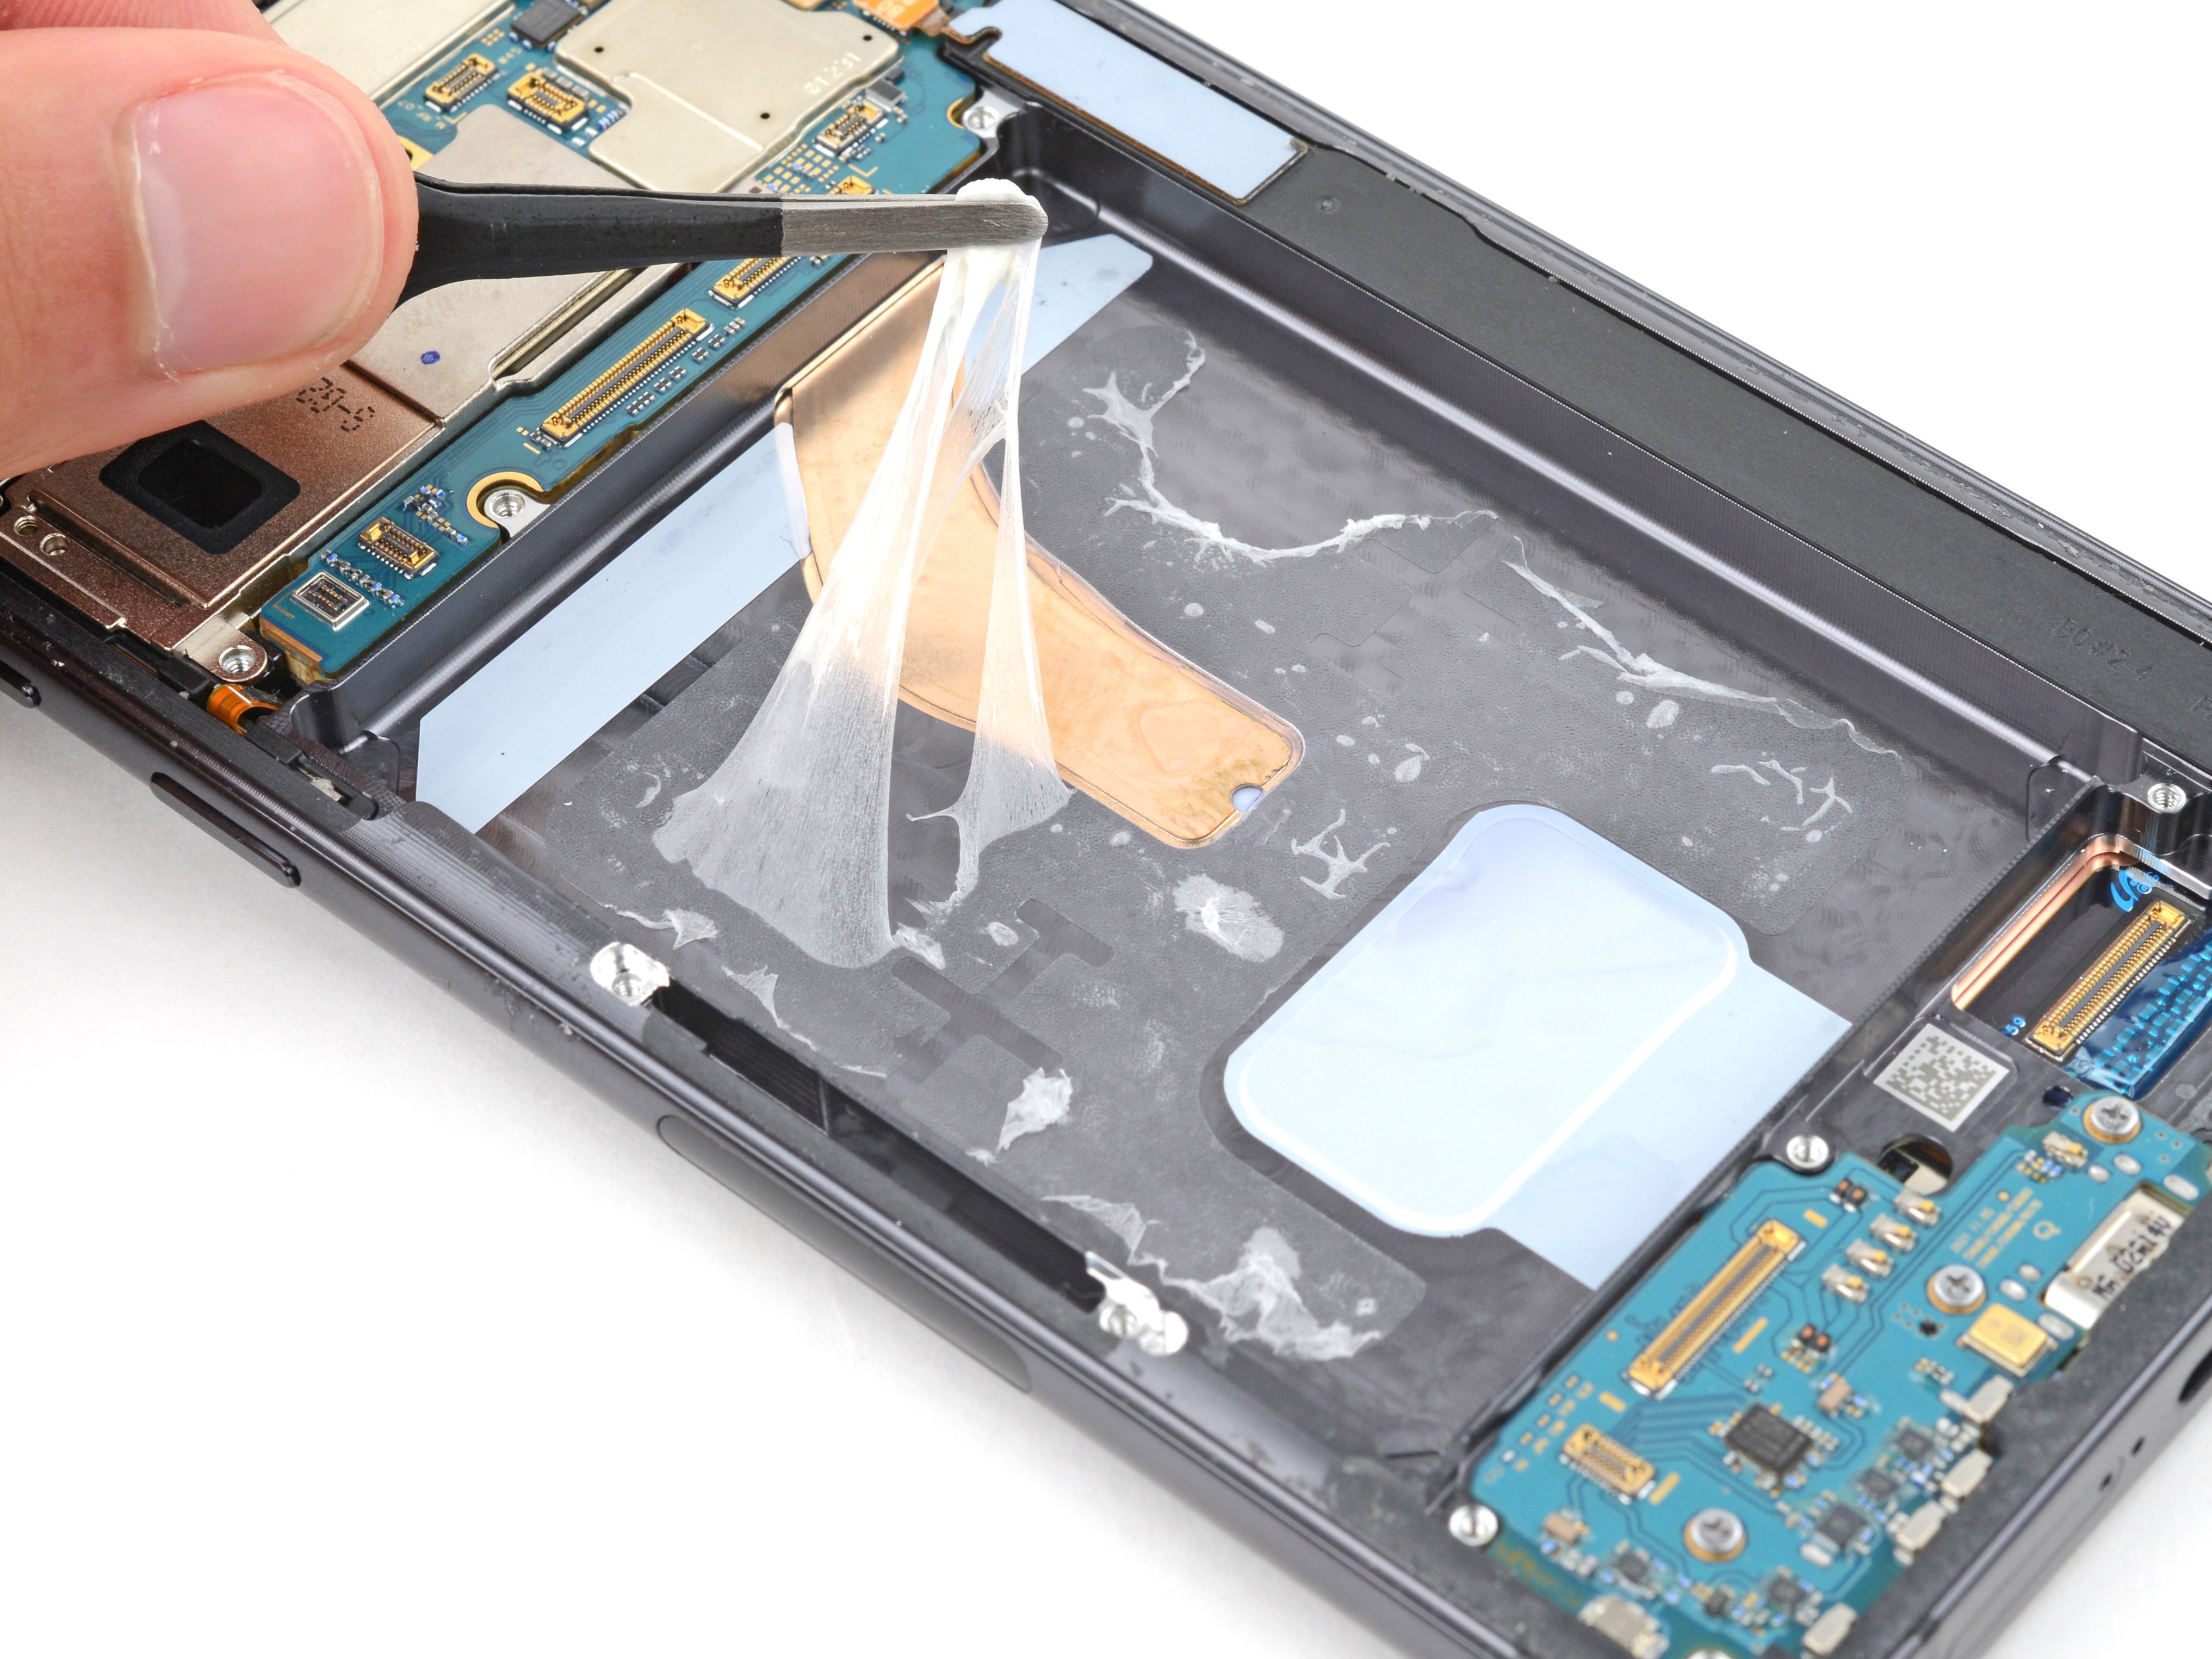
Step 7


Hey there, repair champ! To keep things safe and sound during your gadget makeover, make sure to disconnect that battery right away. It’s a smart move to dodge any potential short circuits!
– Gently remove the orange battery connector from the motherboard using a spudger. You’ve got this!
Tools Used
Step 8
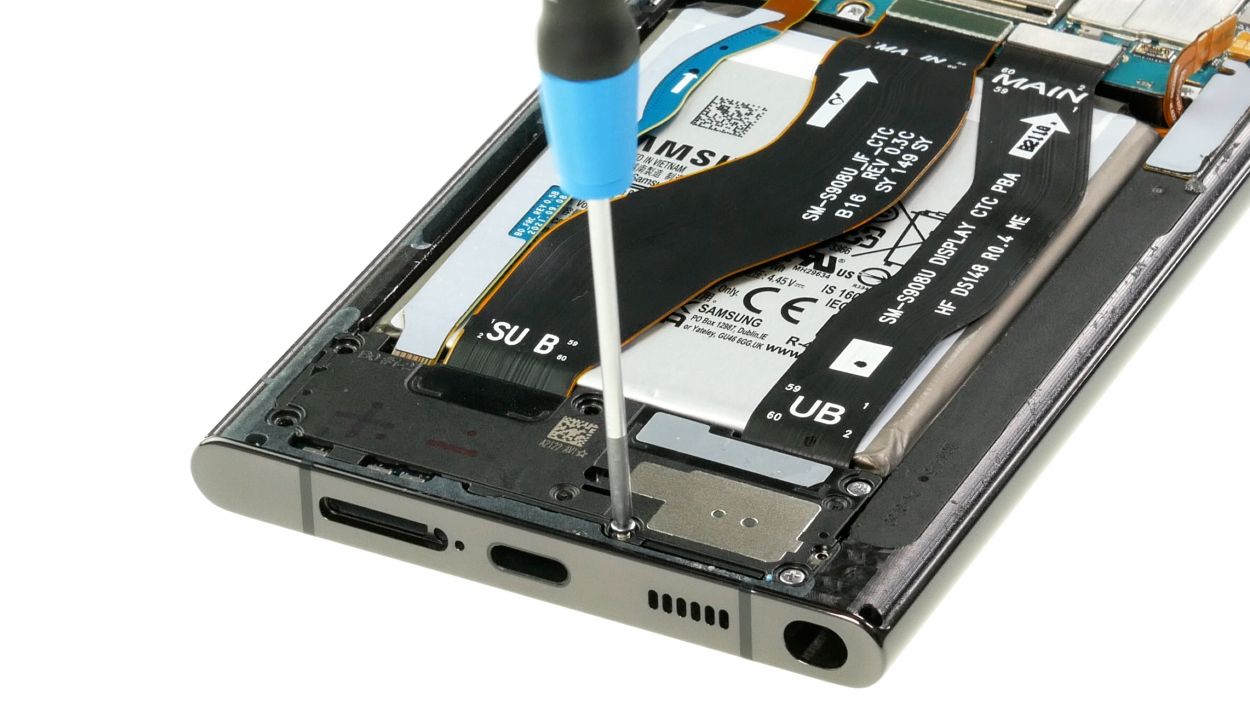

6 × 3.3. mm Phillips
Look for a little arrow and a notch on the component—they’re your guides for where to place your tool just right!
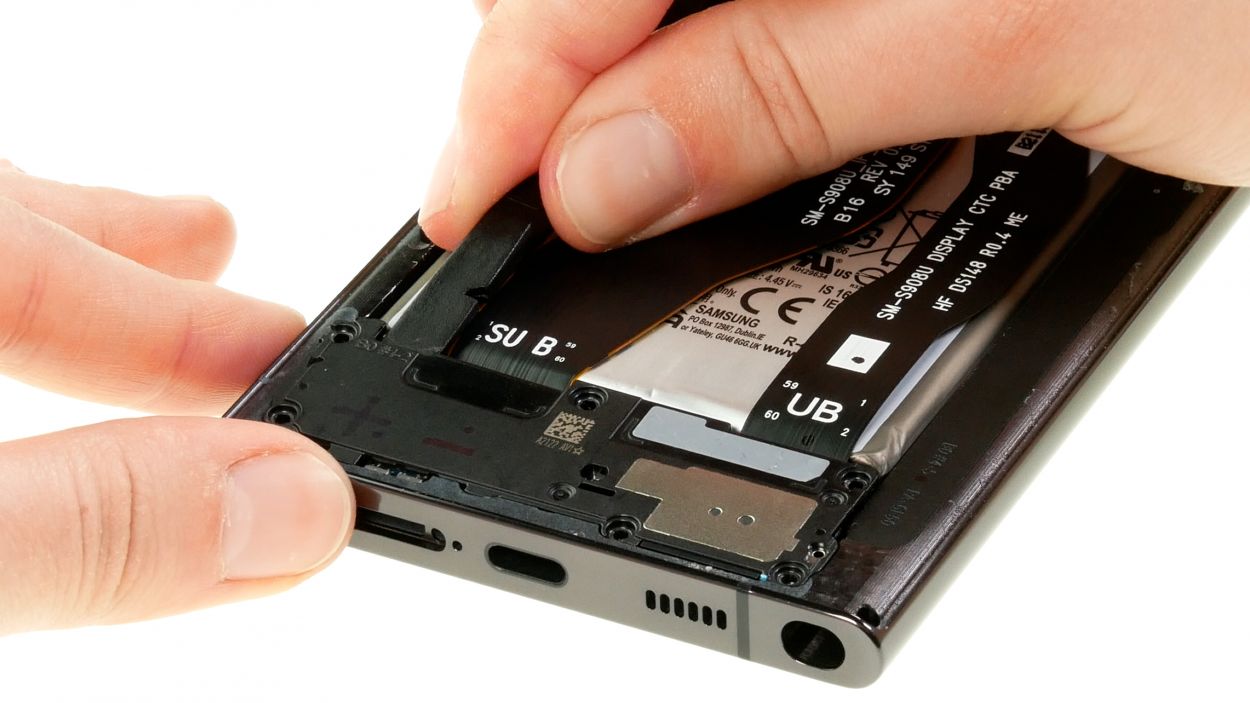
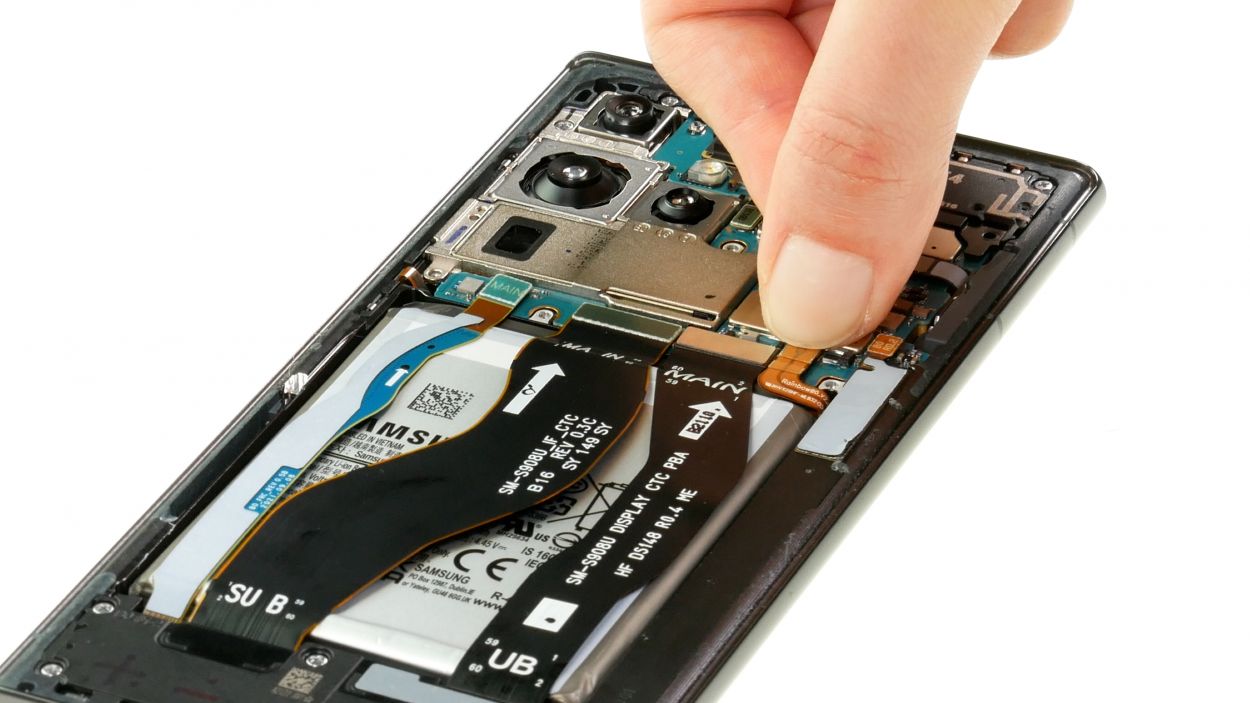
– Start by loosening those six Phillips screws that are keeping the speaker snug and secure. You’re almost there!
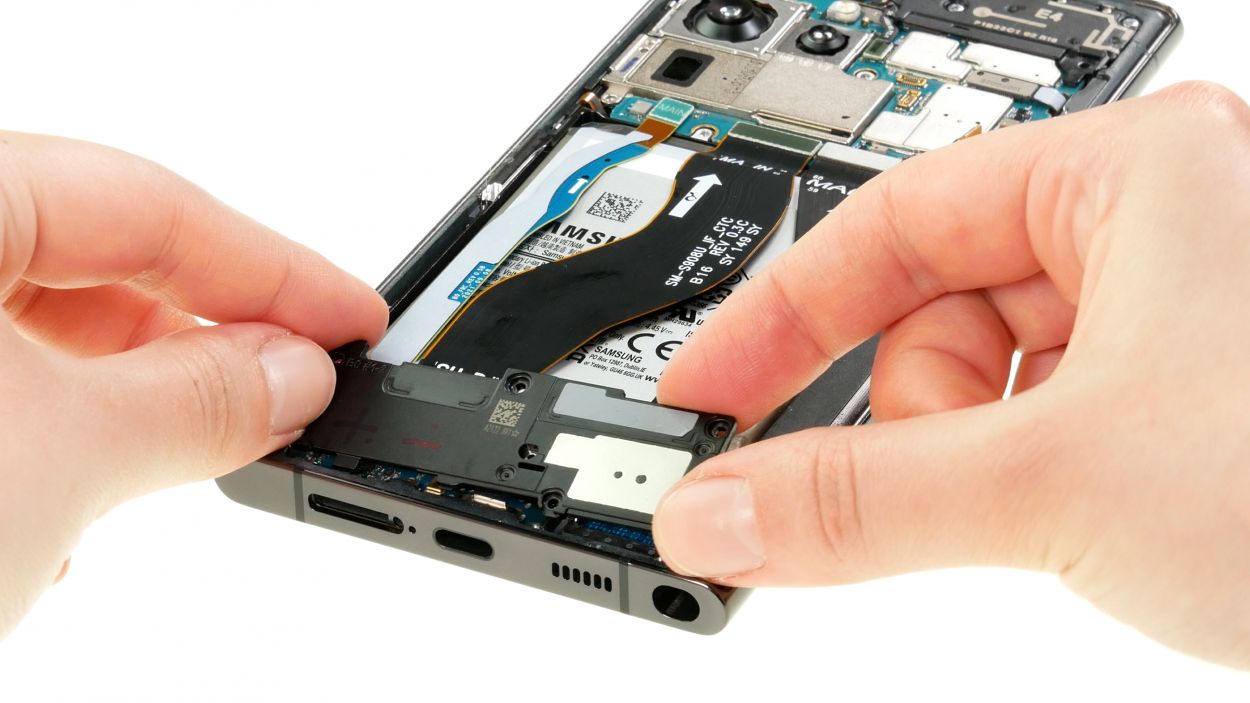
– Now, with a gentle touch, use your trusty spudger to carefully lever the speaker out of its cozy spot and set it aside for now.
Step 9
6 × 3.3 mm Phillips
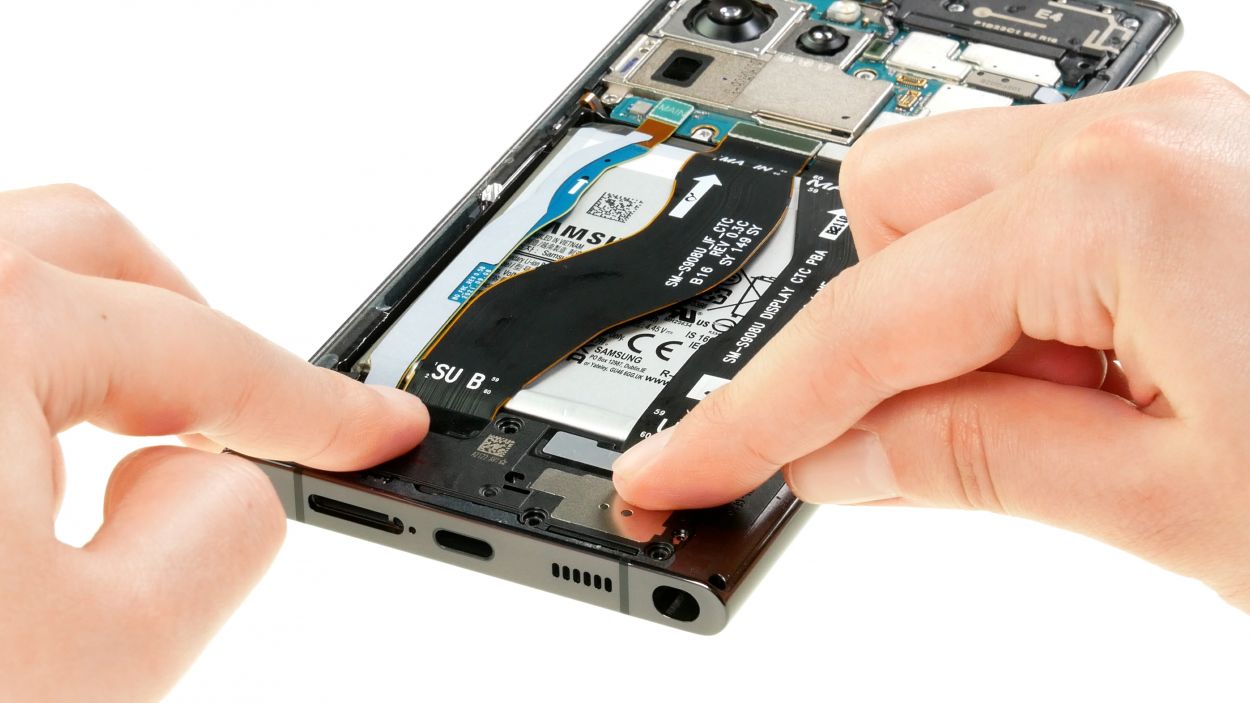
Make sure your speaker is sitting pretty and level all around. Those plastic lugs need to snugly fit into the edge of the case for a perfect match!
– Nestle that shiny new speaker right into the screen unit where it belongs!
– Secure it with the six Phillips screws—let’s make sure it stays put!
Tools Used
Step 10

Hey there, tech wizard! Remember to connect that battery at the very end of your repair adventure. It’s a smart way to keep any pesky short circuits at bay!
– Reconnect the battery by gently pressing its connector onto the motherboard.
Step 11


5 × 3.3 mm Phillips
– Carefully line up the charging coil over the motherboard, making sure those screw holes in the metal cover match up just right.
– Give that glued end a firm press to ensure it sticks like a champ.
– Secure the cover in place by fastening it down with all five Phillips screws.
Tools Used
Step 12


– Gently press the connectors for the NFC antenna and charging coil back onto the motherboard, ensuring they’re snug and secure.
Step 13
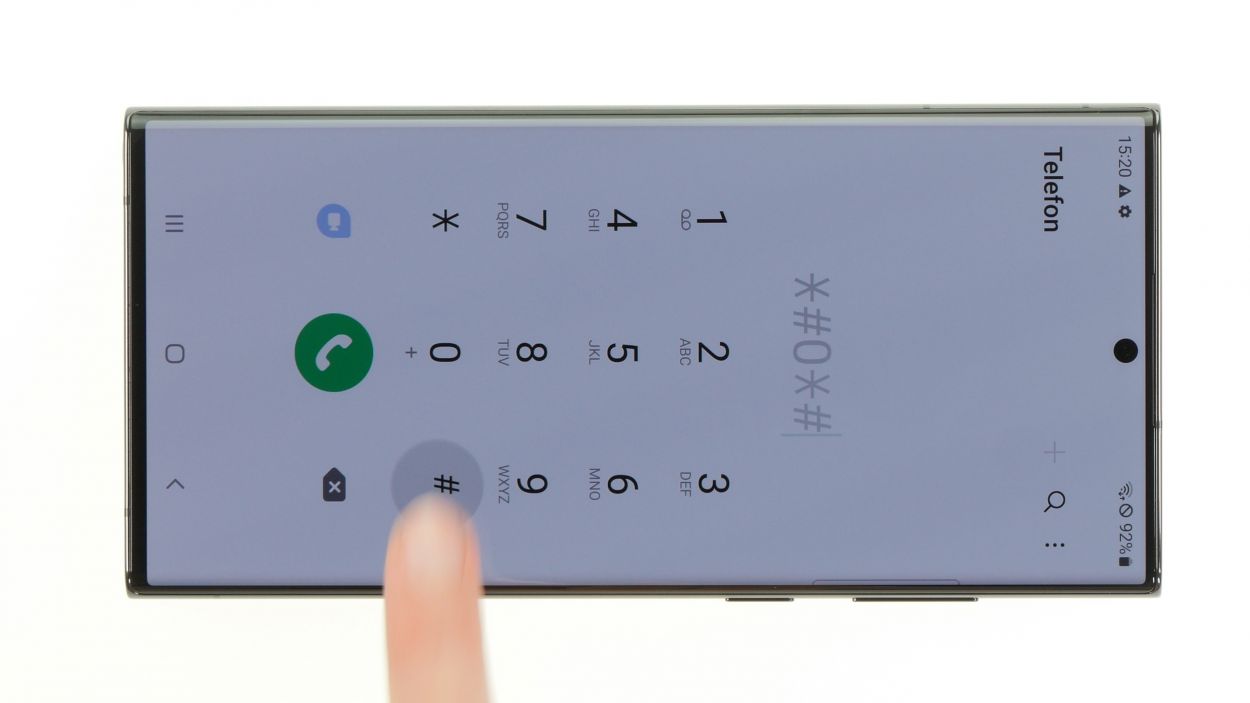
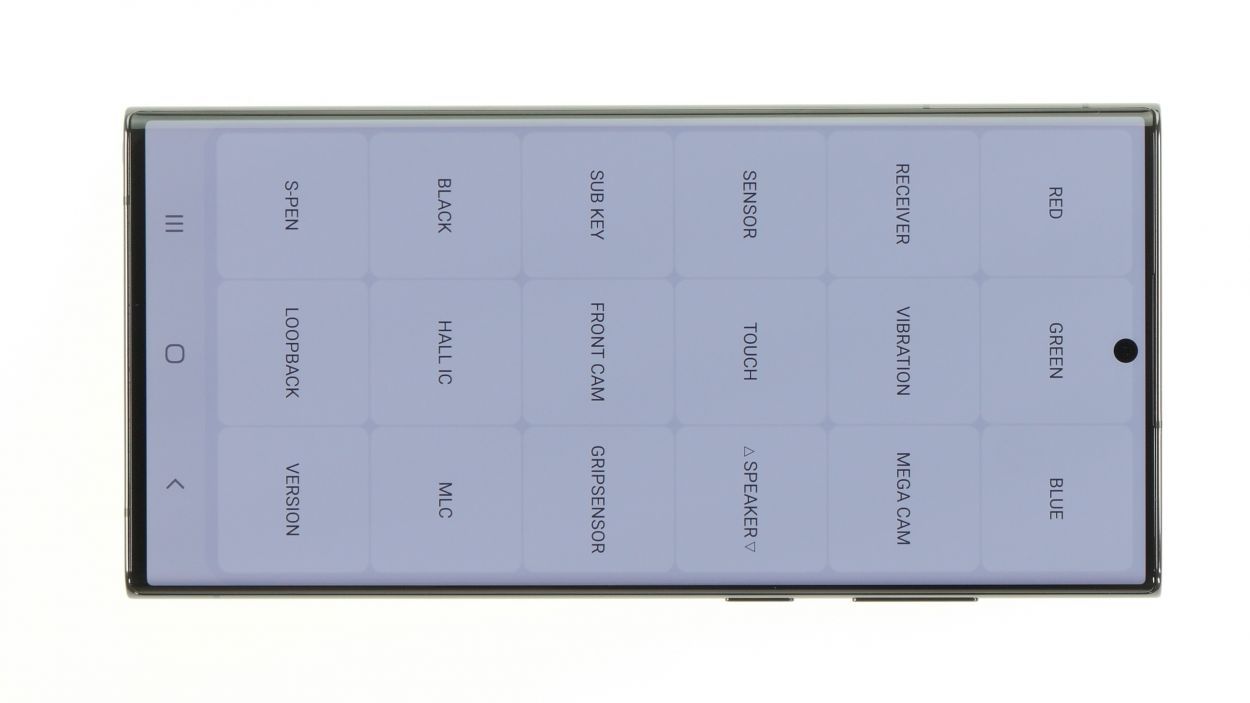
Now it’s time to put your new camera lens to the test! We suggest checking out the basics to ensure everything is working smoothly. Don’t forget to use our handy checklist and access the internal Samsung test menu by dialing *#0*#. You’ve got this!
– Fire up your Galaxy once more!
– Launch the camera app and switch up the mode to give each lens a whirl and see how they’re performing.
Step 14


– Get that new adhesive frame lined up just right with the back cover—those handy cutouts will guide you along the way!
– Peel off the carrier film from the bottom of the adhesive frame and press it onto the edge of the back cover like a pro.
– Now, with a gentle touch, peel away the last bit of protective film from the top of the adhesive frame. You’re doing awesome!
Tools Used
Step 15
For a solid bond, give that back cover a little extra love with some hot air! A quick blast will help the glue stick like it’s meant to. If you want to be extra sure, grab some books and let them sit on your device for a few minutes. It’s all about that perfect seal!
– Wrap up your Galaxy S22 Ultra repair by gently pressing the back cover snugly back onto the screen unit. You’ve got this!
Tools Used
- heat gun to heat parts that are glued on so they’re easier to remove.
In most cases, you can also use a hairdryer.” rel=”noopener nofollow”>Heat gun