
Fnatic STREAK65 Teardown
Duration: 45 minutes
Steps: 6 Steps
Step 1


– Gently unplug the USB-C cable connecting to the keyboard to get things rolling. If you hit any snags, remember you can always schedule a repair for extra help.
Step 2


– Gently pop off the keyboard keycaps with your fingers or, if you’re feeling fancy, use some special tools.
Step 3

– Grab your trusty Phillips #00 screwdriver and remove the 13 screws that are holding the upper cover to the lower body. Once they’re out, you’ll be one step closer to your repair victory!
Step 4

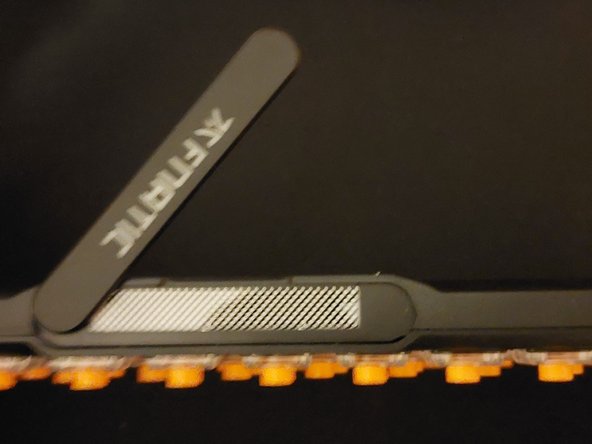
– Gently pop off the light bar using a nail or a spudger. It’s like giving it a little nudge to say, ‘Hey, time to come off!’
Tools Used

Step 5


– Start by carefully removing the top cover to access the motherboard, which has the soldered switches attached. Take your time to lift it off gently—no rush needed. If you need help, you can always schedule a repair.
Step 6
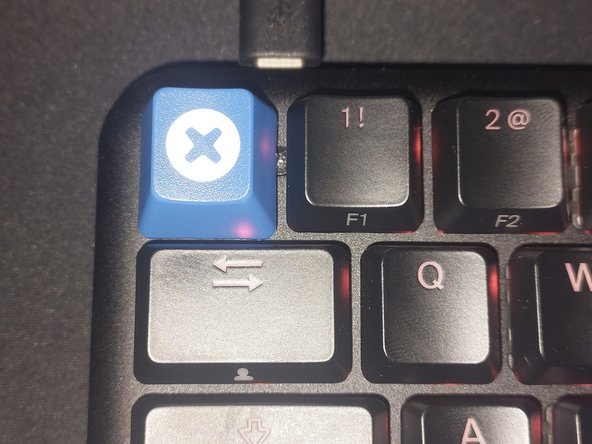

P.S. Feeling like switching things up? Why not swap out one of your keyboard keys for a cool new keycap? It’s a simple way to give your keyboard a fresh look. Plus, it’s a fun little upgrade that won’t break the bank.
– To put your keyboard back together, just work your way through the steps in reverse. You’ve got this! And hey, if things get tricky, you can always schedule a repair.
Success!