Synology DiskStation DS718+ NAS Repair Guide
Duration: 45 minutes
Steps: 14 Steps
Here’s a straightforward step-by-step guide to disassemble each part of the NAS until you reach the motherboard. Keep in mind, this process isn’t super complex—most user-replaceable components like storage disks and memory modules are now easily accessible without full disassembly. This is a big step forward compared to earlier models where swapping a single RAM stick meant tearing everything apart. Only the memory stack on the motherboard and the fans require full disassembly to replace or upgrade. Estimated dismantling time is around an hour, but with photos, you might get it done in 20 to 30 minutes. The photos were taken with an iPhone SE and a portable LED studio, so check the images for guidance. If you need help, you can always schedule a repair.
Step 1

The NAS DS718+ is packed with 4 GB of RAM (expandable to 6 GB), an INTEL Celeron J3455 64-bit Quad-core processor, and two bays ready to house your SATA drives, whether you prefer HDD or SSD. It’s all about keeping your storage sleek and smooth!
– FRONT PANEL : you can notice on the right side, disks LEDs disapeared. You can find them now just on the top of the disk bays.
– status LEDs
– power buton (startup / shutdown)
– 1 x USB 3 port
– “copy” buton
– 2 x disk support (caddy / cage)
– disk bay lock
Step 2

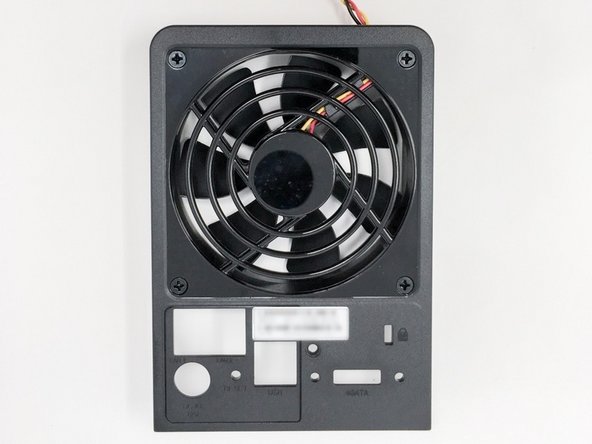
– REAR PANEL
– One 92mm cooling fan to keep things chill
– Two Gigabit Ethernet RJ45 ports for all your speedy connections
– A pair of USB 3 ports for your gadgets
– One eSATA port for extra storage options
– Power connector—plug in here to bring it all to life
– Kensington lock slot (K-lock) to keep your gear safe
– Reset button for those fresh starts
Step 3
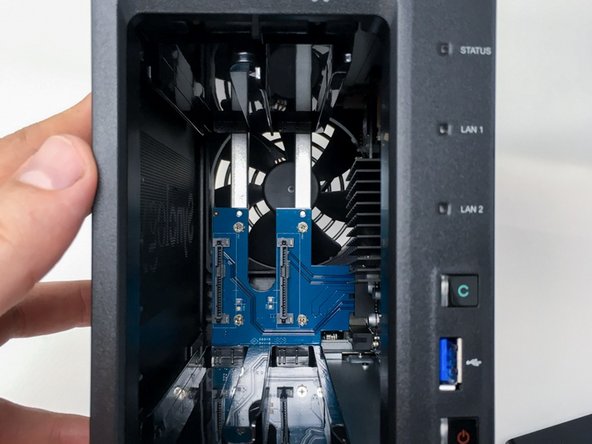


In the previous version (DS716+ II), you could do this step, but a sneaky piece of metal blocked the memory from coming out.
– Before you dive in, grab the key and unlock the disk media.
– Cool upgrade alert: The memory slots are now an easy reach!
– Here’s the first memory slot—nice and accessible.
– Second memory slot (this one’s empty, but ready for action).
Step 4


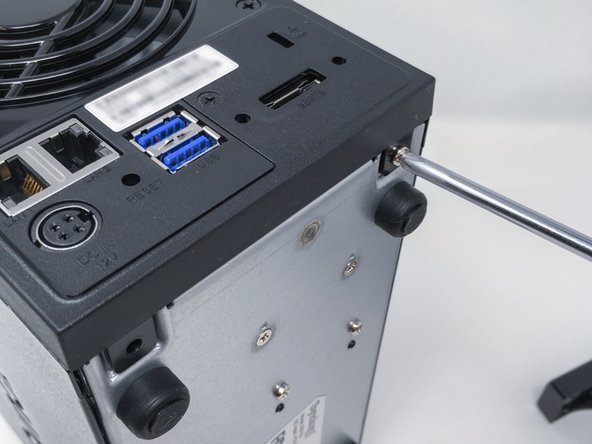
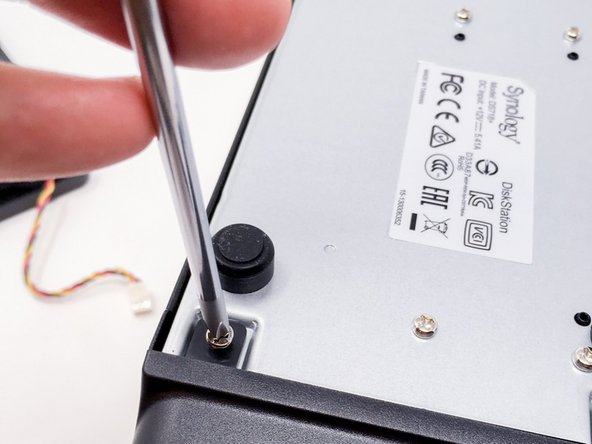
– 1 – Flip your NAS over and unscrew the two little guys hiding on the back side.
– 2 – Next, tackle the single screw hanging out in the middle of the rear panel.
Step 5
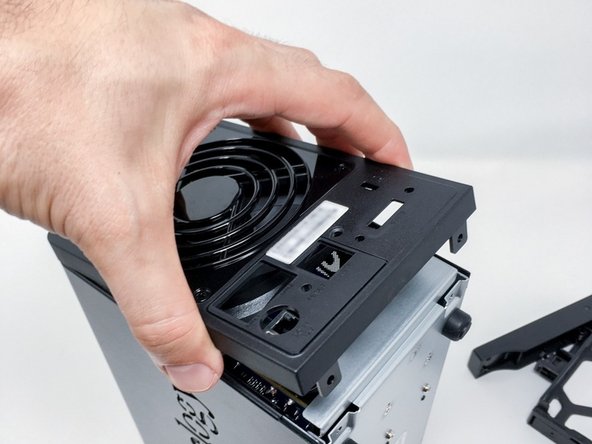


The back cover is secured by two notches that snap right into the case. Just give it a gentle lift to release it from those locking points.
– Let’s get that rear panel off—easy does it!
– Gently pull the lower part away so the little lugs don’t bump into the case, then keep going.
– Now, slide the front panel upwards—like you mean it, but with finesse.
Step 6
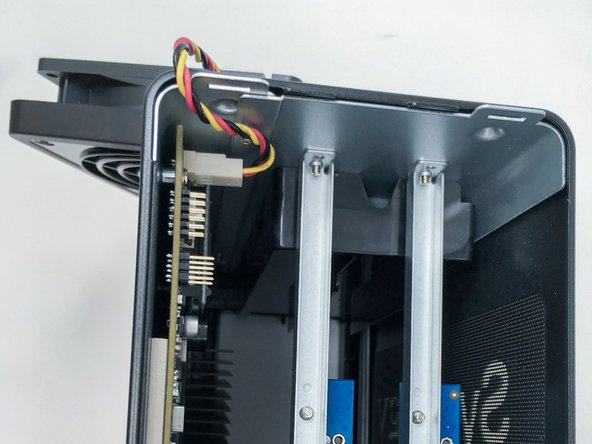

– Once you’ve got the fan out, gently disconnect its connector from the motherboard to free it up. If you need help, you can always schedule a repair.
Step 7
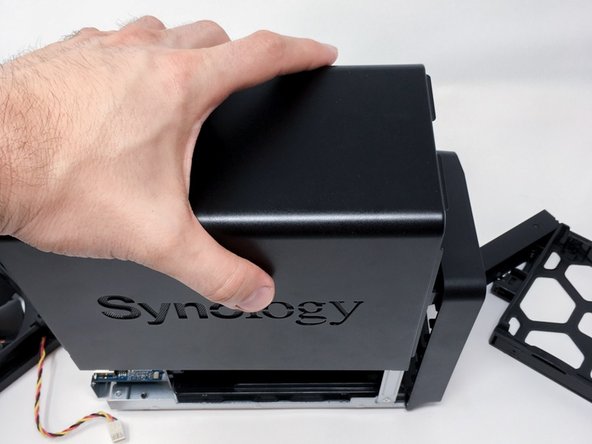


– Once the rear panel is off, it’s time to tackle the housing. Gently slide the cover back about 1 cm, then lift it up like you’re revealing a hidden treasure. Easy does it!
Step 8

– Alright, we’re almost there! Just the front to remove now. Take a deep breath, you’re doing great!
– Check out these photos of the case and the internal parts, including the screws. They’re here to help guide you along the way.
Step 9


– Start by removing the two screws located beneath the front box area, then proceed to gently lift the cover. Just like with the back panel, carefully raise the hood a bit to get it out of the way. If you need a hand, you can always schedule a repair.
Step 10


– and remove the front panel …
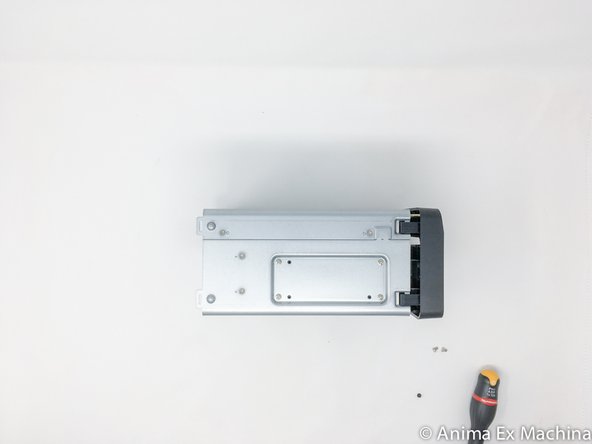
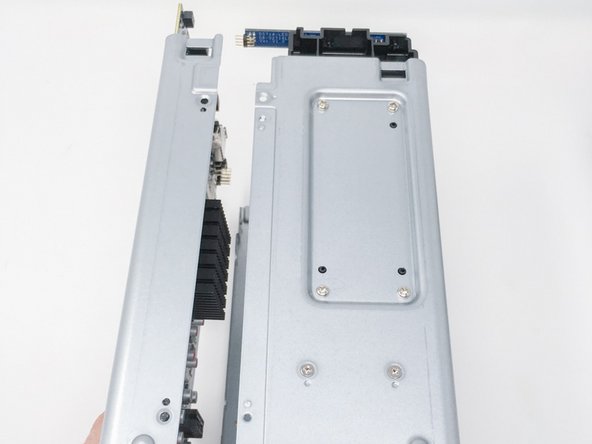
Step 11
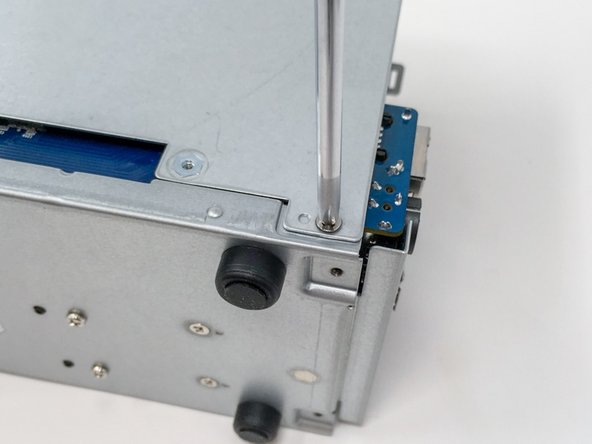

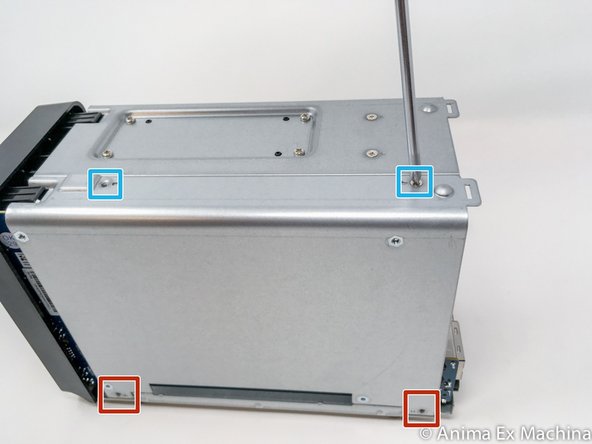
– Unscrew 4 screws to get things started.
– Next, remove the 2 screws from the right side panel.
– And don’t forget the 2 screws up top – they’re the last step before you move on!
Step 12
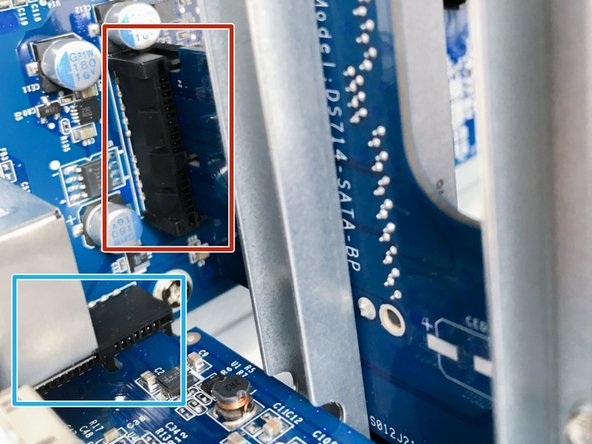


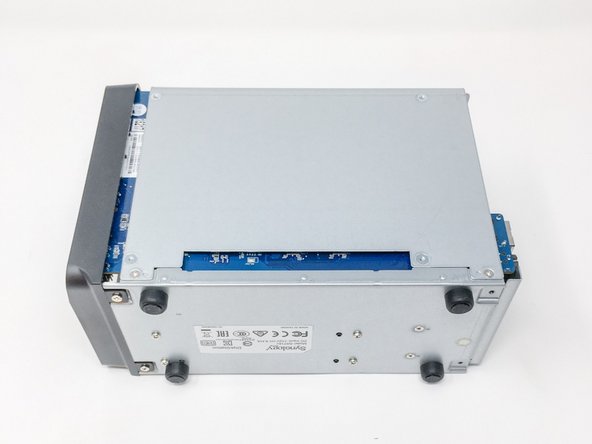
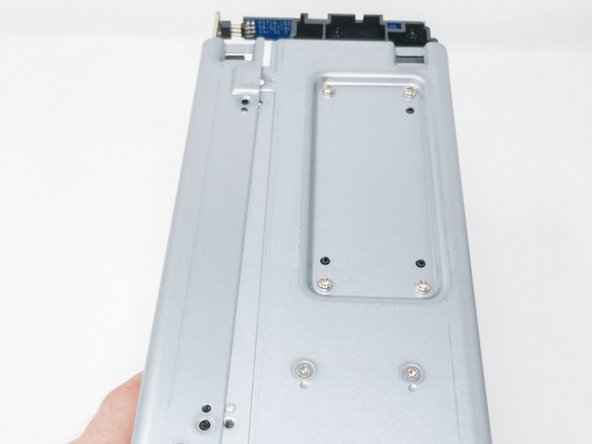
Handle this part with care—it’s just as tricky to put back together as it is to take apart. Take your time and check each step before you jump in.
– The info here is on point, but heads up: the connector for the LED card is pretty delicate. Be gentle when you pop off or put on the side flange—no need to muscle it.
– LED disk electronic card
– SATA backplane riser (daughter card or electronic card)
– USB and e-SATA riser electronic card
Step 13

Keep an eye on that shiny metallic tape—if you can, peel it off to make the job easier. It’s just there to keep things in place, but removing it now can save you headaches later. If you hit a snag, remember you can always schedule a repair for extra help.
– INSTRUCTIONS :
– Grab both hands and get ready to work your magic…
– Gently pull, take your time—no need to rush!
– Make sure everything comes apart smoothly—no need for extra muscle!
Step 14


The last few photos just aren’t looking great? No worries, let’s take a closer look and sort it out together. With a bit of tweaking, your camera will be snapping sharp shots again in no time!
– Let’s start with the motherboard (processor side) – the brain of your device. Handle with care, it’s crucial to keep everything intact so your device can run like a champ!
– Next up, the memory card. It’s where all your data lives, so make sure you give it a gentle touch. Don’t stress, it’s just another quick step to getting your device back in shape!