DIY Guide to Replace iPhone 7 Plus Rear Camera
Duration: 45 min.
Steps: 15 Steps
In this guide, we’ll walk you through the process of swapping out a faulty rear camera in your iPhone 7 Plus all by yourself! If your rear camera is acting up, your photos are coming out fuzzy, or it just won’t focus, it’s time for a little DIY magic. Before you dive in, make sure to back up all your data and give yourself a little zap-free boost by touching something metal, like a radiator, to discharge any static. Let’s get started!
Step 1
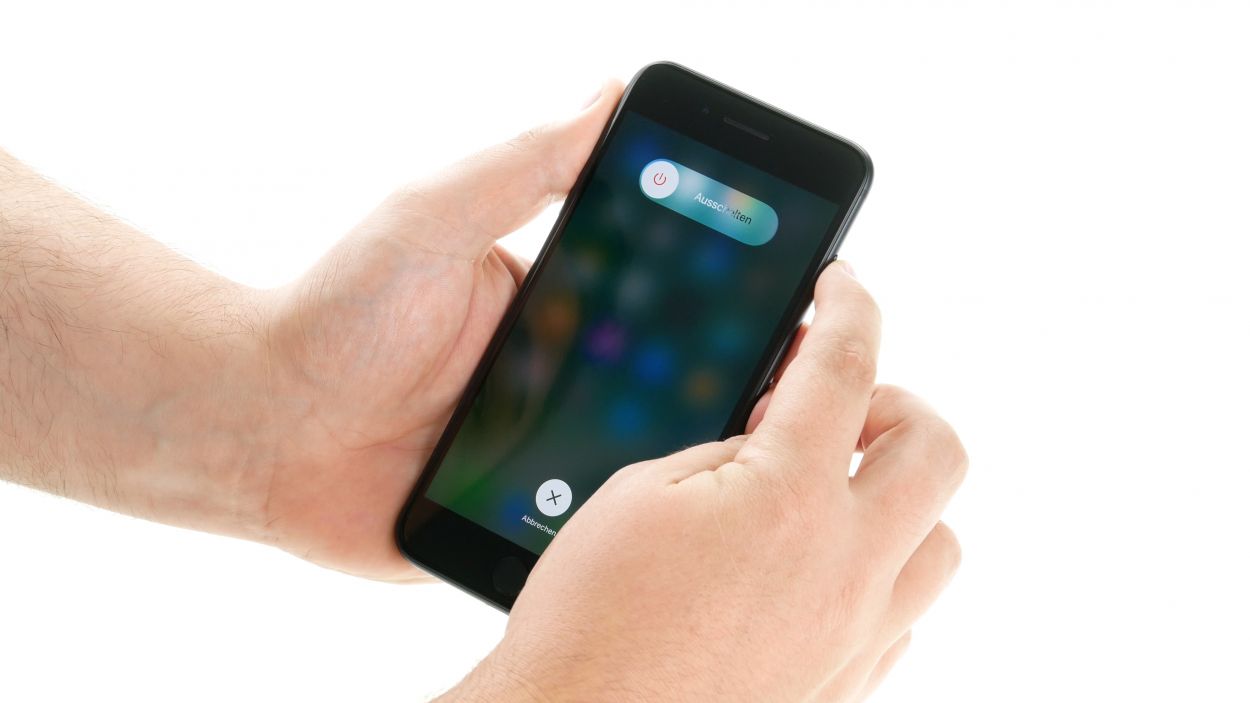
– Turn your iPhone off completely to avoid damaging it during the repair. Turn your iPhone off completely to avoid damaging it during the repair.Press the Sleep/Wake button for about three seconds until the slider labeled “power off” appears.
– Swipe it from left to right. Now your iPhone will shut down completely, which can take about ten seconds.
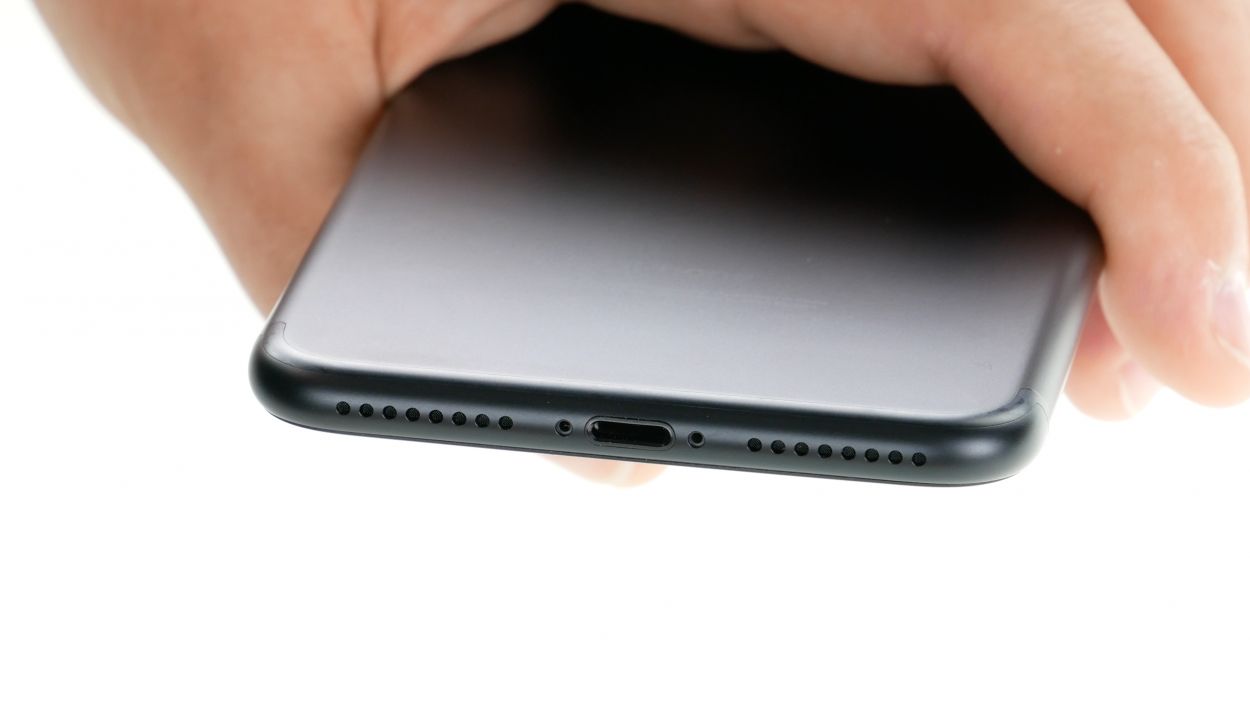
Step 2
2 × 3,3 mm Pentalobe
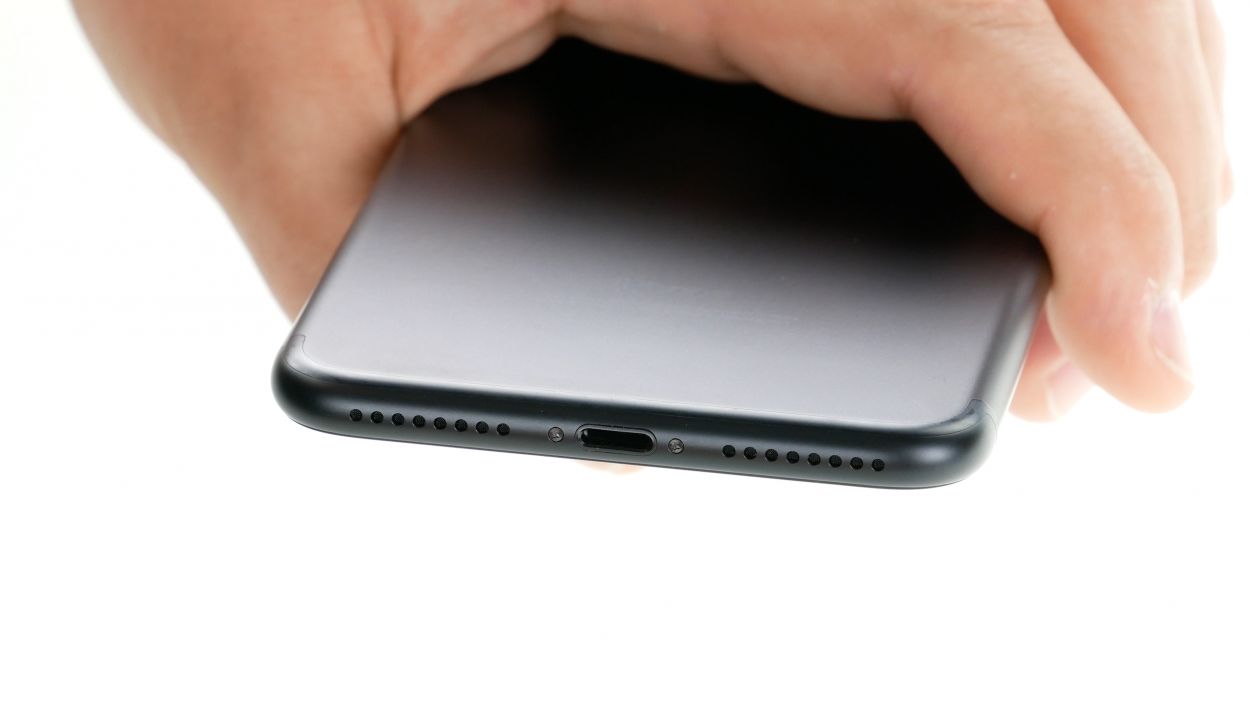
– Grab your trusty pentalobe screwdriver (PL1) – it’s your key to unlocking the magic of the iPhone 7 Plus!
– Now, let’s tackle those two pentalobe screws hanging out at the bottom of the case, right by the Lightning connector. Keep them safe and sound in the same section of your magnetic pad, so you won’t misplace them.
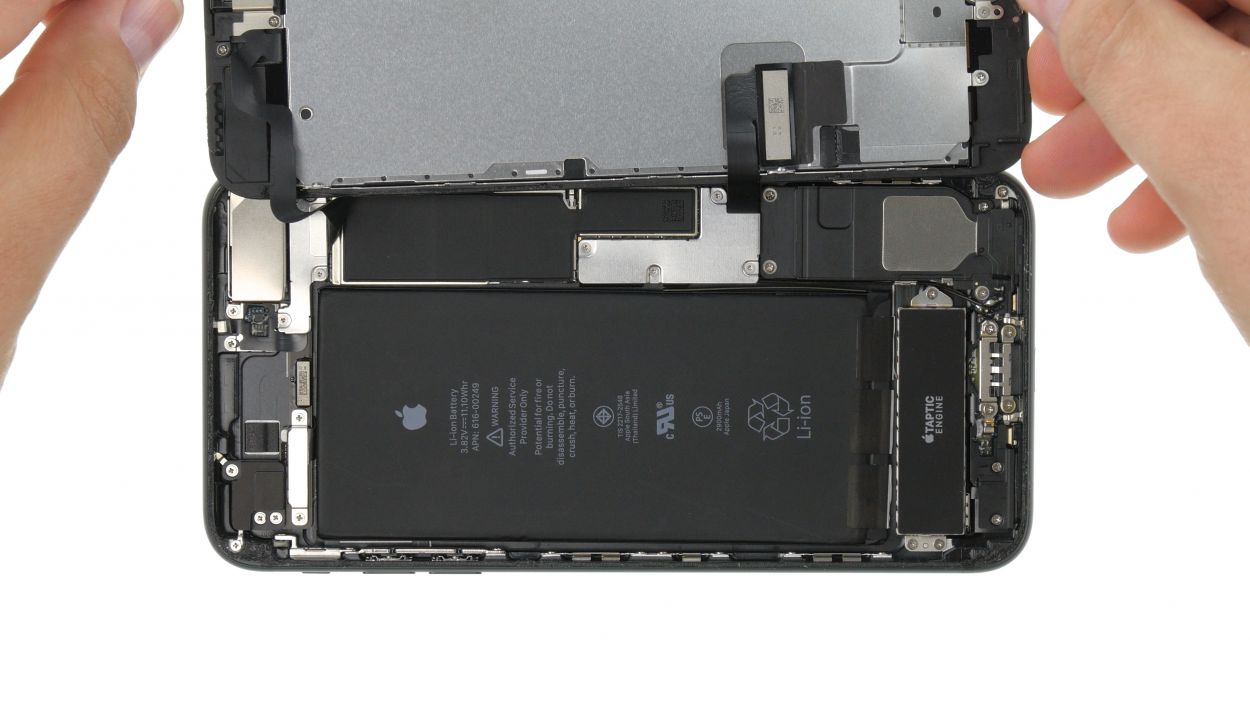
Step 3


If you need to, give the outer edges of the display a little warmth a few times. Just a friendly reminder: the flex cables for the display are located on the side with the Sleep/Wake button. Oh, and don’t forget, the display is also secured at the edge of the earpiece!
– Keep your iPhone 7’s back safe and sound by placing it on a soft, clean surface. No scratches allowed!
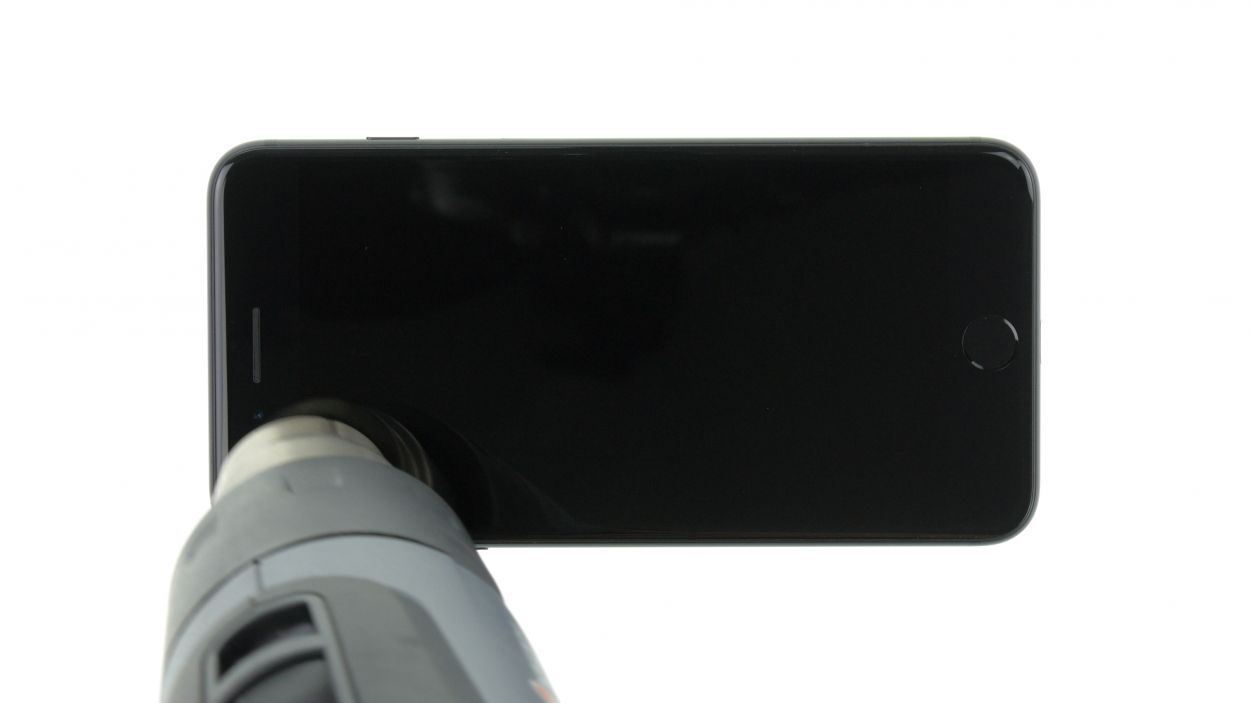
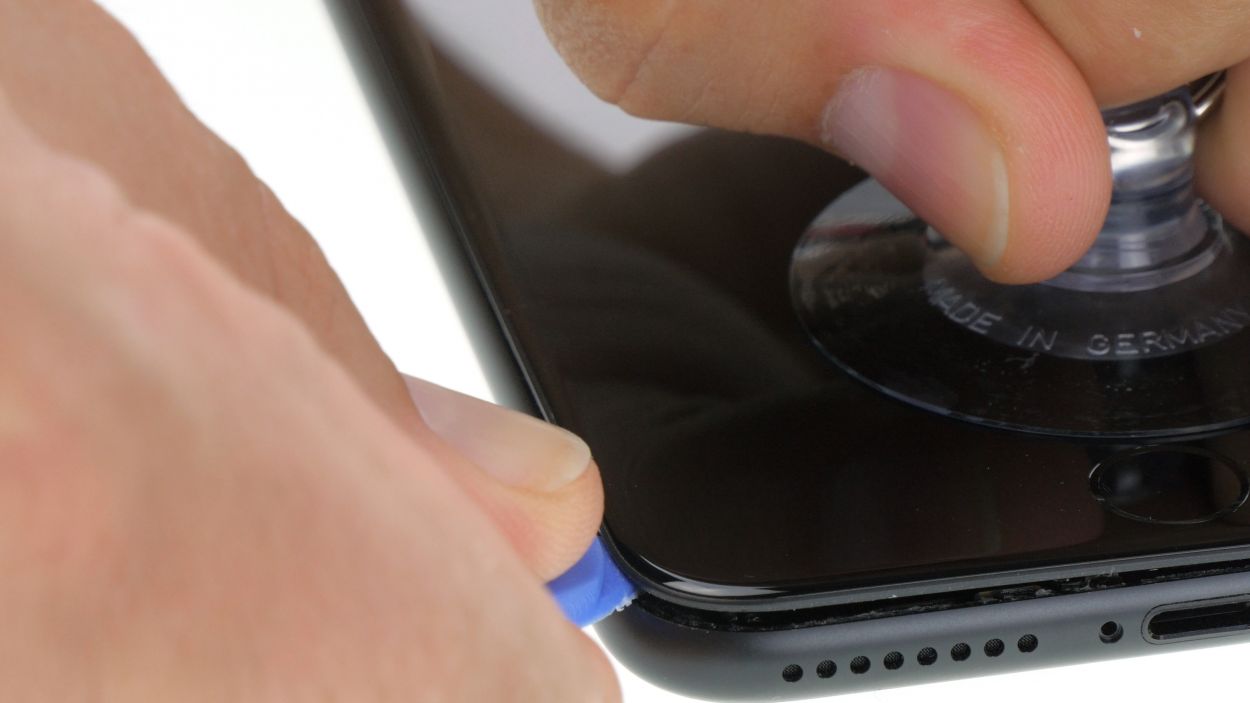
– To lift that front screen, you’ll need a suction cup, a hard plastic plectrum, and a heat gun. If the screen is looking a bit worse for wear, cover it with some package tape first.
– The screen is glued to the frame, so let’s warm things up! Use a heat gun to heat the edges of the display to about 60°C.
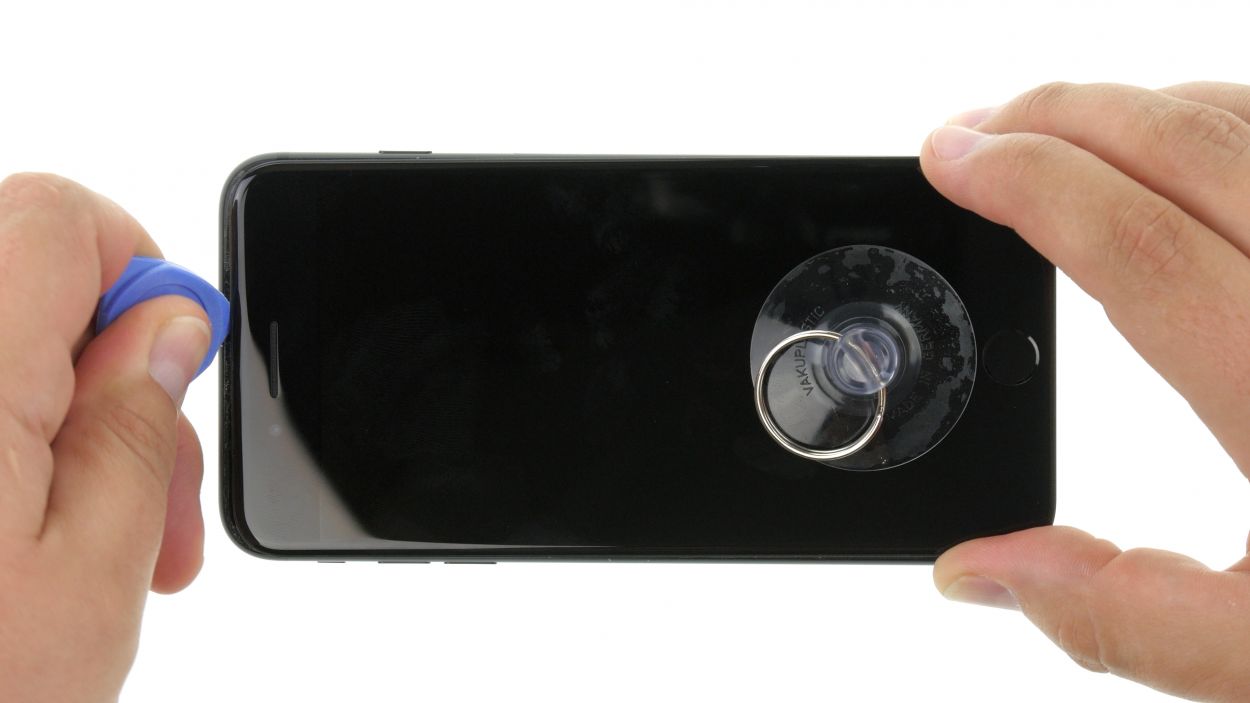
– Position the suction cup over the Home button (if you can) or right next to it. While you gently lift the screen with the suction cup, slide the hard plastic pick between the aluminum frame and the display, pressing down on the frame. Since the display is glued on, you’ll need to slide the pick all around the iPhone. Just a heads up: don’t go too deep on the side with the Sleep/Wake button to avoid damaging those delicate display cables.
– Now, use that pick to nudge the display towards the Lightning connector so the tabs can pop out of the aluminum frame.
– Rest the display on the aluminum frame to avoid overstretching those flex cables. You’re doing great!
Step 4


1 × 2,4 mm Y-Type
3 × 1,1 mm Y-Type
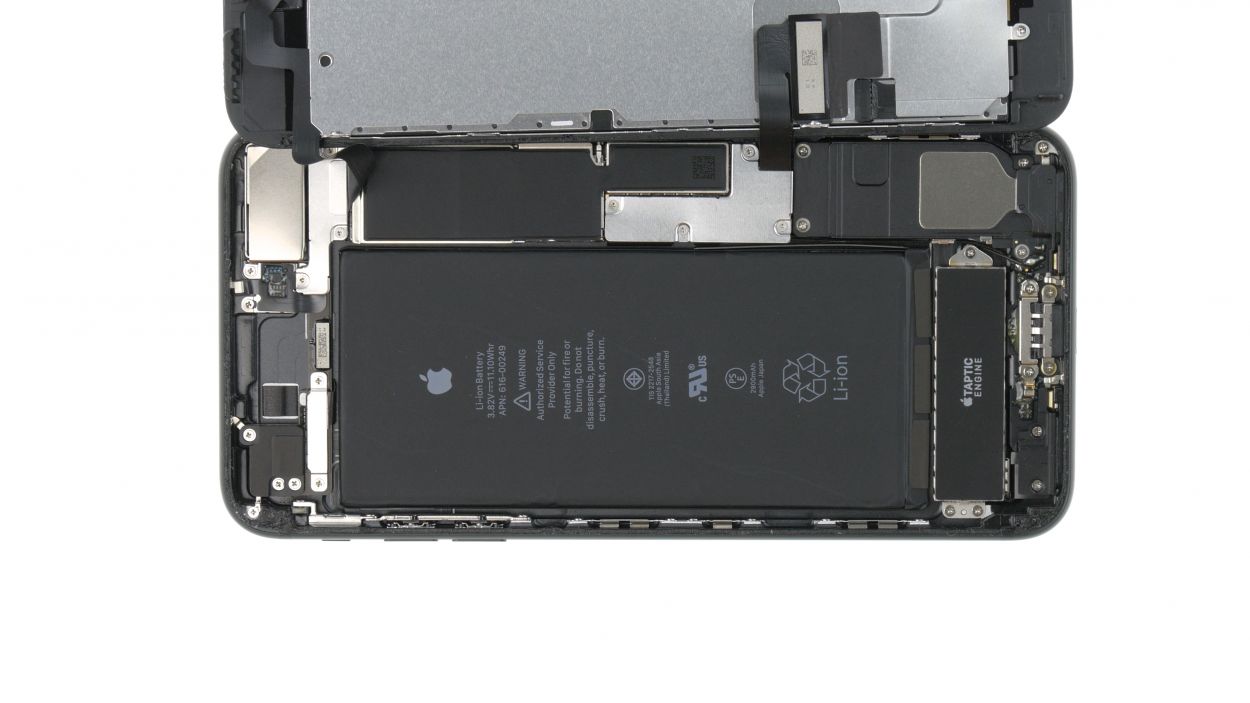
Battery Connector
Before you get your hands dirty, make sure to disconnect the battery contact! This little step helps you dodge any short circuits and keeps your device from accidentally waking up while you’re in repair mode.
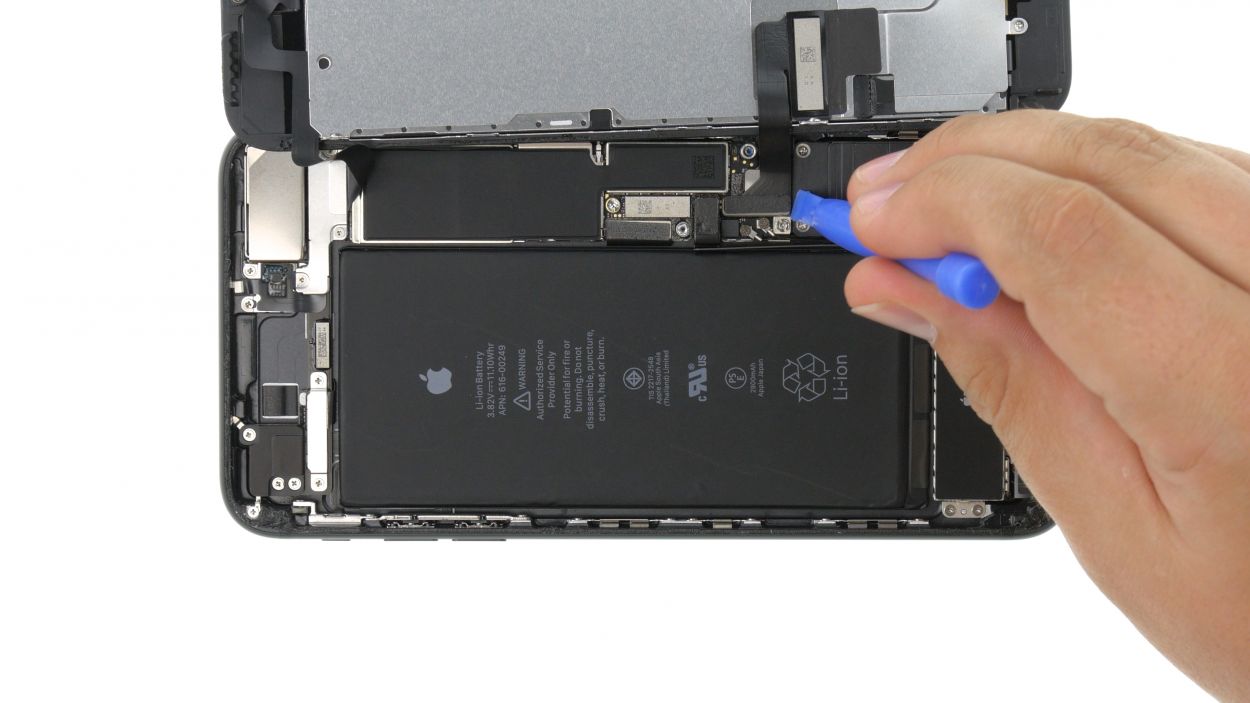
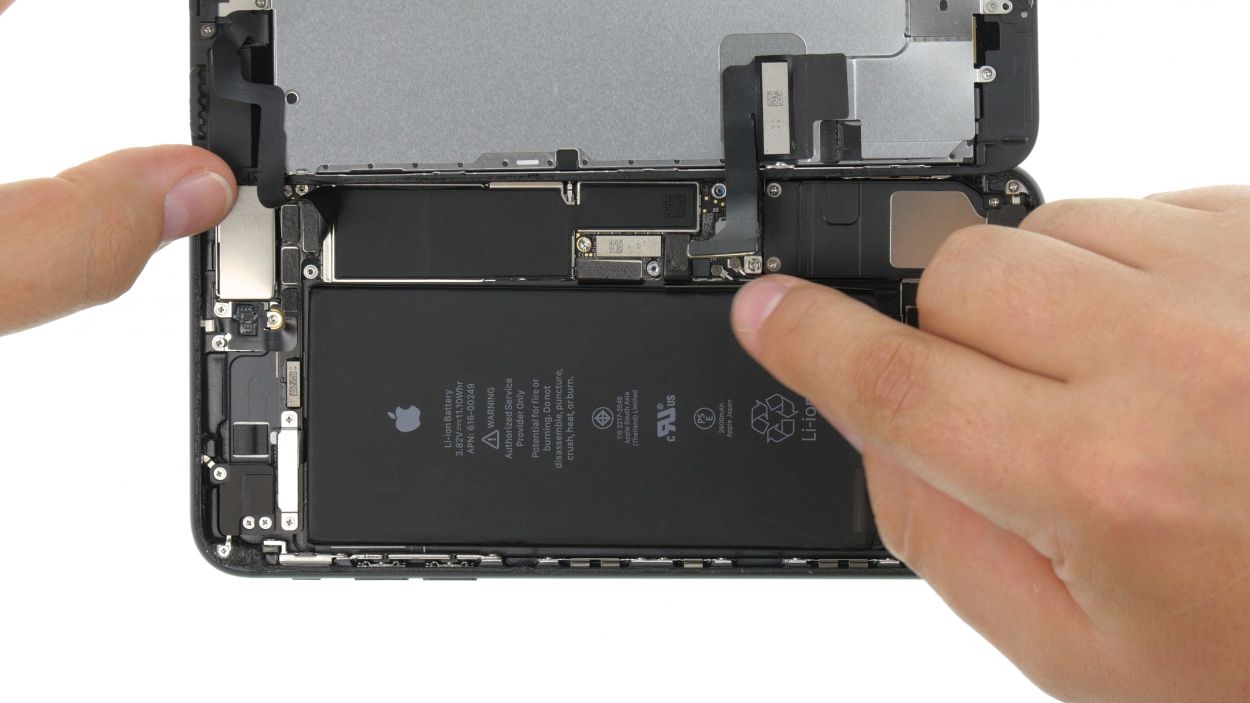
– Use your trusty Y-Type screwdriver (Y000) to remove the three Y-Type screws that are keeping the bracket plate in place. Once that’s done, lift off the bracket plate and make sure all those little components stay cozy in the same box of your magnetic pad.
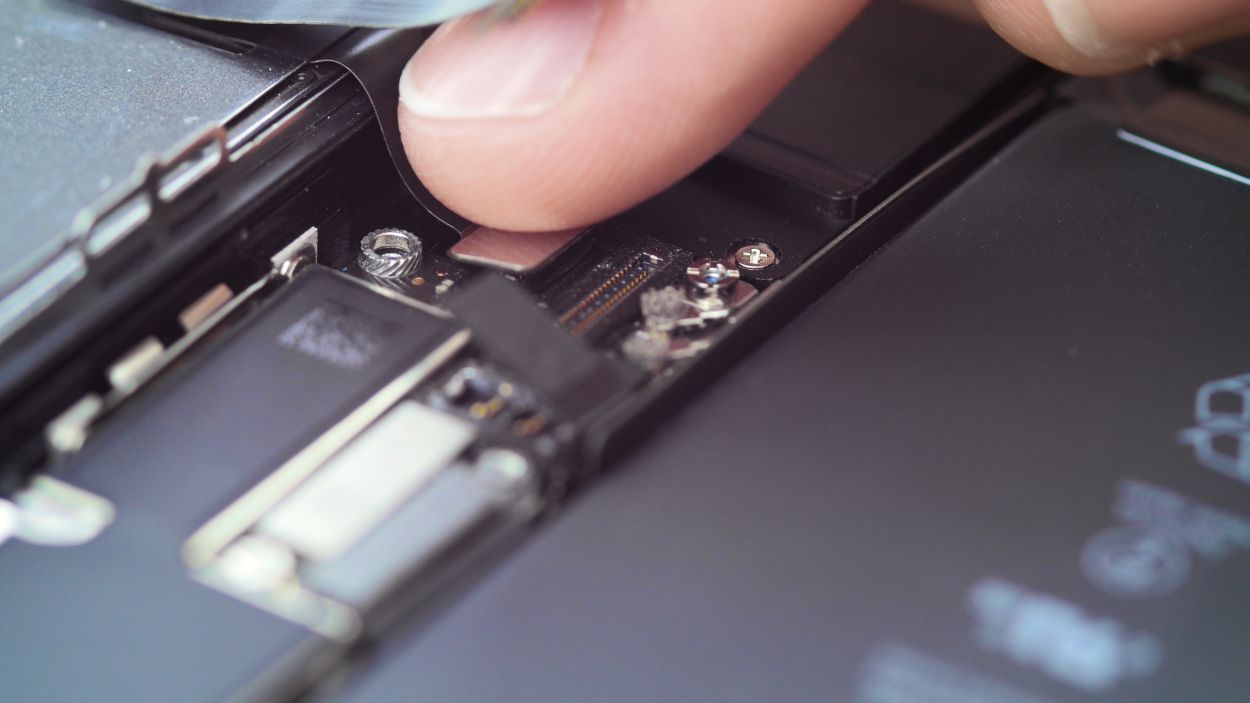
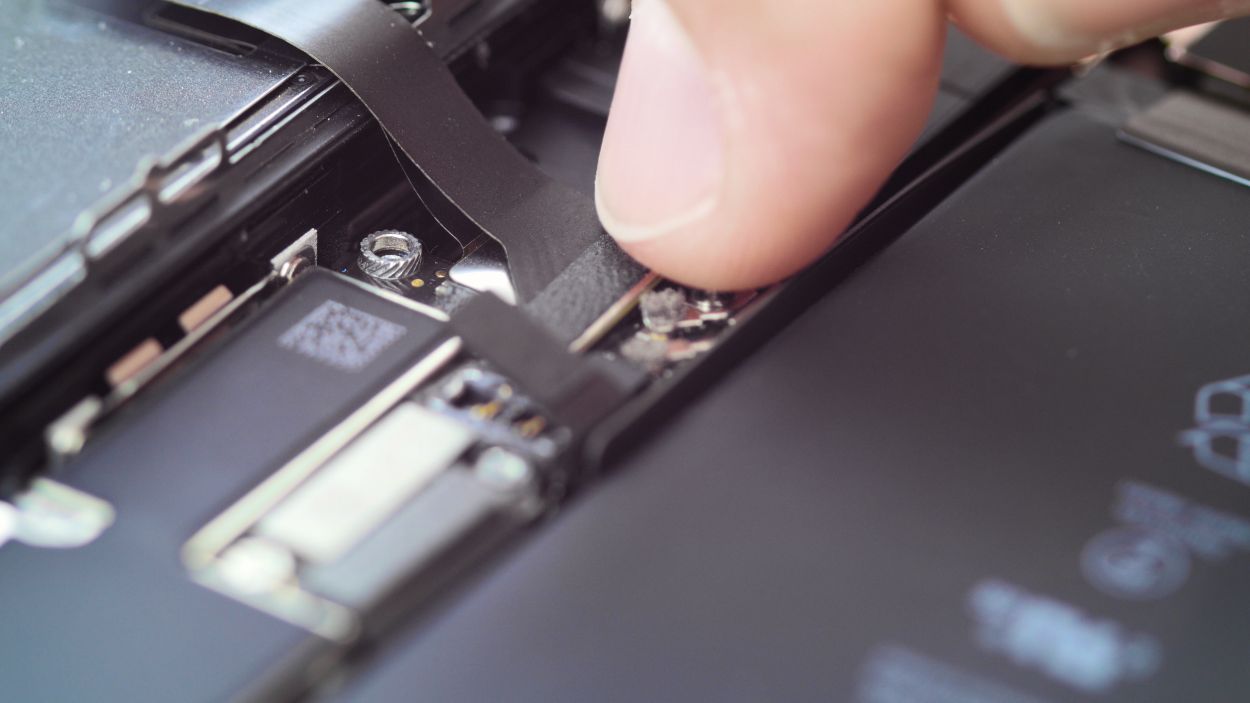
– Now, let’s give that battery connector a little nudge! Gently slide a spudger underneath it to pry it off. If you don’t have a spudger handy, your fingernail can step in as an alternative. Just be gentle!


Step 6


1 × 1,3 mm Y-Type
2 × 1,0 mm Y-Type
Facetime Connector
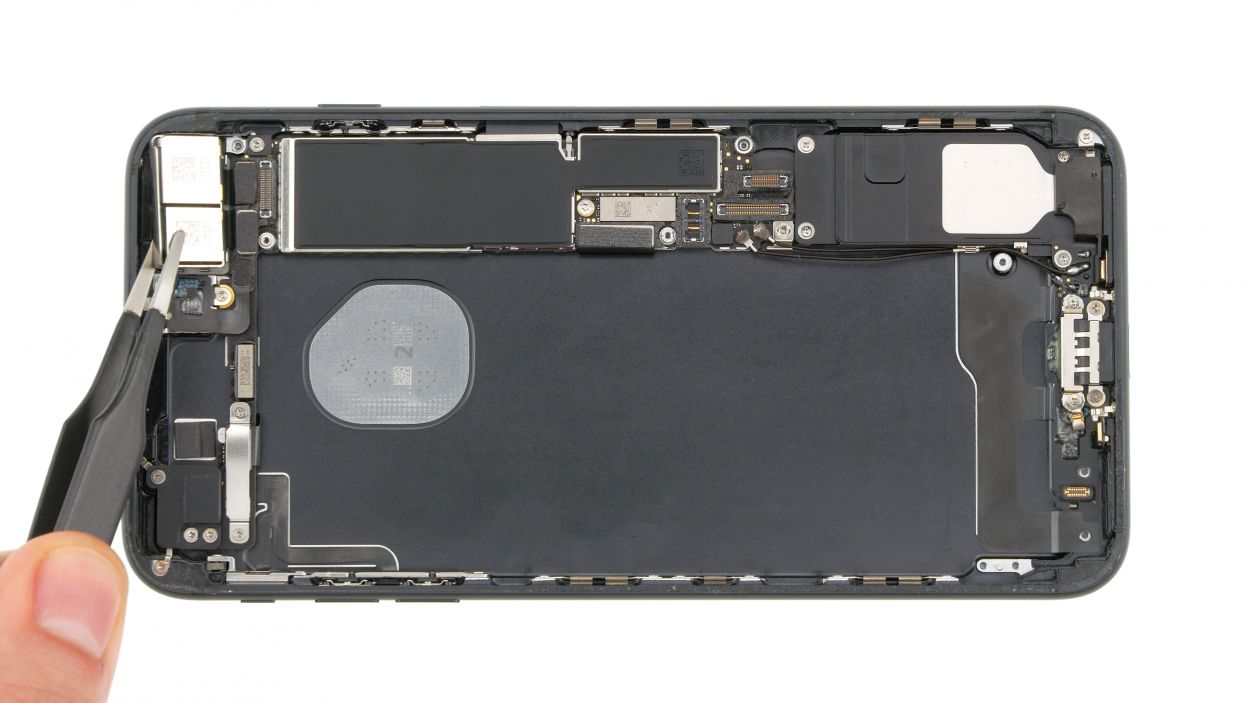
– Grab your Y-Type screwdriver (Y000) and carefully remove those three Y-Type screws to lift off the cover. Make sure to keep all the little parts cozy in the same box on your magnetic pad.
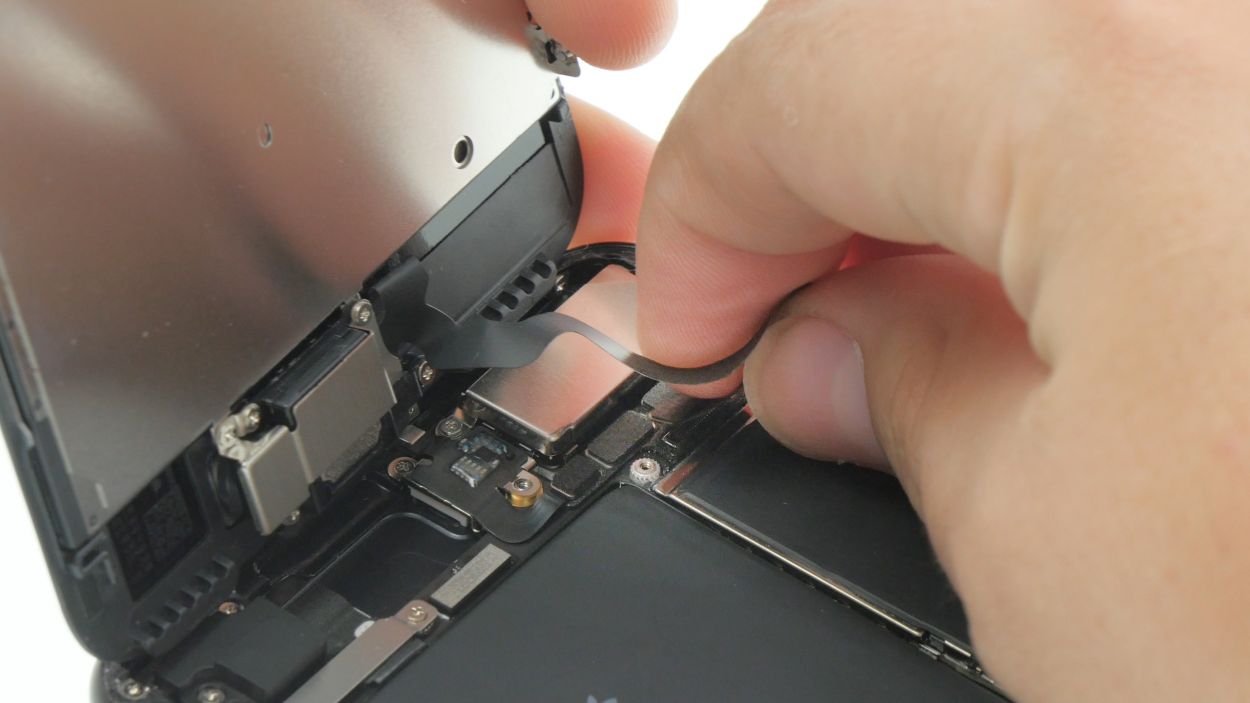
– Now, take your spudger and gently disconnect the FaceTime connector from the circuit board. You’re doing great!
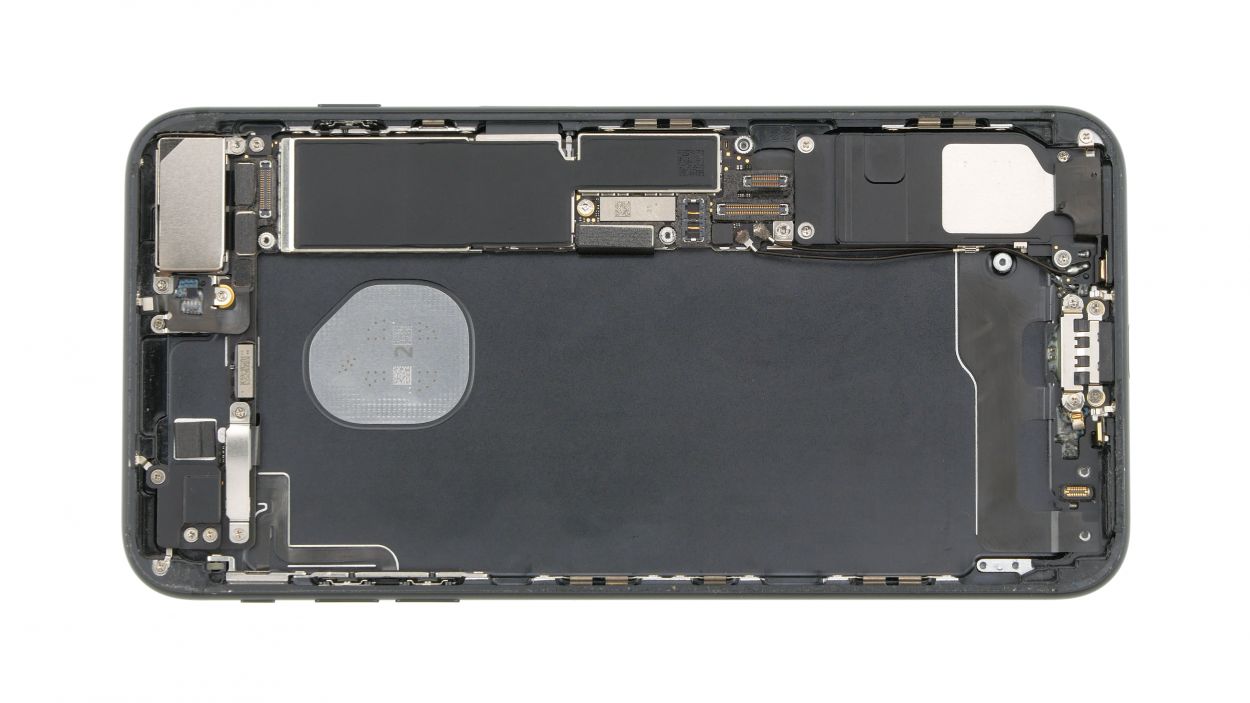
– And just like that, you can fully remove the display. Keep it up!
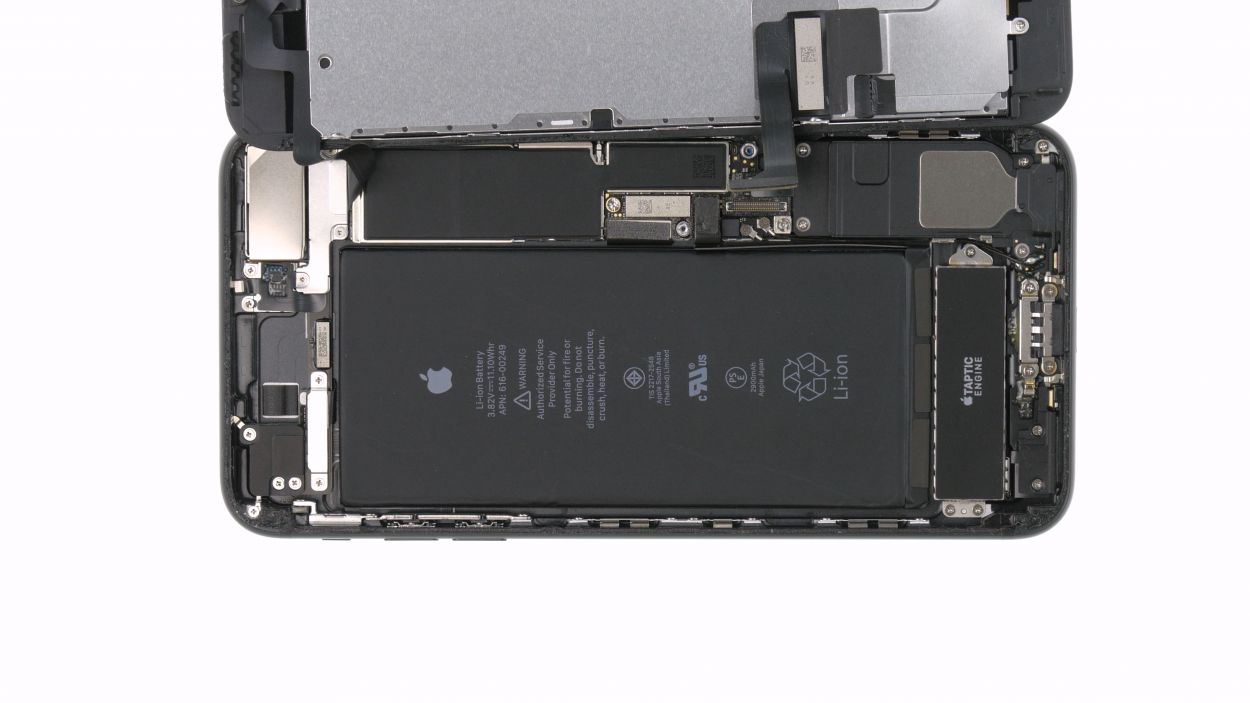
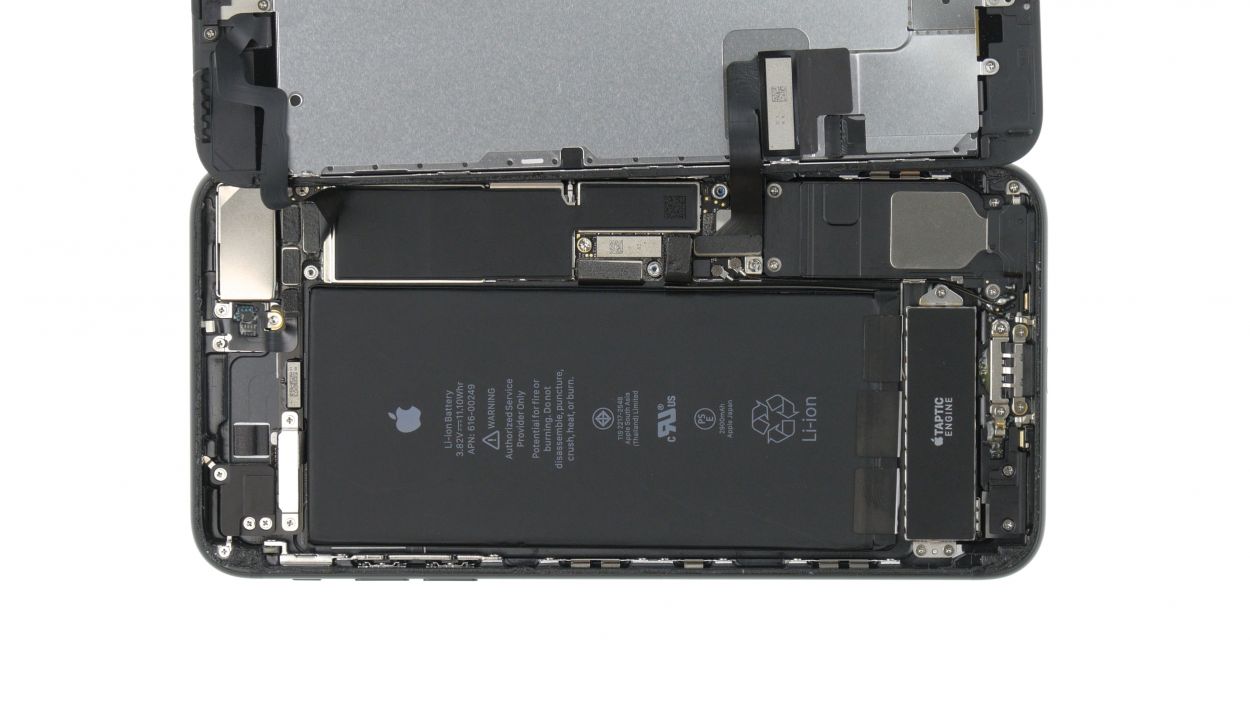
Step 7


1 × 2.0 mm Standoff
1 × 1.4 mm Phillips
That standoff screw? It’s playing hard to get—it’s not magnetic! So, keep your tools handy and be ready to give it a little extra love when you’re removing it.
– Unscrew the two screws from the camera bracket and remove it.
– Disconnect the camera connectors by inserting the spudger very carefully under the connectors and prying them off.
– Use the spudger to pry the camera unit out of its holder and take out the camera unit.
Step 8


1 × 2.0 mm Standoff
1 × 1.4 mm Phillips
– Reinsert the camera unit into its holder and press into place.
– Connect the camera`s two connectors.
– Now reattach the camera bracket plate and screw it in.
Step 9

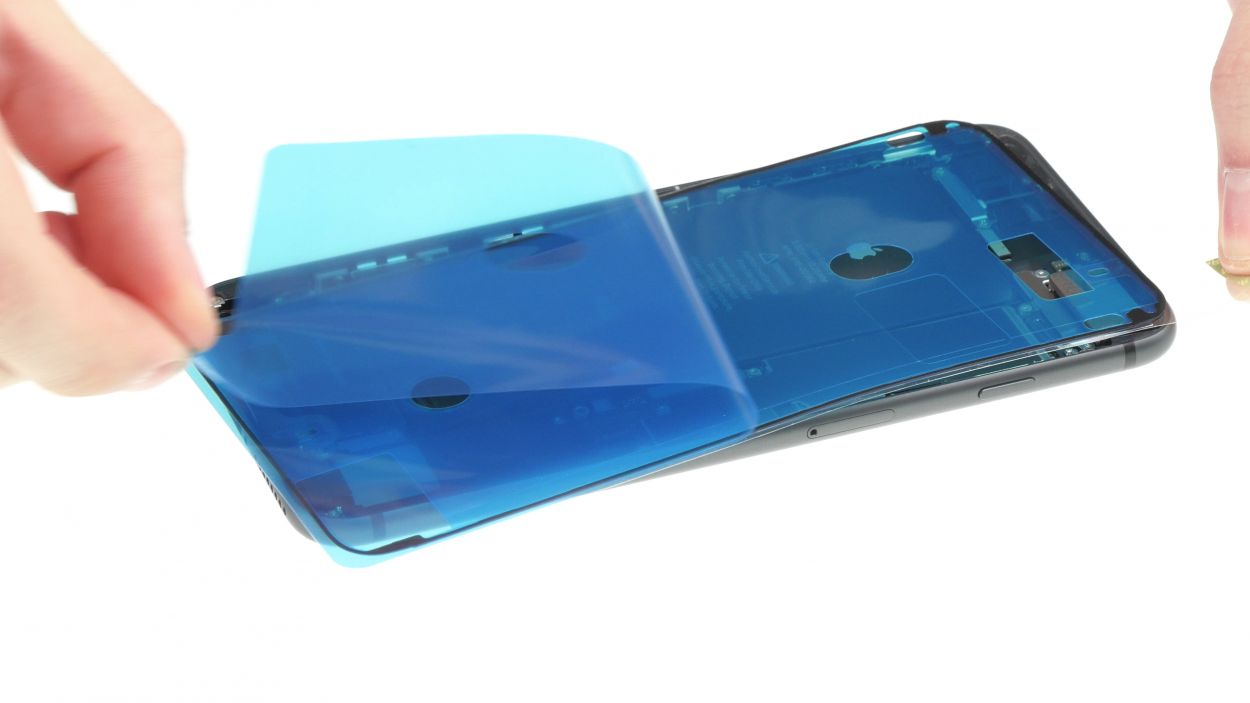


While a fresh frame sticker might seem like a magic fix, just a heads-up that your iPhone’s water resistance won’t be quite as mighty as it once was!
Hey there, repair ninja! Those frame sticker corners are different, so pay attention to them. It’s like a little puzzle – you got this!
– Get that new frame sticker to stick like glue! First, wipe away any old glue or gunk. It’s all about a clean start!
– Peel off the first protective film – you’re halfway there!
– Carefully line it up on one side and gently press it down. Nice and easy!
– Time for the second film’s grand exit! You’re a sticker pro!
Step 10


Facetime Connector
2 × 1,0 mm Y-Type
1 × 1,3 mm Y-Type
– Gently connect the FaceTime connector to the logic board while holding the display in place on the frame. It’s a snug fit, but you’ve got this!
– Give the display a little rest on the right-hand edge of the frame. Take a breather, you deserve it!
– Pop the FaceTime connector’s bracket plate back into its home in the iPhone and fasten it with those three Phillips screws. You’re almost there!
Step 11
Display Connector
Home Button Connector
– Plug in the cables for the Home button and display back into the logic board. That’s it! You’ve made the connection like a pro!
Step 12


Battery Connector
3 × 1,1 mm Y-Type
1 × 2,4 mm Y-Type
– Reconnect that battery cable, it’s like reuniting with an old friend!
– Now, pop the bracket plate back into the iPhone and secure it with those four Y-type screws. You’ve got this!
Step 13


Heads up! Your phone’s water protection has taken a little vacation. To bring it back, you’ll need to reglue the display. Let’s get that water shield back in action!
Step 14
2 × 3,3 mm Pentalobe
– Screw the two pentalobe screws to the left and right of the Lightning connector into the case.
Step 15

When the battery is removed from the device, the iPhone’s clock resets to 1:00 a.m. on 1/1/1970. You could have trouble connecting to the cellular network if the time is not set.
– Get your iPhone in sync with iTunes or hop onto a WiFi network and hang tight until the time is set.
– Just a heads up: the time won’t magically set itself unless you flip that switch in the settings.
– Navigate to Settings > General > Date & Time > Set Automatically.
– Pop out the SIM tray with the SIM card and slide it back in.
– Turn on airplane mode and then switch it off again.
– Head over to Settings > Airplane Mode.