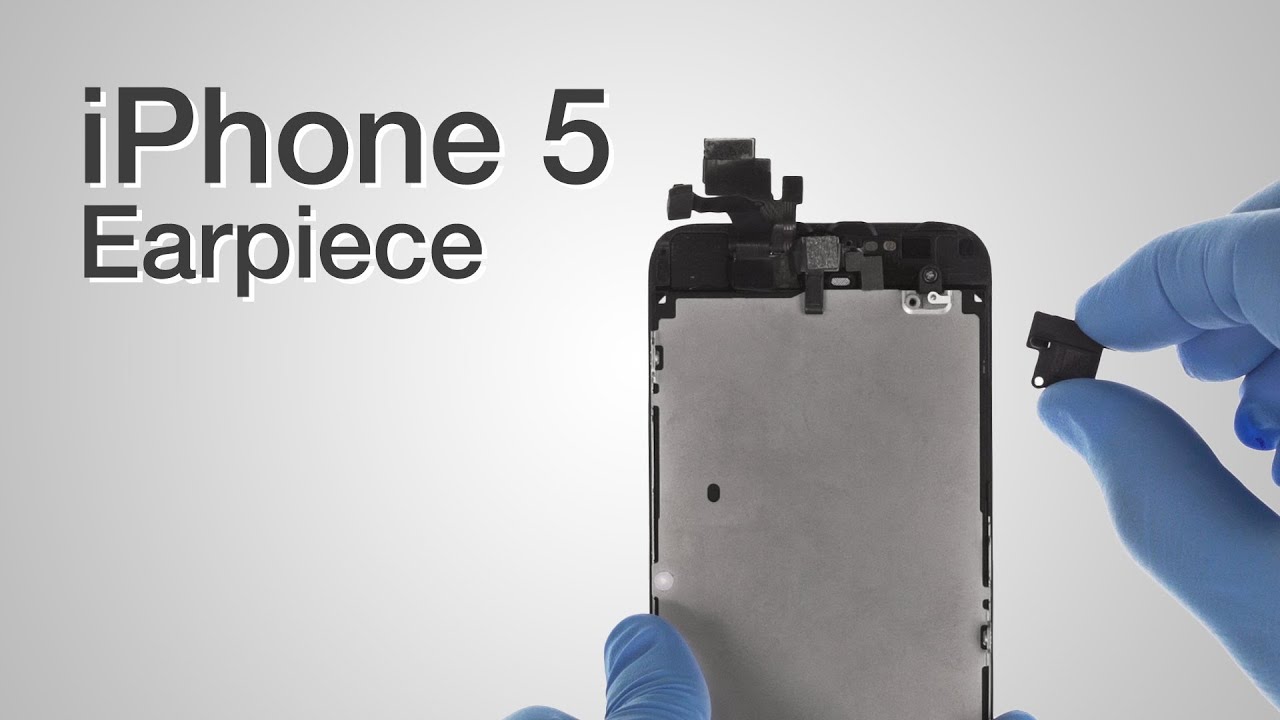
DIY Guide to Replace iPhone 5 Earpiece
Duration: 30 min.
Steps: 7 Steps
Ready to give your iPhone 5’s earpiece a fresh start? This guide’s got you covered! If you’re struggling to hear on calls or your audio is super quiet, this is your solution. Let’s get this done – it’s easier than you think! Having trouble? schedule a repair
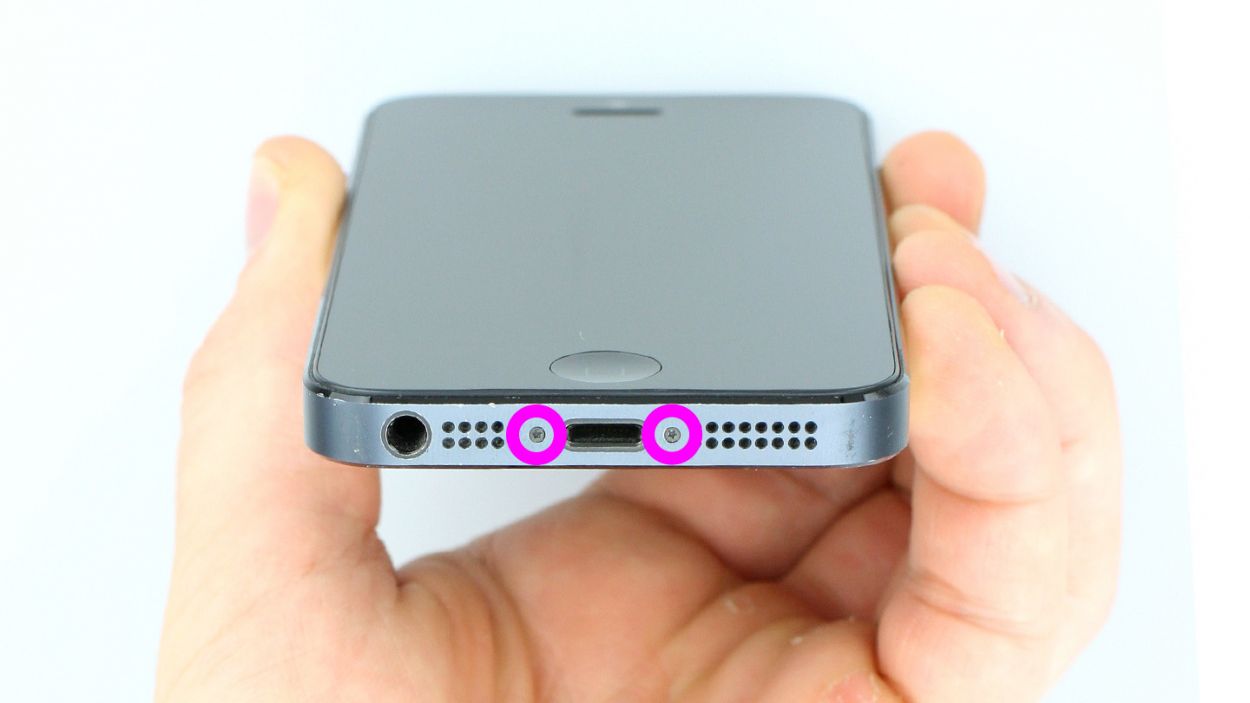
Step 1

– Grab your trusty pentalobe screwdriver – it’s your key to unlocking the iPhone 5!
– Carefully remove the two pentalobe screws located at the bottom of the enclosure, right next to the Lightning connector. Don’t forget to stash those screws in the same compartment of your organizer tray. You’ve got this! 2 x 3.6 mm pentalobe screws
Step 2

– Give your iPhone 5 a comfy spot on a soft, clean surface – we don’t want any accidental scratches!
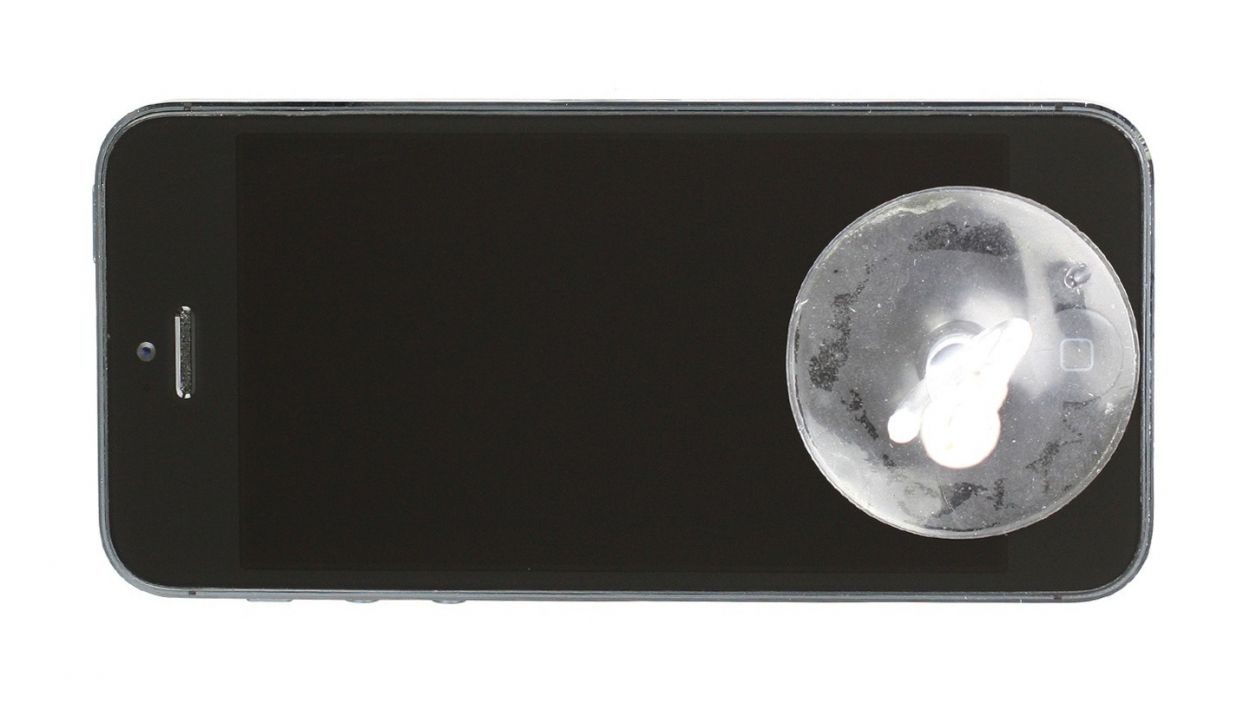
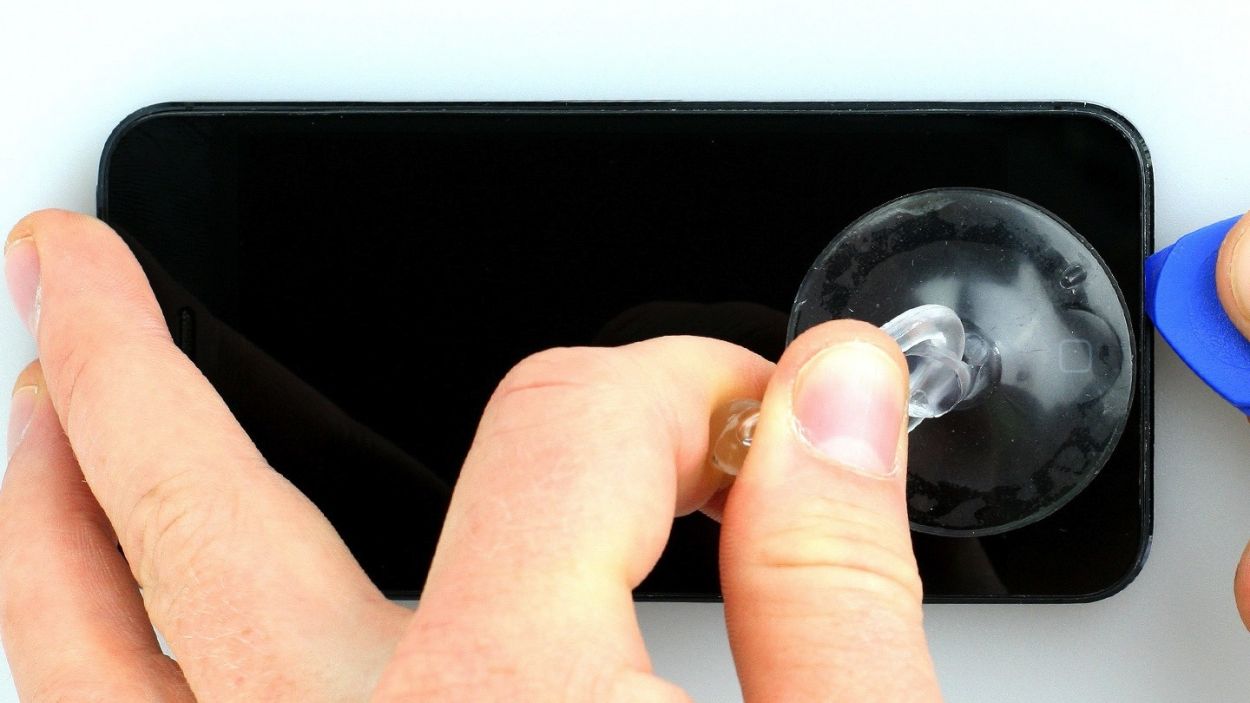
– Grab your suction cup and plastic pick (a spudger works great too!). If your screen’s cracked, cover it with tape to keep things safe.
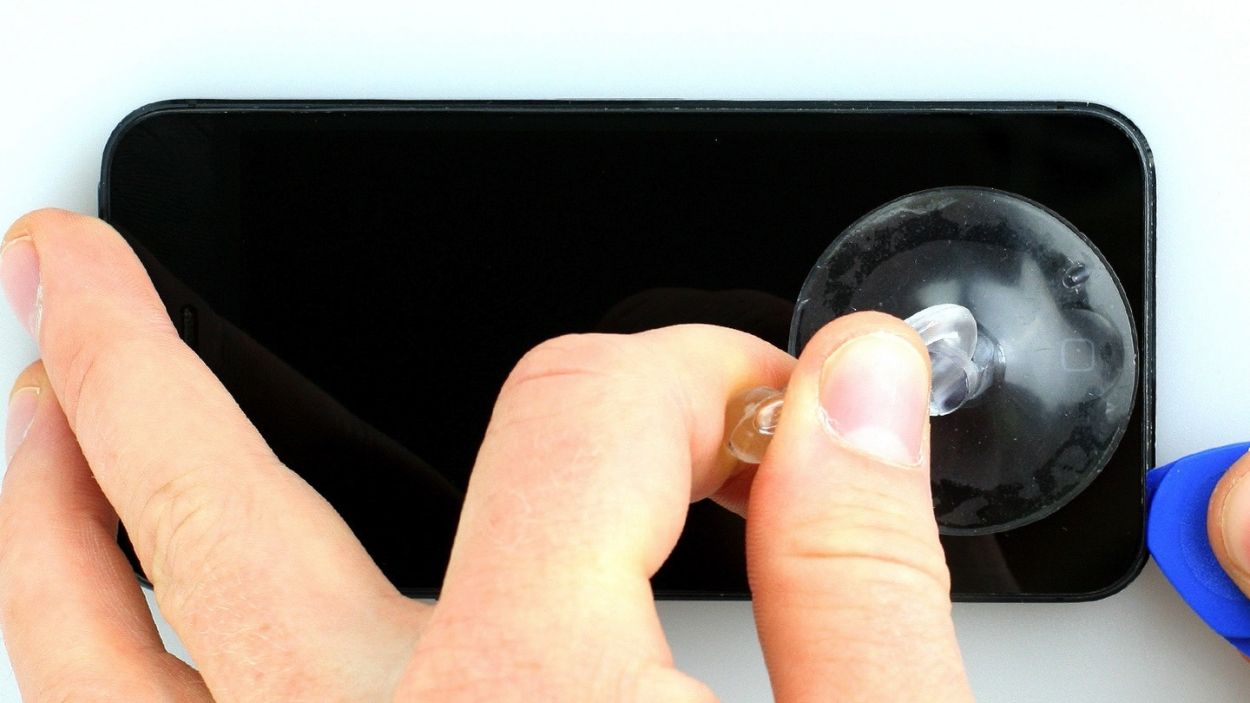
– Stick that suction cup over (or near) the Home button (check out Figure 1 for a visual!). Gently lift the screen while sliding your pick between the aluminum frame and the display. Use the pick to ease the screen up (Figures 2 & 3). It might take a few tries – hang in there!
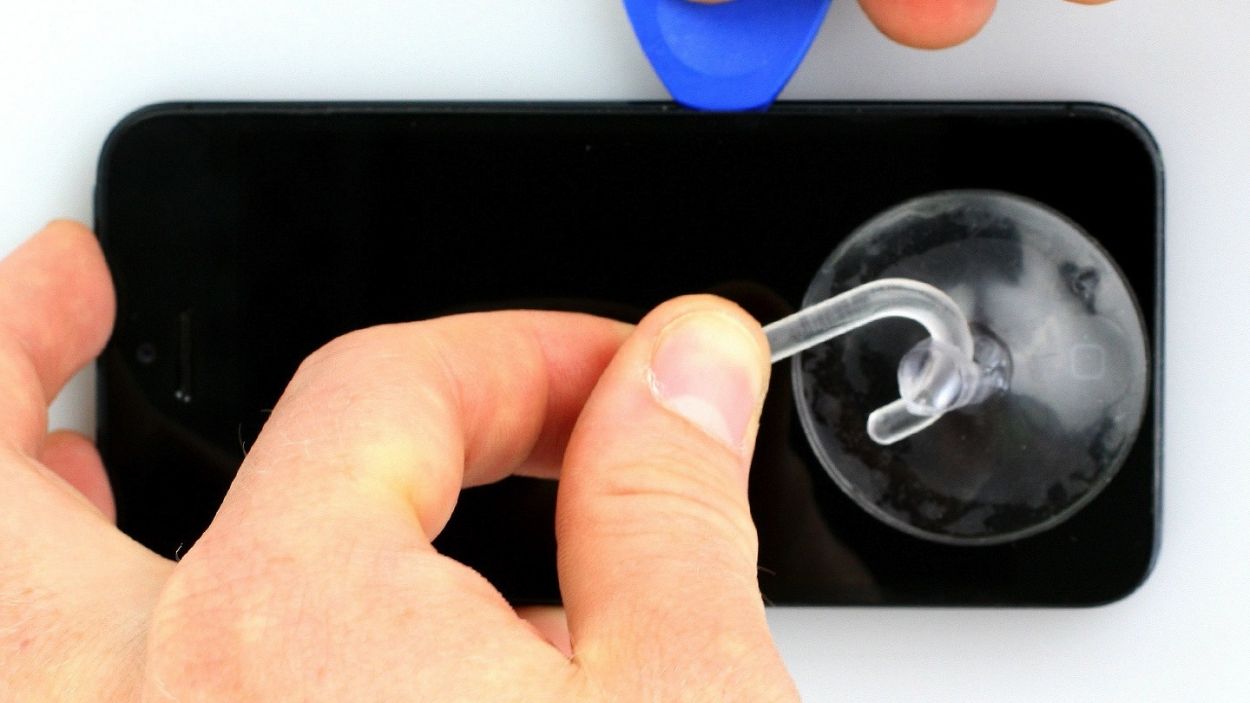
– Once you’ve got a tiny gap (Figure 4), carefully work your way around the edges until the screen is loose on both sides (Figure 5).
– With the display detached, you can flip it up from the Home button. Remember: those display cables are still connected to the logic board (we’ll tackle that in the next step!).
Step 3
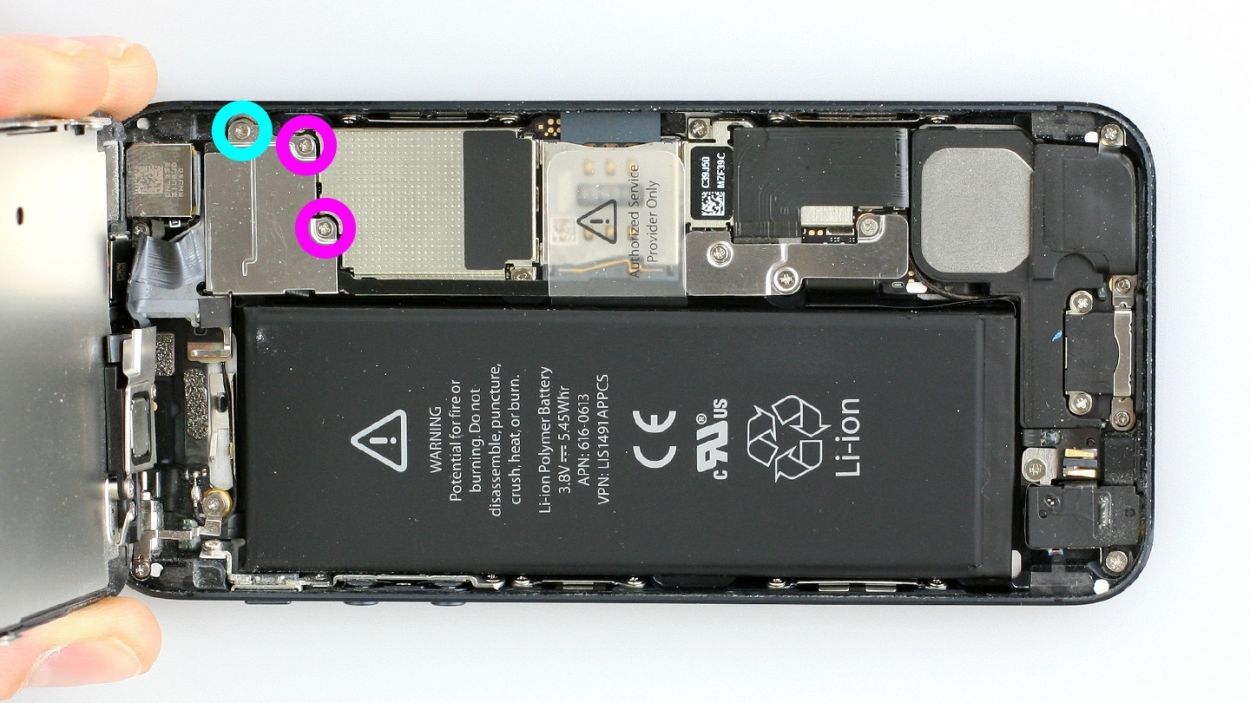

– First, let’s tackle those three Phillips screws hiding under the silver cover (check out figure 1 for a visual!). Make sure to stash those screws in the same compartment of your organizer tray – organization is key! You’ll need 2 x 1.2 mm Phillips screws and 1 x 1.7 mm Phillips screw (which is not magnetic, so keep an eye on it!).
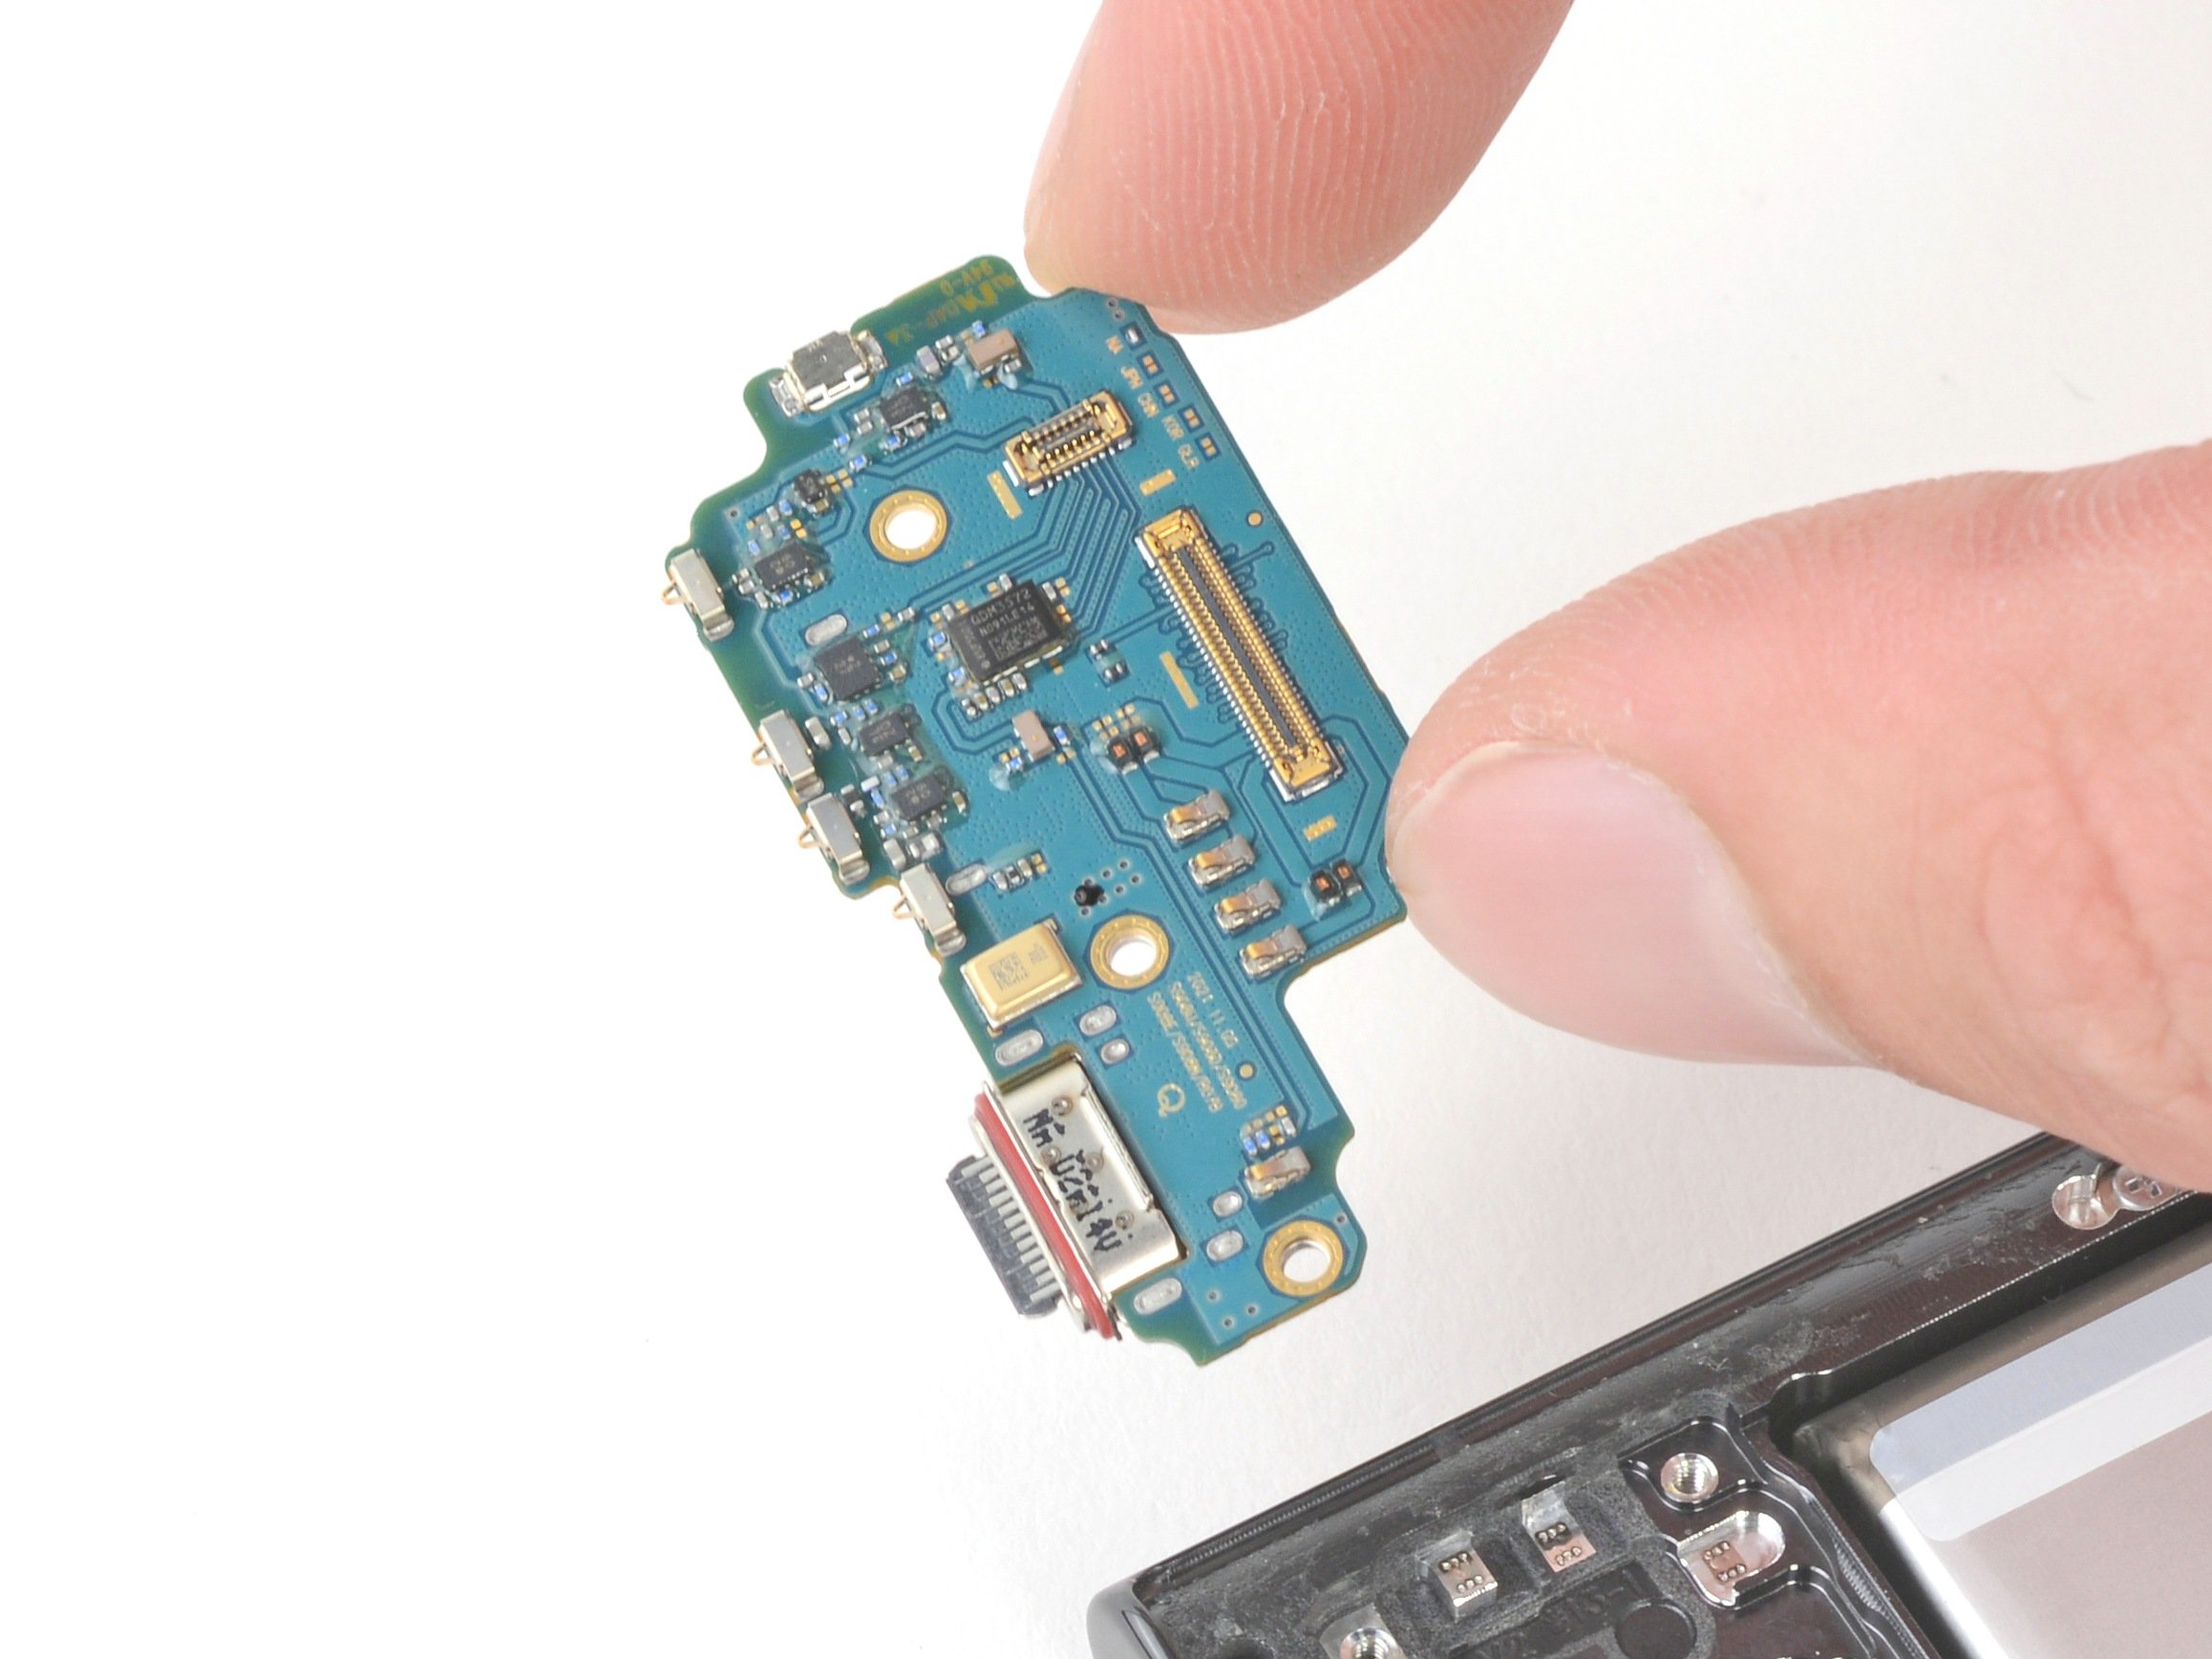
– Now, it’s time to disconnect the three connectors (see figure 2). Just a friendly reminder to be super careful here!
– Take your spudger and gently slide the pointed tip just below the contact, then lift it up. Watch out for those resistors soldered onto the logic board – we don’t want any accidents! In later models, those resistors are protected by a black plastic film. You’re dealing with the LCD, touchscreen, and front camera/sensor/earpiece here!
Step 4
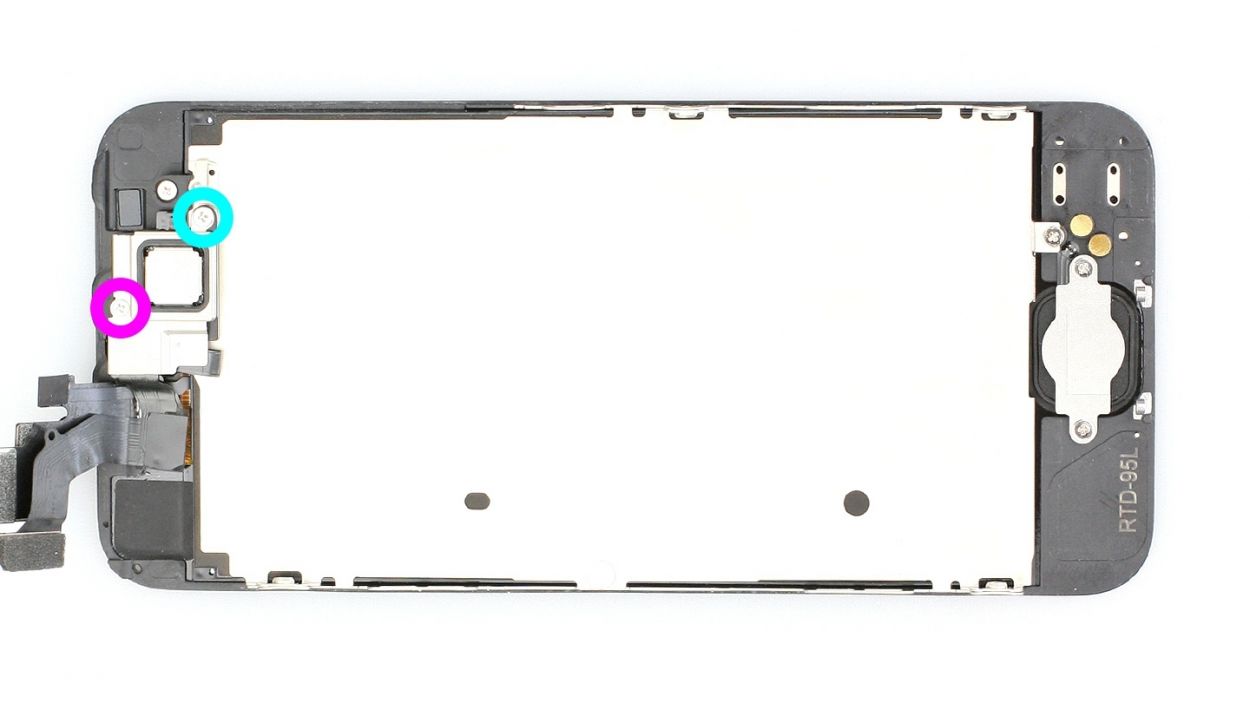

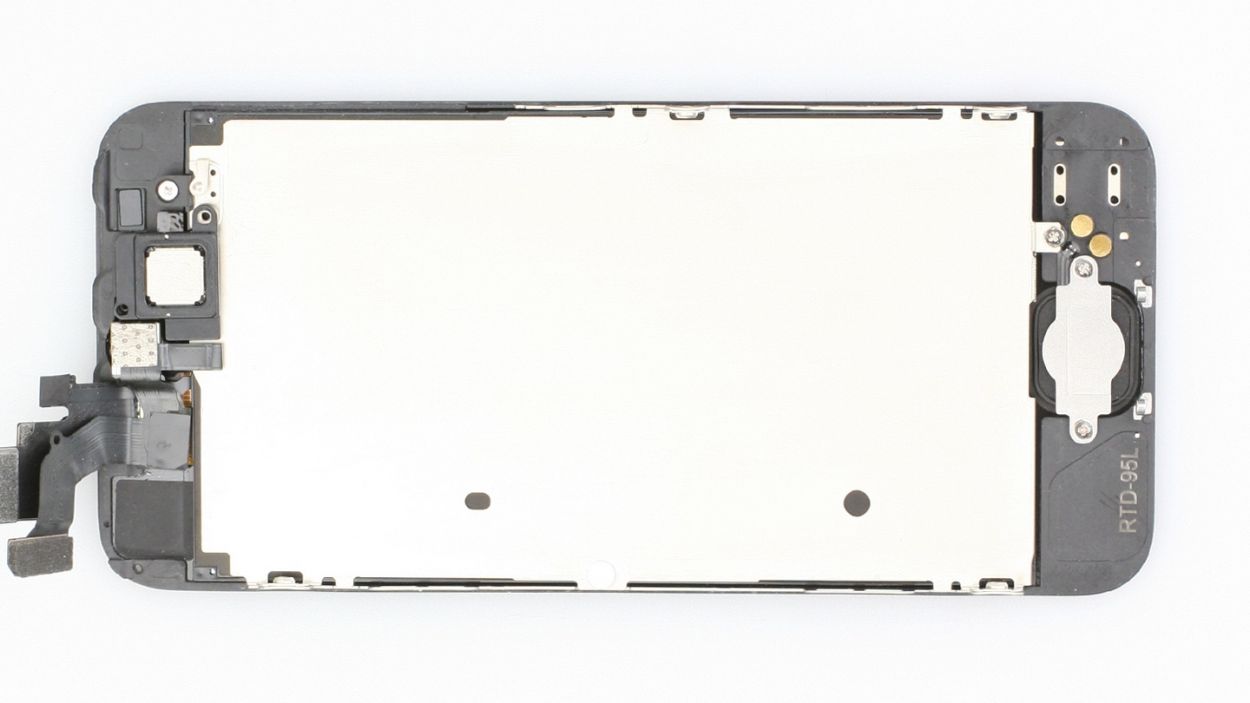
– The earpiece is nestled on the back of the display unit. Start by removing the two Phillips screws from the cover that protects the earpiece (check out figure 1 for guidance) and toss them into the same compartment of your organizer tray. You’ll need 1 x 4.1 mm Phillips screw and 1 x 2.2 mm Phillips screw.
– Next, gently lift off the cover and set it aside with the screws you just removed (see figure 2).
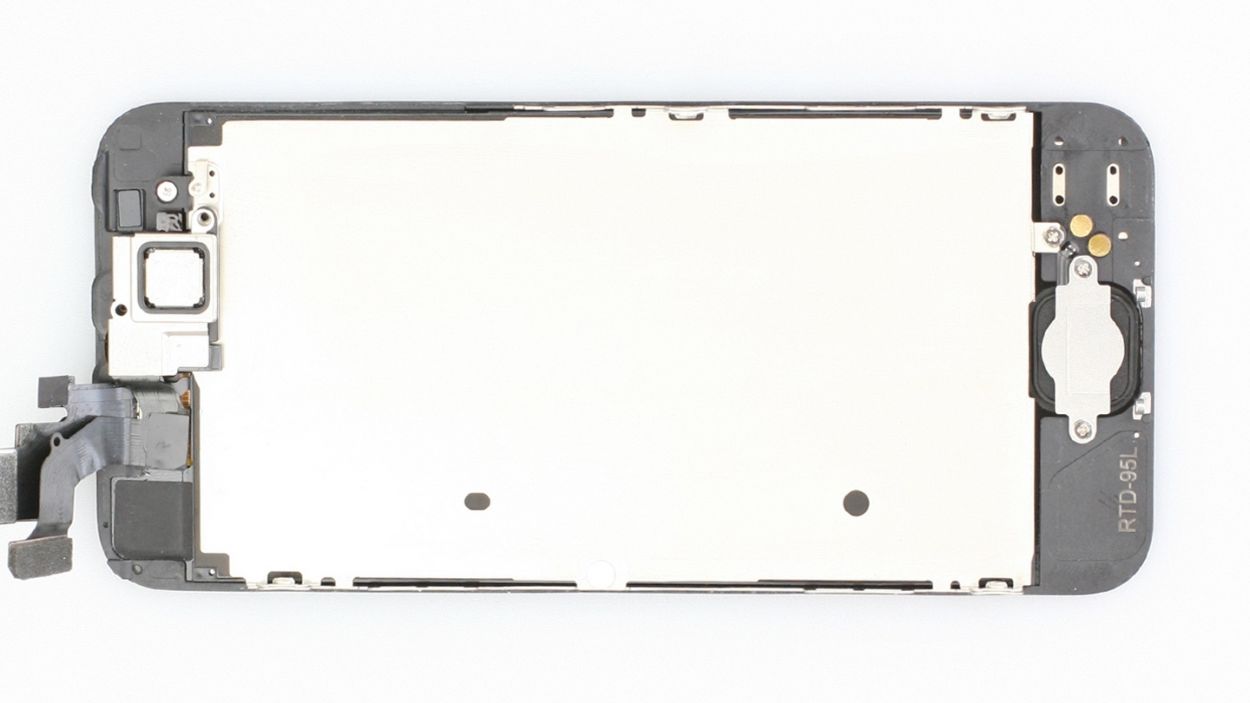
– Now, let’s reveal the earpiece (see figure 3) so you can easily pluck it out with your fingers.
Step 5


Heads up! The screws are not all created equal in length. If you mix them up, you might end up with a screw that pokes the display glass from the inside, and nobody wants that kind of drama!
– Carefully place the earpiece back where it belongs (check out figure 1 for a visual!). Then, pop the cover back on (see figure 2).
– Next up, tighten those Phillips screws (see figure 3). Just a friendly reminder to ensure the front camera is perfectly centered on the display. If it’s a bit off, give it a gentle nudge!
Step 6

– First up, let’s reconnect those connectors (check out figure 1 for a visual!). Just a heads up, the LCD connector can sometimes get a little shy and disconnect when you’re plugging in the touchscreen connector. We’re talking about the LCD, touchscreen, and front camera/sensor/earpiece here!
– Next, reattach the battery connector and pop that cover plate back on.
– Once everything is snug and secure, power up your iPhone! Give the LCD, touchscreen, proximity sensor, front camera, and earpiece a quick check to make sure they’re all working like champs.
– Now, it’s time to attach the cover and screw it in place (see figure 2). You’ll need 2 x 1.2 mm Phillips screws and 1 x 1.7 mm Phillips screw (which is a bit of a rebel and not magnetic).
– Finally, gently fold down the screen. Make sure that the edge of the screen where the cables are clicks into place just right. Then, carefully press the screen towards the Home button until it’s snugly installed in the frame (see figure 3).
Step 7
– It’s time to get those two pentalobe screws back in place at the bottom of the enclosure. Just grab those 2 x 3.6 mm pentalobe screws and you’re one step closer to completing this repair!