Surface Repair Guide for Tablets: Step-by-Step DIY Repair
Duration: 45 minutes
Steps: 7 Steps
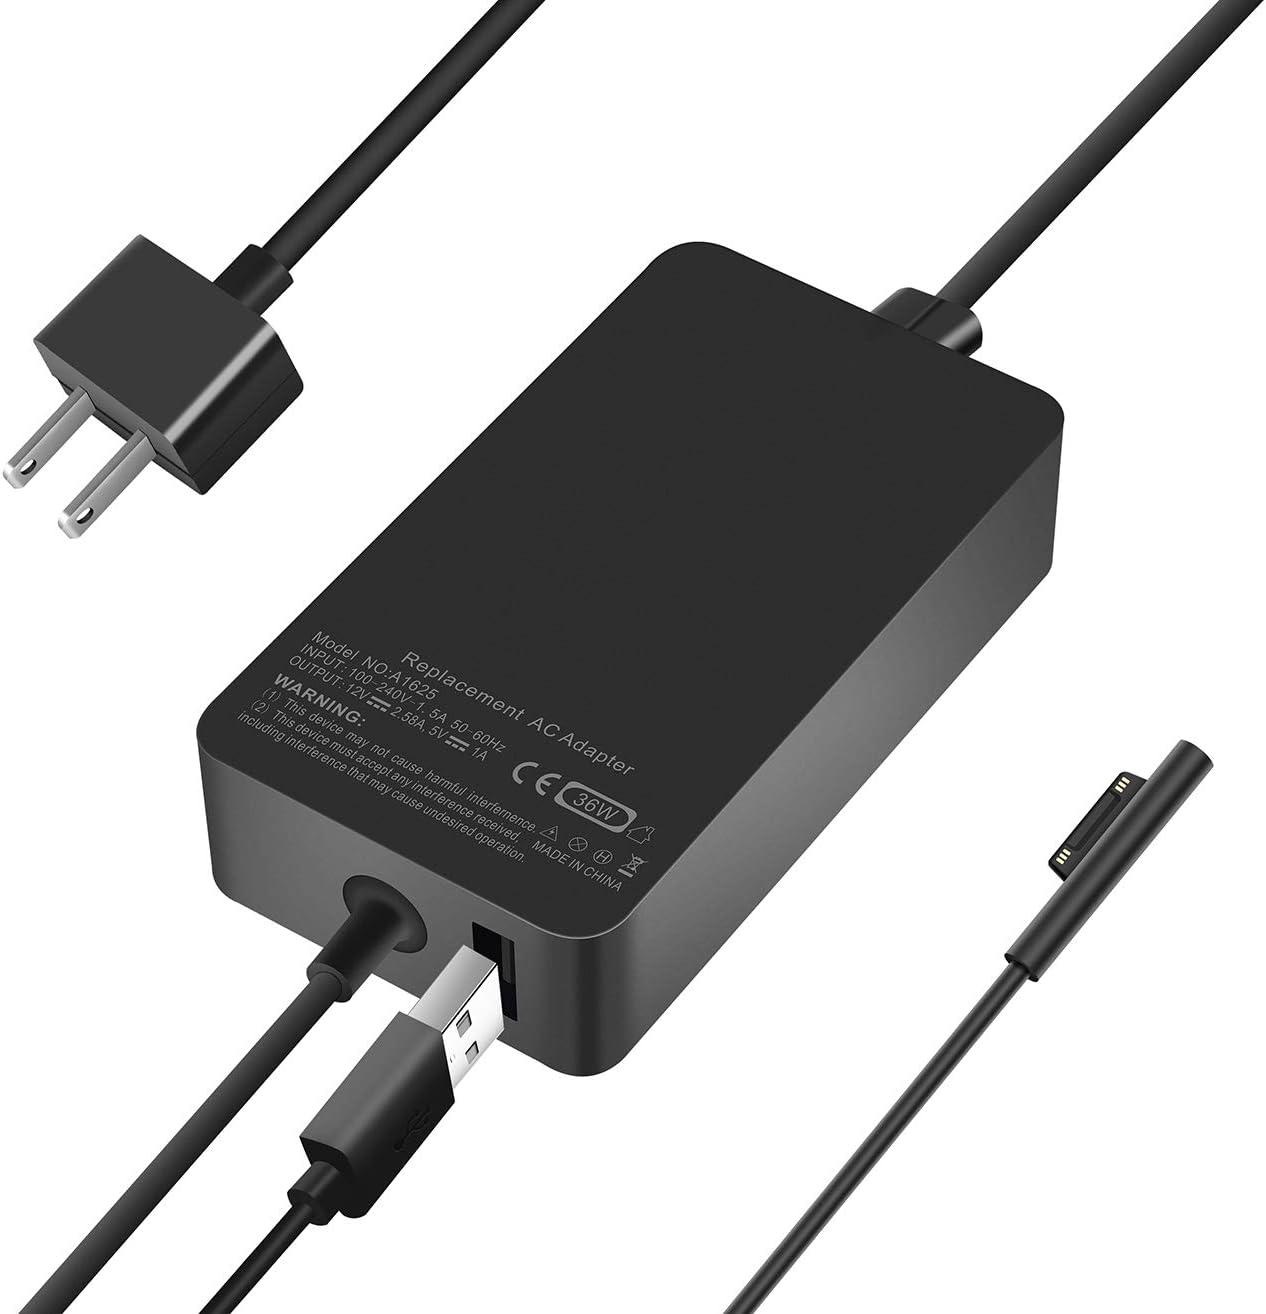
The connector in the Microsoft Surface Pro (3 and later) can sometimes be a bit temperamental, thanks to its design. What happens is that the positive and negative wires can short out, making the adapter stop working. The good news? The circuit is built to handle this kind of hiccup, so all you need to do is clear the short and you’re back in business. It’s a quick and simple fix!
Step 1


– Gently pry open the connector by slipping a blade into the two slots at the ends.
– Watch out for those stubborn glue spots anchoring the outer case—use your blade to carefully loosen them up.
– Once the glue is freed, move on to the next step and keep the repair train rolling.
Step 2


– Gently slide that outer shell of the connector towards the cable side to reveal the connector underneath. Keep it smooth and steady—you’re almost there!
Step 3

– Grab a knife or tweezers and carefully peel back the resin to reveal the hidden wires. Take it slow and steady!
– Easy does it!
Tools Used

Step 4
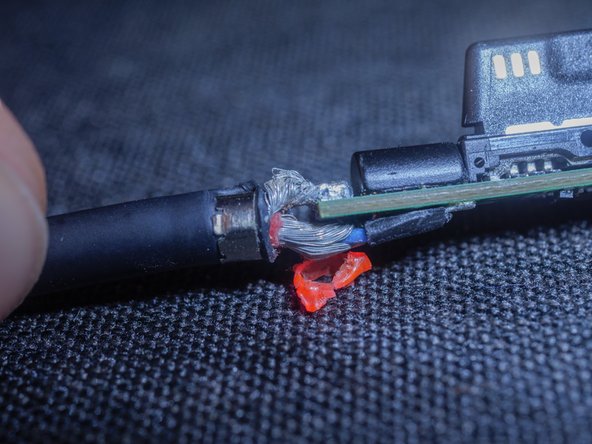


– Microsoft added this protective spacer to keep the positive and negative conductors from touching each other. Unfortunately, that tiny spacer isn’t always enough. Next up, we’ll swap it out for a bigger one to provide extra protection. Then, go ahead and remove the red spacer. If you need help along the way, you can always schedule a repair.
Step 5

– Quick heads-up! Some threads might be a bit burned. If it’s not a big deal, don’t sweat it – just carry on.
– Looks like the two poles made contact here. Let’s clean up this area and get rid of any leftover debris.
Step 6
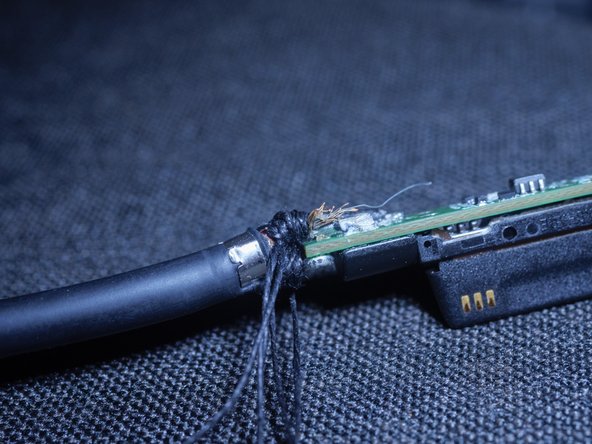


– Once you’ve cleared away any wires touching the connector, grab a sewing needle and some cotton thread. Carefully insulate the two wires by wrapping them well. This helps prevent any accidental contact down the line.
– Wrap the wires multiple times with the thread to make sure they’re completely separated, so those two poles can’t touch again. A little extra insulation goes a long way.
Step 7

– Before you close up the connector, make sure the adapter is back to its old self. When you plug it into your Surface Pro, the white LED should light up like it’s ready for action.
Success!