DIY Guide to Replace iPad mini 2 Back Cover
Duration: 90 min.
Steps: 34 Steps
In this guide, we show you how to replace your iPad mini 2’s defective back cover on your own. This repair can help if the back cover is warped or scratched, or if your rear camera no longer takes sharp pictures because the lens is scratched. In this guide, we show you how to replace your iPad mini 2’s defective back cover on your own. This repair can help if the back cover is warped or scratched, or if your rear camera no longer takes sharp pictures because the lens is scratched.
Step 1


Don’t work on the side where the Home button is until the next step. The important flexible flat cables under it could get damaged.
– Turn off the iPad.
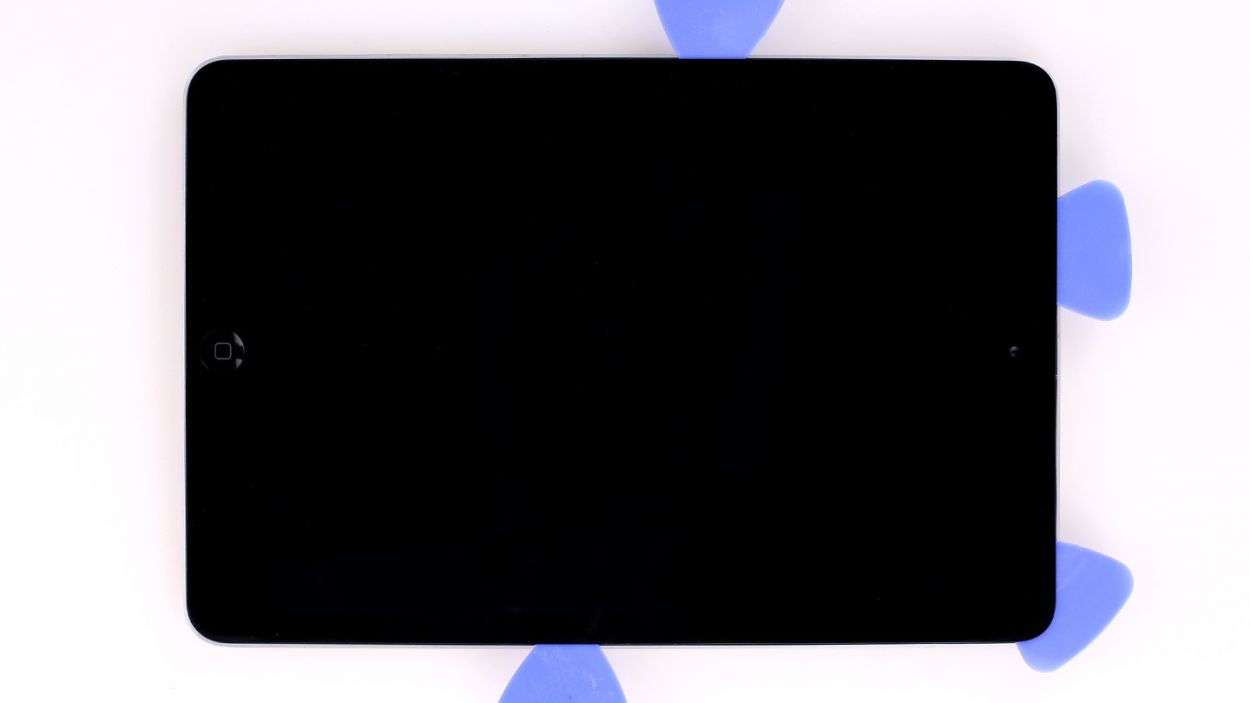
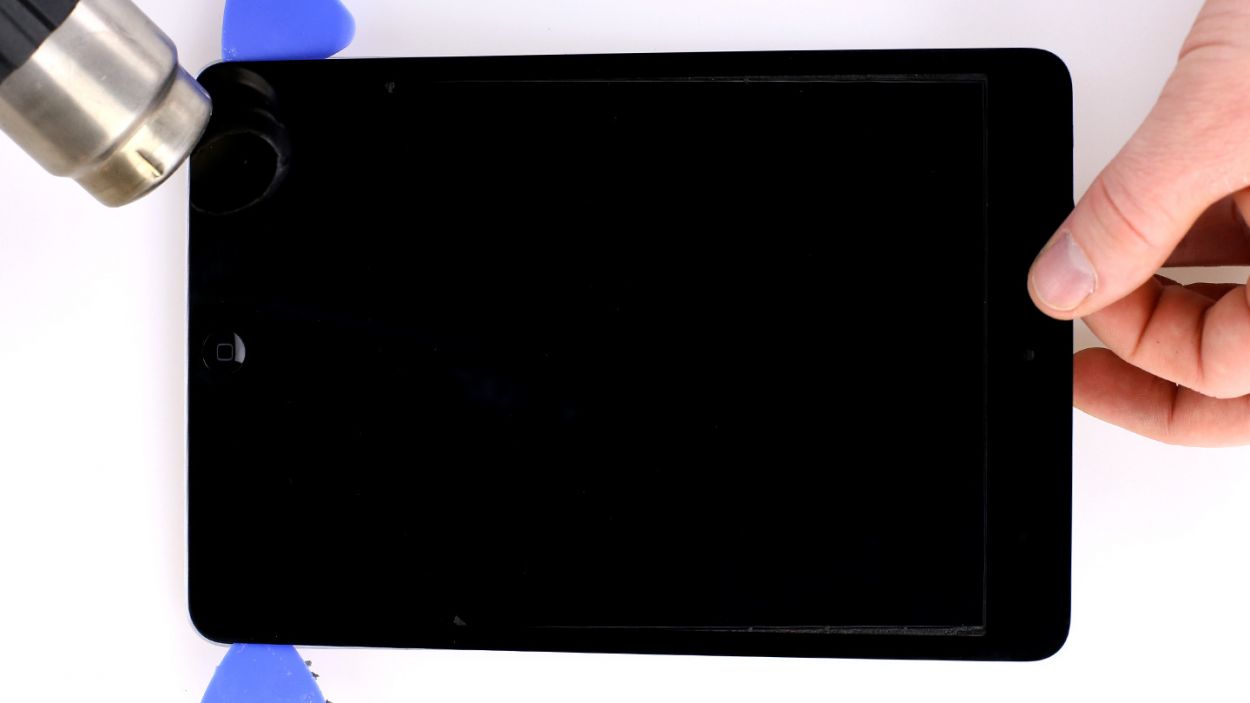
– Start with the left and right sides, where there’s only a small adhesive strip. Insert a laboratory spatula about 4 millimeters between the aluminum frame and the display frame (see figure 3). Be very careful to avoid damaging the LCD under them or the touchscreen with the spatula. Alternatively, you can lift the glass with a suction cup. At the same time, insert a pick between the aluminum frame and the display frame.
Step 2

Avoid getting fingerprints on the LCD. If necessary, you can wear latex gloves.
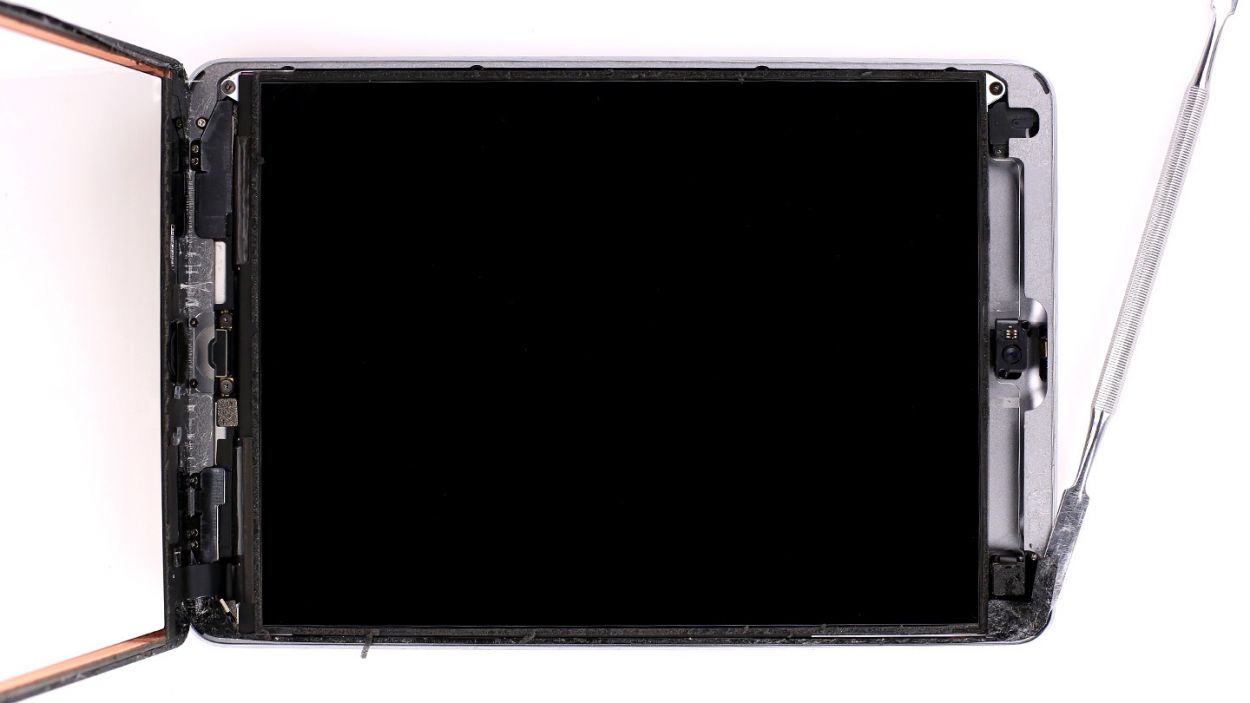
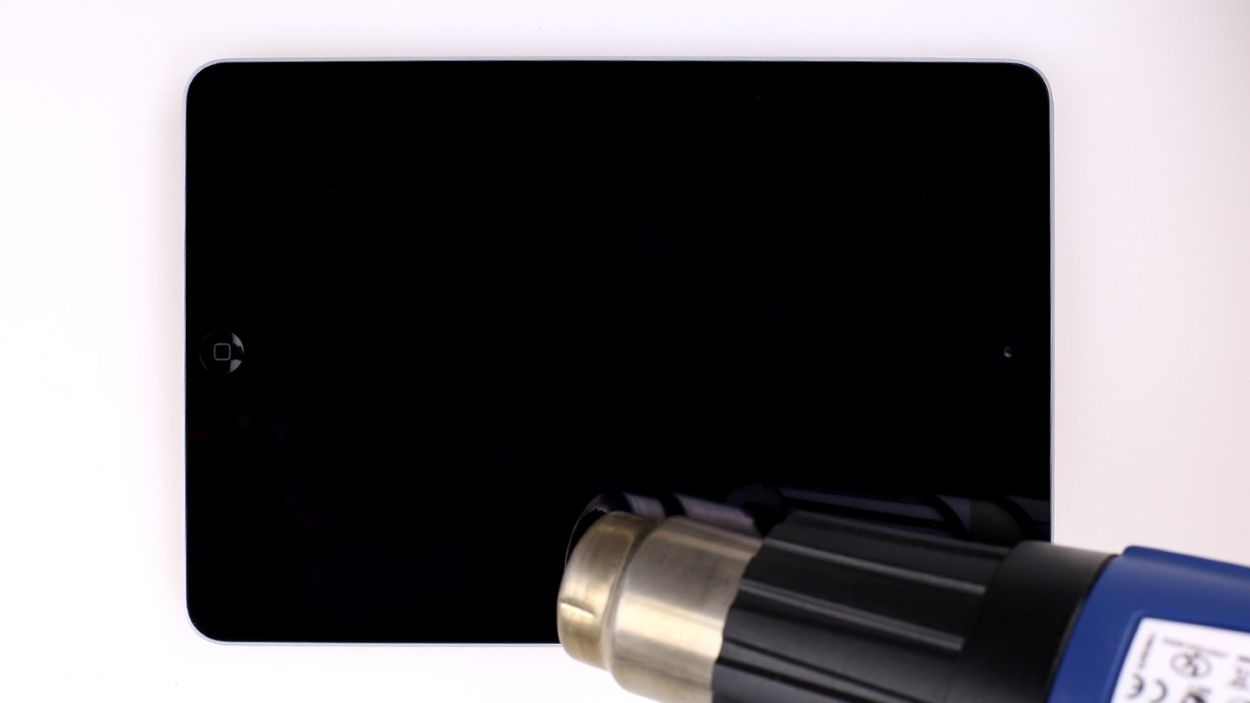
– As soon as you’ve finished with the upper part of the glass, you can slowly lift the screen at the part where the FaceTime camera is. At the same time, heat the bottom of the iPad mini 2 where the Home button is (see figure 1). You should be able to feel the glue slowly coming undone while you continue to carefully lift and heat the screen.
– Once the glue is fully dissolved, you can lift the screen all the way, fold it over and set it down (see figure 2). Make sure you don’t stretch the LCD and touchscreen cables too much.Avoid getting fingerprints on the LCD. If necessary, you can wear latex gloves.