Replace iPhone 6s Plus Speaker Guide: Step-by-Step DIY Tutorial
Duration: 30 min.
Steps: 15 Steps
In this guide, we’re here to help you swap out that pesky, faulty speaker on your iPhone 6s Plus. If your tunes are sounding more like whispers or your ringtone is playing hide and seek when calls come in, it’s time for a fix! Follow along as we guide you step-by-step through this repair. You got this!
Step 1
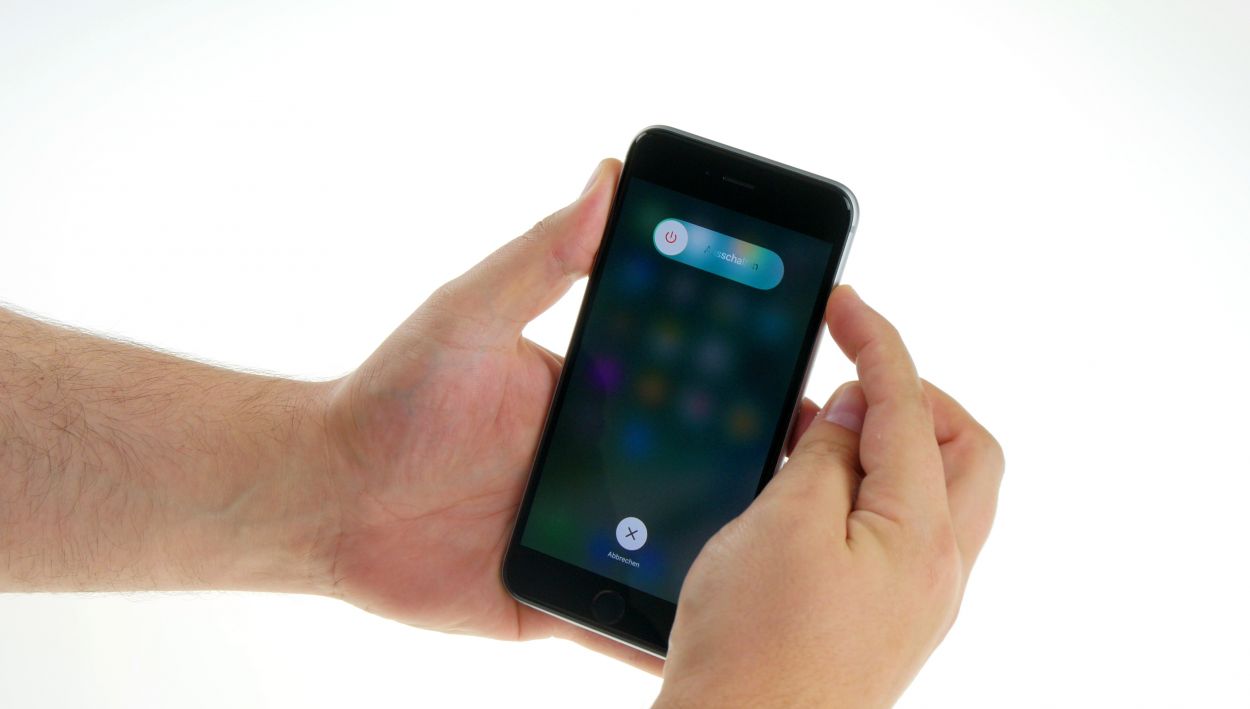

– First things first, let’s power down your iPhone completely to keep it safe during the repair. Just press that standby button for about three seconds until you see the slider pop up.
– Now, give that slider a good swipe from left to right. Your iPhone will take about ten seconds to shut down completely. Hang tight!
Step 2

– Grab your trusty pentalobe screwdriver—it’s your ticket to opening up the iPhone 6s Plus!
– Now, let’s tackle those two pentalobe screws at the bottom of the enclosure. They’re hanging out right next to the Lightning connector, one on each side. Make sure to keep them safe in the same container—those little guys are 2 x 3.3 mm pentalobe screws!
Step 3
Watch out for sharp edges from shattered glass! Stay safe while you work your magic.
– First, lay your iPhone 6s Plus on a soft, clean surface to keep that back looking fresh and scratch-free!
– To lift the display, you’ll want to grab a suction cup, a hard plastic pick, and a heat gun. If your screen is looking more like a puzzle with all those cracks, slap some packing tape over it first. Safety first—no one wants a glass surprise!
– The screen is just a little stuck to the frame. Use that heat gun to warm up the edges of the display to around 60°C (140°F).
– Place the suction cup over the Home button if you can (if not, just put it next to it). While you lift the display with the suction cup, use the hard plastic pick to gently press down on the aluminum frame. Slide the pick between the frame and the display. It might take a few tries, but you’ve got this!
– Once you’ve opened a tiny gap, you can wiggle the pick a bit more to pry it open.
– When you can lift the display just a few millimeters, carefully work your way around the edges until it’s loose on both sides. If you need a little extra heat, don’t hesitate to warm the outer edges of the display again!
Step 4
– Alright, let’s kick things off! First up, grab your Phillips screwdriver and remove those two screws. Once they’re out, gently lift off that shiny silver cover. You’ve got a 2.0 mm Phillips screw and a 2.9 mm Phillips screw to deal with, so keep them safe!
– Next, it’s time to bring out the spudger! Carefully use it to disconnect the lower connector for the battery contact, antenna, and Lightning connector. You’re doing great!
Step 5
– Alright, let’s get this party started! First, take out those five Phillips screws from the shiny silver cover. Make sure to keep them all in one spot so they don’t go wandering off. After that, gently lift the cover away like it’s a treasure chest waiting to be opened! You’ve got a mix of screws here: 1 x 2.6 mm Phillips screw, 3 x 1.2 mm Phillips screws, and 1 x 1.6 mm Phillips screw.
– Next up, it’s time to disconnect some connectors! Follow the order shown below and be super careful. Use the pointy tip of the spudger and slide it just below each contact to lift them up. You’ll be dealing with the Touch ID cable, the front camera/sensor/earpiece/ambient microphone, and the display. You got this!
Step 6
– The Taptic Engine is hiding beneath a plate, so let’s uncover it! Start by unscrewing those three screws holding the plate down: one 2.6 mm Phillips screw and two 3.3 mm Phillips screws. You’ve got this!
– Once those screws are out, gently lift the plate off and keep it with the screws. You’re one step closer to getting that sound back in action!
Step 7
– Let’s get that speaker out of there! First, you’ll need to unscrew the seven Phillips screws that are keeping it cozy in its spot. To keep things organized and easy-peasy later, toss those screws into different containers. Here’s the lineup: 2 x 2.2 mm Phillips screw with a large head, 2 x 2.6 mm Phillips screws, 2 x 1.5 mm Phillips screws, and 1 x 2.4 mm Phillips screw (the angled one).
– Gently nudge the antenna cable aside and place the cable guide with the 2.6 mm Phillips screws. We’re almost there!
– Now, whip out your trusty steel spatula and carefully detach the antenna from the speaker. You’re doing great!
– Use the flat end of the spudger as a lever to pop the speaker free. Almost there!
– Finally, remove the speaker and get ready for the next step!
Step 8
– Position the speaker in the back cover of the iPhone 6s Plus. Make sure the antenna cables are positioned properly in the guides.
– Stick the antenna to the speaker.
– Use the guide to clamp the antenna cable against the speaker.
– Fasten the speaker with the following seven Phillips screws.2 x 2.2 mm Phillips screw with large head2 x 2.6 mm Phillips screw2 x 1.5 mm Phillips screw1 x 2.4 mm Phillips screw (angled)
Step 9
– Alright, let’s put that plate back where it belongs!
– Secure the plate with those three trusty screws: one 2.6 mm Phillips screw and two 3.3 mm Phillips screws. You’re doing great!
Step 10
– Slide that battery into your iPhone like you mean it! Just a heads up, once those adhesive strips meet the back cover, they’re going to stick like they belong there.
– Peel away the blue protective film from the ends of those adhesive strips. We want them to be ready to roll!
– Now, fold the ends of those adhesive strips over and stick them to the battery. You’re on the right track!
Step 11
– Let’s get those connectors back together! Sometimes, connecting the display can feel like a game of twister, so take your time and be gentle to avoid bending anything. You’ll be handling the Touch ID cable, front camera/sensor/earpiece/ambient microphone, and of course, the display itself.
– Once everything is snug and secure, power up your iPhone! Check to see if the LCD, touchscreen, proximity sensor, front camera, and earpiece are all ready to rock. If the display connectors aren’t seated just right, you might see some funky stripes or parts of the touchscreen might decide to take a little break.
– Now, let’s cap it off by installing the cover and securing it with the screws: 1 x 2.6 mm Phillips screw, 3 x 1.2 mm Phillips screws, and 1 x 1.6 mm Phillips screw. You’re almost there!
If the display connectors are not snugly connected, you might see some funky stripes on the screen or parts of the touchscreen might decide to take a break. Let’s make sure everything is plugged in right!
Step 12
– Reconnect the antenna, Lightning connector, battery, and logic board—let’s get everything back in its happy place!
– Now, let’s put that shiny silver cover back on. It’s like dressing your iPhone for the big reveal!
– Secure the cover onto the logic board with the screws: 1 x 2.0 mm Phillips screw and 1 x 2.9 mm Phillips screw. You’re doing awesome!
Step 13
– Now, let’s gently fold down that display! Make sure it clicks snugly into place at the top edge where those connection cables are waiting to party.
– With a little care, press down on the display towards the Home button until it fits perfectly in the frame. It should be nice and flush, just like it was meant to be!
Step 14
– Alright, let’s get those two pentalobe screws back in at the bottom of the enclosure! They’re 2 x 3.3 mm pentalobe screws, and they’re just waiting to help keep everything snug and secure. You’ve got this!
Step 15
Once you pop that battery out, your iPhone might just lose track of time and think it’s 1:00 a.m. on 1/1/1970! Make sure to set the time right, or you might find yourself having a tough time connecting to the cellular network. Let’s keep things running smoothly!
– Let’s get your iPhone back on track! First, sync it up with iTunes or hop onto a WLAN network and hang tight until the time gets sorted out.
– Next up, pop out that SIM tray with the SIM card and then slide it back in. Easy peasy!
– Finally, switch on airplane mode for a moment and then turn it back off. You’re doing great!