Acer Aspire 3 A315-24P-R7VH Fan Replacement
Duration: 45 minutes
Steps: 12 Steps
Ready to swap out the fan in your Acer Aspire 3 A315-24P-R7VH laptop? First things first—let’s disconnect the battery. Take care not to bend, twist, or puncture it, as a lithium-ion battery can be pretty dangerous if damaged. If your battery’s looking a bit puffy or swollen, make sure to handle it with extra caution. Need a hand? Feel free to schedule a repair if this step feels tricky!
Step 1

– Power down your laptop and unplug all the cables. Easy does it—just a quick shutdown and disconnect to get started on your repair journey. If you need help along the way, you can always schedule a repair.
Step 2

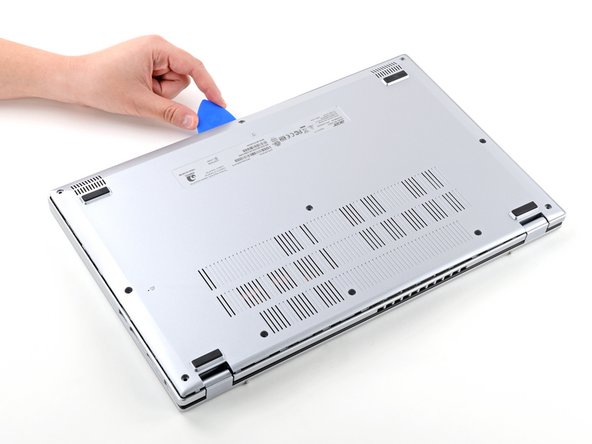
– Alright, let’s start by closing up that laptop and giving it a flip onto a clean, flat surface. Make sure it’s steady, so we can get to work.
– Grab a Phillips screwdriver and unscrew those eleven 6.6 mm-long screws on the back cover. Don’t rush – we’re taking this step by step!
Step 3


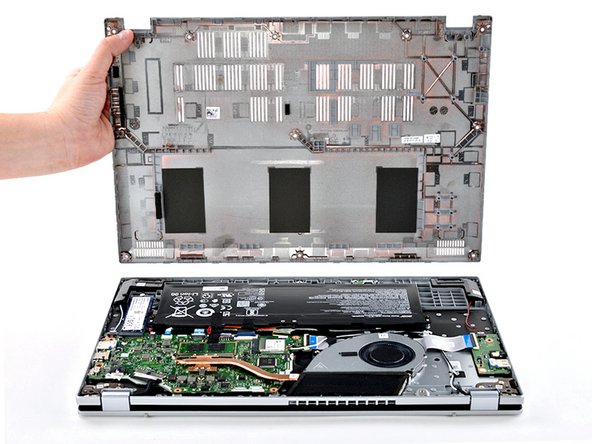
– Start by slipping the long edge of your opening pick right between the chassis and the back cover at the rear of the laptop.
– Gently pry upwards to pop a few clips loose and slide the pick flat under the back cover.
– Carefully glide the pick along the back edge of the laptop to release all the clips.
Step 4
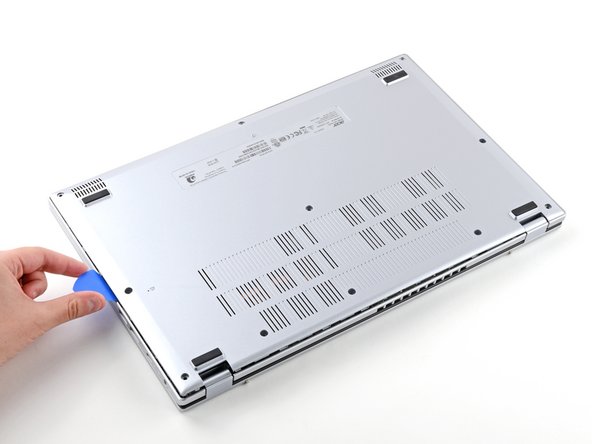

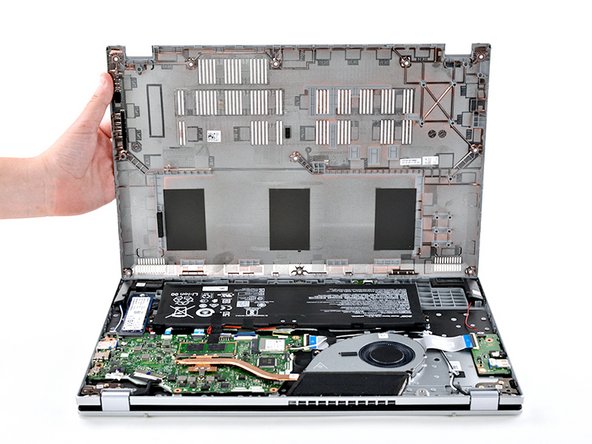
– Carefully pry around the entire perimeter of the back cover until it releases – you’re making great progress!
Step 5

If the back cover is feeling stubborn, just go back and gently repeat the previous step to coax loose any remaining clips. Patience is key—you’re almost there!
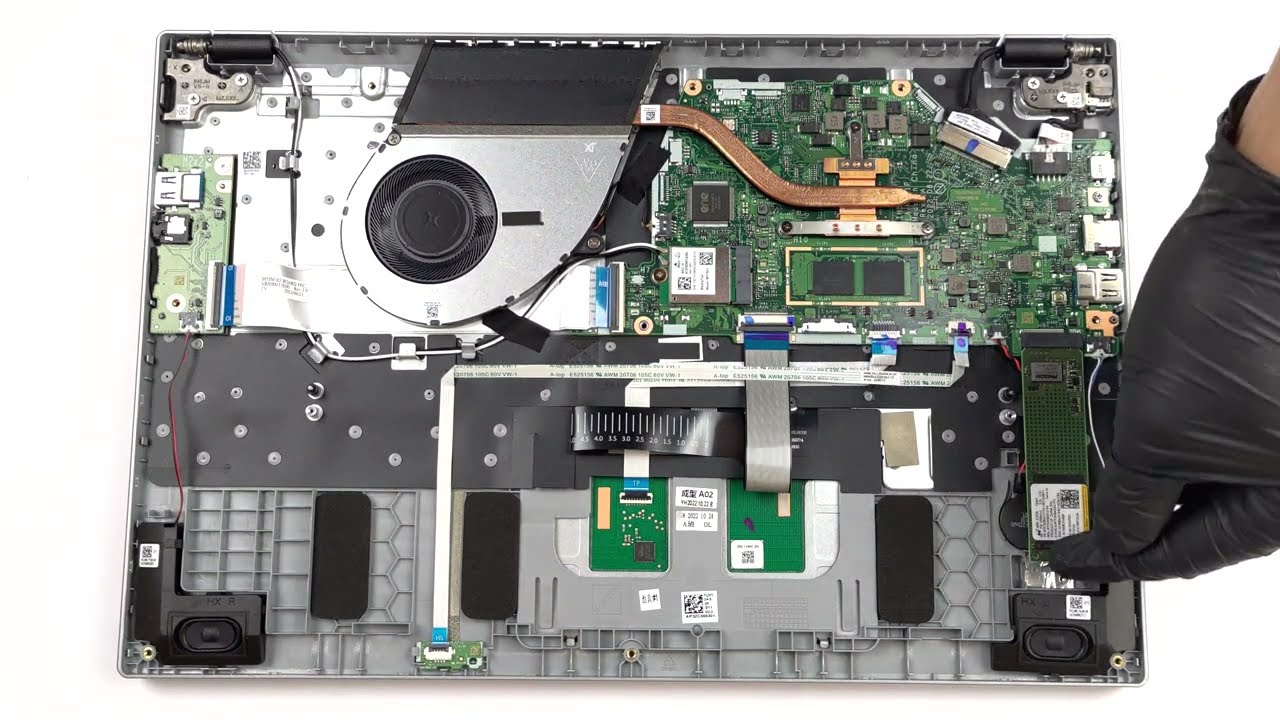
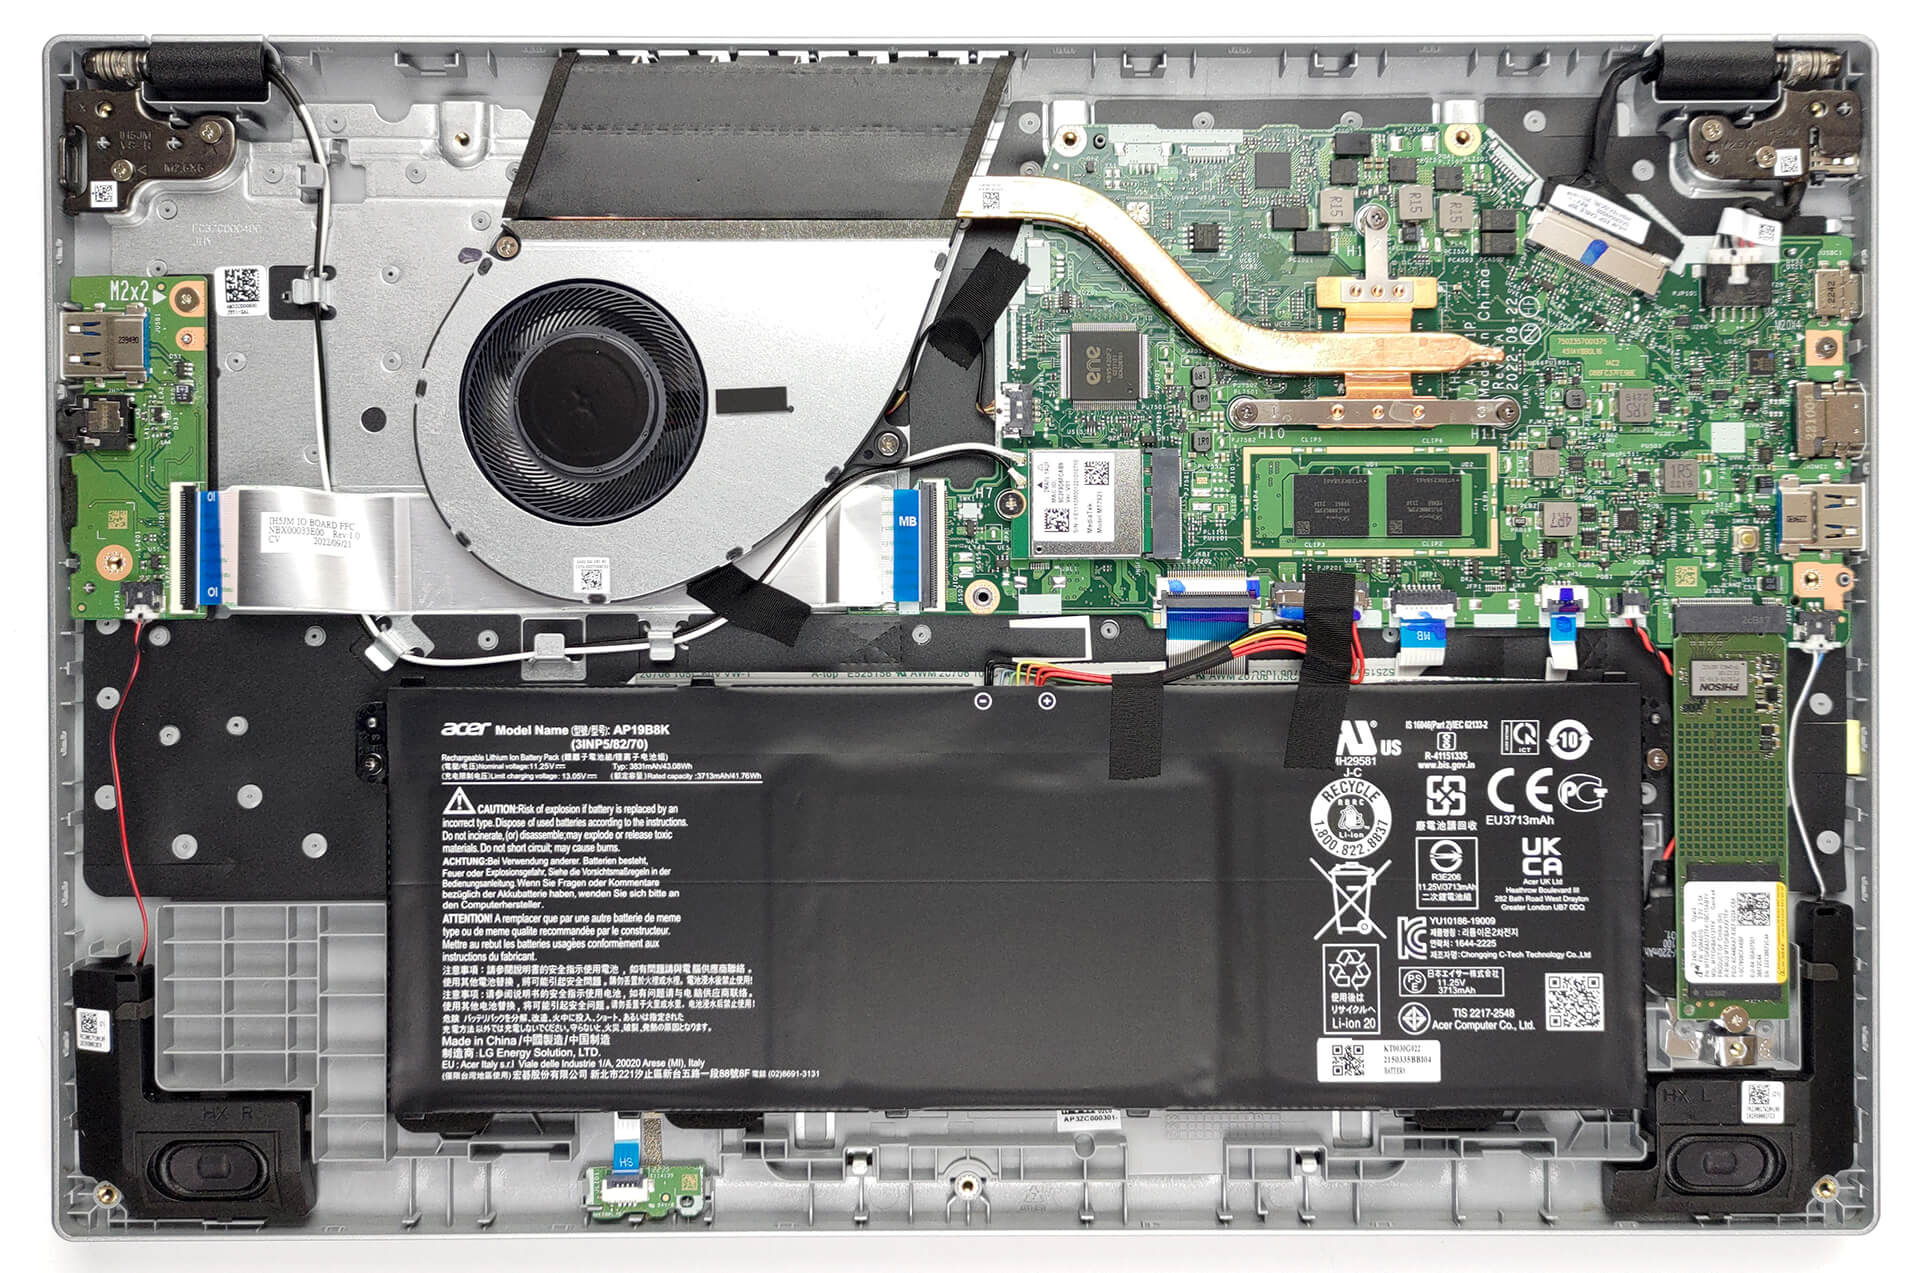
– Gently pop off the back cover and set it aside like a pro.
Step 6
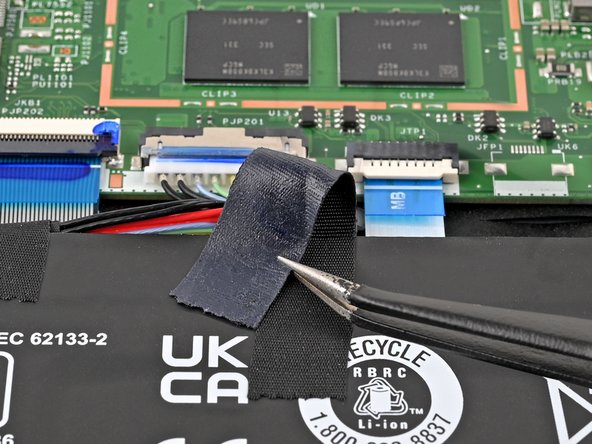

– Gently grab those tweezers or your fingers and peel off the tape holding down the battery connector. Easy does it!
Step 7


– Use the tip of a spudger to gently pry the battery cable connector out of its socket by applying pressure to either side until it releases.
Tools Used

Step 8


– Grab your Phillips screwdriver and take out the two 4.7 mm screws holding the battery in place.
Step 9


– Carefully lift the battery out of the chassis and set it aside. If you run into any snags, remember you can always schedule a repair for extra help.
Step 10

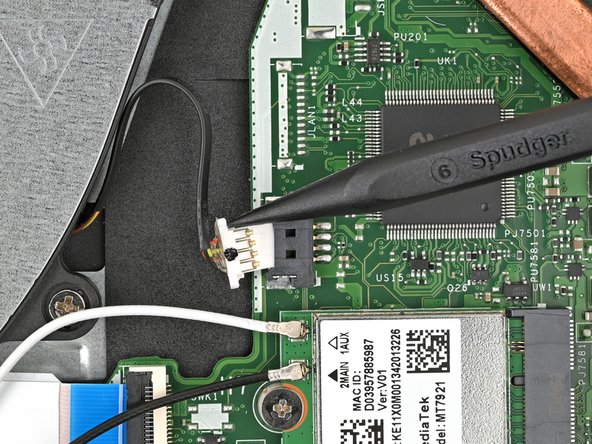
– Grab a spudger and gently pry at each side of the fan cable connector, easing it out of its socket. If you need help, you can always schedule a repair.
Tools Used
Step 11

– Grab your Phillips screwdriver and unscrew those two 5.6 mm screws holding down the fan. Easy peasy!
Step 12
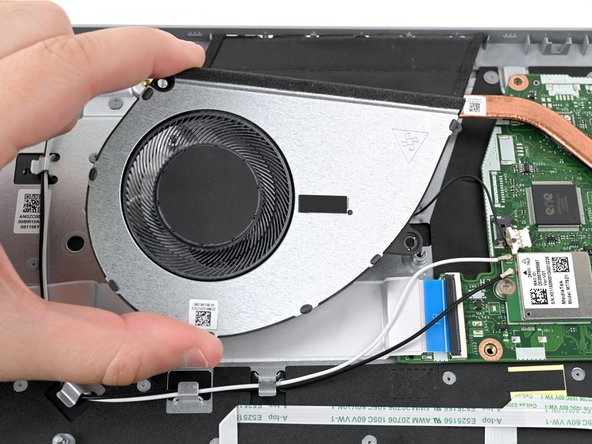


– Gently lift the fan out of the chassis and set it aside. Easy does it!
Success!