Acer Aspire 3 A315-58-350L Battery Replacement
Duration: 45 minutes
Steps: 6 Steps
Your laptop’s battery is what keeps it powered up and portable, so you can take it anywhere. If your battery’s not holding a charge like it used to or dies suddenly even when it shows more battery life, it might be time for a fresh one. Luckily, swapping out a battery is straightforward — just unscrew a few screws. Before starting, ensure your device has been off for at least a minute and unplugged from any power sources. If you need help, you can always schedule a repair.
Step 1


– Let’s get started by removing the eleven 7 mm Phillips screws that hold the lower case in place. Take your time and make sure to keep track of those tiny screws!
Step 2


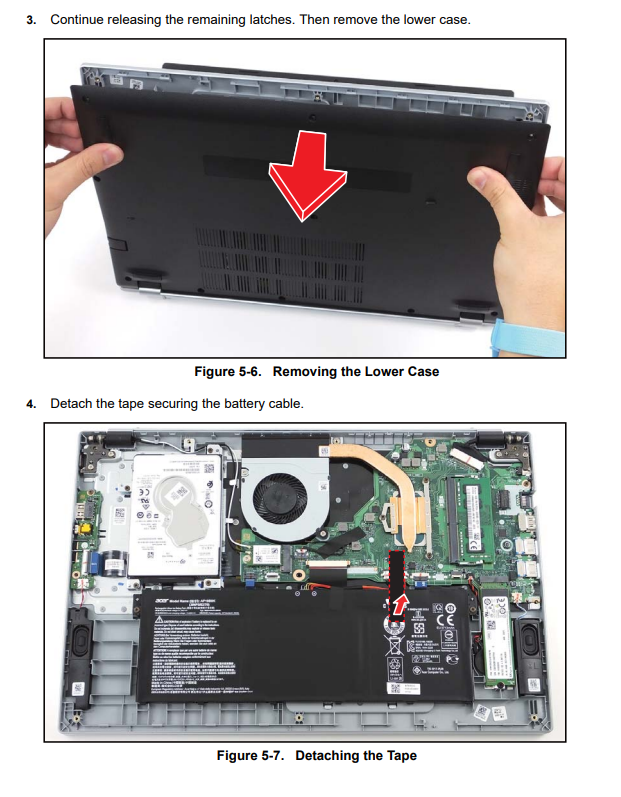
– Time to get started! Insert an opening tool into the gap between the lower case and chassis, and gently pry it open.
– Work your way around the edges, prying carefully until the lower case releases – it’s like a little puzzle!
– Almost there! Lift off the lower case, and you’ll be one step closer to fixing your device.
Step 3
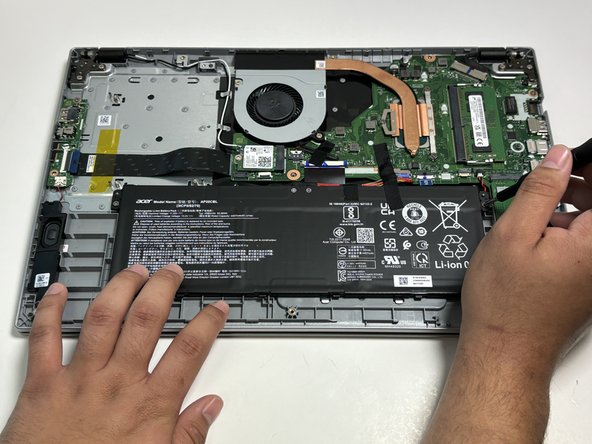

– Unscrew the pair of 4 mm Phillips screws holding the battery in place. Once they’re out, you’re all set to lift the battery free and get to the next step. If you need a hand, you can always schedule a repair.
Step 4
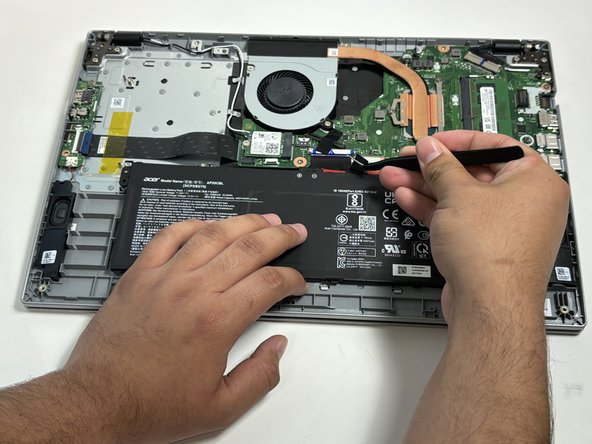
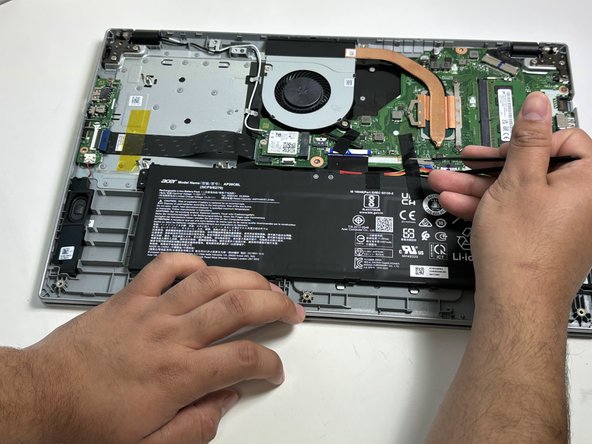

– Grab some tweezers and gently peel away those black tape strips from the top of the battery—easy does it! If you need help, you can always schedule a repair.
Tools Used

Step 5

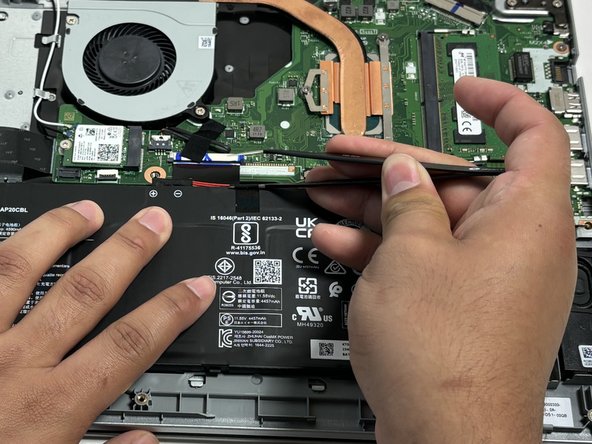
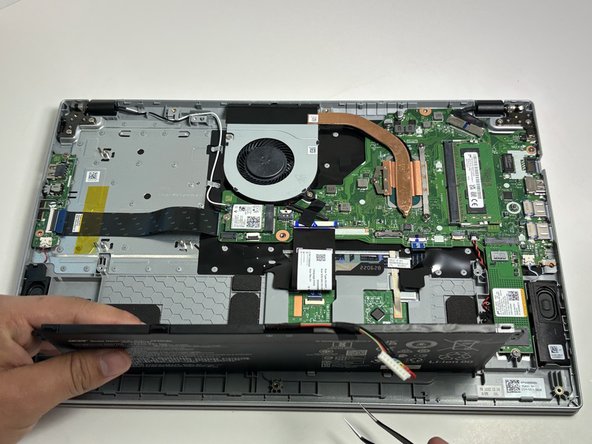
Give the wires some love—handle them by the connectors, not by yanking on the wires themselves.
– Grab those trusty tweezers and gently grip the white battery connector. Now, carefully pull it straight out of its spot on the motherboard.
Tools Used
Step 6
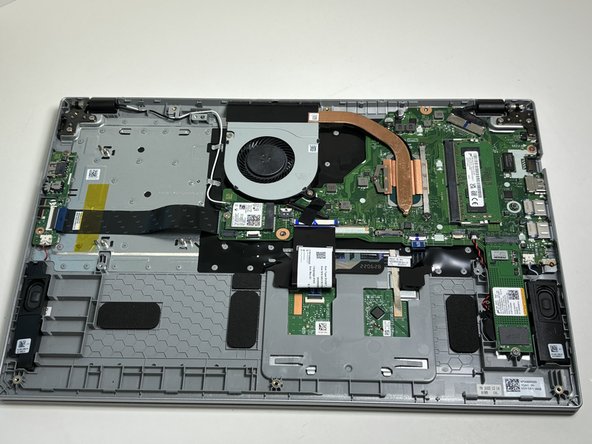

– Ready to put your device back together? Just follow these steps in reverse, and you’ll be up and running in no time! If you run into any trouble or just want a pro to handle it, you can always schedule a repair.
–
Success!