Acer Aspire 3003WLCi Optical Drive Replacement
Duration: 45 minutes
Steps: 22 Steps
Ready to swap out your laptop’s optical drive? This guide will walk you through updating your CD-reading hardware in just 9 steps. Heads up—you’ll need to pull out the hard drive, internal fan, and battery before getting started. Let’s make your laptop a little more future-proof, one step at a time.
Step 1

– Flip your Acer Aspire 3003WLCi over so the bottom’s facing up. Now, make sure the battery’s sitting to your left. Ready to go!
Step 2


– On the back of the laptop, you’ll find two switches: one near the top of the battery and the other at the bottom.
– To unlock the bottom switch, simply slide it up—this will release the battery.
– For the top switch, give it a firm push upwards and keep it in place to unlock.
Step 3


Keep gently pulling the upper switch upward—don’t give up, the battery won’t budge without it!
If the battery hasn’t been removed before, you might need to give it a confident pull to the left—don’t be shy, just firm!
– Hold that upper switch up, and slide the battery out to the left. Easy does it!
Step 4

– Ready to dive in? Flip your laptop over—the panel you’ll need to remove for fan access is chilling right on the bottom.
Step 5

Don’t worry if the screws seem stuck in the panel – it’s actually a design choice made by the manufacturer to keep everything secure. You’re making great progress so far!
– Grab your trusty Phillips #0 screwdriver and carefully unscrew the two 5mm captive screws holding the panel in place.
Tools Used

Step 6

If the panel’s being stubborn, grab your trusty spudger and gently work your way around the edge to pop it open.
– Gently lift up the panel and set it aside.
Tools Used

Step 7


– The fan is hanging out in the upper right corner of the panel, just waiting to be discovered.
– Grab your trusty Phillips #00 screwdriver and carefully remove the four 2.5mm screws that are keeping the fan in place. It’s a quick, easy job!
Tools Used

Step 8


– Gently unplug the fan’s power cable from the motherboard by lifting it straight up and out of its connector.
Step 9

There’s a sneaky piece of tape holding the fan on the opposite side of the copper. A little gentle wiggling goes a long way—give the fan a few playful nudges to help loosen things up.
– Gently pull the fan away from its copper surroundings to remove it.
Step 10

– Check out the upper right corner of your laptop—that’s where the hard drive access panel is hanging out.
Step 11

The screws might resist a bit and not come out all the way. Once they’ve loosened enough, you’ll be able to pop open the panel with ease. Keep going, you’re doing great! If you need help, you can always schedule a repair.
– Let’s get started by removing the two 5mm captive screws from the access panel using a Phillips #0 screwdriver. Simply unscrew them and you’ll be on your way to fixing your device!
Tools Used
Step 12

This panel can be a bit stubborn. If it’s not budging, grab your spudger and gently pop the cover up.
– Carefully lift off the panel to get to the hard drive, revealing the goodies underneath.
Tools Used
Step 13


– The hard drive is hooked up to the computer—just slide it straight back from the connector and lift it out of the laptop shell. Easy does it!
Step 14

– Let’s get started by flipping your Acer Aspire 3003WLCi laptop over, so the backside is facing you – this will give you access to the internal goodies.
– Next, you’ll be releasing the tabs on the back of the laptop to open it up and get to the internal components. Don’t worry, it’s easier than it sounds!
Step 15

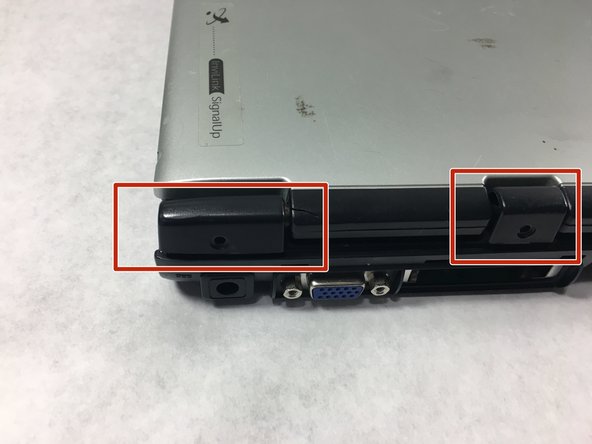
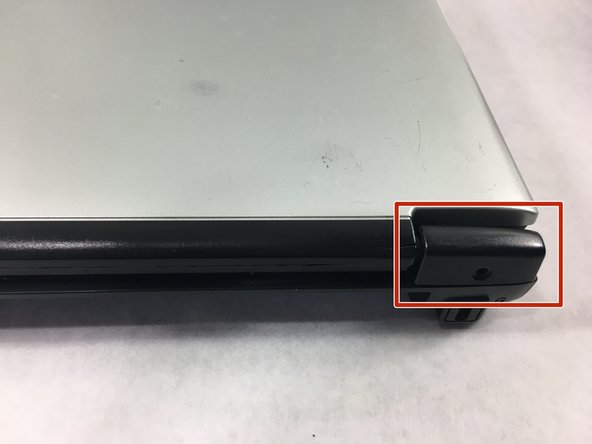
Let’s get started by locating the screws – you’ll find two under the leftmost tab and another two under the rightmost tab.
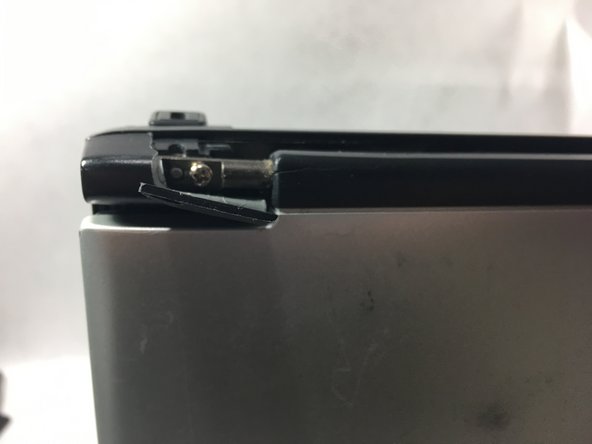
– Grab your trusty metal spudger and gently lift each tab to reveal the screws hiding underneath. Nice and easy!
– Time to get those screws out! Use a Phillips #00 screwdriver to remove all four of them. You’ve got this!
Tools Used

Step 16


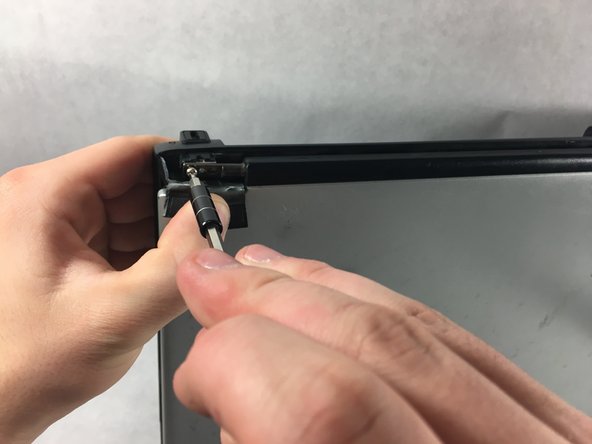
– Gently tilt the display down just enough to spot the three sneaky screws hanging out at the base.
– Grab your Phillips #0 screwdriver and evict those three highlighted 5mm screws.
Tools Used
Step 17

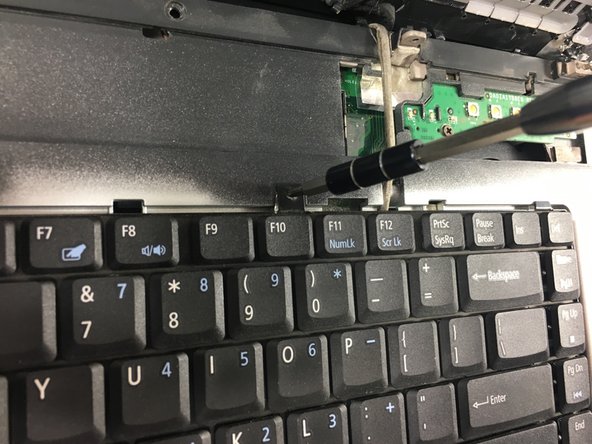
– Grab your trusty Phillips #0 screwdriver and unscrew the two screws holding the keyboard in place. Easy peasy!
– Lift the keyboard gently and unplug the cable hiding underneath. You’ve got this!
Tools Used
Step 18

– Let’s get started! Use a Phillips #0 screwdriver to remove the two 5mm screws that are highlighted – this will give you access to the internal area of the laptop. Remember to handle the screws with care, and don’t strip them!
Tools Used
Step 19
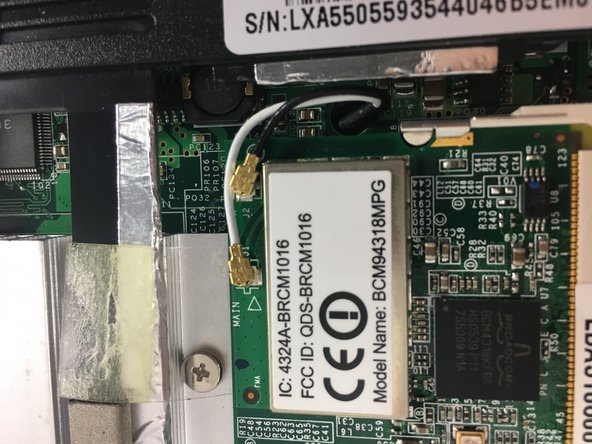
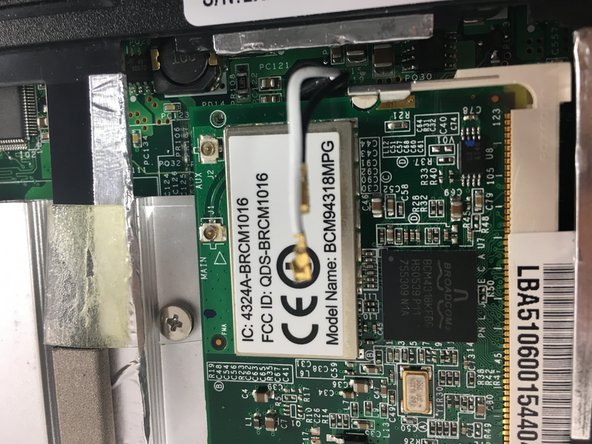

– Flip your laptop over to the other side, then gently unplug the two black and white coaxial cables to finish removing the display.
Step 20
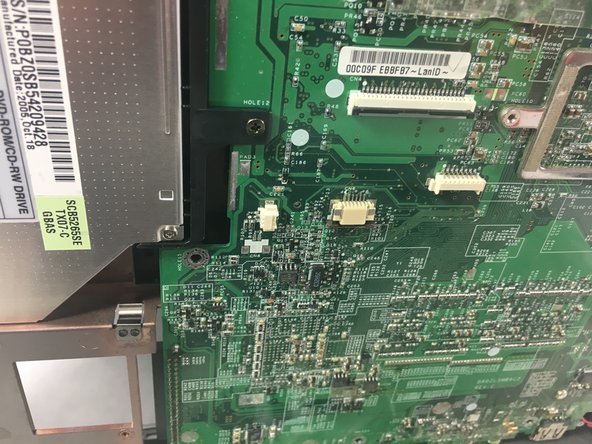

– Flip your laptop back over and gently unplug the black and red cable from its socket. Once those cables are out, the display will lift right off—nice and easy!
Step 21
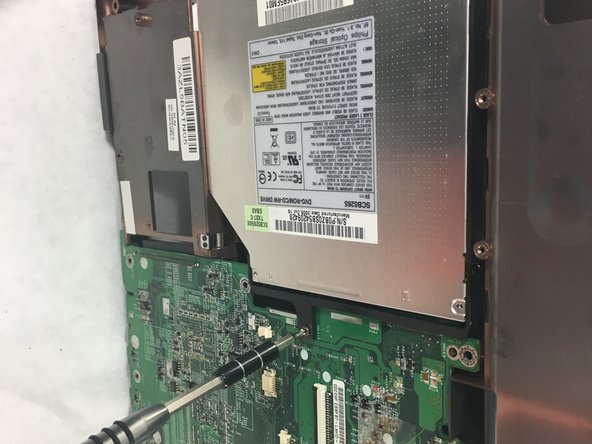

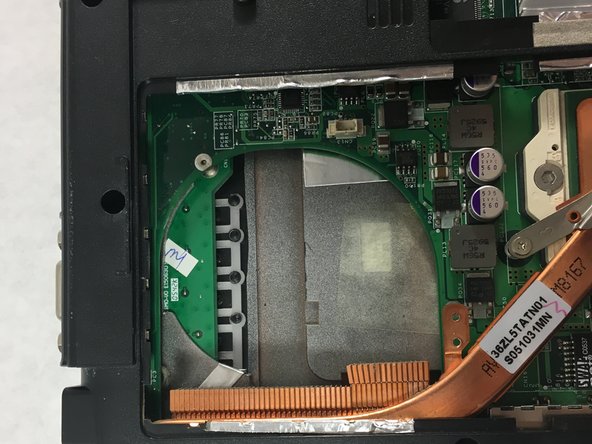
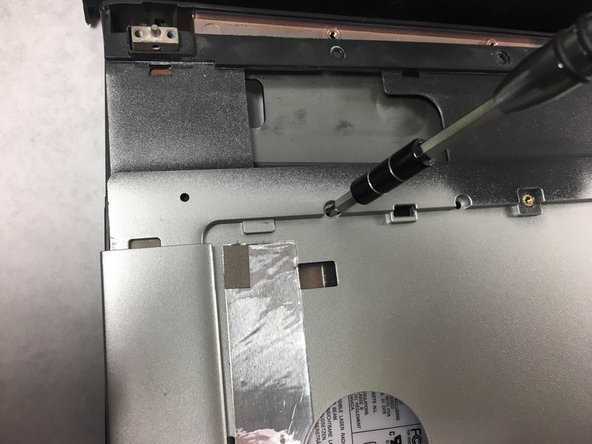
– Now that you can clearly see the optical drive, let’s get to work!
– Grab your Phillips #0 screwdriver and gently remove the 5mm screw holding the optical drive in place. Easy peasy!
Tools Used
Step 22
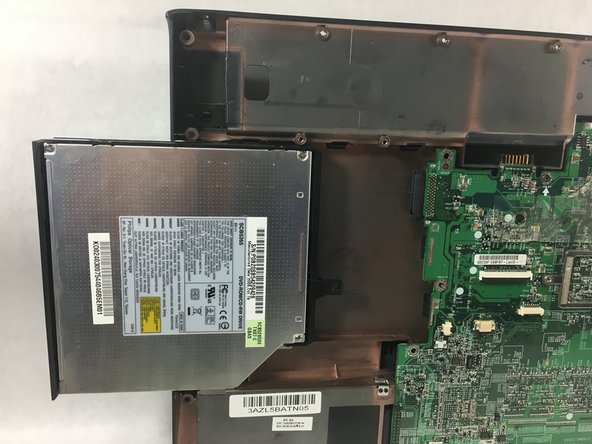


– To put everything back together, just work your way through these steps in reverse – easy peasy!
–
Success!