Acer Aspire 4520-5464 Hard Drive Replacement
Duration: 45 minutes
Steps: 6 Steps
This step-by-step guide shows you how to swap out or upgrade the Hard Drive in your Acer Aspire 4520-5464 laptop. Follow along as we carefully walk through each move to get your storage game on point. Remember, if things get tricky, you can always schedule a repair for some extra help.
Step 1

– Power down your device and unplug all cables and external gadgets. Then, flip it over to get ready for the next steps. If you need a hand, you can always schedule a repair.
Step 2


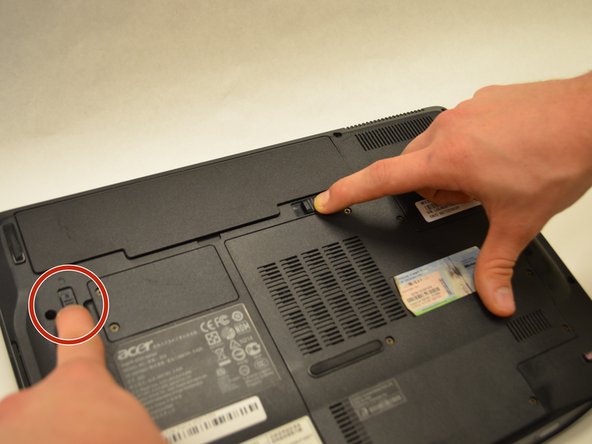
– Make sure the battery compartment lock is switched to the unlocked setting. No stubborn tabs allowed!
– Slide the sleek black tab away from the battery compartment like you mean it.
– You should see the inside edge of the battery pop up a bit—like it’s eager to get out. That’s your cue to move on!
Step 3

– Grab the inside edge of the battery and gently lift it up to completely release it from the computer.
Step 4

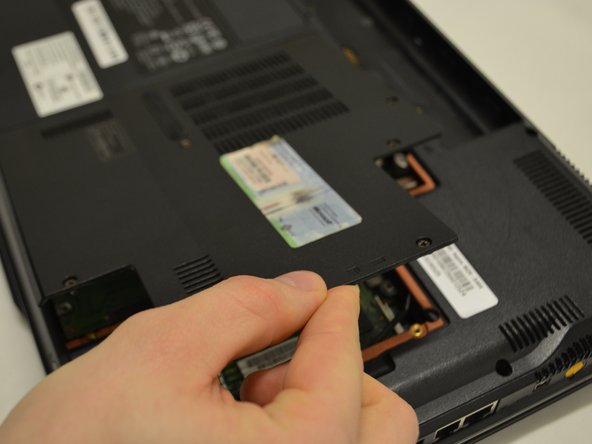
– Start by unscrewing the seven 2mm Phillips #1 screws from the largest panel on the back of your laptop.
– Once those screws are out, gently lift the panel from the indent on the right side. It should come off without any trouble.
Step 5


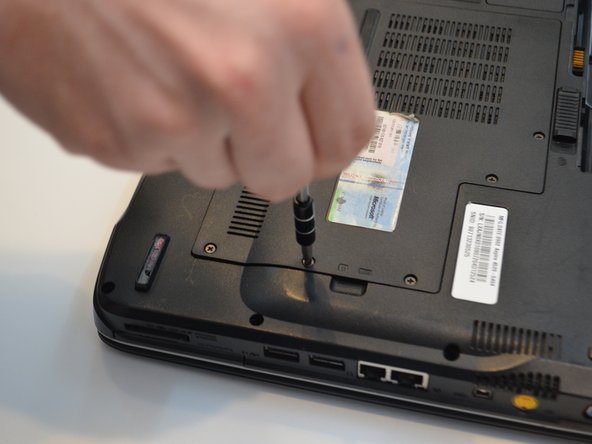
– Unscrew those two tiny 0.5mm Phillips #1 black screws on the left side of the Hard Drive—they’re holding it snugly in place.
– Next up, remove the two 0.5mm Phillips #1 silver screws sitting right on top of the Hard Drive—don’t forget these little guys!
– Gently lift the hard drive bracket upwards, using the plastic tab on top of the drive as your guide, and set it aside. You’re getting closer!
Step 6

– Pop the hard drive out of the device and set it aside. You’ve got this!
Success!