Acer Aspire 4741G-332G32Mn Backplate Replacement
Duration: 45 minutes
Steps: 5 Steps
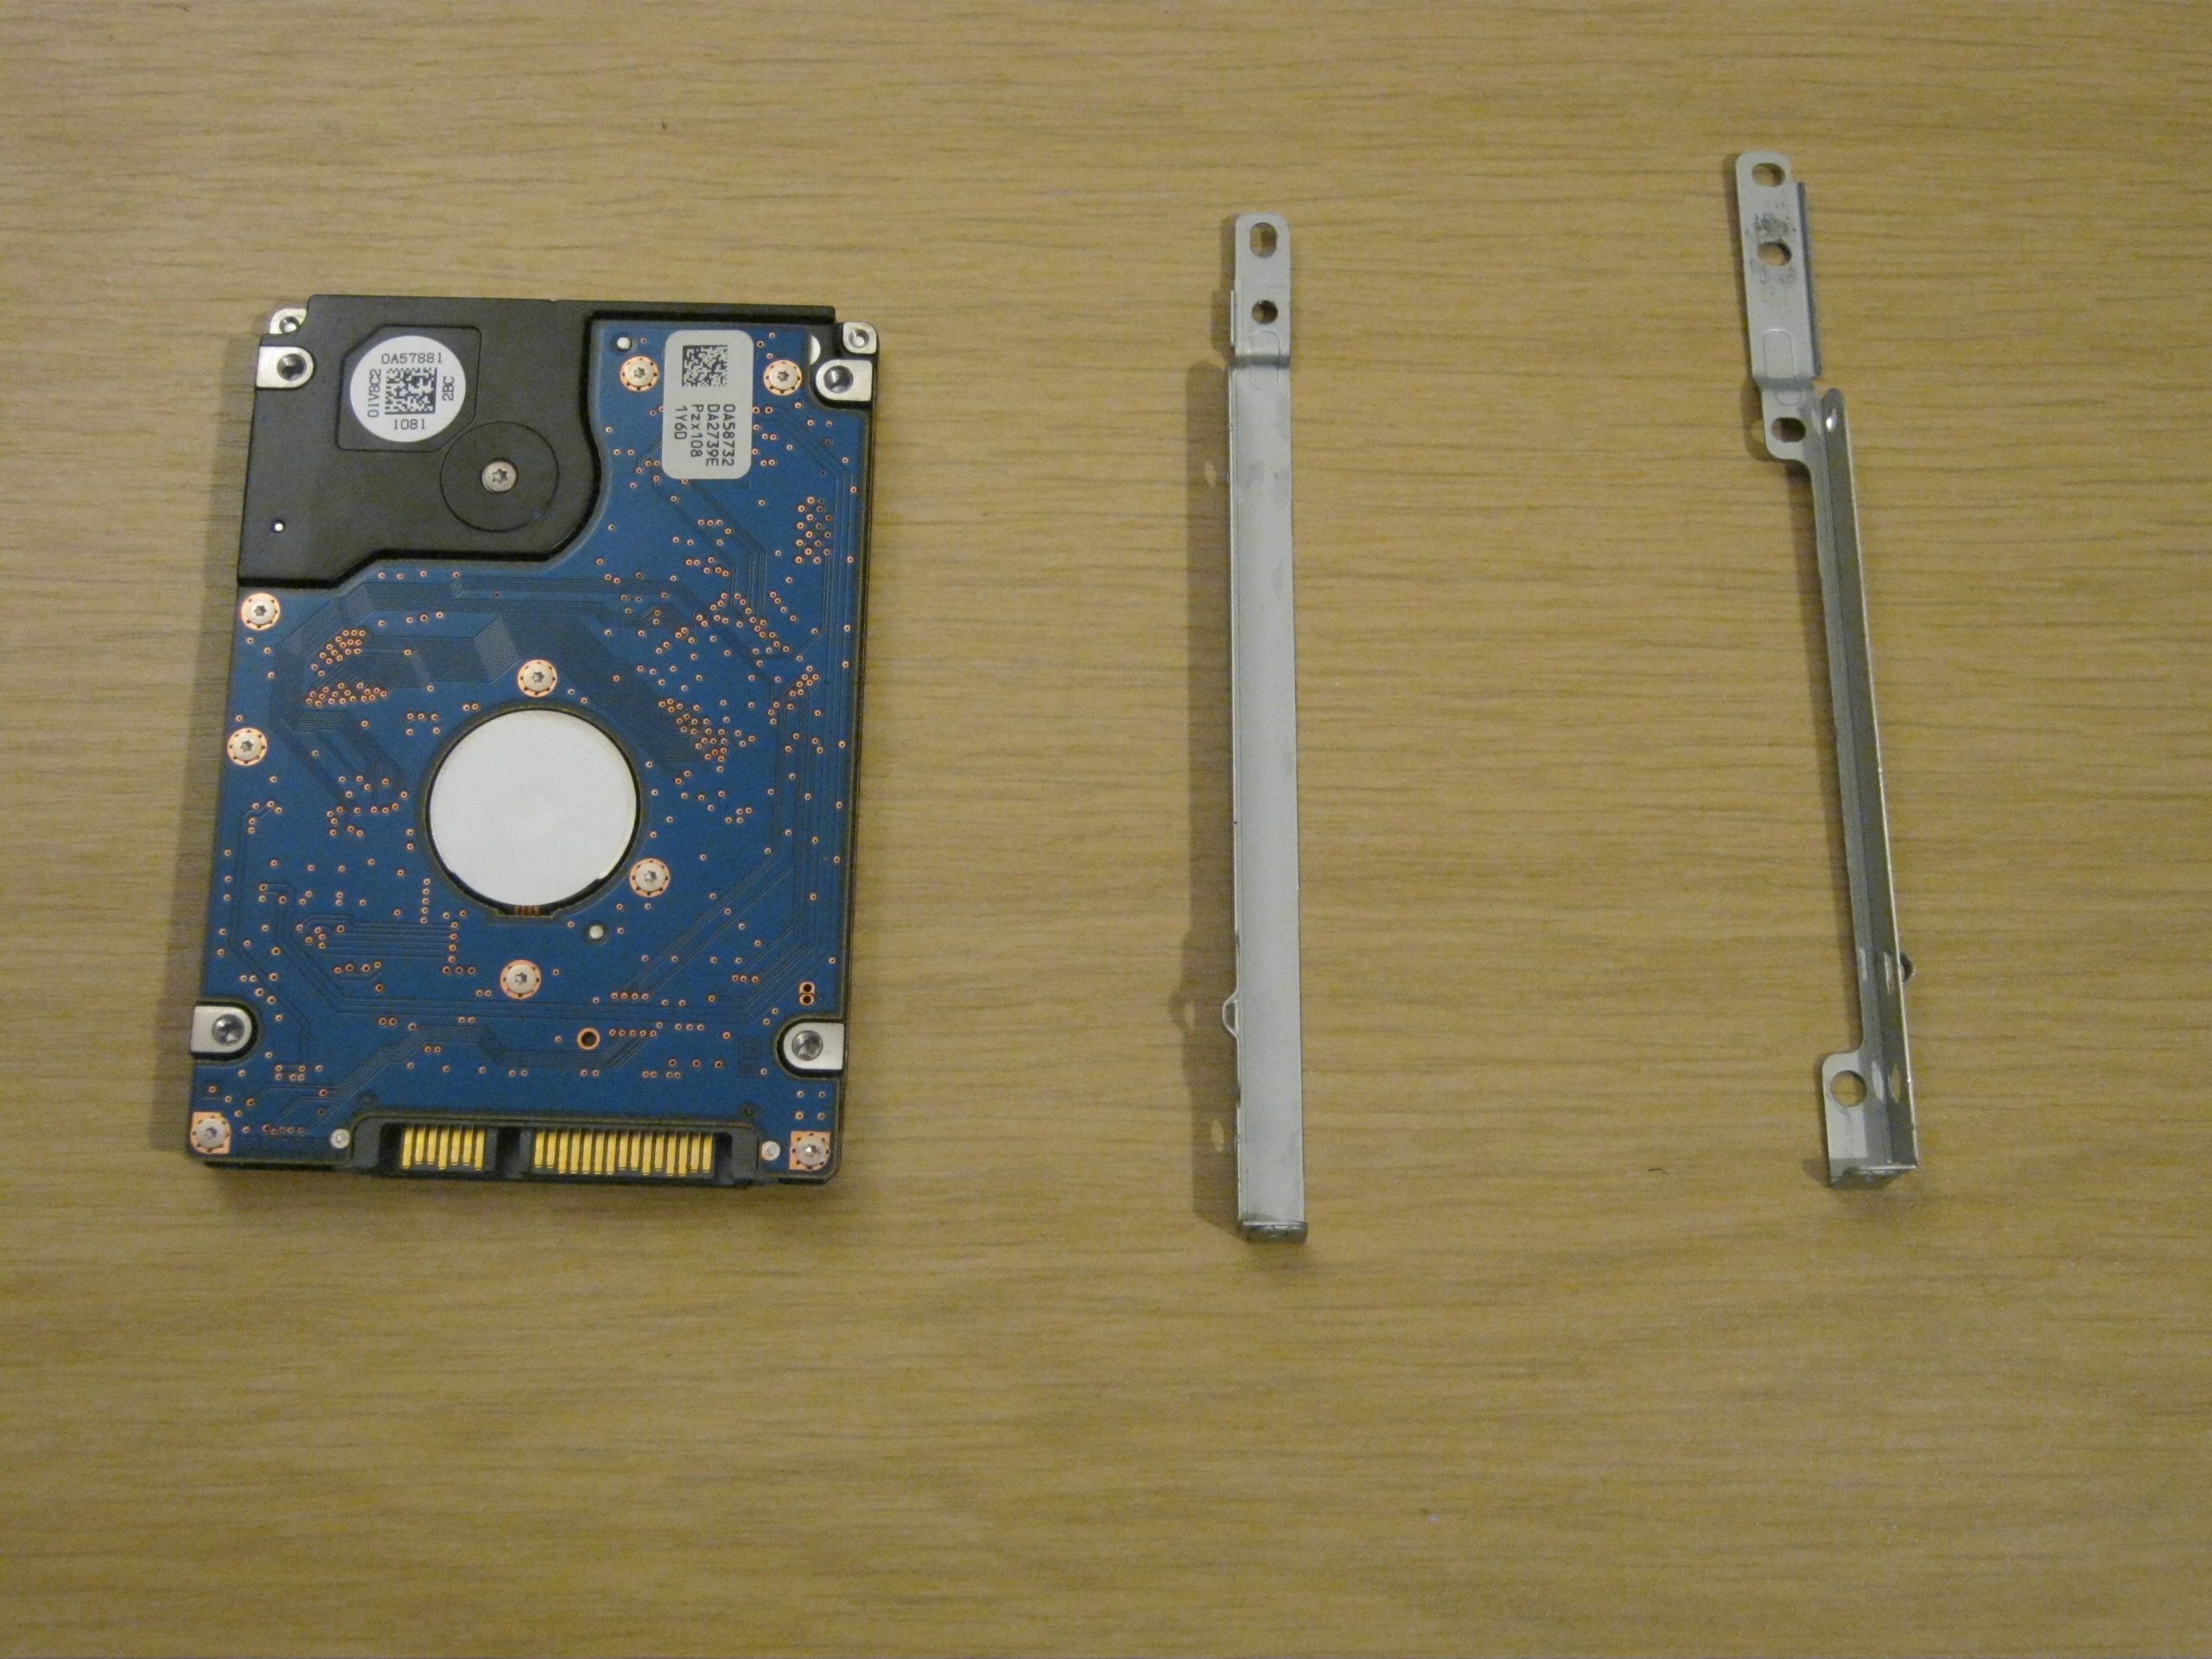
If your Acer Aspire 4741G-332G32Mn is acting up, follow this guide to remove the backplate and get your device back on track. The backplate, located on the back of your device, provides the stability your device needs and protects the CPU from harm. Before starting, make sure the backplate is properly connected to the bottom of your device and that it’s screwed in tightly. And remember, safety first—power off your device completely and unplug it from any power sources before diving in. If you need help, you can always schedule a repair.
Step 1

– Gently flip the lock latch to release the battery. You’ve got this!
Step 2

– Give the middle latch a gentle slide and lift the battery right out.
Step 3


– Gently pry up the keyboard with your opening tool—it’s a light lift, no sweat needed.
– Unscrew the two screws holding the motherboard in place using a Phillips #0 screwdriver. Easy does it!
Tools Used

Step 4

– Let’s get started by removing all 12 screws from the backplate. Grab your trusty Phillips #0 screwdriver and get to work!
Tools Used
Step 5

– You made it! To put everything back together, just follow these steps in reverse. Nice job!
–
Success!