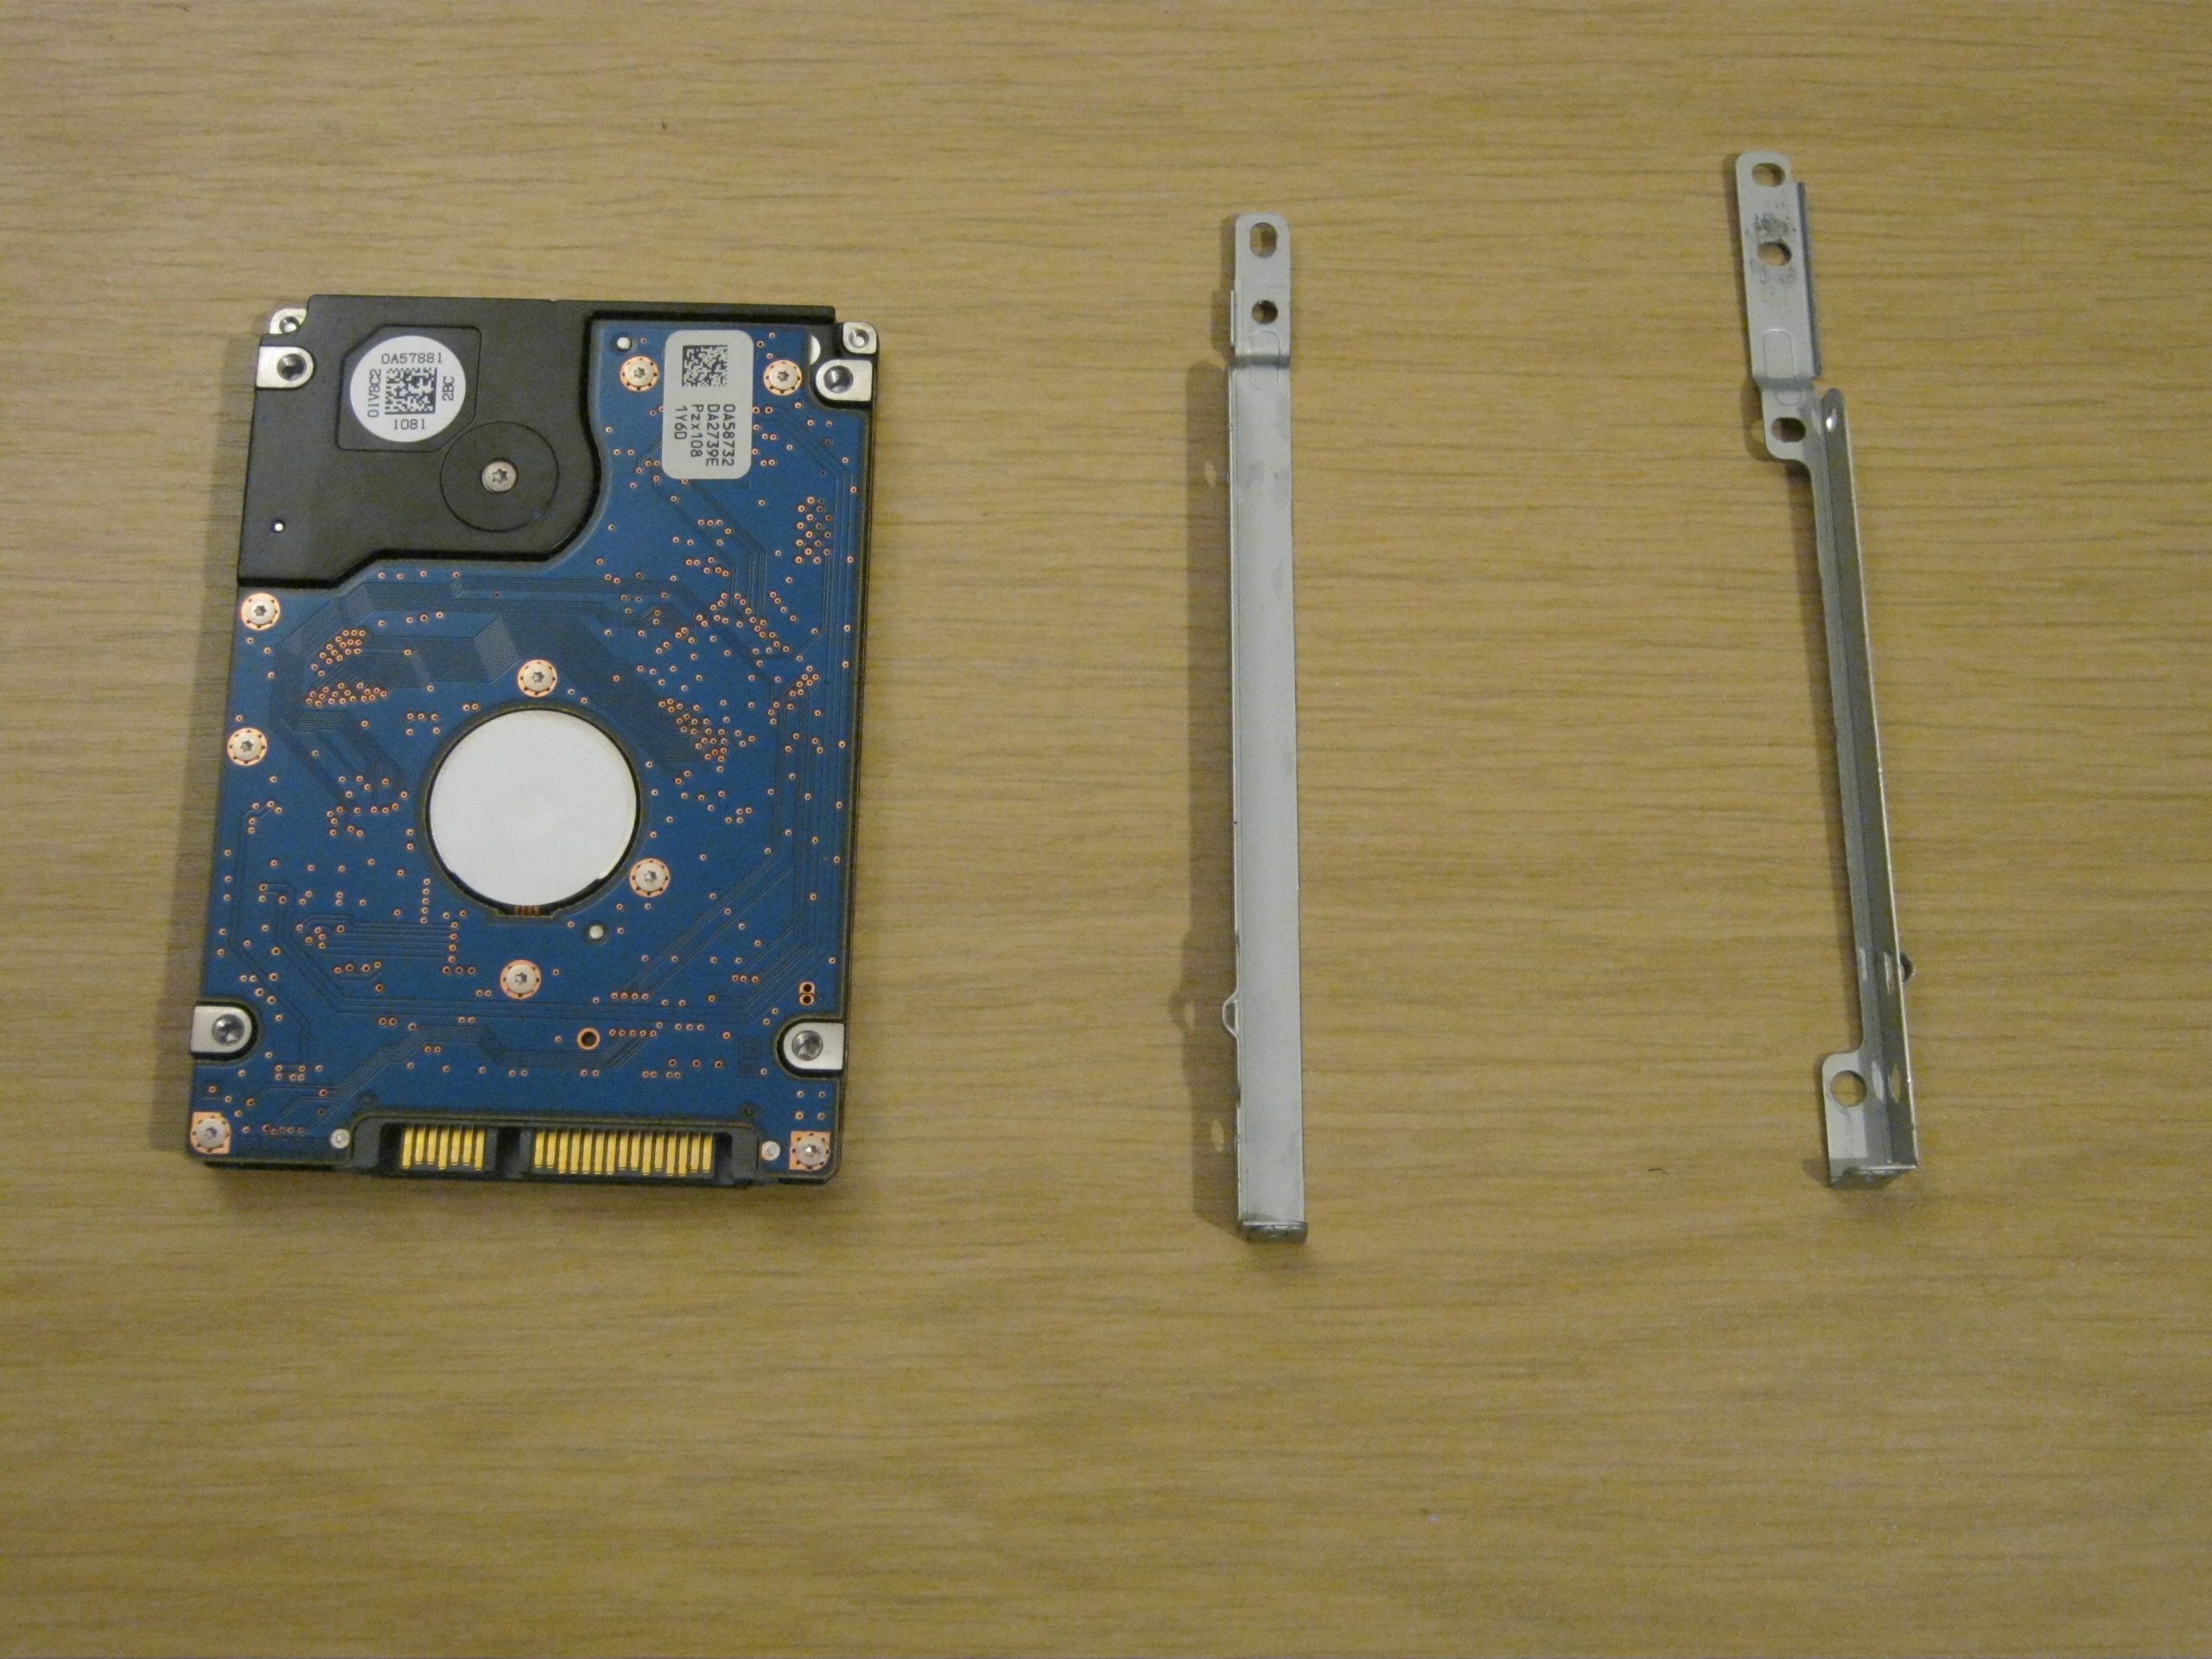
Acer Aspire 4741G-332G32Mn DVD Drive Replacement
Duration: 45 minutes
Steps: 6 Steps
Step 1
– Flip that lock latch open to set your battery free.
Step 2
– Give the middle latch a gentle slide and pop the battery out. It’s that simple!
Step 3
– Time to get started! Use your trusty opening tool to carefully pry off the keyboard.
– Next, locate the two screws connected to the motherboard and remove them using a Phillips #0 screwdriver – you’ve got this!
Tools Used
Step 4
– Grab your Phillips #0 screwdriver and gently unscrew all 12 screws from the backplate. Keep them somewhere safe—you’ll need them to put everything back together later. If you need help, you can always schedule a repair.
Tools Used
Step 5
– Let’s get started by using a prying tool to carefully remove the bottom of the laptop. This is a great opportunity to get familiar with the inner workings of your device!
Step 6
– Find that screw holding the DVD drive to its home base and give it a good twist to loosen. Then, gently slide the DVD drive out of its slot. If you need help, you can always schedule a repair.
Success!


