Acer Aspire 5 A515-43-R19L RAM Replacement
Duration: 45 minutes
Steps: 8 Steps
Give your Acer Aspire 5 Slim Laptop (A515-43-R19L) the boost it needs with this easy-to-follow guide on replacing or installing new RAM sticks. If the default 4GB single channel stick isn’t cutting it for your workload, don’t worry – upgrading is a breeze. With RAM being one of the more affordable PC components, you can upgrade your device without breaking the bank. Plus, you’ll gain some valuable hardware experience along the way. This guide is perfect for beginners, and the skills you learn can be applied to most laptop models and even desktop towers. Just remember to power down your device and unplug it from any external power source before getting started. Follow these simple steps, and you’ll be enjoying a smoother, snappier performance in no time. If you need help, you can always schedule a repair
Step 1

Point the main exhaust so it’s blowing away from you—give yourself some breathing room!
– Flip your device so the screen is facing down. This gives you better access for the next steps. If you need help, you can always schedule a repair.
Step 2


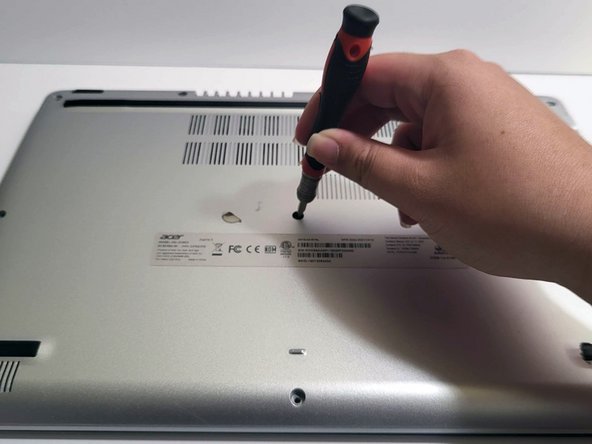
– Let’s get started by removing the nine screws from the bottom of your laptop – grab a Phillips #1 screwdriver and get to work!
Step 3


Go easy—don’t jam your tool too deep, or you might end up poking something delicate inside. Gentle hands win this round!
When you get to the exhausts and screen hinges, take it easy and be gentle. Applying too much force can lead to unexpected damage, so let’s take our time and get it done right!
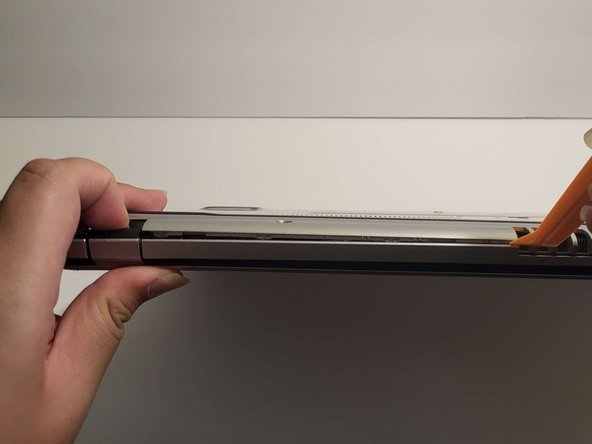
– Grab your prying tool and gently work it around the edges to lift the case off the laptop. Take your time, no rush – just a little wiggle here and there to get it loose.
Step 4

When you’re working inside your device, try to avoid touching the components too much—especially with your bare hands. Less contact means less chance of accidental mishaps.
This step isn’t strictly necessary, but it’s a solid move to help keep your device safe from unplanned surprises (like accidentally turning it into a fancy paperweight).
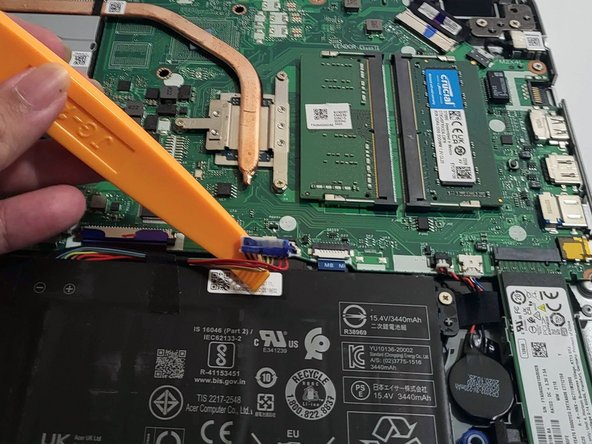
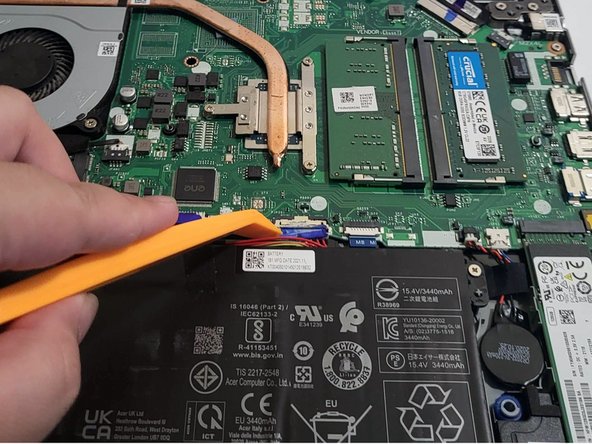
– Grab an opening tool and gently pry up the battery connector from the motherboard. Keep it careful and steady—you’re almost there! If you need a hand, you can always schedule a repair.
Step 5
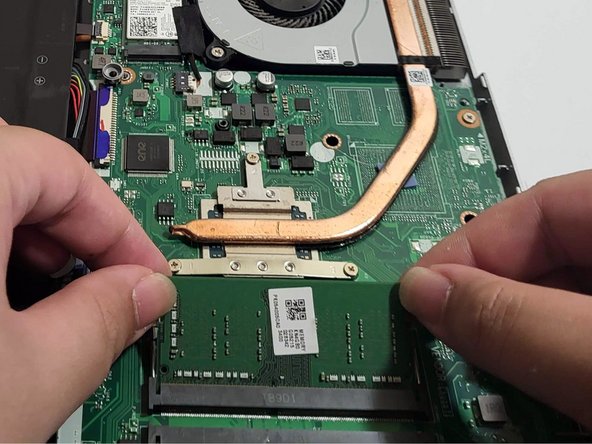
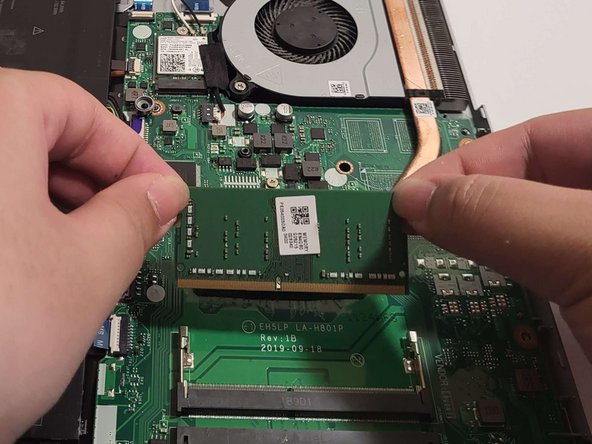

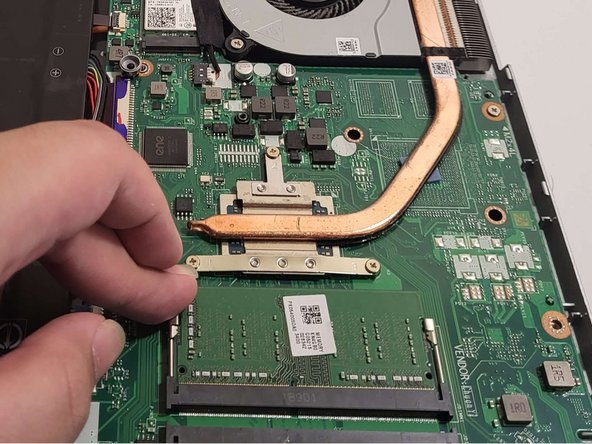
– You’re getting close, locate the RAM slots just north of the battery connection point, and to the right of the copper pieces – they can’t be missed.
– Next, grip the RAM housing firmly on both sides and push in opposite directions until it pops up at an angle – it’s like a little puzzle.
– Finally, gently pull the RAM free from the slot – and you’re done with this step.
Step 6

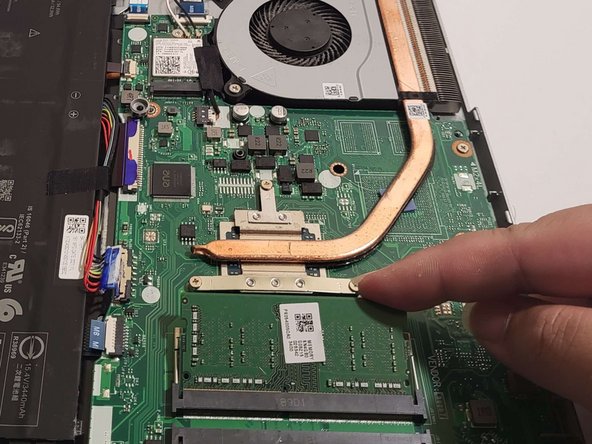
– Make sure your RAM’s DIMMs are lined up so the shorter side fits into the shorter slot, and the larger side slots into the larger one.
– Gently angle the RAM and slide it into place.
– Give it a little press until you hear the satisfying click from both sides locking in.
Step 7


– Plug the battery connector back into the motherboard. You’re almost done powering things up!
Step 8

– Set the shell back onto the laptop, pressing down on each corner and along the sides to click everything into place. Then, secure the shell by screwing it back onto the device. If you need help, you can always schedule a repair.
Success!