Acer Aspire 5 A515-46-R3UB Speakers Replacement
Duration: 45 minutes
Steps: 8 Steps
Having trouble with your ACER Aspire 5 A515-46-R3UB’s speakers? No sound or super distorted audio got you down? Don’t worry, replacing them is easier than you think. Before you start, take a peek at the ACER Aspire 5 A515-46-R3UB Troubleshooting page to see if there’s a simpler fix. Remember to power down your laptop and unplug the charger before diving in. Let’s get started with this step-by-step repair guide.
Step 1


– Grab a JIS #1 screwdriver and carefully remove the eleven 6.7 mm screws from the bottom cover. Take your time, and keep them all safe—you’ll need them later!
Step 2


– Grab your trusty opening tool and some picks—time to pop off that bottom cover.
– Slide the tools around the edges to gently free up any sneaky clips.
– Lift off the bottom case and set it aside like the pro you are.
Step 3


– Peel off the two pieces of tape securing the battery and its connector. Handle them carefully, and keep them safe for reassembly later.
– Be sure to hold onto the tape—it’s going to be useful when you put everything back together!
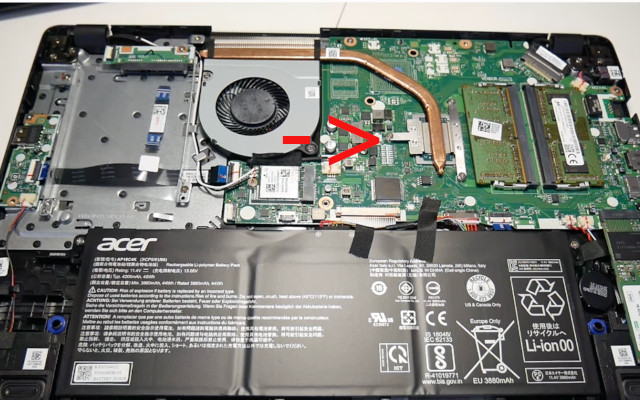
Step 4

– Grab your plastic opening tool and gently pry on each side of the connector to lift it out of the socket. Keep it careful and steady—you’re doing great! If you need a hand, you can always schedule a repair.
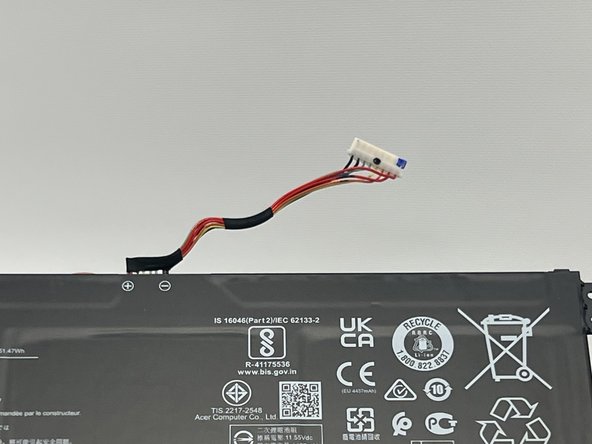
Step 5


– Carefully lift out the battery and gently slide it away from the bottom case of the laptop. If you run into trouble, remember you can always schedule a repair for extra help.
Step 6
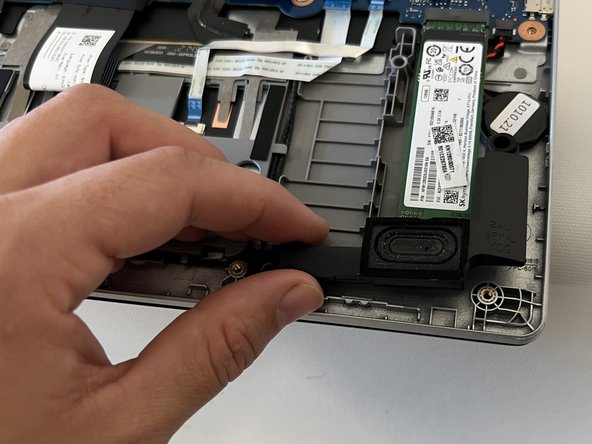

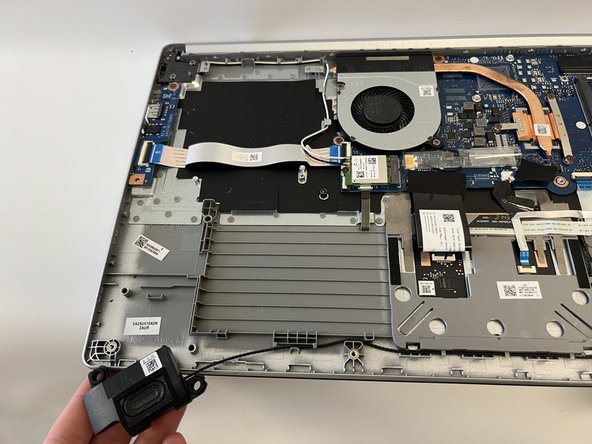
Let’s take a look at the speakers – you’ve got one in the bottom left corner and another in the bottom right corner.
– Gently lift the speakers off the mounting pegs. Easy does it – they’re not stuck, just a little snug.
Step 7

– Time to set those speakers free! Undo the cables connecting both speakers from their routing hooks.
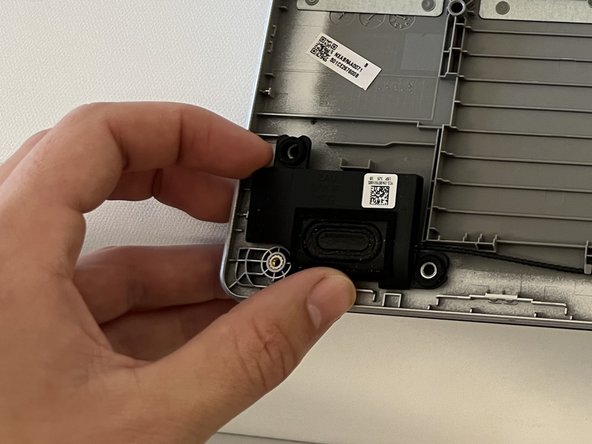
Step 8
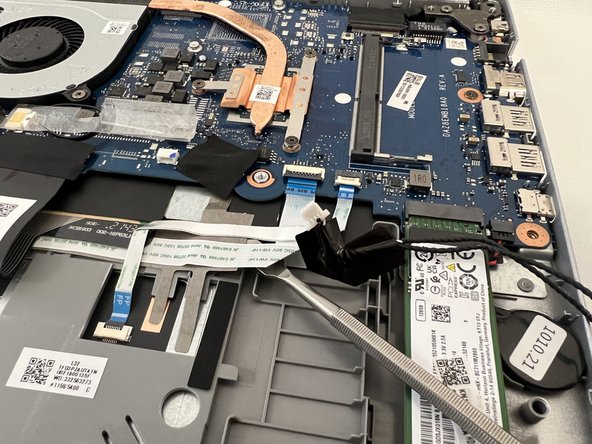

Gently pull the cable from both sides to avoid putting too much stress on any single wire. This will help prevent damage and make the repair process smoother.
– Gently pull the speaker cable away from the connector, following the natural direction of the wires.
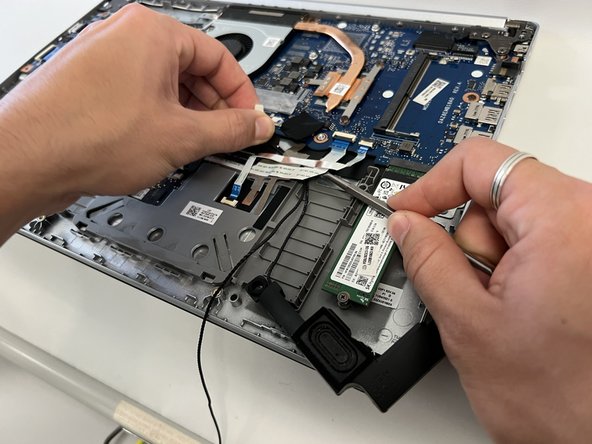
– To free the cable from its spot, grab a spudger and carefully lift the ribbon cables off the speaker cord.
– Once the speaker cable is free, you can go ahead and remove the speakers.
Success!