Acer Aspire 5 A515-56-347N Battery Replacement
Duration: 45 minutes
Steps: 6 Steps
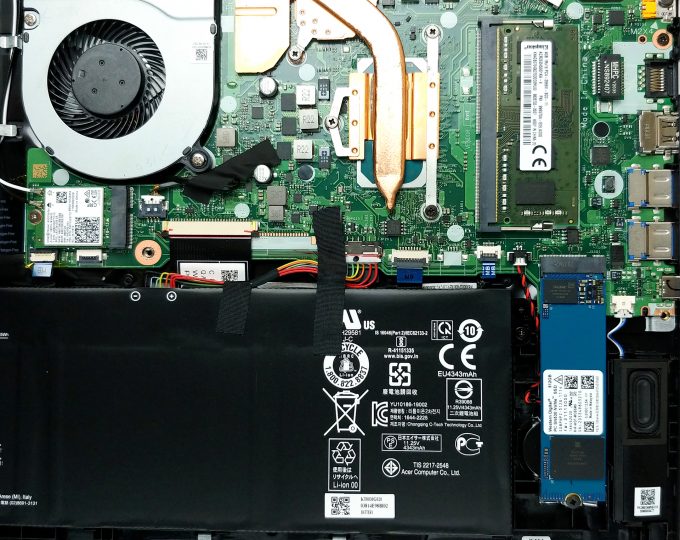
Noticing your Acer Aspire 5 A515-56-347N running out of juice faster than usual? This guide walks you through removing the battery so you can pop in a fresh one and get back to business. Watch out for static electricity—it’s sneakier than you think and can mess up your laptop’s insides. Avoid wearing static-loving clothes like wool or flannel, and skip working on carpets. If you have an antistatic bracelet or mat, now’s a great time to use them. For more tips, check out your device’s safety guide, user manual (see attachments), or the manufacturer’s support page.
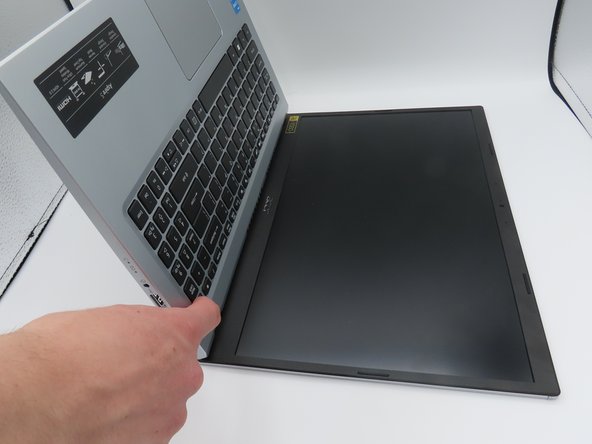
Step 1


– Power down the laptop and unplug the charger—let’s start fresh.
– Flip that laptop so the bottom is facing up, giving you access to the screws.
– Unscrew the eleven 6.6 mm Phillips #0 screws from the bottom cover to free it up.
Step 2


– Slip a plastic opening tool into the gap between your laptop’s bottom cover and the case—kind of like popping open a secret compartment.
– Slide a couple of blue picks around the seam, working your way around like you’re picking a lock (legally, of course).
– Once the bottom cover feels loose, lift it up and away from your laptop. Set it aside somewhere safe, and you’re good to go!
Step 3

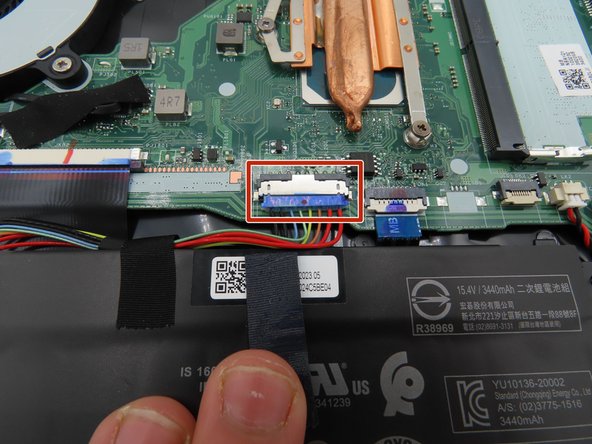
Now, let’s take a safety precaution – keep that battery unplugged for the next few steps. We’ve got this!
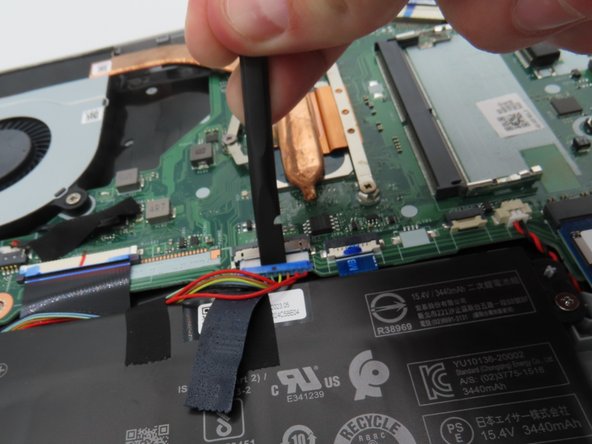
– Grab a plastic spudger and gently lift the black tape covering the big battery connector on the motherboard.
– Once the tape is loose, peel it back carefully to free the connector from its hold.
– Use a plastic spudger to gently pry the battery connector away from the motherboard, freeing it up for the next step.
Tools Used

Step 4

Keep your hands off those shiny, exposed parts during this step, and don’t let them touch anything metal.
– Hold down the laptop’s power button for about five seconds—give it a good press to clear out any leftover juice hiding in the system.
– Keep the battery connector unplugged and tucked aside for the entire time your laptop is open. No need for any surprise power-ups!
Step 5
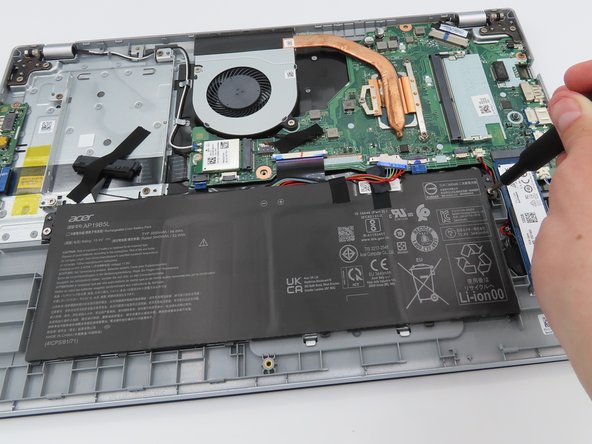

– Let’s start by removing the two 4.7 mm screws from each side of the battery using the necessary tool. If these screws are stubborn, try wiggling the screwdriver back and forth while applying gentle pressure.
Step 6

– The battery is now ready to come out. Carefully lift it out of the laptop and set it aside – you’re making great progress!