Acer Aspire 5 A515-56-347N RAM Replacement
Duration: 45 minutes
Steps: 5 Steps
Heads up: this RAM slot comes from the factory completely empty. Ready for your upgrade!
Get ready to supercharge your Acer Aspire 5 A515-56-347N by upgrading its RAM. This laptop has one user-replaceable RAM slot on the motherboard, and lucky for you, it’s empty and waiting for an upgrade. To avoid any potential damage from electrostatic discharge (ESD), make sure to wear static-free clothing and work on a safe surface – or take it to the next level with an ESD bracelet and/or mat to keep you grounded throughout the process. For extra precautions, be sure to check out the device’s safety guide and user manual, or visit the manufacturer’s support page for more info. Now, let’s dive in and get that RAM upgraded.
Step 1


– Power down that laptop and unplug it – safety first!
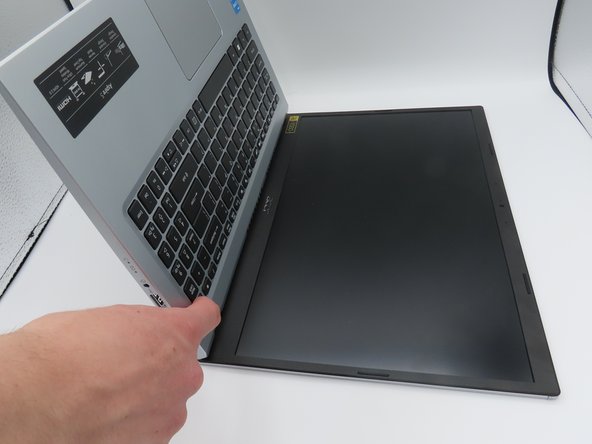
– Time to get a little inverted – flip your laptop over and let’s get started!
– Next, take out the eleven 6.6 mm Phillips #0 screws from the bottom cover – they’re just waiting to be removed!
Step 2


– Grab a plastic opening tool and carefully slide it into the gap between the case and the bottom cover. It’s like opening a treasure chest, but for your device!
– Next, take some blue plastic picks and gently wiggle them into that same gap. Work your way around the seam like you’re unlocking the secrets of your device.
– Now that the bottom cover is free, gently lift it upwards, away from the laptop. Set it aside and give yourself a little high-five for a job well done!
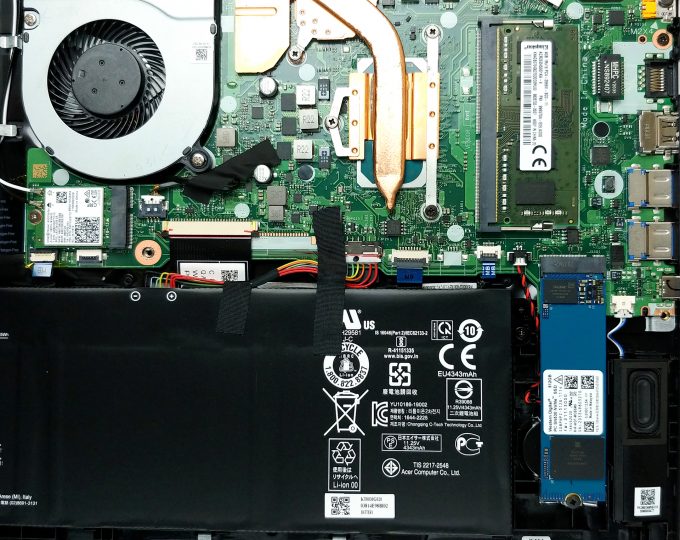
Step 3

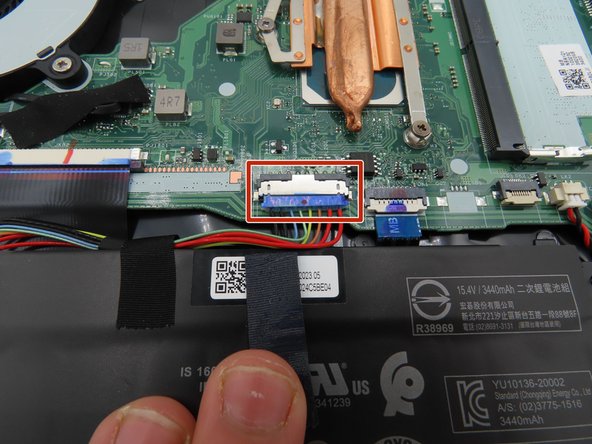
Keep that battery unplugged for the next steps! Trust us, it’s better that way.
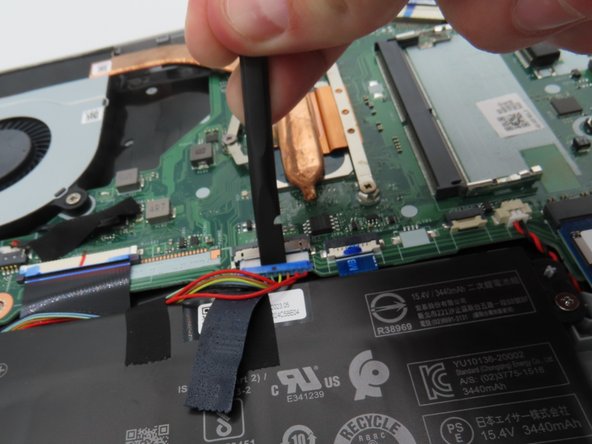
– Grab a plastic spudger and gently pry up the black tape securing the big battery connector on the motherboard.
– Once the tape is loosened, carefully peel it back to free the connector.
– Use a plastic spudger to gently lift the battery connector away from the motherboard, disconnecting it safely.
Tools Used

Step 4

Hands off those exposed bits—don’t touch or let them meet anything metal while you’re working on this step.
– Press and hold the power button for about five seconds to drain any leftover power from the system – it’s like hitting the reset button!
– Now, carefully unplug the battery connector and set it aside, out of the way, while you work on your laptop. This will keep everything safe and tidy.
Step 5
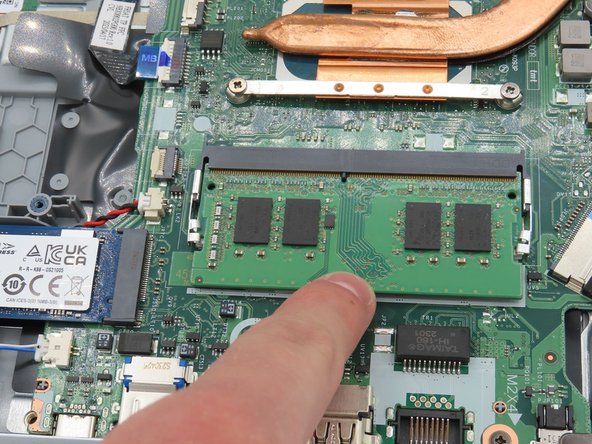

– Grab the RAM chip by the edges—don’t touch the gold pins—and line it up with the notches in the slot like a perfect puzzle piece.
– Now, gently push the RAM chip into the slot, and listen for the satisfying click as the metal tabs on the sides lock it in place. It’s like a tiny victory every time!
Success!