Acer Aspire 5 A515-56-347N SATA HDD Replacement
Duration: 45 minutes
Steps: 8 Steps
Your Acer Aspire 5 A515-56-347N has a special spot just waiting for a 2.5″ SATA hard drive or SSD to boost your storage game. In this guide, we’ll walk you through popping in that new drive—no sweat. Watch out for pesky electrostatic discharge (ESD), though! Avoid static-happy outfits like wool sweaters and don’t work on carpet if you can help it. If you have an ESD bracelet or mat, now’s the time to use it. Want more techy details? Check out your device’s safety guide, user manual (attachments), or hit up the manufacturer’s support page.
Step 1


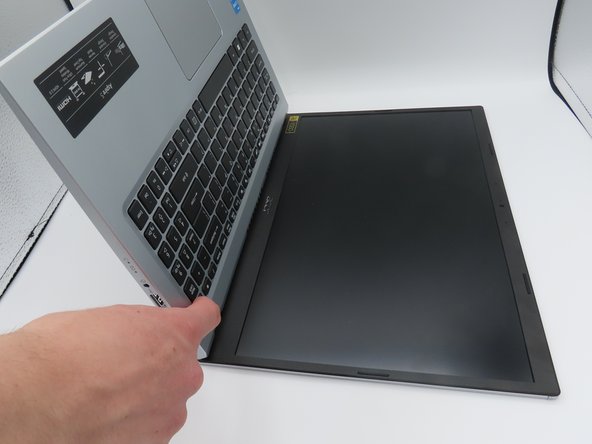
– First things first—power down that laptop and unplug it from any power source. We don’t want any surprises!
– Now, carefully flip the laptop upside down. You got this!
– Next up, grab your trusty screwdriver and remove the eleven 6.6 mm Phillips #0 screws from the bottom cover. Keep them safe—they’re the little heroes holding everything together!
Step 2


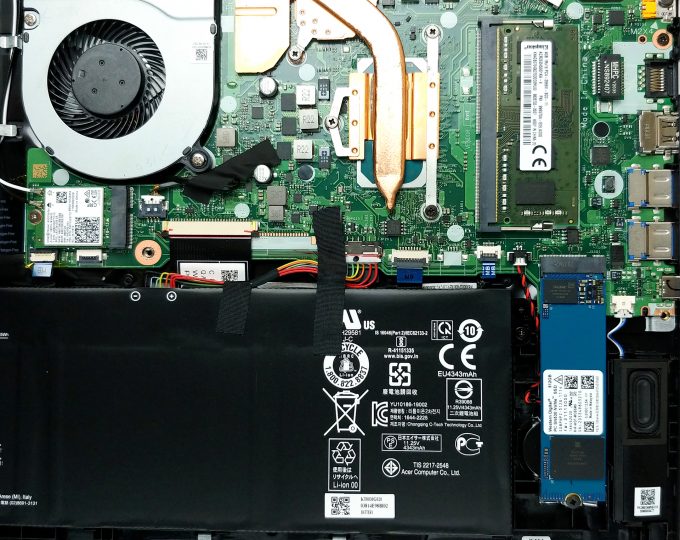
– Slide a plastic opening tool into the seam between the case and the bottom cover—just like finding the zipper on your favorite jacket.
– Work your way around the edge with some blue plastic picks, gently wiggling them along the gap to loosen things up. Think of it as picking the lock to freedom (for your laptop parts, anyway).
– Once the bottom cover is feeling loose, lift it straight up and away from the laptop. Set it aside in a safe spot—maybe give it a high five for a job well done!
Step 3

Make sure to leave the battery unplugged during the upcoming steps to keep everything safe and sound. This little pause helps prevent any accidental shorts or shocks. If you need a hand along the way, you can always schedule a repair and get expert help.
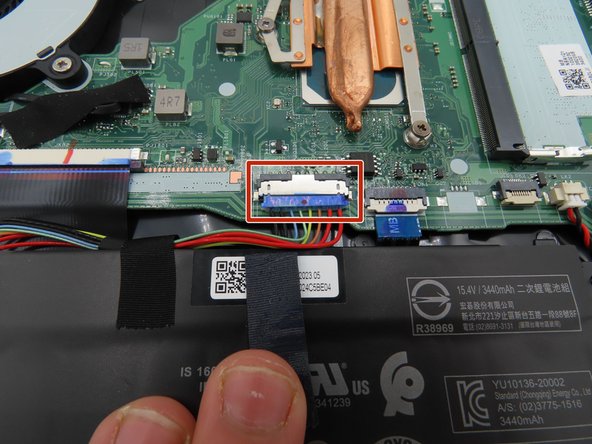
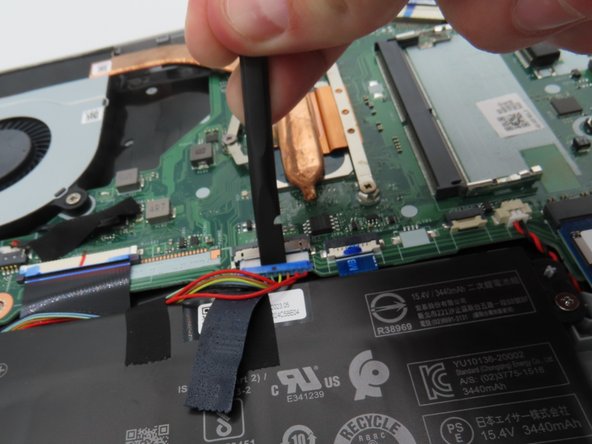
– Grab your trusty plastic spudger and gently work around the black tape that’s hugging the big battery connector on the motherboard.
– Once the tape is loose, peel it back carefully to free it from the connector.
– Now, take your plastic spudger and carefully lift the battery connector away from the motherboard. You’ve got this!
Tools Used

Step 4

Be careful not to touch any of the exposed components during this step, and keep them away from conductive materials – we want you to stay safe and get the job done!
– Hold down the power button for about five seconds—give your laptop a little nap to clear out any leftover juice.
– Keep the battery connector unplugged and out of the way for as long as your laptop is opened up.
Step 5
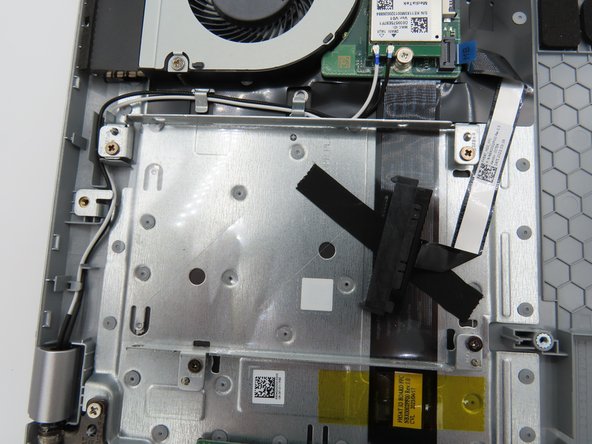

Let the tape chill at the bottom of the drive caddy. That way, if you ever decide to take the drive out again, you’ll have the cable right where you need it.
– Grab your trusty plastic spudger and carefully peel the black tape off the SATA cable—it’s just hanging on to the drive caddy for dear life.
Tools Used
Step 6
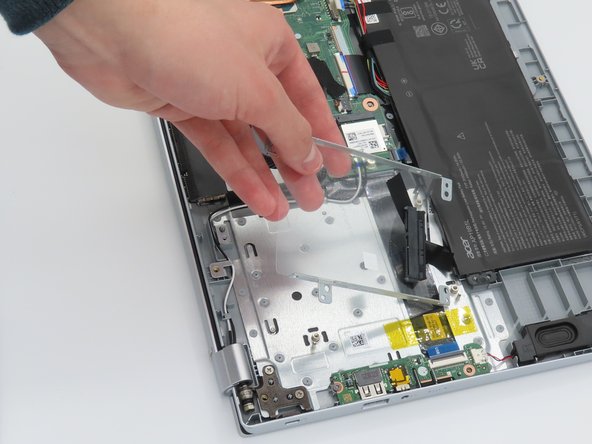

– Grab a Phillips #0 screwdriver and unscrew the four 4.7 mm screws that are keeping the drive caddy attached to the laptop chassis.
– Now, gently pull the drive caddy out of the laptop. Be careful, no need to rush here!
Tools Used

Step 7


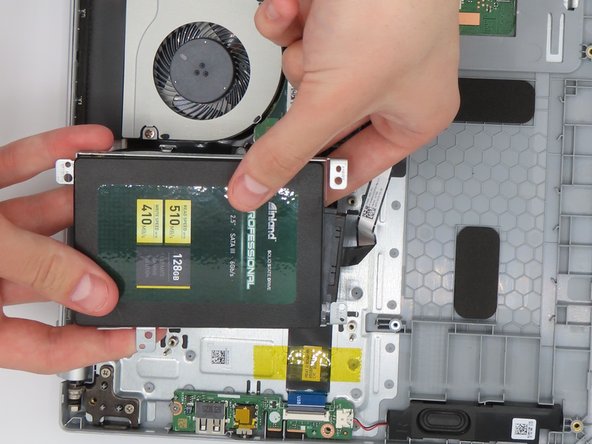
– Slide that shiny new SATA drive into its home in the freshly freed-up drive caddy. It’s like a perfect match!
– Grab your trusty screwdriver and secure the SATA drive in the caddy. Tighten those screws just right, no need to overdo it!
Take a moment to align the drive into the caddy just like in the picture. The SATA port should slide neatly between the two screw posts on the drive caddy. It’s a simple fit, just make sure everything clicks into place!
Chances are, your new drive should come with the right mounting screws. If not, no worries, we’ve got your back! If you need help, you can always schedule a repair.
Step 8

– Take that free SATA cable from the laptop and plug it into the SATA connector on your freshly installed drive. It’s a nice, snug fit.
– Now, slide the drive caddy back into its home on the laptop. Once that’s done, just follow steps 6 through 1 in reverse to reassemble your device. You got this!
Success!