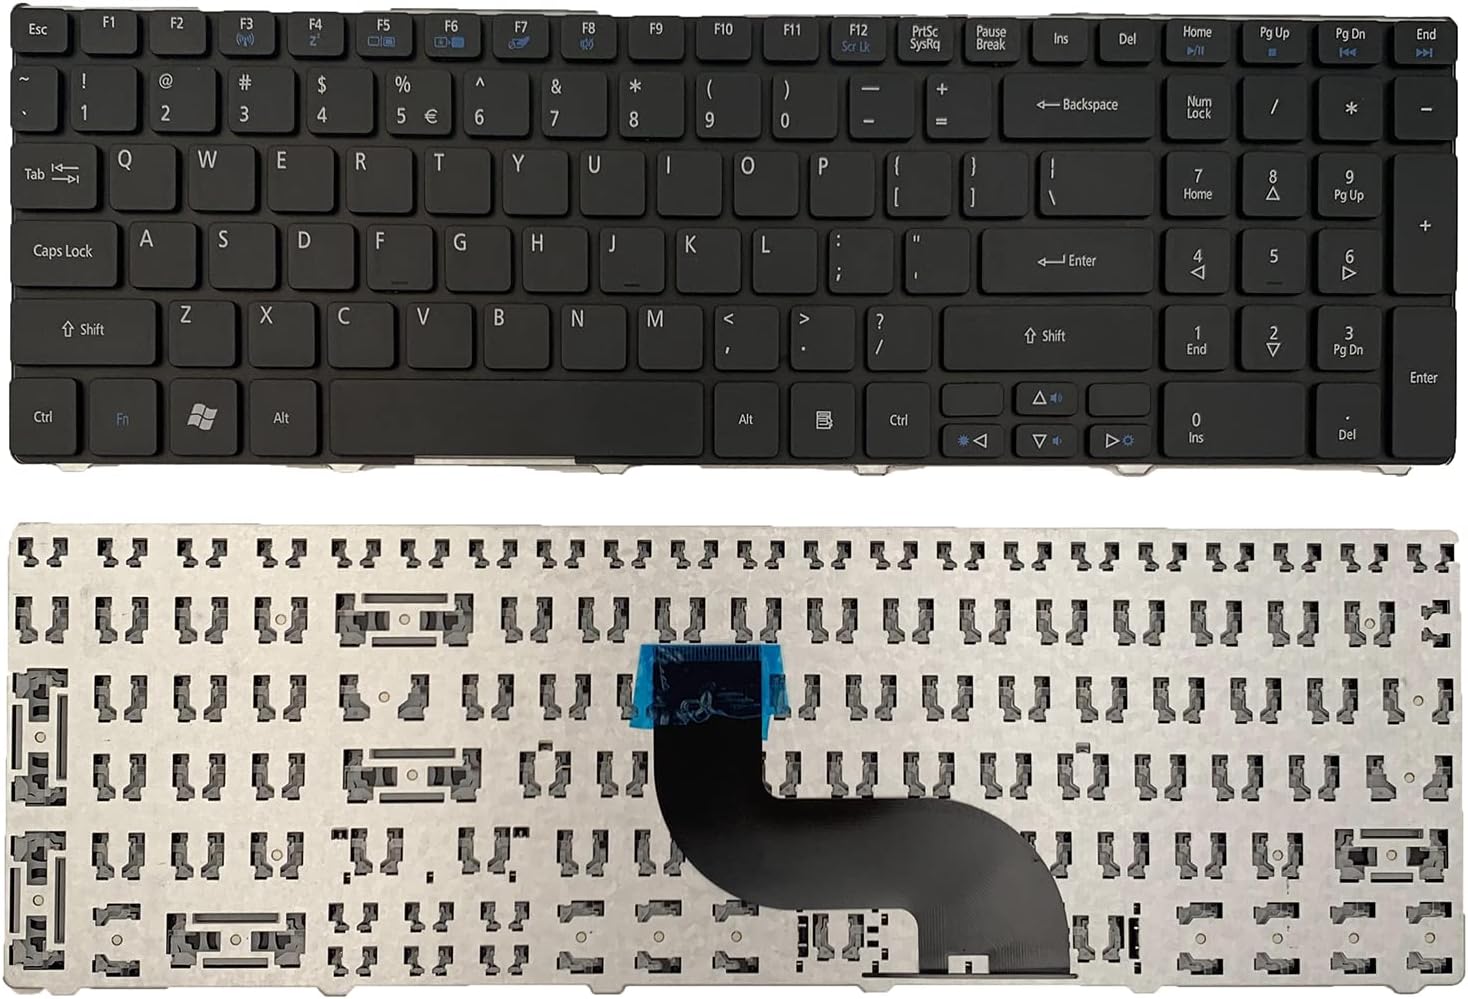
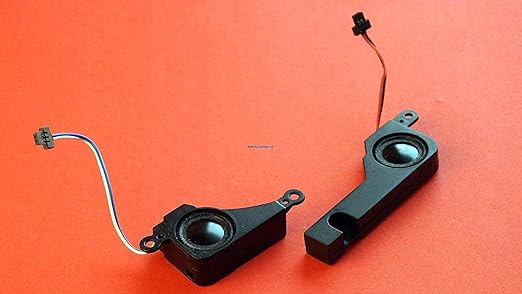
Acer Aspire 5253 Back Cover Panel Replacement
Duration: 45 minutes
Steps: 9 Steps
Step 1
– Flip the laptop upside down, like you’re showing it a whole new perspective.
Step 2
– Let’s get started by unlocking your battery – simply flip the switch until you see an unlocked lock on a red background. Easy peasy!
Step 3
– Next, flip the other switch while keeping an eye on that unlocked symbol. The battery should pop up and no longer be snug against the bottom of your laptop.
Step 4
– Gently lift out the battery from the laptop, starting with the side nearest the switches. You’ve got this—it’s easier than it sounds!
Step 5
– Nice work—battery removed like a pro!
Step 6
– Next up, find those two sneaky screws that are keeping the back cover panel snugly attached to your laptop. Let’s get that cover off!
Step 7
The screws measure 3/8″ long and sport a 1/4″ head—ready to get the job done!
– Carefully remove the two screws securing the back panel with a Philips #00 screwdriver. You’ve got this!
Step 8
– Once you’ve removed both screws, grab a trusty plastic opening tool and gently pop that panel off. Start at the little notch, then work your way left and right like a pro.
Step 9
– Once you’ve worked your magic with the plastic opening tool to loosen up the panel, slide a finger into the gap and confidently pop that panel off the laptop.
Success!


